Home>Ideas and Tips>Upgrading Your Home’s Exterior With DIY Stacked Stone Veneer

Ideas and Tips
Upgrading Your Home’s Exterior With DIY Stacked Stone Veneer
Modified: October 20, 2024
Transform your home's exterior with DIY stacked stone veneer. Enhance curb appeal, durability, and value with our step-by-step guide.
(Many of the links in this article redirect to a specific reviewed product. Your purchase of these products through affiliate links helps to generate commission for Storables.com, at no extra cost. Learn more)
When it comes to enhancing the curb appeal and value of your home, few exterior upgrades can rival the timeless elegance and durability of stacked stone veneer. This versatile and budget-friendly material can transform your home's facade, entryway, landscaping, and outdoor living spaces, making it a perfect choice for both DIY enthusiasts and professional contractors. In this article, we will delve into the world of stone veneer, exploring its benefits, installation process, and creative ways to integrate it into your home's exterior design.
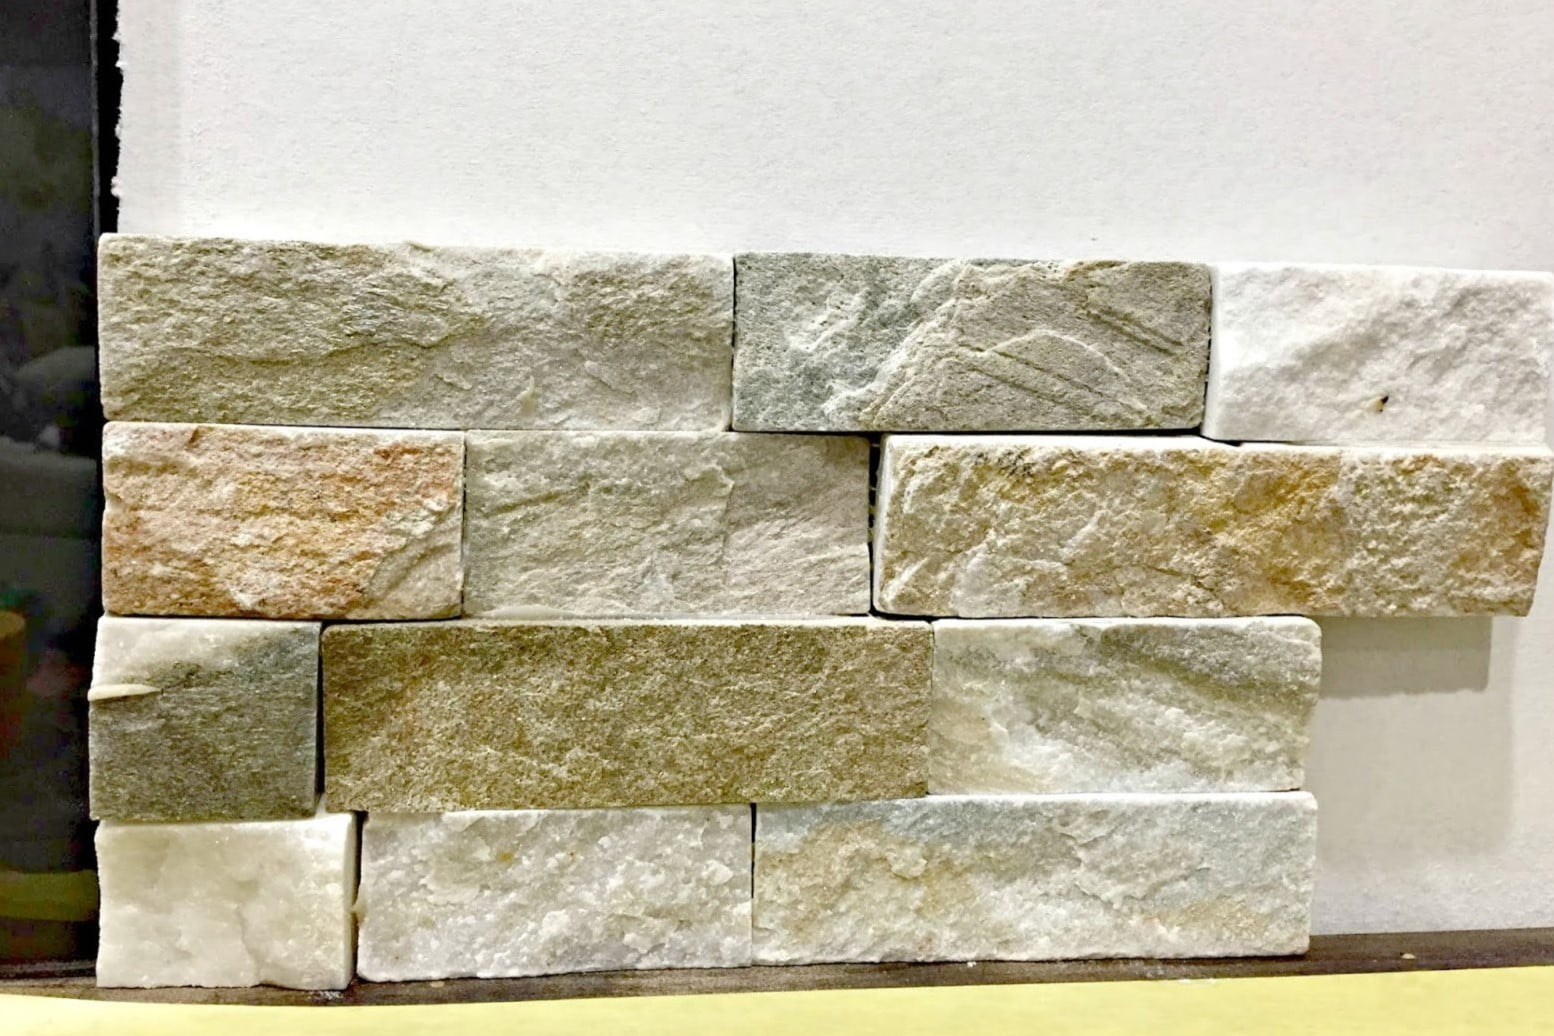
The Benefits of Stone Veneer
Stone veneer has become a popular choice for homeowners looking to elevate their property's aesthetics and market value. Here are some key benefits that make it an attractive option:
-
Aesthetic Appeal:
- Stone veneer offers a natural, organic look that enhances the visual appeal of any property. Its textured surfaces and earthy tones create visually striking facades that turn heads at first impression.
- Whether you choose a modern stacked ledge stone look or a more rustic natural fieldstone, there are numerous styles and patterns to select from, ensuring you find the perfect fit for your home's design.
-
Durability:
- Stone veneer is more durable than vinyl or aluminum siding, resisting fading and chalking over time. It also shields your home's exterior from water and harsh elements, making it a long-lasting investment.
- Unlike traditional full-bed veneer, thin veneer is lighter and easier to install, saving on labor costs without compromising on quality.
-
Return on Investment:
- According to the National Concrete Masonry Association (NCMA), stone veneer consistently ranks high in terms of return on investment (ROI). In a national study, manufactured stone veneer (MSV) showed an average ROI of 93.4% over seven years, making it one of the top exterior upgrades for homeowners.
-
Enhanced Resale Value:
- Real estate experts agree that homes with enhanced curb appeal command higher prices in the market. Adding a modern stacked ledge stone veneer or a more rustic natural fieldstone to your home's exterior can create a strong visual impact that attracts potential buyers and increases your property's overall value.
-
Perceived Value:
- Homebuyers often place a premium on homes with high-end finishes and unique design elements. Incorporating stone veneer into your exterior and even interior design can give your home a luxurious and upscale feel, enhancing its perceived value in the eyes of potential buyers.
Preparing Your Home for Stone Veneer Installation
Before you begin your DIY project, it's essential to prepare your home's surface for the installation of stone veneer. Here are some steps to follow:
-
Assess Your Surface:
- Determine the condition of your home's exterior surface. If it's made of stucco, ensure it's untreated and clean. If not, you may need to install metal lathe first.
-
Remove Old Materials:
- For areas like fireplaces or exterior walls, you may need to remove old materials such as brick mantels or wood planks. This will provide a clean slate for your new stone veneer.
-
Apply a Scratch Coat:
- A scratch coat of cement is necessary before installing stone veneer. Use S-type cement with a bonding agent to ensure a strong bond between the surface and the veneer.
-
Install Metal Lathe:
- If necessary, install metal lathe over existing surfaces like stucco or wood planks. This provides a stable base for your stone veneer.
Installing Stone Veneer
Once your surface is prepared, you can start installing the stone veneer. Here’s a step-by-step guide:
-
Choose Your Stone Veneer:
- Select the type of stone veneer that suits your design preferences. Popular styles include Ohio Drystack, Drystack, Cobblestone, and Ledgestone.
-
Cut the Stone Veneer:
- Manufactured stone veneer can be cut using a circular masonry blade, making it quick and easy to work with.
-
Apply Adhesive:
- Use a high-quality adhesive specifically designed for stone veneer installation. Follow the manufacturer's instructions for application and drying times.
-
Install the Stone Veneer:
- Begin by applying the stone veneer to the prepared surface, starting from the bottom and working your way up. Use a level to ensure proper alignment and spacing.
-
Secure the Stone Veneer:
- Use self-taping metal screws or backer board nails to secure the stone veneer to the surface. Ensure all pieces are tightly fitted and evenly spaced.
-
Finish with Grout:
- Once the stone veneer is installed, apply grout between the stones to complete the look. This will also help seal any gaps and protect the veneer from water and debris.
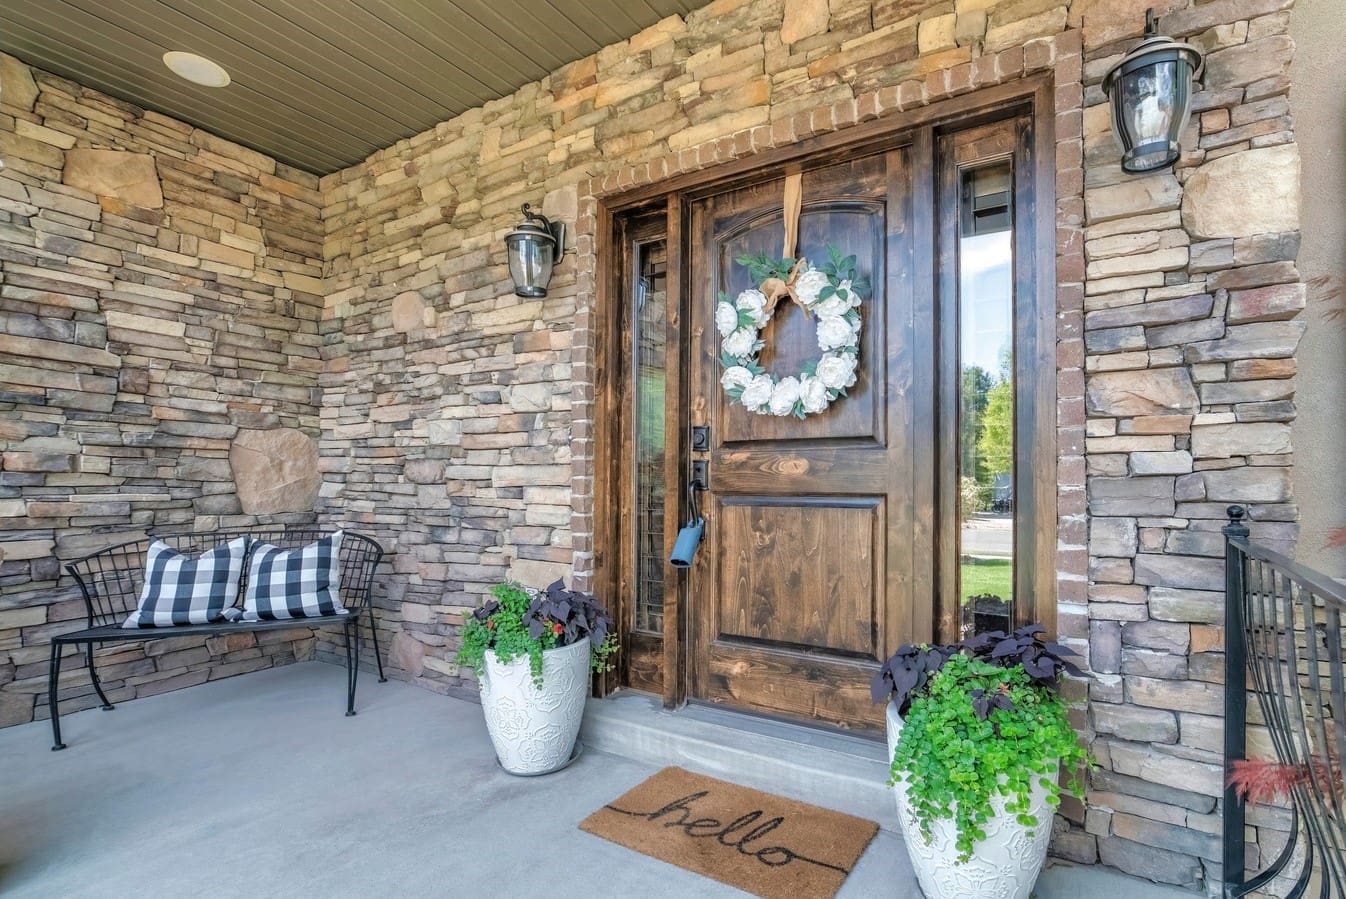
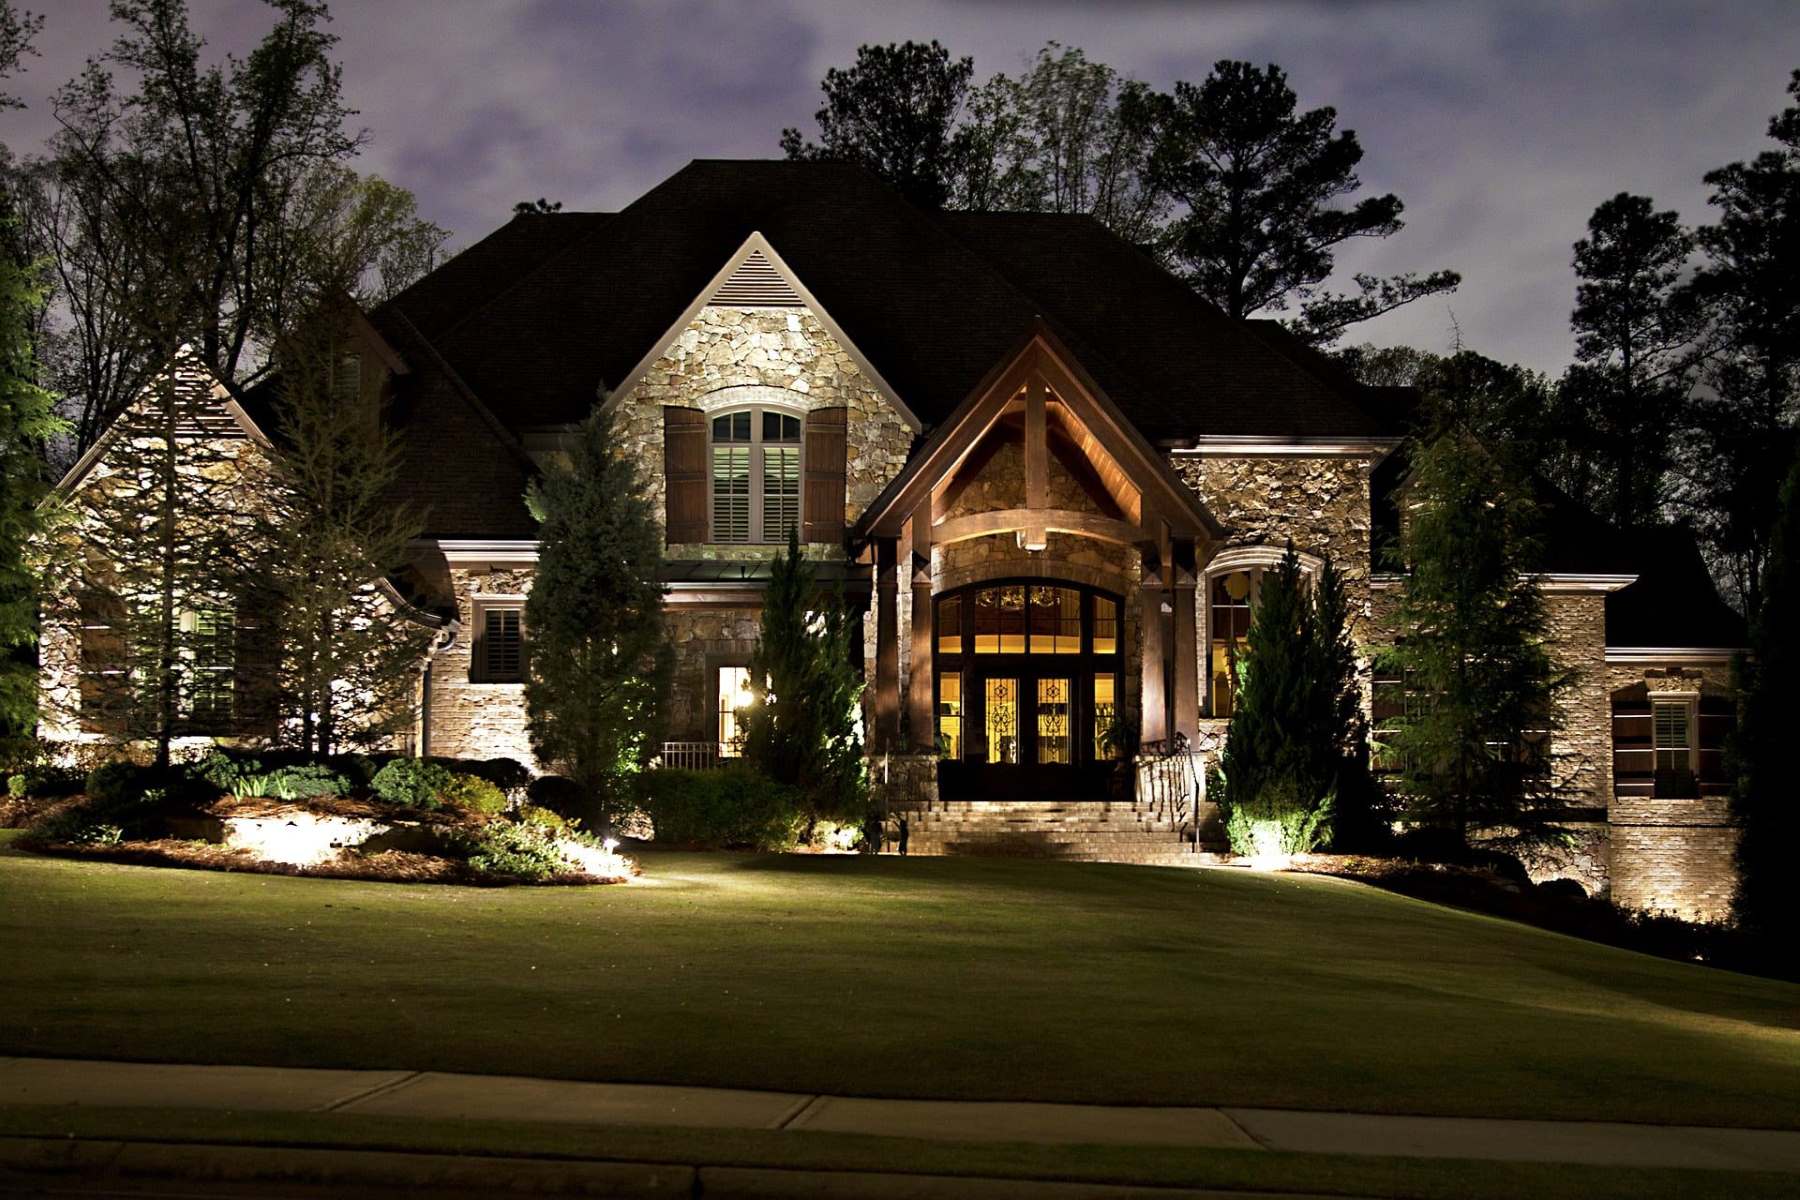
Creative Ways to Integrate Stone Veneer
Stone veneer is incredibly versatile and can be integrated into various aspects of your home's exterior design. Here are some creative ways to elevate your home's curb appeal:
-
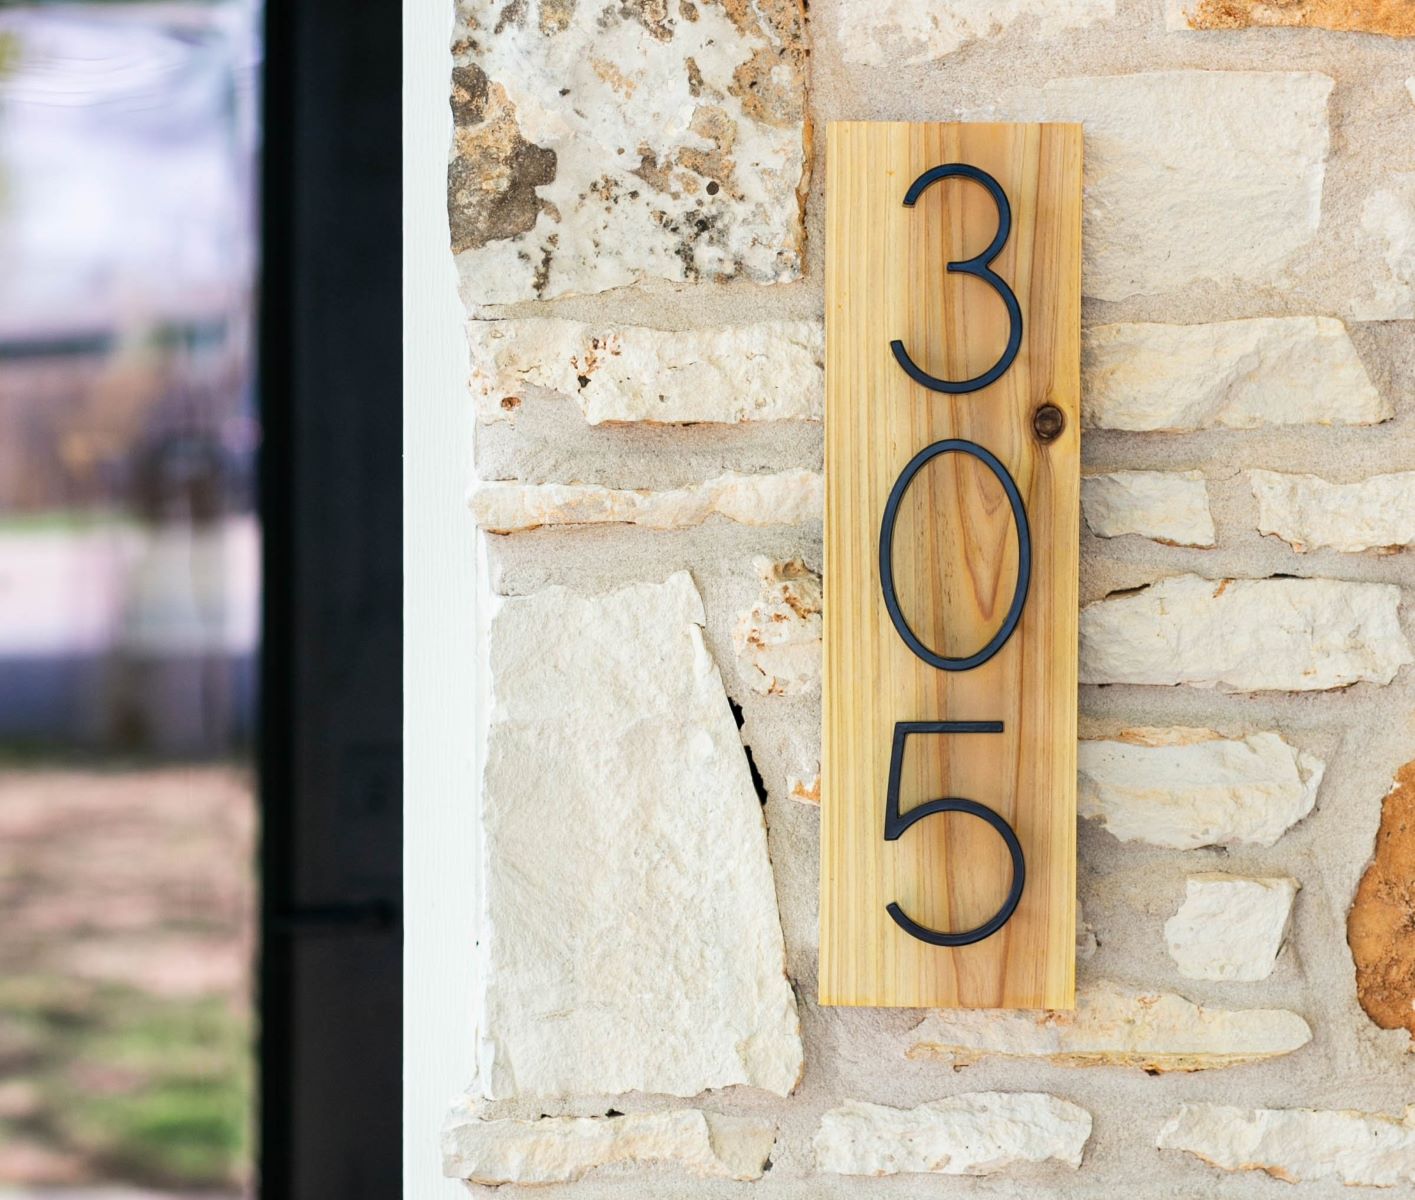
Elevate Your Entryway:
- The space around your front door is perfect for using stone veneer to create a dramatic first impression. Choose from styles like Sombre Yorkshire for a contemporary look or Matera Ledgestone for a rugged dry-stack effect.
-
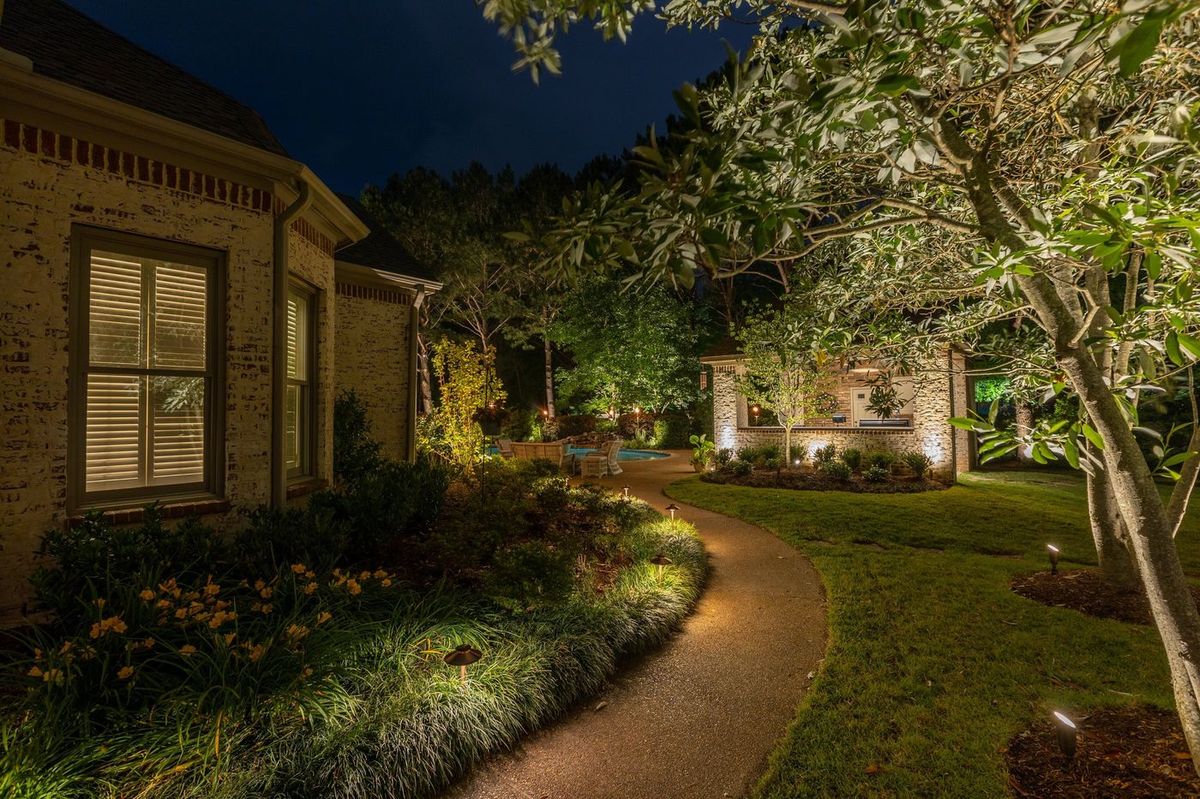
Level Up Your Landscaping:
- Transform unsightly cement block retaining walls into rich garden accents by using stone veneer. It can also enhance the visual appeal of your outdoor fireplace and help integrate a water feature into your property.
-
Combine Stone and Siding:
- Pair stone veneer with other materials like wood shingles and exposed beams for a contemporary rustic effect. Layer it on columns and archways against a backdrop of stucco or vinyl siding for a sweeping and luxurious result.
-
Enhance Outdoor Living Spaces:
- Take your alfresco entertaining to the next level with creative stone veneer exterior projects. Give your wood-burning, gas, or electric outdoor fireplace year-round coziness with a rugged stone veneer surround. Blend your interior and exterior design by cladding the outdoor wall that faces your deck in the same Casa di Sassi stone as your kitchen backsplash.
-
Give Your Garage a Facelift:
- Your garage can also contribute to curb appeal. Use the same profile on both your home’s facade and the front of the garage to create a seamless style. This will enhance the overall aesthetic of your property and make it stand out in any neighborhood.
-
Upgrade Your Chimney:
- Even an upgrade to your chimney can enhance your home’s design. A stone veneer chimney with granite or bluestone caps adds visual interest to a roofline and makes even a modest home appear more stately.
-
Protect with Granite Sills, Headers, and Water Tables:
- Granite sills, headers, and water tables protect windows, doors, and foundations with a classic, elegant appearance. These natural stone details provide an organic look to contemporary designs and help connect them to the environment.
Conclusion
Upgrading your home's exterior with DIY stacked stone veneer is a rewarding project that can significantly enhance both the aesthetic appeal and market value of your property. By following these steps and incorporating creative design elements, you can transform your home into a beautiful and durable masterpiece that stands out in any neighborhood. Whether you're looking to elevate your entryway, enhance your landscaping, or simply give your garage a facelift, stone veneer offers endless possibilities for DIY enthusiasts and homeowners alike.
Remember to choose the right type of stone veneer for your design preferences, prepare your surface properly, and follow the manufacturer's instructions for installation. With patience and creativity, you can achieve stunning results that will make your home the envy of the neighborhood. So why wait? Start your DIY project today and experience the timeless beauty of stacked stone veneer for yourself
Was this page helpful?
At Storables.com, we guarantee accurate and reliable information. Our content, validated by Expert Board Contributors, is crafted following stringent Editorial Policies. We're committed to providing you with well-researched, expert-backed insights for all your informational needs.


0 thoughts on “Upgrading Your Home’s Exterior With DIY Stacked Stone Veneer”