Home>Ideas and Tips>Upgrading Your Home’s Garage with a DIY Epoxy Floor with a Custom Design

Ideas and Tips
Upgrading Your Home’s Garage with a DIY Epoxy Floor with a Custom Design
Modified: October 31, 2024
Upgrade your garage with a DIY epoxy floor for enhanced durability and custom design. Follow our step-by-step guide for a professional finish.
(Many of the links in this article redirect to a specific reviewed product. Your purchase of these products through affiliate links helps to generate commission for Storables.com, at no extra cost. Learn more)
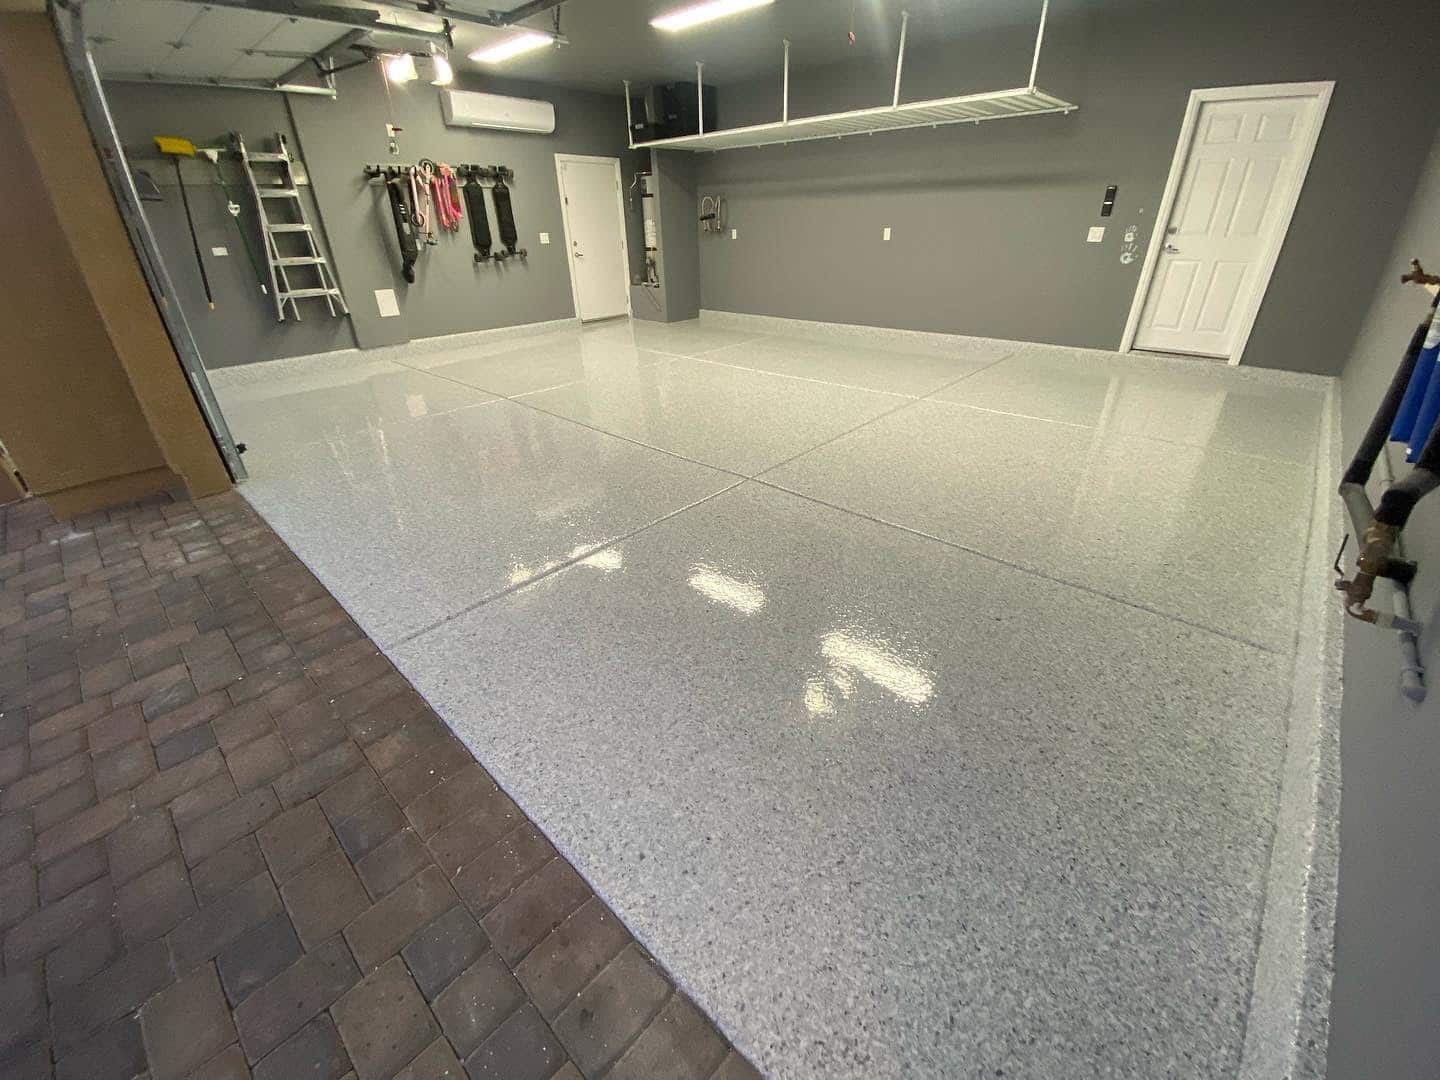
Upgrading your garage with a DIY epoxy floor is an excellent way to enhance the aesthetic appeal and functionality of your space. Epoxy floors are known for their durability, ease of maintenance, and versatility in design. In this article, we will guide you through the process of creating a custom-designed epoxy floor for your garage, from preparation to application.
Why Choose Epoxy Flooring?
Epoxy flooring has become increasingly popular due to its numerous benefits. Here are some reasons why you should consider upgrading your garage with an epoxy floor:
-
Durability: Epoxy floors are highly resistant to wear and tear, making them ideal for high-traffic areas like garages. They can withstand heavy machinery and frequent use without showing significant signs of wear.
-
Ease of Maintenance: Epoxy floors are easy to clean and maintain. They are resistant to stains and spills, ensuring that your garage floor remains clean and hygienic.
-
Versatility in Design: One of the most significant advantages of epoxy flooring is its versatility in design. You can choose from a variety of colors, patterns, and even integrate your favorite sports team's logo or theme into the design.
-
Customization: With epoxy flooring, you have the freedom to create a custom design that matches your personal style or brand identity. Whether you want a simple yet elegant look or an elaborate and intricate design, epoxy flooring can accommodate your needs.
Preparing Your Garage Floor
Before you start applying the epoxy coating, it's crucial to prepare your garage floor properly. Here are the steps involved in preparing your floor:
-
Clean the Floor: Begin by thoroughly cleaning the garage floor to remove any dirt, oil stains, or other contaminants. Use a degreaser and scrub the floor to ensure it's clean and free of any substances that could interfere with the epoxy application.
-
Repair Cracks and Holes: If there are any cracks or holes in the concrete, fill them with a concrete patching compound. Allow the patching compound to dry completely before proceeding.
-
Grind the Floor: Use a concrete grinder to smooth out the floor and remove any imperfections. This step ensures that the epoxy coating adheres evenly to the surface.
-
Etch the Surface: Apply an etching chemical to the floor to create a rough surface for better adhesion of the epoxy coating. This step is essential for ensuring that the epoxy bonds well with the concrete.
-
Prime the Floor: Apply a primer specifically designed for epoxy flooring to enhance adhesion and ensure a smooth finish.
Choosing Your Epoxy Kit
When selecting an epoxy kit for your garage floor, consider the following factors:
-
Quality of Materials: Opt for high-quality materials that are specifically designed for garage floors. Look for kits that include everything you need for a seamless, professional-looking finish.
-
Customization Options: Choose a kit that offers customization options such as different colors, metallic flakes, and various design patterns.
-
Ease of Installation: Select a kit that comes with detailed instructions and possibly even video tutorials to guide you through the installation process.
Popular Epoxy Kit Brands
Several brands offer high-quality epoxy kits suitable for garage floors. Here are some popular options:
-
ArmorGarage Epoxy Systems: ArmorGarage offers comprehensive kits that include everything you need to create custom epoxy flooring designs. Their kits are designed to be user-friendly even for those who have never worked with epoxy before.
-
Leggari Epoxy Floor Kits: Leggari provides industrial-grade flake floor kits that are popular in garages and shops due to their chemical resistance and durability. Their kits include step-by-step tutorial videos to help you through the installation process.
-
United Floor Coatings: United Floor Coatings offers bespoke epoxy floors tailored to specific needs and preferences. They provide precise color matching and can integrate logos or themes into the design.
Designing Your Custom Epoxy Floor
Creating a custom epoxy floor involves several steps:
-
Sketch Your Design: Start by sketching out your design on paper. Estimate the square footage of each color you will be using to determine how much epoxy paint and color flakes you'll need.
-
Plan Your Layout: Decide on the layout of your design, including where you'll place each color and how you'll blend them together.
-
Prepare Your Tools: Gather all necessary tools such as painters tape, rollers, squeegees, and safety equipment.
-
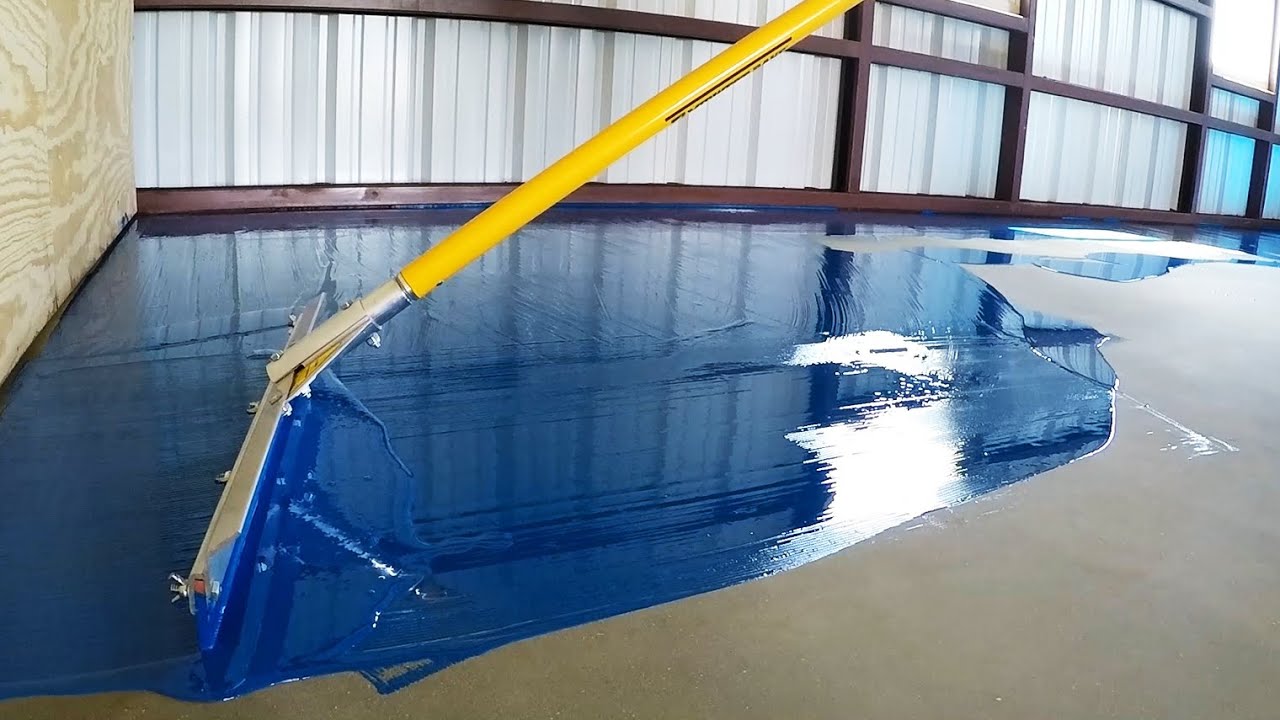
Apply Base Coat: Mix the base coat according to the manufacturer's instructions and apply it evenly across the floor using a rubber squeegee. Use a paint roller to help even out the epoxy.
-
Add Highlights: Mix your highlight color and apply it over the base coat using a squeegee or brush. Blend the colors together to achieve your desired look.
-
Add Additional Layers (Optional): If desired, add additional layers of color to create a marbled effect or other intricate designs.
Applying Metallic Epoxy
Metallic epoxy flooring can add an extra layer of sophistication to your custom design. However, it's more challenging to DIY due to its complexity:
-
Professional Installation Recommended: Metallic epoxy requires specialized skills and equipment. It's recommended to hire a professional for this part of the installation process.
-
Specialist Installation: If you decide to go with metallic epoxy, make sure to hire a specialist who has experience with this type of flooring. This will ensure that the final result is professional and durable.
Tips for a Successful Installation
Here are some tips to ensure a successful installation:
-
Patience and Meticulousness: Custom epoxy flooring requires patience and meticulousness. Take your time when applying each layer of epoxy to avoid mistakes.
-
Use High-Quality Painters Tape: Invest in high-quality painters tape to prevent seepage under the tape and ensure clean lines in your design.
-
Work in Small Sections: Divide your floor into smaller sections and complete each section at a time to maintain evenness and avoid mistakes.
-
Follow Instructions Carefully: Adhere strictly to the manufacturer's instructions for mixing ratios, application times, and drying periods.
-
Clean Up as You Go: Clean up spills immediately to avoid them becoming permanent stains.
Common Epoxy Floor Designs
Epoxy floors come in a variety of designs that can suit different tastes and preferences:
-
Underwater Themed Epoxy Floor:
- This design features a sky blue base with deep blue highlights, creating an underwater theme that is both durable and visually appealing.
-
Barbershop Sports Sweet Epoxy Floors:
- A well-done epoxy floor can transform any space into an eye-catching, professional environment. This design involves using one of the epoxy floor kits to achieve an elegant look that is easy to install and maintain.
-
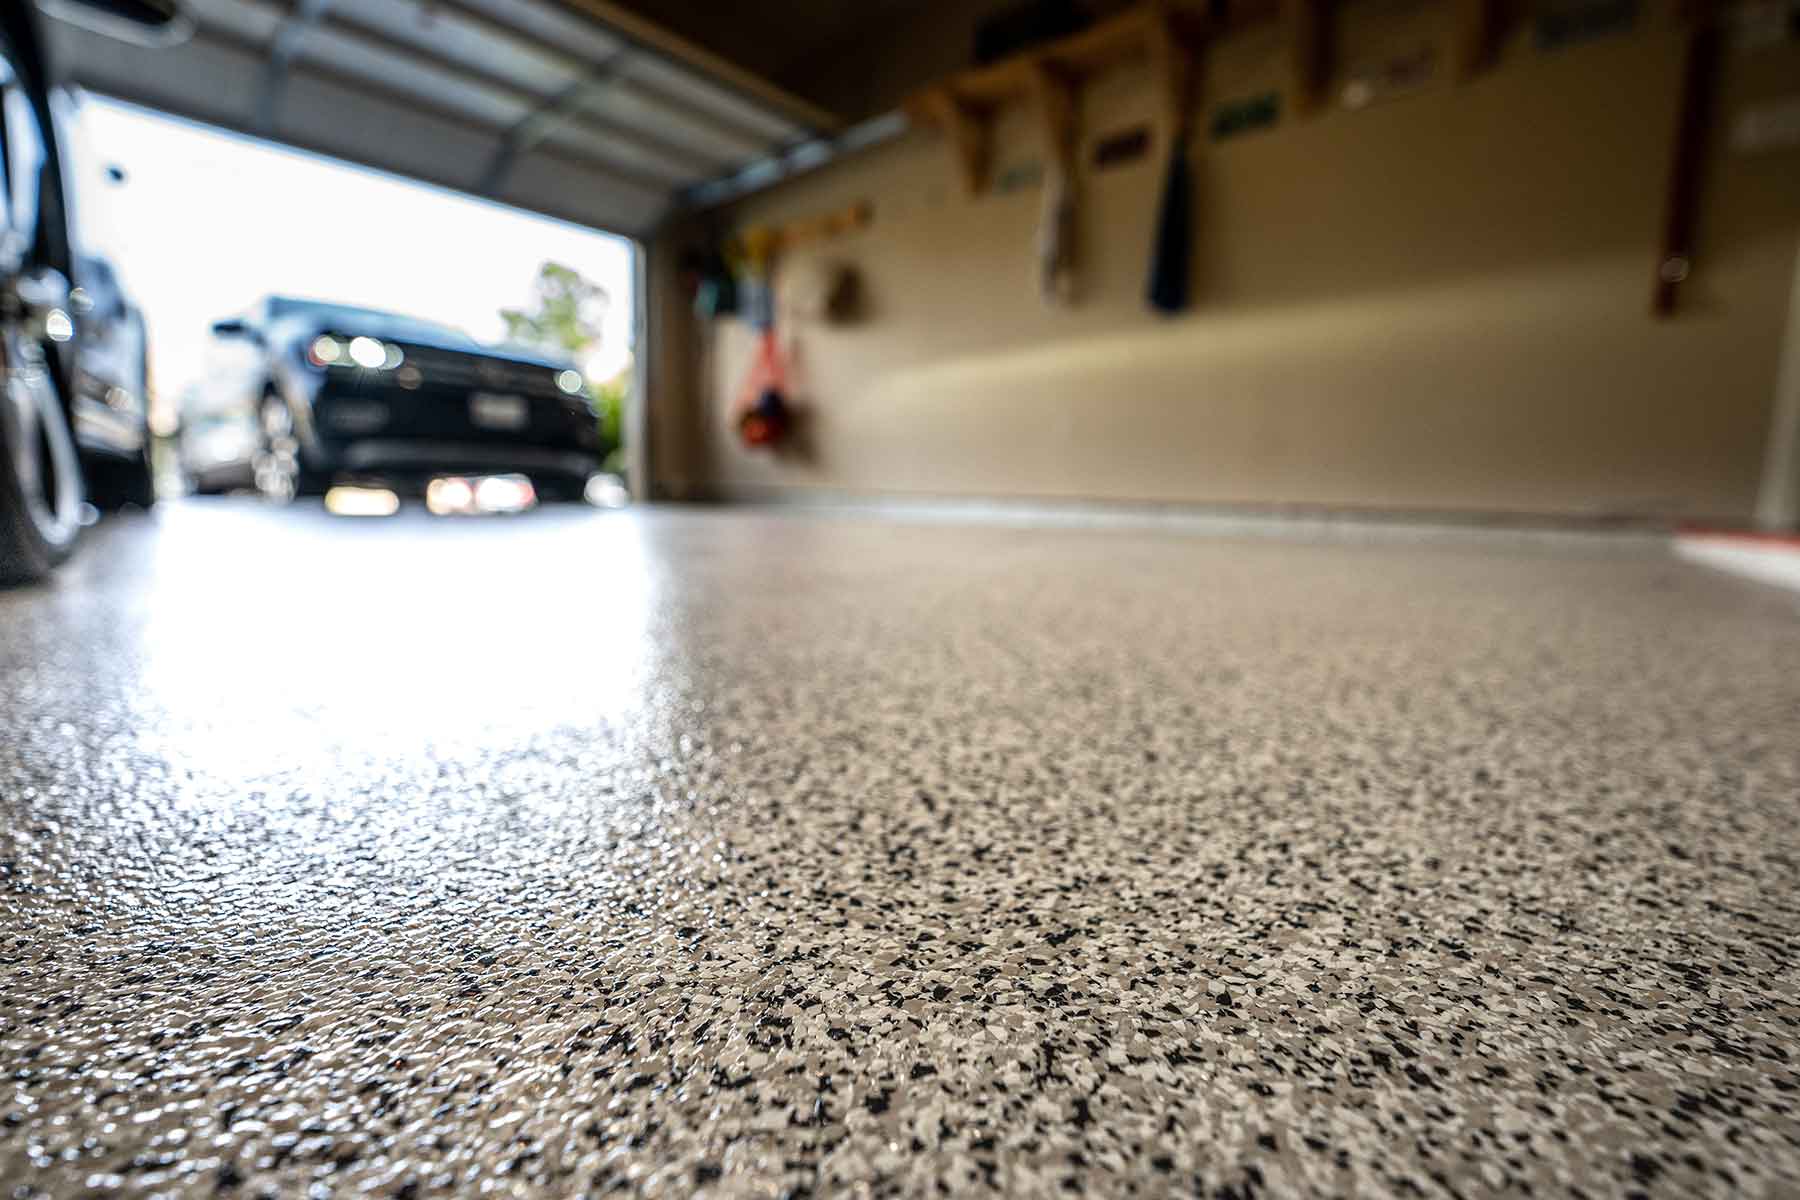
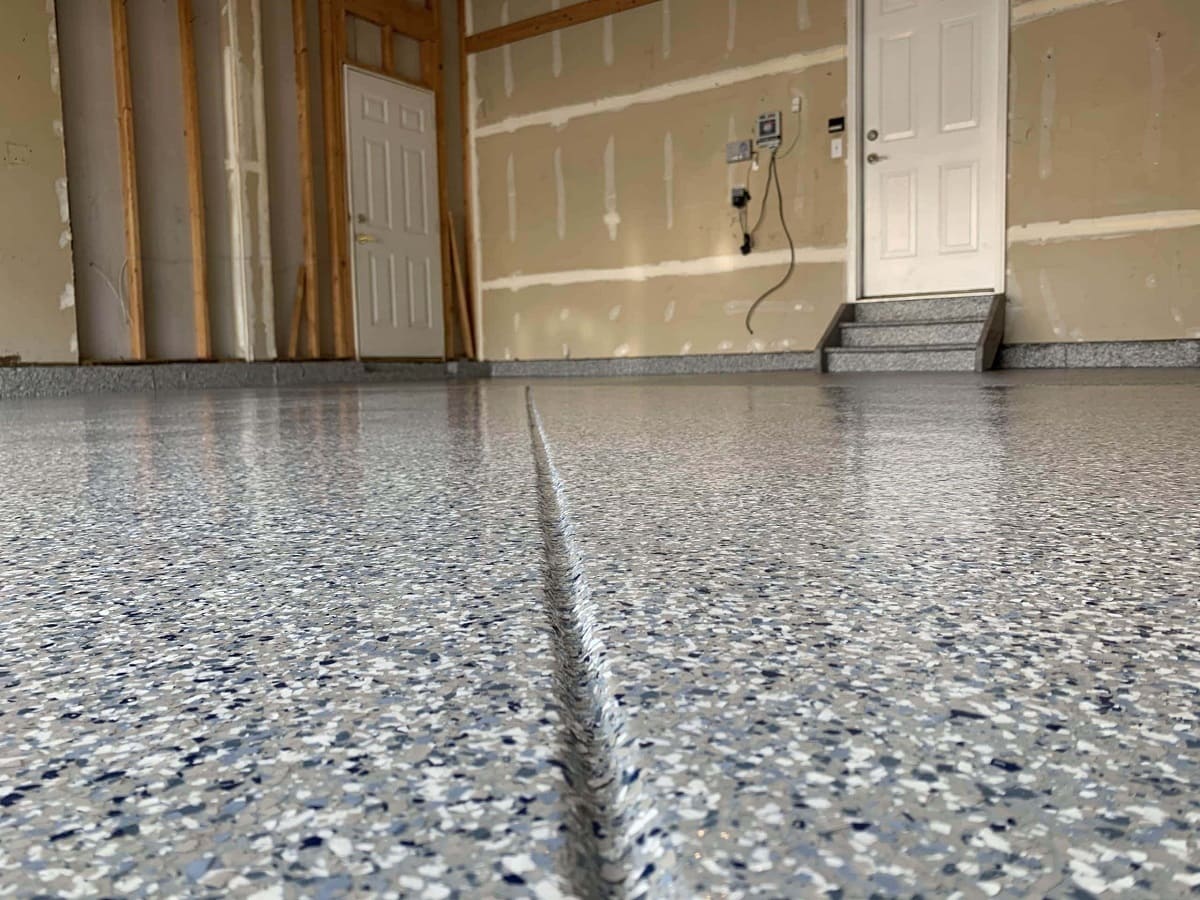
Gorgeous Industrial-Grade Flake Garage Floors:
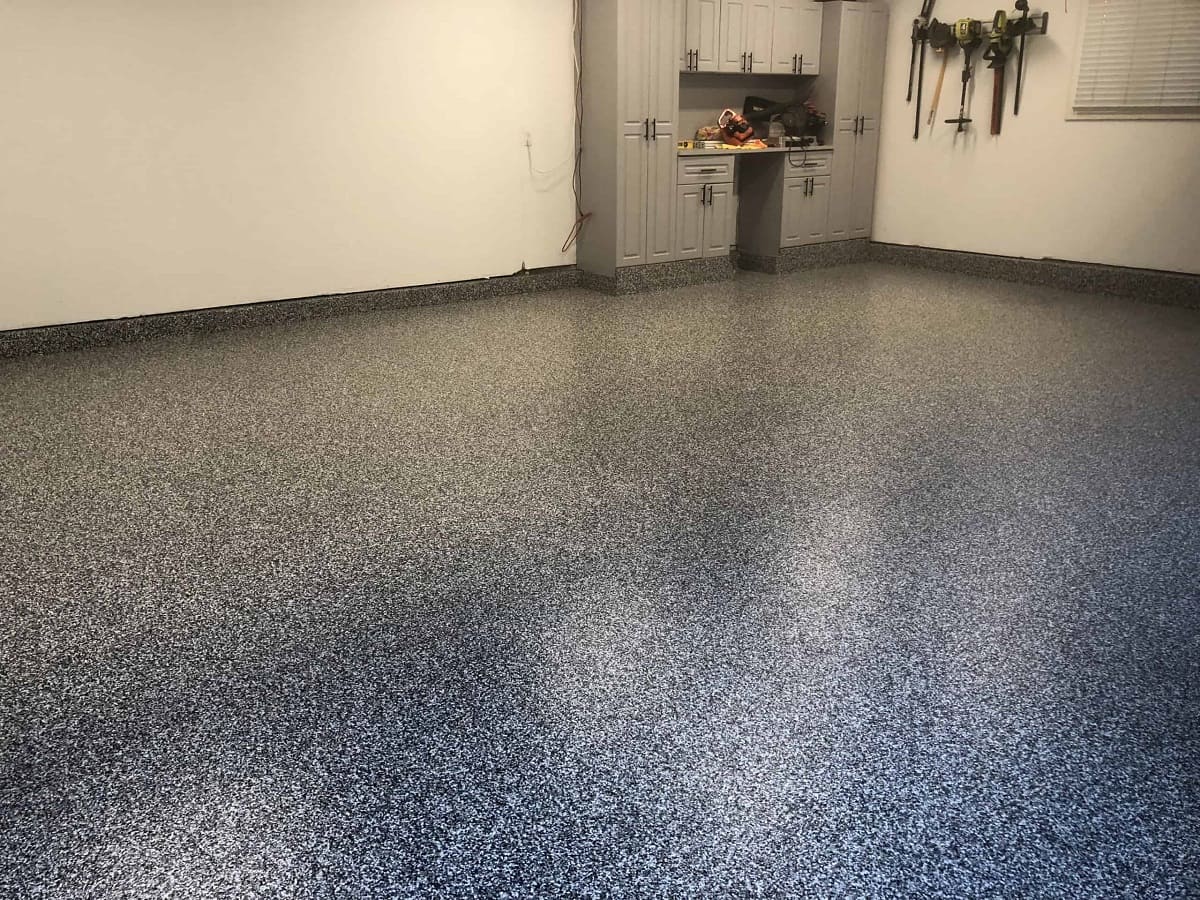
- These floors are popular in garages and shops due to their first-class chemical resistance and durability. They can be easily installed and maintained, making them an excellent choice for concrete garage floors.
-
DIY Epoxy Coating Right Over Existing Concrete Floors:
- Installing an epoxy coating over existing concrete floors is a great way to create a unique and durable surface without extensive prep work. This design involves using several colors like black, gray, red, and blue to create a unique epoxy coating.
-
Colorful Epoxy Flooring That’s Sure To Make You Hungry:
- This commercial space used a variety of colors including pink, red, and white to create a fun and inviting atmosphere. The epoxy flooring is both beautiful and durable, making it an ideal choice for busy businesses.
-
Metallic Epoxy Flooring Is The Perfect Choice For This Modern Office:
- Metallic epoxy flooring can add an extra layer of sophistication to any space. It creates stunning 3D effects that give the illusion of depth, making it perfect for modern offices or any space where you want to push the boundaries of traditional flooring.
Conclusion
Upgrading your garage with a custom-designed epoxy floor is an excellent way to enhance both the aesthetic appeal and functionality of your space. With proper preparation and careful application, you can achieve professional-looking results even if you're new to DIY projects. Remember to choose high-quality materials, follow instructions carefully, and be patient throughout the process. Whether you opt for simple designs or elaborate themes like underwater or sports-inspired motifs, epoxy flooring offers endless possibilities tailored specifically to your needs.
By following these steps outlined above—from preparing your floor to designing your custom layout—you'll be well on your way towards transforming your garage into a stunning space that reflects your personality or brand identity. So why wait? Start planning today and turn your garage into an extraordinary space with a custom-designed epoxy floor
Was this page helpful?
At Storables.com, we guarantee accurate and reliable information. Our content, validated by Expert Board Contributors, is crafted following stringent Editorial Policies. We're committed to providing you with well-researched, expert-backed insights for all your informational needs.




0 thoughts on “Upgrading Your Home’s Garage with a DIY Epoxy Floor with a Custom Design”