Home>Interior Design>How To Read A Tape Measure: For Project Success
Interior Design
How To Read A Tape Measure: For Project Success
Modified: August 31, 2024
Learn how to accurately read a tape measure for interior design projects and achieve success with precision measurements.
(Many of the links in this article redirect to a specific reviewed product. Your purchase of these products through affiliate links helps to generate commission for Storables.com, at no extra cost. Learn more)
Introduction
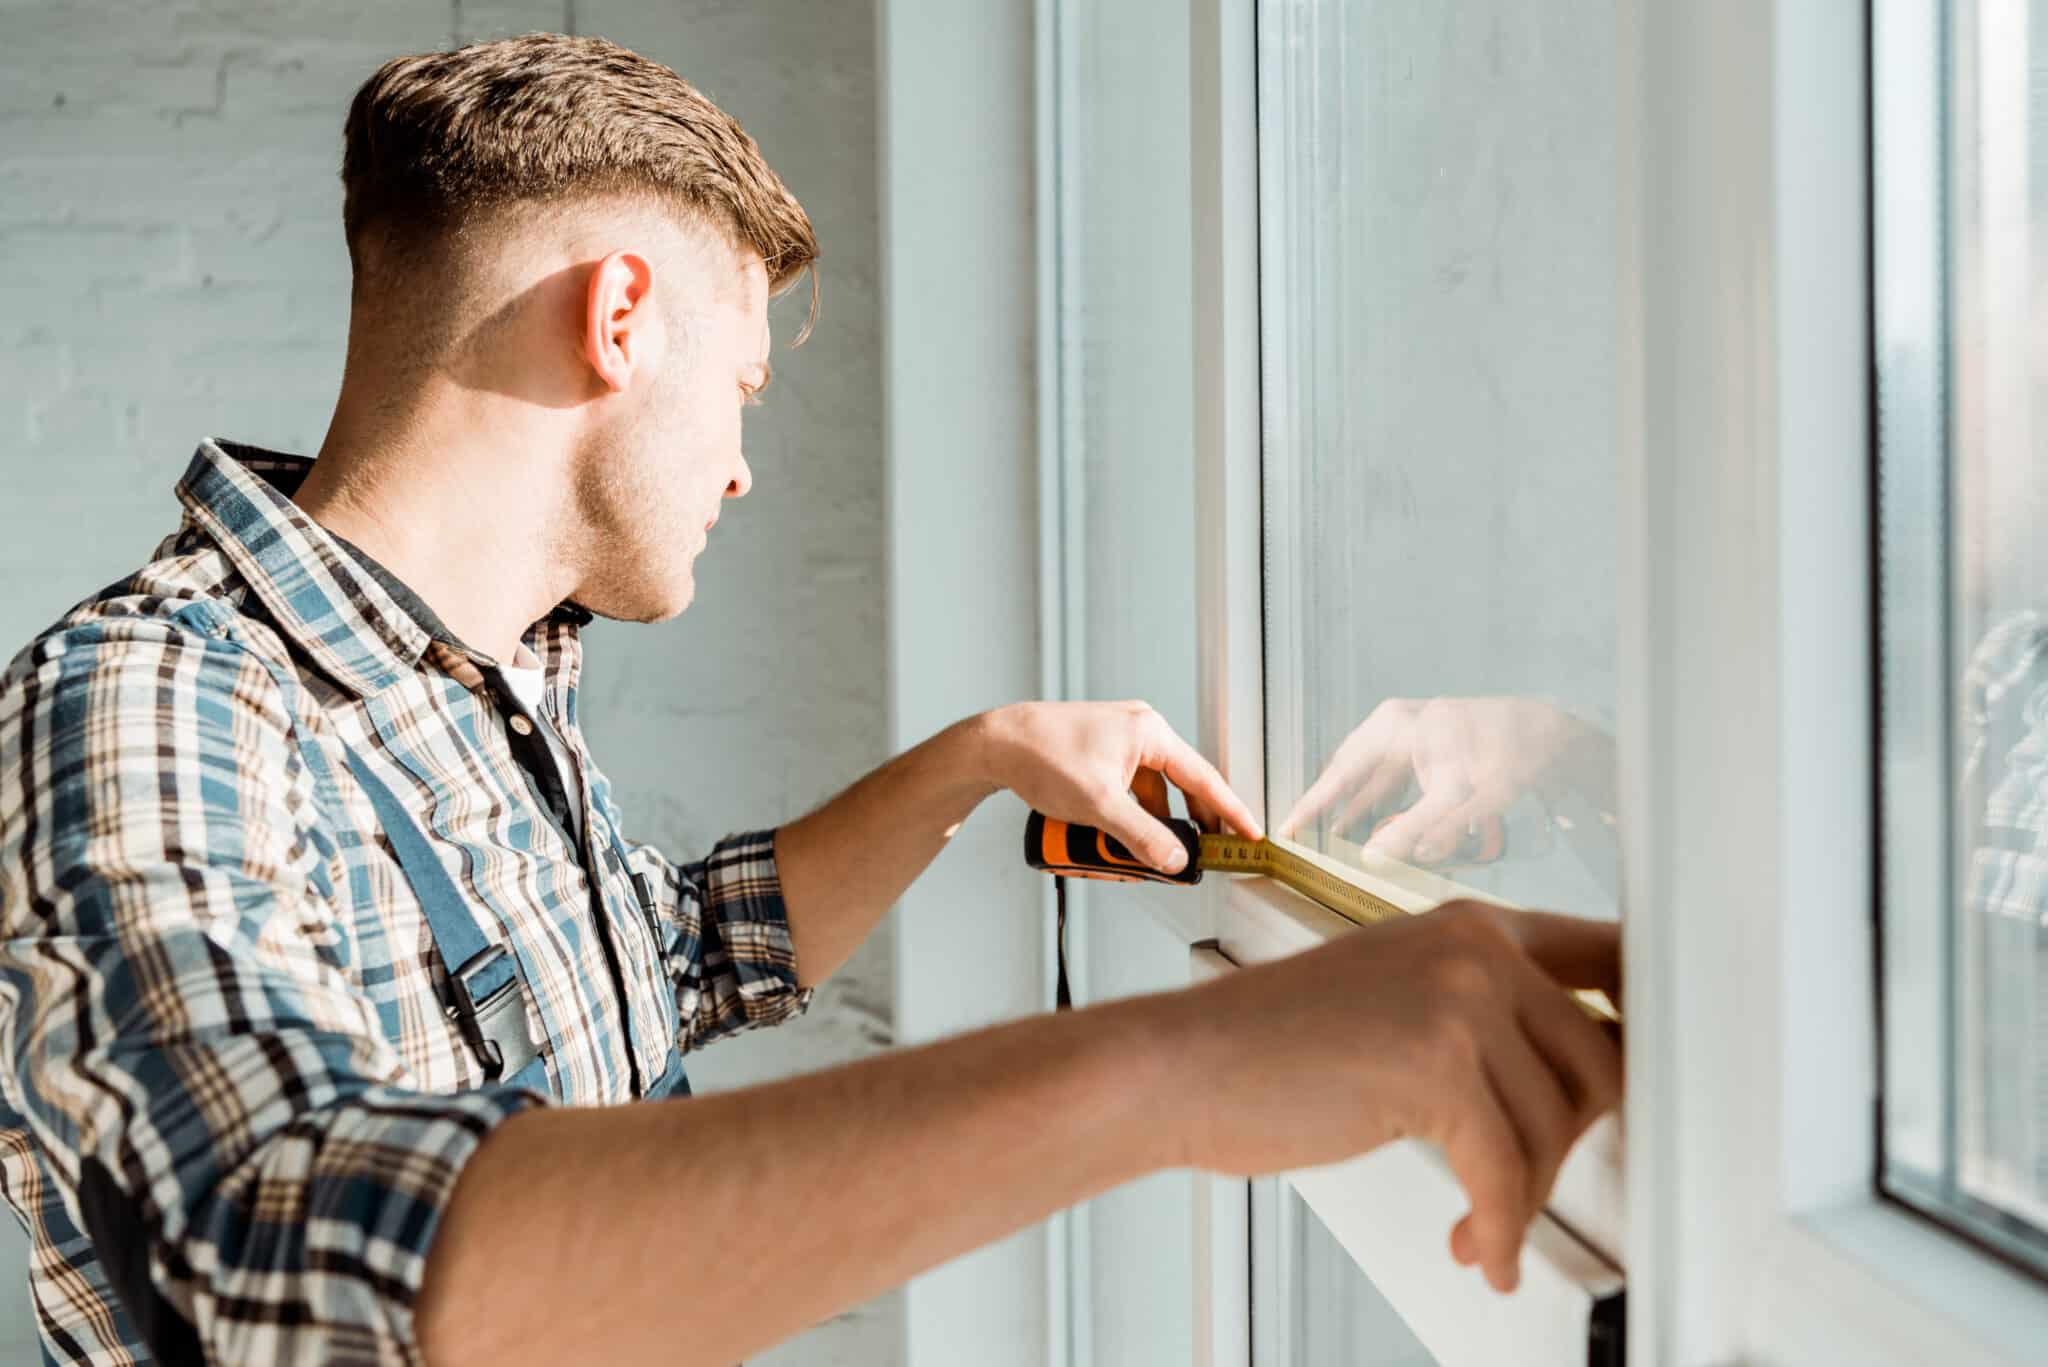
The ability to accurately measure is essential for any project or task, especially in the field of interior design. Whether you’re measuring a room for new furniture, determining the dimensions of a window treatment, or planning a renovation project, having a good understanding of how to read a tape measure is crucial for achieving project success.
In this article, we will guide you through the process of reading a tape measure with precision. We will cover the different parts of a tape measure and teach you how to read both whole inches and fractional measurements. Additionally, we will share tips on using the hook end, taking accurate measurements, and common mistakes to avoid. By the end of this article, you will feel confident in your ability to use a tape measure effectively.
Before we dive into the specifics of reading and using a tape measure, let’s start by discussing the essential tools you’ll need:
Key Takeaways:
- Mastering the art of reading a tape measure is crucial for interior design success. Understanding incremental measurements and using the hook end effectively ensures precise and reliable measurements for projects.
- Avoid common mistakes and follow best practices when using a tape measure. Proper technique, accurate measurements, and attention to detail are essential for achieving reliable and error-free results in interior design projects.
Read more: How To Read Measuring Tape
Tools needed
- A tape measure: This is the primary tool used for measuring lengths and distances. Look for a tape measure that is at least 25 feet long, with clear markings and a sturdy construction.
- A pencil: You’ll need a pencil to mark your measurements or make notes on your materials.
- A notepad: Keeping a notepad handy will allow you to jot down measurements and any additional information you may need for reference.
Now that you have the necessary tools, let’s familiarize ourselves with the different parts of a tape measure.
Key Takeaways:
- Mastering the art of reading a tape measure is crucial for interior design success. Understanding incremental measurements and using the hook end effectively ensures precise and reliable measurements for projects.
- Avoid common mistakes and follow best practices when using a tape measure. Proper technique, accurate measurements, and attention to detail are essential for achieving reliable and error-free results in interior design projects.
Read more: How To Read Measuring Tape
Tools needed
When it comes to reading a tape measure accurately, having the right tools is crucial. Here are the essential tools you’ll need to get started:
- A tape measure: This is the primary tool used for measuring lengths and distances. It consists of a long, flexible ruler with measurements marked along its length. When choosing a tape measure, opt for one that is at least 25 feet long to cater to a wide variety of projects. Look for clear markings, easy-to-read numbers, and a sturdy construction to ensure accuracy and durability.
- A pencil: You’ll need a pencil to mark your measurements or make notes on your materials. A mechanical pencil or a regular pencil with a sharp point will work well for this purpose.
- A notepad: Keeping a notepad handy will allow you to jot down measurements and any additional information you may need for reference. This will help you stay organized and prevent any confusion or errors when working on your projects.
With these tools in hand, you’ll be well-prepared to tackle any measuring task that comes your way. Now, let’s move on to understanding the different parts of a typical tape measure.
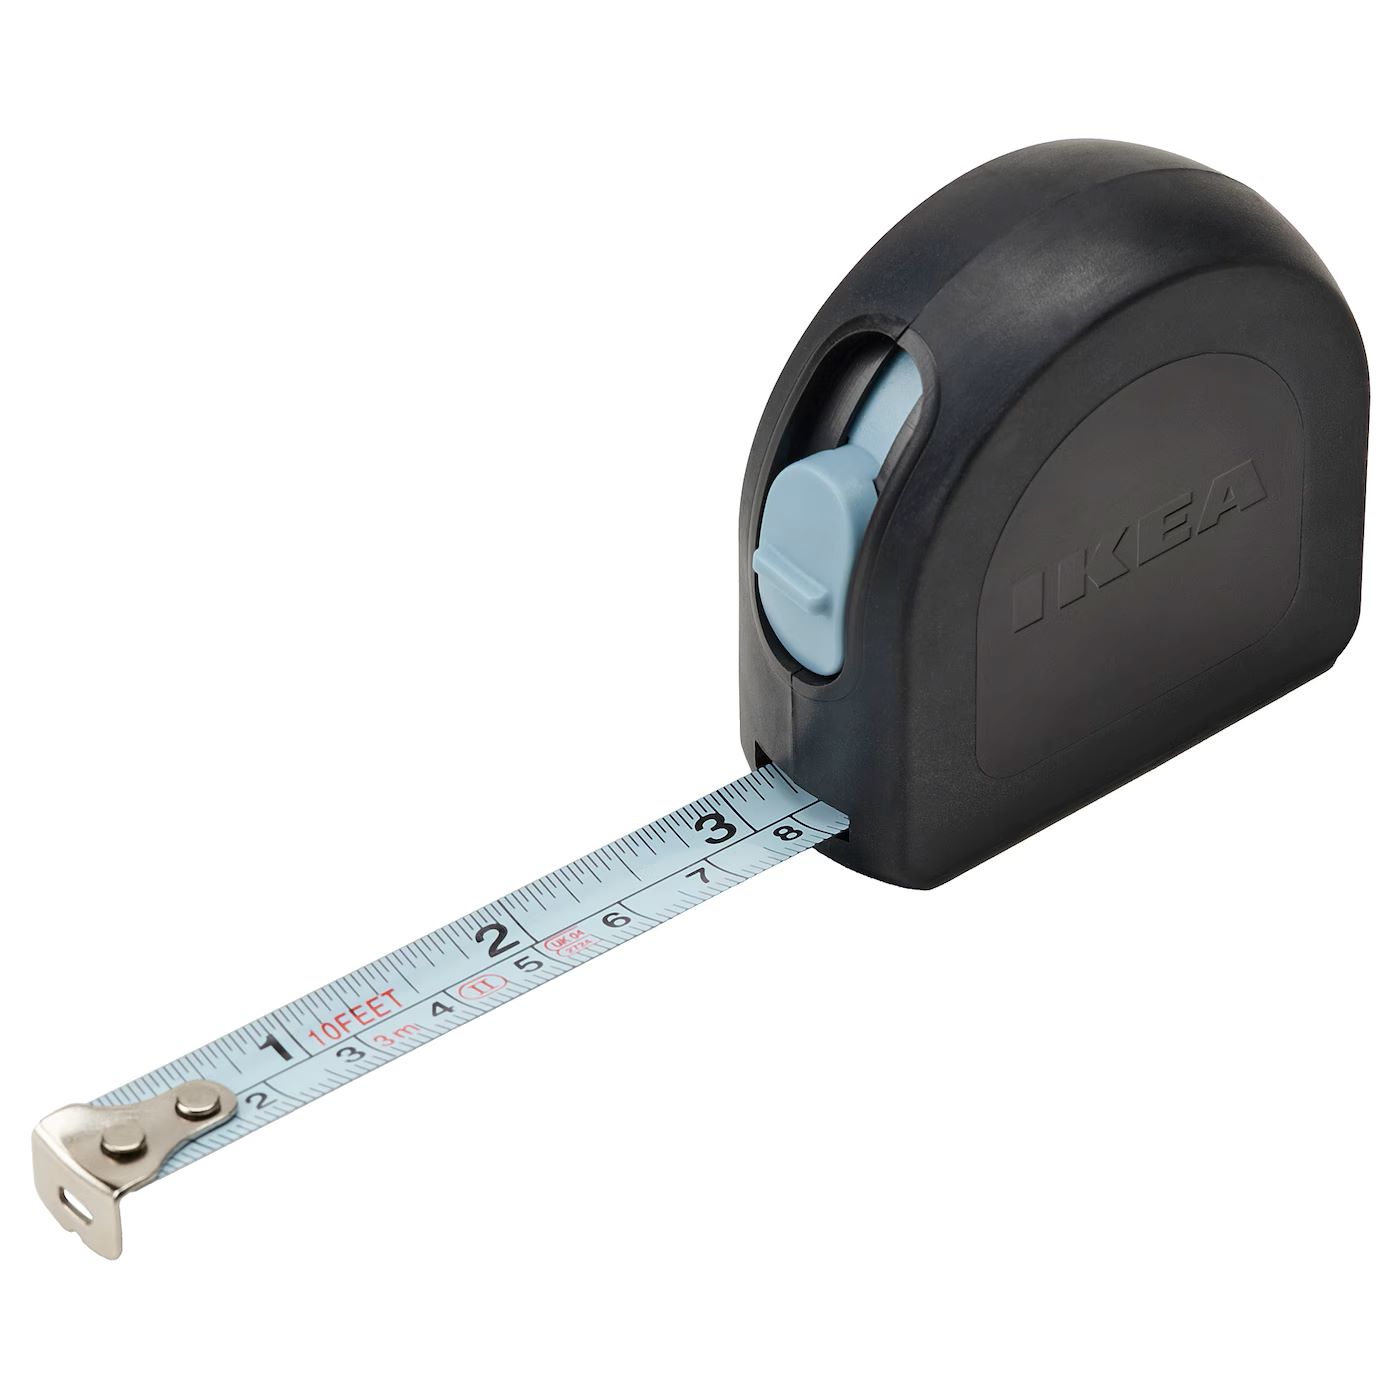
Parts of a tape measure
Before we start reading measurements on a tape measure, let’s familiarize ourselves with its different parts. Understanding these components will make it easier to navigate and interpret the measurements correctly. Here are the main parts of a tape measure:
- Tape: The tape itself is the long, flexible strip that extends and retracts from the housing. It is typically made of metal or fiberglass with measurement markings along its length.
- Housing: The housing, also known as the case, is the plastic or metal case that holds the tape. It usually has a button or lever to control the tape’s extension and retraction.
- Hook end: The hook end is the metal tab located at the beginning of the tape. It is designed to anchor the tape against a surface to ensure accurate measurements. The hook end is crucial for properly starting your measurements.
- Measurements: The tape measure is marked with different units of measurement, such as inches, feet, and centimeters. Each unit is divided into smaller increments, allowing for precise measurement readings.
- Fractions and markings: The tape measure may include additional markings to represent fractions, such as 1/16 inch or 1/8 inch. These markings allow for more precise measurements when working with fractional inches.
Understanding these parts will provide you with the foundation to read and interpret measurements accurately. In the next sections, we will dive into the specifics of reading different types of measurements on a tape measure, starting with whole inches.
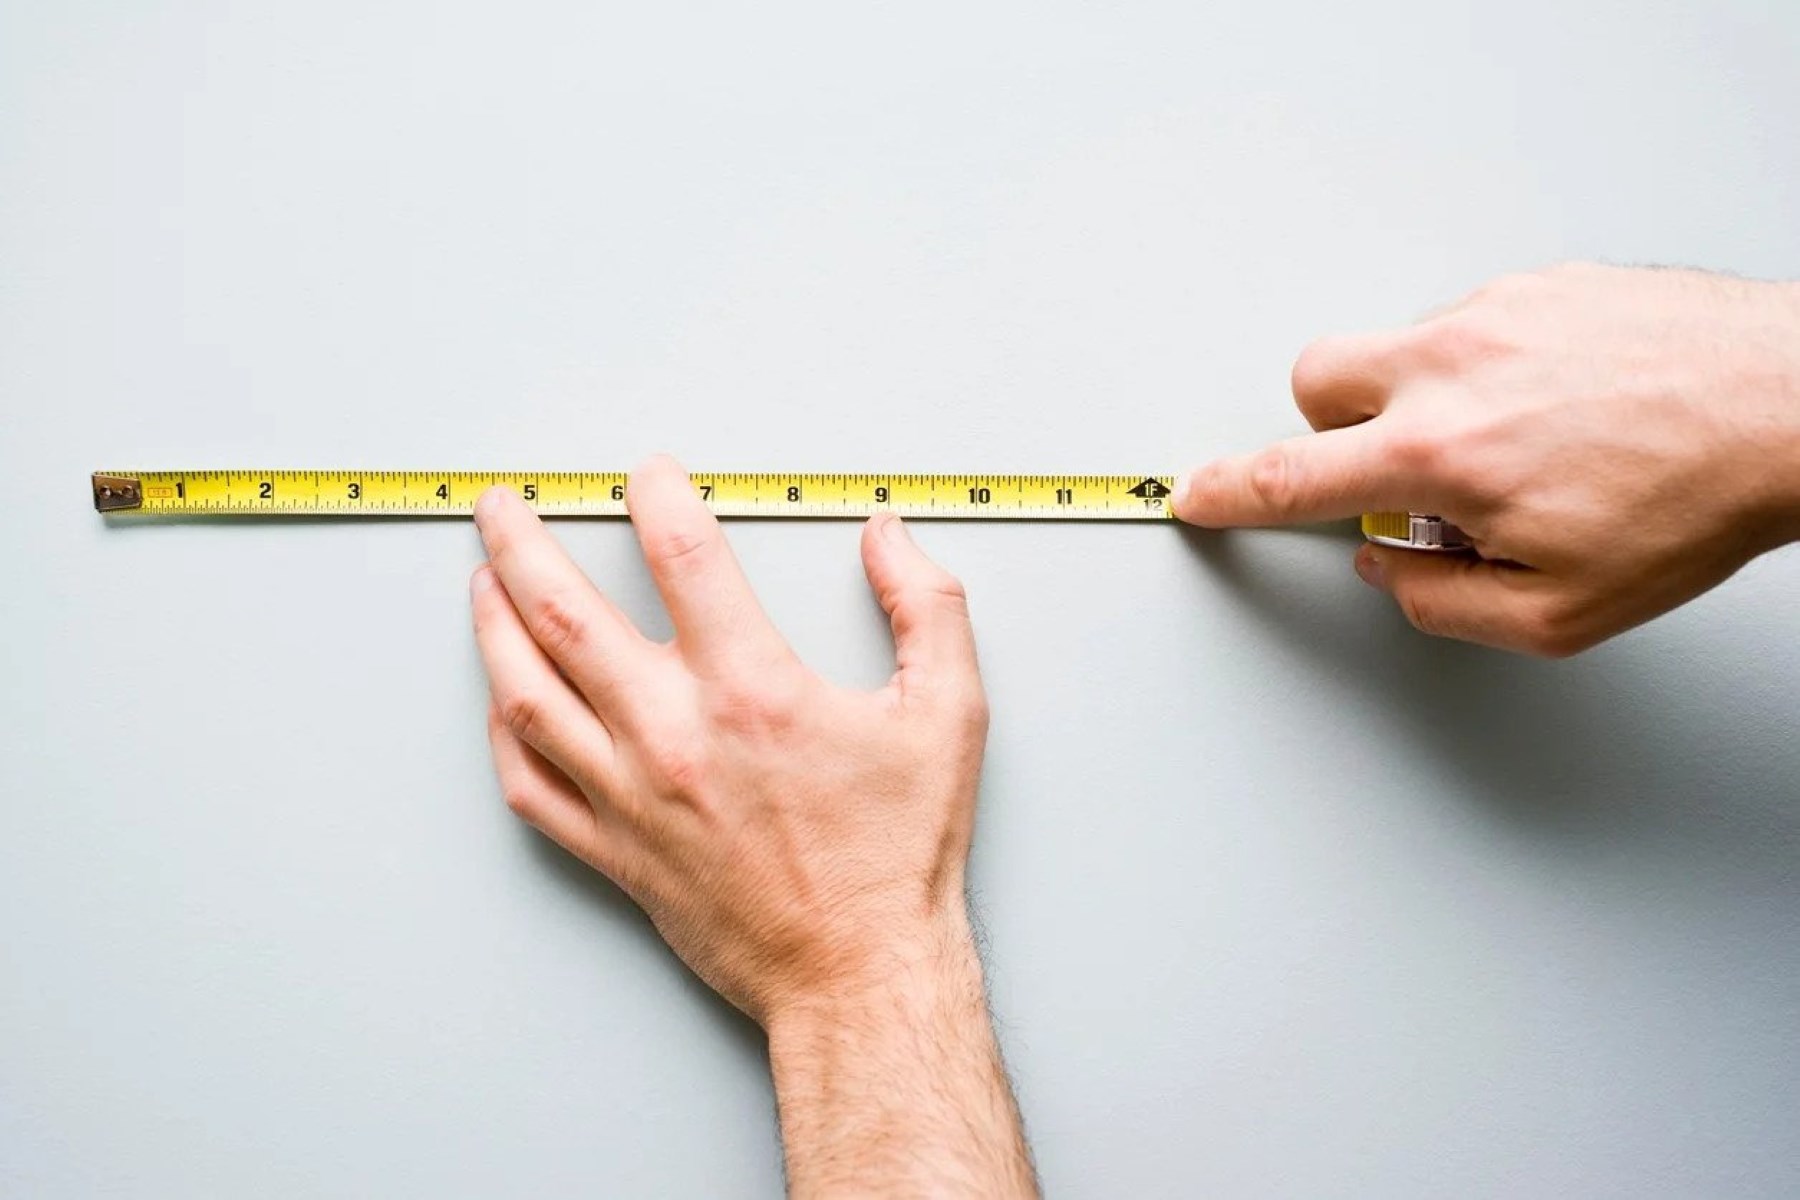
Reading whole inches
When reading a tape measure, the first step is to identify the whole inches. Whole inches are represented by the numbers on the tape measure that indicate the length in inches. Here’s how to read the whole inches on a tape measure:
- Look for the long, bold numbers on the tape measure. These numbers represent the whole inches.
- Find the nearest whole inch mark to the left of the measurement you want to read. For example, if you’re measuring a length and the tape hits the 5-inch mark, your measurement would be 5 whole inches.
- If the tape goes beyond a whole inch mark, count the additional inches. Each inch is divided into smaller increments, usually marked with smaller numbers or tick marks. For instance, if the tape reaches the 5-inch mark and goes halfway between the 5 and 6-inch marks, your measurement would be 5 and a half inches.
- Take note of any additional fractional inches if they are present. We’ll cover reading fractional measurements in the next section.
Reading whole inches on a tape measure is relatively straightforward. Just identify the nearest whole inch mark to the left of your measurement and count any additional inches. Now that you can read whole inches, let’s move on to understanding how to read fractional inches on a tape measure.
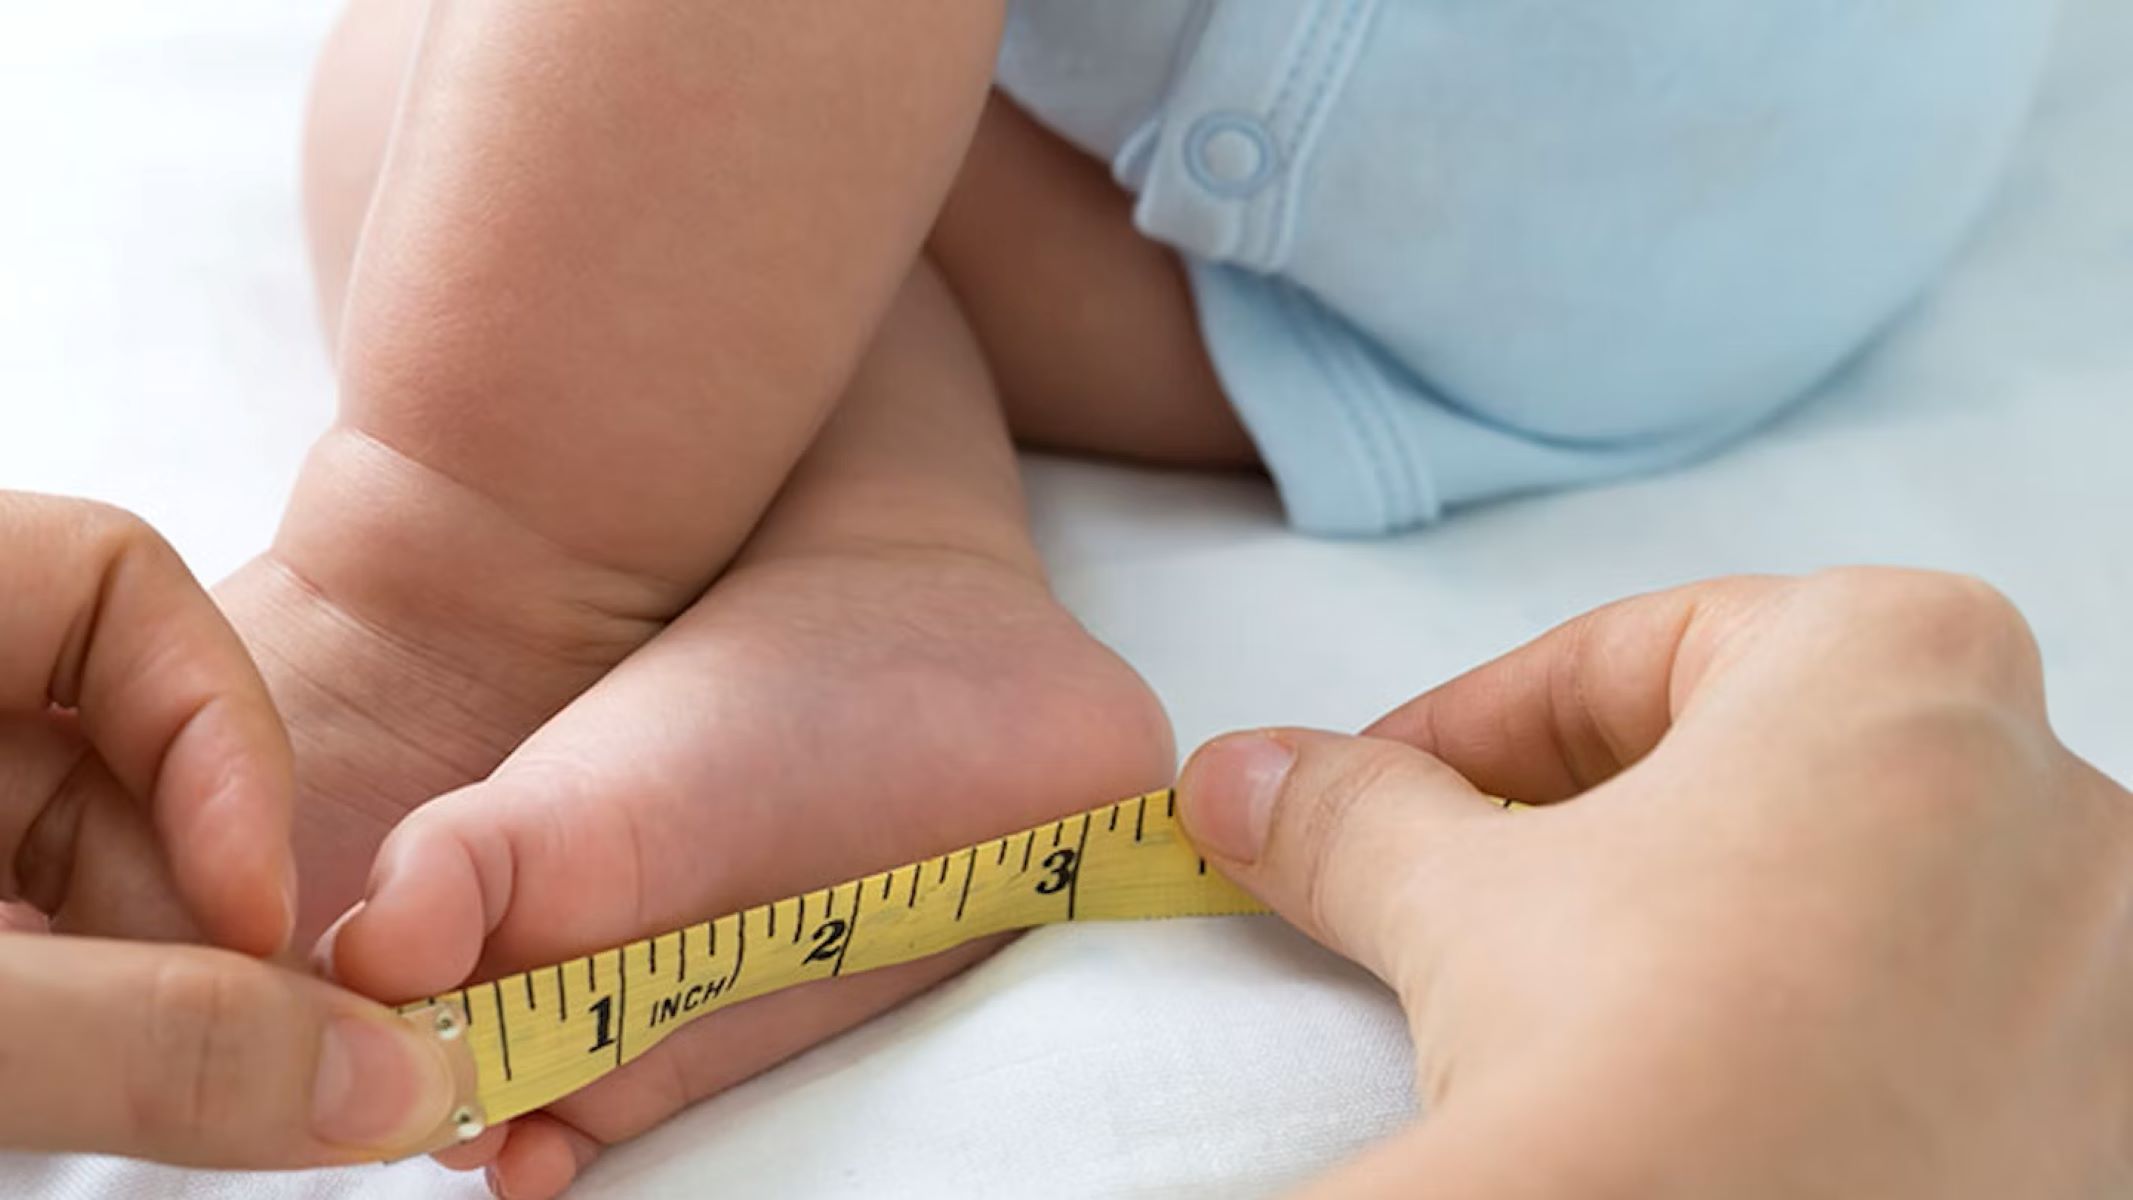
Reading fractional inches
After identifying the whole inches on a tape measure, the next step is to read fractional inches. Fractional inches are used when the measurement is not a whole number but includes fractions, such as 1/4 inch or 1/2 inch. Here’s how to read fractional inches on a tape measure:
- Locate the markings on the tape measure that indicate fractional measurements. These markings are usually denoted by smaller numbers or tick marks.
- Determine the fraction that corresponds to the distance between two adjacent markings. For example, if the space between two tick marks represents 1/8 inch, each additional tick mark would represent an additional 1/8 inch.
- Count the number of tick marks between the whole inch mark and your measurement. Each tick mark corresponds to the fraction indicated.
- Add the fractional measurement to the whole inches you previously determined. For example, if you have 5 whole inches and the tape goes 3 tick marks beyond the 5-inch mark, your measurement would be 5 and 3/8 inches.
Reading fractional inches may require a bit of practice and getting familiar with the specific markings on your tape measure. Take your time and double-check your readings to ensure accuracy.
Next, we will explore further fractional measurements, specifically eighths of an inch.
Reading eighths of an inch
When it comes to more precise measurements, tape measures often include markings for eighths of an inch. This allows for even more accurate readings, especially in woodworking and other detailed projects. Here’s how to read eighths of an inch on a tape measure:
- Identify the markings that indicate eighths of an inch. These markings are typically denoted by smaller lines or numbers that divide each inch into eight equal parts.
- Count the number of eighths between the whole inch mark and your measurement. Each individual eighths line corresponds to 1/8 inch.
- Add the number of eighths to your whole inches and fractional measurements to determine the final measurement. For example, if you have 5 whole inches, 3/8 inch, and there are two eighths lines beyond the 3/8-inch mark, your measurement would be 5 and 3/8 + 2/8 inches, or 5 and 5/8 inches.
Reading eighths of an inch requires careful attention to the smaller lines and numbers on your tape measure. Take your time and ensure accuracy in your readings to achieve precise measurements.
Next, we will delve into smaller incremental measurements – sixteenths of an inch.
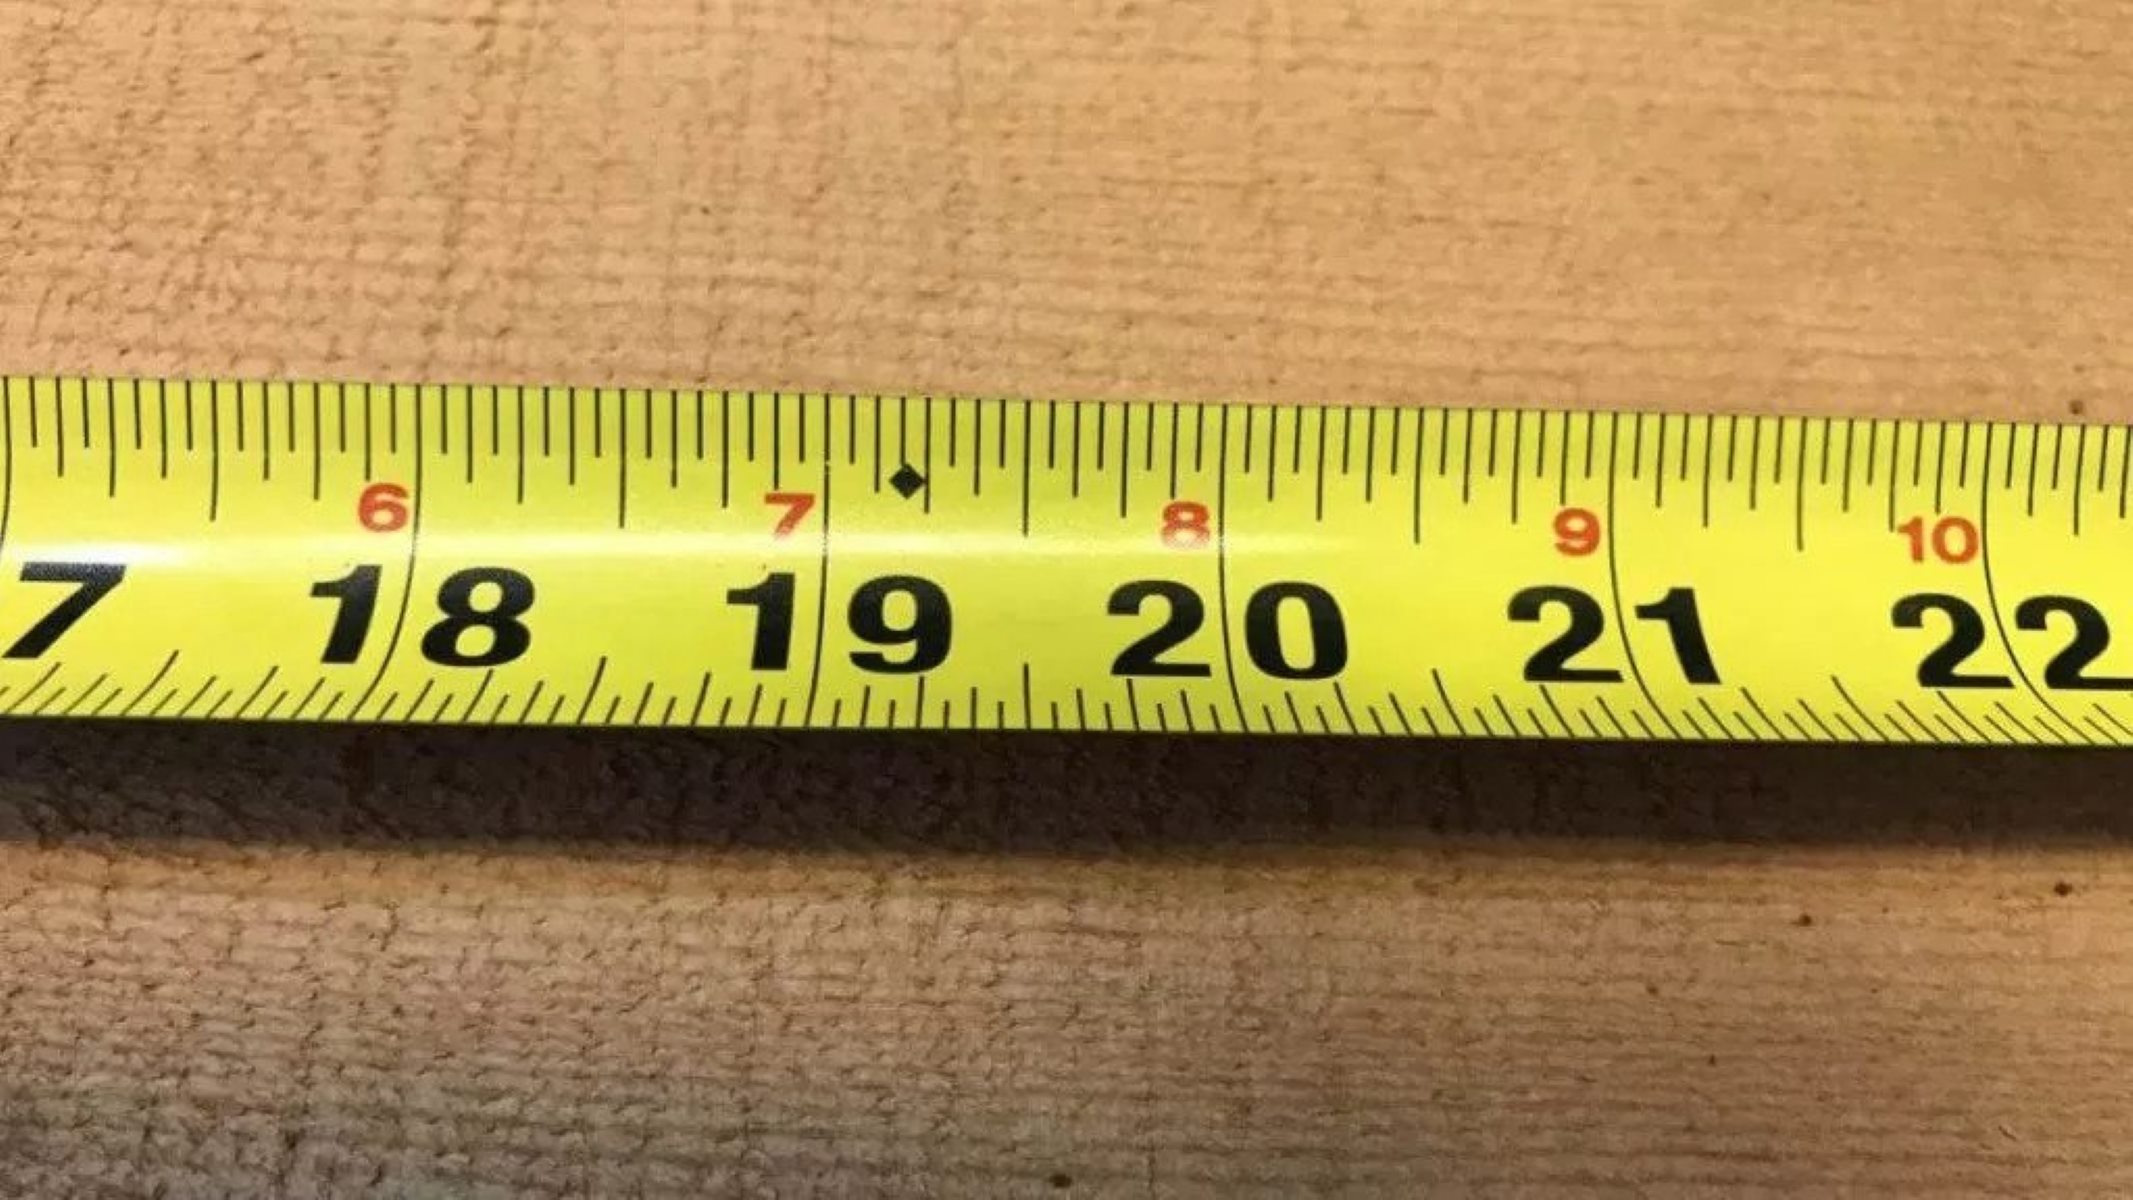
Reading sixteenths of an inch
For even more precise measurements, some tape measures include markings for sixteenths of an inch. These markings allow for highly accurate readings, particularly in industries like construction and engineering. Here’s how to read sixteenths of an inch on a tape measure:
- Locate the markings that indicate sixteenths of an inch. These markings are usually denoted by smaller lines or numbers that divide each inch into sixteen equal parts.
- Count the number of sixteenths between the whole inch mark and your measurement. Each individual sixteenth line corresponds to 1/16 inch.
- Add the number of sixteenths to your whole inches, fractional, and eighths measurements to determine the final measurement. For example, if you have 5 whole inches, 3/8 inch, 5 eighths, and 2 sixteenths beyond the 5 eighths mark, your measurement would be 5 and 3/8 + 5/8 + 2/16 inches, or 5 and 3/8 + 5/8 + 1/8 inches, or 5 and 3/8 + 6/8 inches, which simplifies to 5 and 9/16 inches.
Reading sixteenths of an inch requires a keen eye and careful attention to the smaller lines and numbers on your tape measure. It may take some practice to become comfortable with these precise measurements, but with time, you’ll be able to accurately and confidently read tape measures with sixteenths increments.
Next, we’ll explore reading tape measures with even smaller incremental measurements – thirty-seconds of an inch.
When reading a tape measure, always start at the end with the “1” mark, not the metal tab. This ensures accurate measurements for your project.
Reading thirty-seconds of an inch
For extremely precise measurements, some tape measures feature markings for thirty-seconds of an inch. These markings allow for incredibly accurate readings, often required in specialized fields like machining and precision engineering. Here’s how to read thirty-seconds of an inch on a tape measure:
- Identify the markings that indicate thirty-seconds of an inch. These markings are typically denoted by smaller lines or numbers that divide each inch into thirty-two equal sections.
- Count the number of thirty-seconds between the whole inch mark and your desired measurement. Each individual thirty-second line corresponds to 1/32 inch.
- Add the number of thirty-seconds to your whole inches, fractional, eighths, and sixteenths measurements to determine the final measurement. For example, if you have 5 whole inches, 3/8 inch, 5 eighths, 2 sixteenths, and 4 thirty-seconds beyond the 2 sixteenths mark, your measurement would be 5 and 3/8 + 5/8 + 2/16 + 4/32 inches, which simplifies to 5 and 3/8 + 5/8 + 2/16 + 1/8 inches, or 5 and 3/8 + 6/8 + 1/8 inches, or 5 and 3/8 + 7/8 inches.
Reading thirty-seconds of an inch requires a sharp eye and careful attention to detail. It’s crucial to accurately count the thin thirty-second lines on the tape measure to achieve precise measurements in specialized applications that demand such accuracy.
Now that you’re familiar with various incremental measurements on a tape measure, let’s move on to how to effectively use a tape measure for accurate measurements.
Read more: How To Fix A Measuring Tape
Reading sixty-fourths of an inch
For the utmost precision in measurements, certain tape measures are equipped with markings for sixty-fourths of an inch. These markings allow for extremely accurate readings, commonly required in industries like machining, woodworking, and engineering. Here’s how to read sixty-fourths of an inch on a tape measure:
- Identify the markings that indicate sixty-fourths of an inch. These markings are typically denoted by tiny lines or numbers that divide each inch into sixty-four equal sections.
- Count the number of sixty-fourths between the whole inch mark and your desired measurement. Each individual sixty-fourth line corresponds to 1/64 inch.
- Add the number of sixty-fourths to your whole inches, fractional, eighths, sixteenths, and thirty-seconds measurements to determine the final measurement. For example, if you have 5 whole inches, 3/8 inch, 5 eighths, 2 sixteenths, 4 thirty-seconds, and 3 sixty-fourths beyond the 4 thirty-seconds mark, your measurement would be 5 and 3/8 + 5/8 + 2/16 + 4/32 + 3/64 inches.
Reading sixty-fourths of an inch requires a high level of precision and an observant eye. The tiny lines and numbers on the tape measure must be accurately counted to achieve the most precise measurements possible.
It’s worth noting that not all tape measures include markings for sixty-fourths of an inch. This level of precision is often reserved for specialized measuring tools or digital calipers. However, if you encounter a tape measure with sixty-fourths markings, you now have the knowledge to interpret them accurately.
With a strong understanding of various incremental measurements, you can confidently use a tape measure to obtain precise measurements in any project or task.
Next, we’ll explore some tips and techniques for measuring with a tape measure effectively.
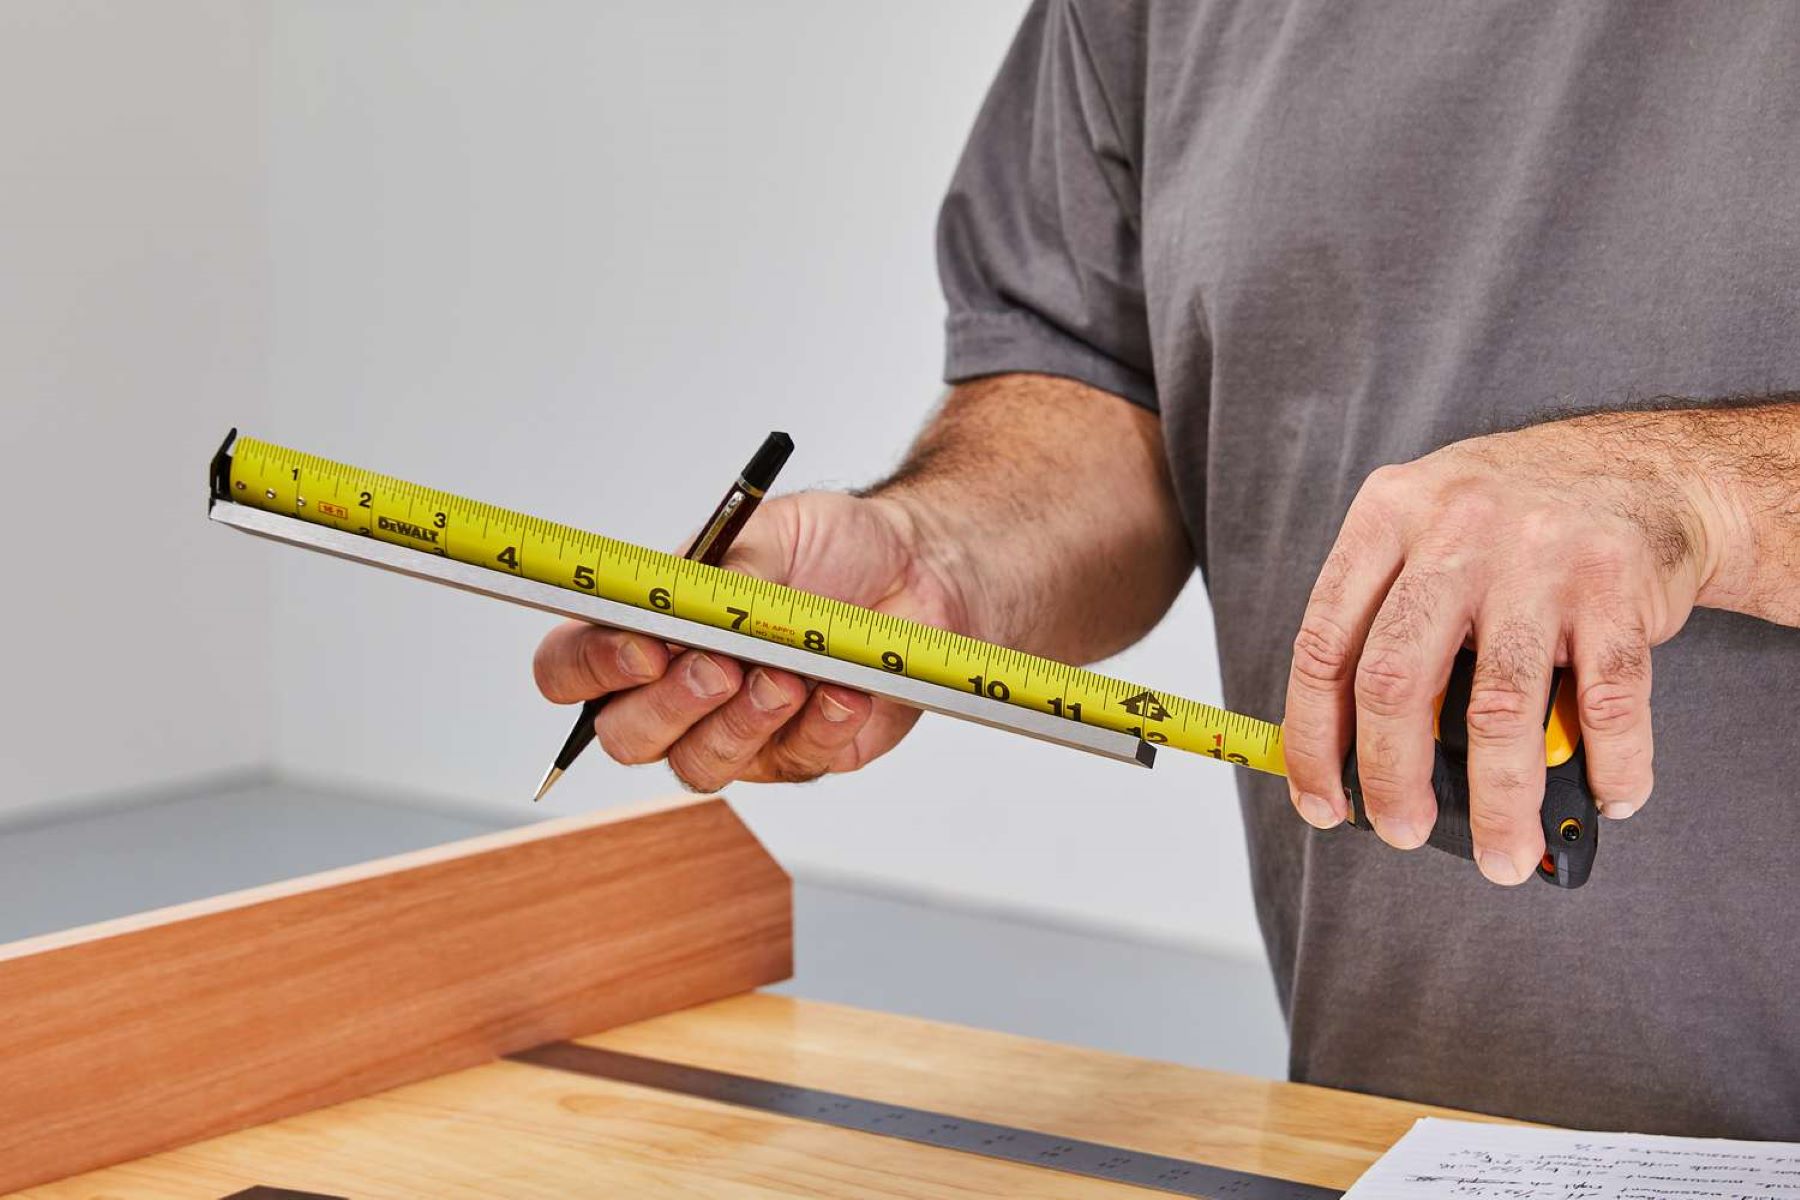
Measuring with a tape measure
Now that you have a good understanding of how to read a tape measure, let’s delve into some tips and techniques for measuring with it effectively. These practices will help you achieve accurate measurements for your projects:
- Start by ensuring your tape measure is positioned correctly. Place the hook end firmly against one end of the object or surface you’re measuring.
- Hold the tape measure taut and parallel to the object being measured. Avoid applying any excess tension that could affect the accuracy of the measurement.
- Read the measurement at eye level. Looking down on the tape measure from an angle can distort the readings. By aligning your eyes with the tape measure, you can ensure an accurate reading.
- Take note of any additional fractional or decimal measurements that go beyond the whole inches. These details are crucial in providing precise measurements.
- Repeat the measurement to double-check accuracy. It’s always a good idea to measure at least twice to confirm your readings.
- Keep your tape measure clean and in good condition. Dust, dirt, and damage can impact the accuracy of the markings and affect your measurements. Wipe it down regularly and store it properly.
By following these practices, you can measure with confidence and obtain accurate results for your interior design projects or any other tasks that require precise measurements.
Next, let’s discuss a key feature of the tape measure: the hook end.
Using the hook end
The hook end is a crucial feature of a tape measure, allowing you to anchor the tape securely against a surface to obtain accurate measurements. Here are some tips on how to use the hook end effectively:
- Ensure the hook end is securely attached to the tape measure. It should be firmly attached and not loose or wobbly.
- When measuring the length of an object or surface, place the hook end against one end of the object, making sure it is securely hooked onto the edge.
- Apply slight pressure to ensure the hook end is firmly and snugly in place. This will prevent any potential slippage that could impact the accuracy of the measurement.
- When measuring inside corners, use the back of the hook end. This will allow you to accurately measure into tight spaces.
- For outside corners, use the front edge of the hook end. This will ensure your measurement is precise and accurate.
- If you need to measure from the top or bottom edge of an object, position the hook end against the surface and measure from there. This will give you an accurate measurement from the desired edge.
Using the hook end correctly is essential for obtaining accurate measurements. By ensuring that it is securely hooked onto the surface or object you’re measuring, you can have confidence in the precision of your readings.
Next, let’s discuss some tips for taking accurate measurements with a tape measure.
Taking accurate measurements
Accurate measurements are crucial for the success of any project. Here are some tips to help you take precise measurements with a tape measure:
- Keep the tape measure level and straight. Avoid any twisting or sagging that could affect the accuracy of the measurement. If needed, enlist the help of a second person to hold the tape measure steady.
- Use the appropriate units of measurement for your project. Ensure both the tape measure and any other tools or materials you’re working with are using the same unit of measurement, whether it’s inches, feet, or centimeters.
- When measuring long distances, support the tape measure with your free hand at various points to avoid any bending or sagging.
- Take into account any gaps or overlaps in the case of measuring irregular shapes or curves. Take multiple measurements to ensure accuracy.
- Double-check your measurements. Verify that you have read the tape measure correctly and that your markings are accurate before proceeding with any cuts, installations, or modifications.
- Avoid stretching or compressing the tape measure. This can lead to distorted measurements. Let the tape measure rest naturally and snugly against the surface being measured.
- Account for any obstructions or protrusions when measuring. If there are obstacles that prevent the tape measure from laying flat against the surface, measure up to the obstruction and then continue from the other side for an accurate overall measurement.
By following these tips, you can ensure that your measurements are precise, consistent, and error-free. Accurate measurements are the foundation of a successful project, whether you’re designing a room layout, installing furniture, or constructing a structure.
Next, let’s discuss some common mistakes to avoid when using a tape measure.
Read more: How To Use A Laser Measuring Tape
Common mistakes to avoid
When using a tape measure, it’s important to be mindful of common mistakes that can lead to inaccurate measurements. By avoiding these errors, you can ensure the precision and success of your projects. Here are some common mistakes to watch out for:
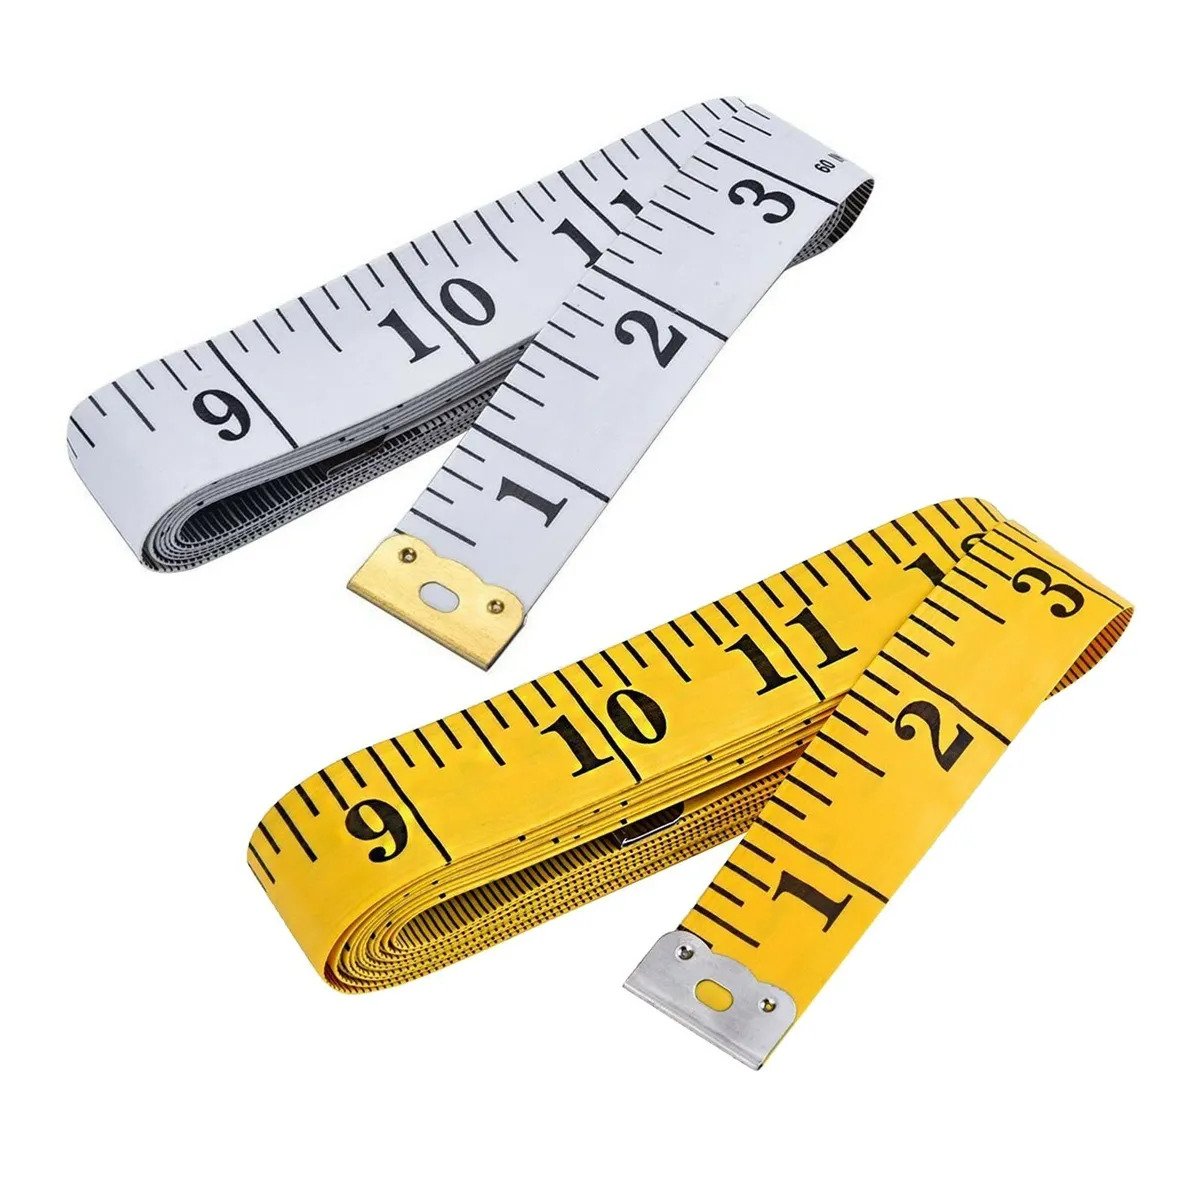
- Inaccurate positioning: Placing the tape measure at an angle or not aligning it properly with the object being measured can result in skewed measurements. Always ensure the tape measure is positioned correctly to obtain accurate readings.
- Reading from the wrong side: Some tape measures have measurements on both sides, so it’s crucial to read from the correct side. Reading from the wrong side can lead to incorrect measurements.
- Error in counting increments: Miscounting the marks or lines on the tape measure can result in measurement discrepancies. Take your time and double-check your count to ensure precision.
- Pulling the tape too tightly or loosely: Applying excessive tension or not enough tension to the tape measure can distort the measurements. Remember to maintain a consistent and gentle tension throughout the measurement process.
- Not accounting for the hook end: Forgetting to include the length of the hook end of the tape measure when measuring can lead to inaccurate readings. Always take into consideration the length of the hook end in your measurements.
- Using a damaged or worn-out tape measure: A tape measure that is bent, stretched, or has worn-out markings can yield unreliable measurements. Regularly inspect your tape measure for any signs of damage and replace it if necessary.
Avoiding these common mistakes will significantly improve the accuracy and reliability of your measurements. Taking the time to double-check your work, use proper technique, and ensure the integrity of your tape measure will save you from costly errors and rework in your projects.
To conclude, mastering the art of reading and using a tape measure is essential for any interior design project. By understanding the different parts of a tape measure and how to read various measurements, you can confidently measure spaces, furniture, and materials with precision. Remember to use the hook end effectively, take accurate measurements, and avoid common mistakes. With these skills and knowledge, you’ll be well-equipped to ensure the success of your interior design endeavors.
Conclusion
Mastering the skill of reading and using a tape measure is essential for achieving project success in the field of interior design. By understanding the different parts of a tape measure and how to interpret measurements accurately, you can confidently measure spaces, furniture, materials, and more with precision. Properly utilizing the hook end, taking accurate measurements, and avoiding common mistakes will further enhance the reliability of your measurements.
Remember to start by selecting the right tools, such as a quality tape measure, pencil, and notepad, to ensure your measurements are accurate and organized. Familiarize yourself with the different parts of a tape measure, including the tape, housing, hook end, and measurement markings, to navigate the tool effectively.
From reading whole inches to fractions such as eighths, sixteenths, and even sixty-fourths of an inch, understanding incremental measurements is crucial. Practice reading the tape measure and take your time to ensure precision in your measurements.
When measuring with a tape measure, pay attention to proper technique, including keeping the tape measure level and straight, using the hook end correctly, and double-checking your measurements for accuracy. Take note of any specific instructions for measuring irregular shapes or accounting for obstructions. These practices will help you achieve precise and reliable measurements for your interior design projects.
Avoid common mistakes such as inaccurate positioning, reading from the wrong side, miscounting increments, pulling the tape too tightly or loosely, and using a damaged tape measure. By being aware of these potential pitfalls, you can ensure your measurements are free from errors and inconsistencies.
In conclusion, the ability to confidently read and use a tape measure is a valuable skill for interior designers. By incorporating these techniques and best practices into your workflow, you’ll be equipped to take accurate measurements, plan effectively, and execute your designs with precision. So, grab your tape measure and get ready to bring your interior design visions to life!
Frequently Asked Questions about How To Read A Tape Measure: For Project Success
Was this page helpful?
At Storables.com, we guarantee accurate and reliable information. Our content, validated by Expert Board Contributors, is crafted following stringent Editorial Policies. We're committed to providing you with well-researched, expert-backed insights for all your informational needs.


0 thoughts on “How To Read A Tape Measure: For Project Success”