Home>Renovation & DIY>DIY Projects & Ideas>DIY Projects: How To Use A Tape Measure
DIY Projects & Ideas
DIY Projects: How To Use A Tape Measure
Modified: January 7, 2024
Learn how to use a tape measure for your DIY projects and get inspired with creative DIY project ideas and tips. Master the art of accurate measurements and unleash your creativity!
(Many of the links in this article redirect to a specific reviewed product. Your purchase of these products through affiliate links helps to generate commission for Storables.com, at no extra cost. Learn more)
Introduction
Welcome to the world of do-it-yourself (DIY) projects! Whether you’re a seasoned DIY enthusiast or just getting started, one tool that you’ll undoubtedly find indispensable is the humble tape measure. From simple home repairs to complex woodworking endeavors, the tape measure is a fundamental instrument for accurately gauging dimensions and ensuring precision in your projects.
In this comprehensive guide, we will delve into the art of using a tape measure effectively, covering everything from understanding its basic components to mastering the art of measuring various surfaces. Additionally, we’ll explore how to leverage this versatile tool for a wide range of DIY projects, empowering you to tackle tasks with confidence and precision.
So, grab your tape measure, roll up your sleeves, and let’s embark on a journey to unravel the secrets of this essential DIY companion!
Key Takeaways:
- The tape measure is a versatile tool for DIY projects, helping you measure accurately and tackle woodworking, home renovations, metalworking, gardening, and interior design with confidence and precision.
- Mastering the art of taking accurate measurements and adapting your approach to different surfaces and materials is crucial for harnessing the full potential of the tape measure in your DIY endeavors.
Read more: How To Use Stucco Siding And Its Benefits
Understanding the Basics of a Tape Measure
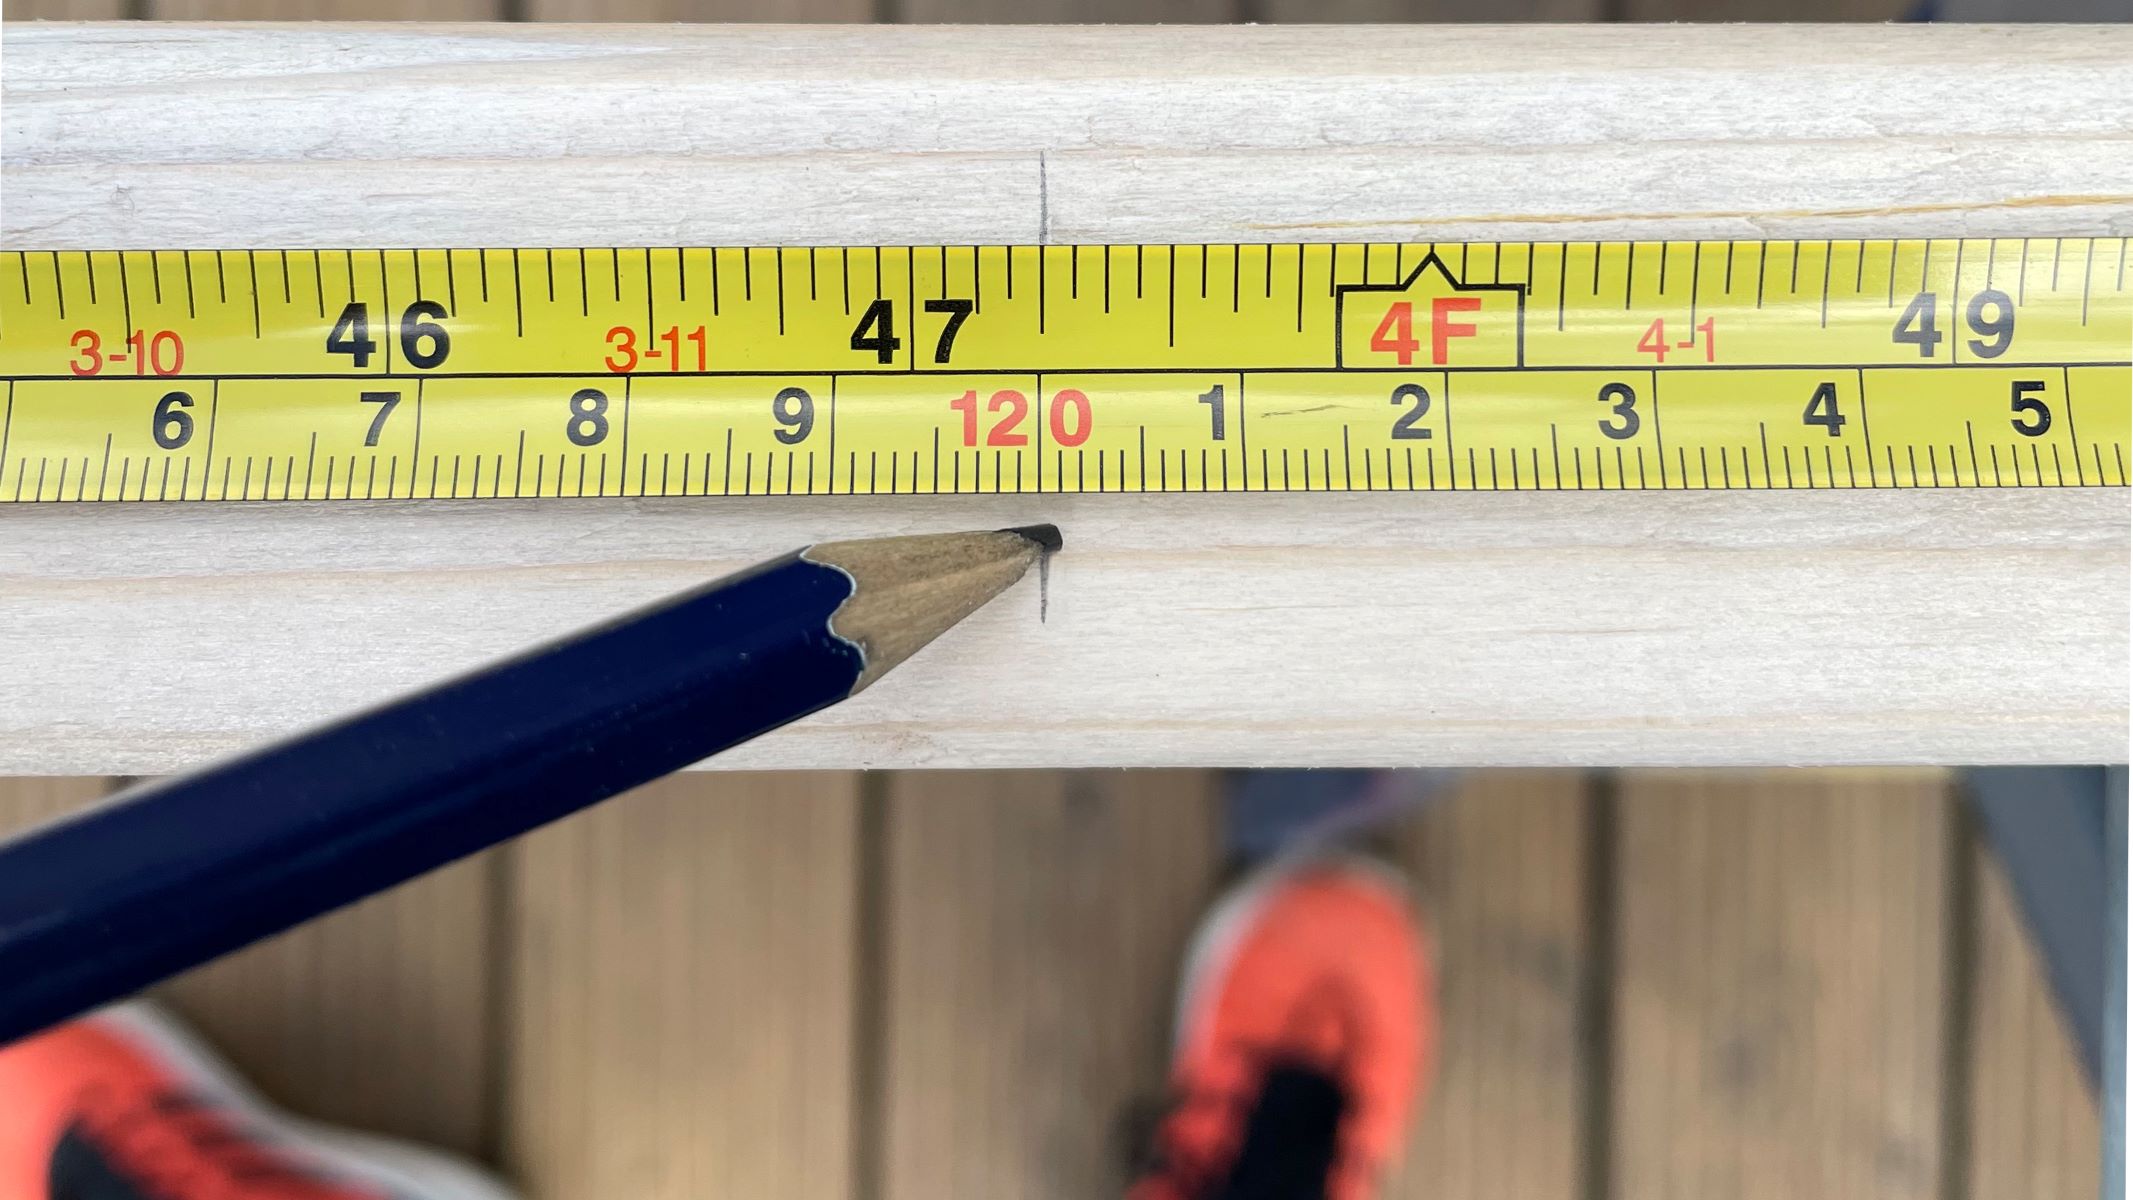
Before we dive into the nitty-gritty of using a tape measure, it’s essential to familiarize ourselves with its fundamental components. A standard tape measure comprises a flexible metal tape coiled within a sturdy housing. The tape is marked with units of measurement, typically displayed in both imperial (inches) and metric (centimeters) scales, allowing for versatile usage across different systems of measurement.
At the end of the tape, you’ll find the hook, which plays a pivotal role in securing the tape in place when taking measurements. This hook is designed to latch onto the edge of the object being measured, ensuring accurate and reliable readings. Additionally, many modern tape measures feature a locking mechanism that allows you to fix the tape at a specific length, enabling convenient single-handed operation.
Furthermore, the body of the tape measure often includes markings for easy reference. These markings denote the increments on the tape, aiding in precise measurements and facilitating efficient calculations.
It’s worth noting that tape measures come in various lengths, with the most common options ranging from 12 to 25 feet. For larger-scale projects, extended tape measures of up to 100 feet are available, catering to a diverse array of measurement needs.
Now that we’ve acquainted ourselves with the anatomy of a tape measure, it’s time to unravel the art of taking accurate measurements, a skill that forms the cornerstone of successful DIY endeavors.
Taking Accurate Measurements
Mastering the art of taking precise measurements is crucial for the successful execution of any DIY project. To begin, ensure that the tape measure is free from any obstructions or debris that could impede its smooth extension and retraction. Grasp the housing firmly in one hand, and using your thumb, engage the locking mechanism to secure the tape at the desired length when necessary.
When measuring, it’s essential to account for the hook’s dimensions. The hook is typically designed to compensate for its own thickness, so when taking inside measurements, the hook should be pressed firmly against the surface to ensure accurate readings. Conversely, when measuring outside dimensions, the hook should extend beyond the edge, allowing for precise calculations without factoring in the hook’s dimensions.
For extended measurements, it’s advisable to enlist the assistance of a second person to hold the tape in place, ensuring tautness and accuracy. This collaborative approach minimizes errors and guarantees reliable measurements, especially when dealing with lengthy distances or vertical surfaces.
Moreover, when working with particularly long or vertical measurements, employing a leveling tool can further enhance the precision of your readings. This is especially valuable when undertaking projects that demand absolute alignment and symmetry, such as installing shelves or positioning fixtures.
As you hone your measurement-taking skills, remember that consistency is key. Always use the same unit of measurement throughout a project to avoid discrepancies. Whether you opt for imperial or metric units, adhering to a uniform standard ensures coherence and accuracy in your DIY endeavors.
Equipped with the knowledge of how to take accurate measurements, let’s explore the diverse surfaces and materials that can be effectively measured using a tape measure, expanding the scope of your DIY capabilities.
Measuring Different Surfaces
One of the tape measure’s greatest assets is its versatility in measuring a wide array of surfaces and materials, making it an indispensable tool for various DIY projects. Whether you’re working with wood, metal, fabric, or even irregularly shaped objects, the tape measure empowers you to obtain precise measurements with ease.
When measuring flat surfaces such as walls, doors, or plywood sheets, ensure that the tape measure lies flat against the material, without any kinks or bends that could compromise the accuracy of the reading. For horizontal measurements, gently extend the tape along the surface, keeping it taut to eliminate slack and prevent inaccuracies.
For vertical measurements, such as determining the height of a wall or the length of a curtain, enlist the assistance of a leveling tool to ensure that the tape remains perfectly perpendicular, yielding precise and consistent readings. This approach is particularly valuable in scenarios where height uniformity is paramount, such as when installing cabinets or marking the placement of fixtures.
When measuring irregularly shaped objects or curved surfaces, such as piping or circular tables, employ a flexible tailor’s tape measure or a contour gauge to capture the contours and dimensions accurately. These specialized measuring tools are designed to conform to the shape of the object, providing reliable measurements for non-linear surfaces.
Furthermore, when working with materials sensitive to surface abrasions, such as delicate fabrics or finished wood, exercise caution to prevent any damage. Utilize soft, flexible tape measures or employ protective barriers, such as a layer of masking tape, to shield the material from potential harm while obtaining the necessary measurements.
By adapting your approach to suit the specific characteristics of the surfaces and materials you encounter, you can harness the full potential of the tape measure, elevating your DIY prowess and ensuring precision across diverse projects.
Now that we’ve explored the intricacies of measuring different surfaces, let’s delve into the practical applications of the tape measure in a myriad of DIY projects, unveiling its indispensable role in crafting, construction, and home improvement endeavors.
Using a Tape Measure for DIY Projects
As you embark on your DIY journey, the tape measure emerges as a steadfast companion, empowering you to tackle an extensive range of projects with confidence and precision. Let’s explore the myriad ways in which this versatile tool can be harnessed to elevate your DIY endeavors across various domains.
Read more: How To Use A Laser Measuring Tape
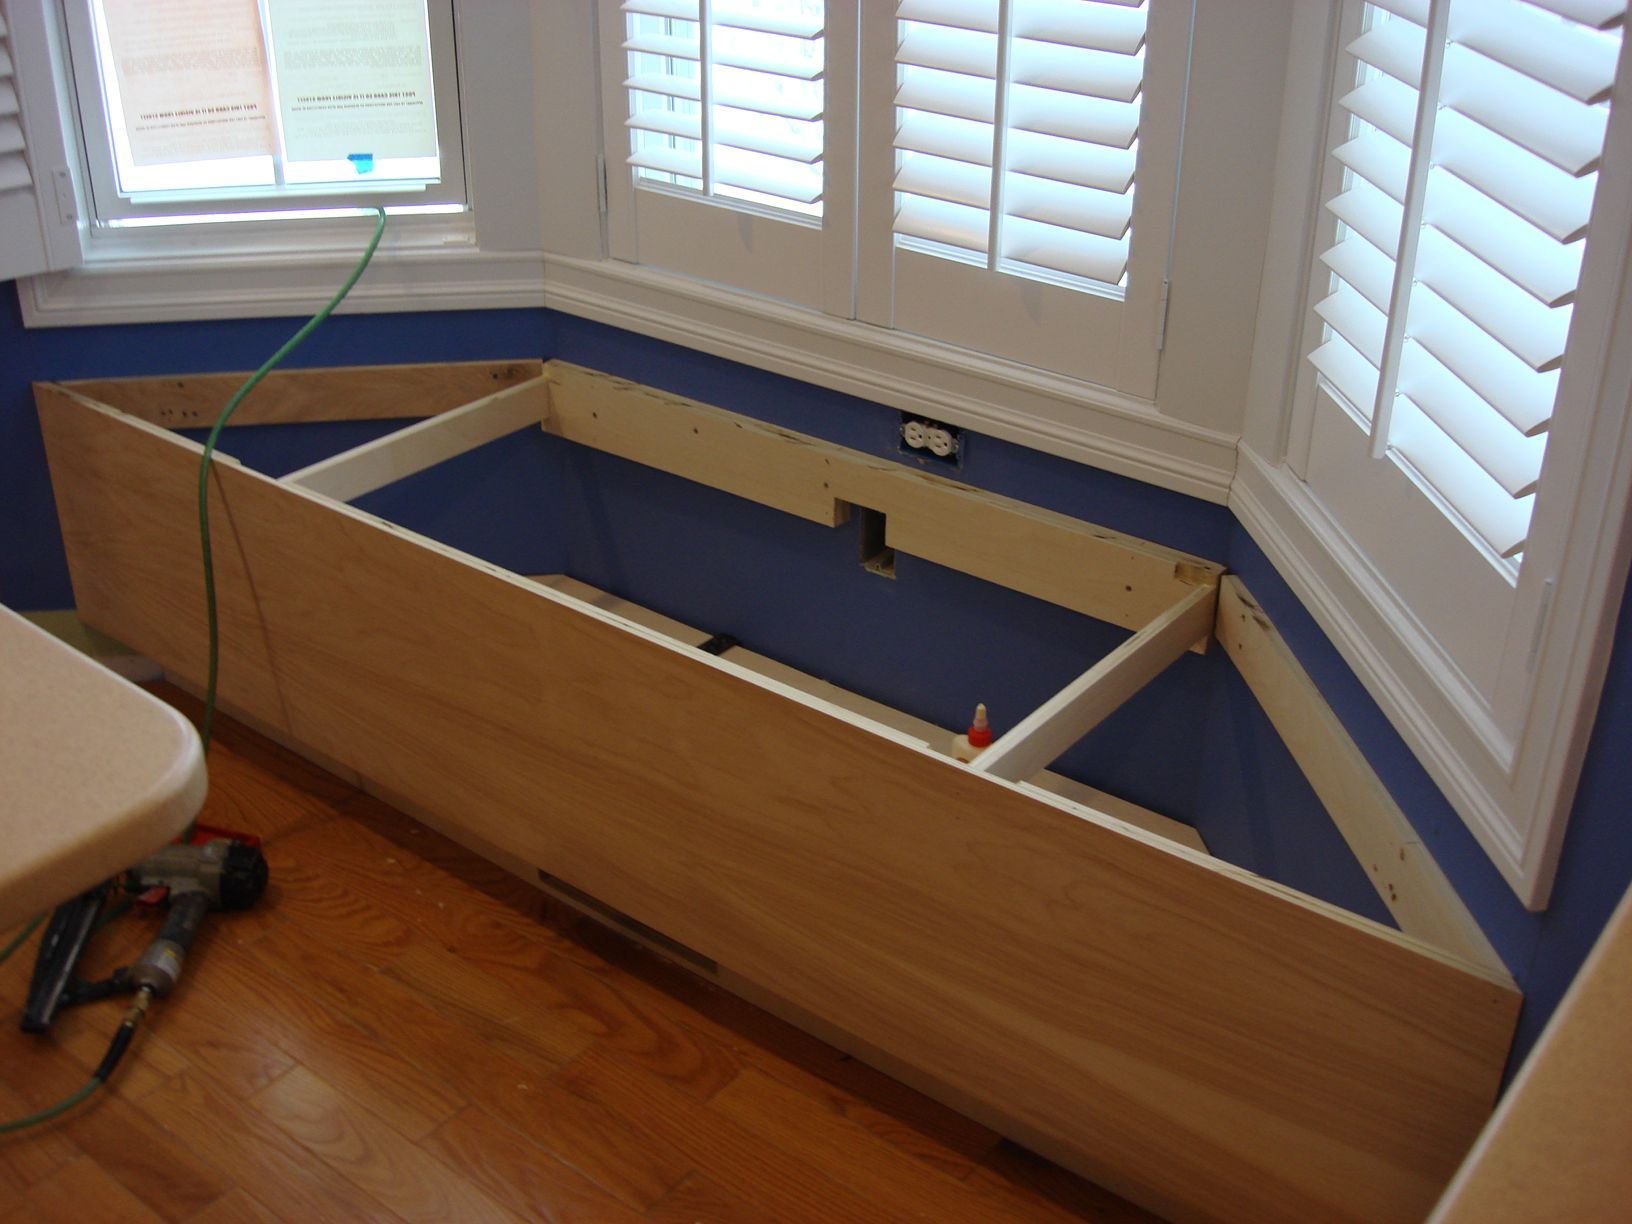
Woodworking and Carpentry
In the realm of woodworking and carpentry, the tape measure is an indispensable ally, facilitating the accurate sizing and cutting of lumber, plywood, and other materials. Whether you’re constructing a custom bookshelf, crafting a wooden bench, or assembling intricate cabinetry, the tape measure enables you to meticulously determine the dimensions of each component, ensuring seamless assembly and a flawless fit.
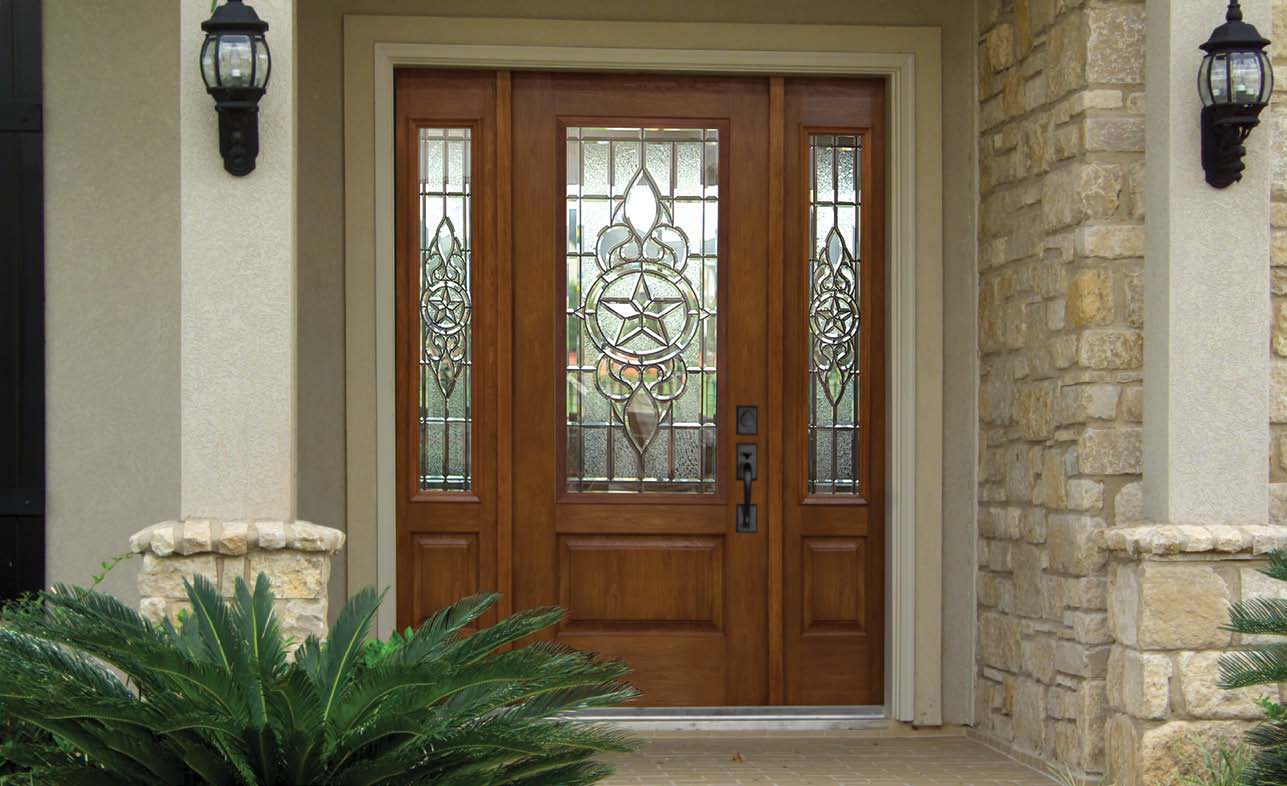
Home Renovations and Remodeling
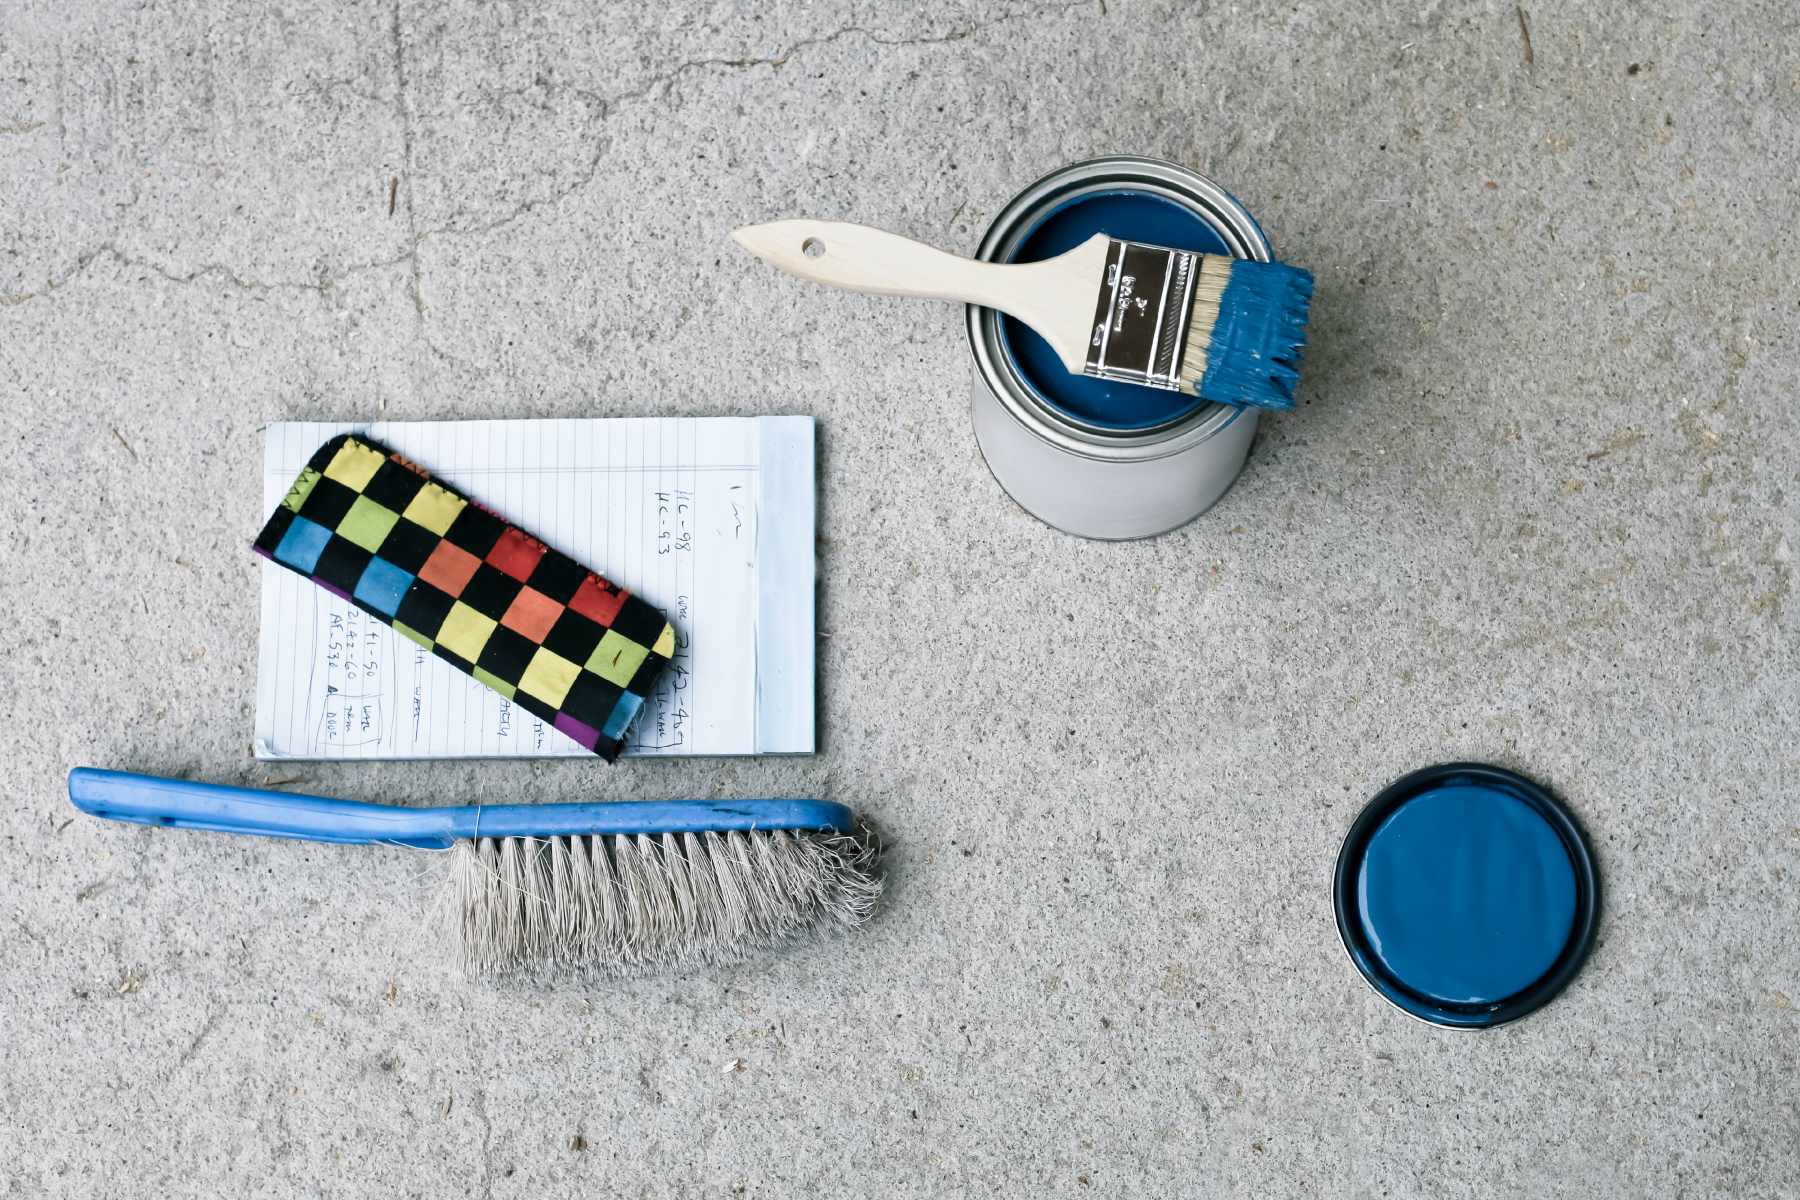
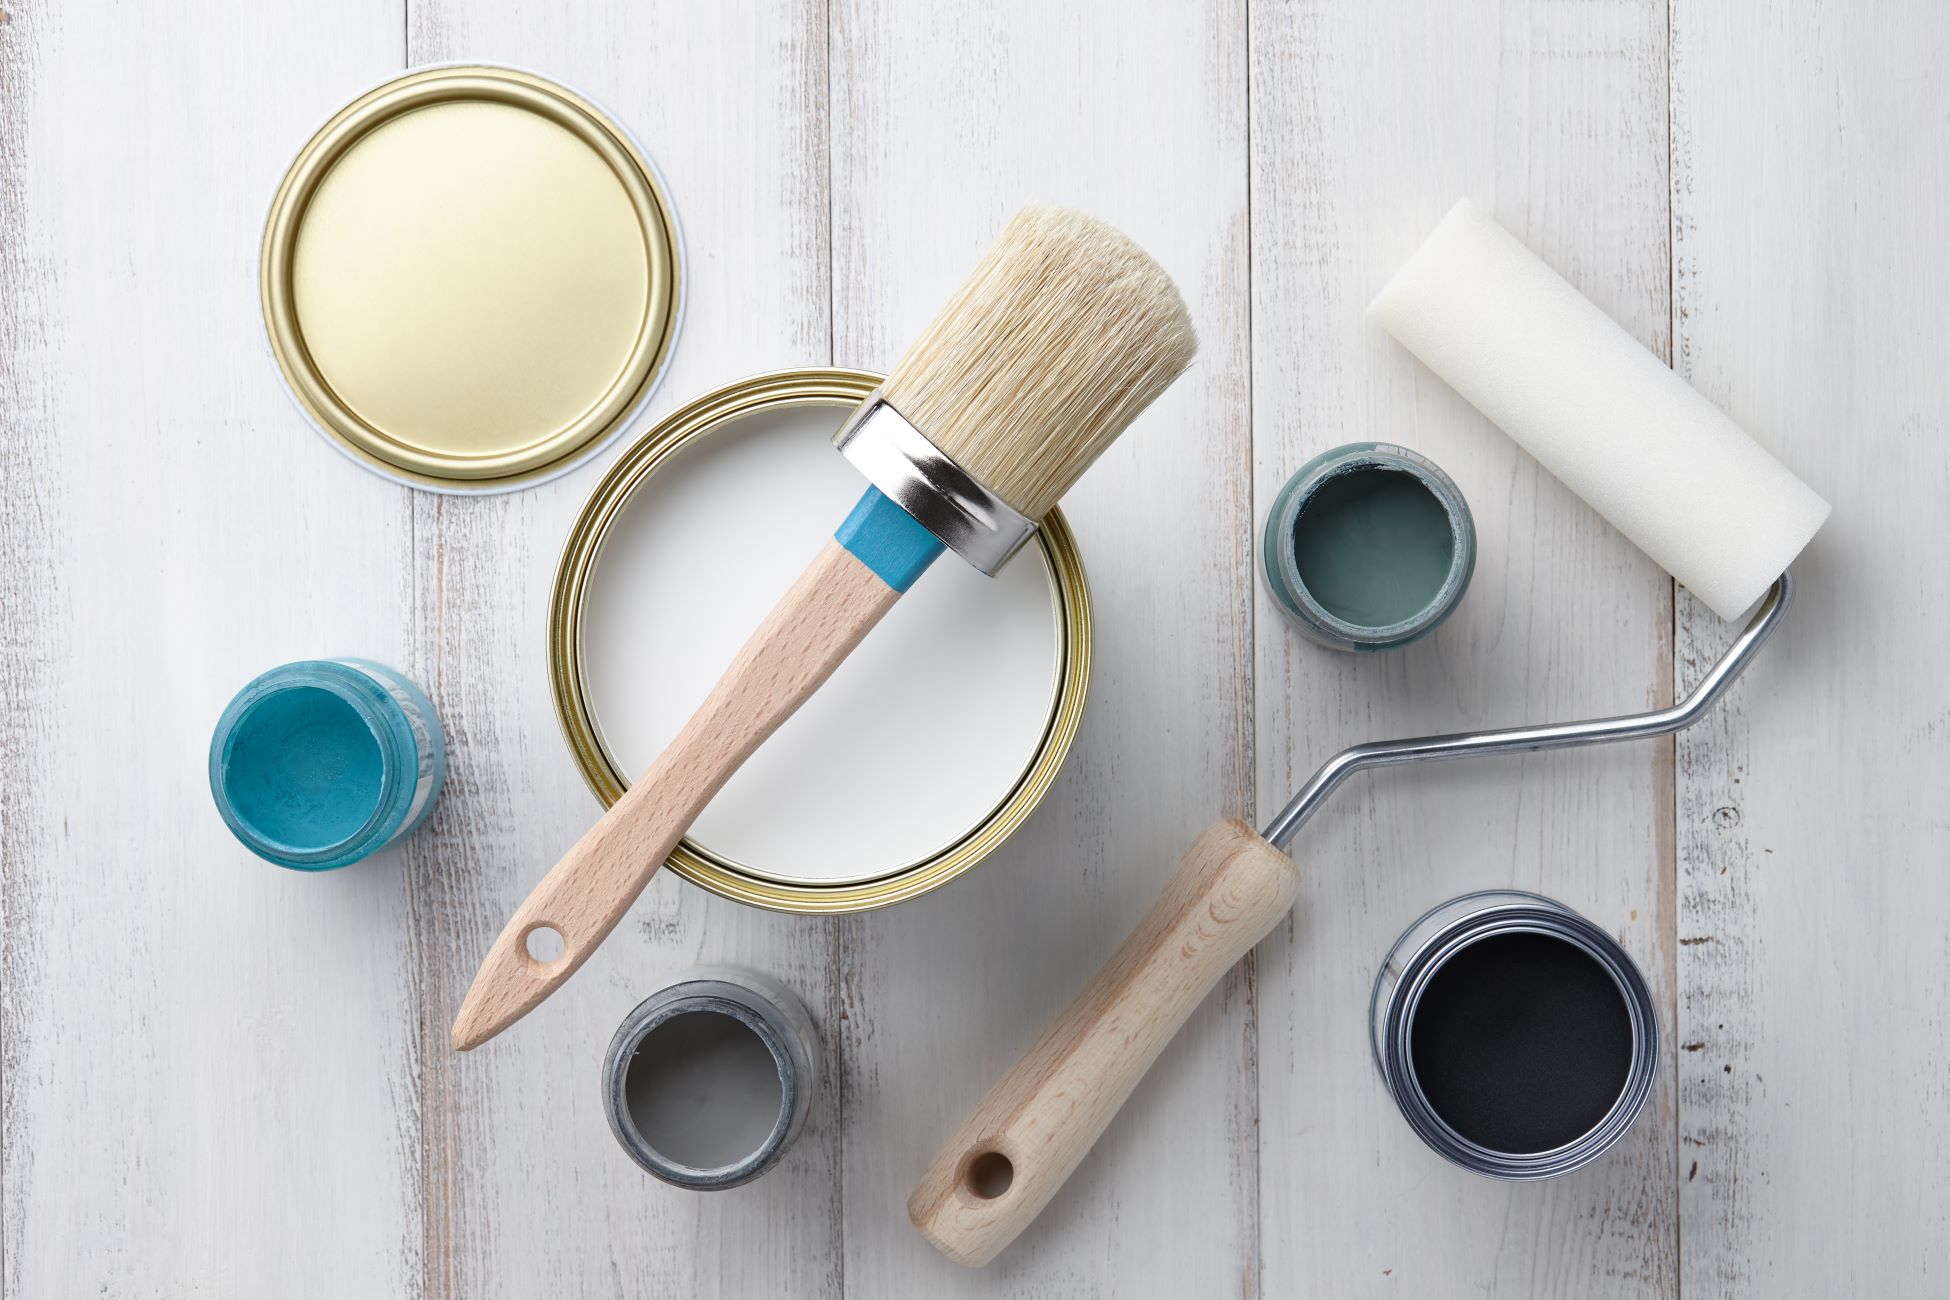
When undertaking home renovations or remodeling projects, the tape measure serves as a linchpin for precision. Whether you’re revamping your kitchen, renovating a bathroom, or reviving your living space with a fresh coat of paint, the tape measure empowers you to gauge dimensions accurately, ensuring that fixtures, furnishings, and decorative elements harmonize seamlessly within the space.
DIY Fabrication and Metalworking
For enthusiasts of metalworking and DIY fabrication, the tape measure is an essential tool for marking, cutting, and shaping metal components with exactitude. Whether you’re crafting metal sculptures, fashioning custom brackets, or welding structural elements, the tape measure facilitates the precise delineation of measurements, laying the foundation for impeccable craftsmanship.
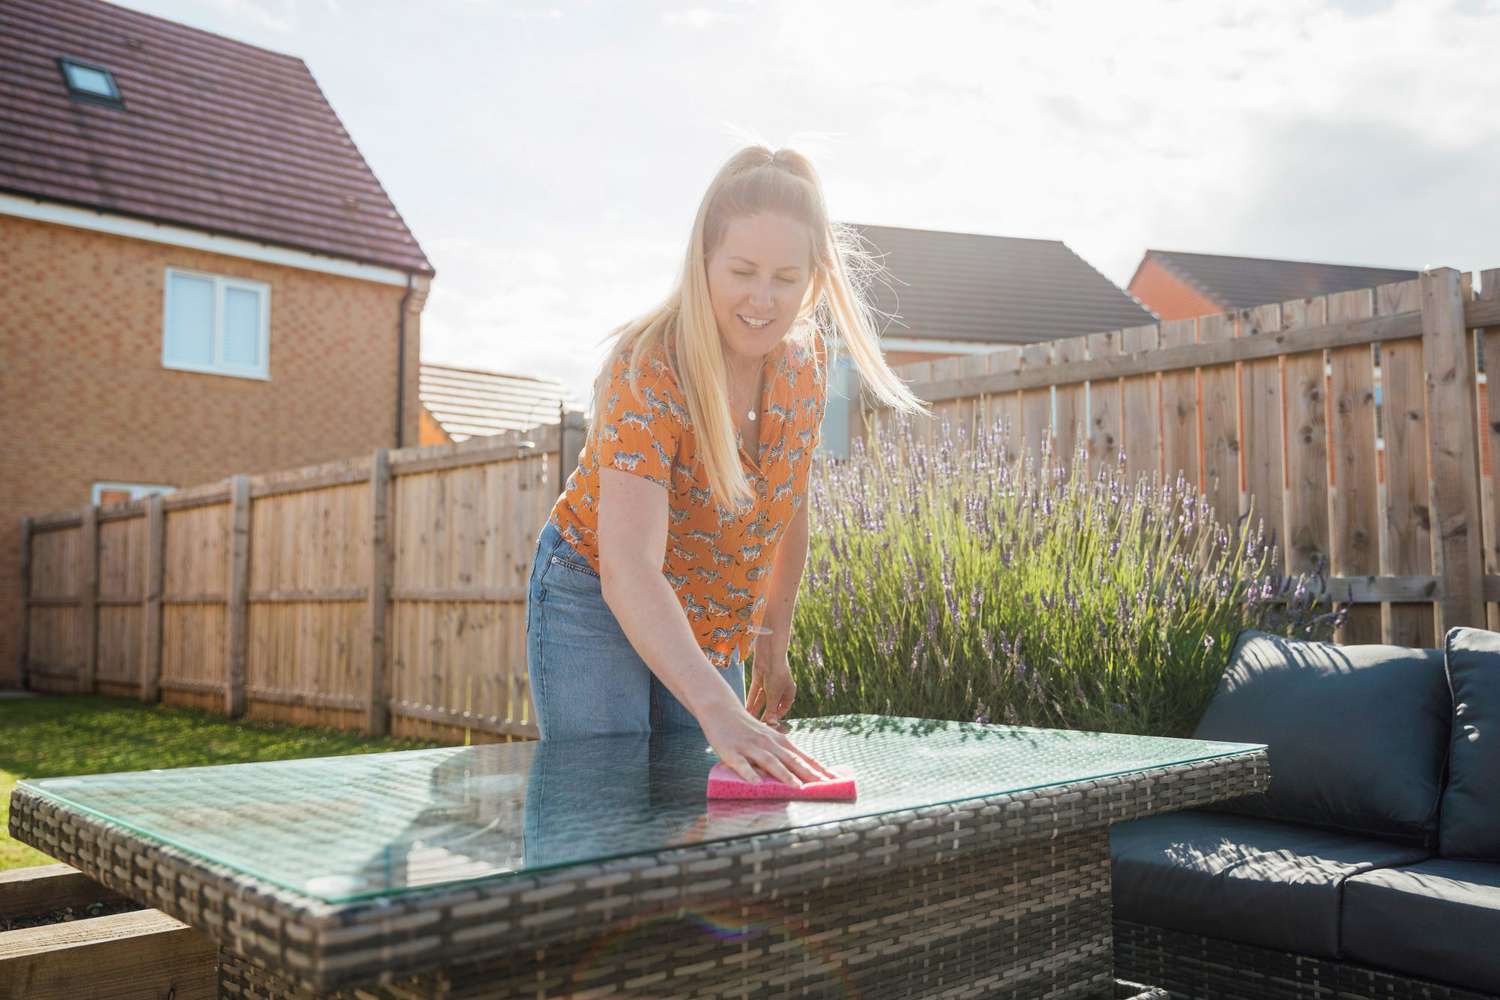
Gardening and Outdoor Projects
In the realm of outdoor projects and gardening, the tape measure proves invaluable for designing and implementing landscape features, erecting fences, and constructing outdoor structures. From measuring the dimensions of a garden bed to determining the layout of a pergola, the tape measure empowers you to bring your outdoor visions to life with accuracy and finesse.
Read more: How To Use Confetti Stickers In DIY Projects
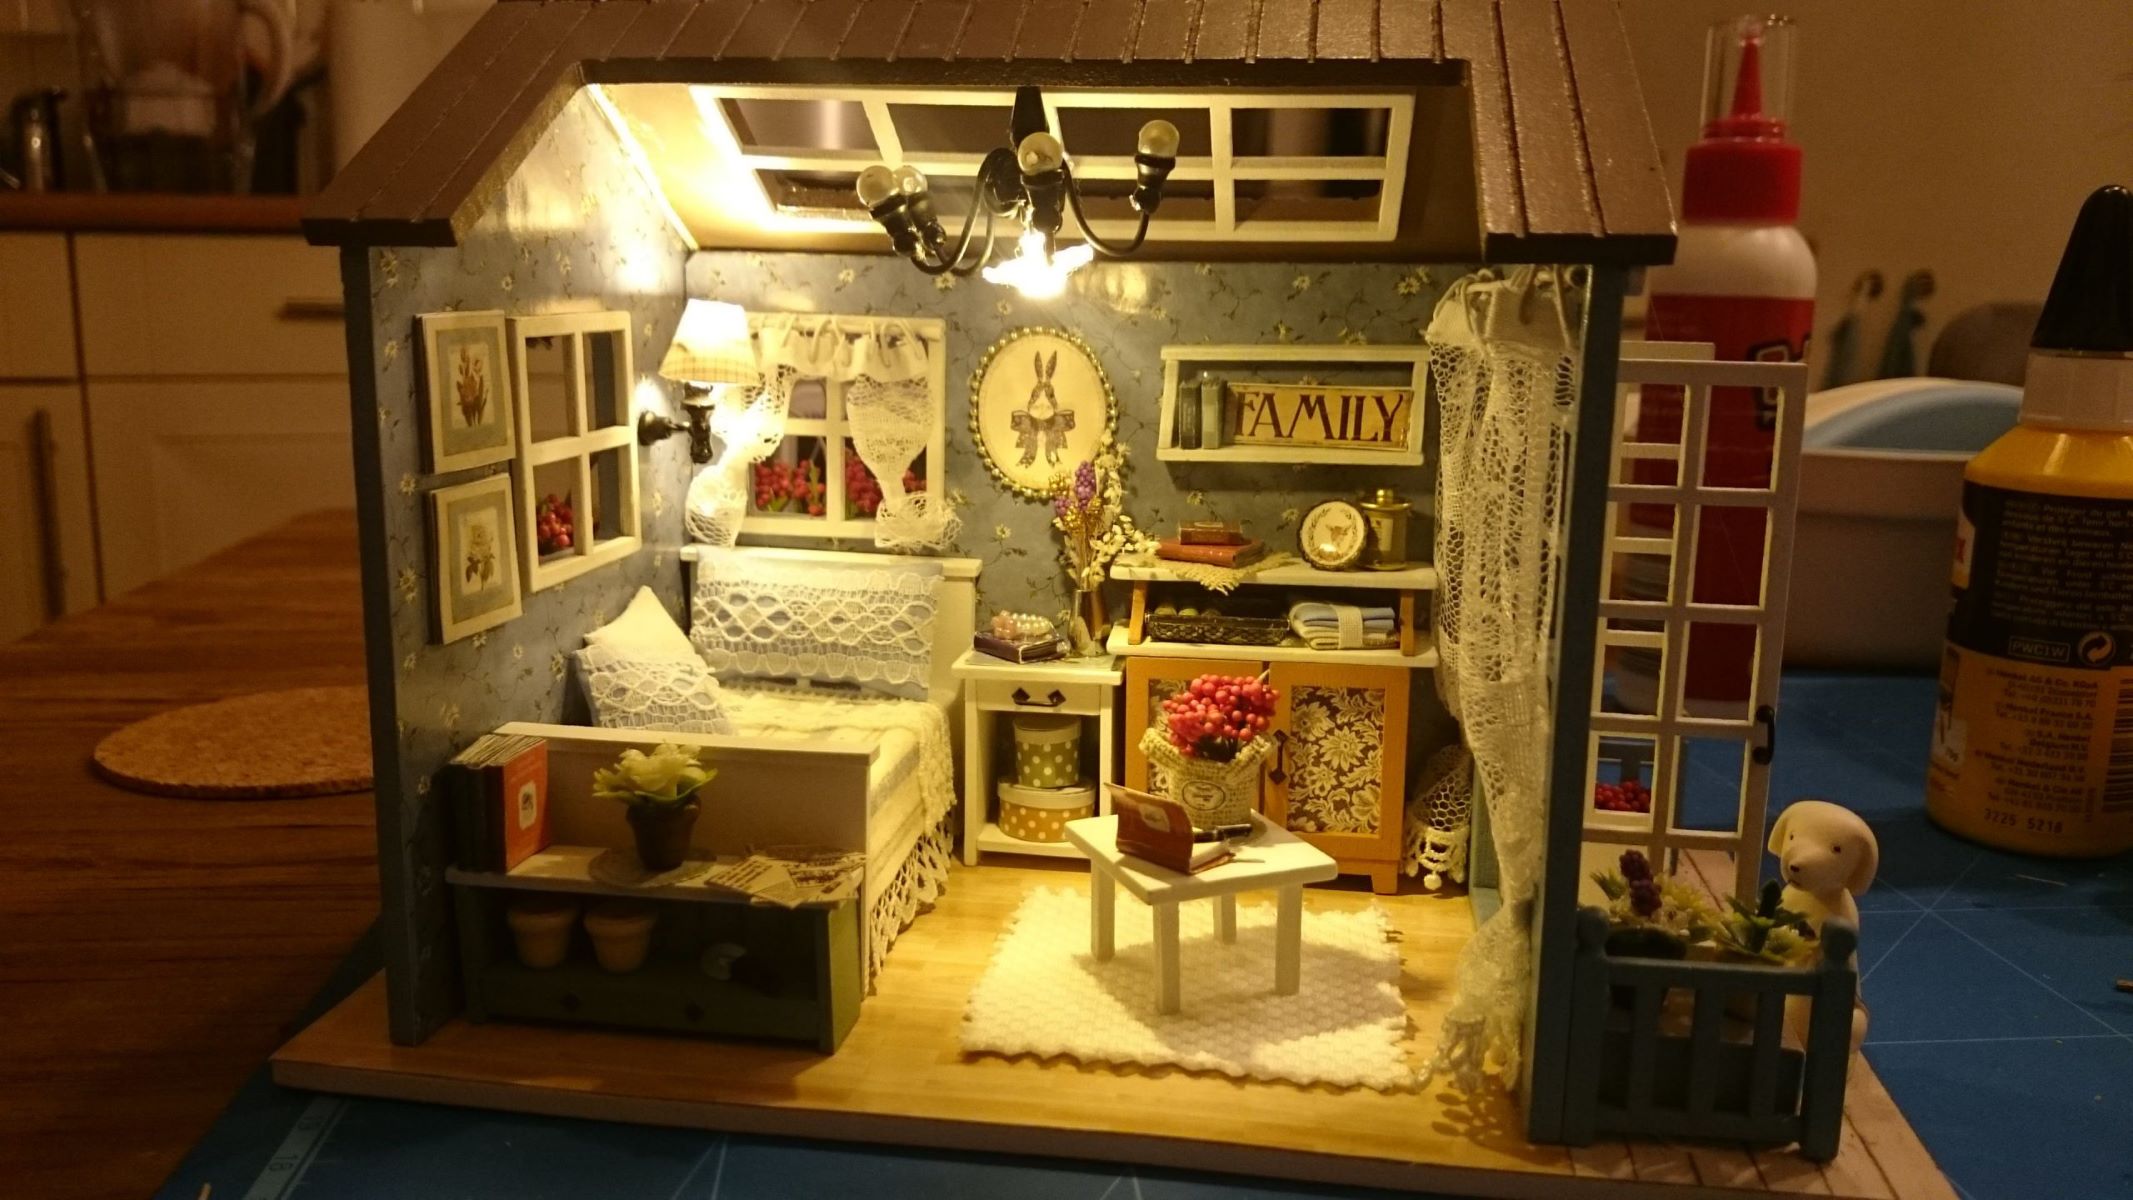
Decor and Interior Design
When adorning your living spaces with decorative accents or embarking on interior design projects, the tape measure emerges as an indispensable tool for ensuring precise placement and alignment. Whether you’re hanging artwork, arranging furniture, or installing window treatments, the tape measure facilitates meticulous measurements, allowing you to curate visually captivating and harmonious interiors.
By leveraging the tape measure across these diverse domains, you can infuse your DIY projects with a newfound level of precision and finesse, elevating the quality of your craftsmanship and instilling a sense of pride in every endeavor.
Armed with a deeper understanding of the tape measure’s multifaceted utility, let’s conclude our exploration with a reflection on the indispensable role of this tool in the realm of DIY pursuits.
Conclusion
As we draw the curtain on our exploration of the tape measure’s indispensable role in the realm of DIY projects, it’s evident that this unassuming tool is a linchpin for precision, accuracy, and craftsmanship across a myriad of endeavors. From woodworking and home renovations to metalworking and interior design, the tape measure stands as a stalwart ally, empowering enthusiasts and professionals alike to bring their creative visions to fruition with meticulous attention to detail.
By mastering the art of taking accurate measurements and adapting your approach to suit diverse surfaces and materials, you can harness the full potential of the tape measure, elevating the quality and precision of your DIY pursuits. Whether you’re embarking on ambitious construction projects, revamping your living spaces, or crafting bespoke furnishings, the tape measure serves as a steadfast companion, ensuring that your endeavors unfold with exactitude and finesse.
Furthermore, the tape measure transcends its utilitarian function, embodying the spirit of creativity and precision that defines the DIY ethos. It encapsulates the essence of meticulous planning, thoughtful execution, and the pursuit of excellence, serving as a testament to the dedication and craftsmanship that permeate the world of do-it-yourself projects.
As you continue to hone your DIY skills and embark on new creative ventures, may the tape measure remain a trusted ally, guiding you toward precision and mastery in every project you undertake. With its unwavering reliability and capacity to transform visions into tangible realities, the tape measure stands as a timeless symbol of craftsmanship, precision, and the enduring spirit of DIY ingenuity.
So, armed with your trusty tape measure, venture forth into the realm of DIY projects, where creativity knows no bounds and precision reigns supreme. Let the tape measure be your steadfast companion, empowering you to craft, build, and create with unwavering accuracy and boundless imagination.
Frequently Asked Questions about DIY Projects: How To Use A Tape Measure
Was this page helpful?
At Storables.com, we guarantee accurate and reliable information. Our content, validated by Expert Board Contributors, is crafted following stringent Editorial Policies. We're committed to providing you with well-researched, expert-backed insights for all your informational needs.


0 thoughts on “DIY Projects: How To Use A Tape Measure”