Home>Interior Design>How To Repaint Wicker Furniture – To Revive The Retro Staple
Interior Design
How To Repaint Wicker Furniture – To Revive The Retro Staple
Modified: February 28, 2024
Revive the retro staple of wicker furniture with our interior design tips on how to repaint them, adding a fresh touch to your home décor.
(Many of the links in this article redirect to a specific reviewed product. Your purchase of these products through affiliate links helps to generate commission for Storables.com, at no extra cost. Learn more)
Introduction
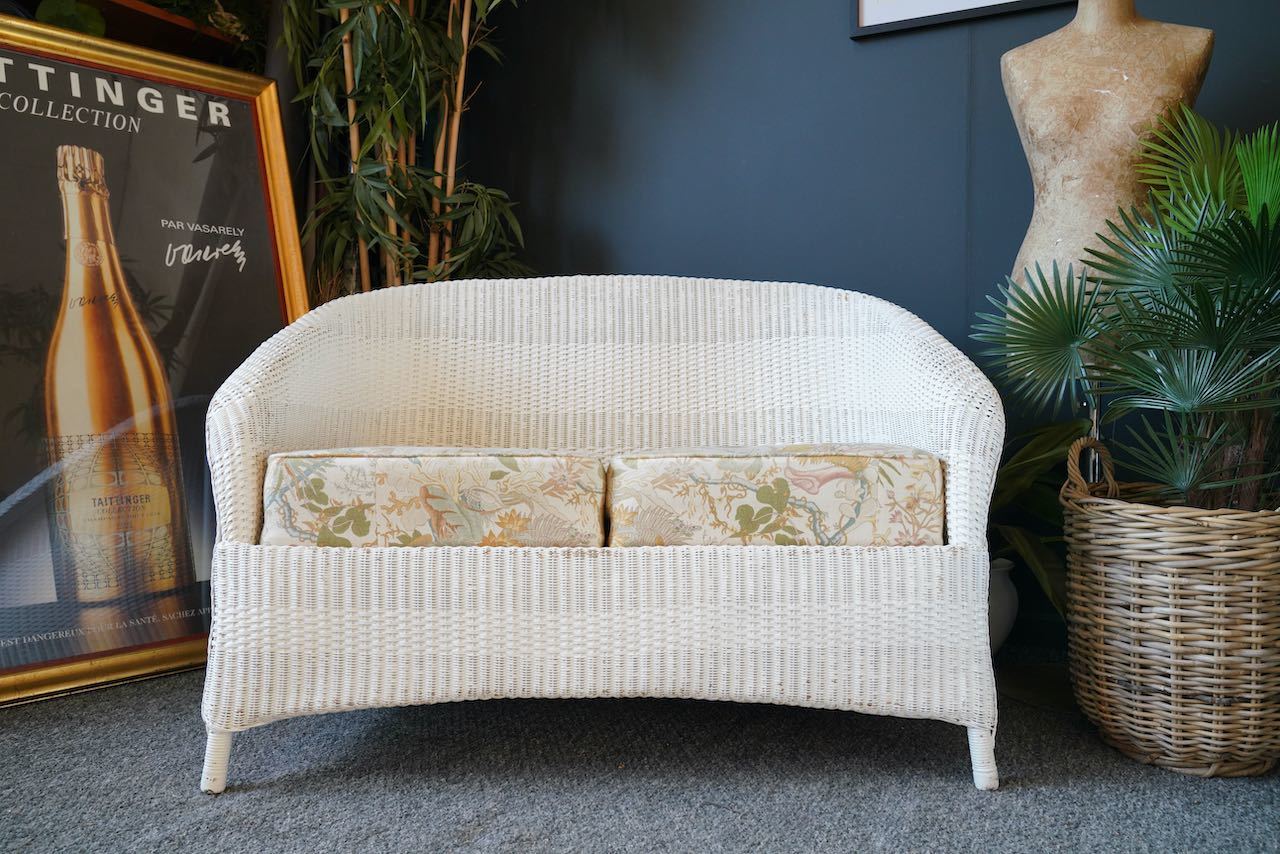
Repainting wicker furniture is an excellent way to revive its retro charm and bring new life to any interior or outdoor space. Wicker furniture has been a staple in interior design for decades, known for its timeless appeal and durability. However, over time, the paint on wicker furniture can become faded, chipped, or worn. Repainting it not only restores its beauty but also provides an opportunity to customize the color and style to suit your personal taste.
In this article, we will guide you through the process of repainting wicker furniture, from preparation to applying the final coat of paint. Whether you have a classic wicker chair, a vintage rattan side table, or a wicker basket, these steps will help you achieve professional-looking results.
Before starting the repainting process, it’s important to gather the necessary materials and tools. Here’s a list of what you’ll need:
Key Takeaways:
- Reviving wicker furniture through repainting is a creative and rewarding process that allows for personalization and restoration of timeless pieces, bringing new life to any interior or outdoor space.
- Proper preparation, meticulous cleaning, and attention to detail are essential for achieving professional-level results when repainting wicker furniture, ensuring its long-lasting beauty and durability.
Read more: How To Fix E2 Error In A Washing Machine
Materials and Tools Needed
- Wicker furniture (chair, table, basket, etc.)
- Drop cloth or newspaper
- Mild detergent or soap
- Sponge or soft cloth
- Sandpaper (medium and fine grit)
- Wire brush or toothbrush
- Primer
- Paint (spray or brush-on)
- Paintbrushes or sprayer
- Sealant or varnish (optional)
Now that you have everything you need, let’s move on to the preparation stage.
Key Takeaways:
- Reviving wicker furniture through repainting is a creative and rewarding process that allows for personalization and restoration of timeless pieces, bringing new life to any interior or outdoor space.
- Proper preparation, meticulous cleaning, and attention to detail are essential for achieving professional-level results when repainting wicker furniture, ensuring its long-lasting beauty and durability.
Read more: How To Fix E2 Error In A Washing Machine
Materials and Tools Needed
Before you begin repainting your wicker furniture, it’s important to gather all the necessary materials and tools. By having everything ready, you can ensure a smooth and efficient painting process. Here’s a list of what you’ll need:
- Wicker furniture (chair, table, basket, etc.): The wicker furniture you want to repaint is the main item you’ll need. Make sure it is clean and free from any loose or damaged wicker.
- Drop cloth or newspaper: To protect the surrounding area from paint drips and spills, lay down a drop cloth or spread out some old newspapers.
- Mild detergent or soap: You’ll need a gentle cleaning solution to remove any dirt, grime, or old paint from the wicker surface. Opt for a mild detergent or soap that won’t damage the material.
- Sponge or soft cloth: Use a sponge or a soft cloth to apply the cleaning solution and gently scrub the wicker. Make sure it’s soft enough not to cause any damage.
- Sandpaper (medium and fine grit): Sanding the wicker furniture is essential to create a smooth surface for the new paint to adhere to. You’ll need both medium and fine grit sandpaper to remove any existing paint and smooth out imperfections.
- Wire brush or toothbrush: A wire brush or a toothbrush will come in handy for reaching difficult-to-reach areas and removing any loose or damaged wicker strands.
- Primer: Applying a primer is crucial for better paint adhesion and long-lasting results. Choose a primer designed for wicker or one that is suitable for both wood and wicker surfaces.
- Paint (spray or brush-on): Select a paint specifically formulated for wicker or one that adheres well to different materials. You can choose either spray paint or brush-on paint, depending on your preference and the size of the furniture piece.
- Paintbrushes or sprayer: If you opt for brush-on paint, make sure to have a few different sizes of paintbrushes to cover all areas evenly. If you choose spray paint, ensure you have the appropriate sprayer for easy and smooth application.
- Sealant or varnish (optional): Although optional, applying a sealant or varnish after painting can help protect the wicker furniture from moisture, dirt, and fading. Choose a clear sealant that won’t alter the color of the paint.
By gathering all the necessary materials and tools beforehand, you’ll have everything you need within reach to efficiently and effectively repaint your wicker furniture. With these items in hand, you can proceed to the next steps with confidence.
Preparation
Before diving into repainting your wicker furniture, it’s crucial to prepare the surface properly. Proper preparation ensures that the paint adheres well, resulting in a smooth and long-lasting finish. Follow these steps to prepare your furniture for a successful painting process:
- Lay down a drop cloth or newspapers: To protect the surrounding area from paint drips and spills, cover the floor with a drop cloth or lay down newspapers. This will make cleaning up much easier.
- Find a well-ventilated area: It’s essential to work in a well-ventilated space, such as a garage, covered patio, or outdoor area. Adequate ventilation helps with paint fumes and provides better airflow for drying.
- Remove any cushions or fabric: If your wicker furniture has any cushions or fabric, remove them before starting. This will prevent them from getting damaged or stained during the painting process.
- Inspect the furniture for any damage: Carefully examine the wicker furniture for any loose strands, broken pieces, or structural damage. Repair any issues before proceeding to the next steps.
- Protect your hands: Since you’ll be working with cleaning solutions and paint, it’s a good idea to wear gloves to protect your hands from chemicals and to avoid leaving fingerprints on the wicker surface.
With these essential preparation steps complete, you’re now ready to clean your wicker furniture and ensure it’s in the best condition possible for the painting process.
Cleaning the Furniture
Before repainting your wicker furniture, it’s important to thoroughly clean it to remove dirt, grime, and any remnants of old paint. Follow these steps to ensure your furniture is clean and ready for a fresh coat of paint:
- Prepare a cleaning solution: In a bucket or sink, mix a mild detergent or soapy water solution. Avoid using harsh chemicals that may damage the wicker.
- Dip a sponge or soft cloth into the cleaning solution: Immerse a sponge or soft cloth into the soapy water mixture. Wring out any excess liquid to prevent the wicker from becoming overly saturated.
- Gently scrub the wicker surface: Working in small sections, gently scrub the wicker surface using the sponge or cloth. Pay attention to areas with visible dirt or stains and make sure to clean the undersides of the furniture as well.
- Rinse with clean water: Once you’ve cleaned a section, rinse the sponge or cloth thoroughly with clean water and go over the same area to remove any soap residue. Rinse the wicker surface with clean water as well, ensuring all soap is removed.
- Dry the furniture: Using a clean towel or allowing the furniture to air dry, make sure that all moisture is removed before proceeding to the next steps. Damp wicker may lead to improper paint adhesion.
By cleaning your wicker furniture thoroughly, you remove any surface debris and create a clean canvas for the new paint. Take your time during this step to ensure all areas are properly cleaned and dried.
Next, we’ll address any damaged wicker strands and ensure the furniture is structurally sound for the repainting process.
Repairing Damaged Wicker
Before moving forward with repainting your wicker furniture, it’s important to address any damaged or loose wicker strands. Repairing these areas will not only improve the overall appearance but also reinforce the structural integrity of the furniture. Follow these steps to fix any damaged wicker:
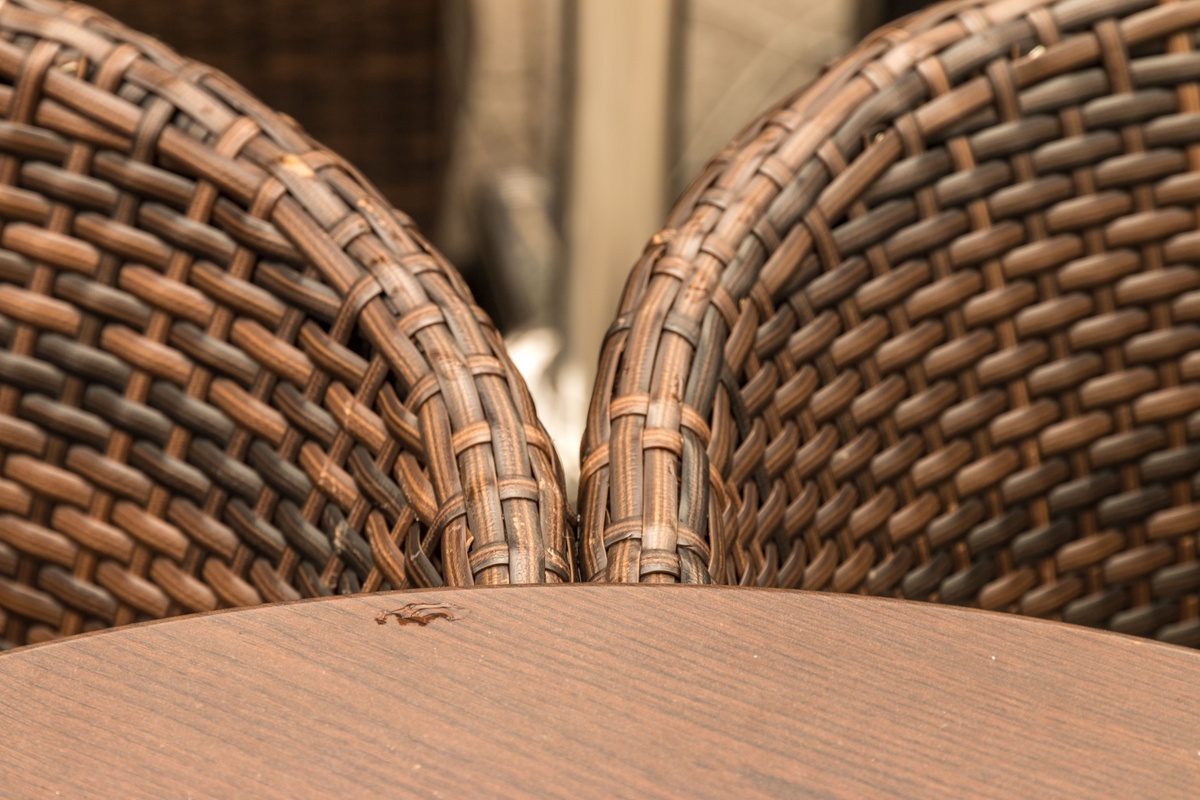
- Inspect the furniture for loose or broken wicker strands: Carefully examine the entire piece of furniture, paying close attention to the woven wicker sections. Look for any strands that are loose, frayed, or completely broken.
- Gently remove loose strands: Using a pair of tweezers or a small set of pliers, gently remove any loose or damaged strands of wicker. Be careful not to pull too forcefully, as this can cause further damage.
- Soften the wicker: To soften any dry or brittle wicker, you can moisten it with a small amount of water. This will make it more pliable and easier to work with.
- Reattach loose strands: Apply a small amount of wood glue or adhesive to the ends of the loose strands. Carefully weave them back into place, ensuring they are securely attached to the surrounding wicker. Hold them in position until the glue sets.
- Trim excess wicker: If there are any excess or protruding strands, use a pair of scissors or a utility knife to trim them carefully and blend them with the rest of the wicker pattern.
Repairing damaged wicker strands is essential to maintain the structural integrity and visual appeal of your furniture. By fixing these areas before repainting, you ensure a smooth and seamless finish. Once you have addressed any wicker repairs, you can move on to preparing the surface for paint by sanding.
Before repainting wicker furniture, make sure to clean it thoroughly with a mild detergent and water to remove any dirt and grime. Allow it to dry completely before applying a new coat of paint for a smooth and long-lasting finish.
Sanding the Surface
After cleaning and repairing any damaged wicker on your furniture, the next step in the repainting process is to sand the surface. Sanding helps create a smooth and even texture, allowing the new paint to adhere better to the wicker. Follow these steps to sand the surface of your furniture:
- Start with medium-grit sandpaper: Begin by using medium-grit sandpaper (around 120-150 grit) to remove any rough patches and remaining traces of old paint. Gently sand the wicker in the direction of the weave, focusing on areas with chipped or peeling paint.
- Sand hard-to-reach areas: Use a piece of sandpaper folded into a small size or a sanding block to access narrow or intricate areas of the furniture. These areas may include corners, crevices, or tight weaves.
- Transition to fine-grit sandpaper: Once you’ve achieved a smooth surface with the medium-grit sandpaper, switch to a finer-grit sandpaper (around 220 grit) to further smooth out the wicker. This step helps prepare the surface for the primer and paint.
- Remove sanding residue: After sanding, wipe down the furniture with a clean cloth or use a soft brush to remove any sanding residue or dust. Ensure the surface is clean and free of any debris before proceeding.
Remember to be gentle while sanding to avoid damaging the wicker or unraveling the weave. By thoroughly sanding the surface, you create a clean and receptive canvas for the primer and paint to adhere to. Once the surface is sanded and cleaned, it’s time to apply the primer.
Priming the Furniture
Applying a primer to your wicker furniture is an important step in the repainting process. The primer acts as a base coat, ensuring better adhesion of the paint and providing a smooth and durable finish. Follow these steps to prime your furniture:
- Select a suitable primer: Look for a primer specifically designed for wicker or one that is suitable for both wood and wicker surfaces. Choose a primer that is compatible with the type of paint you’ll be using.
- Prepare your workspace: Lay down a drop cloth or newspapers to protect the surrounding area from primer overspray or drips. Make sure you are working in a well-ventilated space to ensure proper air circulation.
- Shake the primer can or stir the primer: If you’re using a spray primer, shake the can vigorously to ensure proper mixing of the formula. If you’re using brush-on primer, stir it well with a paint stick to achieve a consistent texture.
- Apply the primer: Hold the spray can or dip your paintbrush into the primer and begin applying a thin and even coat to the wicker furniture. Start from the top and work your way down, ensuring all surfaces are fully covered. Take care to coat the undersides and hard-to-reach areas as well.
- Allow the primer to dry: Follow the manufacturer’s instructions regarding drying time. Generally, it takes around 1-2 hours for the primer to dry completely. Make sure the surface is dry to the touch before proceeding.
- Check for any missed spots: After the primer has dried, inspect the furniture for any areas that may have been missed or require additional coverage. Touch up these spots with primer as needed.
- Lightly sand the primer (optional): If you notice any imperfections or roughness on the primed surface, you can lightly sand it using fine-grit sandpaper. This will ensure a smoother paint application.
- Remove any sanding residue: Wipe down the furniture with a clean cloth or use a soft brush to eliminate any sanding residue or dust. A clean surface is essential for a flawless paint finish.
By applying a primer, you create a strong foundation for the paint to adhere to, ensuring a professional and long-lasting result. Once the primer is dry and the surface is prepared, you’re ready to apply the paint to your wicker furniture.
Applying the Paint
Now comes the exciting part – applying the paint to your wicker furniture. This step allows you to bring your creative vision to life and transform the appearance of the piece. Follow these steps to achieve a smooth and beautifully painted finish:
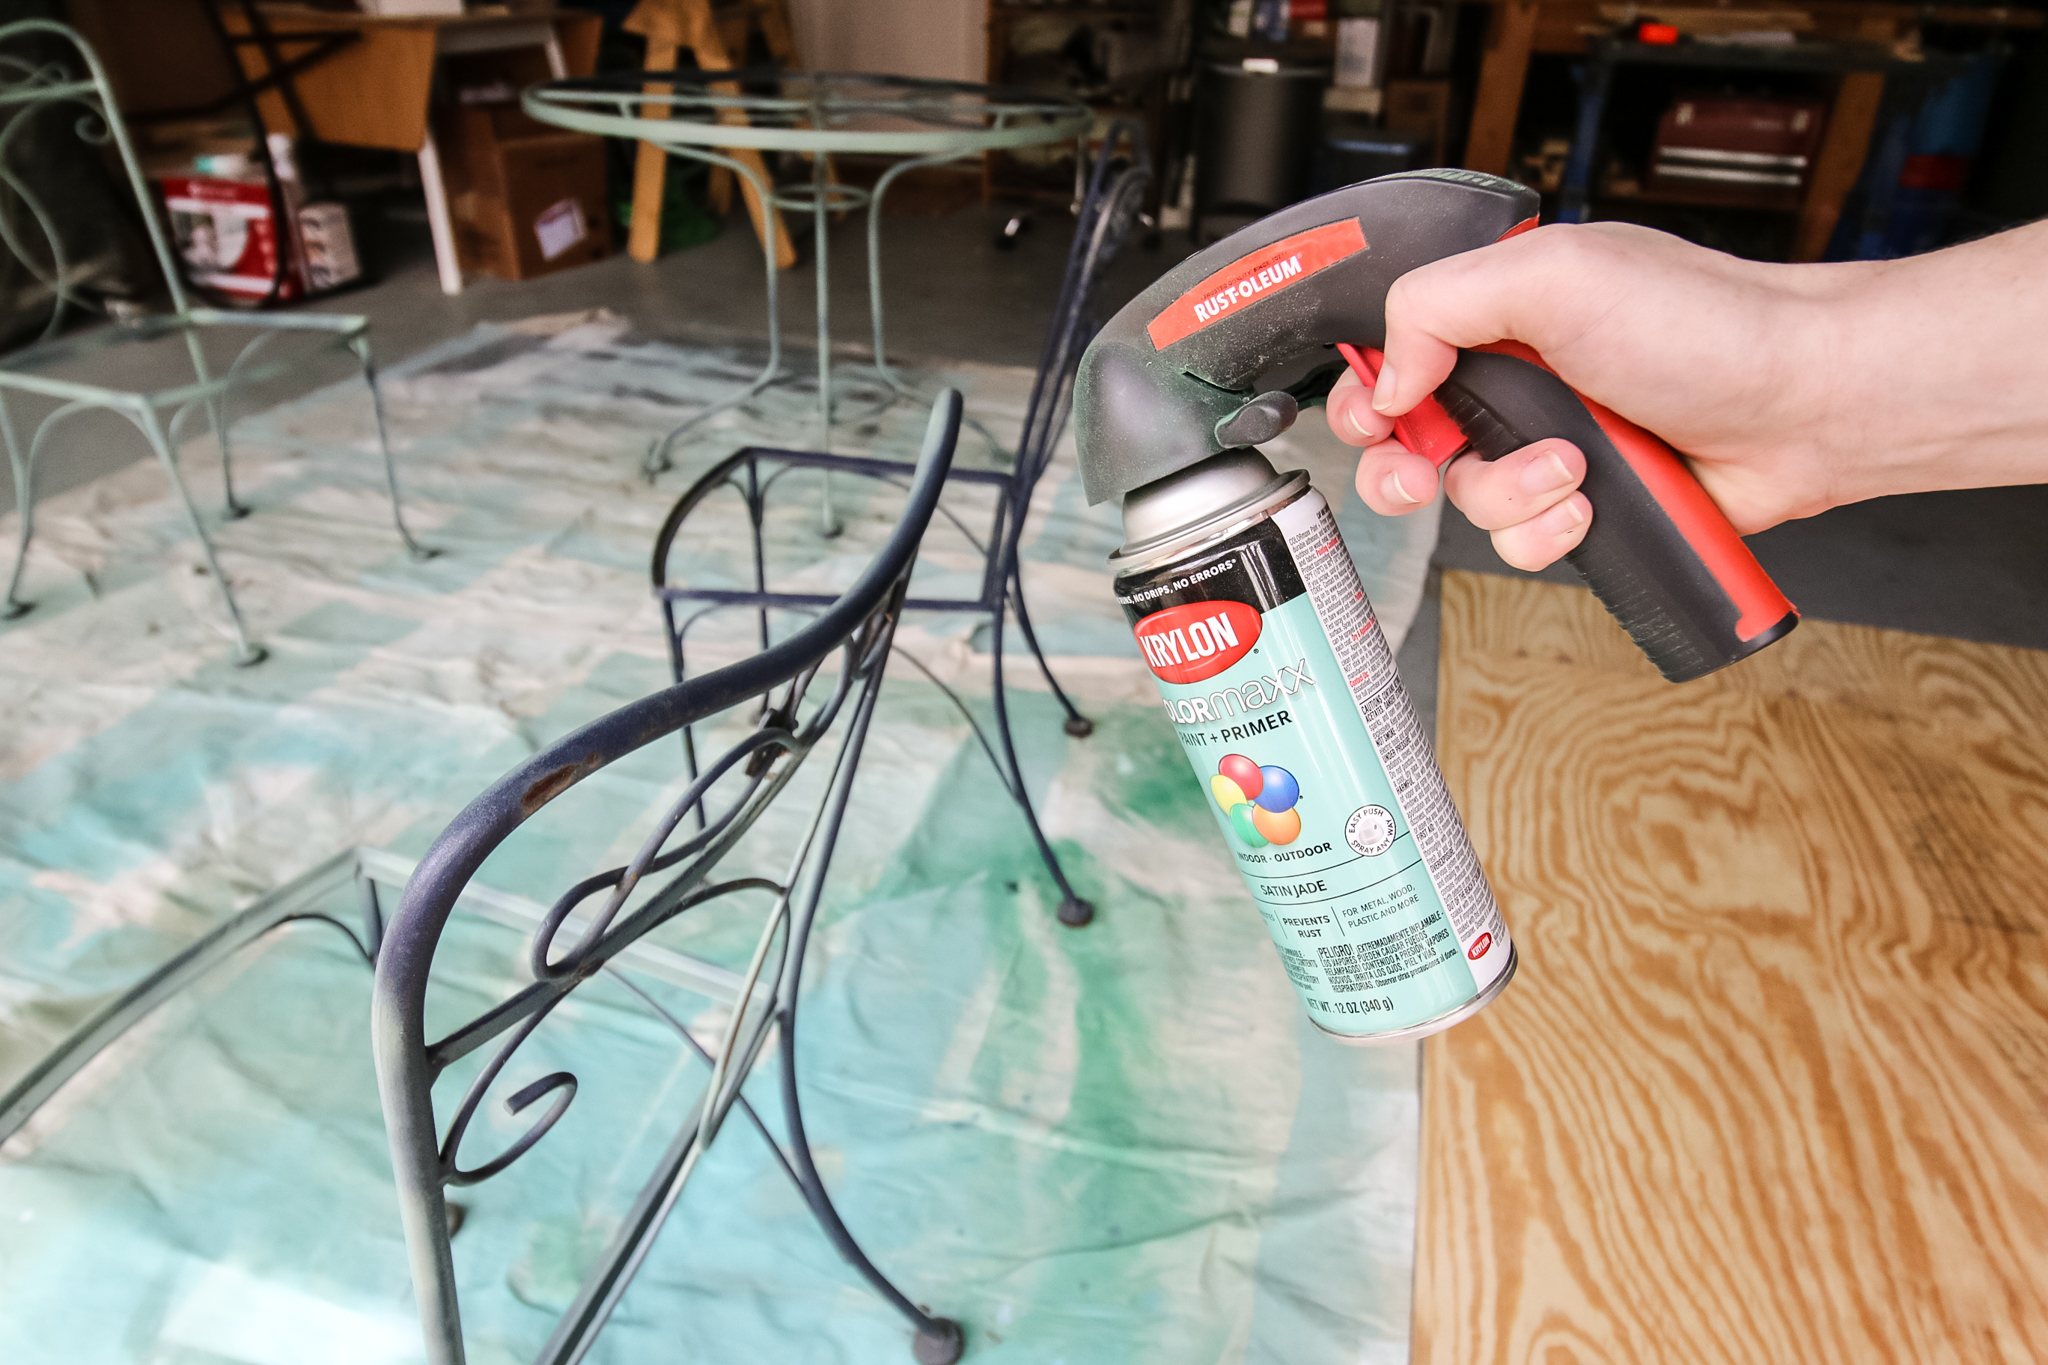
- Select the right paint: Choose a paint specifically formulated for wicker or one that adheres well to different types of surfaces. Consider whether you prefer spray paint or brush-on paint, based on your experience and the size of the furniture piece.
- Prepare your workspace: Ensure you have a well-ventilated area for proper air circulation. Lay down a drop cloth or newspapers to protect the surrounding floor or ground from paint drips or overspray.
- Shake the paint can or stir the paint: If you’re using spray paint, shake the can vigorously for a few minutes to mix the formula properly. If using brush-on paint, stir it with a paint stick until it has a consistent texture.
- Apply the first coat of paint: Hold the spray can at an appropriate distance from the furniture or dip your paintbrush into the paint. Begin applying a thin and even coat of paint, using smooth and controlled strokes. Start from the top and work your way down, covering all surfaces.
- Allow the first coat to dry: Follow the manufacturer’s instructions regarding the drying time for the specific paint you are using. Typically, it takes about 1-2 hours for the first coat to dry. Make sure the surface is dry to the touch before moving on to the second coat.
- Apply additional coats (if necessary): Depending on the desired depth of color and coverage, you may need to apply one or two additional coats of paint. Allow each coat to dry completely before applying the next.
- Check for any missed spots: After the final coat has dried, inspect the furniture for any areas that may have been missed or require touch-ups. Apply paint to these spots as needed for a seamless finish.
As you apply each coat of paint, ensure that your strokes are consistent and smooth to achieve an even and professional look. Take your time during this step, as the quality of your paint application will greatly impact the final result. After the paint has dried, you can proceed to the next step of sealing the paint for added protection.
Applying a Sealant
Applying a sealant to your freshly painted wicker furniture adds an extra layer of protection and helps to preserve the beauty and longevity of the paint job. While sealant is optional, it can provide additional durability and resistance to moisture, dirt, and fading. Follow these steps to apply a sealant to your painted wicker furniture:
- Choose the right sealant: Select a clear sealant or varnish that is suitable for the type of paint you used. Opt for a product specifically designed for exterior use or one that provides UV protection, especially if your wicker furniture will be exposed to sunlight.
- Prepare your workspace: Make sure you are working in a well-ventilated area. Lay down a drop cloth or newspapers to protect the surrounding area from any potential drips or spills.
- Stir or shake the sealant: If using a brush-on sealant, stir it well with a paint stick to ensure consistent texture. If using a spray sealant, shake the can according to the manufacturer’s instructions.
- Apply the sealant: Using a clean brush or spray, apply a thin and even coat of the sealant over the painted surfaces of your wicker furniture. Make sure to cover all areas, including hard-to-reach spots.
- Allow the sealant to dry: Follow the manufacturer’s instructions regarding the drying time of the sealant. Typically, it takes a few hours for the sealant to dry, but it’s best to allow for a longer drying period to ensure it sets properly.
- Inspect the finish: Once the sealant is completely dry, inspect the painted surfaces for any missed spots or imperfections. If necessary, apply an additional coat of sealant to ensure full coverage and protection.
By applying a sealant, you provide an added barrier that helps to safeguard your painted wicker furniture against daily wear and tear. It also makes it easier to clean and maintain the furniture in the long run. Once the sealant has dried, you can start enjoying your beautifully rejuvenated wicker furniture.
Caring for Repainted Wicker Furniture
After repainting your wicker furniture, it’s important to provide proper care and maintenance to ensure its long-lasting beauty. Here are some tips on how to care for your repainted wicker furniture:
- Regular cleaning: Dust or wipe down your furniture regularly to remove any dirt or debris that may accumulate on the surface. Use a soft cloth or brush to gently clean the wicker. Avoid using harsh chemicals or abrasive materials that can damage the paint or wicker strands.
- Avoid direct sunlight: Prolonged exposure to sunlight can cause the paint on your wicker furniture to fade over time. Whenever possible, place your furniture in shaded areas or use protective covers when not in use.
- Protect from moisture: Wicker furniture can be susceptible to moisture damage, which can lead to mold or mildew. Keep your furniture away from areas with excessive moisture and use waterproof covers or cushions if using them outdoors.
- Be mindful of weight: While wicker furniture is durable, it may not be designed to support excessive weight. Avoid placing heavy objects or sitting on areas of the furniture that may be more delicate, such as the arms or edges.
- Repair any damage promptly: If you notice any signs of damage, such as loose or broken wicker strands, address them promptly. Repairing minor issues will prevent them from worsening and help maintain the overall integrity of your furniture.
- Reapply sealant as needed: Over time, the sealant on your repainted wicker furniture may wear off. If you notice that the surface is no longer adequately protected, consider reapplying a layer of sealant to maintain its durability.
- Store properly during the off-season: If you use your wicker furniture outdoors, make sure to store it properly during the off-season or during inclement weather. Store it in a covered area such as a shed or garage, or use furniture covers to protect it from the elements.
By following these care tips, you can ensure that your repainted wicker furniture retains its beauty and remains in excellent condition for years to come. Regular maintenance and preventive measures will help extend its lifespan and keep it looking fresh and vibrant.
Conclusion
Repainting wicker furniture can breathe new life into a cherished piece or transform a tired-looking piece into a stunning focal point. Through proper preparation, cleaning, repairing, sanding, priming, and applying paint and sealant, you can achieve professional-level results and enjoy the beauty of repainted wicker furniture for years to come.
Remember, the key to a successful repainting project lies in attention to detail, patience, and using the right materials and tools. By carefully following the steps outlined in this article and implementing proper care and maintenance practices, you can preserve the fresh look and durability of your repainted wicker furniture.
Whether you’re reviving a vintage wicker chair, a charming side table, or a decorative wicker basket, repainting allows you to customize the appearance to suit your style and bring a touch of freshness to your home or outdoor space.
So, go ahead and embark on your wicker painting adventure! Gather your materials, prepare your workspace, and enjoy the process of transforming your wicker furniture into a stunning work of art. With a little time and effort, you’ll have a beautiful and revitalized piece that will continue to bring joy and style to your space.
Frequently Asked Questions about How To Repaint Wicker Furniture – To Revive The Retro Staple
Was this page helpful?
At Storables.com, we guarantee accurate and reliable information. Our content, validated by Expert Board Contributors, is crafted following stringent Editorial Policies. We're committed to providing you with well-researched, expert-backed insights for all your informational needs.


0 thoughts on “How To Repaint Wicker Furniture – To Revive The Retro Staple”