Articles
How To Repaint Metal Patio Furniture
Modified: January 19, 2024
Learn how to repaint your metal patio furniture to give it a fresh new look. Transform your outdoor space with this easy furniture makeover.
(Many of the links in this article redirect to a specific reviewed product. Your purchase of these products through affiliate links helps to generate commission for Storables.com, at no extra cost. Learn more)
Introduction
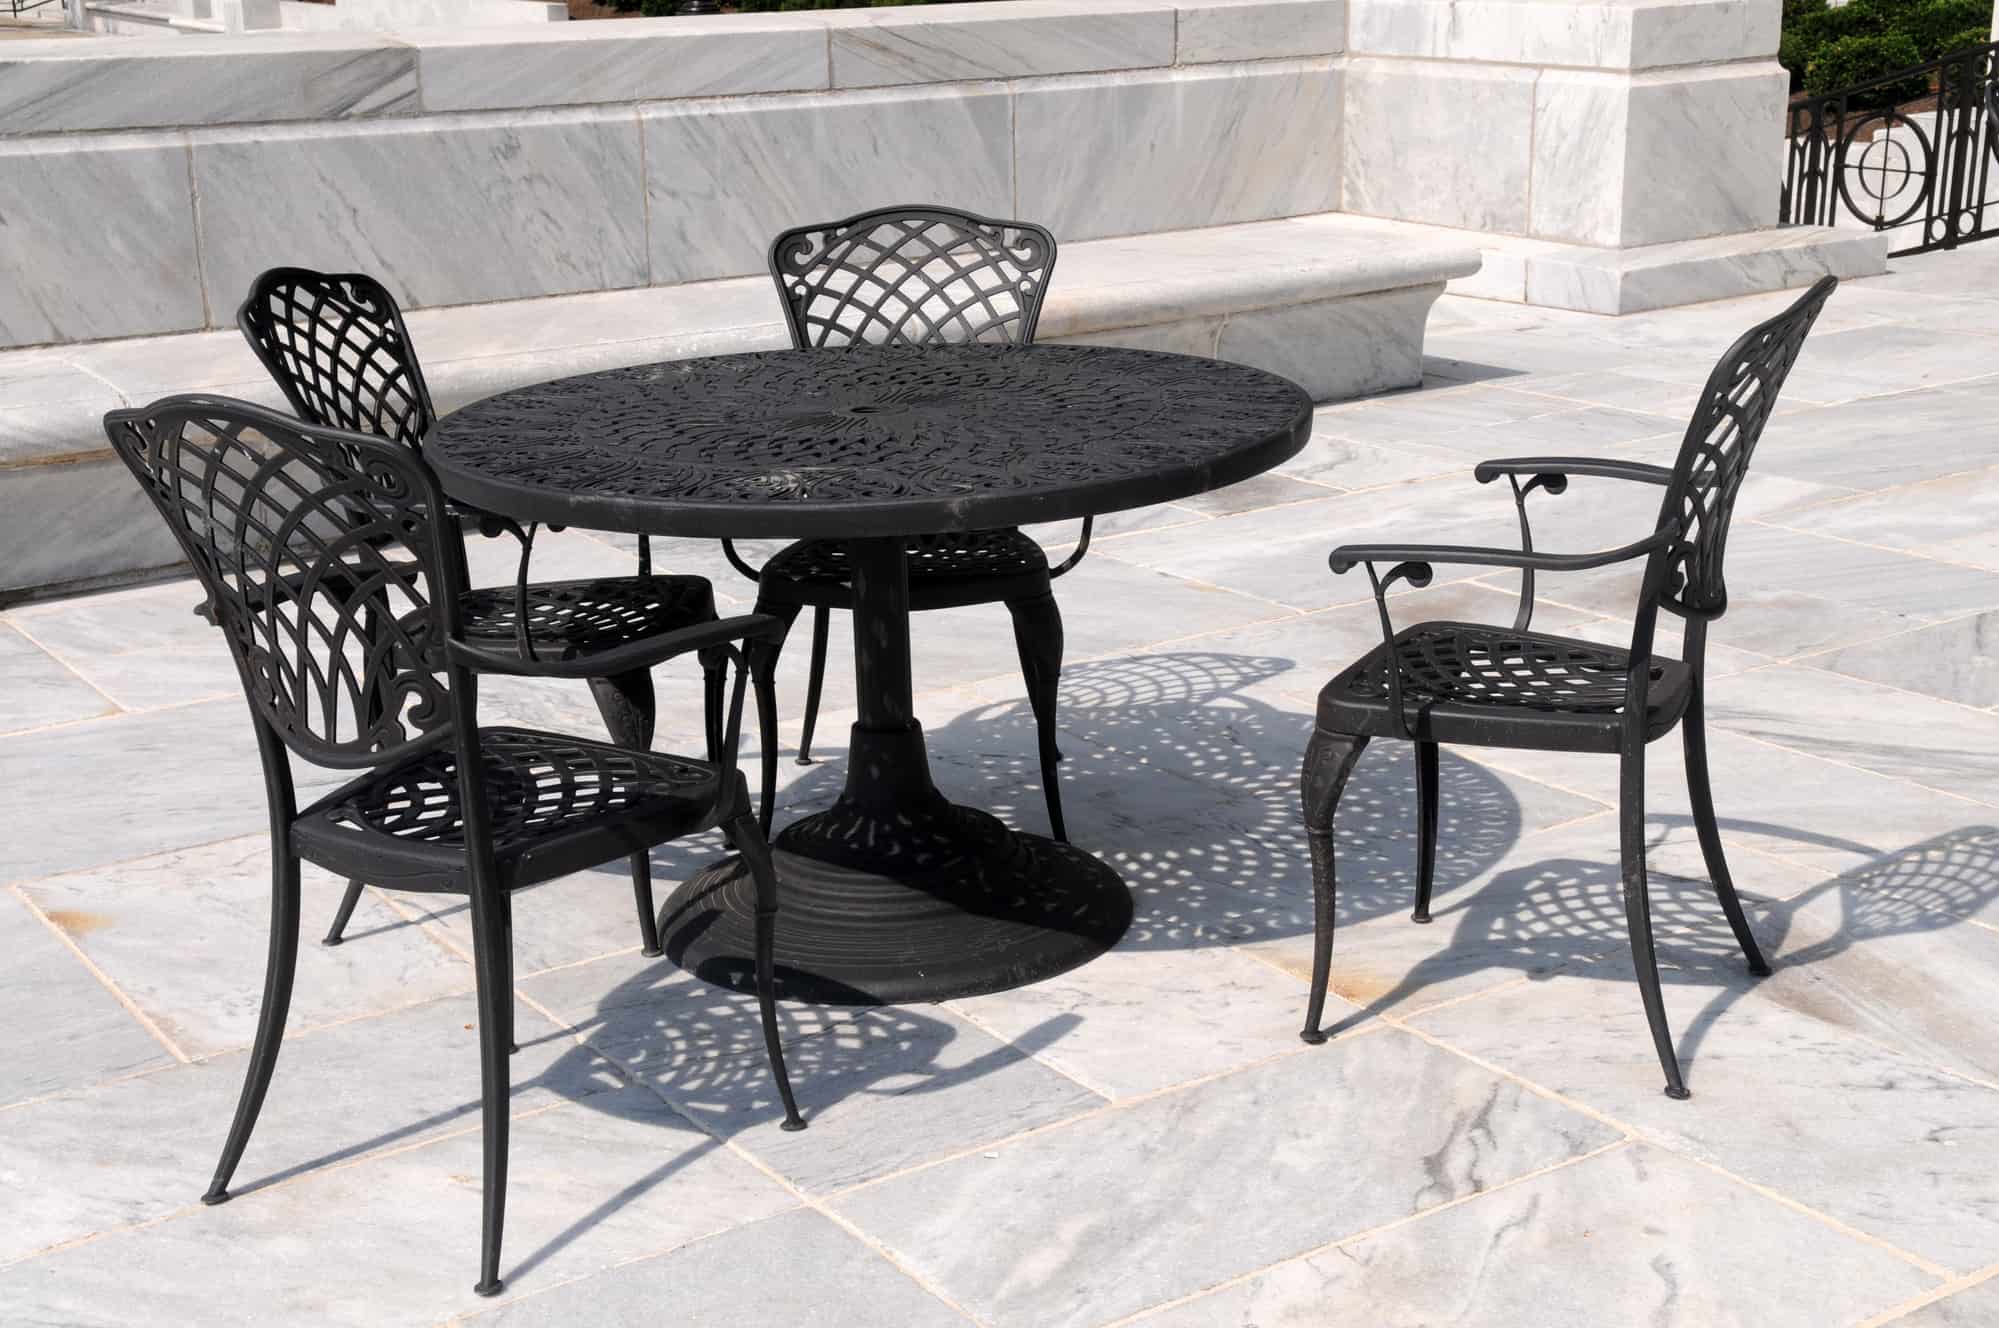
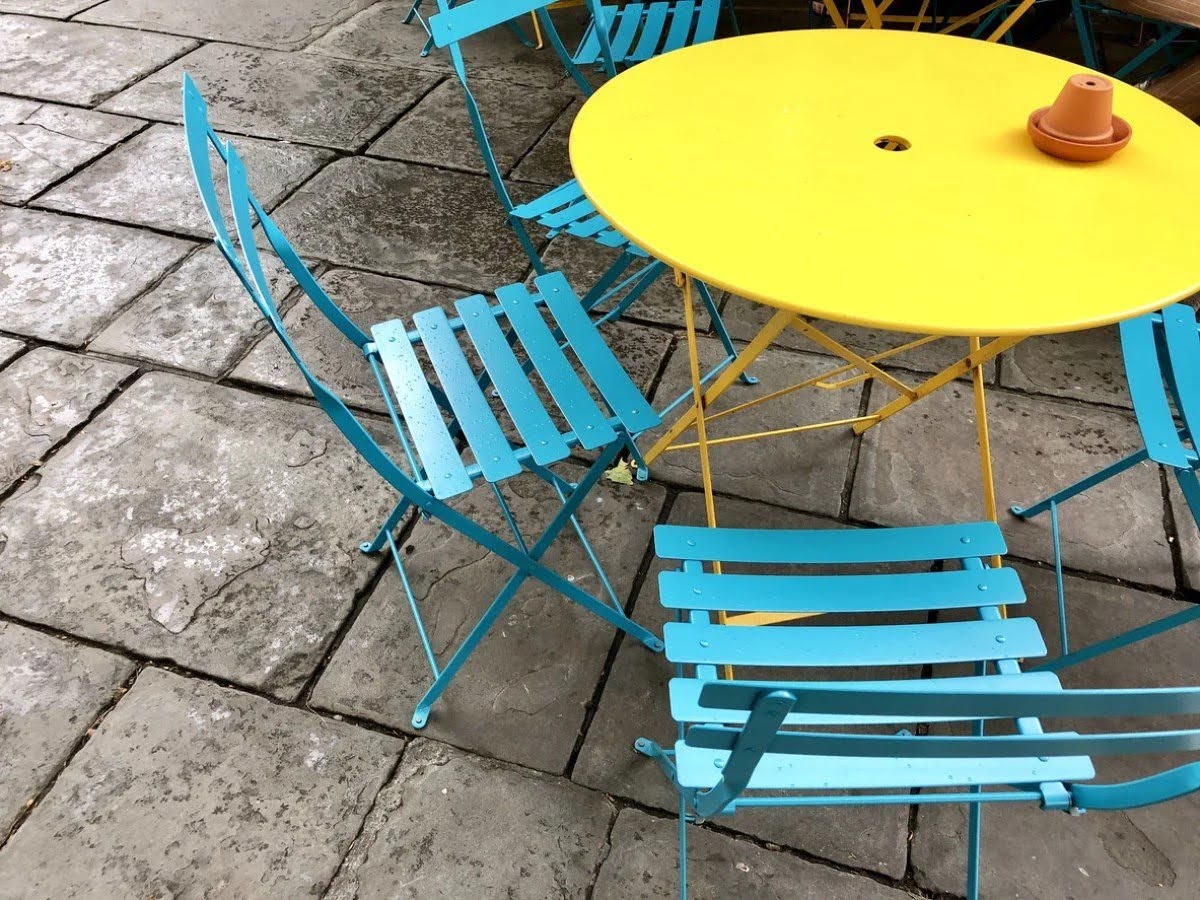
When it comes to outdoor furniture, metal patio furniture provides durability and style that can withstand various weather conditions. However, over time, the paint on metal patio furniture can start to chip, fade, or show signs of rust. Rather than buying new furniture, repainting your metal patio furniture is a cost-effective way to revitalize its appearance and extend its lifespan. In this article, we will guide you through the process of repainting your metal patio furniture, from preparation to the final touches.
Before you begin, it’s important to note that different types of metal may require different painting techniques. For example, wrought iron furniture may require additional steps to remove rust, while aluminum furniture may require a specific type of paint. Always refer to the manufacturer’s recommendations for your specific furniture.
Repainting your metal patio furniture not only improves its appearance but also protects it from further damage. The process involves several steps, including cleaning, rust removal, sanding, priming, painting, and applying a clear coat. By following these steps and using the right materials, you can achieve professional-looking results.
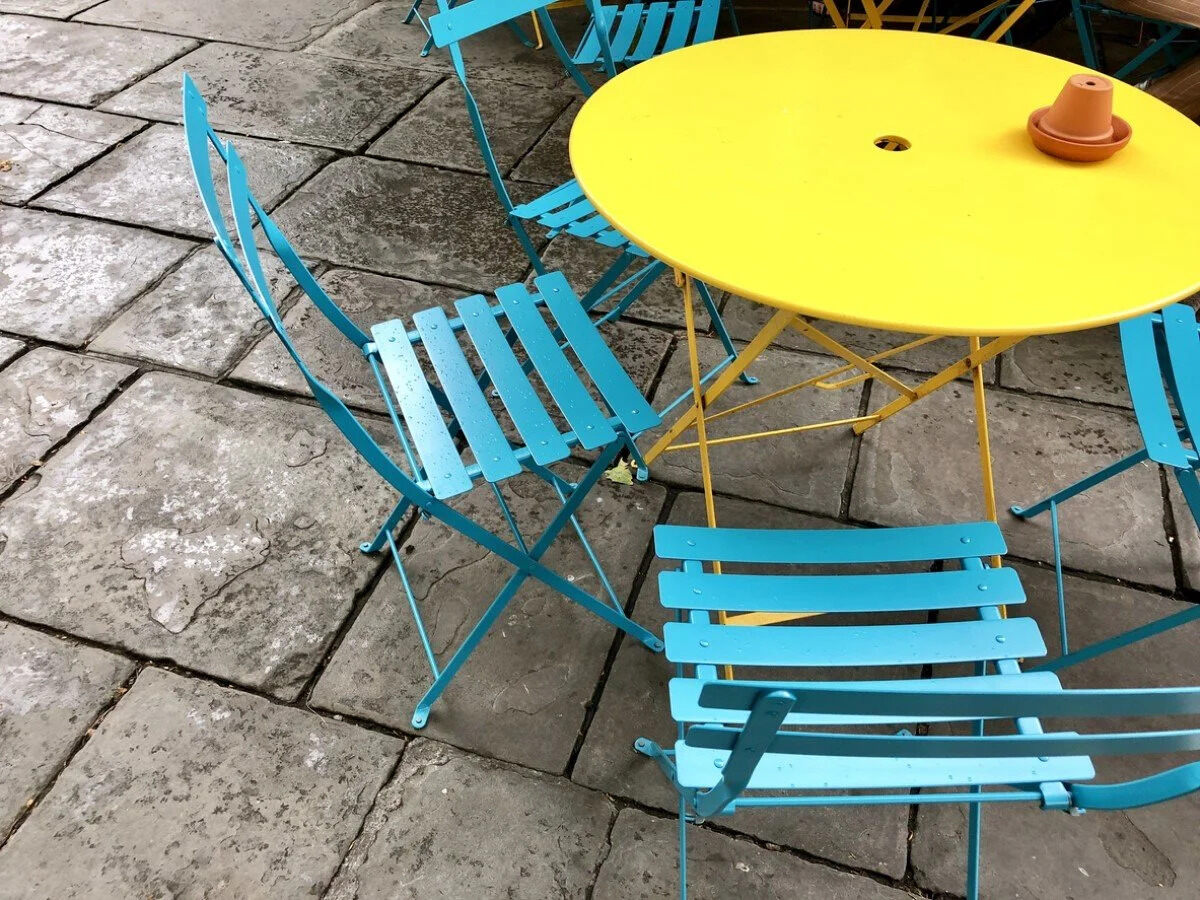
So, grab your paintbrushes and let’s get started on transforming your worn-out metal patio furniture into a vibrant and attractive outdoor oasis!
Key Takeaways:
- Revitalize your outdoor space by repainting metal patio furniture with proper preparation, cleaning, rust removal, and applying a clear coat for a vibrant and long-lasting finish.
- Transform worn-out metal patio furniture into a stunning outdoor oasis with the right tools, materials, and step-by-step guidance for professional-looking results and extended furniture lifespan.
Read more: How To Repaint Wrought Iron Patio Furniture
Step 1: Preparation
Before you start repainting your metal patio furniture, it’s crucial to make sure you have all the necessary tools and materials ready. Here’s what you’ll need:
- Protective gear: Wear gloves, safety glasses, and a dust mask to protect yourself from any potential hazards.
- Drop cloths or plastic sheets: Lay down drop cloths or plastic sheets to protect the surrounding area from paint drips or spills.
- Cleaning supplies: Gather a bucket, mild detergent, a sponge or soft cloth, and a hose for cleaning the furniture.
- Rust remover (if applicable): If your metal patio furniture has rust spots, you’ll need a rust remover solution or a wire brush for rust removal.
- Sandpaper or a sanding block: Depending on the condition of the furniture, you’ll need medium to fine-grit sandpaper or a sanding block for surface preparation.
- Primer: Choose a high-quality metal primer that is suitable for outdoor use. Check the label to ensure compatibility with your chosen paint.
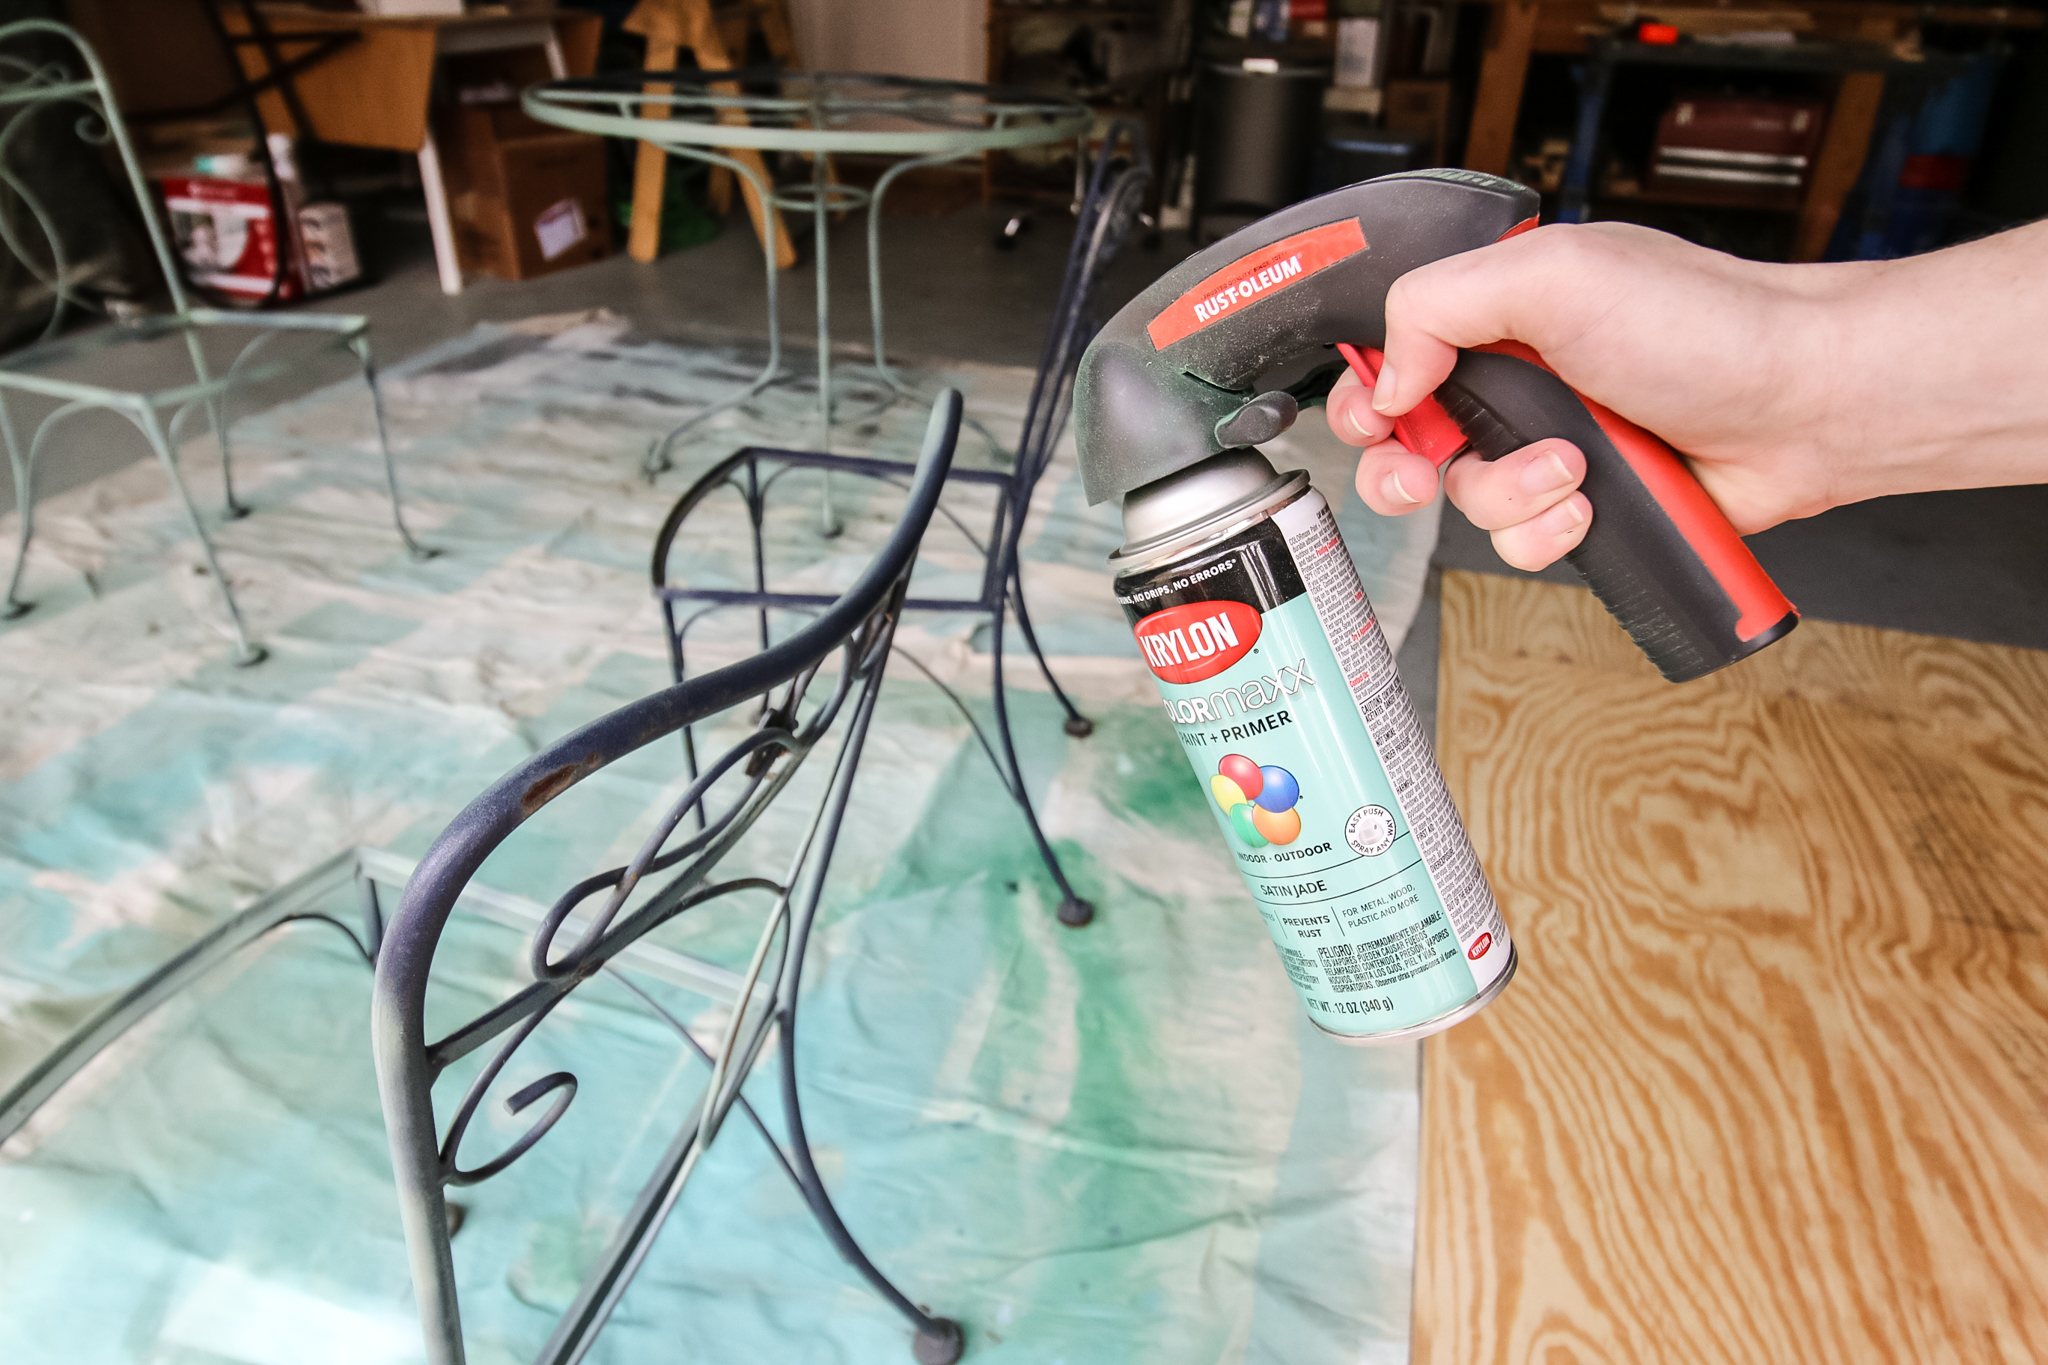
- Paint: Select a paint specifically designed for metal surfaces, such as spray paint or enamel paint. Consider the color you want and whether you prefer a matte, satin, or glossy finish.
- Clear coat (optional): If you want to add an extra layer of protection and durability to the paint, you can use a clear coat specifically formulated for outdoor use.
- Paintbrushes or paint sprayer: Depending on your preference, choose either high-quality paintbrushes or a paint sprayer for applying the paint.
Once you have gathered all the necessary materials, the next step is to prepare the furniture for painting. Start by removing any cushions or fabric covers and set them aside. If there are any loose or damaged parts, tighten or repair them before proceeding. Inspect the furniture for any signs of rust or corrosion and take note of areas that require additional attention.
Now that you have everything prepared and inspected, you’re ready to move on to the next step: cleaning the furniture thoroughly.
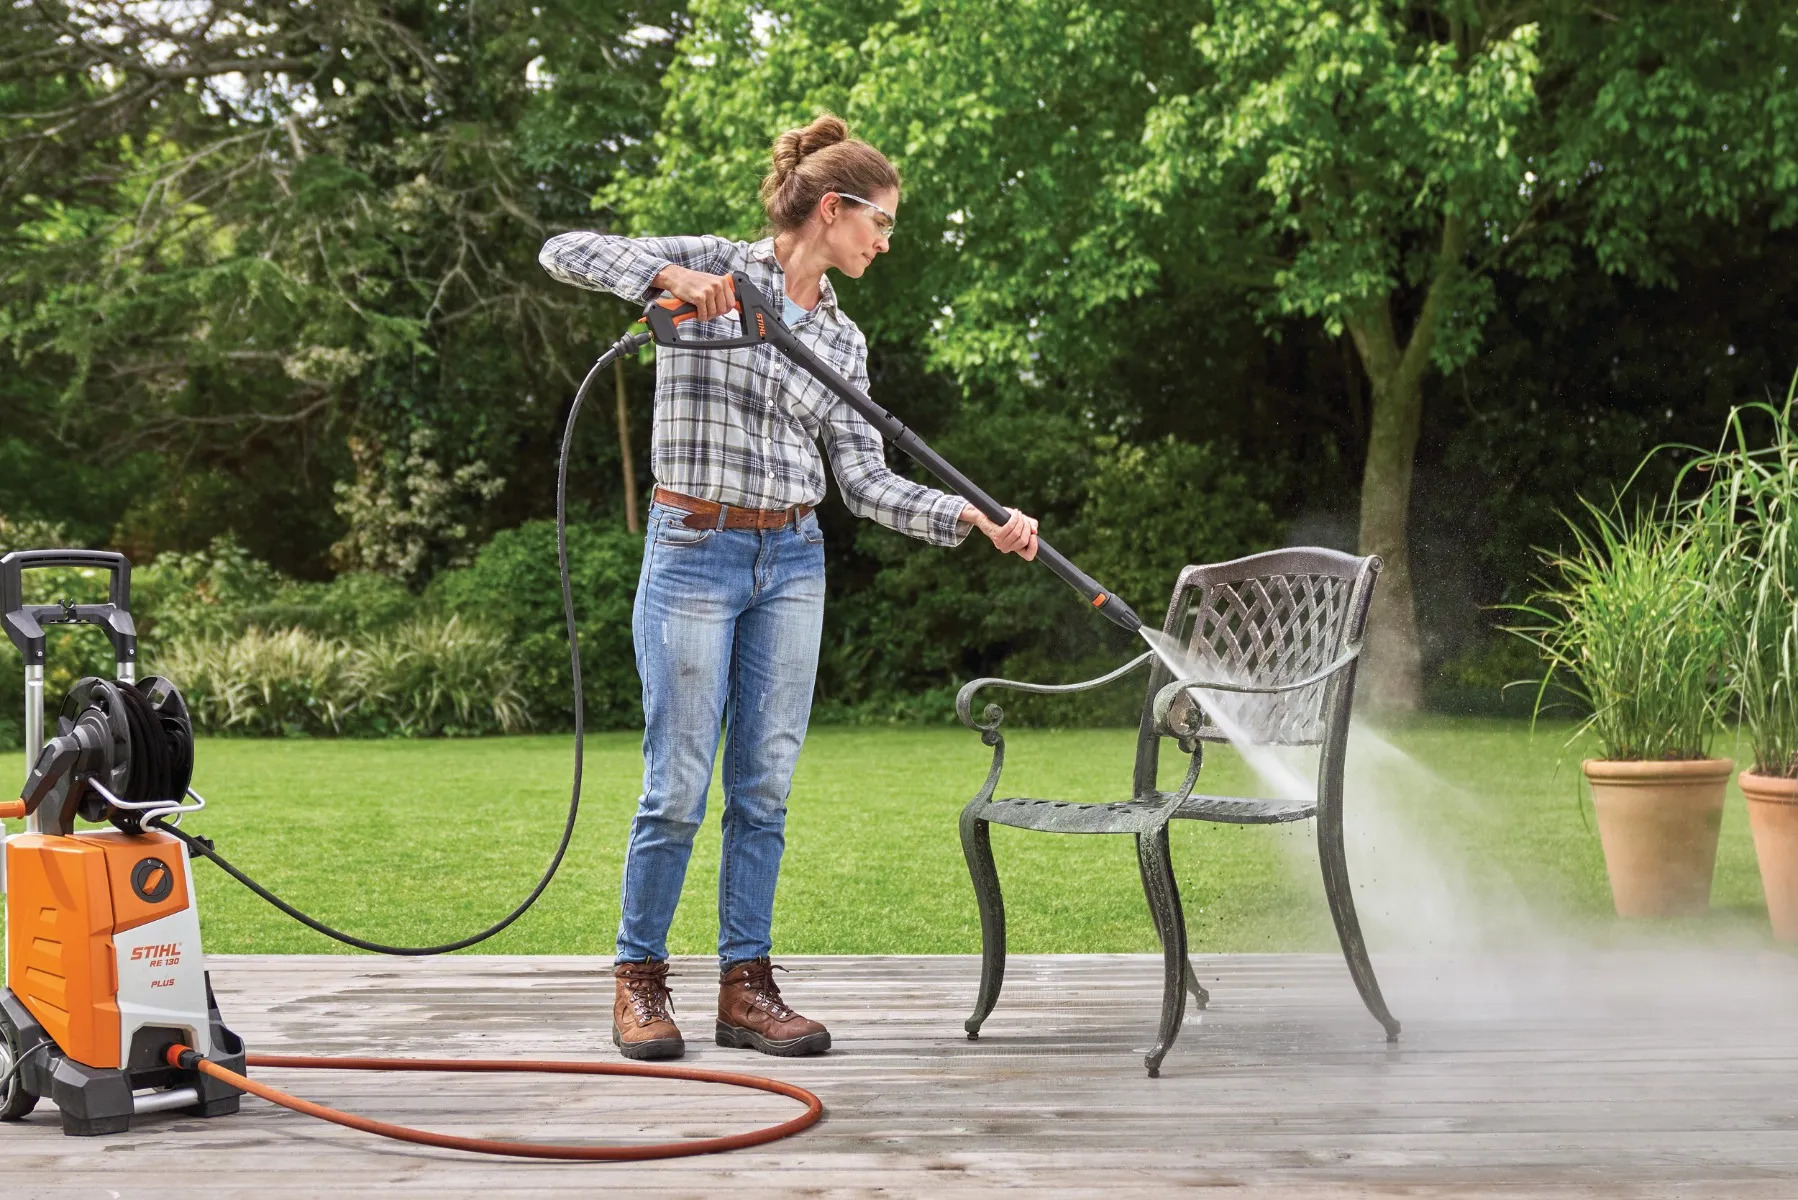
Step 2: Cleaning the Furniture
Proper cleaning is essential to ensure that the paint adheres well to the surface of your metal patio furniture. Follow these steps to effectively clean your furniture:
- Start by removing any loose debris or dirt from the furniture using a soft brush or cloth. This will prevent scratching the surface during the cleaning process.
- Prepare a mixture of mild detergent and warm water in a bucket. Avoid using harsh chemicals or abrasive cleaners, as they can damage the metal finish.
- Dip a sponge or soft cloth into the soapy water and gently scrub the entire surface of the furniture. Pay extra attention to areas with dirt or stains. For stubborn stains, you may need to apply a bit of pressure, but be cautious not to damage the metal.
- Rinse off the soap residue with a hose, ensuring that you thoroughly remove all the cleaning solution. Make sure to reach all the nooks and crannies of the furniture.
- Inspect the furniture again for any remaining dirt, grime, or grease spots. If necessary, repeat the cleaning process until the furniture is spotless.
- After cleaning, allow the furniture to dry completely before moving on to the next steps. You can either let it air dry or use a clean cloth to wipe away excess moisture.
By properly cleaning your metal patio furniture, you remove any surface contaminants that can affect the adhesion of the paint. This ensures a smooth and long-lasting finish. With a clean and dry surface, you’re now ready to tackle any rust spots that may be present on your furniture.
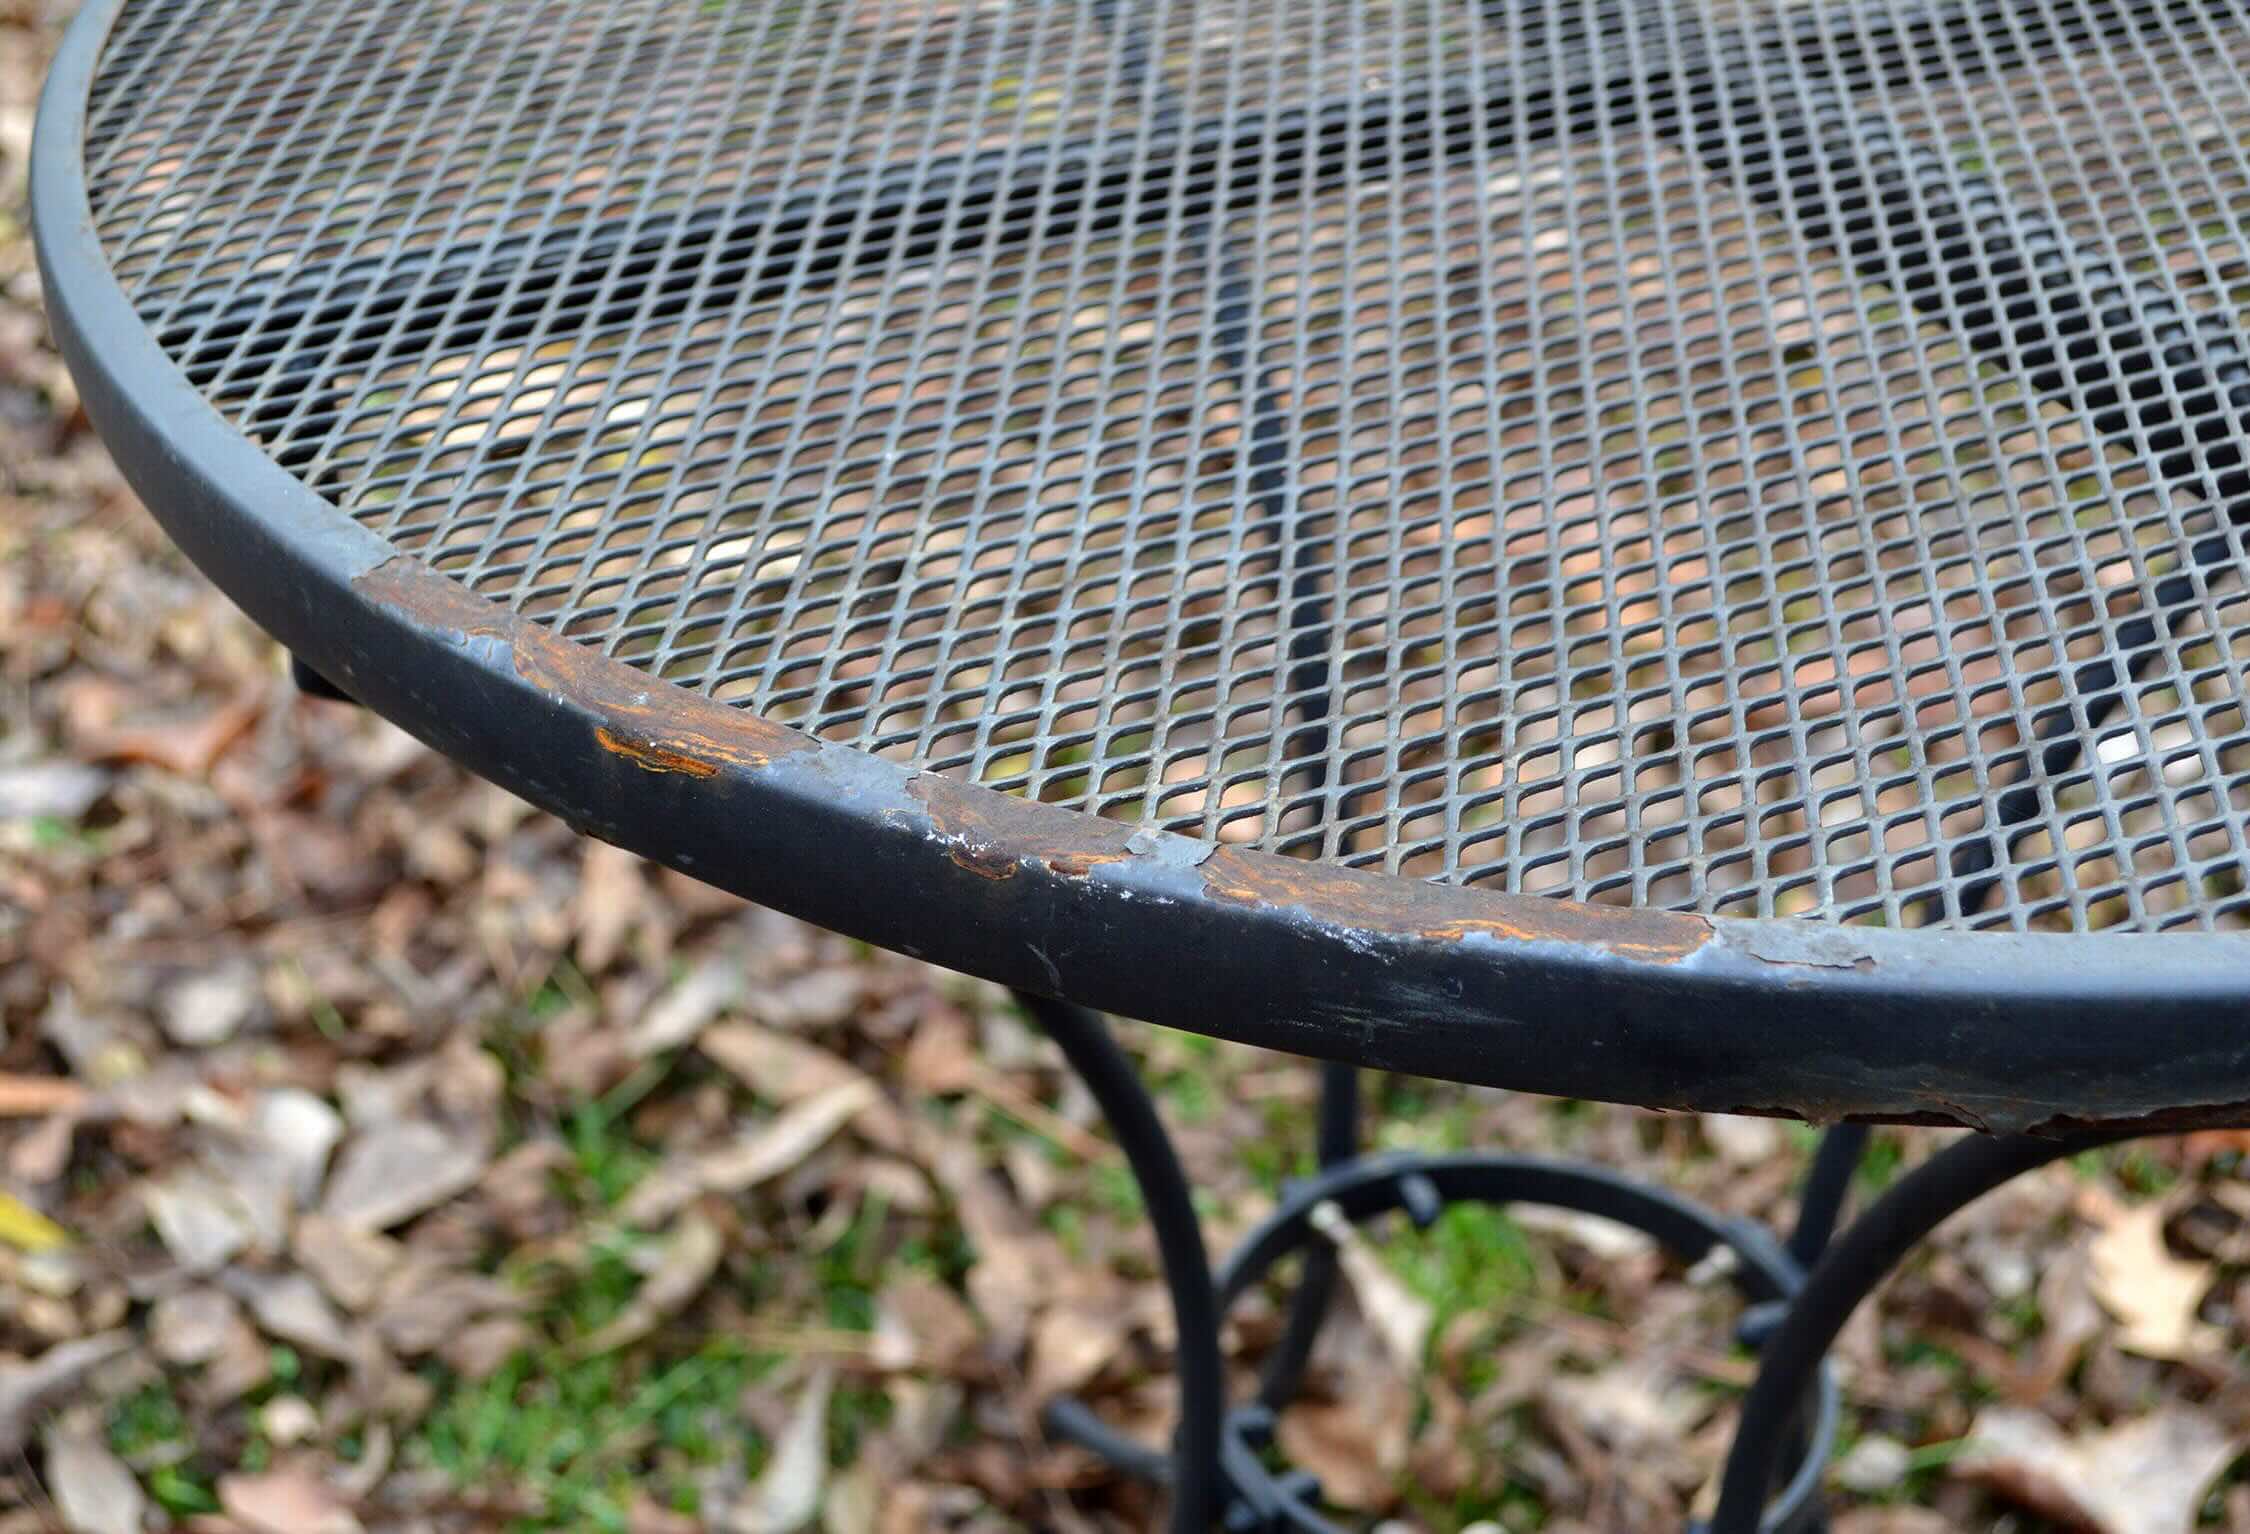
Step 3: Removing Rust
If your metal patio furniture has any rust spots, it’s crucial to remove them before proceeding with the repainting process. Here are some methods you can use to effectively remove rust:
- Wire Brush: For light surface rust, a wire brush can be used to scrub away the rust. Use back and forth motions to gently scrape off the rust particles. Be careful not to apply too much pressure, as this can damage the underlying metal.
- Vinegar: Vinegar is a natural rust remover that is often readily available in most households. Soak a cloth or sponge in vinegar and apply it to the rusted areas. Leave it for a few hours, allowing the vinegar to break down the rust. Use a brush or cloth to scrub away the loosened rust. Rinse the furniture with water and dry it thoroughly.
- Rust Dissolver: Rust dissolver products can effectively remove stubborn rust. Apply the rust dissolver to the affected areas following the manufacturer’s instructions. Leave it for the recommended amount of time, allowing the product to dissolve the rust. Once the rust is loosened, use a brush or cloth to scrub it away. Rinse the furniture with water and ensure it is completely dry.
- Sandpaper: For more severe rust, sandpaper can be used to gently sand away the rusted areas. Start with a coarse-grit sandpaper and gradually progress to a finer grit to achieve a smooth surface. Wet sanding can help reduce dust and keep the sandpaper from clogging. After sanding, wipe away any residue and ensure the surface is clean and dry.
After removing the rust, inspect the furniture to ensure that all the rusted areas have been adequately treated. If there are any remaining traces of rust, repeat the appropriate method until the furniture is rust-free. Once the rust has been successfully removed, you can move on to preparing the surface for painting.
Remember, rust removal is crucial for ensuring that the paint adheres properly and that your metal patio furniture remains in pristine condition. Taking the time to remove rust before repainting helps to prevent further corrosion and prolong the life of your furniture.
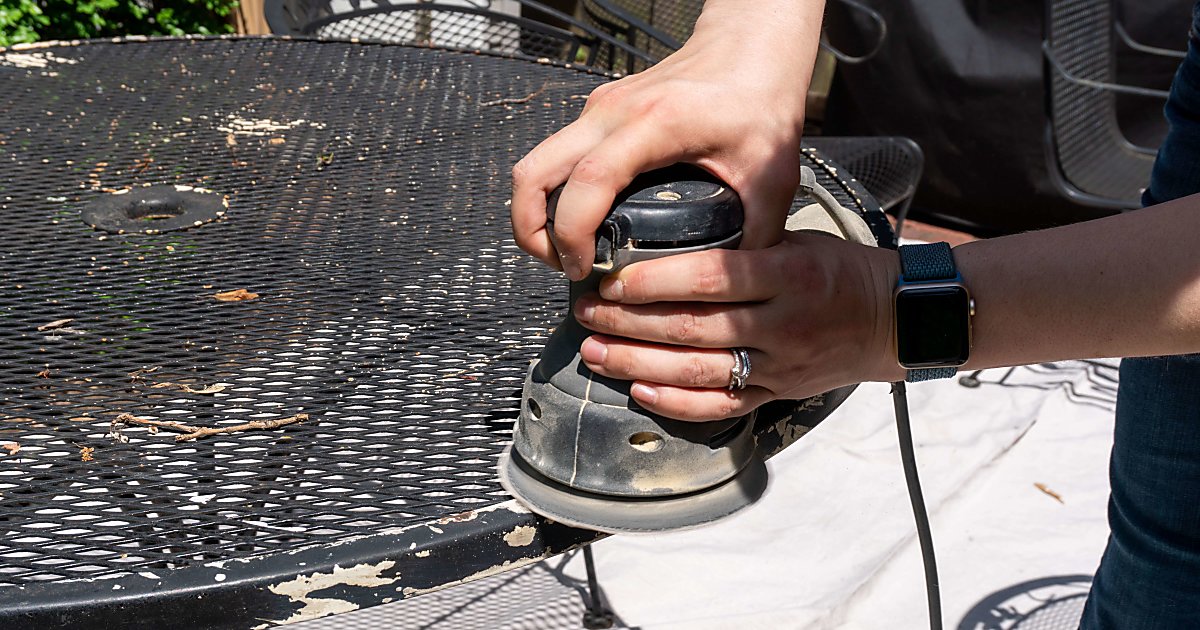
Step 4: Sanding the Surface
After cleaning your metal patio furniture and removing any rust spots, the next step is to sand the surface. Sanding helps to create a smooth and even surface, allowing the paint to adhere properly and ensuring a professional finish. Follow these steps to sand your furniture:
- Start by selecting the appropriate sandpaper grit. For most metal patio furniture, a medium to fine-grit sandpaper, such as 120-180 grit, works well. If there are any rough or uneven areas, you can start with a coarser grit and then move to a finer grit.
- Use a sanding block or wrap the sandpaper around a flat object to evenly distribute the pressure. This helps to prevent over-sanding or creating uneven surfaces.
- Begin sanding the entire surface of the furniture using smooth and consistent motions. Sand in the direction of the grain or in circular motions, depending on the design of your furniture. Pay extra attention to areas that may have rough patches or remaining rust.
- Continue sanding until the surface feels smooth to the touch and any rough spots or imperfections are minimized. Remember to regularly check the surface to ensure even sanding and avoid excessive removal of the metal.
- After sanding, remove any dust or debris from the surface using a clean cloth or a brush. This helps to create a clean painting surface.
By sanding the surface of your metal patio furniture, you not only create a better surface for paint adhesion but also remove any remaining rust particles or old paint chips. This step is crucial for achieving a professional-looking finish and ensuring the longevity of the new paint.
Once you have completed sanding, you’re ready to move on to the next step: priming the furniture. Primer helps to create a strong bond between the metal surface and the paint, ensuring better durability and a smooth final coat. Stay tuned for Step 5!
Before repainting metal patio furniture, make sure to clean the surface thoroughly with a wire brush and soapy water to remove any rust or old paint. Sand the surface to create a smooth base for the new paint to adhere to. Apply a rust-inhibiting primer before painting to ensure a long-lasting finish.
Read more: How To Repaint Cast Aluminum Patio Furniture
Step 5: Priming the Furniture
Now that you have cleaned, removed rust, and sanded the surface of your metal patio furniture, it’s time to apply a primer. Primer serves as a preparatory coat that helps the paint adhere better and provides a smooth base for the final color. Follow these steps to prime your furniture:
- Choose a high-quality metal primer that is specifically designed for outdoor use. Look for a primer that is compatible with the type of paint you will be using.
- Read and follow the manufacturer’s instructions for the primer. Shake the can thoroughly to ensure proper mixing and application.
- Apply the primer in thin, even coats. It’s better to apply multiple light coats rather than one thick coat, as this allows for better adhesion and reduces the risk of drips or uneven coverage.
- Hold the spray can or paintbrush at a distance of about 8-12 inches from the furniture and apply the primer in smooth, sweeping motions. Ensure that you cover all surfaces, including hard-to-reach areas and crevices.
- Allow each coat of primer to dry according to the manufacturer’s instructions. Typically, this may take around 1-2 hours, but it’s important to check the specific drying time mentioned on the product label.
- Once the first coat is dry, lightly sand the furniture with fine-grit sandpaper to smooth out any imperfections or drips. Wipe away any sanding residue with a clean cloth.
- Apply additional coats of primer following the same process as before, allowing each coat to dry and sanding lightly between coats if necessary. Depending on the condition of your furniture and the type of primer used, 2-3 coats of primer may be sufficient.
- After the final coat of primer has dried, inspect the furniture to ensure a smooth and even primer application. The surface should feel uniform and ready for the next step, which is applying the paint.
By applying a primer, you create a strong foundation for the paint, enhancing its adhesion and improving the overall durability of the finished surface. The primer also helps to prevent the metal from rusting and ensures a more vibrant and long-lasting color when the paint is applied.
With the furniture properly primed, you’re now ready to add a splash of color and transform your metal patio furniture with your chosen paint. Stay tuned for Step 6: Applying the Paint!
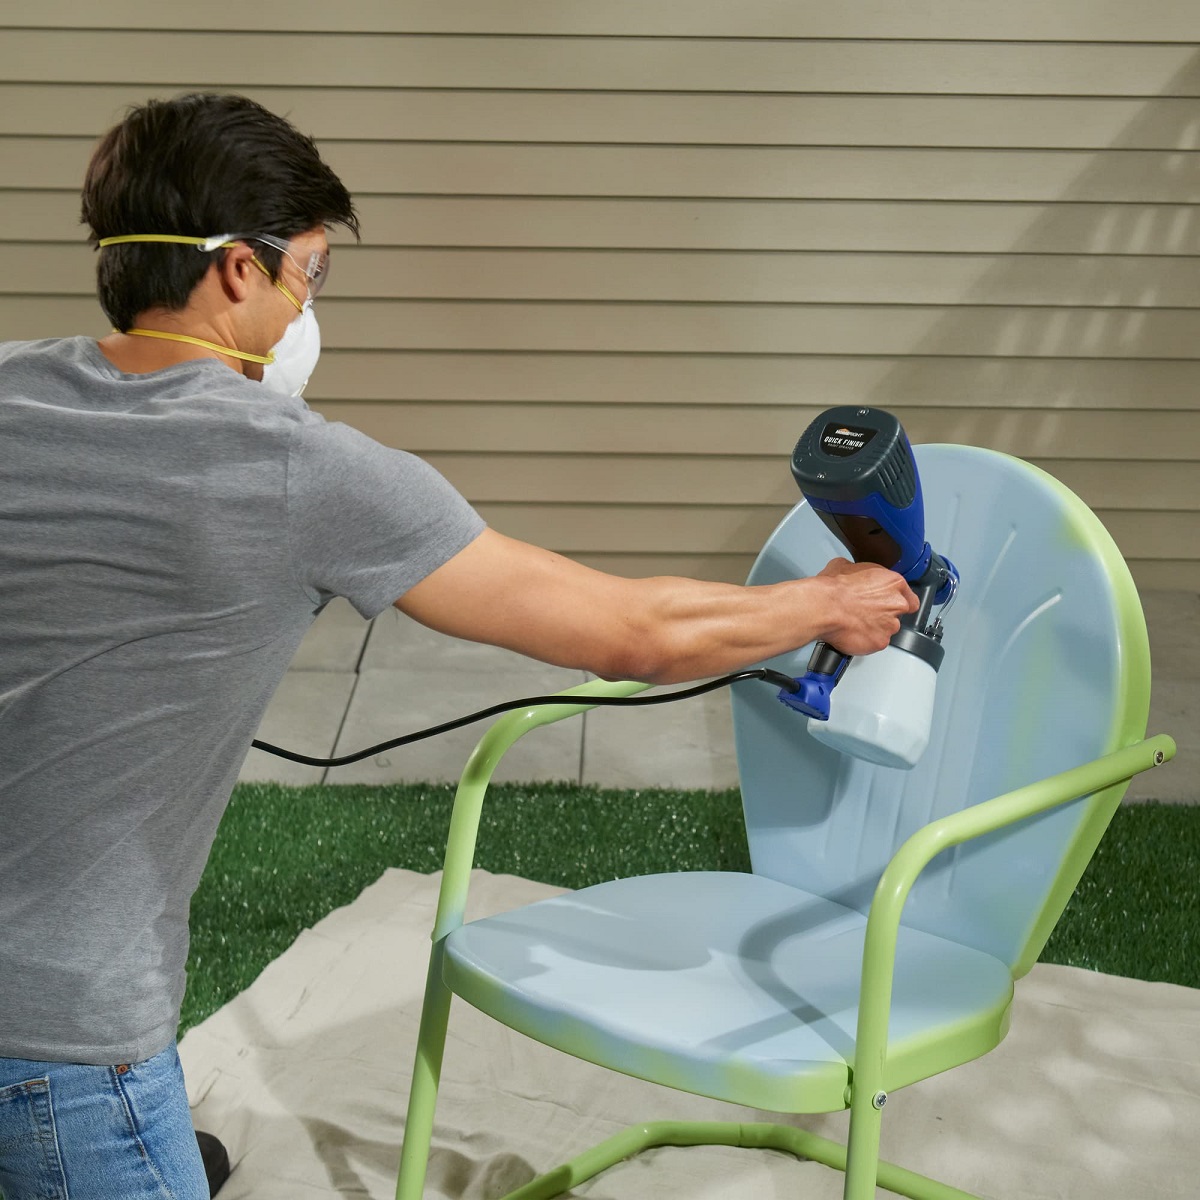
Step 6: Applying the Paint
After priming your metal patio furniture, it’s time to apply the paint and bring your vision to life. Follow these steps to achieve a smooth and flawless paint finish:
- Choose a high-quality paint that is specifically formulated for metal surfaces and suitable for outdoor use. Consider the color, finish (matte, satin, or glossy), and any special features you desire, such as UV protection or rust resistance.
- Read and follow the manufacturer’s instructions for the paint. Ensure that the paint is well-mixed and ready for application.
- If using spray paint, shake the can vigorously for the recommended time to mix the paint thoroughly.
- Hold the spray can or paintbrush at a distance of about 8-12 inches from the furniture. Apply the paint in light and even coats, using smooth and steady motions. Avoid over-spraying or applying too much paint at once to prevent drips and uneven coverage.
- Start with the flat and large surfaces of the furniture before moving on to smaller and intricate areas. Take your time to ensure that all surfaces are evenly coated and that no areas are missed.
- Allow each coat of paint to dry according to the manufacturer’s instructions. This may take anywhere from 1-2 hours, but it’s important to check the specific drying time mentioned on the paint can or product label.
- After the initial coat has dried, inspect the furniture for any imperfections or uneven areas. If needed, lightly sand the surface with fine-grit sandpaper and remove any sanding debris with a clean cloth.
- Apply additional coats of paint following the same process, allowing each coat to dry and sanding lightly between coats if necessary. Depending on the desired finish and the type of paint used, 2-3 coats of paint may be sufficient.
- Once you have achieved the desired paint coverage, allow the final coat to dry completely. This ensures that the paint fully cures and provides the best protection for your metal patio furniture.
As you apply the paint, keep in mind the weather conditions and the drying time required. It’s best to paint your furniture on a clear and dry day, avoiding high humidity or extreme temperatures.
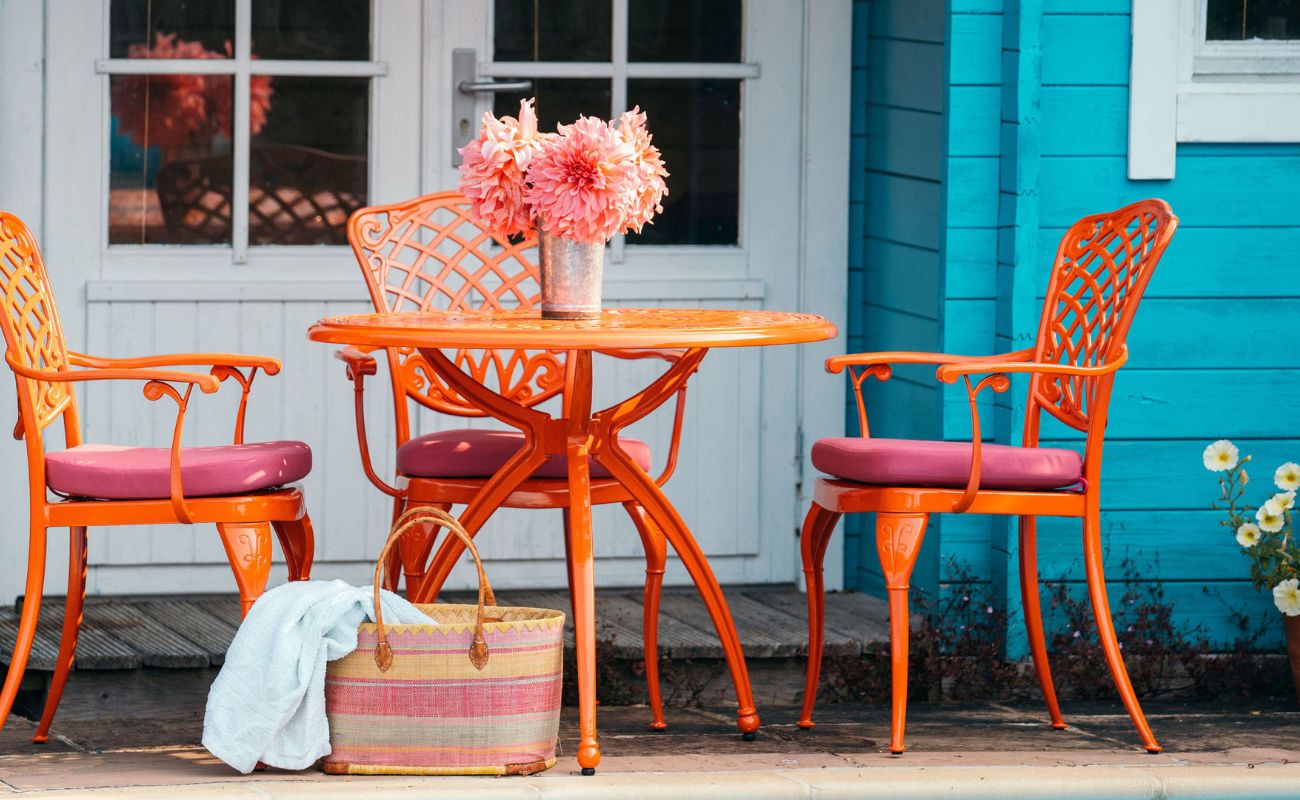
By applying a fresh coat of paint, you not only revitalize the appearance of your metal patio furniture but also provide an extra layer of protection against the elements. The paint helps to prevent rust, corrosion, and fading, ensuring that your furniture stands the test of time.
With the paint applied, your furniture is starting to look vibrant and brand new. In the next step, we will discuss the optional but recommended step of applying a clear coat for added protection and durability. Stay tuned for Step 7!
Step 7: Applying a Clear Coat
While applying a clear coat is optional, it is highly recommended to add an extra layer of protection to your recently painted metal patio furniture. The clear coat acts as a sealant, providing durability, UV resistance, and enhanced weather resistance. Follow these steps to apply a clear coat:
- Choose a clear coat specifically formulated for outdoor use and compatible with your chosen paint. Look for a clear coat that offers UV protection and is designed for metal surfaces.
- Read and follow the manufacturer’s instructions for the clear coat. Ensure that the clear coat is well-mixed and ready for application.
- If using spray-on clear coat, shake the can thoroughly to mix the contents.
- Hold the spray can or use a paintbrush, depending on the type of clear coat you have chosen. Apply a thin and even coat of clear coat over the entire surface of the furniture. Make sure to cover all areas, including corners and crevices.
- Allow the first coat of clear coat to dry according to the manufacturer’s instructions. This may take a few hours, but refer to the specific drying time mentioned on the product label.
- Inspect the furniture for any imperfections or areas that require additional coats of clear coat. If needed, lightly sand the surface with fine-grit sandpaper to create a smooth base for the additional coats.
- Apply additional coats of clear coat, allowing each coat to dry before applying the next. Follow the same process of thin and even coats, ensuring coverage over the entire surface of the furniture.
- Once you have achieved the desired level of clear coat protection, allow the final coat to dry completely. This ensures that the clear coat cures and provides the best possible protection for your repainted metal patio furniture.
Applying a clear coat not only adds an extra layer of protection but also enhances the longevity and appearance of your painted furniture. The clear coat helps to prevent fading, chipping, and peeling of the paint, ensuring that your furniture remains looking fresh and vibrant for years to come.
With the clear coat applied, your metal patio furniture is now complete. The final step involves adding some finishing touches and ensuring that your furniture is ready for use. Let’s move on to Step 8!
Step 8: Final Touches
You’ve almost reached the finish line! The final step involves adding some final touches to your repainted metal patio furniture to ensure it’s ready for use and to maintain its appearance and longevity. Here are some important final touches to consider:
- Inspect the furniture for any areas that may need touch-ups. If you notice any small spots or imperfections, use a small paintbrush to carefully apply the paint to those areas. This will help ensure a seamless finish.
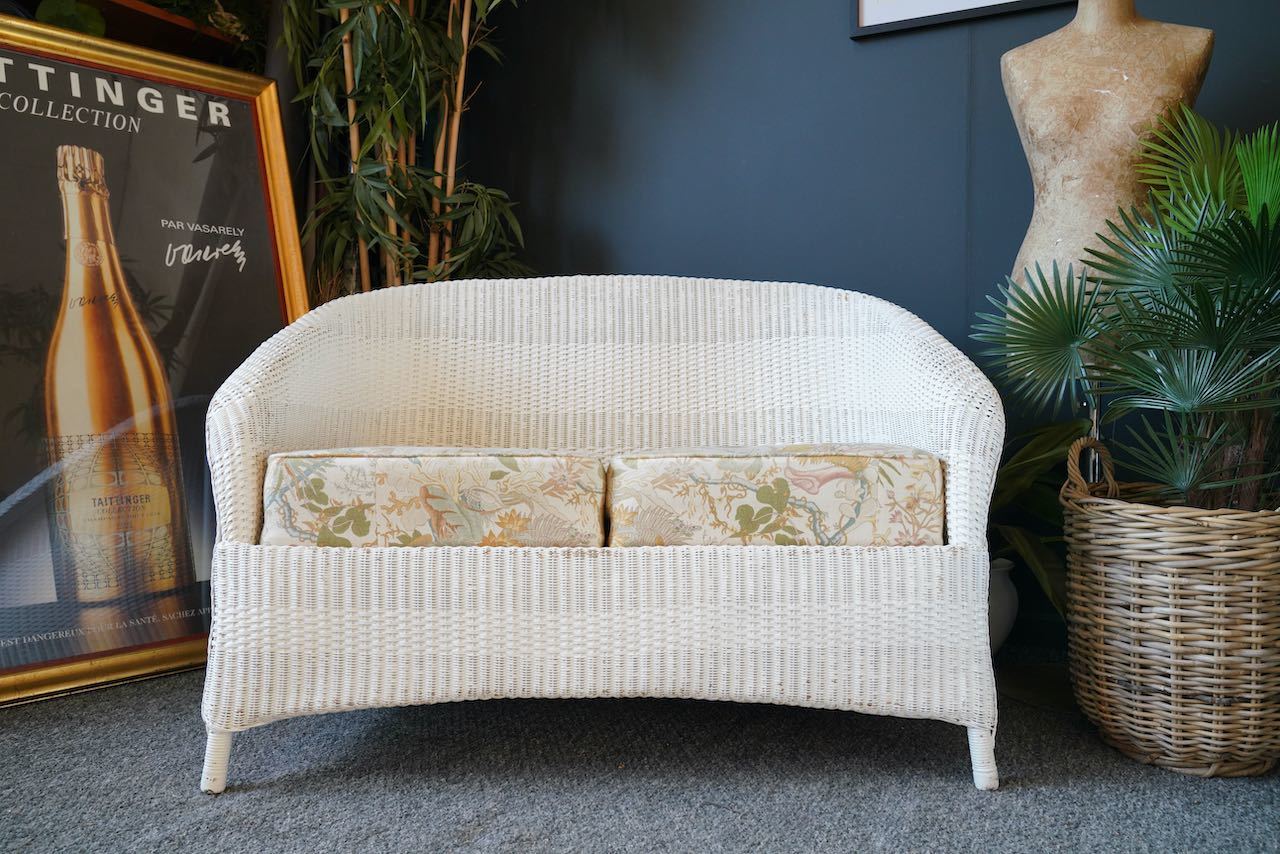
- If you removed cushions or fabric covers at the beginning of the process, now is the time to clean or replace them. Give them a wash or simply wipe them down to remove any dirt or dust that may have accumulated during the repainting process.
- Consider adding new accessories or accents to complement your newly repainted furniture. This could include outdoor cushions, pillows, or decorative items that enhance the overall aesthetic and create a cozy and inviting outdoor space.
- Take the time to clean and maintain your repainted metal patio furniture regularly. Use a mild detergent and water to clean the surface, and avoid abrasive cleaners or brushes that could damage the paint. Regular cleaning will help keep your furniture looking fresh and vibrant.
- Consider storing your furniture during harsh weather conditions or when it’s not in use for an extended period. This will help protect it from the elements and prolong its lifespan.
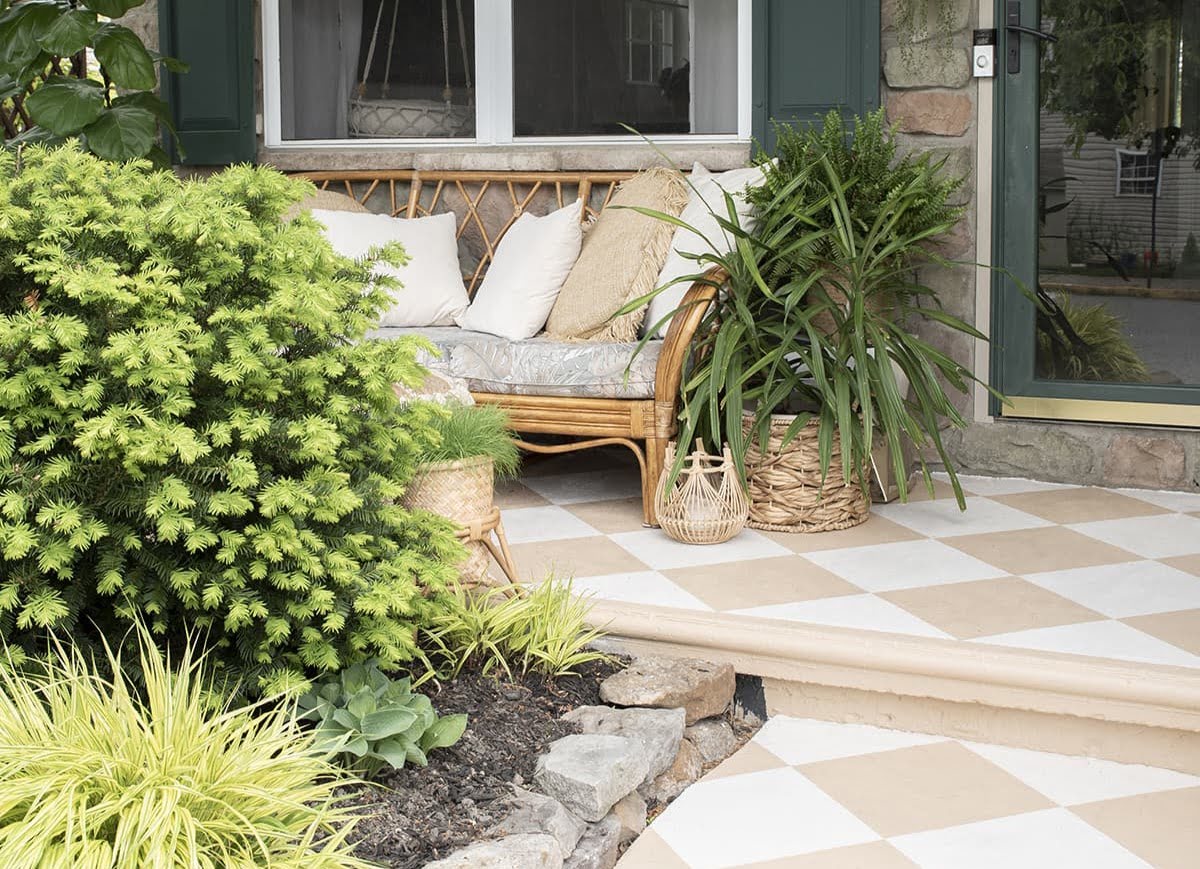
- Lastly, sit back, relax, and enjoy your newly repainted metal patio furniture! Take pride in the fact that you have transformed worn-out furniture into a stunning piece that will enhance your outdoor space for years to come.
By giving attention to these final touches, you ensure that your repainted metal patio furniture is not only visually appealing but also well-maintained and protected for long-term use.
Congratulations! You have successfully repainted your metal patio furniture, breathing new life into it and creating a beautiful space to enjoy outdoor moments. With proper care and maintenance, your furniture will continue to enhance your outdoor experience for years to come.
Thank you for following this step-by-step guide, and we hope you find joy in your revamped metal patio furniture!
Read more: How To Shine Metal Patio Furniture
Conclusion
Repainting your metal patio furniture is a rewarding and cost-effective way to breathe new life into worn-out pieces and transform your outdoor space. By following the step-by-step guide outlined in this article, you can achieve professional-looking results and prolong the lifespan of your furniture.
Preparation, cleaning, rust removal, sanding, priming, painting, and applying a clear coat are the essential steps involved in repainting metal patio furniture. Each step plays a crucial role in ensuring proper adhesion, durability, and a flawless finish.
Through proper preparation and cleaning, you create the ideal surface for paint application. Removing rust and sanding the surface result in a smooth base that improves paint adhesion and creates an even finish. Priming the furniture enhances paint durability and protects against rust and corrosion. Applying the paint and clear coat add color and an extra layer of protection, increasing the longevity of your furniture.
Remember to choose high-quality products specifically designed for outdoor use, and always follow the manufacturer’s instructions. Taking the time to properly care for your furniture, including regular cleaning and maintenance, will help preserve its beauty and extend its lifespan.
As you relax and enjoy your revamped metal patio furniture, take pride in the fact that you have saved money, reduced waste, and created a stunning outdoor space. Spend quality time with family and friends, creating lasting memories in a comfortable and stylish environment.
So, gather your supplies, put on your painting clothes, and embark on this exciting journey of repainting your metal patio furniture. Get ready to transform your outdoor oasis and enjoy the beauty and functionality of your revamped furniture for years to come!
Frequently Asked Questions about How To Repaint Metal Patio Furniture
Was this page helpful?
At Storables.com, we guarantee accurate and reliable information. Our content, validated by Expert Board Contributors, is crafted following stringent Editorial Policies. We're committed to providing you with well-researched, expert-backed insights for all your informational needs.


0 thoughts on “How To Repaint Metal Patio Furniture”