
Articles
How To Repaint Wood Furniture
Modified: January 23, 2024
Learn how to easily repaint wood furniture and give it a fresh look. Discover the best techniques and tips for furniture painting.
(Many of the links in this article redirect to a specific reviewed product. Your purchase of these products through affiliate links helps to generate commission for Storables.com, at no extra cost. Learn more)
Introduction
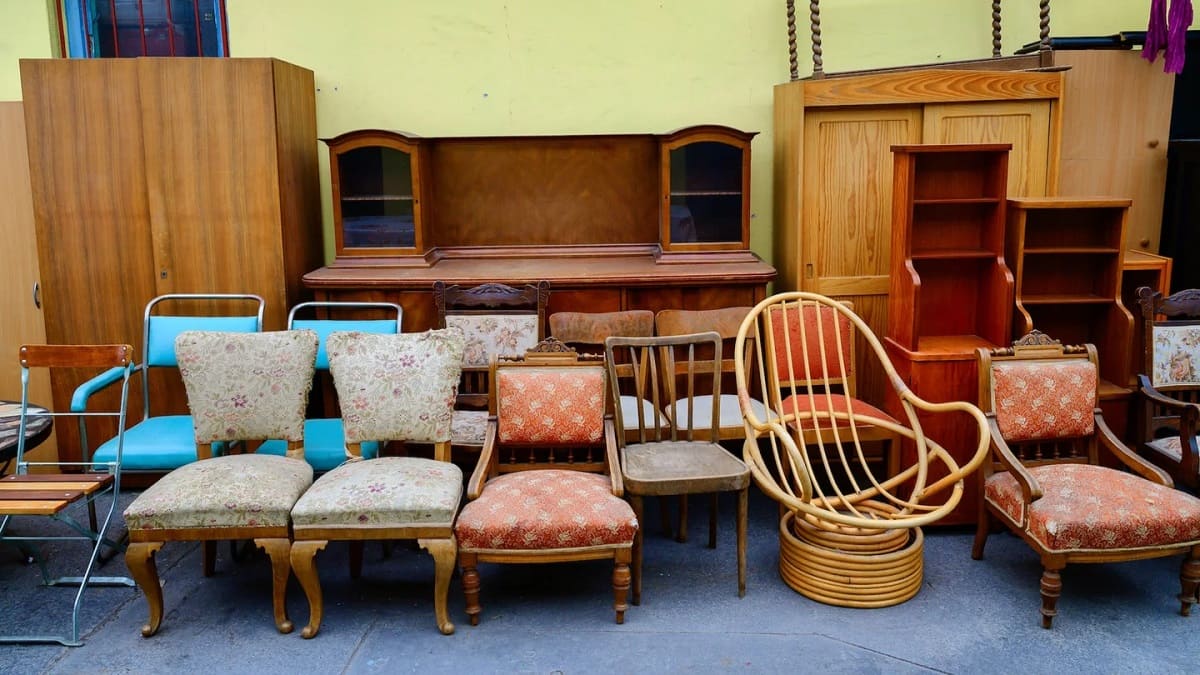
Welcome to our comprehensive guide on how to repaint wood furniture. Whether you have an old piece of furniture that needs a fresh coat of paint or you’re looking to transform a thrift store find, repainting wood furniture is a great way to breathe new life into your home decor. Not only does repainting give you the opportunity to update the style of the piece, but it can also help protect the wood from wear and tear.
In this article, we will walk you through the step-by-step process of repainting wood furniture. From preparing the surface to applying the paint and adding a protective finish, we’ll cover everything you need to know to achieve professional-looking results. So, grab your paintbrushes and let’s get started!
Key Takeaways:
- Repainting wood furniture involves thorough preparation, including cleaning, sanding, and applying primer, to achieve a professional and long-lasting finish. Choosing the right paint and protective finish is crucial for durability and aesthetic appeal.
- Transform old or worn-out wood furniture into stylish pieces that reflect your personal style and enhance your living space. Take your time, experiment with different techniques, and enjoy the creative process of repainting furniture.
Read more: How To Repaint Metal Patio Furniture
Supplies Needed
Before you begin the repainting process, it’s important to gather all the necessary supplies. Here’s a list of the items you’ll need:
- Sandpaper (medium and fine grit)
- Tack cloth
- Primer
- Paintbrushes (various sizes)
- Paint rollers
- Paint tray
- Painter’s tape
- Drop cloths or newspapers
- Paint of your choice
- Clear coat or sealant
- Optional: Paint sprayer
Having all these supplies prepared and easily accessible will make the repainting process smoother and more efficient.
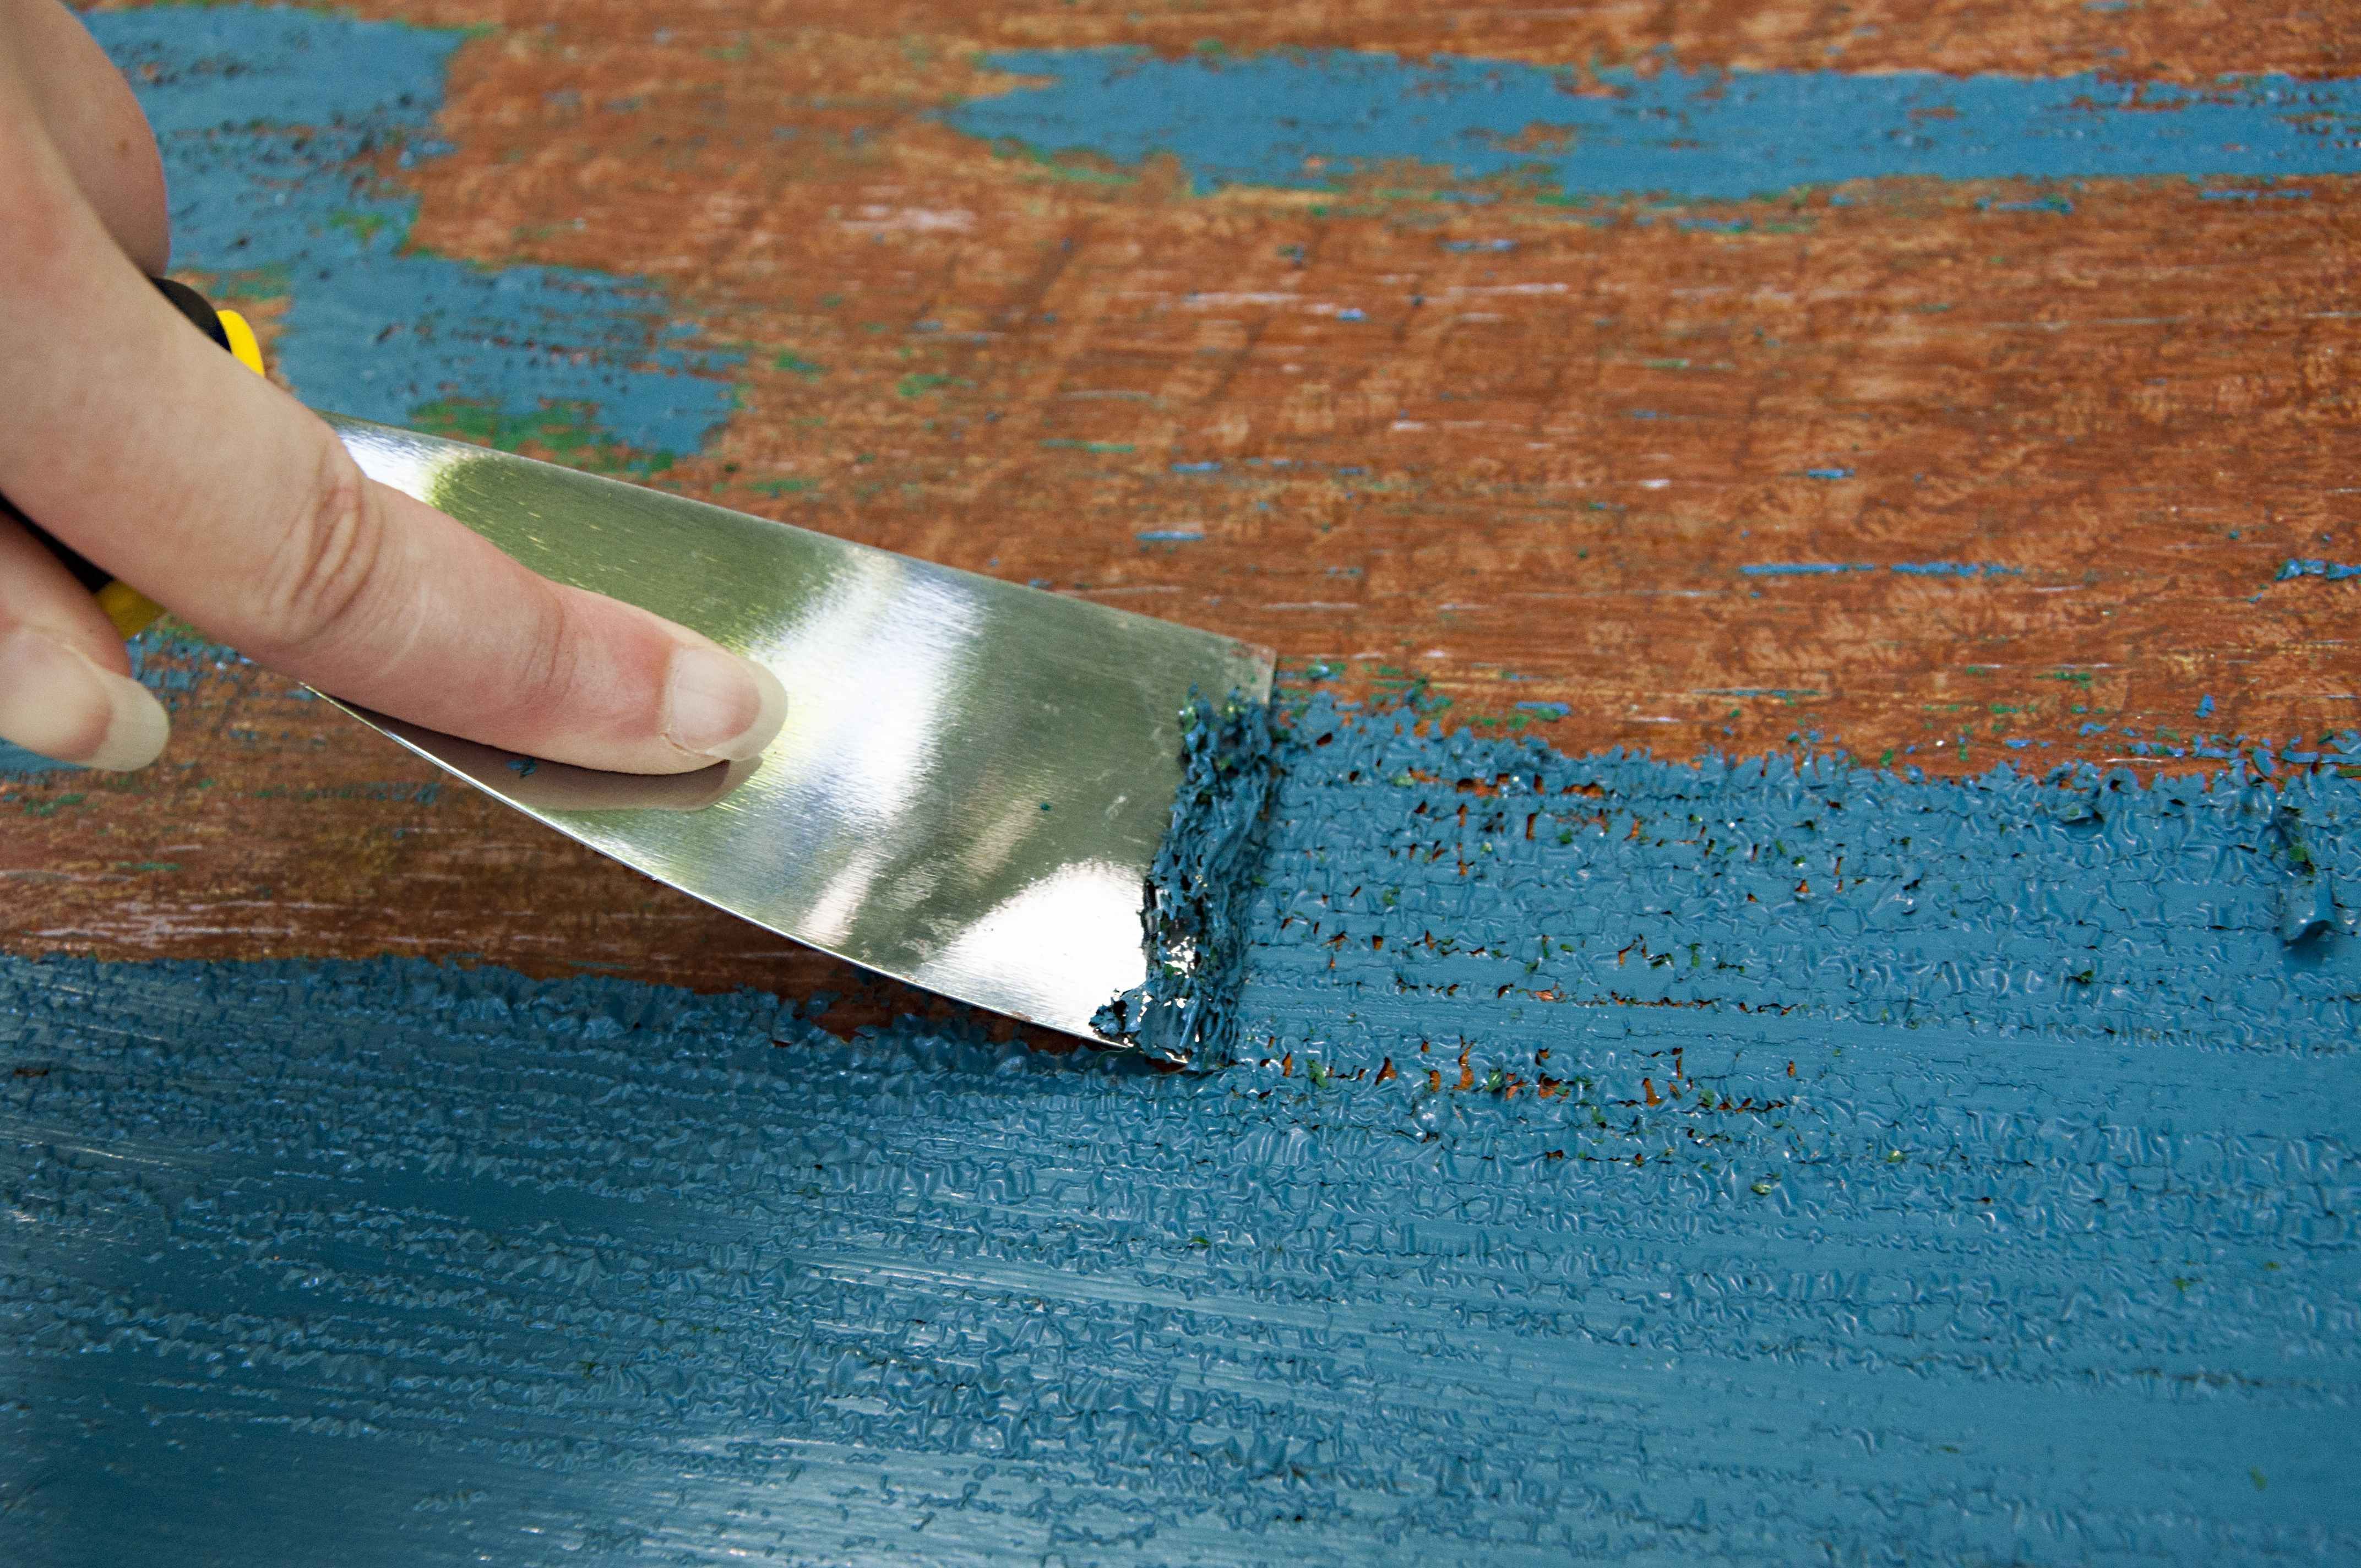
Preparing the Furniture
Before you can start repainting your wood furniture, it’s important to properly prepare the surface. Follow these steps to ensure a smooth and successful painting process:
- Clear the Area: Start by removing any objects or decor items from around the furniture to create a clean and clutter-free workspace.
- Clean the Furniture: Use a mild cleaner or a mixture of water and dish soap to clean off any dirt, grease, or grime from the surface of the furniture. This will help the paint adhere better and result in a smoother finish.
- Remove Hardware: If your furniture has any knobs, handles, or hinges, consider removing them before painting. This will make the painting process easier and prevent them from getting accidentally coated in paint.
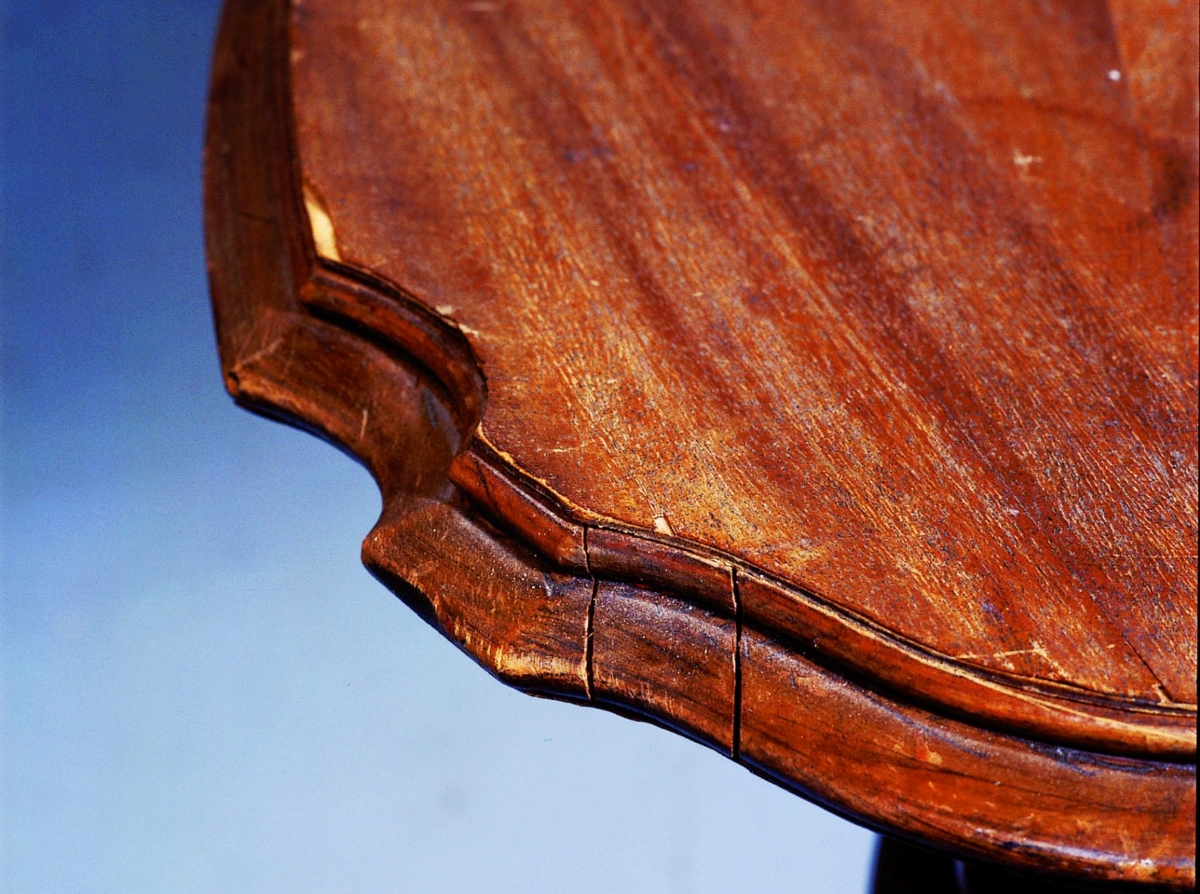
- Fill in Imperfections: Inspect the furniture for any scratches, dents, or holes. Use wood filler or putty to fill in these imperfections and ensure a smooth and even surface for painting.
- Sand the Surface: Use medium-grit sandpaper to lightly sand the entire surface of the furniture. This will roughen up the existing finish and remove any glossy or uneven areas.
- Wipe Off Dust: After sanding, use a tack cloth to remove any dust or debris from the furniture. This step is crucial to ensure proper adhesion of both the primer and the paint.
By taking the time to properly prepare your furniture, you’ll create a clean and ideal canvas for the painting process. This will ultimately result in a professional-looking and long-lasting finish.
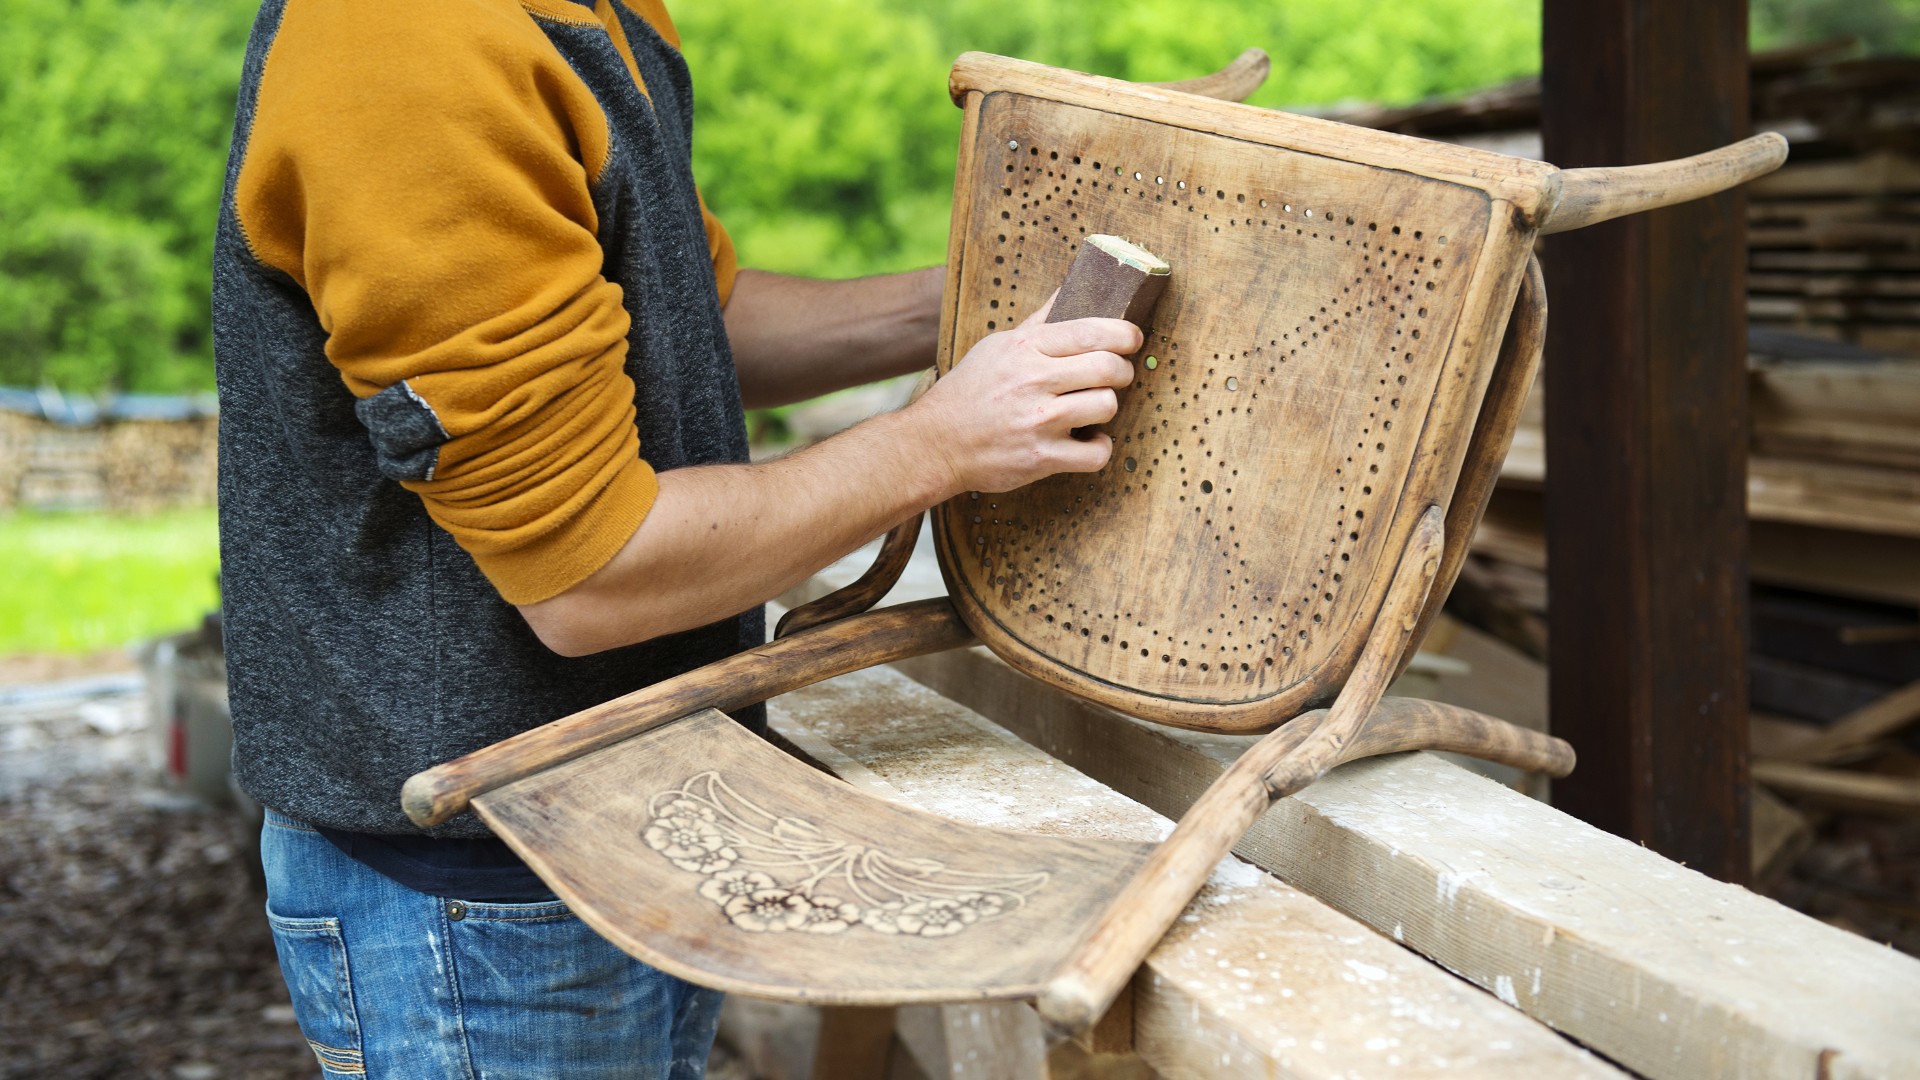
Sanding the Surface
Once you have cleaned and prepared the furniture, the next step is to sand the surface. Sanding helps to smooth out any rough areas, remove previous paint or varnish, and create a better bonding surface for the primer and paint. Follow these steps to effectively sand the wood furniture:
- Select the Right Sandpaper: Choose the appropriate grit sandpaper for your project. For initial sanding, use medium-grit sandpaper (around 120 to 150 grit). For final sanding and achieving a smoother finish, switch to a finer grit sandpaper (around 220 to 320 grit).
- Sand in the Direction of the Grain: Always sand in the direction of the wood grain. This will help to avoid scratches and maintain a consistent appearance.
- Apply Light Pressure: As you sand, apply gentle and even pressure. Avoid pressing too hard, as it can damage the wood surface.
- Sand All Surfaces: Sand not only the top and sides of the furniture but also any intricate details or hard-to-reach areas. Use a sanding block or wrapped sandpaper for better control and uniformity.
- Check for Smoothness: After sanding, run your hand over the surface to ensure it feels smooth and even. If you come across any rough patches or imperfections, continue sanding until they are smoothed out.
- Remove Dust After Sanding: Wipe down the furniture with a tack cloth once you are finished sanding. This will remove any residual sanding dust, ensuring a clean surface for the next steps.
Sanding is a crucial step in achieving a professional-looking paint finish. By properly sanding the surface, you create an ideal foundation for the primer and paint to adhere to, resulting in a smooth and long-lasting finish.
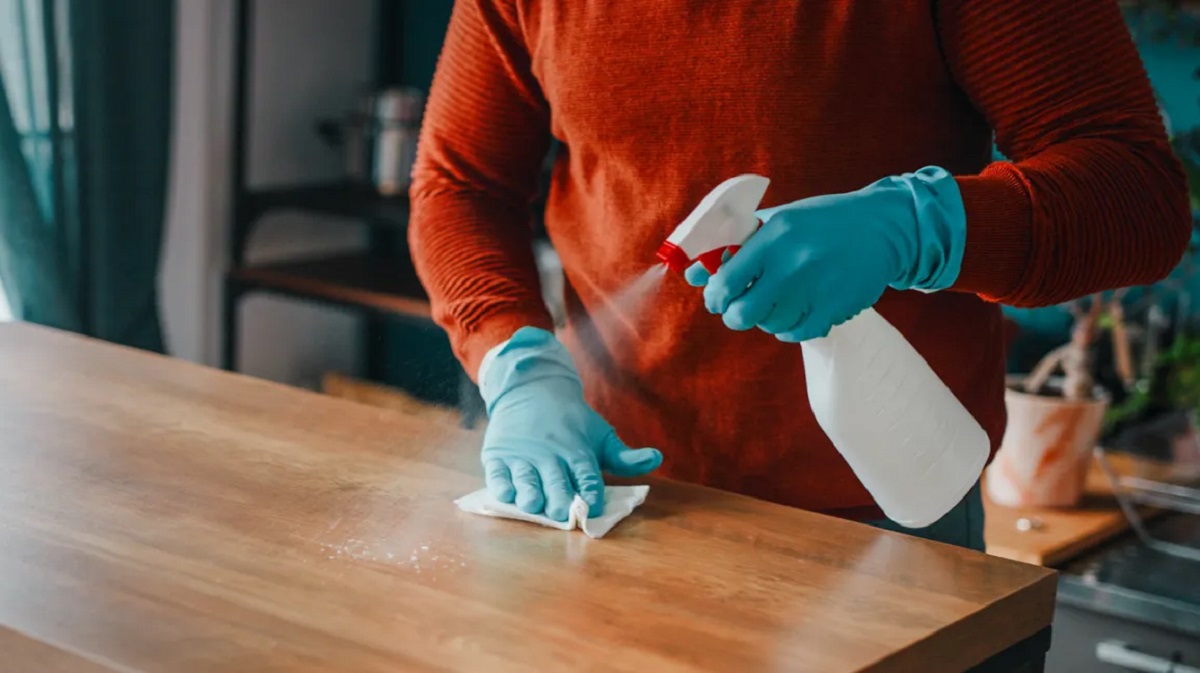
Cleaning the Surface
After sanding the surface, it’s important to thoroughly clean the furniture before proceeding with the painting process. Cleaning helps to remove any dust, debris, or residue that may have accumulated during sanding. Follow these steps to effectively clean the surface:
- Use a Vacuum or Brush: Start by using a vacuum cleaner or a soft brush to remove any loose particles or dust from the furniture. Pay attention to corners, crevices, and hard-to-reach areas.
- Prepare a Cleaning Solution: Mix a mild cleaning solution by combining warm water and a few drops of dish soap or a gentle wood cleaner. Avoid using harsh chemicals or abrasive cleaners, as they may damage the wood surface.
- Dampen a Cloth or Sponge: Dip a clean cloth or sponge into the cleaning solution and wring out any excess moisture. The cloth or sponge should be damp, not dripping wet.
- Wipe the Surface: Gently wipe the entire surface of the furniture with the damp cloth or sponge. Pay attention to any areas that may have accumulated dirt or grime. Use a gentle circular motion to lift any stubborn stains.
- Rinse with Clean Water: After wiping, rinse the cloth or sponge with clean water and wring out any excess moisture. Use the damp cloth to remove any soap residue from the furniture.
- Dry the Surface: Allow the furniture to air dry completely. You can also use a clean, dry cloth to gently pat the surface dry.
Cleaning the surface ensures that there are no lingering particles that could interfere with the adherence of the primer and paint. By removing dust and debris, you create a clean and smooth surface for the next steps in the painting process.
Read more: How To Repaint Wrought Iron Patio Furniture
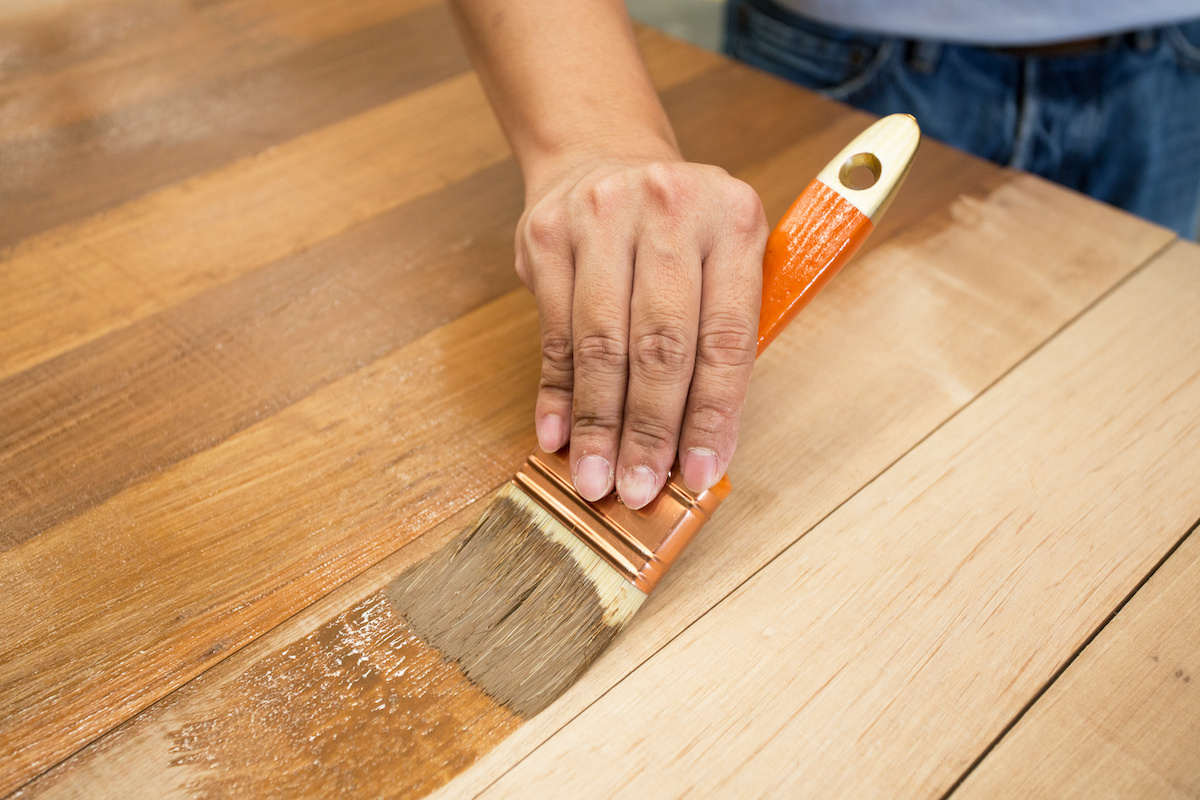
Applying Primer
Once the furniture surface is sanded and cleaned, it’s time to apply a primer. Primer serves as a base coat that helps the paint adhere better to the wood and provides a smooth and even surface for the final paint layers. Follow these steps to effectively apply primer:
- Select the Right Primer: Choose a primer that is specifically designed for wood surfaces. Look for a primer that is compatible with the type of paint you will be using.
- Stir the Primer: Before applying the primer, give it a good stir to ensure that it is well mixed. This helps to achieve an even consistency and optimal coverage.
- Use a Brush or Roller: Depending on the size and shape of the furniture, use a brush or roller to apply the primer. Brushes are ideal for smaller and intricate areas, while rollers are great for larger and flat surfaces.
- Apply in Thin, Even Coats: Start applying the primer in thin, even coats. Avoid applying too much primer at once, as this can lead to drips or an uneven finish. Allow each coat to dry before applying the next one.
- Check for Complete Coverage: After the primer has dried, inspect the furniture for any areas that may need additional coverage. If necessary, apply an extra coat of primer to achieve the desired level of coverage.
- Allow the Primer to Dry: Follow the manufacturer’s instructions on the primer can to determine the drying time. Typically, it takes a few hours for the primer to dry completely.
- Sand the Primer (Optional): If you notice any rough spots or imperfections on the primed surface, you can lightly sand it with fine-grit sandpaper. This will help create a smoother surface for the paint application.
- Remove Dust: After sanding (if applicable), use a tack cloth to remove any sanding dust or debris from the surface of the primer. This step ensures a clean surface for the final paint application.
Applying primer is an essential step in achieving a professional-looking and long-lasting paint finish. By using a primer, you create a strong base for the paint, enhance adhesion, and ensure consistent and smooth coverage.
Before repainting wood furniture, make sure to clean the surface thoroughly to remove any dirt, grease, or old paint. This will help the new paint adhere better and result in a smoother finish.
Choosing the Right Paint
When it comes to repainting wood furniture, choosing the right paint is crucial for achieving the desired results. The type of paint you select will depend on factors such as your personal preference, the look you want to achieve, and the durability you need. Here are some considerations to keep in mind when choosing the right paint:
- Water-based or Oil-based: Decide whether you want to use water-based or oil-based paint. Water-based paints are easier to clean up, have less odor, and dry faster. Oil-based paints, on the other hand, provide a smoother and more durable finish.
- Finish: Consider the finish you want for your furniture. Common options include matte, satin, semi-gloss, and high-gloss. Matte finishes provide a flat look, while high-gloss finishes offer a shiny and reflective surface.
- Durability: Evaluate the durability requirements for your furniture. If it will be subject to heavy use or outdoor conditions, opt for a paint that is specifically formulated for durability and can withstand wear and tear.
- Color and Style: Choose a paint color and style that aligns with your home decor and personal taste. Consider the overall aesthetic you want to achieve and select a paint color that complements your existing furniture and design elements.
- Quality: Invest in a high-quality paint that offers good coverage, adheres well to the surface, and provides a smooth finish. Quality paints tend to be more durable and offer better color retention over time.
- Test and Samples: If you’re uncertain about the paint color or finish, consider getting a small sample or test pot to try it out on a hidden area or a scrap piece of wood. This allows you to see how the paint looks and behaves before committing to the full project.
Take your time to research and select the right paint for your furniture. By choosing the appropriate paint, you’ll achieve a beautiful and long-lasting finish that enhances the appearance of your wood furniture.
Applying the Paint
Now that you’ve prepared the surface, primed the furniture, and chosen the right paint, it’s time to apply the paint to your wood furniture. Follow these steps for a smooth and successful paint application:
- Stir the Paint: Before you begin, give the paint can a good stir to ensure that the color is evenly distributed.
- Use a Brush or Roller: Depending on the size and shape of the furniture, use a brush or roller for applying the paint. Brushes are ideal for smaller areas and detailed work, while rollers are efficient for larger, flat surfaces.
- Start from the Top: Begin by applying paint to the top surface of the furniture, working your way down. This helps to avoid any drips or spills on already painted areas.
- Apply Thin, Even Coats: Apply the paint in thin, even coats for a smooth and streak-free finish. Avoid applying too much paint at once, as it can result in drips, uneven coverage, or a longer drying time.
- Brush in the Direction of the Grain: If using a brush, follow the direction of the wood grain for a consistent and natural look. This helps to blend the paint strokes and create a seamless finish.
- Work in Small Sections: Depending on the size of the furniture, work on one small section at a time. This allows you to pay attention to detail and maintain control over the paint application.
- Allow Each Coat to Dry: Follow the drying time mentioned on the paint can before applying additional coats. Typically, it takes a few hours for the paint to dry, but it’s best to consult the manufacturer’s instructions for accurate drying times.
- Check for Coverage: After the first coat has dried, inspect the furniture for any areas that may require additional coverage. Apply a second or third coat as needed to achieve the desired color and finish.
- Clean Up: After you have finished applying the paint, clean your brushes or rollers immediately using water and mild soap if using water-based paint, or mineral spirits if using oil-based paint.
By following these steps, you’ll achieve a smooth and flawless paint application that transforms the look of your wood furniture.
Adding a Second Coat
Once you have allowed the first coat of paint to fully dry, it’s time to assess the coverage and determine if an additional coat is needed. Applying a second coat of paint can enhance the color, improve the overall finish, and ensure that the surface is fully covered. Follow these steps for adding a second coat:
- Inspect the First Coat: Take a close look at the furniture and assess the coverage provided by the first coat of paint. Check for any areas that may still appear uneven or show traces of the previous finish.
- Sand (if necessary): If you notice any imperfections or rough areas on the painted surface, lightly sand them with fine-grit sandpaper. This will help create a smoother texture for the second coat.
- Clean the Surface: Use a tack cloth to remove any sanding dust or debris from the surface of the first coat. This will ensure a clean and smooth surface for the second coat of paint.
- Mix and Stir the Paint: Give the paint can a thorough stir to ensure that the color is well mixed. This helps to achieve a consistent finish across both coats of paint.
- Apply the Second Coat: Using the same method and tools as the first coat, apply the second coat of paint. Follow the directions mentioned in the “Applying the Paint” section, ensuring thin, even coats and working in the direction of the wood grain.
- Allow the Second Coat to Dry: Once the second coat is applied, allow it to dry fully according to the paint manufacturer’s instructions. This may take several hours or longer, so exercise patience and avoid touching the painted surface too soon.
- Assess the Final Result: After the second coat has dried, assess the final result. Check for even coverage, smoothness, and any areas that may require touch-ups or additional attention.
- Perform Touch-ups (if necessary): If you notice any areas that need improvement, such as patches of uneven color or missed spots, use a small brush to carefully touch up those areas. Allow any touch-up work to dry completely.
Adding a second coat of paint helps to achieve a more professional and finished look for your repainted wood furniture. It ensures even coverage, enhances the color, and provides a more durable and long-lasting finish.
Read more: How To Repaint Cast Aluminum Patio Furniture
Protecting the Surface
To ensure the longevity and durability of your repainted wood furniture, it’s important to apply a protective finish. A protective finish not only enhances the appearance of the furniture but also shields it from scratches, stains, and other forms of wear and tear. Follow these steps to effectively protect the painted surface:
- Choose the Right Protective Finish: Select a protective finish that is suitable for your painted wood furniture. Options include polyurethane, varnish, lacquer, or wax. Consider factors such as the level of gloss desired, ease of application, and the level of protection needed.
- Prepare the Furniture: Ensure that the painted surface is clean and free of any dust or debris. Use a tack cloth to wipe away any residual particles before applying the protective finish.
- Apply the Protective Finish: Use a clean brush or a clean, lint-free cloth to apply the protective finish evenly to the painted surface. Follow the manufacturer’s instructions for application techniques, drying times, and the recommended number of coats.
- Allow for Drying Time: Depending on the type of protective finish used, allow ample drying time between coats. This allows the finish to cure properly and provide optimal protection.
- Sand (if desired): If you prefer a smoother or more matte finish, lightly sand the dried protective finish with fine-grit sandpaper. This step helps to create a softer texture and removes any imperfections.
- Clean and Maintain: Once the protective finish is completely dry, practice regular cleaning and maintenance to keep the furniture in good condition. Use gentle cleaning products and avoid abrasive materials or harsh chemicals that could damage the protective finish.
- Consider Additional Protection: Depending on the intended use of the furniture, consider additional protective measures such as using coasters or placemats to prevent water rings or heat pads to protect against hot objects.
By applying a protective finish to your repainted wood furniture, you enhance its beauty and safeguard it from daily wear and tear. A proper protective finish will help your furniture look stunning for years to come.
Tips and Considerations
As you embark on your journey of repainting wood furniture, consider these helpful tips and considerations to ensure a successful and satisfying experience:
- Work in a Well-Ventilated Area: Ensure proper ventilation by working in a well-ventilated space or by using fans or open windows. This helps to reduce the inhalation of fumes from paint and primers.
- Protect the Surrounding Area: Cover the surrounding area with drop cloths or newspapers to protect it from accidental spills or splatters. This will make the cleanup process much easier.
- Take Breaks and Pace Yourself: Repainting furniture can be a time-consuming task. Take breaks when needed, and pace yourself to maintain focus and achieve the best results.
- Experiment with Different Techniques: Don’t be afraid to experiment with different painting techniques, such as using a brush, roller, or even a paint sprayer. Find the technique that works best for you and the specific furniture piece.
- Follow Recommended Drying Times: Allow each coat of paint, primer, and protective finish to dry fully before proceeding to the next step. Rushing can lead to smudges, uneven coverage, or damage to the finish.
- Consider Distressing or Antiquing: If you want to achieve a vintage or aged look, consider distressing or antiquing the painted surface with sandpaper or specialized distressing techniques.
- Practice Proper Brush Care: Clean your brushes thoroughly after each use to prolong their lifespan. For water-based paints, use warm soapy water, and for oil-based paints, use mineral spirits for cleaning.
- Don’t Skip the Prep Work: Properly preparing the furniture, including sanding and cleaning, is vital for achieving a smooth and long-lasting paint finish. Take the time to do it right.
- Get Creative: Let your imagination run wild and think outside the box when it comes to repainting furniture. Consider incorporating stencils, patterns, or different colors to add unique touches and make a statement.
- Protect Your Hands and Clothes: Wear appropriate protective gloves and clothing while painting to prevent any skin irritation or damage to your clothes. Also, keep a wet cloth or wipes nearby for quick cleanup.
Remember, repainting wood furniture is a fun and creative DIY project that allows you to breathe new life into your home decor. With the right tools, techniques, and a bit of patience, you can transform old or worn-out furniture into beautiful and stylish pieces that reflect your personal style and enhance your living space.
Conclusion
Repainting wood furniture can be a rewarding and transformative DIY project. By following the step-by-step process outlined in this guide, you can give your old or worn-out furniture a fresh new look while preserving its beauty and extending its lifespan. From preparing the surface and applying primer to choosing the right paint and protecting the finish, each step is crucial in achieving professional-looking results.
Remember to gather all the necessary supplies, including sandpaper, primer, paintbrushes, and protective finish, before you begin. Take the time to properly prepare the furniture by cleaning the surface and removing any imperfections. Sanding the surface ensures a smooth foundation for the paint to adhere to, while applying a primer creates a strong base for optimal coverage.
When it comes to choosing the right paint, consider factors such as durability, finish, and color to achieve your desired results. Applying the paint in thin, even coats and allowing each coat to dry fully will result in a flawless finish. Adding a second coat and protecting the surface with a suitable finish will enhance the overall appearance and ensure long-lasting durability.
Throughout the process, remember to work in a well-ventilated area, protect the surrounding space, and pace yourself to maintain focus and achieve the best results possible. Be open to experimenting with different techniques and get creative with your design choices. And don’t forget to take care of your brushes and practice proper cleanup to prolong their lifespan.
By following these guidelines and considering the helpful tips provided, you’ll be able to repurpose and revitalize your wood furniture, creating stunning pieces that enhance your home decor and reflect your personal style.
So, gather your supplies, put on your creative hat, and let the transformation begin. With a little time and effort, you’ll be amazed at the remarkable difference a fresh coat of paint can make on your beloved furniture.
Frequently Asked Questions about How To Repaint Wood Furniture
Was this page helpful?
At Storables.com, we guarantee accurate and reliable information. Our content, validated by Expert Board Contributors, is crafted following stringent Editorial Policies. We're committed to providing you with well-researched, expert-backed insights for all your informational needs.

0 thoughts on “How To Repaint Wood Furniture”