
Articles
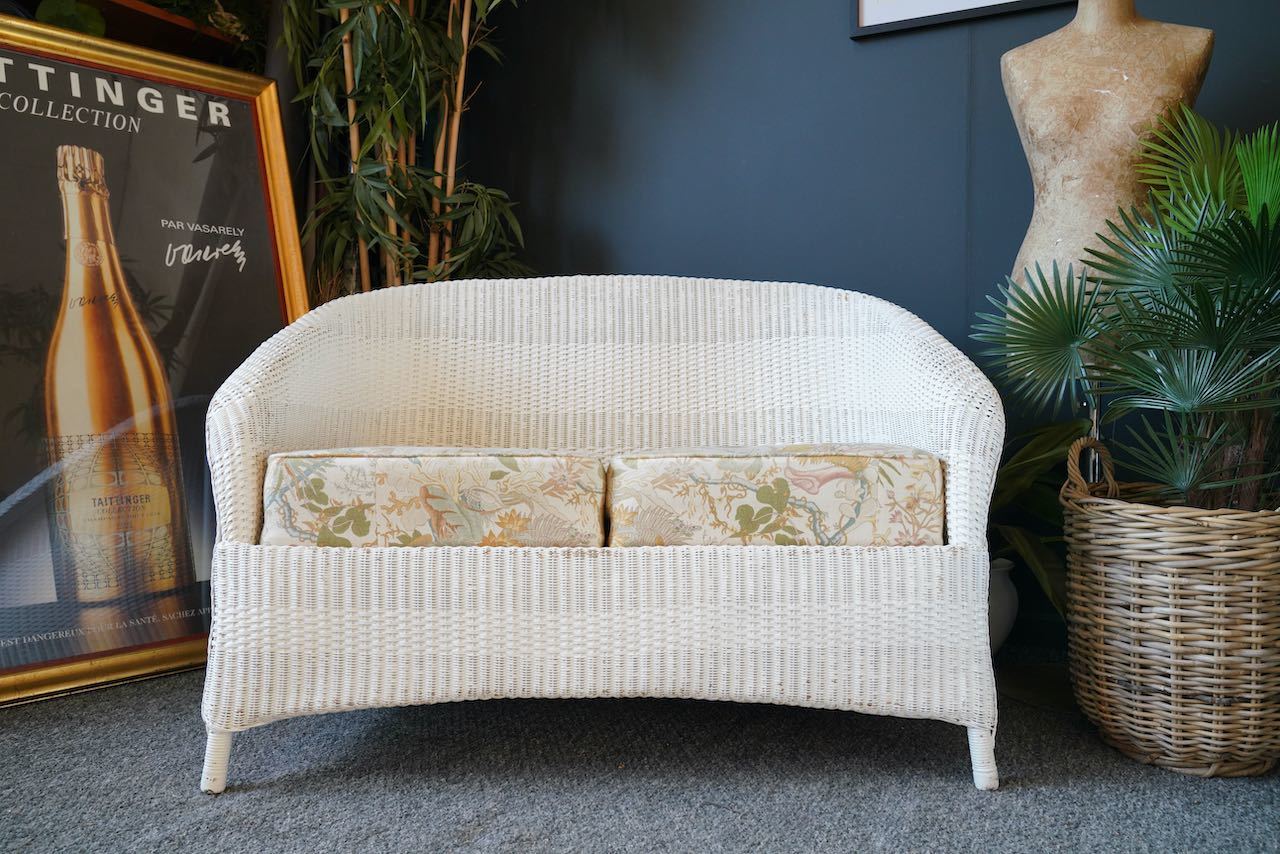
How To Paint Wicker Furniture
Modified: January 9, 2024
Discover the step-by-step process of painting wicker furniture to transform your space. Enhance the look and durability of your furniture with our expert tips and techniques.
(Many of the links in this article redirect to a specific reviewed product. Your purchase of these products through affiliate links helps to generate commission for Storables.com, at no extra cost. Learn more)
Introduction
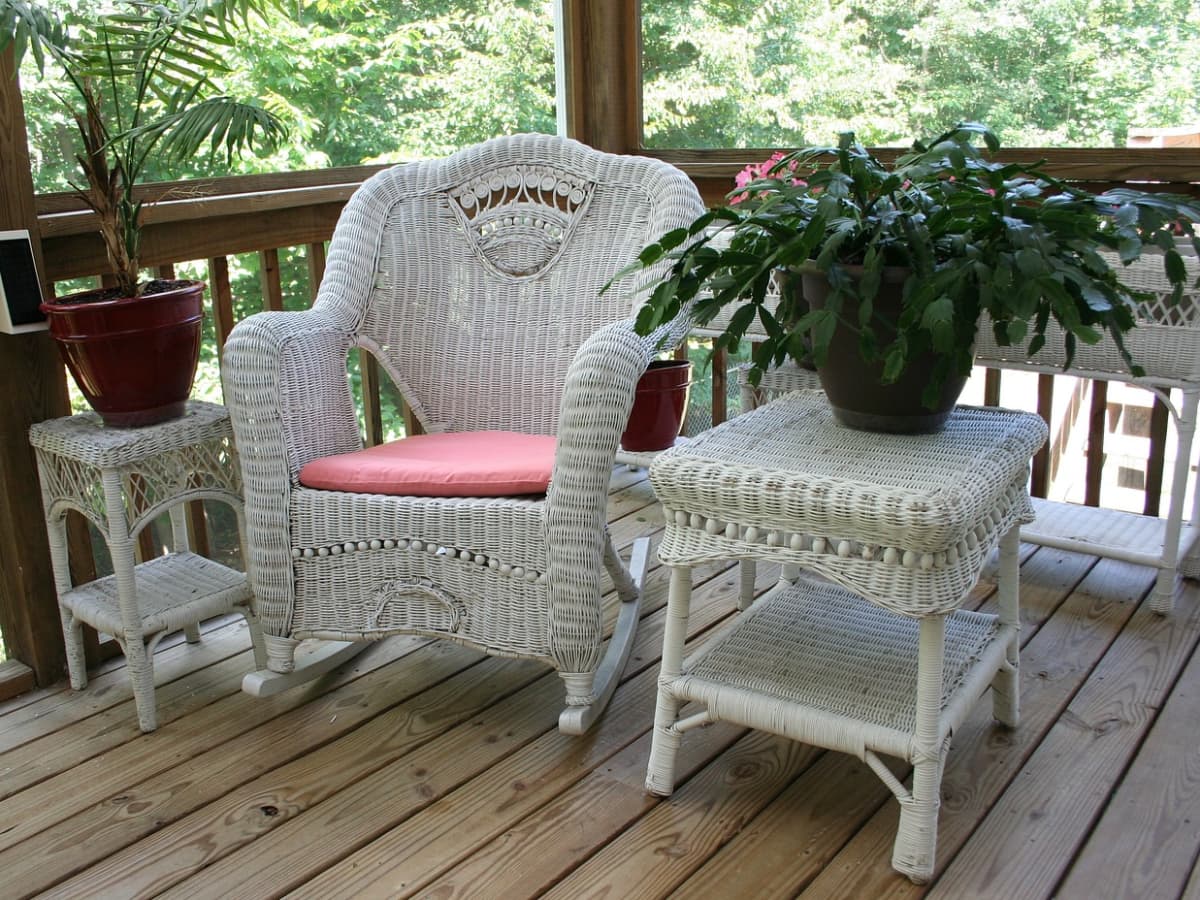
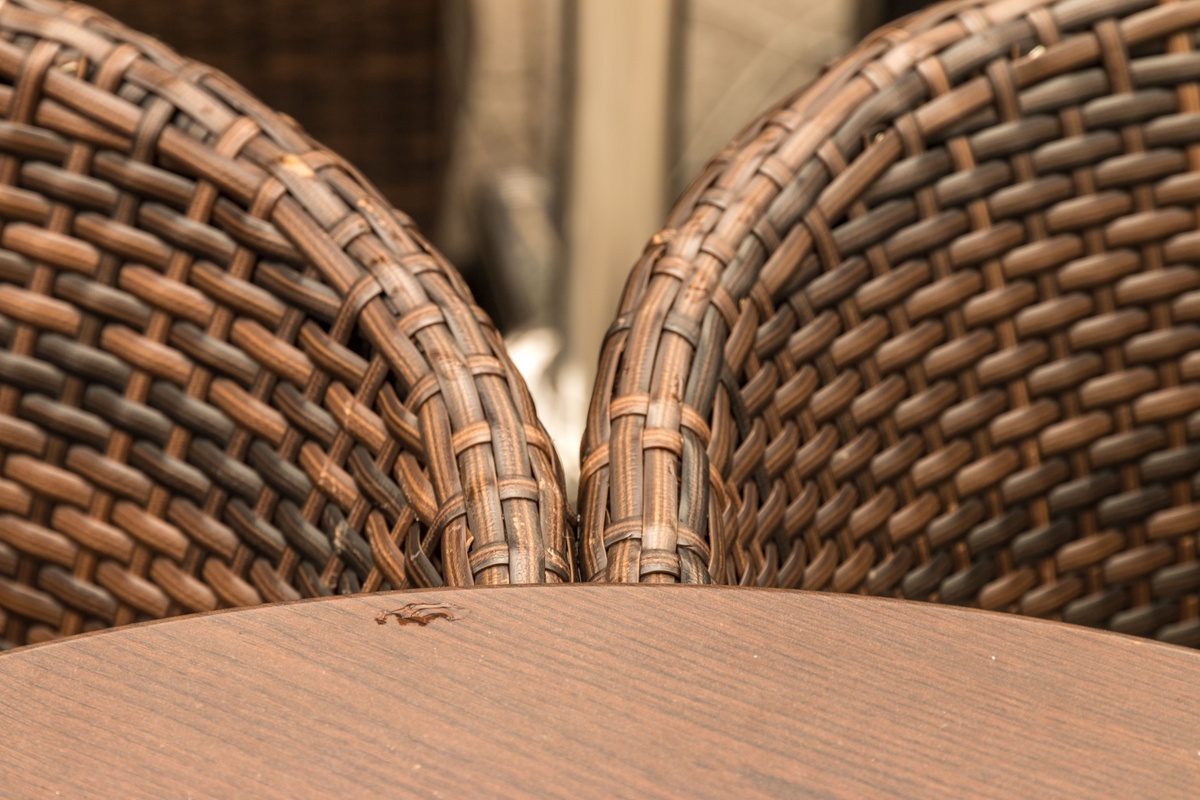
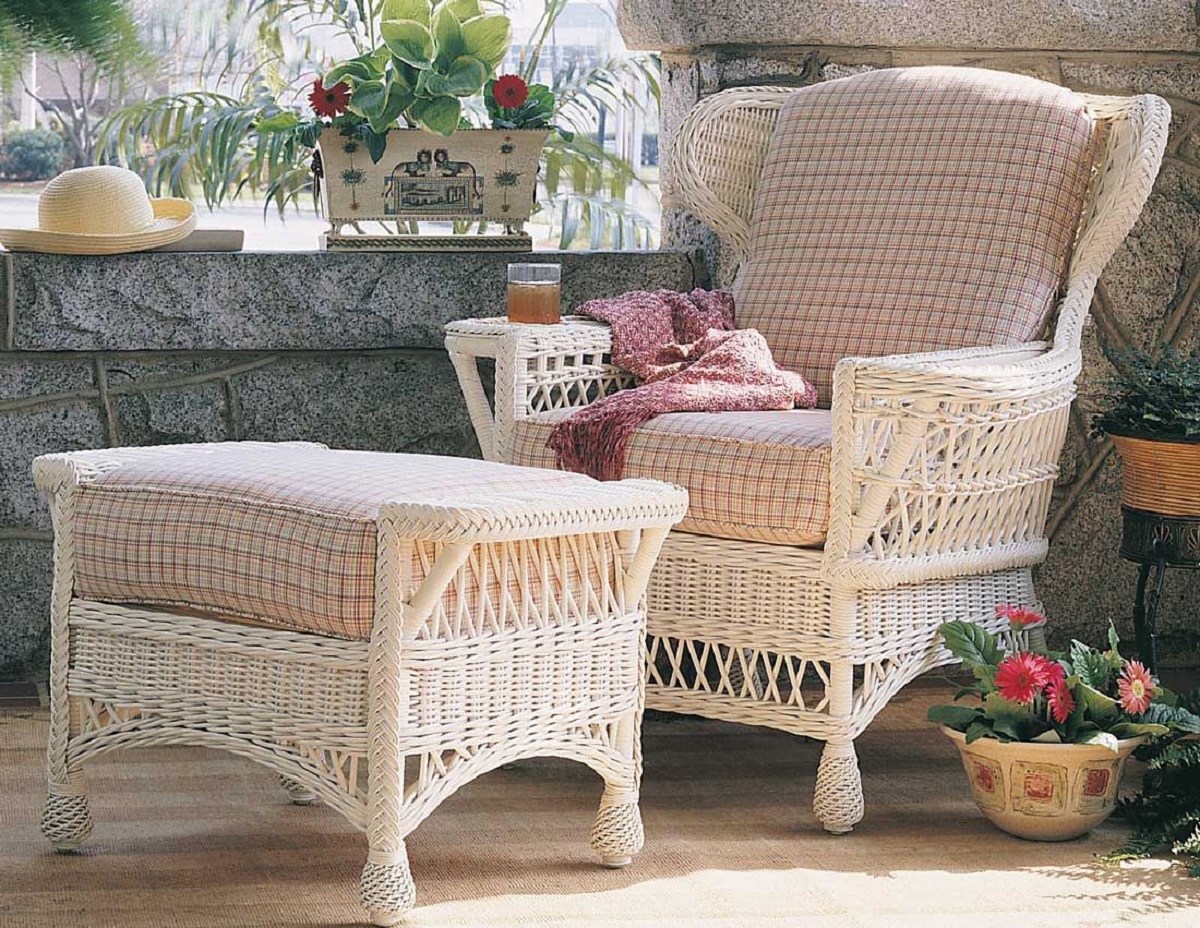
When it comes to adding a pop of color and revamping the look of your outdoor or indoor space, painting wicker furniture is an excellent option. Wicker furniture has a timeless appeal, and by giving it a fresh coat of paint, you can easily transform its appearance to suit your style and preferences.
Painting wicker furniture not only adds a touch of personality to your space but also helps to protect the furniture from wear and tear caused by exposure to the elements. Whether you have a vintage wicker piece that needs some TLC or you want to update the color of your modern wicker set, this guide will walk you through the process of painting wicker furniture.
Before you start your painting project, it is important to gather all the necessary materials and prepare the furniture properly. This will ensure that the paint adheres well and the final result is smooth and long-lasting.
So, grab your paintbrushes and let’s dive into the world of wicker furniture painting!
Key Takeaways:
- Revitalize your indoor or outdoor space by painting wicker furniture with the right materials, preparation, and application techniques. Create a personalized, long-lasting finish that complements your style and decor.
- Prioritize safety, proper ventilation, and patience when painting wicker furniture. Choose the right paint, apply a primer, and allow for proper curing to achieve professional-looking, durable results.
Read more: How To Paint Wicker Outdoor Furniture
Materials Needed
Before you start painting your wicker furniture, make sure you have the following materials on hand:
- Wicker furniture: This can include chairs, tables, benches, or any other wicker piece you want to paint.
- Drop cloth or old sheets: To protect the surrounding area from paint splatters.
- Cleaning solution: Use a mild detergent mixed with water to clean the wicker furniture thoroughly.
- Sponge or soft brush: To scrub the furniture and remove any dirt or grime.
- Sandpaper: Choose a fine-grit sandpaper to smooth out any rough surfaces and create a good base for painting.
- Primer: Look for a primer specifically formulated for use on wicker or multi-surface primer.
- Paint: Choose a paint specifically designed for wicker or a high-quality indoor/outdoor paint. Consider using a spray paint for a smooth and even finish.
- Paintbrush or spray paint gun: Depending on your preference, you can use a brush or a spray gun to apply the paint.
- Sealant or topcoat: Optional, but recommended for added protection and durability.
- Paint tray or container: To hold the paint during the painting process.
- Masking tape or painter’s tape: Useful for covering any parts of the furniture you don’t want to paint.
- Respirator mask or face mask: To protect yourself from fumes and dust.
- Gloves: To protect your hands while cleaning and painting.
Make sure you have all these materials handy before you begin painting your wicker furniture. Having everything prepared in advance will make the process smoother and more efficient.
Preparing the Furniture
Properly preparing your wicker furniture is crucial to ensure the paint adheres well and the finished result is smooth and long-lasting. Follow these steps to prepare your furniture before you start painting:
- Clean the furniture: Start by removing any cushions or fabric from the furniture. Use a mild detergent mixed with water to create a cleaning solution. Dip a sponge or soft brush into the solution and gently scrub the wicker, paying close attention to any areas with dirt or stains. Rinse the furniture thoroughly with clean water and allow it to dry completely before proceeding to the next step.
- Inspect for damage: Once the furniture is dry, carefully inspect it for any signs of damage or loose wicker strands. Trim off any loose strands with a pair of scissors or a utility knife. If there are any damaged areas, repair or replace them before painting.
- Sand the surface: Use a fine-grit sandpaper to lightly sand the surface of the furniture. This will help to smooth out any rough spots and create a better surface for the paint to adhere to. Make sure to sand in the direction of the wicker weave to avoid damaging or fraying the strands.
- Clean the surface again: After sanding, use a clean, damp cloth to wipe away any dust or debris from the sanding process. This will ensure a clean surface for the primer and paint to adhere to.
By thoroughly cleaning and preparing your wicker furniture, you will create a solid foundation for the paint. This will help to achieve a professional and long-lasting finish. Take your time during this preparation stage to ensure the best results.
Choosing the Right Paint
Choosing the right paint for your wicker furniture is essential for achieving a beautiful and long-lasting finish. There are a few factors to consider when selecting the paint:
- Type of paint: Look for a paint specifically designed for use on wicker furniture. These paints usually have excellent adhesion properties and are durable enough to withstand outdoor conditions. If you cannot find a wicker-specific paint, opt for a high-quality indoor/outdoor paint that is suitable for various surfaces.
- Finish: Decide on the finish you want for your furniture. Do you prefer a glossy, satin, or matte finish? Keep in mind that glossy finishes tend to show imperfections more easily, while matte finishes can help to hide any flaws in the wicker.
- Color: Choose a color that complements your space and personal style. Consider the overall color scheme of your space and the mood you want to create. If you’re unsure, opt for classic neutral colors that can easily blend with different decor styles.
- Spray or brush application: Decide whether you want to use a brush or a spray paint gun for applying the paint. Spray painting can result in a smoother and more even finish, especially for intricate wicker weave patterns. However, using a brush allows for more control and can be more suitable for smaller areas or touch-ups.
- Additional protection: Consider using a paint with built-in protection against UV rays and weathering if you plan to use the furniture outdoors. Alternatively, you can apply a clear topcoat or sealant after painting to provide an extra layer of protection and enhance the durability of the finish.
Visit your local hardware or paint store and consult with the experts to ensure you choose the right paint for your wicker furniture. They can provide guidance on the best brands, finishes, and colors available to suit your specific needs and preferences.
Applying Primer
Before you start painting your wicker furniture, applying a primer is highly recommended. A primer helps create a smooth base for the paint to adhere to, improves the paint’s adhesion, and ensures the color comes out true and vibrant. Follow these steps to apply primer to your wicker furniture:
- Prepare your workspace: Place a drop cloth or old sheets on the ground to protect the surrounding area from paint drips or spills.
- Stir the primer: Open the can of primer and give it a good stir with a stir stick. This will ensure that the primer is well mixed and ready to use.
- Apply the primer: Dip a paintbrush into the primer and start applying it to the wicker furniture, working in small sections at a time. Brush the primer on using long, smooth strokes, following the direction of the wicker weave. Apply a thin, even coat of primer, ensuring that all surfaces are covered.
- Continue priming: Work your way around the entire piece of furniture, ensuring that all exposed surfaces and hard-to-reach areas are covered with primer. If using a spray primer, hold the can about 8-12 inches away from the furniture and apply the primer in a sweeping motion, again, ensuring even coverage.
- Allow the primer to dry: Once you have applied the primer to the entire furniture piece, allow it to dry completely. Check the manufacturer’s instructions for the recommended drying time. In general, it may take a few hours for the primer to dry, but it’s best to wait overnight to ensure it is fully cured.
- Lightly sand the primed surface: After the primer has dried, use a fine-grit sandpaper to lightly sand the primed surface. This will help smooth out any brushstrokes or imperfections, ensuring a smoother final coat of paint.
- Clean the surface: Wipe away any dust or debris from sanding using a clean, damp cloth. This will ensure a clean and smooth surface for the paint application.
By applying a primer to your wicker furniture, you create an ideal base for the paint, ensuring a professional and durable finish. Do not skip this step, as it can significantly improve the overall outcome of your painting project.
Before painting wicker furniture, make sure to clean it thoroughly with a mild detergent and water to remove any dirt and grime. This will help the paint adhere better and result in a smoother finish.
Read more: How To Clean Wicker Furniture
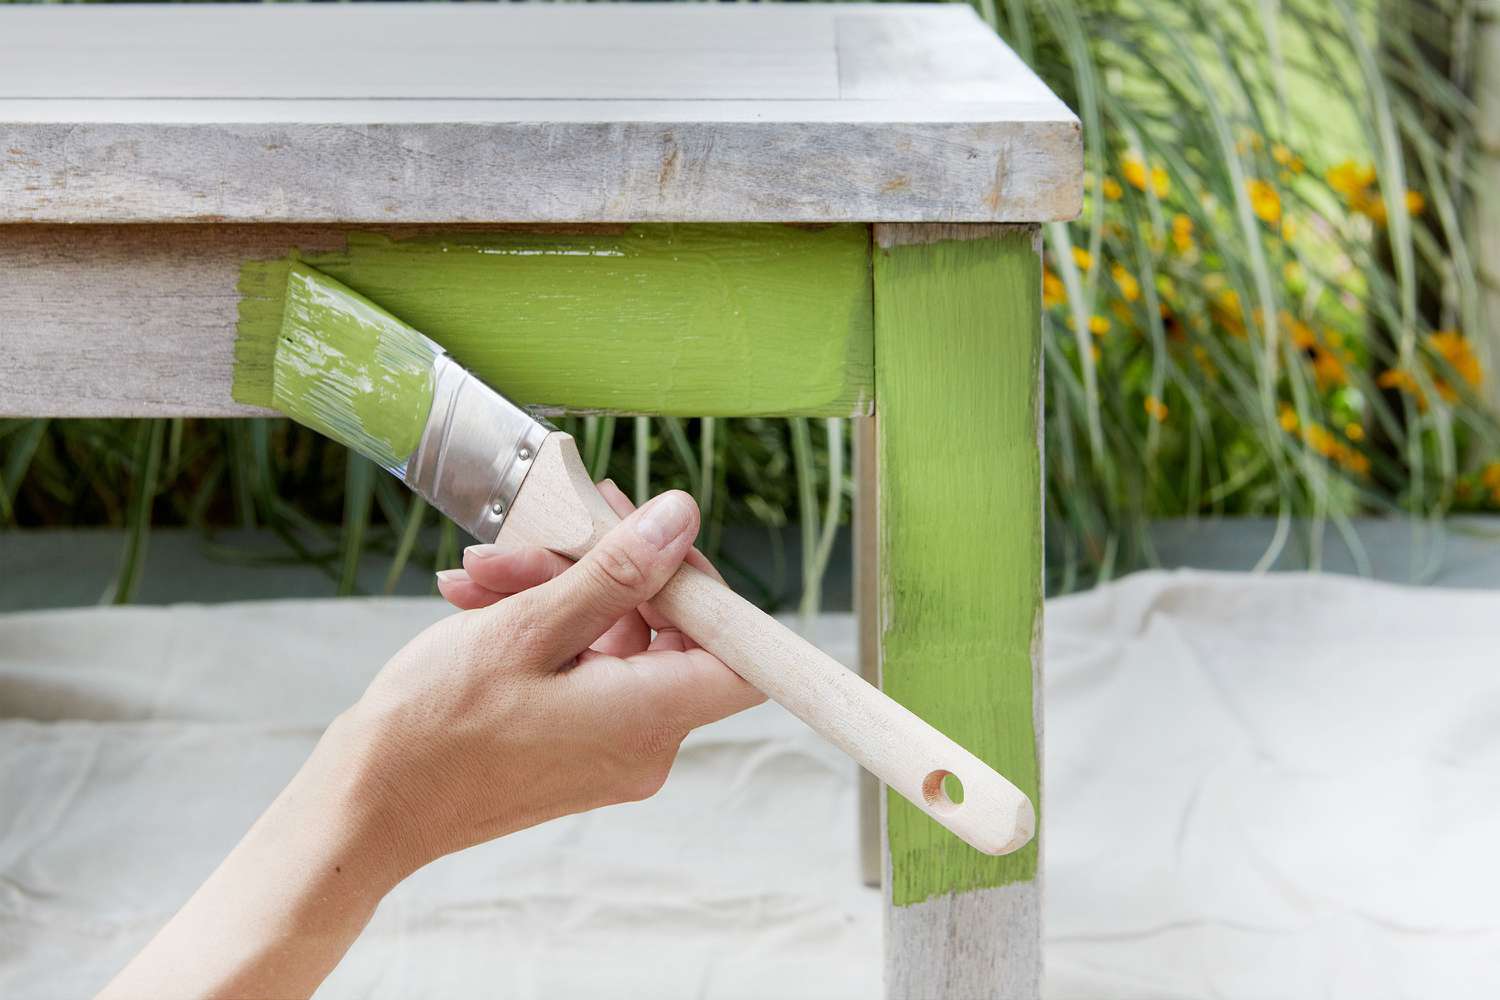
Painting Technique
Now that your wicker furniture is primed and ready, it’s time to apply the paint. Follow these steps to achieve a smooth and even paint finish:
- Prepare your workspace: Place a drop cloth or old sheets on the ground to protect the surrounding area from paint drips or spills.
- Stir the paint: Open the can of paint and give it a good stir with a stir stick. This will ensure that the paint is well mixed and ready to use.
- Choose your painting method: Decide whether you want to use a paintbrush or a spray paint gun for applying the paint. Both methods can yield excellent results, but the choice depends on your personal preference and the size of the wicker piece.
- Start painting:
- If using a paintbrush: Dip the brush into the paint and remove any excess by tapping it against the edge of the paint can or wiping it on the side of the container. Apply the paint to the wicker, following the direction of the wicker weave. Use long, smooth brush strokes to ensure even coverage. Be patient and take your time, ensuring all surfaces are fully covered with paint.
- If using a spray paint gun: Hold the spray can about 8-12 inches away from the furniture and apply the paint in a back-and-forth motion, following the direction of the wicker weave. Start with a light coat of paint and gradually build up the coverage, allowing each coat to dry before applying the next.
- Pay attention to details: Ensure you reach all the nooks, crannies, and hard-to-reach areas of the wicker furniture. Take your time to get into all the intricate weave patterns, making sure every part is covered with paint.
- Smooth out brush strokes or overspray: If you notice any brush strokes or overspray, lightly go over the painted surface with a paintbrush or a sponge brush to even out the texture and create a smoother finish.
- Allow the paint to dry: After painting, allow the paint to dry fully. Check the manufacturer’s instructions for the recommended drying time. Generally, it will take a few hours, but it’s best to wait overnight or as specified to ensure the paint is fully cured.
By following these painting steps and techniques, you can achieve a professional-looking finish on your wicker furniture. Whether you choose a brush or a spray paint gun, the key is to take your time and ensure proper coverage on all surfaces for a beautiful and even color.
Applying the Final Coat
Once the initial coat of paint has dried, it’s time to apply the final coat to your wicker furniture. This final coat will give your furniture a seamless and finished look. Follow these steps to apply the final coat:
- Inspect the first coat: Before applying the final coat, inspect the first coat of paint. Look for any areas that may need touch-ups or additional coverage. If there are any visible imperfections, lightly sand those areas and wipe away any dust with a clean cloth.
- Stir the paint: Give the paint can a good stir to ensure it is well mixed and ready for application.
- Apply the final coat:
- If using a paintbrush: Dip the brush into the paint, remove any excess, and apply the paint to the wicker, following the direction of the weave. Use long, smooth brush strokes to ensure even coverage. Apply a thin, even coat of paint, making sure to cover any areas that may have been missed in the first coat.
- If using a spray paint gun: Hold the spray can about 8-12 inches away from the furniture and apply the paint in a back-and-forth motion, following the direction of the weave. Apply an even coat, making sure to cover any spots that may need extra attention.
- Pay attention to details: Just like with the first coat, make sure to reach all the intricate weave patterns and hard-to-reach areas. Take your time and ensure all surfaces are fully covered with the final coat of paint.
- Smooth out any imperfections: After applying the final coat, check for any brush strokes, drips, or uneven areas. If you notice any imperfections, smooth them out using a paintbrush or sponge brush.
- Allow the final coat to dry: Let the final coat of paint dry fully according to the manufacturer’s instructions. It is recommended to wait at least 24 hours before using or moving the furniture to ensure the paint is thoroughly cured.
By applying the final coat of paint, you will achieve a professional and polished look for your wicker furniture. Take your time during this step to ensure an even application and complete coverage.
Allowing the Paint to Cure
After applying the final coat of paint, it is crucial to allow the paint to cure properly. Curing refers to the process of the paint fully drying and hardening, ensuring its durability and longevity. Follow these steps to properly allow the paint to cure:
- Check the manufacturer’s instructions: Different types of paint may require varying amounts of time to cure. Check the paint can or manufacturer’s instructions for the recommended drying and curing time.
- Avoid touching or using the furniture: During the curing process, it is important to avoid touching or using the furniture. Resting objects or sitting on the painted surface can cause damage and may result in the paint not fully curing.
- Ensure proper ventilation: Allow for proper air circulation in the area where the painted furniture is curing. This will help the paint dry evenly and allow any fumes or odors to dissipate.
- Protect the furniture from dust and debris: While the paint is curing, it is important to keep the furniture protected from dust, dirt, and other debris that can settle on the wet paint. Cover it with a cloth or sheet to prevent any unwanted particles from adhering to the surface.
- Wait for the recommended curing time: To ensure that the paint fully cures and hardens, wait for the recommended curing time specified by the paint manufacturer. This generally ranges from a few days to a couple of weeks, depending on the type of paint used.
- Test the paint’s hardness: To check if the paint has completely cured, perform a gentle hardness test on a hidden or inconspicuous area of the furniture. Press your thumbnail lightly into the painted surface. If the paint does not dent or leave a mark, it has fully cured.
By allowing the paint to cure properly, you ensure that your wicker furniture’s new finish is durable and long-lasting. Patience during this process will ensure the best results and a beautiful, painted wicker furniture piece that will withstand the test of time.
Tips and Precautions
As you embark on your wicker furniture painting project, keep these tips and precautions in mind to ensure a successful and enjoyable experience:
- Choose the right weather: Paint your wicker furniture on a day with mild temperature and low humidity. Extreme heat or humidity can affect the drying and curing process of the paint.
- Protect yourself: Wear protective gloves, a respirator mask, and eye protection while cleaning, sanding, and painting your furniture to avoid contact with potentially harmful substances.
- Work in a well-ventilated area: Whether you are painting indoors or outdoors, ensure proper ventilation to allow for the fumes to dissipate and for fresh air to circulate.
- Take your time: Rushing the painting process may result in a sloppy finish. Take your time to clean, prepare, and apply the paint carefully, ensuring a high-quality and long-lasting result.
- Consider a topcoat/sealant: Applying a clear topcoat or sealant after painting can provide added protection and durability to your wicker furniture, especially if it will be exposed to outdoor conditions.
- Regular maintenance: To keep your painted wicker furniture looking its best, clean it regularly with a soft cloth or brush to remove dirt and dust. Avoid using harsh chemicals or abrasive cleaners that can damage the paint finish.
- Test colors: If you’re unsure about the color choice, test it on a small, inconspicuous area of the furniture before painting the entire piece. This will help you gauge how the color looks on your wicker furniture.
- Keep extra paint: Store any leftover paint in a sealed container for future touch-ups or repairs. This will ensure consistency in color and finish if any minor damages occur over time.
- Follow manufacturer’s instructions: Always refer to the manufacturer’s instructions and recommendations on the paint can for specific details about drying, curing time, and any additional precautions or steps.
By following these tips and taking the necessary precautions, you can achieve a successful and satisfying wicker furniture painting project. Remember to prioritize safety, take your time, and enjoy the process of transforming your furniture with a fresh coat of paint.
Read more: How To Repair Wicker Furniture
Conclusion
Painting wicker furniture is a fantastic way to revitalize and personalize your indoor or outdoor space. With the right materials, proper preparation, and careful application, you can transform your wicker furniture into a beautiful, custom piece that complements your style and adds a vibrant touch to your decor.
Throughout this guide, we’ve covered the essential steps for painting wicker furniture, from gathering the necessary materials to allowing the paint to cure. By following these steps and considering the tips and precautions provided, you can achieve professional-looking results that will stand the test of time.
Remember to clean and prepare your furniture thoroughly before applying a primer to create a smooth base for the paint. Take the time to choose the right paint, considering the type, finish, and color that best suits your needs and aesthetic preferences. Proper application techniques, whether using a brush or a spray paint gun, ensure a smooth and even coat. Lastly, allowing the paint to cure fully before using or moving the furniture ensures a durable and long-lasting finish.
As with any DIY project, it is important to prioritize safety, use proper protective equipment, and work in a well-ventilated area. Follow the manufacturer’s instructions for the paint and materials you are using, and take your time to achieve the best results.
So, whether you have an old, worn-out wicker piece or simply want to add a new color to your existing furniture, painting wicker furniture is a rewarding and creative endeavor. Get inspired, unleash your inner artist, and enjoy the process of transforming your wicker furniture into a stunning piece that adds personality and charm to your living space.
Frequently Asked Questions about How To Paint Wicker Furniture
Was this page helpful?
At Storables.com, we guarantee accurate and reliable information. Our content, validated by Expert Board Contributors, is crafted following stringent Editorial Policies. We're committed to providing you with well-researched, expert-backed insights for all your informational needs.


0 thoughts on “How To Paint Wicker Furniture”