Home>Kitchen & Cooking>Kitchen Gadgets & Utensils>How To Clean A Weber Kettle Grill

Kitchen Gadgets & Utensils
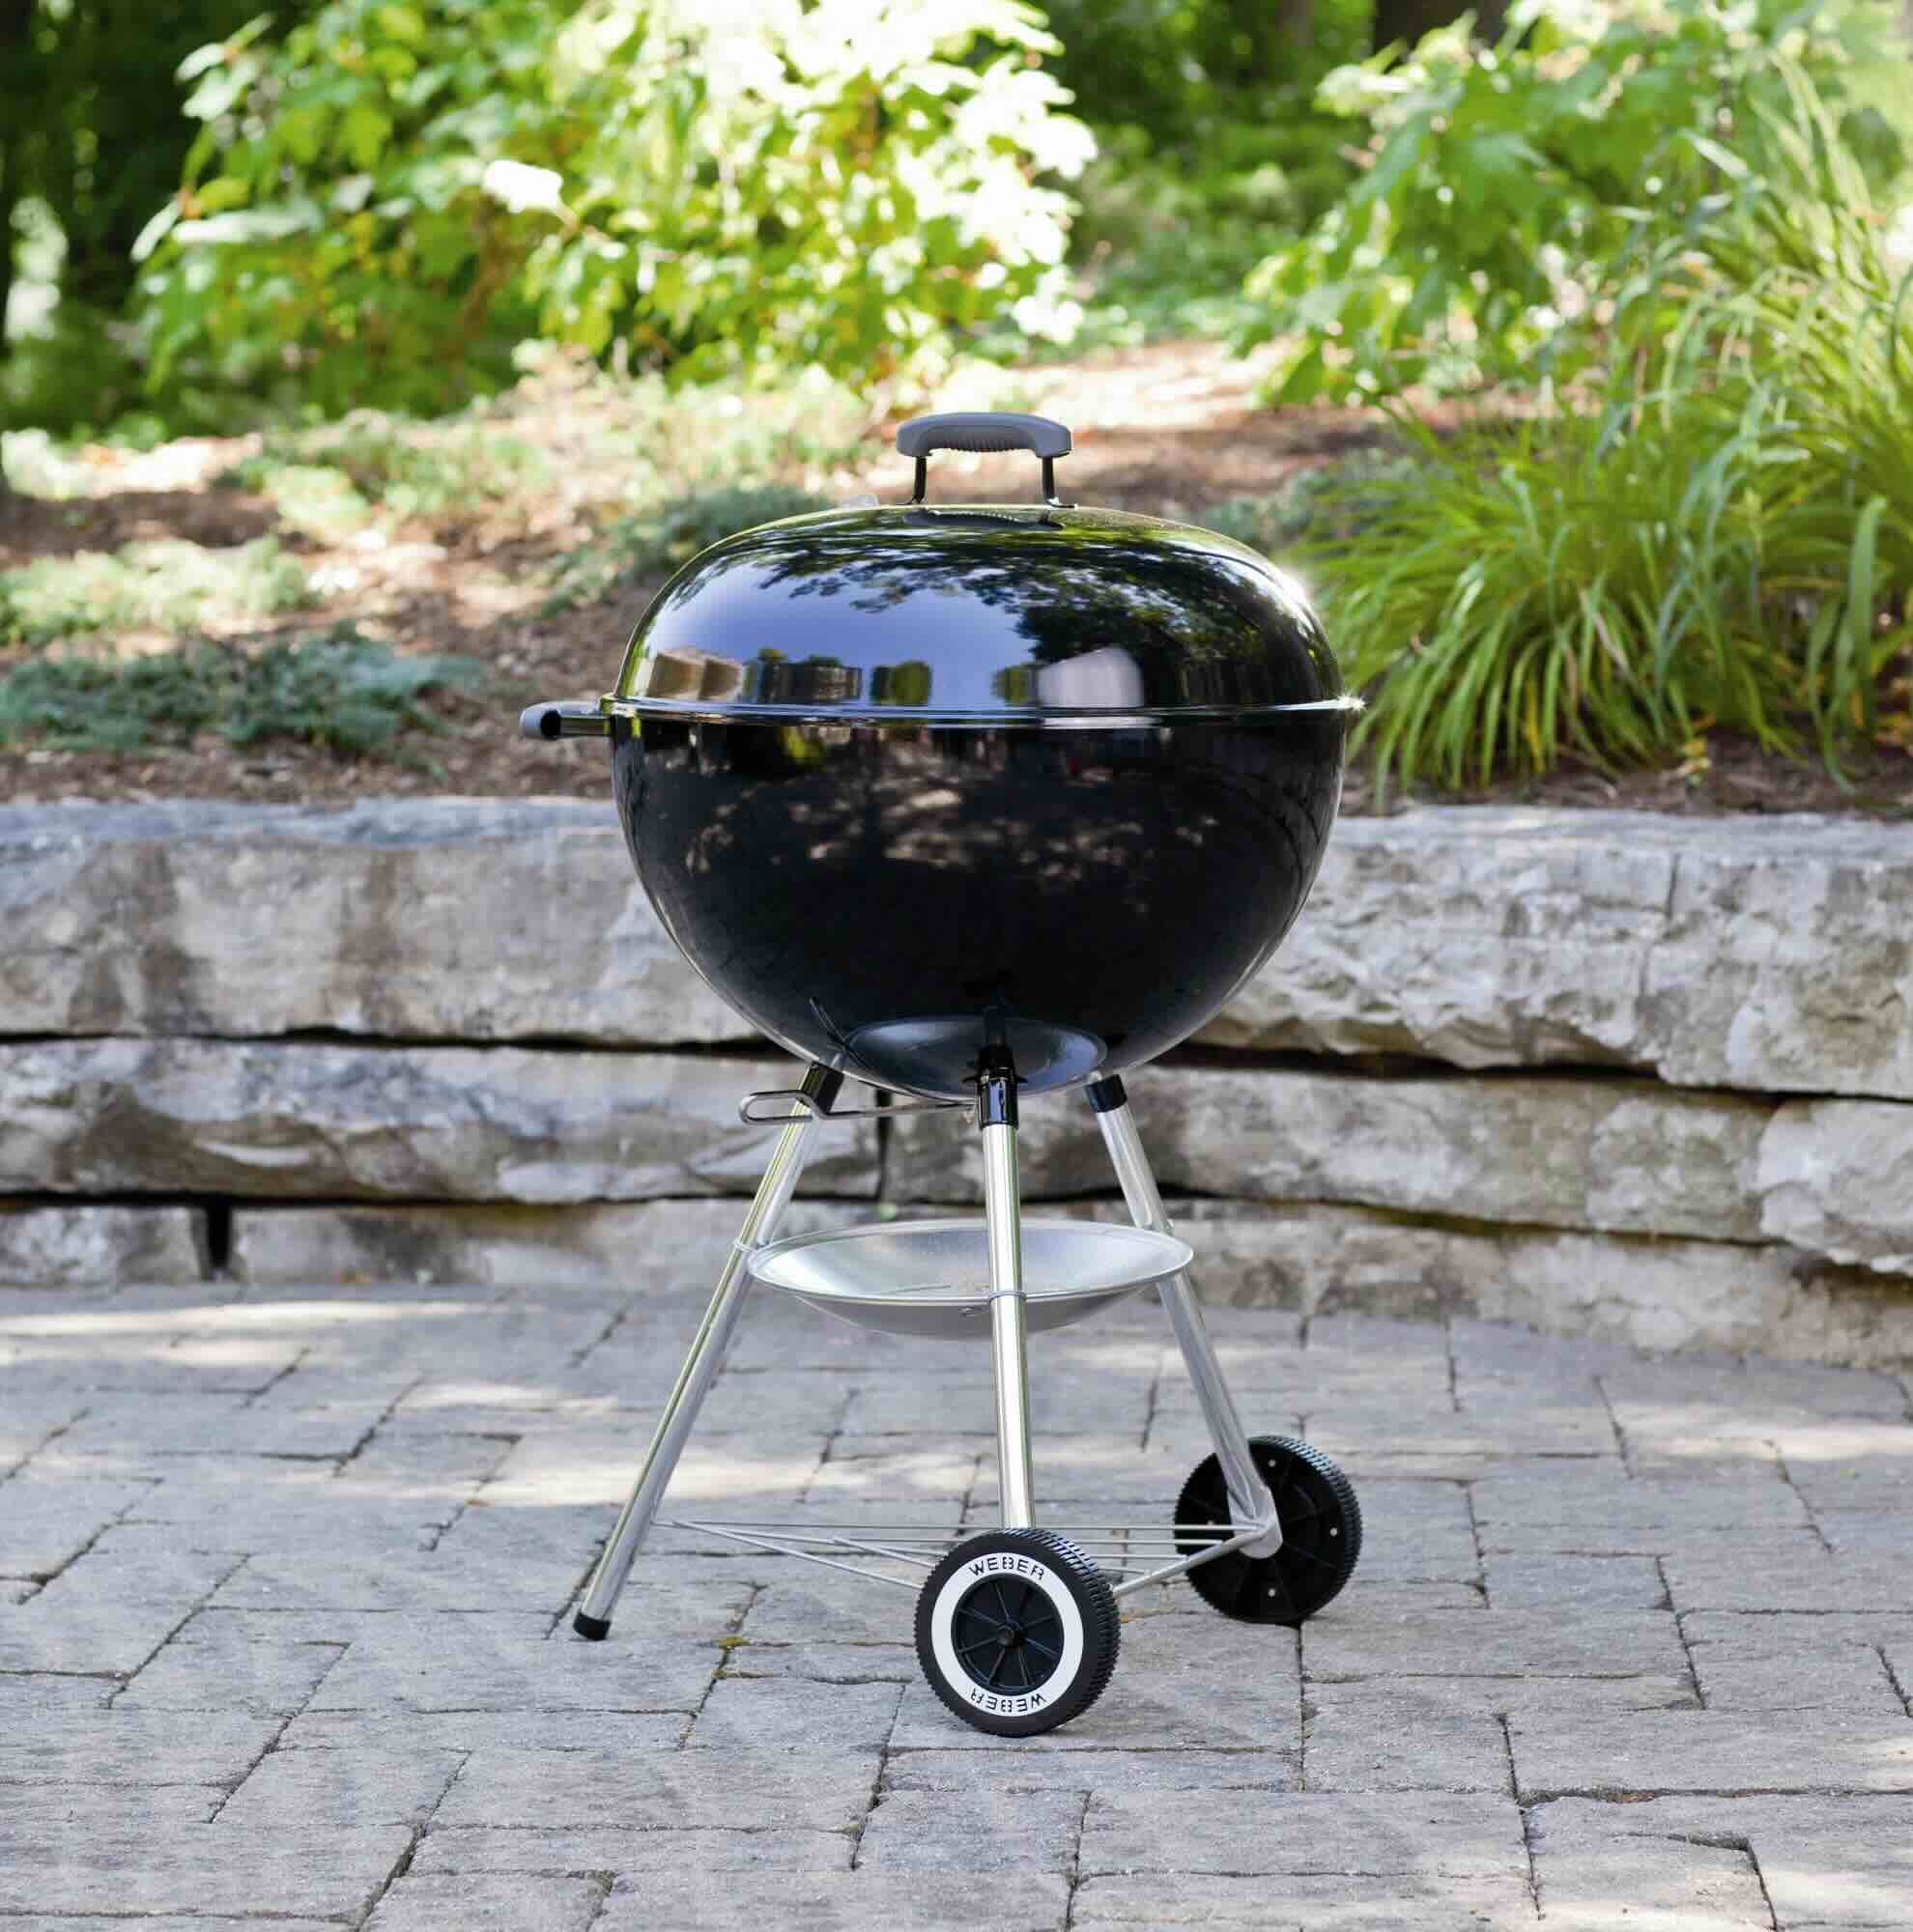
How To Clean A Weber Kettle Grill
Modified: February 18, 2024
Learn how to effectively clean your Weber Kettle Grill with our expert tips and techniques. Keep your kitchen gadgets and utensils in top condition for delicious grilling every time!
(Many of the links in this article redirect to a specific reviewed product. Your purchase of these products through affiliate links helps to generate commission for Storables.com, at no extra cost. Learn more)
Introduction
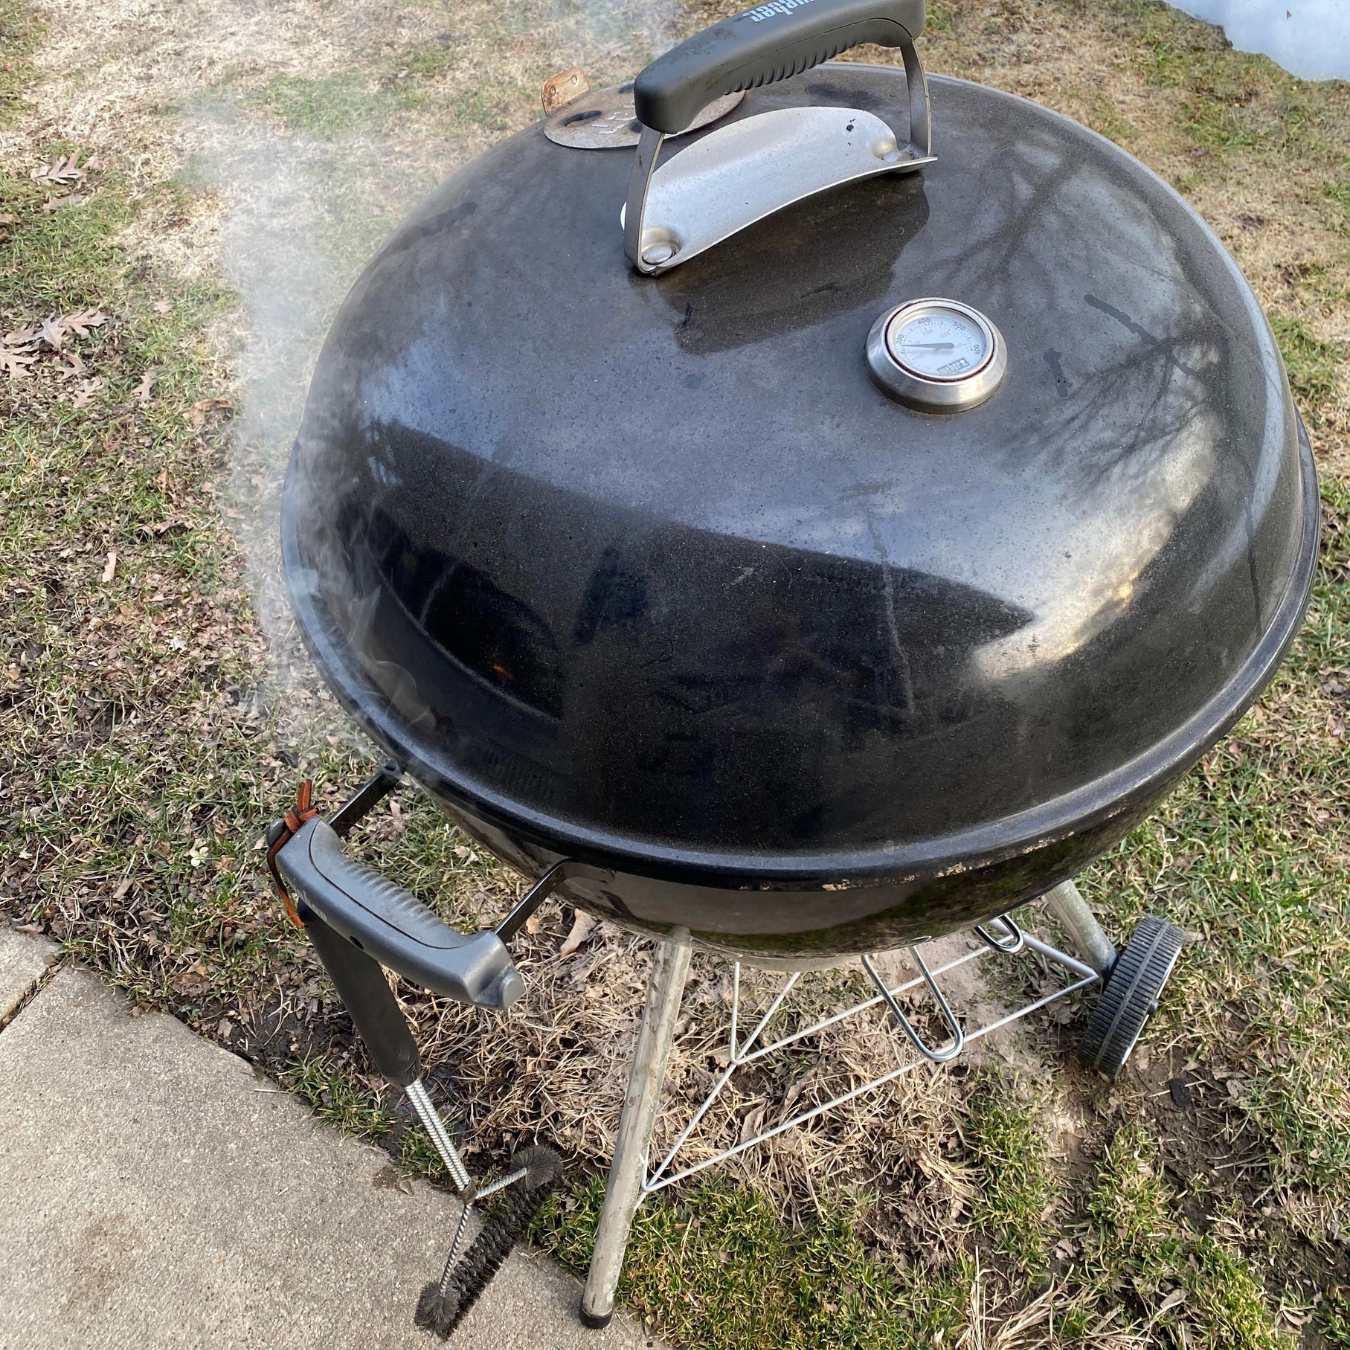
Welcome to the world of grilling! Whether you're a seasoned grill master or just starting on your grilling journey, one thing is certain: a clean grill is essential for creating delicious meals and maintaining the longevity of your equipment. Among the various types of grills available, the Weber Kettle Grill stands out for its iconic design and versatility. To ensure that your Weber Kettle Grill continues to deliver mouthwatering results, regular cleaning is paramount.
In this comprehensive guide, we'll walk you through the step-by-step process of cleaning a Weber Kettle Grill. From preparing the necessary materials to reassembling the grill after cleaning, we've got you covered. By following these instructions, you'll not only maintain the aesthetic appeal of your grill but also uphold its performance for many grilling sessions to come.
So, grab your cleaning supplies and let's dive into the art of cleaning a Weber Kettle Grill. It's time to restore your grill to its former glory and get it ready for the next sizzling cookout!
Key Takeaways:
- Keep your Weber Kettle Grill in top shape by cleaning the inside and outside regularly. This ensures delicious meals and extends the life of your grill.
- Gather materials like a grill brush, mild soap, and aluminum foil for a thorough cleaning process. Prepare, clean, and reassemble your grill for optimal performance.
Read more: How To Use A Weber Kettle Grill
Materials Needed
Before embarking on the cleaning journey, it’s essential to gather the necessary materials. Here’s a list of items you’ll need to ensure a thorough and effective cleaning process:
- Grill brush with stainless steel bristles
- Mild dish soap or specialized grill cleaner
- Warm water
- Disposable gloves
- Clean, dry cloth or paper towels
- Aluminum foil
- Vegetable oil or cooking spray
- Scrubbing sponge or pad
- Trash bag
By having these materials at your disposal, you’ll be well-equipped to tackle the cleaning process and restore your Weber Kettle Grill to its pristine condition. Now that we have everything we need, let’s move on to the first step: preparing the grill for cleaning.
Step 1: Preparing the Grill
Before diving into the cleaning process, it’s important to prepare the grill to ensure a smooth and efficient experience. Here’s how to get started:
First, ensure that the grill is completely cooled. Attempting to clean a hot grill can be hazardous and may lead to accidental burns.
Next, remove the cooking grates and set them aside. These grates are where the magic happens, transforming raw ingredients into delectable meals, and they require thorough cleaning to maintain their performance.
Once the grates are removed, take out the charcoal grate and dispose of any remaining ashes. A small, handheld broom or brush can be useful for this task, making it easier to clear out the ash and debris.
If your grill has an ash catcher, empty it out and dispose of the accumulated ash. This step is essential for preventing any blockages and ensuring proper airflow during future grilling sessions.
With the grill now prepared and the necessary components removed, you’re ready to move on to the next step: cleaning the inside of the grill. By taking the time to prepare the grill properly, you’re setting the stage for a thorough cleaning process that will leave your Weber Kettle Grill looking and performing at its best.
Step 2: Cleaning the Inside of the Grill
Now that the grill is prepared, it’s time to focus on cleaning the interior, where flavor-packed memories are created. Follow these steps to ensure the inside of your Weber Kettle Grill is spotless:
Start by using a grill brush with stainless steel bristles to scrub the inside of the lid. This area can accumulate smoke residue and greasy buildup over time. By gently scrubbing the interior with the brush, you can dislodge any debris and restore the pristine appearance of the lid.
Next, turn your attention to the bowl of the grill. Using warm, soapy water and a scrubbing sponge or pad, carefully clean the interior surfaces. Pay close attention to any stubborn spots or residue, applying a bit of extra elbow grease if needed. For particularly tough buildup, a specialized grill cleaner can be used to effectively tackle grease and grime.
After the interior surfaces are thoroughly cleaned, rinse the bowl with clean water to remove any soap residue. Once rinsed, use a clean, dry cloth or paper towels to wipe the surfaces, ensuring that they are completely dry before proceeding.
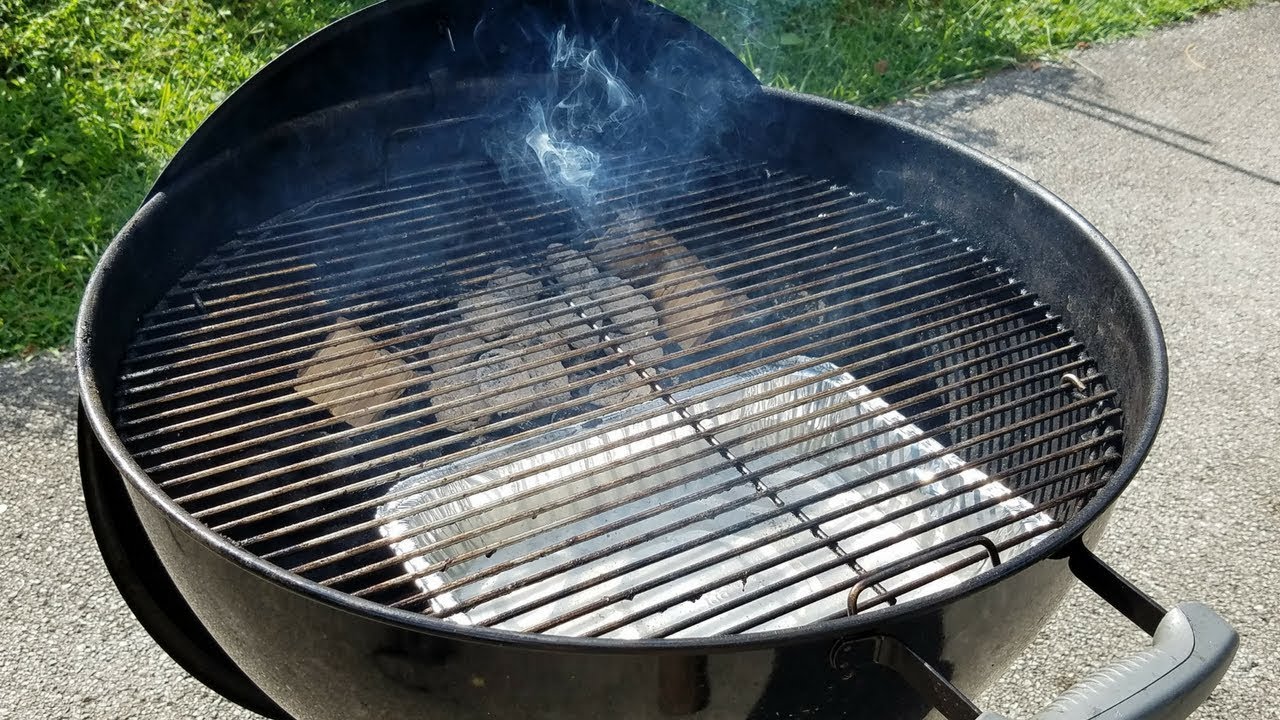
Now, let’s address the charcoal grate. Using a grill brush or a dedicated grate cleaner, remove any ash or residue that may have accumulated. This step is crucial for maintaining proper airflow during grilling and preventing any unwanted flavors from impacting your culinary creations.
With the inside of the grill now sparkling clean, you’re ready to move on to the next step: cleaning the outside of the grill. By giving attention to the inside of the grill, you’re not only maintaining its visual appeal but also ensuring that it continues to deliver exceptional grilling performance.
After each use, brush the grates and clean the inside of the grill with a wire brush and warm soapy water. Wipe down the exterior with a damp cloth.
Step 3: Cleaning the Outside of the Grill
While the inside of the grill is where the cooking magic happens, the exterior also deserves attention to maintain the overall appearance and longevity of your Weber Kettle Grill. Follow these steps to ensure the outside of your grill remains clean and presentable:
Begin by preparing a cleaning solution using mild dish soap or a specialized grill cleaner and warm water. This solution will be used to wipe down the exterior surfaces of the grill, removing any dirt, grease, or residue that may have accumulated.
Dip a clean cloth or sponge into the cleaning solution and gently wipe the exterior of the grill, paying attention to areas that may have stubborn buildup. For stainless steel surfaces, it’s important to wipe in the direction of the grain to maintain the finish’s appearance.
For any particularly stubborn spots or residue, a non-abrasive scrubbing pad can be used, ensuring that it won’t scratch the surface of the grill. Take care to avoid harsh or abrasive cleaners, as they can damage the finish of the grill.
After thoroughly cleaning the exterior surfaces, rinse the cloth or sponge and use clean water to wipe away any remaining cleaning solution. Once the surfaces are rinsed, use a dry cloth to remove any excess moisture, leaving the exterior of the grill clean and dry.
For porcelain-enameled surfaces, it’s important to use gentle cleaning methods to avoid damaging the finish. A soft cloth or sponge, along with a mild cleaning solution, is ideal for maintaining the appearance of porcelain-enameled surfaces.
By giving attention to the outside of the grill, you’re not only preserving its visual appeal but also protecting it from the elements and ensuring its longevity. With the exterior of the grill now clean and refreshed, it’s time to move on to the final step: reassembling the grill.
Read more: How To Clean A Weber Gas Grill
Step 4: Reassembling the Grill
With the interior and exterior of your Weber Kettle Grill sparkling clean, it’s time to reassemble the components and prepare the grill for your next culinary adventure. Follow these steps to ensure a seamless reassembly process:
Begin by placing the clean charcoal grate back into the grill. Ensure that it sits securely in place, ready to support the charcoal or wood chunks for your next grilling session.
Next, carefully position the cooking grates back onto the grill. These grates are where the magic happens, transforming raw ingredients into mouthwatering meals, and it’s essential to have them securely in place for optimal grilling performance.
If your grill has an ash catcher, reattach it to the grill, ensuring that it fits snugly and is ready to fulfill its role in collecting ash during grilling sessions.
Before firing up the grill for your next cooking endeavor, take a moment to inspect the vents and ensure they are clean and unobstructed. Proper airflow is essential for achieving precise temperature control and optimal grilling results.
Once all the components are back in place, it’s a good idea to perform a quick visual check to ensure that everything is reassembled correctly. This step ensures that your grill is ready to deliver exceptional results when called upon for your next outdoor culinary masterpiece.
With the grill fully reassembled and looking as good as new, it’s time to conclude the cleaning process and prepare for the next sizzling cookout. By following these reassembly steps, you’re ensuring that your Weber Kettle Grill is ready to deliver outstanding grilling performance and delectable flavors for your next outdoor gathering.
Conclusion
Congratulations! You’ve successfully navigated the process of cleaning your Weber Kettle Grill, ensuring that it remains a reliable and visually appealing centerpiece for your outdoor cooking adventures. By following the steps outlined in this guide, you’ve taken proactive measures to maintain the performance and longevity of your grill.
Regular cleaning not only enhances the aesthetic appeal of your grill but also contributes to its functionality, ensuring that it continues to deliver exceptional grilling results for years to come. By dedicating time to cleaning and maintaining your grill, you’re investing in countless future culinary delights and memorable gatherings with family and friends.
As you prepare for your next grilling session, take a moment to appreciate the effort you’ve put into cleaning your Weber Kettle Grill. The satisfaction of knowing that your grill is in prime condition, ready to create mouthwatering dishes, is a testament to your commitment to the art of outdoor cooking.
Remember, the cleaning process is an opportunity to connect with your grill, understanding its components and appreciating the role they play in crafting delicious meals. With each cleaning session, you’re nurturing a bond with your grill, ensuring that it remains a steadfast companion in your culinary pursuits.
So, as you gaze upon your gleaming Weber Kettle Grill, take pride in the care you’ve provided and the potential it holds for future gastronomic triumphs. With a clean and well-maintained grill at your disposal, you’re poised to embark on a journey of culinary creativity and outdoor culinary excellence.
Now, with your Weber Kettle Grill restored to its former glory, it’s time to fire it up and let the sizzle of the grill and the aroma of your favorite dishes fill the air. Enjoy the fruits of your labor and savor the delectable flavors that await as you embark on your next grilling adventure.
Frequently Asked Questions about How To Clean A Weber Kettle Grill
Was this page helpful?
At Storables.com, we guarantee accurate and reliable information. Our content, validated by Expert Board Contributors, is crafted following stringent Editorial Policies. We're committed to providing you with well-researched, expert-backed insights for all your informational needs.


0 thoughts on “How To Clean A Weber Kettle Grill”