Home>Maintenance & Safety>Home Maintenance Checklists>How To Clean Out Your Trash Can
Home Maintenance Checklists
How To Clean Out Your Trash Can
Modified: August 17, 2024
Learn how to effectively clean and maintain your trash can with our comprehensive home maintenance checklists. Keep your home clean and odor-free!
(Many of the links in this article redirect to a specific reviewed product. Your purchase of these products through affiliate links helps to generate commission for Storables.com, at no extra cost. Learn more)
Introduction
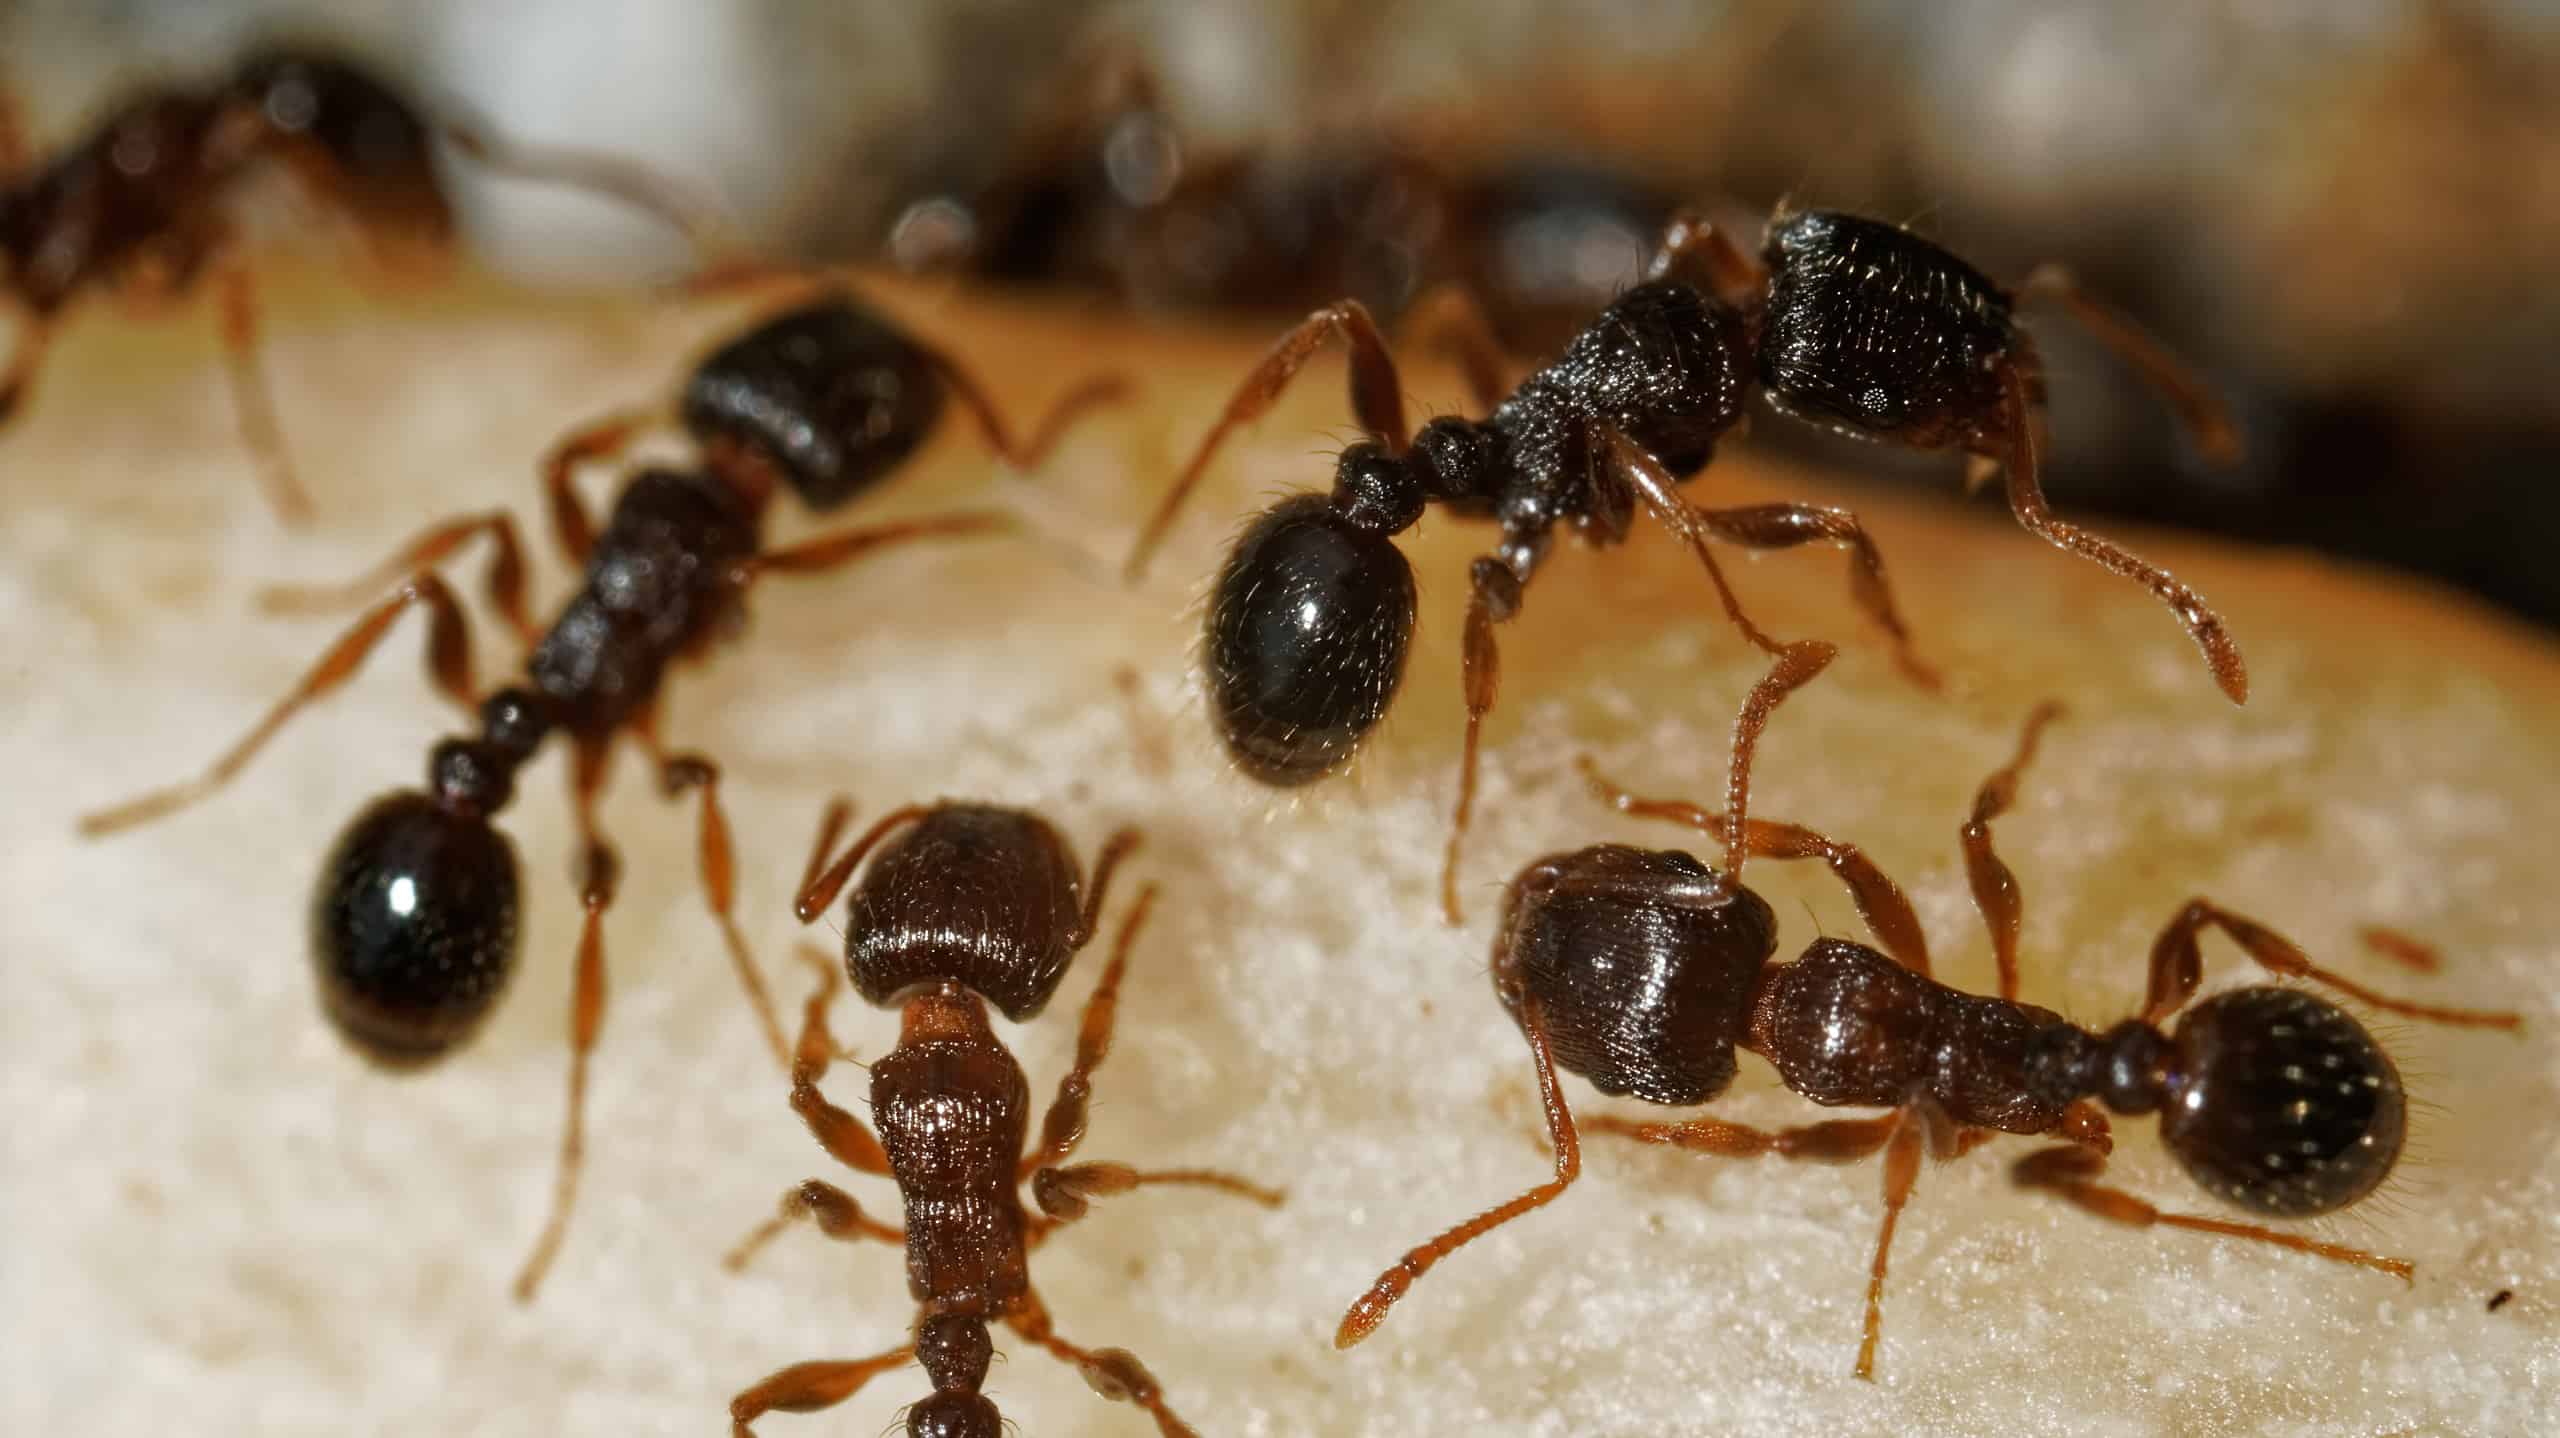
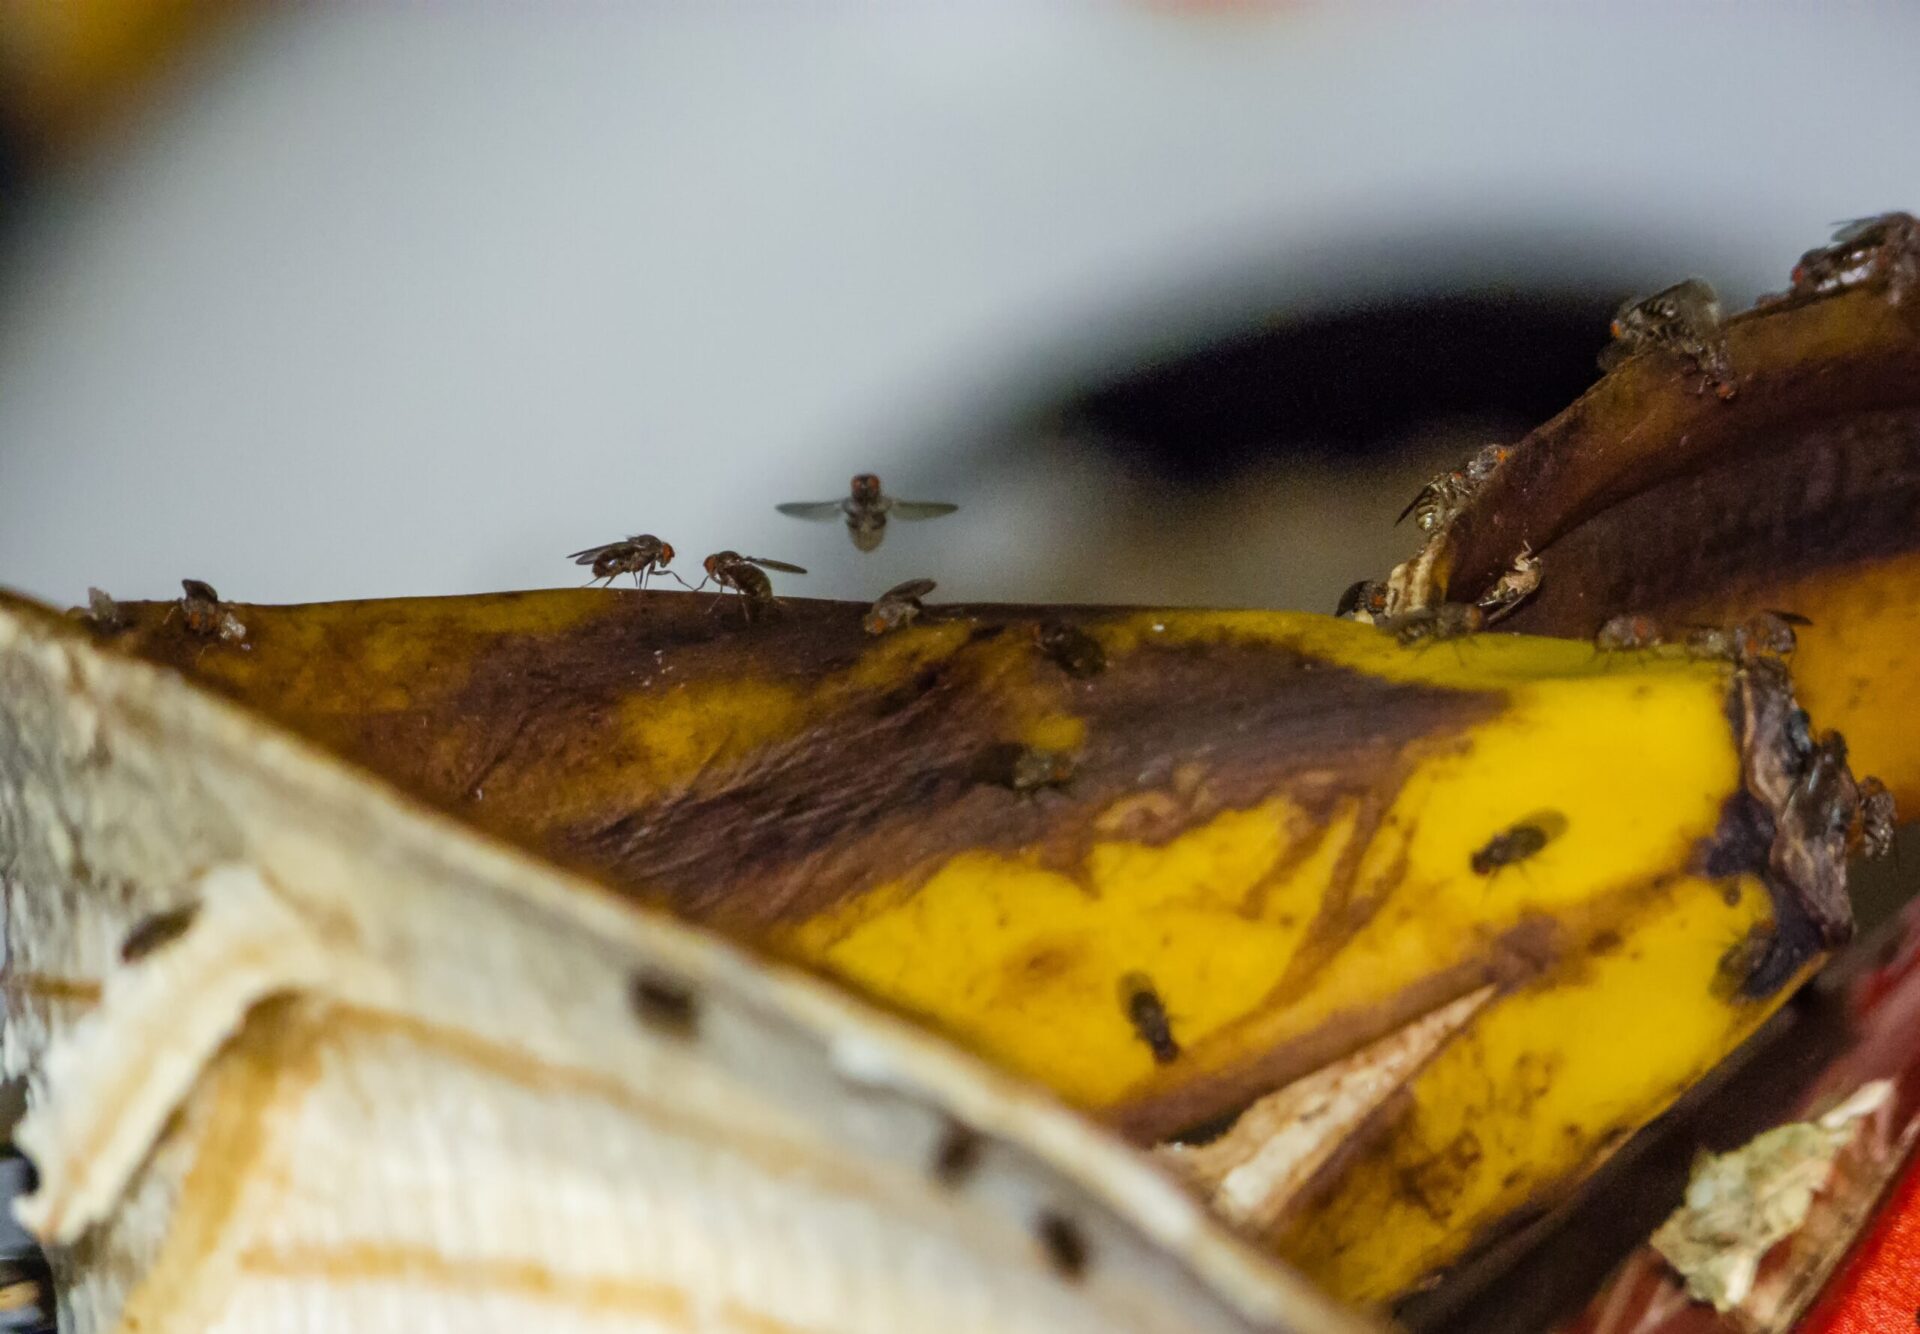
Welcome to the ultimate guide on how to keep your trash can clean and odor-free. While taking out the trash is a regular chore, maintaining the cleanliness of the trash can itself is often overlooked. A dirty trash can not only harbors unpleasant odors but can also attract pests and bacteria, posing potential health risks. By following this comprehensive checklist, you can ensure that your trash can remains clean and hygienic, contributing to a fresh and healthy home environment.
Properly cleaning your trash can not only eliminates foul odors but also prevents the buildup of grime and bacteria, ultimately extending the life of your trash receptacle. From gathering the necessary supplies to implementing a routine maintenance schedule, this guide will equip you with the knowledge and techniques to effectively clean and maintain your trash can. Let’s dive into the step-by-step process of transforming your grimy trash can into a spotless and fresh-smelling essential household item.
Key Takeaways:
- Keep your trash can clean by gathering supplies like gloves, bleach, and a scrubbing brush. Remove trash, scrub, rinse, and deodorize regularly to maintain a fresh and hygienic home environment.
- Maintain cleanliness by regularly emptying the trash, using liners, and wiping down spills. Schedule monthly deep cleanings and deodorize periodically to keep your trash can odor-free.
Read more: How Heavy Can Your Trash Can Be
Gather Supplies
Before embarking on the trash can cleaning mission, it’s essential to gather the necessary supplies. Having the right tools and cleaning agents at your disposal will streamline the process and ensure thorough sanitation.
Here’s a list of supplies you’ll need:
- Gloves: Rubber or latex gloves will protect your hands from coming into direct contact with germs and grime.
- Bleach or Vinegar: Both are effective disinfectants that can eliminate bacteria and neutralize odors.
- Dish Soap: A gentle yet powerful cleaner to cut through grease and grime.
- Scrubbing Brush: Choose a sturdy brush with firm bristles to effectively remove stubborn residue.
- Long-Handled Brush or Mop: Ideal for reaching the bottom and sides of the trash can without straining your back.
- Baking Soda: A natural deodorizer that helps absorb and neutralize odors.
- Trash Bags: You’ll need an extra bag to dispose of any loose debris before cleaning.
- Water Hose or Bucket: To rinse and wash the trash can.
- Towel or Rag: For drying the trash can after cleaning.
Once you have all the supplies at hand, you’re ready to tackle the task of cleaning out your trash can.
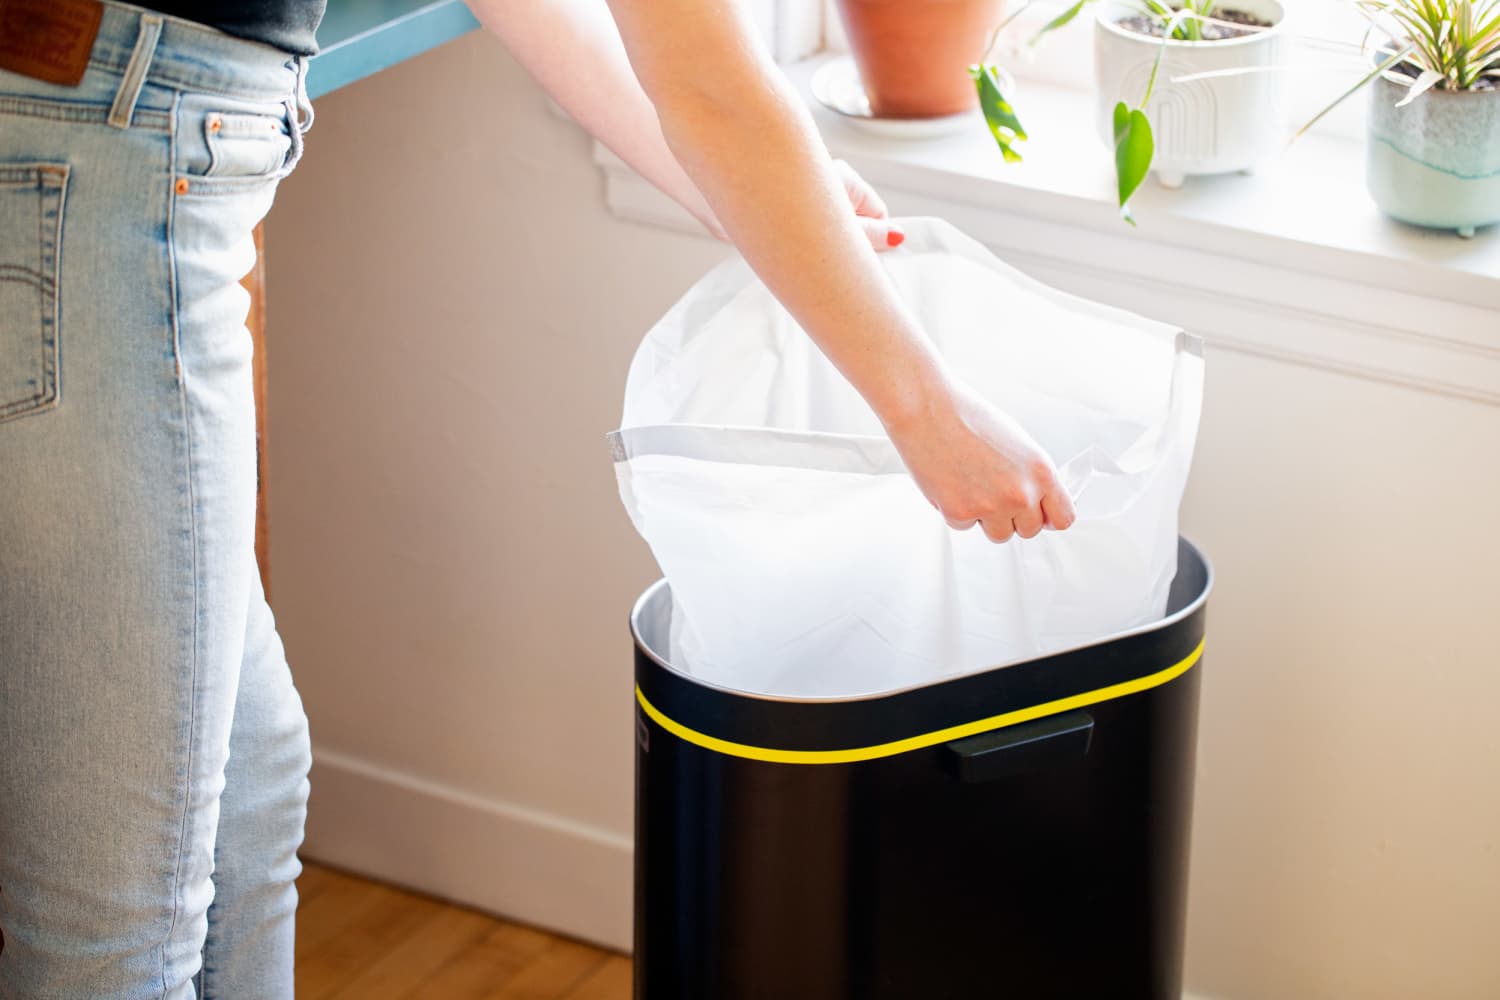
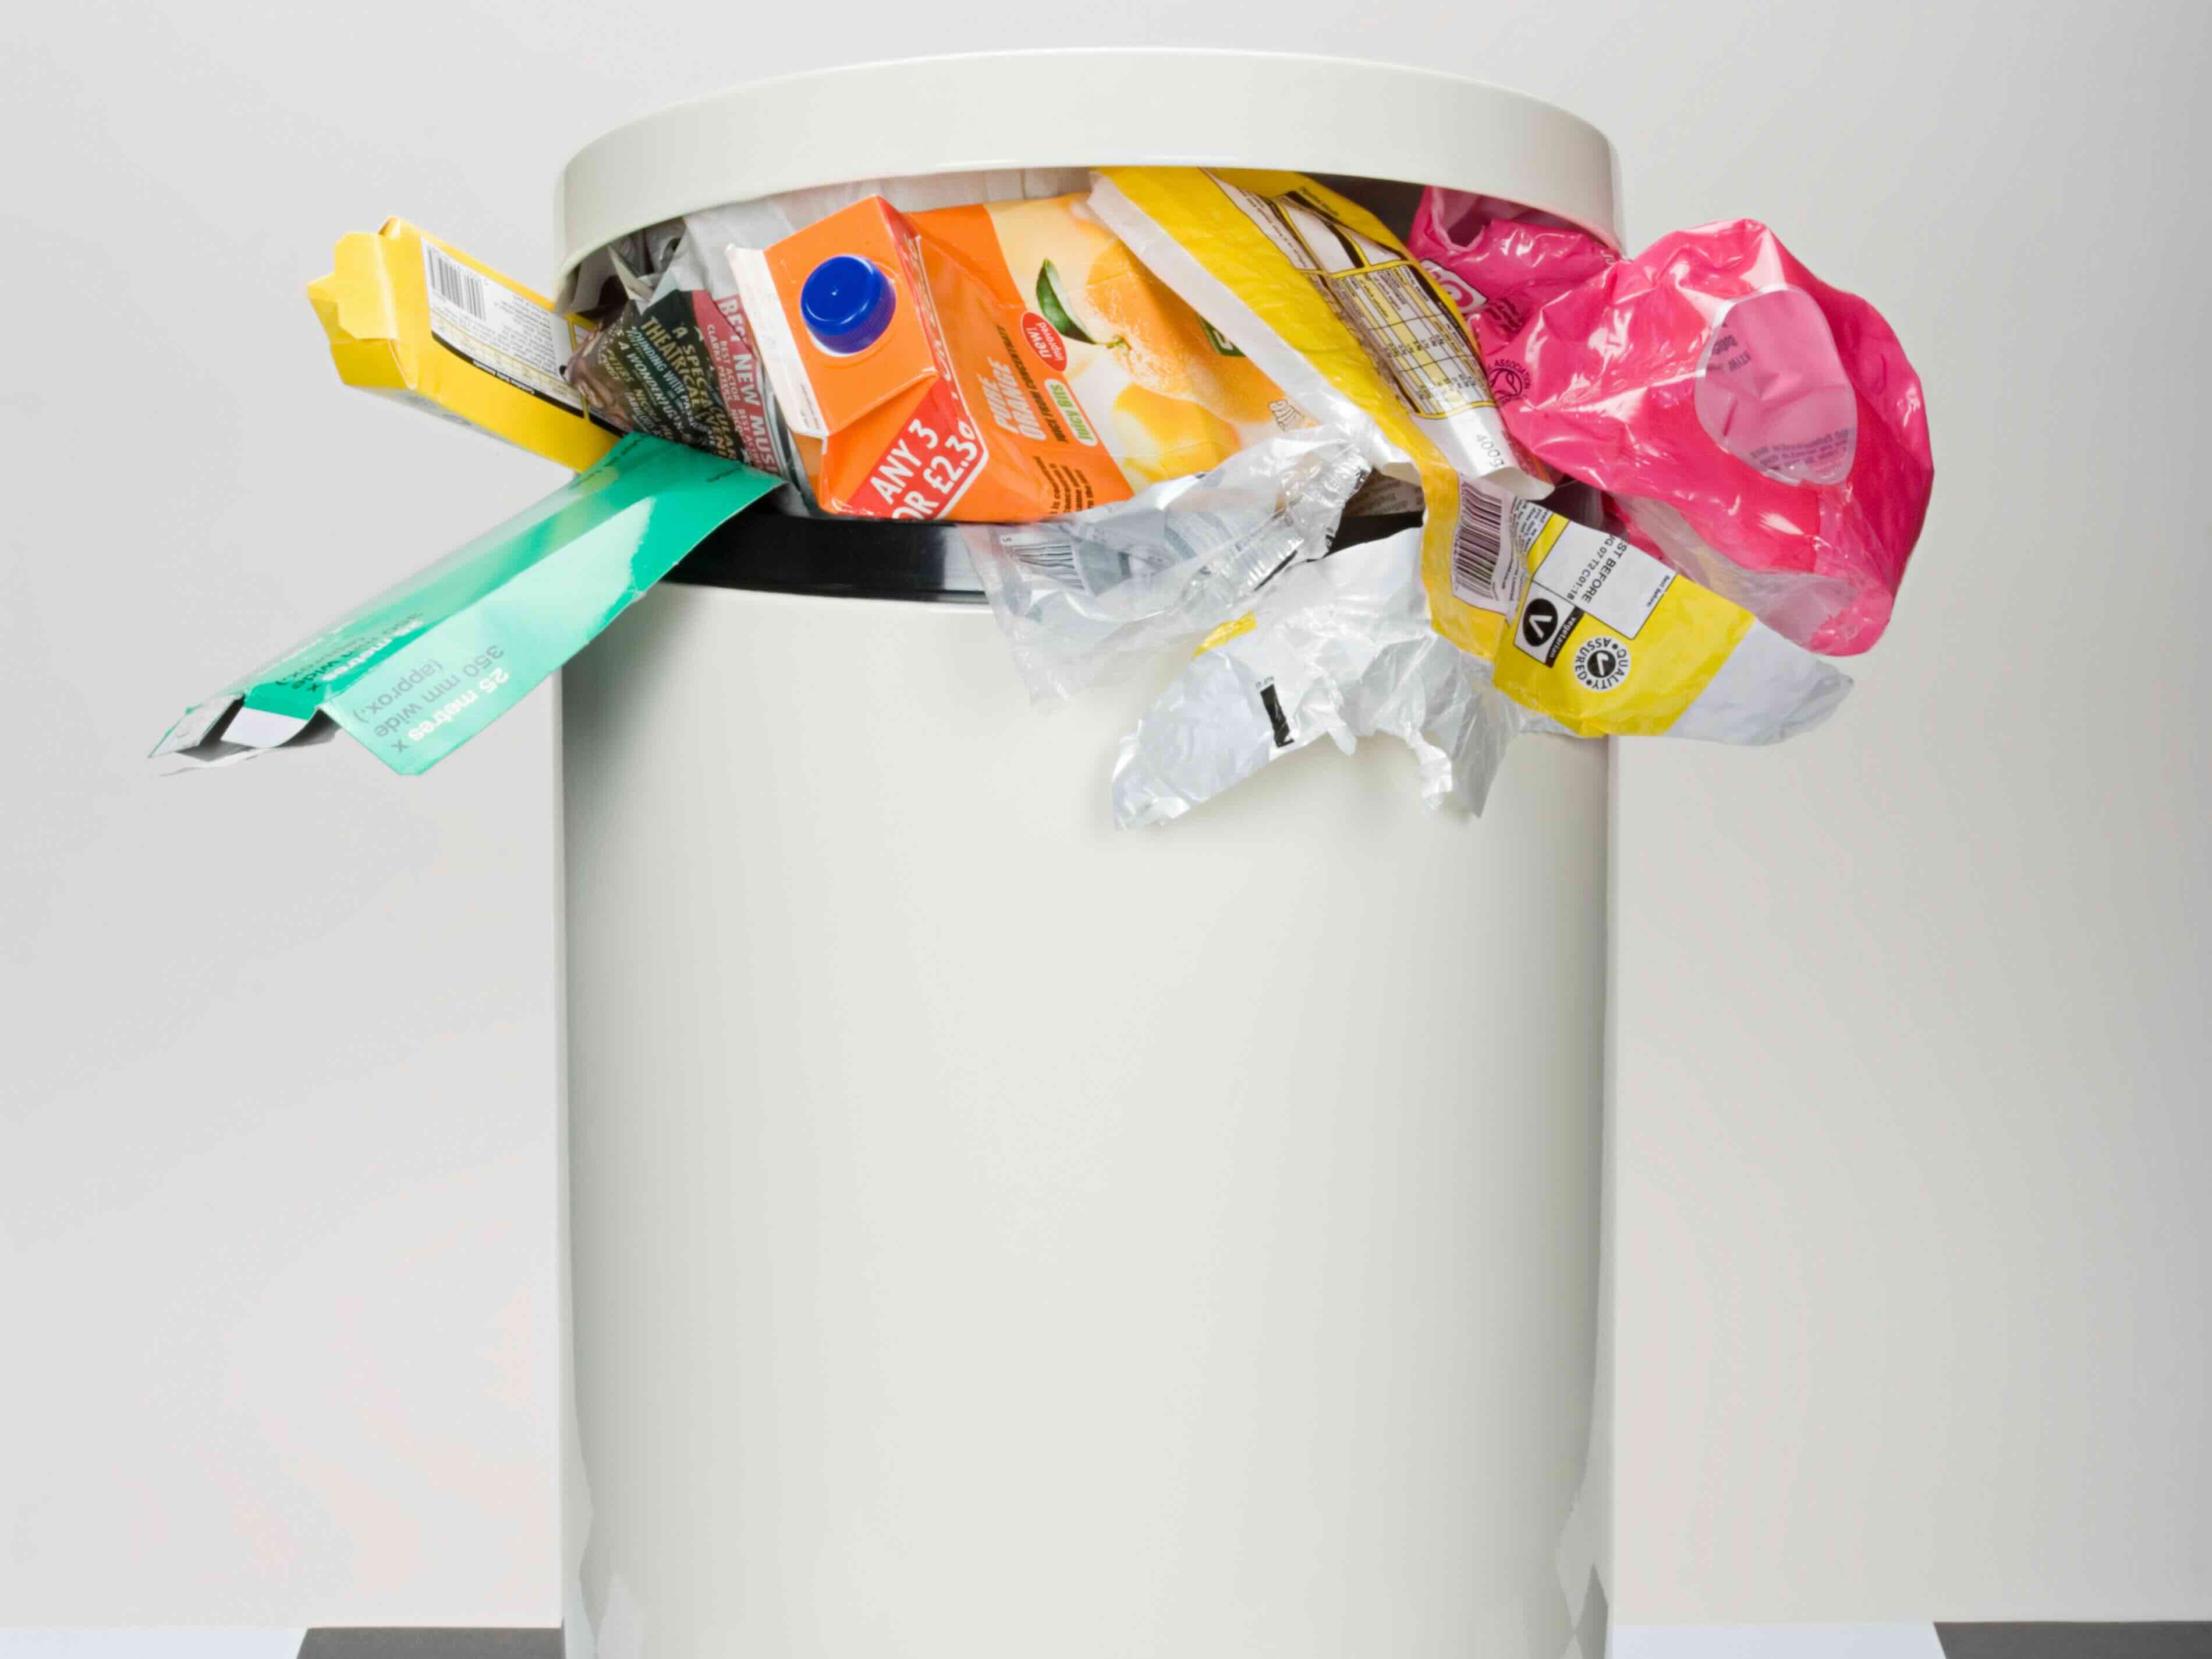
Remove Trash
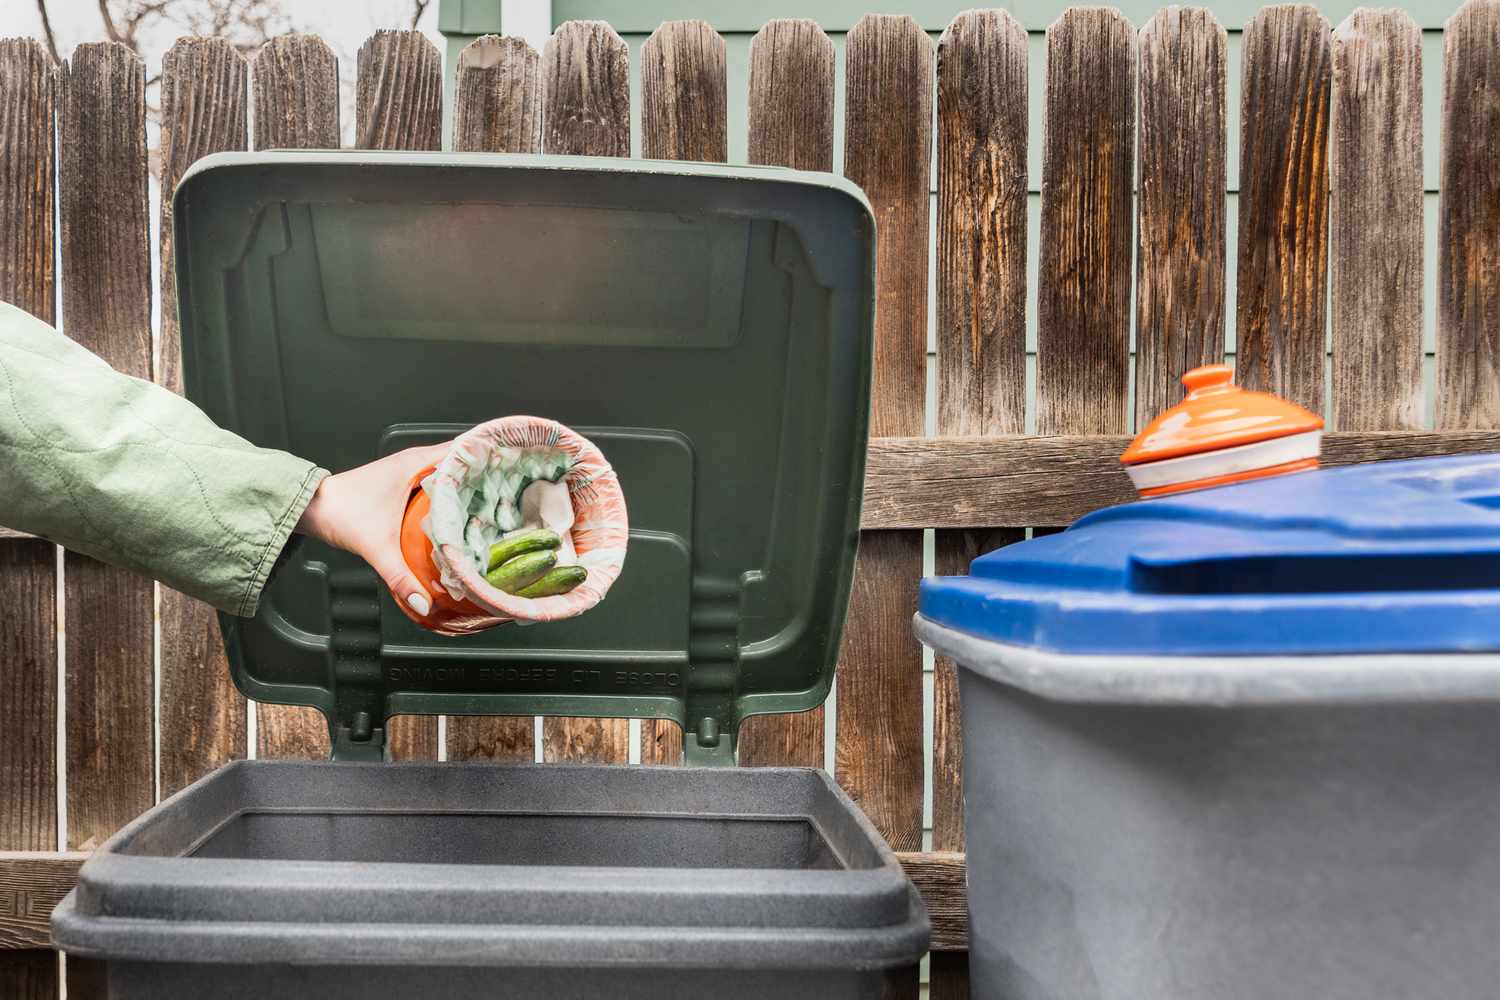
Before diving into the cleaning process, it’s crucial to start with a clean slate. Begin by removing any remaining trash from the can. Ensure that the trash bag is securely tied to prevent any spills or leaks during removal. If there are loose debris or remnants stuck to the bottom or sides of the can, use a small handheld brush to loosen and remove them. This initial step sets the stage for a more effective and thorough cleaning process.
Once the trash has been successfully removed, take a moment to inspect the interior of the can. Look out for any stubborn residue, such as sticky substances or hardened spills, that may require extra attention during the cleaning phase. By addressing these remnants early on, you can prevent them from becoming more challenging to remove as time goes on.
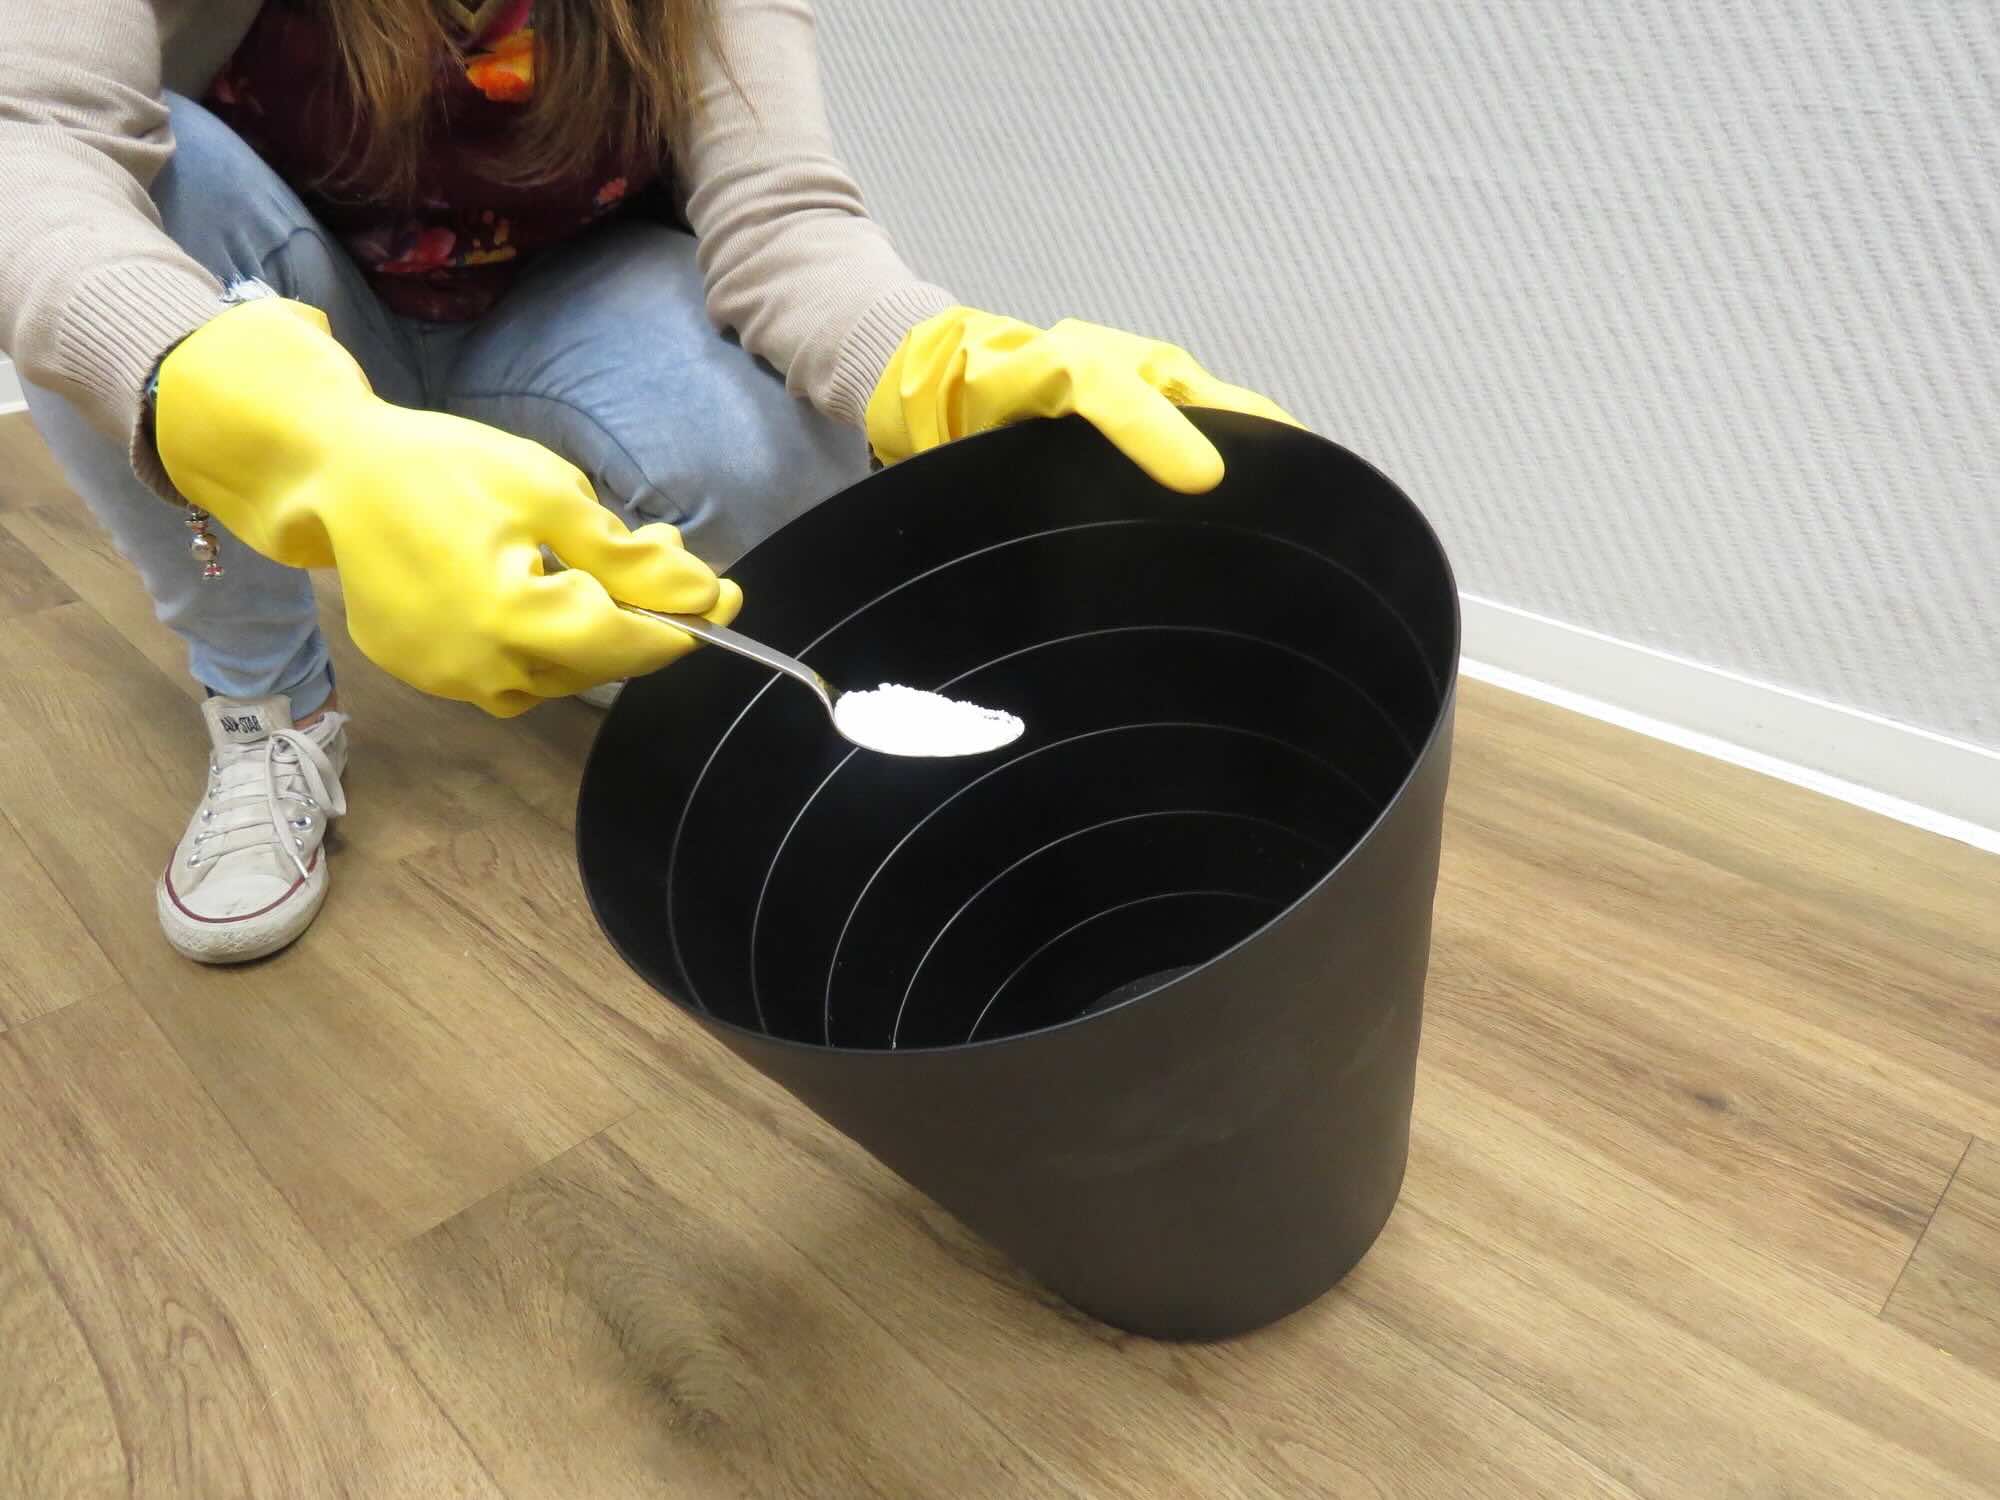
If you notice any foul odors lingering in the can, sprinkle a generous amount of baking soda at the bottom to help neutralize the smell. Baking soda is a natural deodorizer and can work wonders in eliminating unpleasant odors, leaving your trash can smelling fresh and clean.
With the trash successfully disposed of and any residual debris removed, you’re now ready to move on to the next step: scrubbing and rinsing the trash can to achieve a sparkling clean finish.
Scrub and Rinse
Now that the trash can is emptied, it’s time to roll up your sleeves and get scrubbing. Start by spraying the interior and exterior of the can with a mixture of water and dish soap. This will help loosen any remaining grime and prepare the surface for a thorough scrubbing. For stubborn stains or odors, consider adding a small amount of bleach or vinegar to the soapy water solution for added disinfecting power.
Using a sturdy scrubbing brush, thoroughly scrub the interior and exterior surfaces of the trash can. Pay close attention to the bottom and corners, as these areas are prone to accumulating residue and grime. A long-handled brush or mop can be particularly useful for reaching the bottom of the can without the need to bend or crouch, ensuring a more comfortable cleaning experience.
After scrubbing, rinse the trash can inside and out with a water hose or bucket of clean water. This step is crucial for removing any soapy residue and ensuring a pristine finish. Thorough rinsing also helps to wash away any loosened debris, leaving the can sparkling clean.
Once rinsed, inspect the can for any remaining stains or spots that may require additional attention. For persistent stains, you can create a paste using baking soda and water, applying it to the affected areas and allowing it to sit for a few minutes before scrubbing again. This natural cleaning method is gentle yet effective in tackling tough stains without harsh chemicals.
With the scrubbing and rinsing process complete, it’s time to move on to the next step: drying and deodorizing the trash can to ensure a fresh and pleasant aroma.
To clean out your trash can, mix hot water with a few drops of dish soap and scrub the inside with a long-handled brush. Rinse thoroughly and let it dry in the sun to prevent odors.
Dry and Deodorize
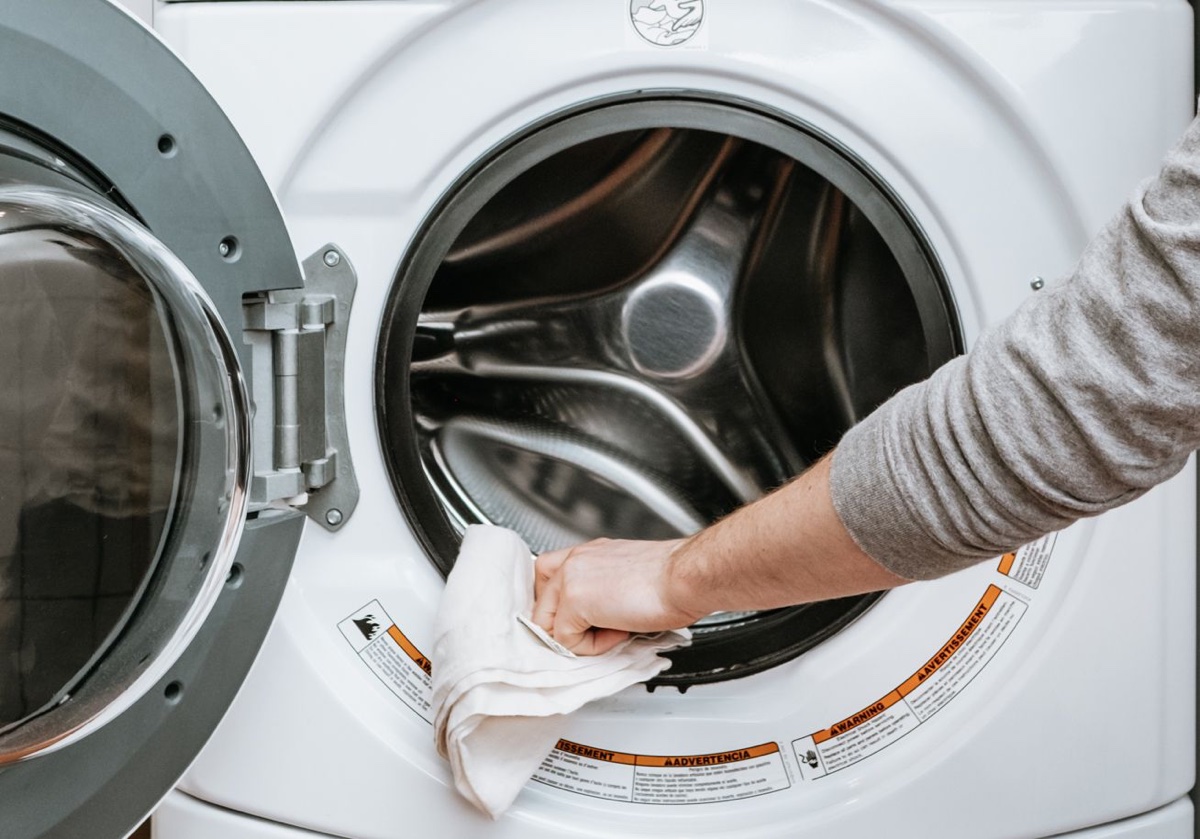
After thoroughly scrubbing and rinsing the trash can, it’s essential to ensure that it is completely dry before putting it back into service. Use a clean towel or rag to wipe down the interior and exterior surfaces of the can, removing any excess water and promoting faster drying. Allowing the trash can to air dry in a well-ventilated area is also beneficial, as it helps prevent the growth of mold and mildew.
While the trash can is drying, it’s an opportune time to deodorize it for a fresh and pleasant scent. Sprinkle a generous amount of baking soda onto the bottom of the can and gently shake it to distribute the powder evenly. Baking soda is renowned for its natural deodorizing properties, effectively neutralizing odors without the use of harsh chemicals. Leave the baking soda in the can for at least 15-20 minutes to allow it to absorb any lingering odors.
For an extra boost of freshness, consider placing a few drops of essential oil, such as lemon or lavender, onto a cotton ball and placing it inside the can. The aromatic properties of the essential oil will infuse the trash can with a delightful fragrance, masking any remaining odors and leaving behind a pleasant scent.
Once the trash can is dry and deodorized, it’s time to put it back in its designated spot, ready for use. However, the journey to maintaining a clean and odor-free trash can doesn’t end here. The next step involves establishing a routine maintenance schedule to ensure that your trash can remains in top-notch condition.
Read more: How To Clean Stinky Trash Can
Maintain Cleanliness
Consistent maintenance is key to preserving the cleanliness and freshness of your trash can. By implementing a few simple practices, you can prevent the buildup of odors and grime, ultimately extending the intervals between deep cleanings.
Here are some tips for maintaining the cleanliness of your trash can:
- Regularly Empty the Trash: Avoid letting trash accumulate for extended periods, as this can lead to unpleasant odors and a messier cleaning process.
- Use Liners or Bags: Always line your trash can with a sturdy bag to contain spills and prevent direct contact with the can’s interior.
- Wipe Down Spills Immediately: Address any spills or leaks promptly to prevent them from drying and adhering to the can’s surfaces.
- Perform Monthly Cleanings: Schedule a monthly deep cleaning to maintain a consistently fresh and hygienic trash can.
- Deodorize Regularly: Sprinkle baking soda in the can periodically to neutralize odors and keep it smelling fresh.
- Keep the Surrounding Area Clean: Ensure the area around the trash can is also kept clean to prevent the spread of odors and bacteria.
By incorporating these practices into your routine, you can significantly reduce the frequency and intensity of deep cleanings while ensuring that your trash can remains a clean and odor-free essential in your home.
Now that you’re equipped with the knowledge and techniques to maintain a clean and fresh-smelling trash can, you can enjoy a more pleasant and hygienic living environment. By following this checklist and implementing regular maintenance, you’ll not only eliminate foul odors and grime but also contribute to a healthier and more inviting home.
Conclusion
Congratulations on completing the comprehensive checklist for cleaning and maintaining your trash can! By following the step-by-step guide outlined in this article, you’ve taken a proactive approach to ensuring that your trash can remains clean, odor-free, and hygienic.
Remember, a clean trash can not only contributes to a fresh and inviting home environment but also helps prevent the spread of germs and the attraction of pests. By incorporating the recommended cleaning supplies, scrubbing and rinsing techniques, and deodorizing methods, you’ve transformed your trash can into a spotless and pleasant-smelling essential household item.
Furthermore, by embracing the tips for maintaining cleanliness, you’re well-equipped to sustain the pristine condition of your trash can over time, reducing the need for frequent deep cleanings and ensuring a consistently fresh and hygienic waste disposal solution.
As you continue to implement these practices, you’ll enjoy the benefits of a cleaner and more pleasant living space, while also contributing to a healthier and more hygienic home environment for you and your family.
Thank you for taking the time to prioritize the cleanliness of your trash can. By following this checklist and establishing a routine maintenance schedule, you’ve made a positive investment in the overall cleanliness and hygiene of your home. Here’s to a fresh and inviting living space!
Frequently Asked Questions about How To Clean Out Your Trash Can
Was this page helpful?
At Storables.com, we guarantee accurate and reliable information. Our content, validated by Expert Board Contributors, is crafted following stringent Editorial Policies. We're committed to providing you with well-researched, expert-backed insights for all your informational needs.


0 thoughts on “How To Clean Out Your Trash Can”