Home>Storage Ideas>Kitchen Storage>How To Clean A Trash Can To Remove Pesky Odors

Kitchen Storage
How To Clean A Trash Can To Remove Pesky Odors
Modified: August 28, 2024
Discover effective kitchen storage ideas and learn how to clean your trash can to eliminate stubborn odors with our helpful guide.
(Many of the links in this article redirect to a specific reviewed product. Your purchase of these products through affiliate links helps to generate commission for Storables.com, at no extra cost. Learn more)
Introduction
Welcome to our comprehensive guide on how to clean a trash can and remove those pesky odors that can linger in your kitchen. We all know how unpleasant and unhygienic a smelly trash can can be, not to mention the potential attraction it holds for pests. Keeping your trash can clean and odor-free is not only essential for maintaining a fresh and healthy environment in your kitchen, but it also helps to prolong the lifespan of your trash can.
Regularly cleaning and maintaining your trash can is a simple and effective way to prevent odors from developing and keep your kitchen smelling fresh. Throughout this article, we will provide you with step-by-step instructions on how to properly clean and deodorize your trash can, along with a list of materials you’ll need to get the job done.
Here at Kitchen Storage Ideas, we understand the frustration that can arise from dealing with unpleasant odors coming from your trash can, which is why we’ve developed this comprehensive cleaning guide. By following our tips and techniques, you’ll be able to eliminate odors and keep your trash can smelling clean and fresh.
So, whether you’re dealing with a persistent garbage stench or simply looking to maintain a clean and odor-free kitchen, read on to discover the best methods for cleaning and deodorizing your trash can. With our easy-to-follow instructions and a little bit of time and effort, you’ll have your trash can smelling fresh and your kitchen free from unpleasant odors.
Key Takeaways:
- Regularly cleaning and maintaining your trash can is crucial for preventing odors, bacteria growth, and pest infestations, while also extending its lifespan and ensuring a fresh and healthy kitchen environment.
- Gather materials such as gloves, bleach or vinegar, scrub brush, hot water, mild dish soap, baking soda, and old towels to effectively clean, disinfect, deodorize, and dry your trash can for a fresh and odor-free kitchen.
Read more: How To Clean Stinky Trash Can
Importance of Cleaning Your Trash Can
Cleaning your trash can regularly is not just about aesthetics; it is crucial for maintaining a healthy and hygienic kitchen environment. Here are a few key reasons why cleaning your trash can is important:
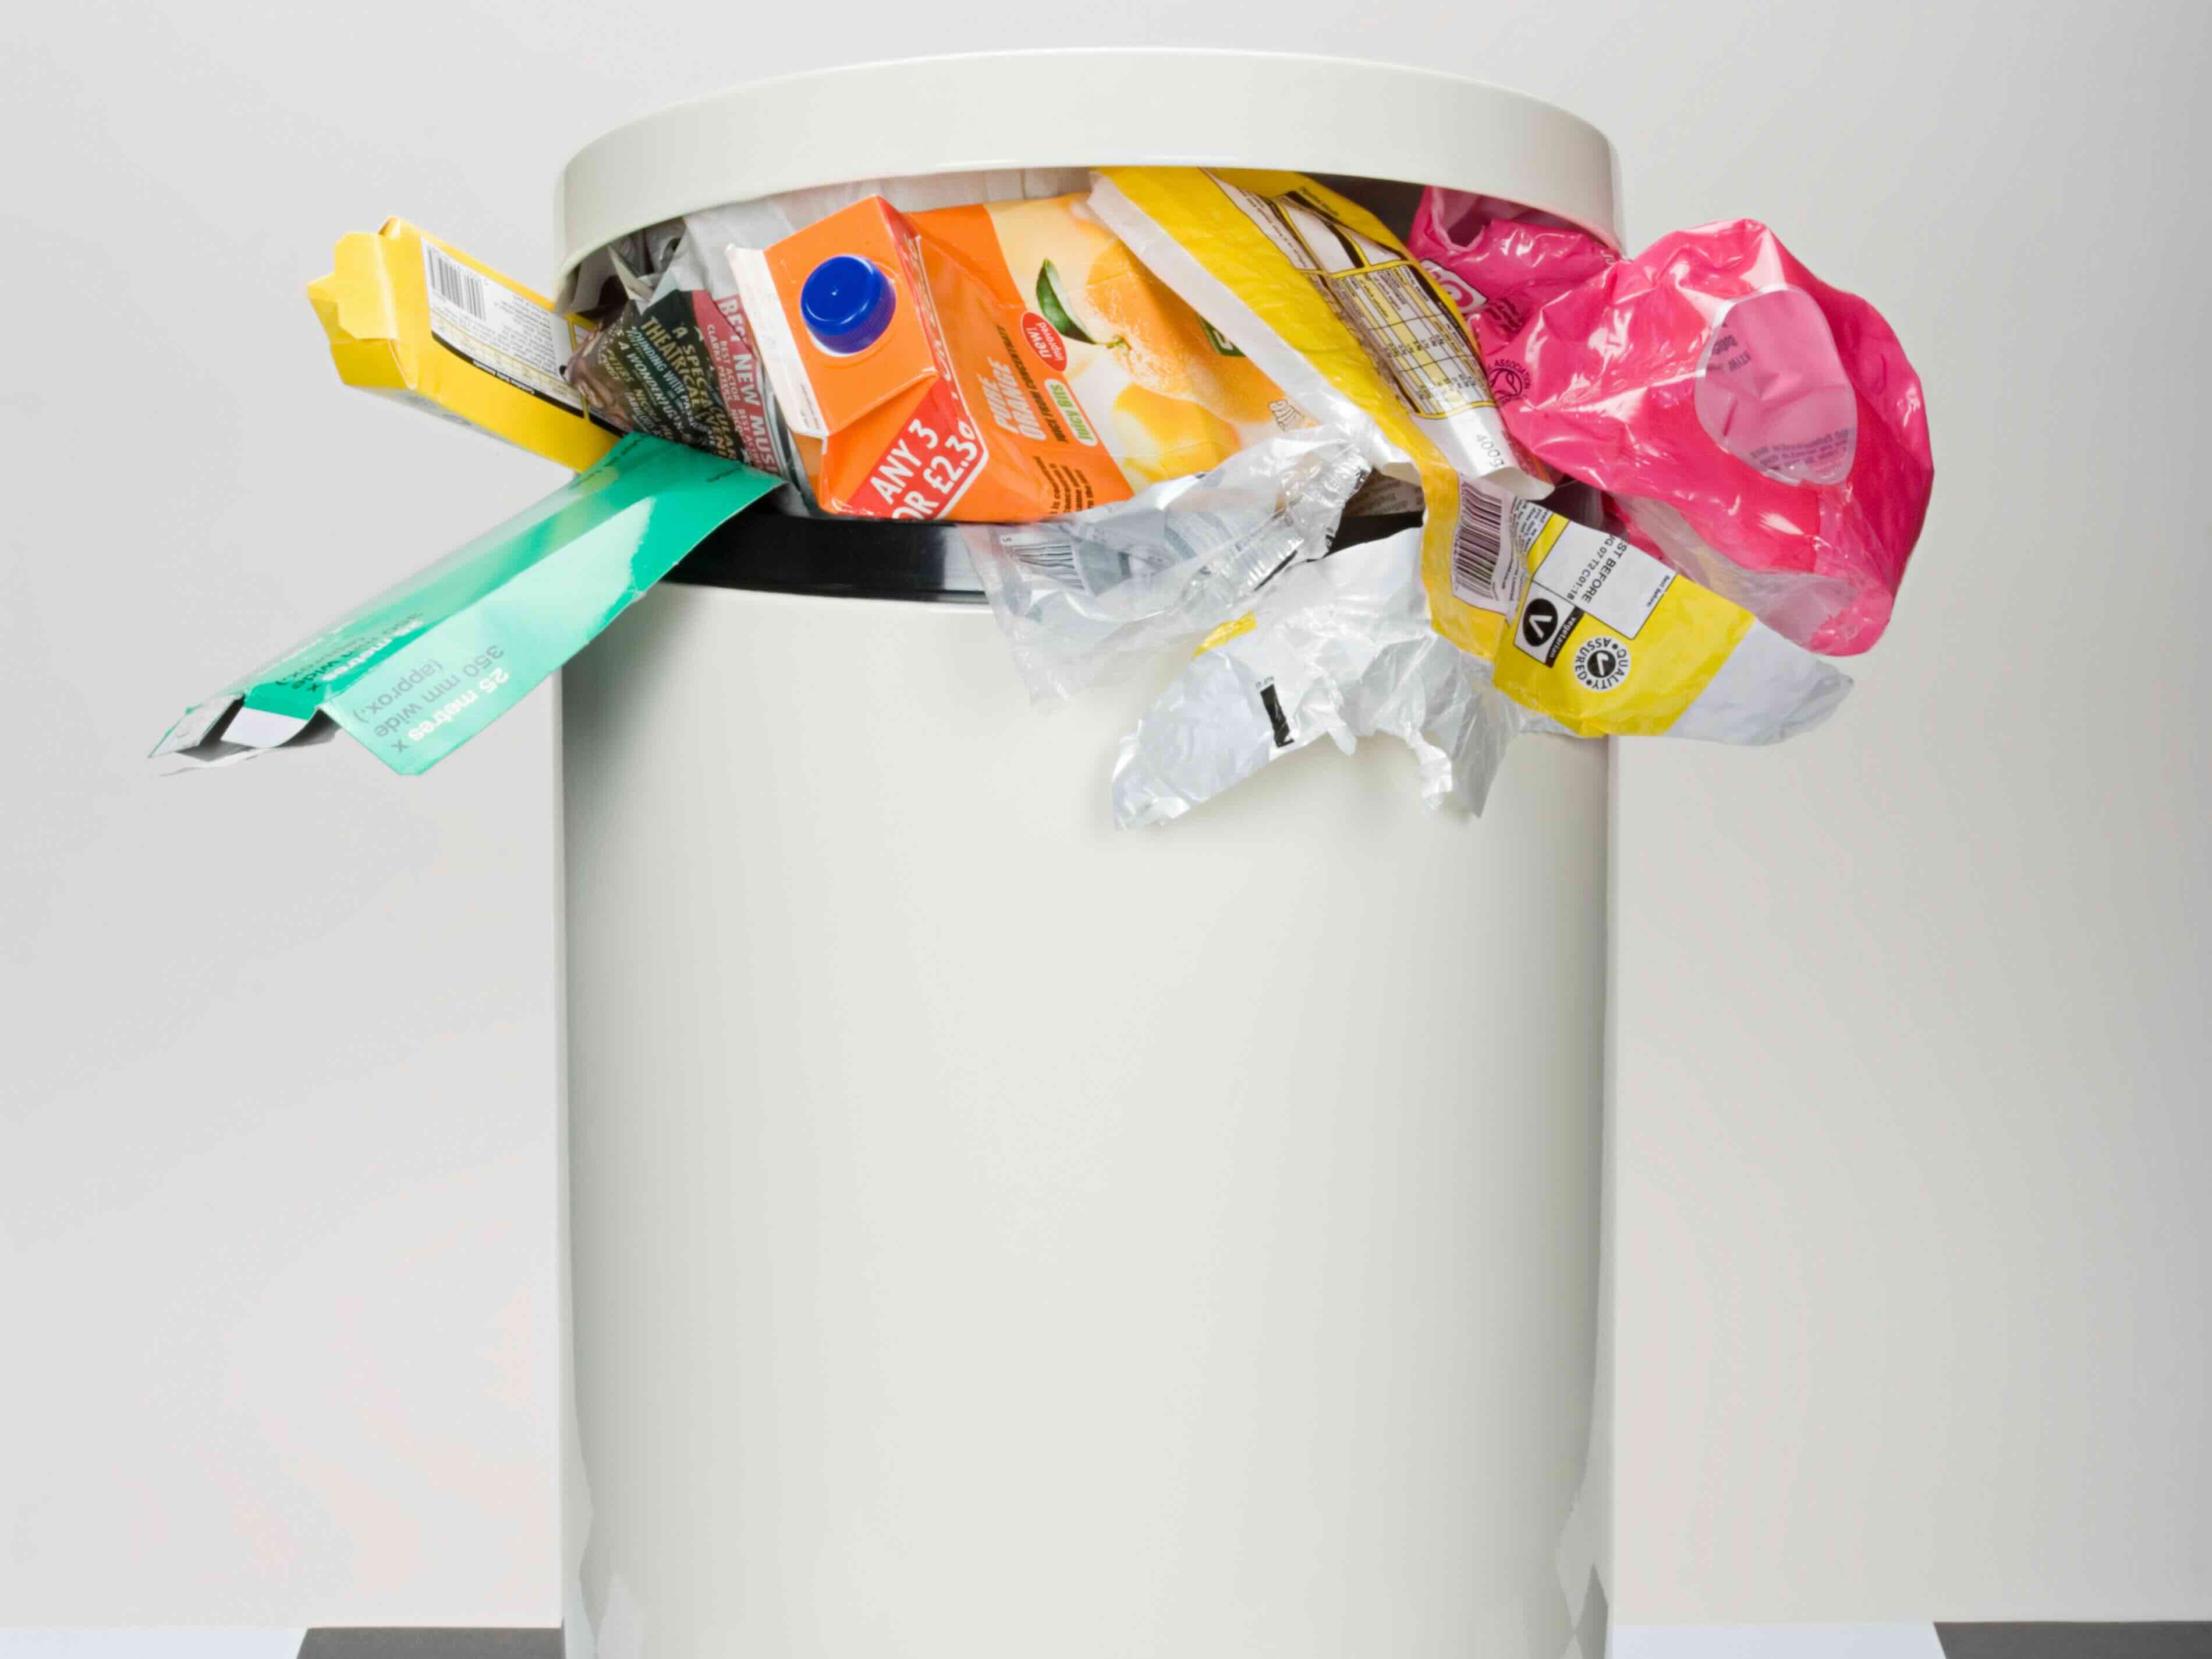
- Preventing Odors: The primary reason for cleaning your trash can is to eliminate unpleasant odors. Over time, food waste, liquids, and other debris can accumulate at the bottom of the trash can, leading to foul smells that permeate your kitchen. Regular cleaning helps to prevent these odors from becoming overpowering and spreading throughout your home.
- Stopping the Growth of Bacteria and Germs: The warm and moist environment inside your trash can is the perfect breeding ground for bacteria and germs. These can pose serious health risks to you and your family. By thoroughly cleaning and disinfecting your trash can, you can eliminate harmful pathogens and reduce the chances of contamination.
- Avoiding Pest Infestations: A dirty and smelly trash can serves as a magnet for pests, such as flies, ants, and rodents. These unwanted visitors are not only a nuisance but also carry diseases. By keeping your trash can clean and odor-free, you can significantly reduce the possibility of pests being attracted to your kitchen.
- Extending the Lifespan of Your Trash Can: Regular cleaning and maintenance can help prolong the life of your trash can. Accumulated dirt, grime, and corrosive substances can deteriorate the material of the can, leading to cracks, leaks, and unpleasant odors that are difficult to remove. By regularly cleaning and caring for your trash can, you can ensure it remains in good condition for longer.
Now that you understand the importance of cleaning your trash can, it’s time to gather the necessary materials and follow the step-by-step process to ensure a thorough cleaning and deodorizing process.
Materials Needed
Before getting started with cleaning your trash can, gather the following materials:
- Gloves: It’s important to protect your hands during the cleaning process, so be sure to wear a pair of gloves.
- Bleach or Vinegar: Both bleach and vinegar are effective at disinfecting and eliminating odors. Choose whichever option you prefer or have on hand.
- Scrub brush or sponge: A sturdy scrub brush or sponge with abrasive bristles will help remove stubborn stains and debris from the trash can.
- Hot water: Hot water is essential for loosening tough residues and ensuring a thorough clean.
- Mild dish soap: Use a mild dish soap to help break down grease and grime that may have built up on the trash can.
- Baking soda: Baking soda is a natural deodorizer and can help neutralize any remaining odors in the trash can.
- Old towels or rags: Have some old towels or rags on hand to dry off the trash can after cleaning.
By having these materials readily available, you’ll be well-prepared to tackle the task of cleaning your trash can and eliminating any lingering odors.
Now that you have your materials ready, let’s move on to the step-by-step process of cleaning your trash can.
Step 1: Emptying the Trash Can
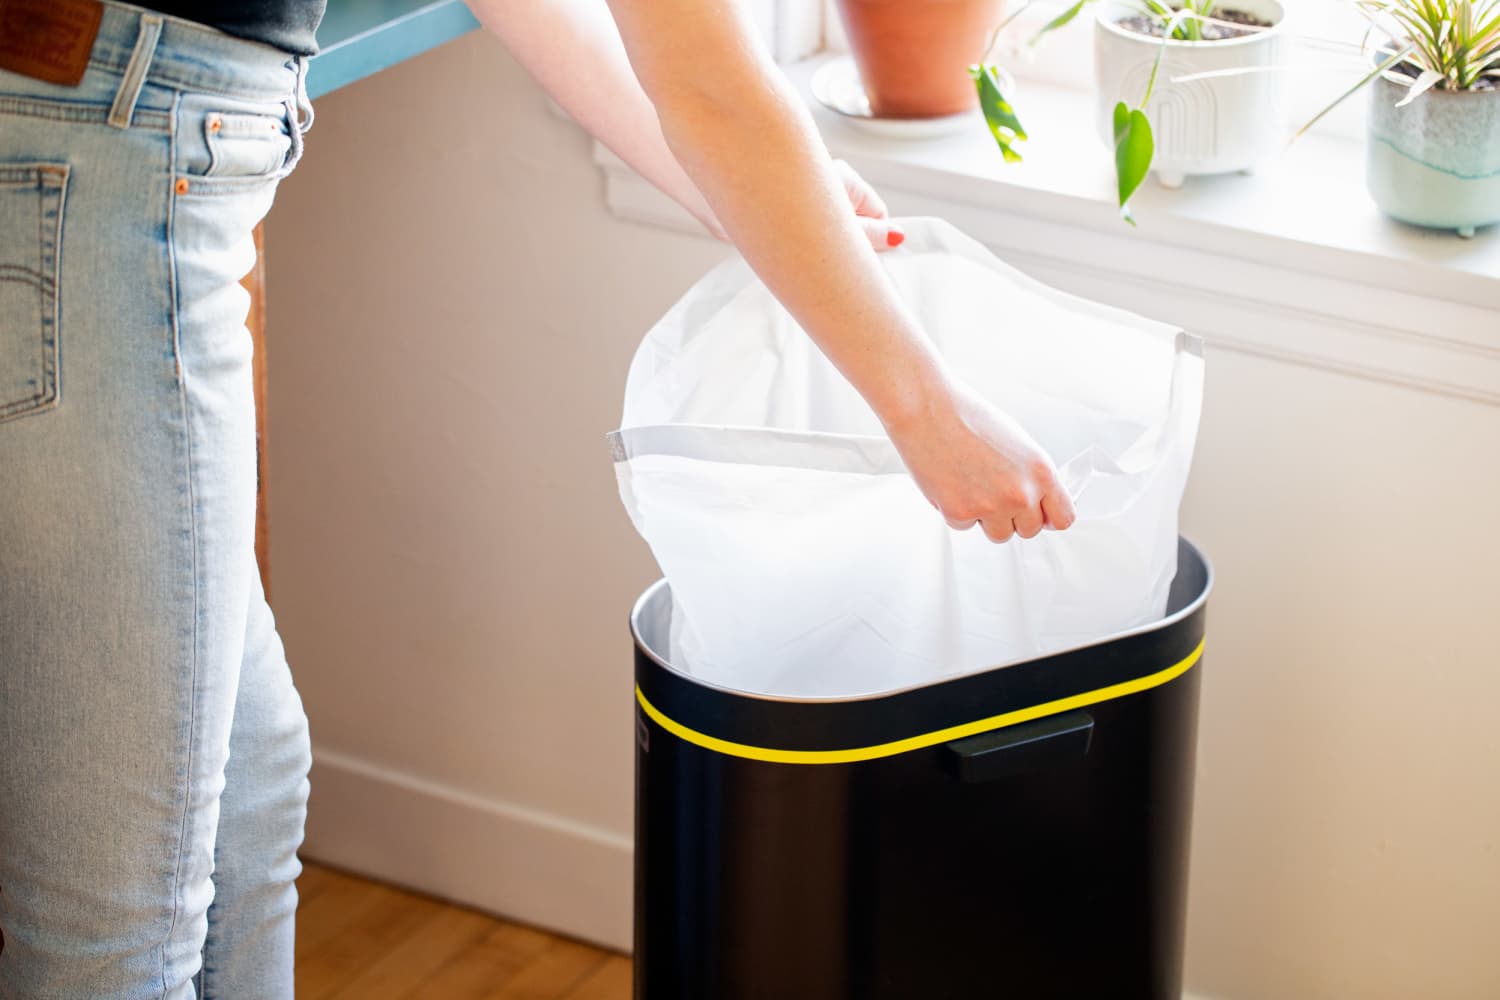
The first step in cleaning your trash can is to empty it completely. Remove the trash bag and dispose of it in your outdoor garbage bin. Take this opportunity to also remove any loose debris or food scraps that may have accumulated at the bottom of the trash can.
Once the trash can is empty, give it a quick rinse with hot water to remove any leftover residue. This will make the cleaning process more effective and help prevent any unpleasant smells from lingering.
If the trash can has any removable parts, such as a lid or inner bucket, now is a good time to take them out for easier cleaning. These parts tend to accumulate dirt and grime, so cleaning them separately will ensure a thorough clean.
With the trash can and its removable parts emptied and rinsed, you’re ready to move on to the next step: scrubbing the trash can.
Step 2: Scrubbing the Trash Can
Now that your trash can is empty, it’s time to give it a thorough scrub to remove any dirt, stains, or residue that may have built up over time. Follow these steps to effectively scrub your trash can:
- Apply Cleaning Solution: Mix a solution of hot water and a small amount of mild dish soap in a bucket or basin. Alternatively, you can use a solution of bleach or vinegar diluted with water. Choose the cleaning solution that works best for you.
- Dampen your scrub brush or sponge: Dip your scrub brush or sponge into the cleaning solution, ensuring that it is thoroughly soaked.
- Scrub the interior and exterior: Starting with the interior of the trash can, begin scrubbing in circular motions, paying particular attention to the sides and bottom where residue tends to accumulate. For stubborn stains, use a bit of extra pressure or apply some baking soda to the brush/sponge for additional scrubbing power. Once the interior is scrubbed clean, move on to the exterior, including the lid and any removable parts.
- Don’t forget the handles and edges: Pay close attention to the handles and edges of the trash can, as these areas can harbor bacteria and grime. Use your brush or sponge to thoroughly clean these areas.
- Rinse well: Once you’ve scrubbed the trash can inside and out, rinse it well with hot water to remove any remaining soap or cleaning solution.
After following these steps, your trash can should be free from dirt, stains, and residue. However, to ensure a complete clean and eliminate any lingering odors, we’ll move on to the next step: disinfecting the trash can.
Sprinkle baking soda in the bottom of the trash can to absorb odors, then scrub with a mixture of hot water and vinegar. Rinse thoroughly and let it dry in the sun to kill bacteria.
Step 3: Disinfecting the Trash Can
Now that you’ve scrubbed the trash can, it’s time to disinfect it to eliminate any remaining bacteria and germs. Follow these steps to effectively disinfect your trash can:
- Choose your disinfectant: You have a few options for disinfecting your trash can. One common method is to use a solution of bleach and water. Mix 1 part bleach with 9 parts water in a bucket or basin. Alternatively, you can use a solution of vinegar and water, mixing equal parts of each.
- Apply the disinfectant: Pour the disinfectant solution into the trash can, ensuring that it covers the entire interior surface.
- Allow it to sit: Let the disinfectant solution sit in the trash can for at least 10-15 minutes. This will give it enough time to kill any remaining bacteria and germs.
- Scrub again: After the disinfectant has had time to work, use your scrub brush or sponge to give the interior of the trash can another gentle scrub. This will help ensure that any lingering bacteria or germs are thoroughly removed.
- Rinse well: Once you’ve finished scrubbing, rinse the trash can thoroughly with hot water to remove any traces of the disinfectant solution.
Disinfecting the trash can is an important step in maintaining a clean and hygienic kitchen. It helps to kill any harmful pathogens and reduces the risk of contamination. Once your trash can is disinfected, you’re ready to move on to the next step: deodorizing the trash can.
Step 4: Deodorizing the Trash Can
After cleaning and disinfecting your trash can, it’s time to tackle any lingering odors by deodorizing it. Here’s how you can effectively deodorize your trash can:
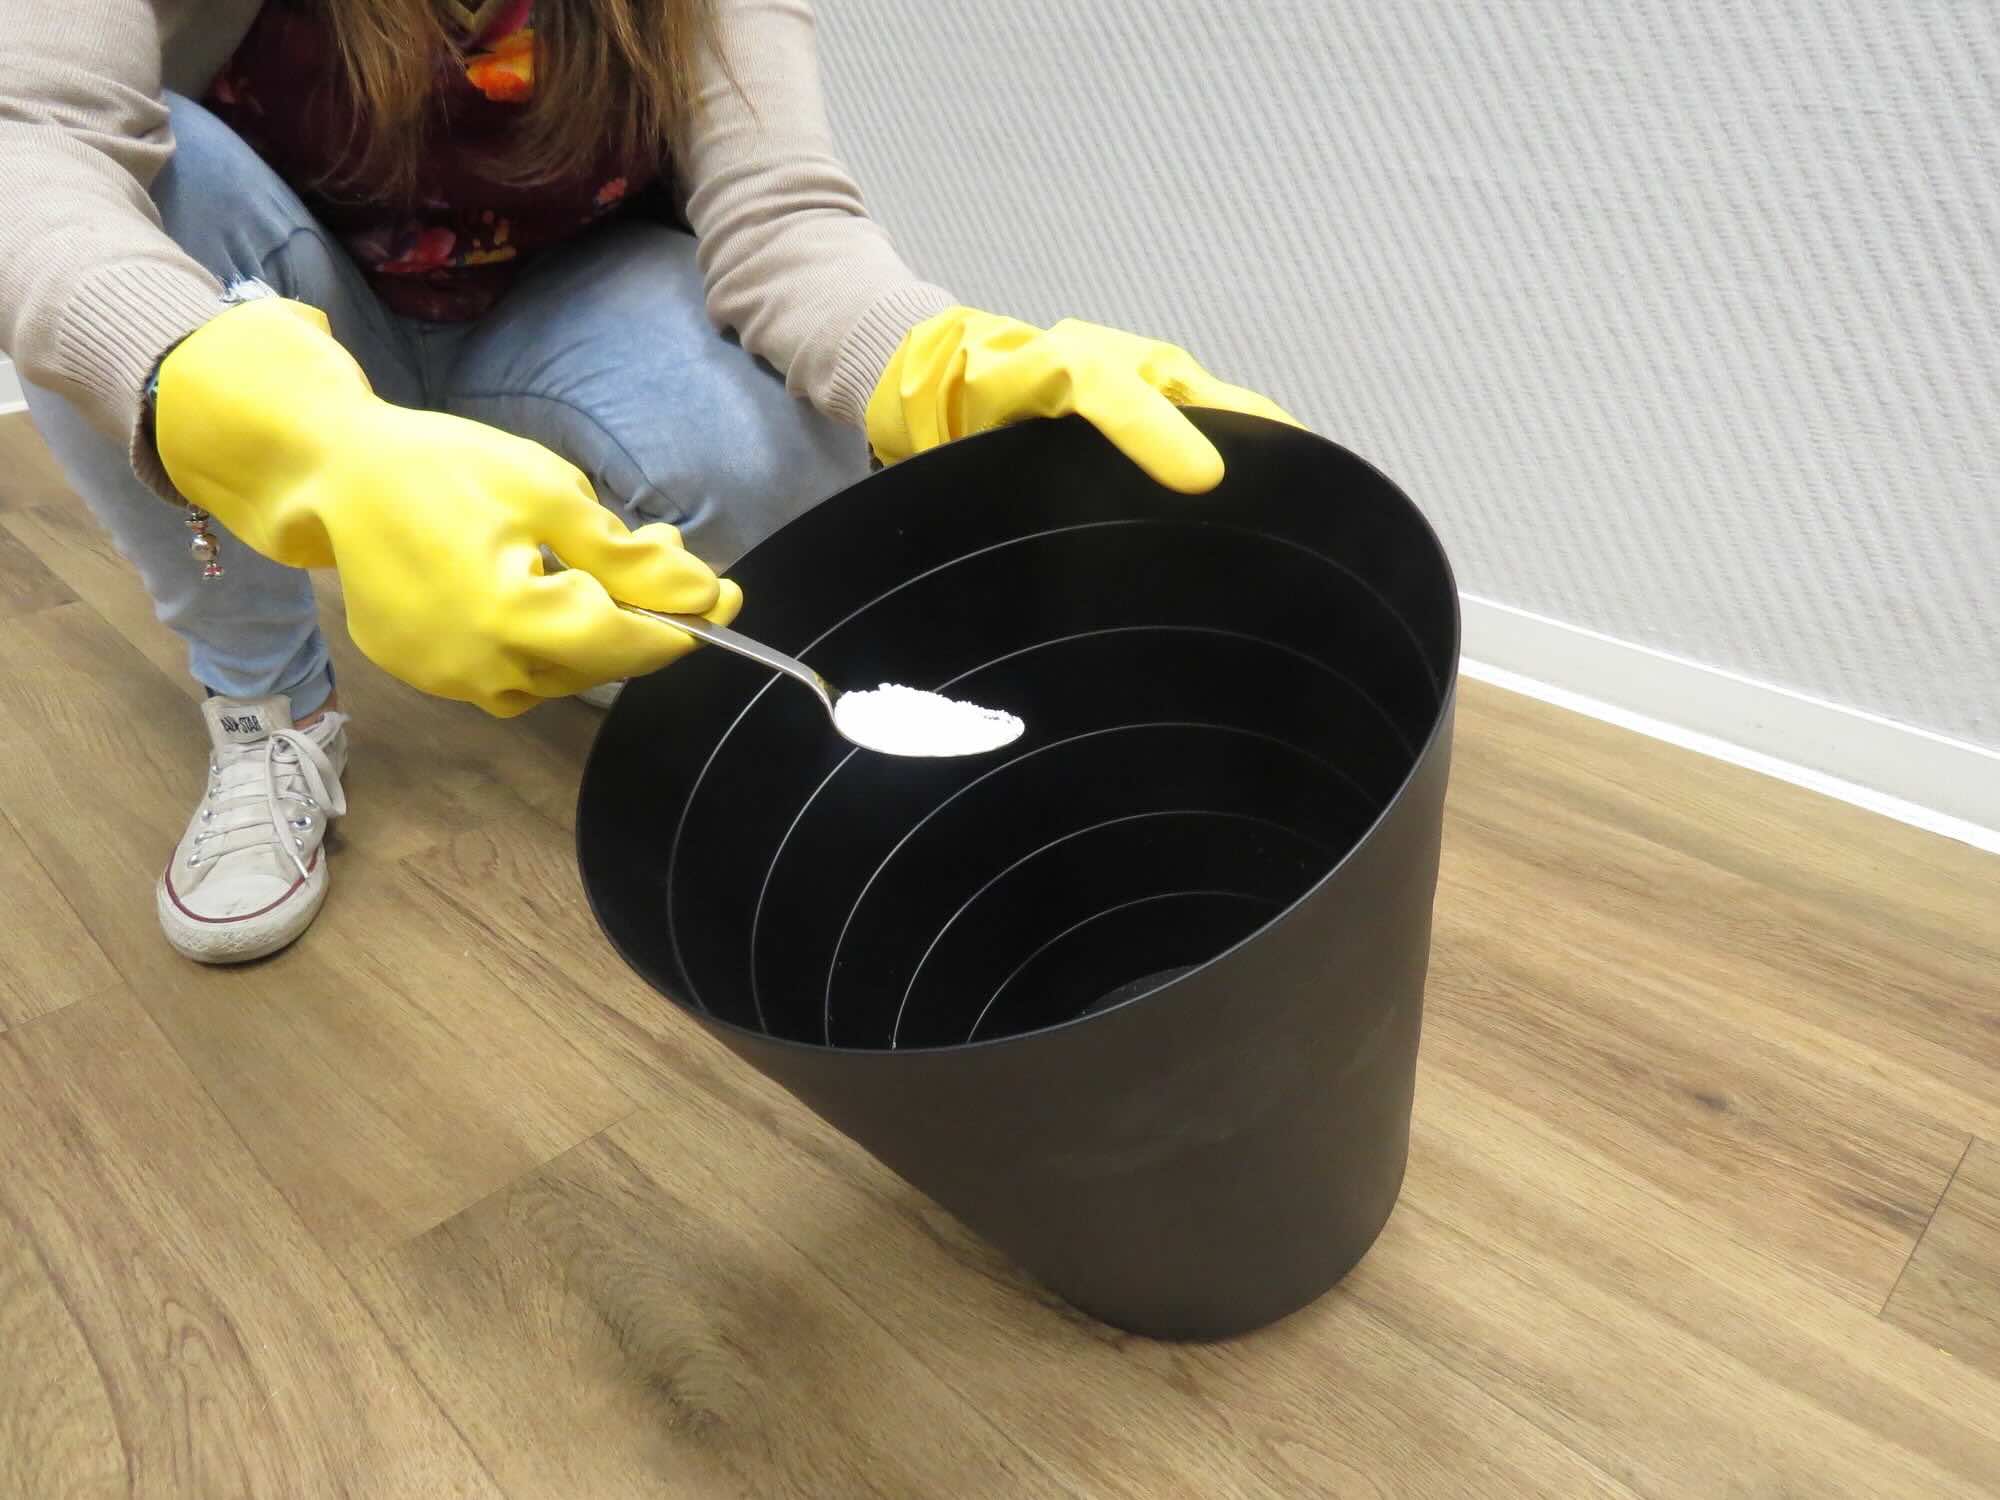
- Baking Soda Method: Baking soda is a natural deodorizer that can help absorb and neutralize odors. Sprinkle a generous amount of baking soda into the trash can, making sure to cover the bottom and sides. Leave the baking soda in the trash can for a few hours or overnight.
- Citrus Peel Method: Another effective way to deodorize your trash can is to use citrus peels. Place a few citrus peels, such as lemon or orange, at the bottom of the trash can. The natural oils in the peels will help freshen the air and mask any unpleasant odors.
- Deodorizing Spray: If you prefer a quick and convenient method, you can use a commercial deodorizing spray specifically designed for trash cans. Spray the inside and outside of the trash can according to the product’s instructions, ensuring full coverage.
Regardless of which deodorizing method you choose, leave the deodorizer in the trash can for several hours or overnight to allow it to work its magic. This will help eliminate any remaining odors and leave your trash can smelling fresh.
Once you’ve deodorized the trash can, it’s time to move on to the final step: drying the trash can.
Step 5: Drying the Trash Can
Properly drying the trash can is an essential final step in the cleaning process. Follow these steps to ensure your trash can is thoroughly dried:
- Remove excess moisture: Use a clean towel or rag to wipe down the inside and outside of the trash can, removing any remaining moisture.
- Air drying: To further facilitate the drying process, leave the trash can in a well-ventilated area or outdoors in a shady spot. Allowing air to circulate will help evaporate any remaining moisture.
- Avoid direct sunlight: It’s important to avoid placing the trash can in direct sunlight as this can cause the material to fade or become brittle over time. Find a shaded area where the trash can can air dry naturally.
- Check for dampness: Before placing a new trash bag into the can and using it again, ensure that it is completely dry. Check the bottom, corners, and lid for any signs of dampness.
By following these steps, you’ll ensure that your trash can is thoroughly dried, ready to be used again, and less prone to developing odors or mold due to moisture buildup.
With the final step completed, you have successfully cleaned, disinfected, deodorized, and dried your trash can. Congratulations on your fresh and odor-free kitchen storage solution!
Remember, regular cleaning and maintenance of your trash can is the key to keeping it clean and free from unpleasant odors. Aim to clean your trash can at least once a month and empty it regularly to prevent odors from accumulating.
Now that you have mastered the art of cleaning your trash can, you can enjoy a fresh and hygienic kitchen environment. Happy cleaning!
Conclusion
Cleaning and maintaining your trash can is an essential task to ensure a fresh and hygienic kitchen environment. By following the step-by-step guide outlined in this article, you can effectively clean, disinfect, deodorize, and dry your trash can, eliminating pesky odors and preventing the growth of bacteria and germs.
Regularly emptying and scrubbing your trash can helps to remove dirt, stains, and residue, while disinfecting it helps to kill harmful pathogens. Deodorizing the trash can using baking soda, citrus peels, or commercial deodorizing sprays eliminates any lingering odors, leaving your kitchen smelling fresh. Finally, ensuring that the trash can is thoroughly dried helps prevent mold growth and keeps it ready for use.
Remember to maintain a routine cleaning schedule for your trash can, aiming to clean it at least once a month or as needed. Additionally, practice good waste disposal habits, such as using a trash bag, properly sealing it, and emptying it regularly, to further minimize odors and keep your kitchen clean.
Now that you are equipped with the knowledge and steps to clean your trash can effectively, it’s time to put it into practice and enjoy a fresh and odor-free kitchen. Say goodbye to unpleasant smells and hello to a clean and hygienic environment for your culinary adventures!
Thank you for reading our comprehensive guide on how to clean a trash can and remove pesky odors. We hope this article has been informative and helpful. Here’s to a clean and fresh-smelling kitchen!
Frequently Asked Questions about How To Clean A Trash Can To Remove Pesky Odors
Was this page helpful?
At Storables.com, we guarantee accurate and reliable information. Our content, validated by Expert Board Contributors, is crafted following stringent Editorial Policies. We're committed to providing you with well-researched, expert-backed insights for all your informational needs.


0 thoughts on “How To Clean A Trash Can To Remove Pesky Odors”