Home>Renovation & DIY>Tools & Equipment>How To Put A Screwdriver Bit Into A Drill
Tools & Equipment
How To Put A Screwdriver Bit Into A Drill
Modified: August 28, 2024
Learn how to properly insert a screwdriver bit into a drill with our step-by-step guide. Get ready to tackle your next DIY project with the right tools and equipment.
(Many of the links in this article redirect to a specific reviewed product. Your purchase of these products through affiliate links helps to generate commission for Storables.com, at no extra cost. Learn more)
Introduction
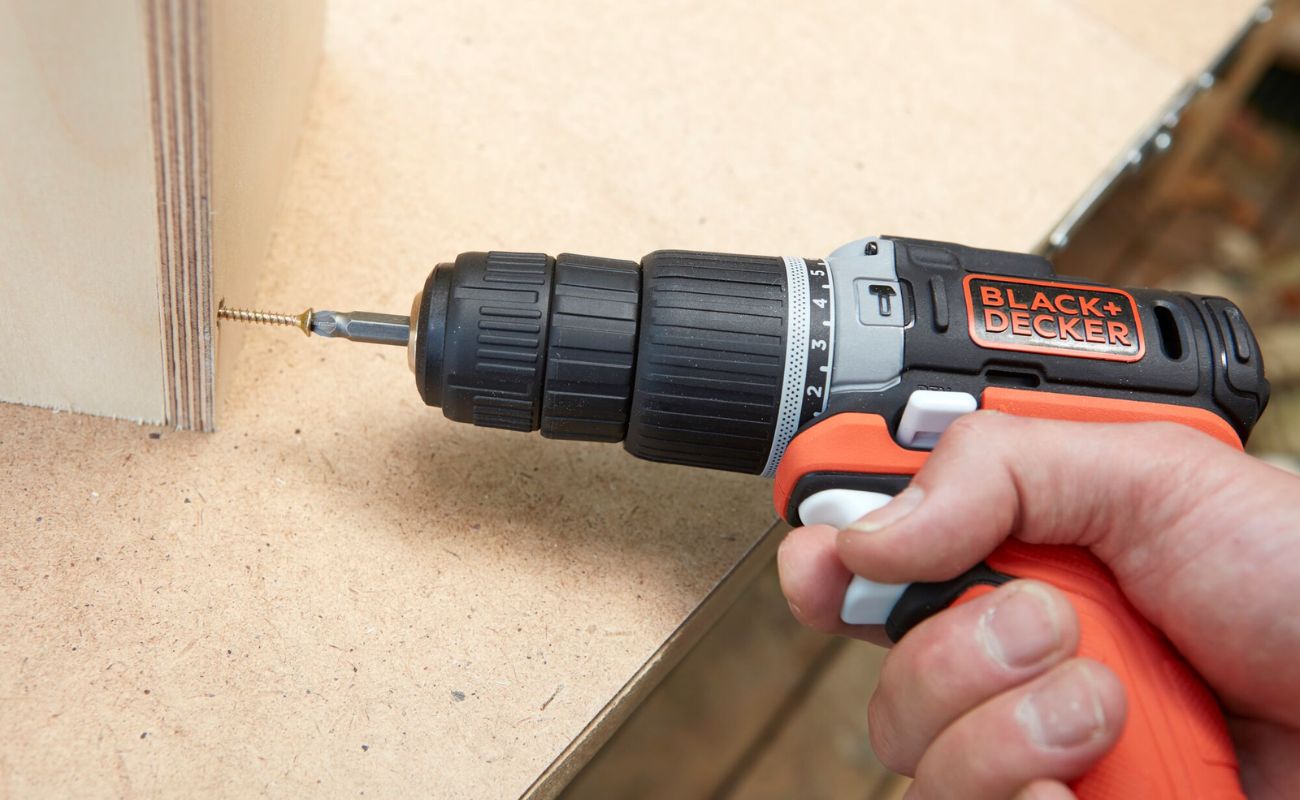
Welcome to the world of DIY projects and home repairs! If you’ve ever found yourself in need of driving screws, you know the importance of having the right tools for the job. One essential tool in your arsenal is a drill, and being able to attach a screwdriver bit to it can greatly expand its capabilities. Whether you’re a seasoned DIY enthusiast or just starting out, knowing how to put a screwdriver bit into a drill is a fundamental skill that will serve you well in a variety of tasks.
In this guide, we’ll walk through the process step by step, from gathering the necessary tools to testing the connection. By the end, you’ll have the confidence and know-how to effortlessly attach a screwdriver bit to your drill, empowering you to tackle a wide range of projects with ease.
So, grab your drill and let’s dive into the world of screwdriver bits and drills!
Key Takeaways:
- Master the art of attaching a screwdriver bit to your drill for endless DIY possibilities. With the right tools and know-how, you’re ready to tackle projects with precision and efficiency.
- Seamlessly connect the right screwdriver bit to your drill and unlock your potential to bring your ideas to life. Let your creativity flow and your projects flourish!
Read more: How To Put Bit In Ryobi Drill
Step 1: Gather the Necessary Tools
Before you begin the process of inserting a screwdriver bit into your drill, it’s essential to gather the necessary tools. Having everything at hand will streamline the process and ensure a smooth transition from preparation to execution. Here’s what you’ll need:
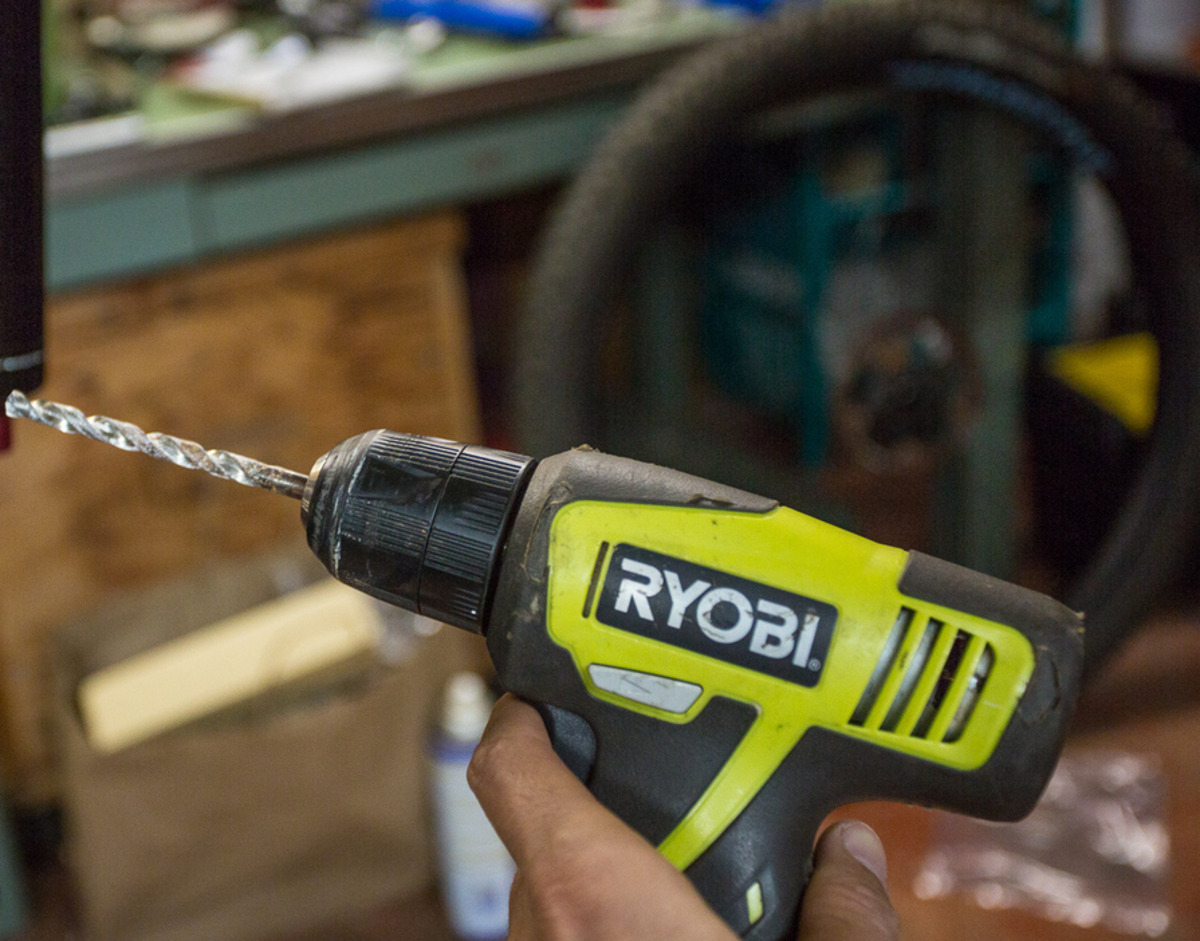
- Drill: Your trusty power tool that will be the host for the screwdriver bit. Make sure it’s charged or has fresh batteries to avoid interruptions during the task.
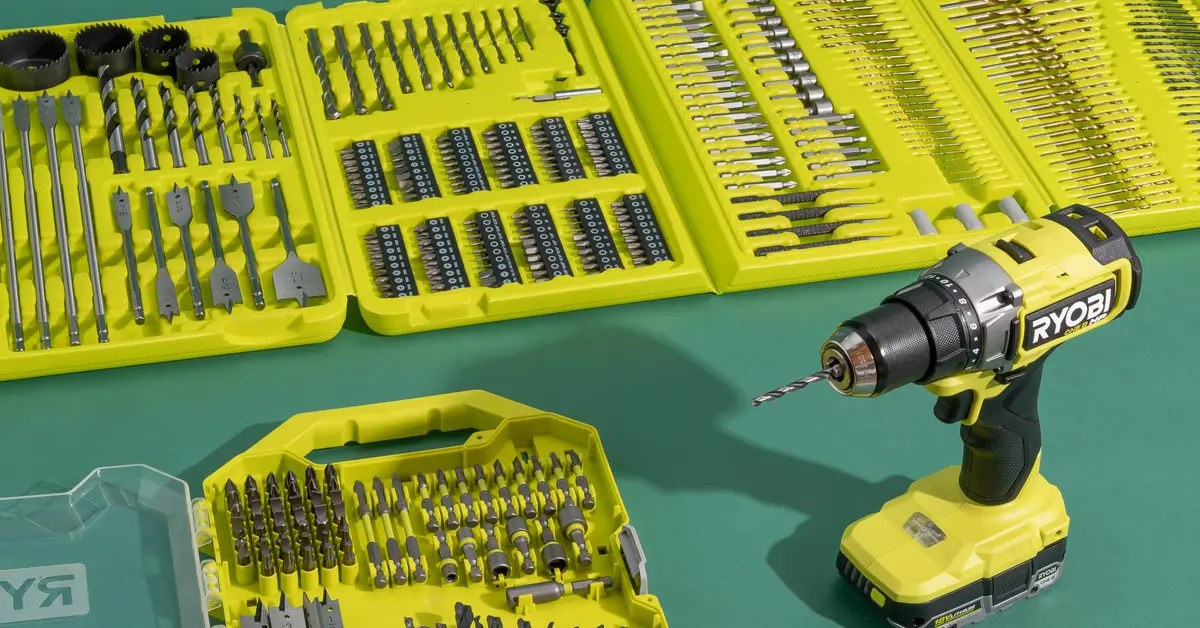
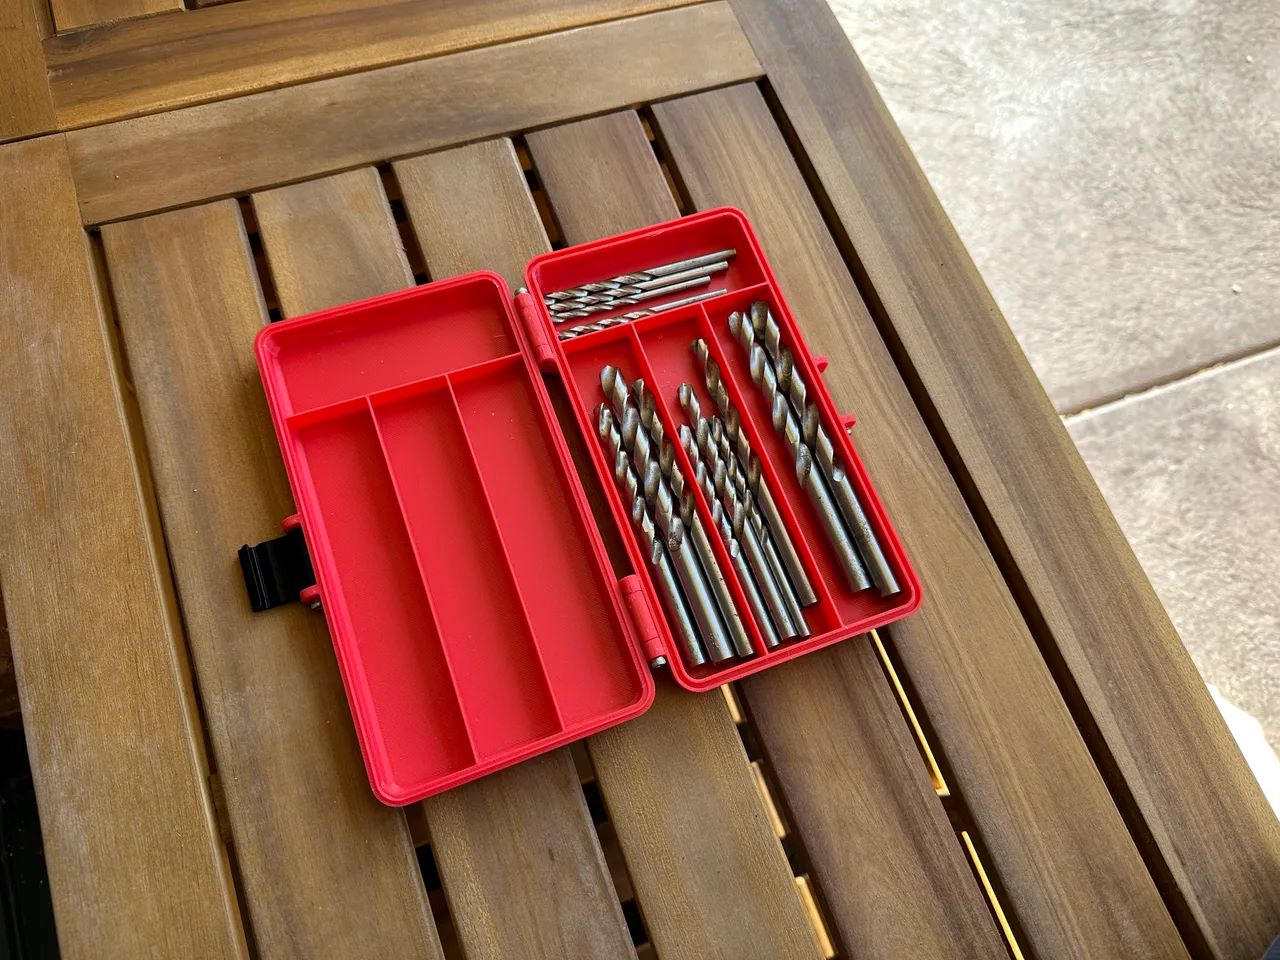
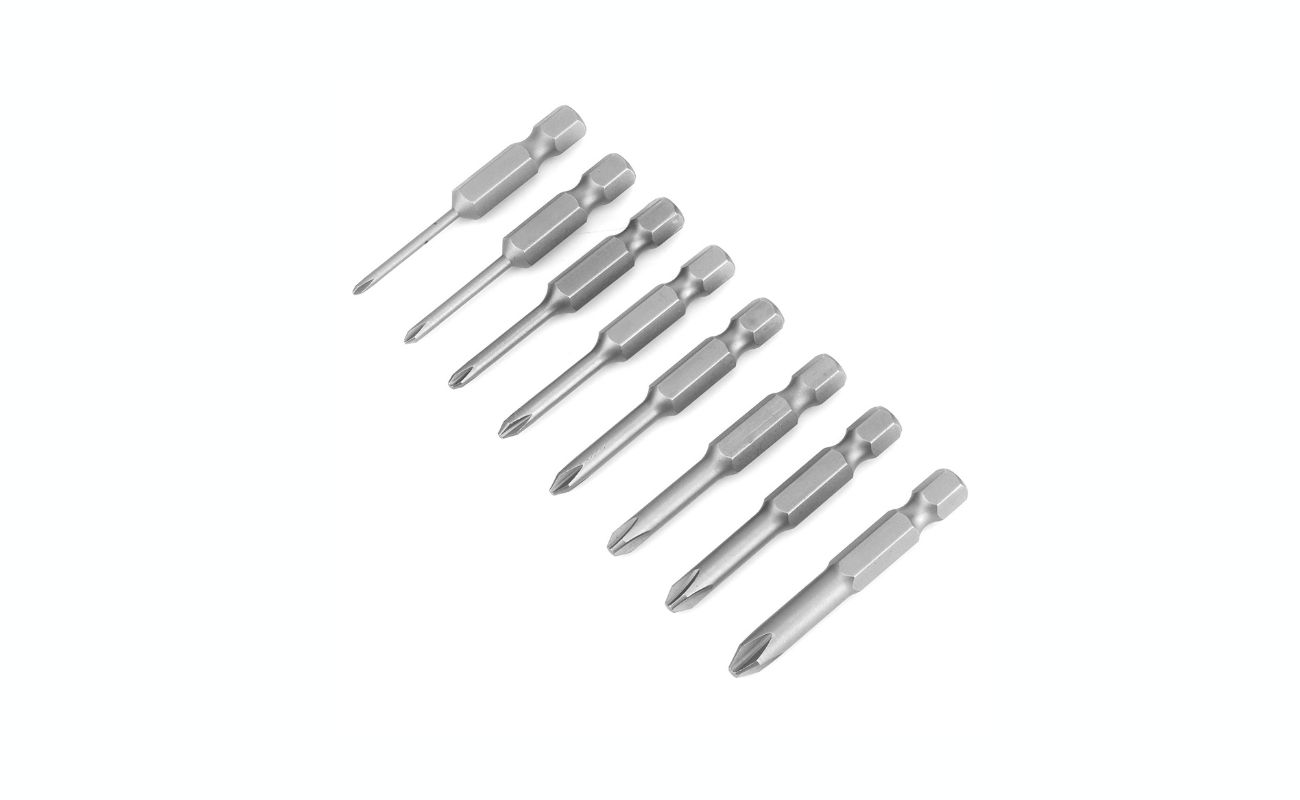
- Screwdriver Bit Set: Select the appropriate screwdriver bit for the specific screw you intend to drive. Screwdriver bit sets typically come with a variety of sizes and types to accommodate different screw heads.
- Work Gloves (Optional): While not essential, wearing work gloves can provide a better grip and protect your hands during the process.
By having these tools readily available, you’ll be well-equipped to proceed to the next step with confidence. Now that you have everything in place, it’s time to move on to the exciting part: inserting the screwdriver bit into the drill!
Step 2: Inserting the Screwdriver Bit
With the necessary tools at your disposal, it’s time to delve into the process of inserting the screwdriver bit into your drill. Follow these simple steps to seamlessly attach the screwdriver bit:
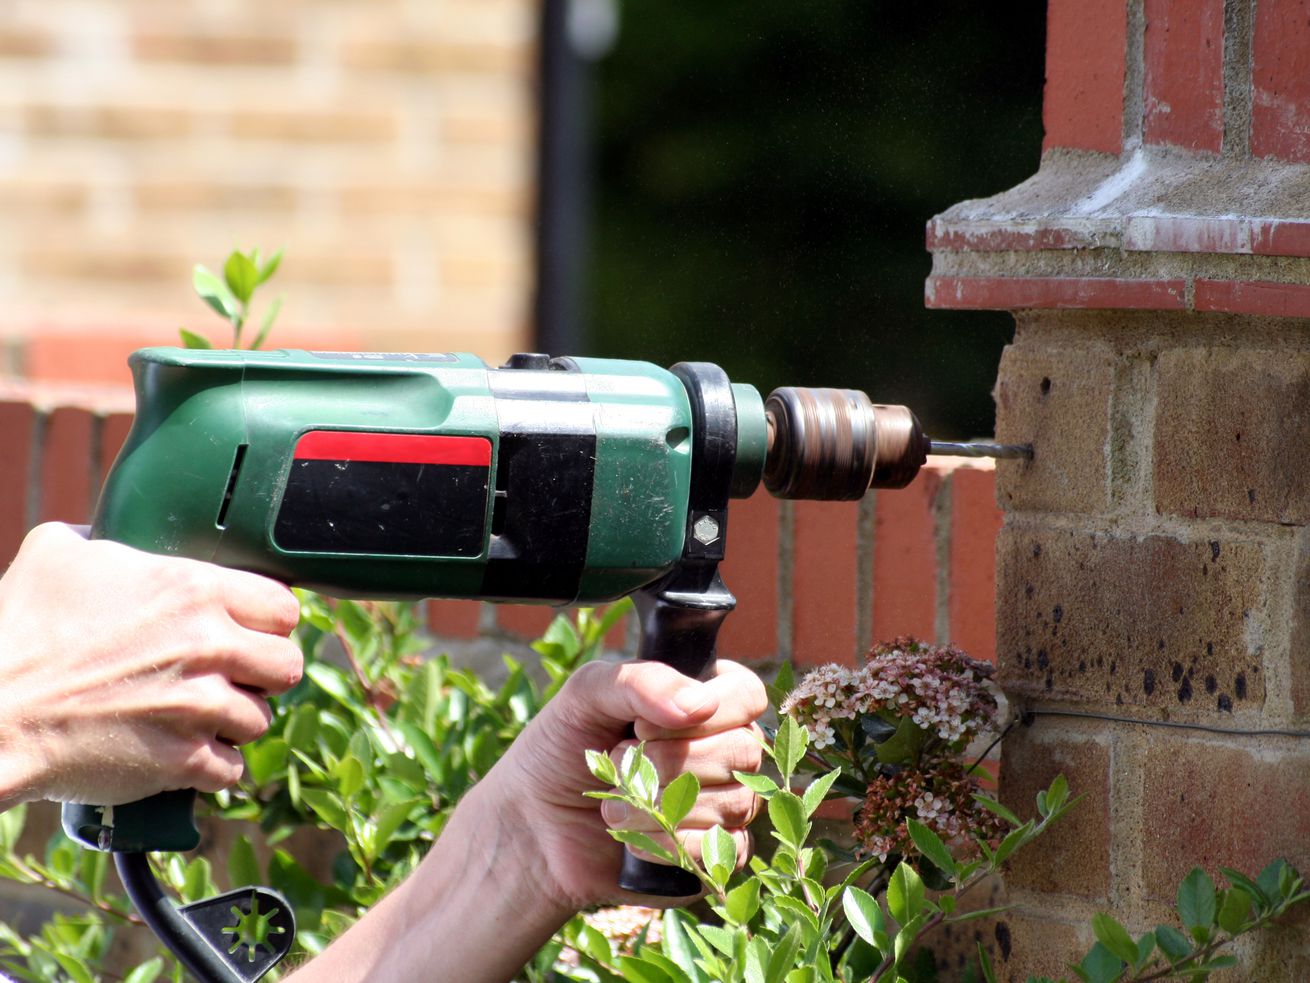
- Identify the Chuck: The chuck is the part of the drill that holds the screwdriver bit in place. It typically consists of three jaws that can be tightened or loosened to secure the bit.
- Loosen the Chuck: If the chuck is currently tightened, use the chuck key (if applicable) or the drill’s built-in chuck mechanism to loosen the jaws. This will create enough space to insert the screwdriver bit.
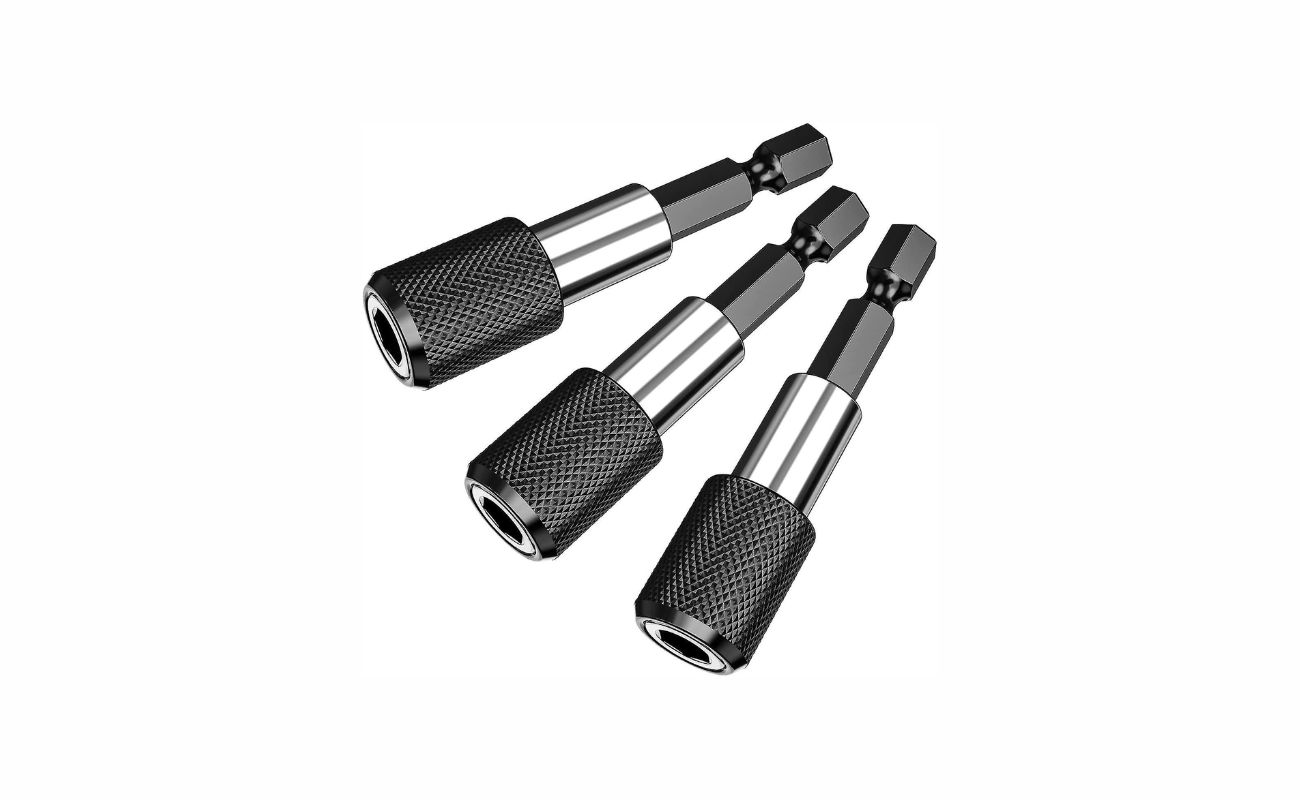
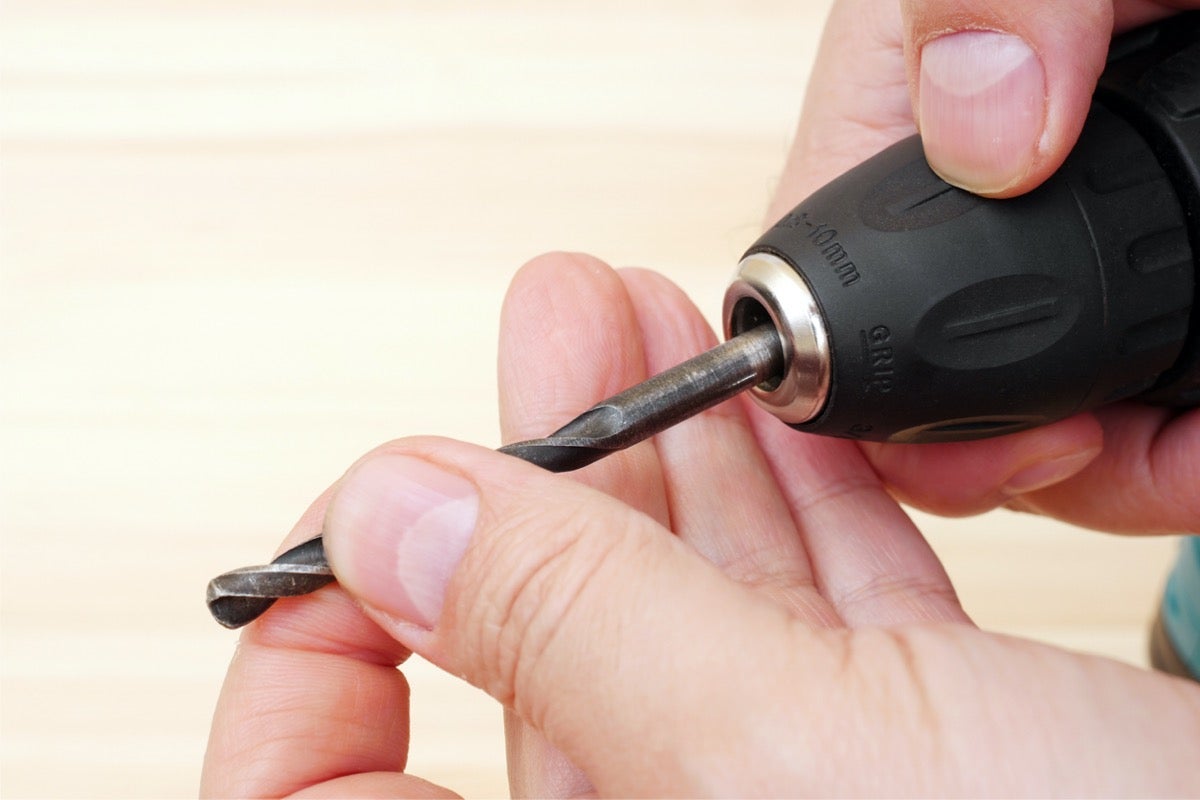
- Insert the Screwdriver Bit: Take the selected screwdriver bit from your set and align it with the jaws of the chuck. Ensure that it is straight and fully inserted to prevent slippage during operation.
- Tighten the Chuck: Once the screwdriver bit is in place, use the chuck key or the drill’s chuck mechanism to tighten the jaws securely around the bit. This will ensure a stable connection and prevent the bit from coming loose during use.
By following these straightforward steps, you’ll successfully insert the screwdriver bit into your drill, setting the stage for the next phase: testing the connection.
Now that the screwdriver bit is securely in place, it’s time to ensure that the connection is sound before proceeding with your project. Let’s move on to the final step!
When inserting a screwdriver bit into a drill, make sure the chuck is fully open. Insert the bit into the chuck and tighten it securely by turning the chuck clockwise. Double-check that the bit is secure before using the drill.
Step 3: Testing the Connection
After inserting the screwdriver bit into your drill, it’s crucial to verify that the connection is secure and the bit is ready for action. Follow these simple steps to test the connection and ensure everything is in working order:
- Power On the Drill: If your drill has a power switch, turn it on to activate the tool. If it’s a cordless drill, ensure that the batteries are properly inserted and charged.
- Engage the Chuck: Depending on your drill model, engage the chuck by either pulling it or using the appropriate mechanism to lock the bit in place.
- Test the Bit: With the drill powered on, gently press the screwdriver bit against a scrap piece of wood or a similar surface. Activate the drill to observe the bit in action. Ensure that it rotates smoothly without wobbling or slipping.
- Check for Stability: While the drill is running, pay attention to the stability of the connection. There should be no unusual vibrations, and the bit should remain securely in place.
By following these steps, you can confidently assess the integrity of the connection and address any issues before proceeding with your project. Once you’ve confirmed that the screwdriver bit is securely attached and functioning as intended, you’re ready to take on a myriad of tasks with your newly equipped drill!
Congratulations! You’ve successfully learned how to put a screwdriver bit into a drill and verified that the connection is solid. Armed with this knowledge, you’re well-prepared to tackle a wide range of projects, from assembling furniture to undertaking intricate DIY endeavors.
With your drill and screwdriver bit at the ready, you’re poised to embark on a world of creativity and craftsmanship. Happy drilling!
Conclusion
Congratulations on mastering the art of attaching a screwdriver bit to your drill! By following the simple steps outlined in this guide, you’ve gained a valuable skill that will serve you well in countless DIY projects and home improvement tasks. Armed with the right tools and know-how, you’re now equipped to handle a wide array of screw-driving applications with precision and efficiency.
As you continue to explore the world of DIY, remember that the versatility of your drill, combined with the diverse selection of screwdriver bits at your disposal, opens up a world of possibilities. Whether you’re assembling furniture, installing fixtures, or crafting personalized creations, your newly acquired expertise will be instrumental in achieving professional results.
With each successful attachment of a screwdriver bit to your drill, you’re not just fastening screws – you’re unlocking your potential to bring your ideas to life. The satisfaction of seamlessly connecting the right bit to your drill and witnessing its flawless performance is a testament to your growing expertise in the realm of tools and equipment.
So, as you embark on your next project, take pride in your ability to effortlessly put a screwdriver bit into your drill. Let your creativity flow, and let your drill and screwdriver bit be the catalysts for turning your visions into reality. With your newfound proficiency, the only limit to what you can achieve is your imagination.
Now, armed with the knowledge and confidence to tackle any screw-driving task, go forth and unleash your DIY prowess. Your drill and screwdriver bit await, ready to bring your projects to fruition. Happy drilling!
Frequently Asked Questions about How To Put A Screwdriver Bit Into A Drill
Was this page helpful?
At Storables.com, we guarantee accurate and reliable information. Our content, validated by Expert Board Contributors, is crafted following stringent Editorial Policies. We're committed to providing you with well-researched, expert-backed insights for all your informational needs.

0 thoughts on “How To Put A Screwdriver Bit Into A Drill”