Articles
How To Change Ryobi Drill Bit
Modified: May 6, 2024
Learn how to change drill bits on your Ryobi drill in a few simple steps. Our articles provide easy-to-follow instructions for a hassle-free experience.
(Many of the links in this article redirect to a specific reviewed product. Your purchase of these products through affiliate links helps to generate commission for Storables.com, at no extra cost. Learn more)
Introduction
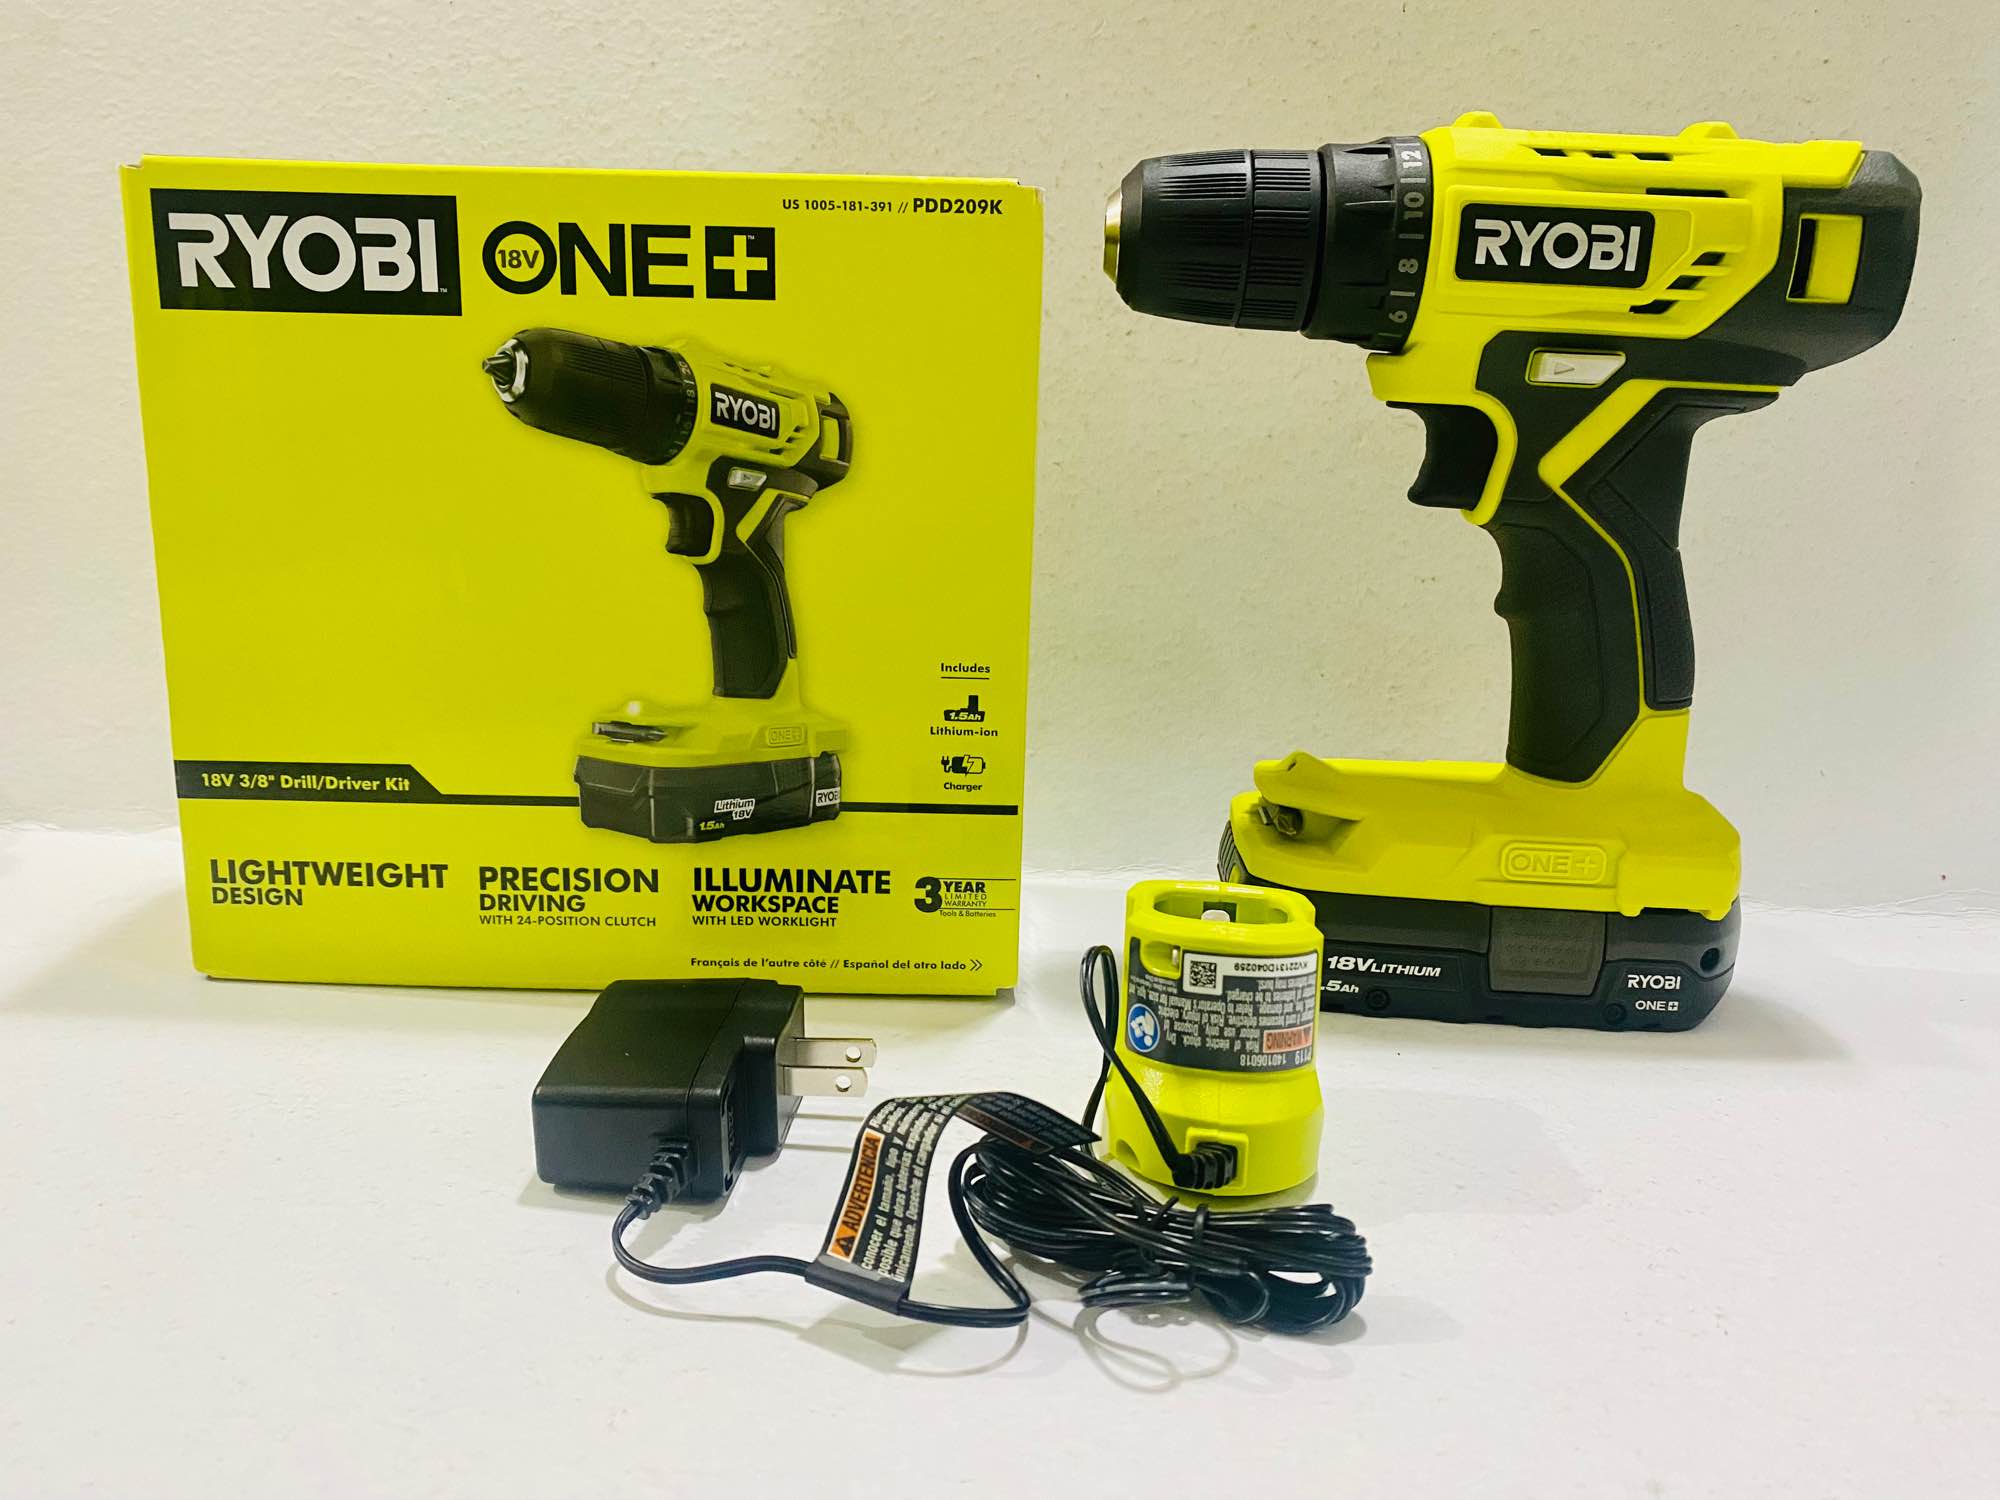
Changing a drill bit on a Ryobi drill is a simple and essential skill that every DIY enthusiast or professional needs to know. Whether you are starting a new woodworking project or tackling a home improvement task, being able to quickly and efficiently change drill bits can save you time and frustration. In this article, we will guide you through the step-by-step process of changing a drill bit on a Ryobi drill, ensuring that you can tackle any task with ease.
Before we dive into the specifics, it is important to note that safety should always be your top priority. Make sure to wear the necessary safety gear, such as safety glasses and gloves, to protect yourself from any potential injuries. Additionally, ensure that your drill is powered off and unplugged before attempting to change the drill bit.
Now that we have covered the basics, let’s get started with the steps to change a drill bit on a Ryobi drill.
Key Takeaways:
- Master the art of changing Ryobi drill bits with ease and confidence, ensuring efficient project completion and preventing accidents by following safety precautions and step-by-step instructions.
- Equip yourself with the necessary tools and knowledge to seamlessly switch drill bits, allowing you to unleash the full potential of your Ryobi drill for various tasks with precision and ease.
Read more: How To Put Bit In Ryobi Drill
Safety Precautions
Before you begin changing a drill bit on your Ryobi drill, it is important to take some safety precautions to protect yourself from potential hazards. Here are some key safety tips to keep in mind:
- Always wear appropriate safety gear: Before you start working with any power tool, including a drill, make sure to wear safety glasses to protect your eyes from flying debris. Additionally, wearing gloves can provide an extra layer of protection for your hands.
- Ensure the drill is powered off and unplugged: Before you attempt to change the drill bit, always make sure that your Ryobi drill is powered off and unplugged. This will prevent the drill from accidentally turning on and causing any injuries.
- Handle the drill and drill bits with care: While changing the drill bit, be mindful of your grip on both the drill and the bit. Avoid applying excessive force or gripping them too tightly, as this can cause slips or injuries.
- Keep the work area clean and well-lit: Make sure your work area is free from clutter and well-lit. This will help you see what you are doing and minimize the chances of accidents or mishaps.
- Take breaks if needed: If you feel fatigued or your concentration starts to waver, take regular breaks. It is important to be alert and focused while handling power tools.
- Read the instruction manual: Familiarize yourself with the instruction manual that comes with your Ryobi drill. This will provide you with specific safety guidelines and precautions unique to your model.
By following these safety precautions, you can ensure a safer and more efficient drill bit change on your Ryobi drill.
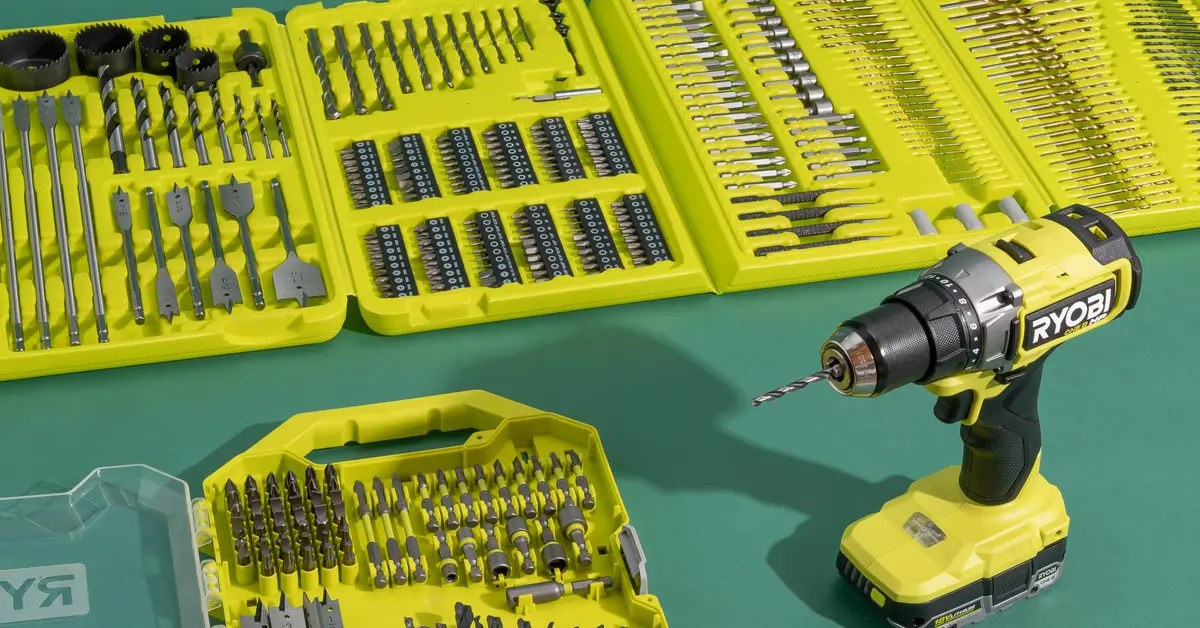
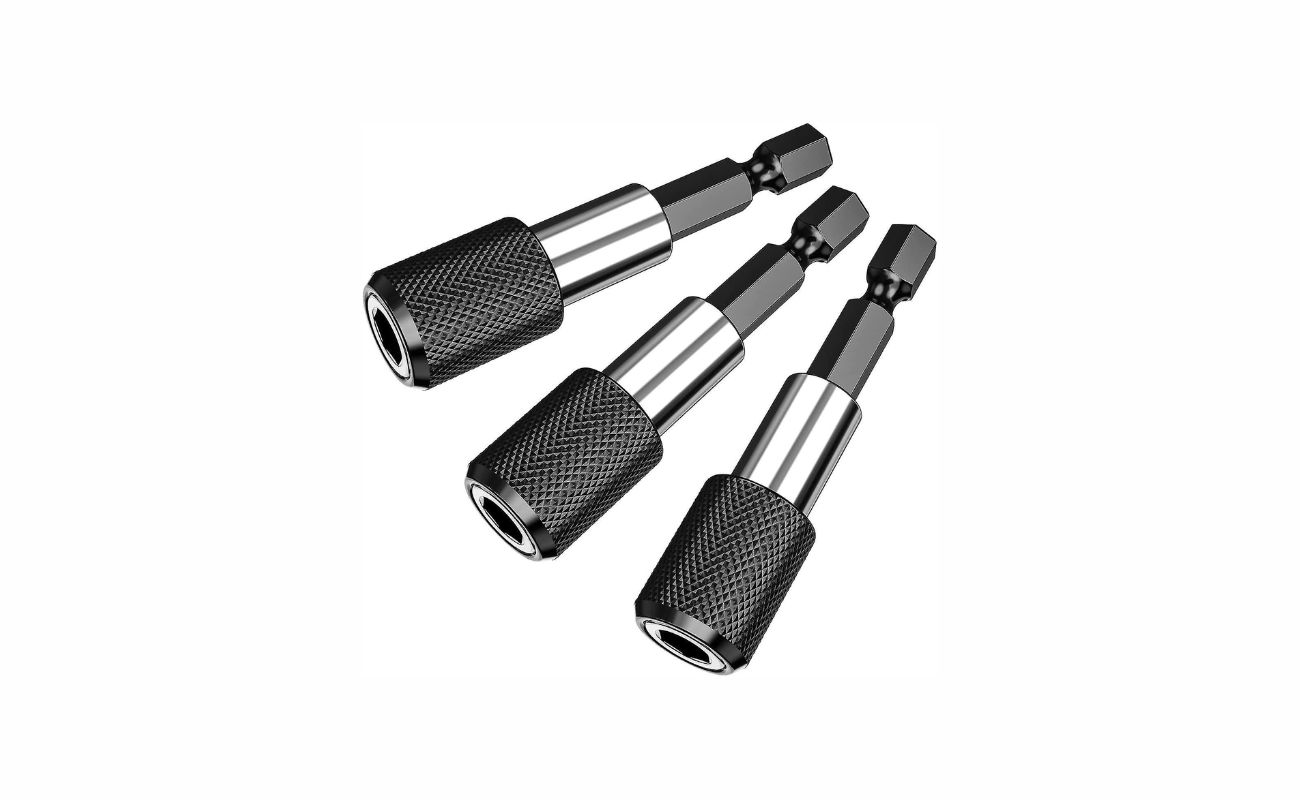
Step 1: Gather the necessary tools
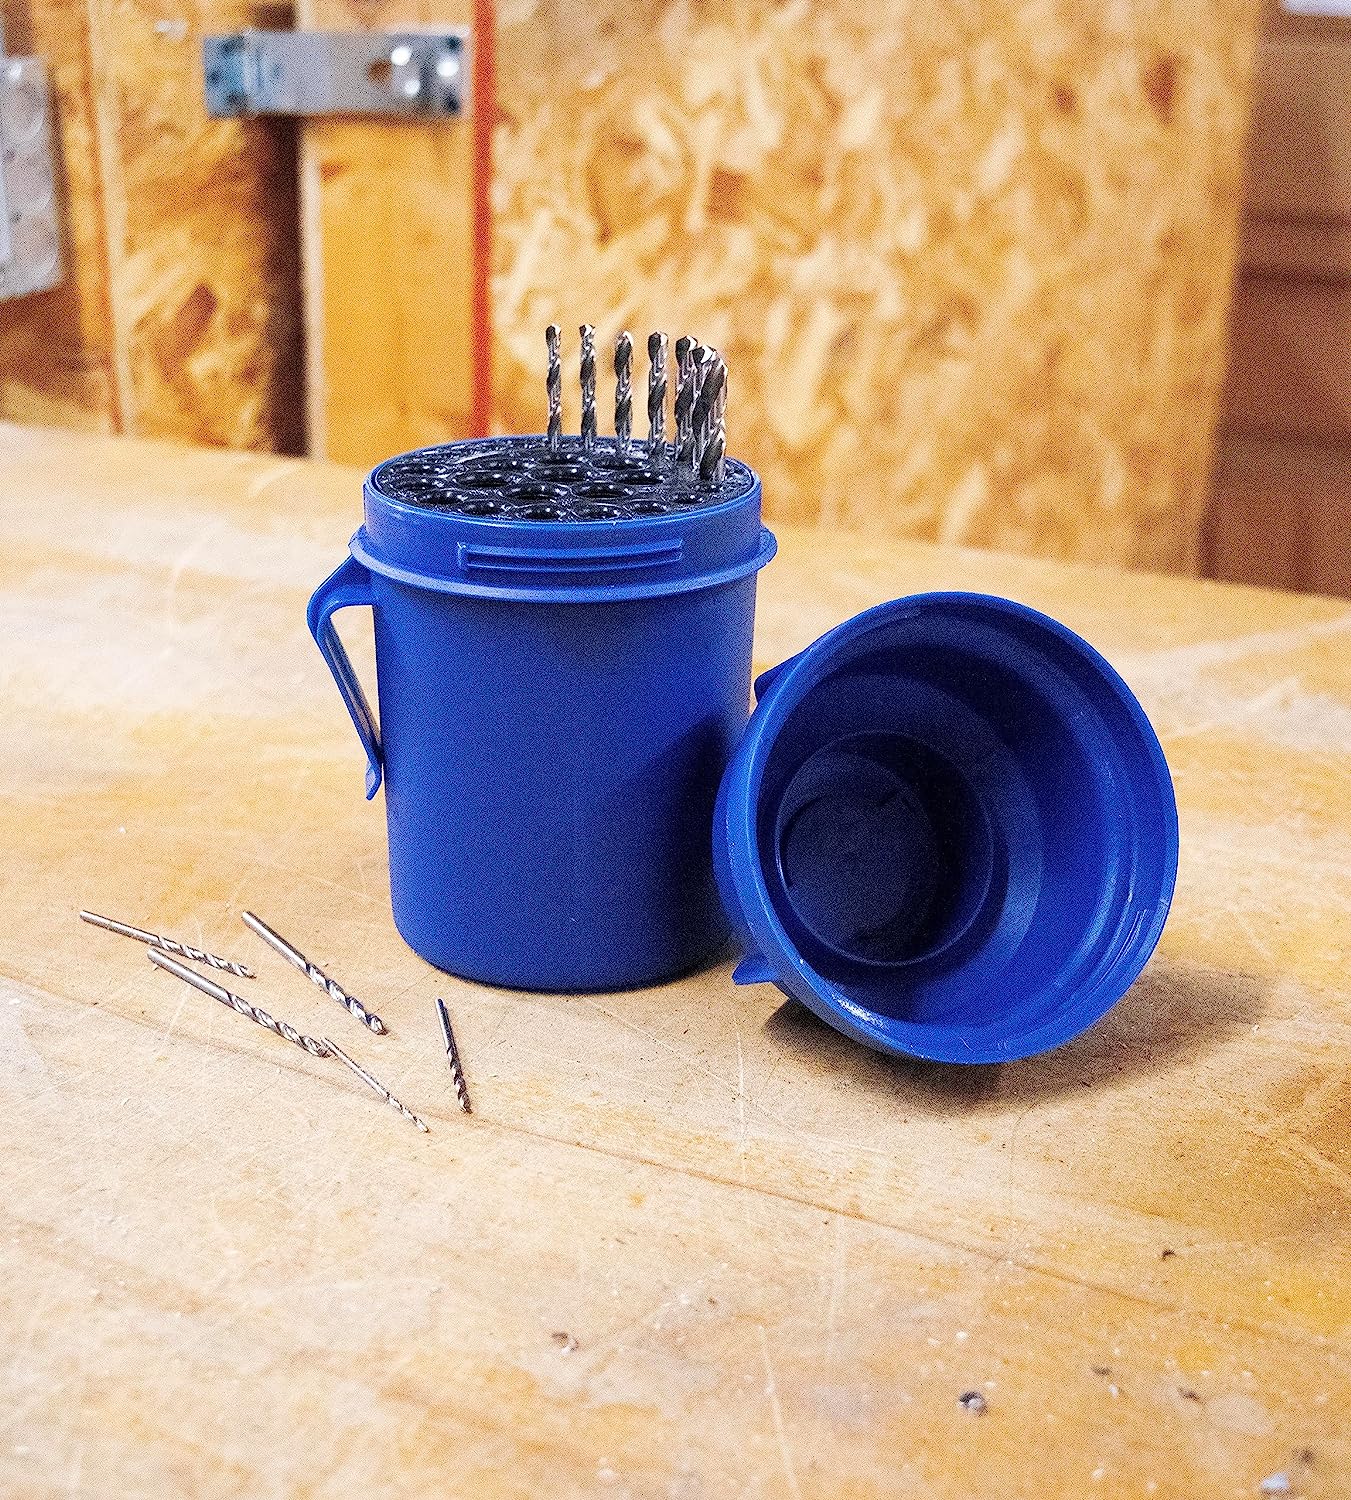
Before you begin changing the drill bit on your Ryobi drill, it’s important to gather all the necessary tools. Having everything you need in one place will make the process smoother and more efficient. Here are the tools you will need:
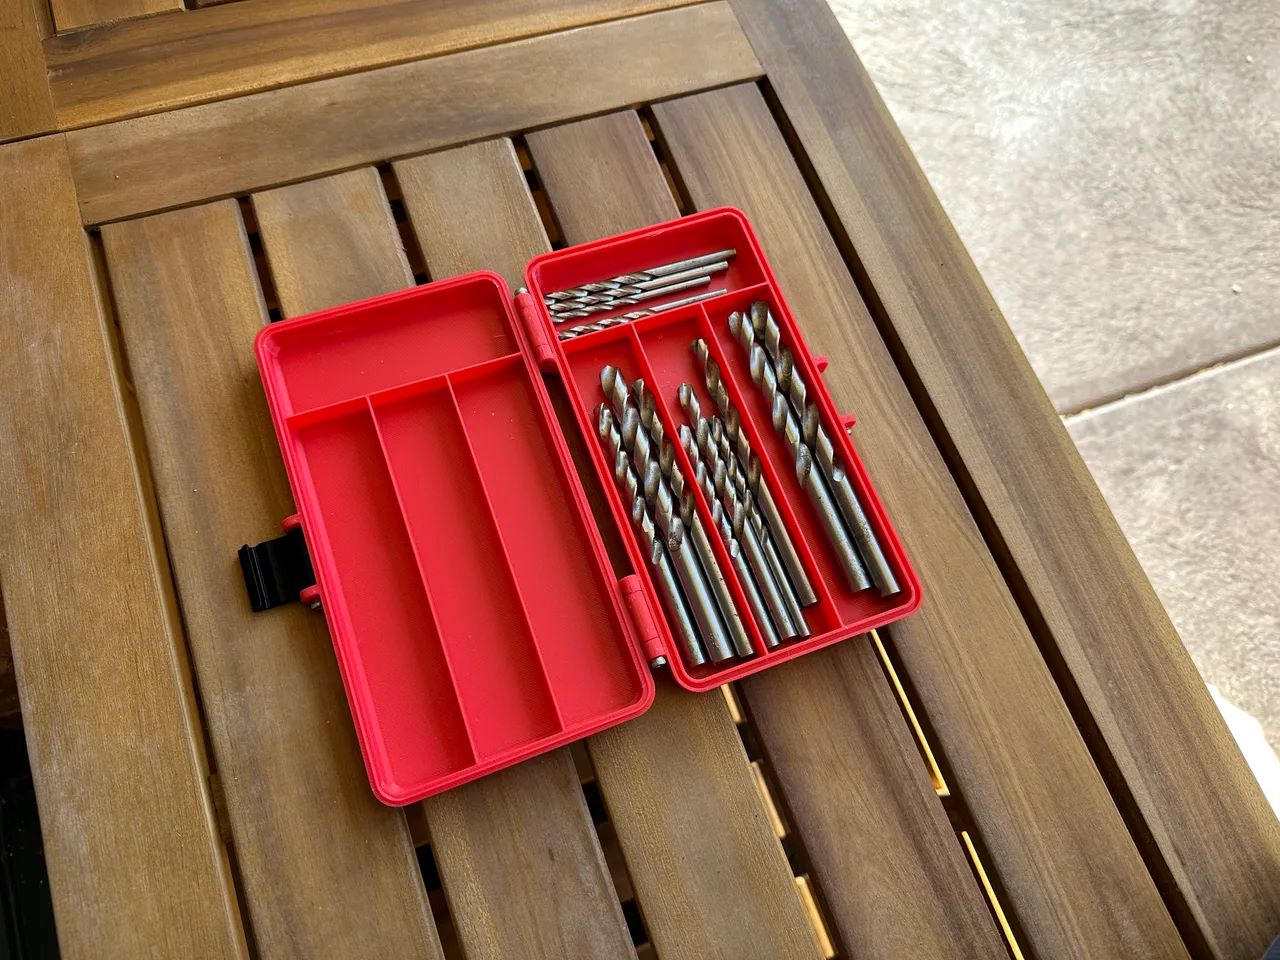
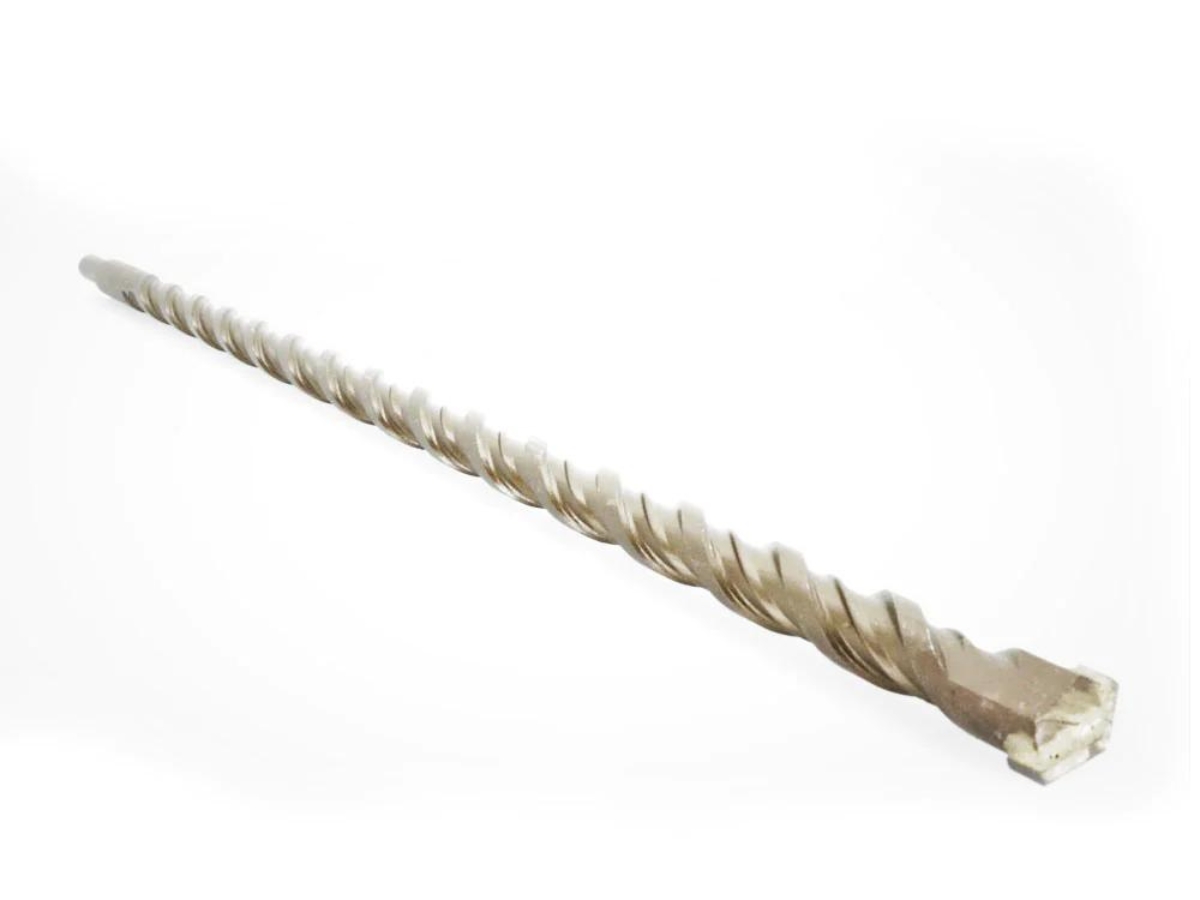
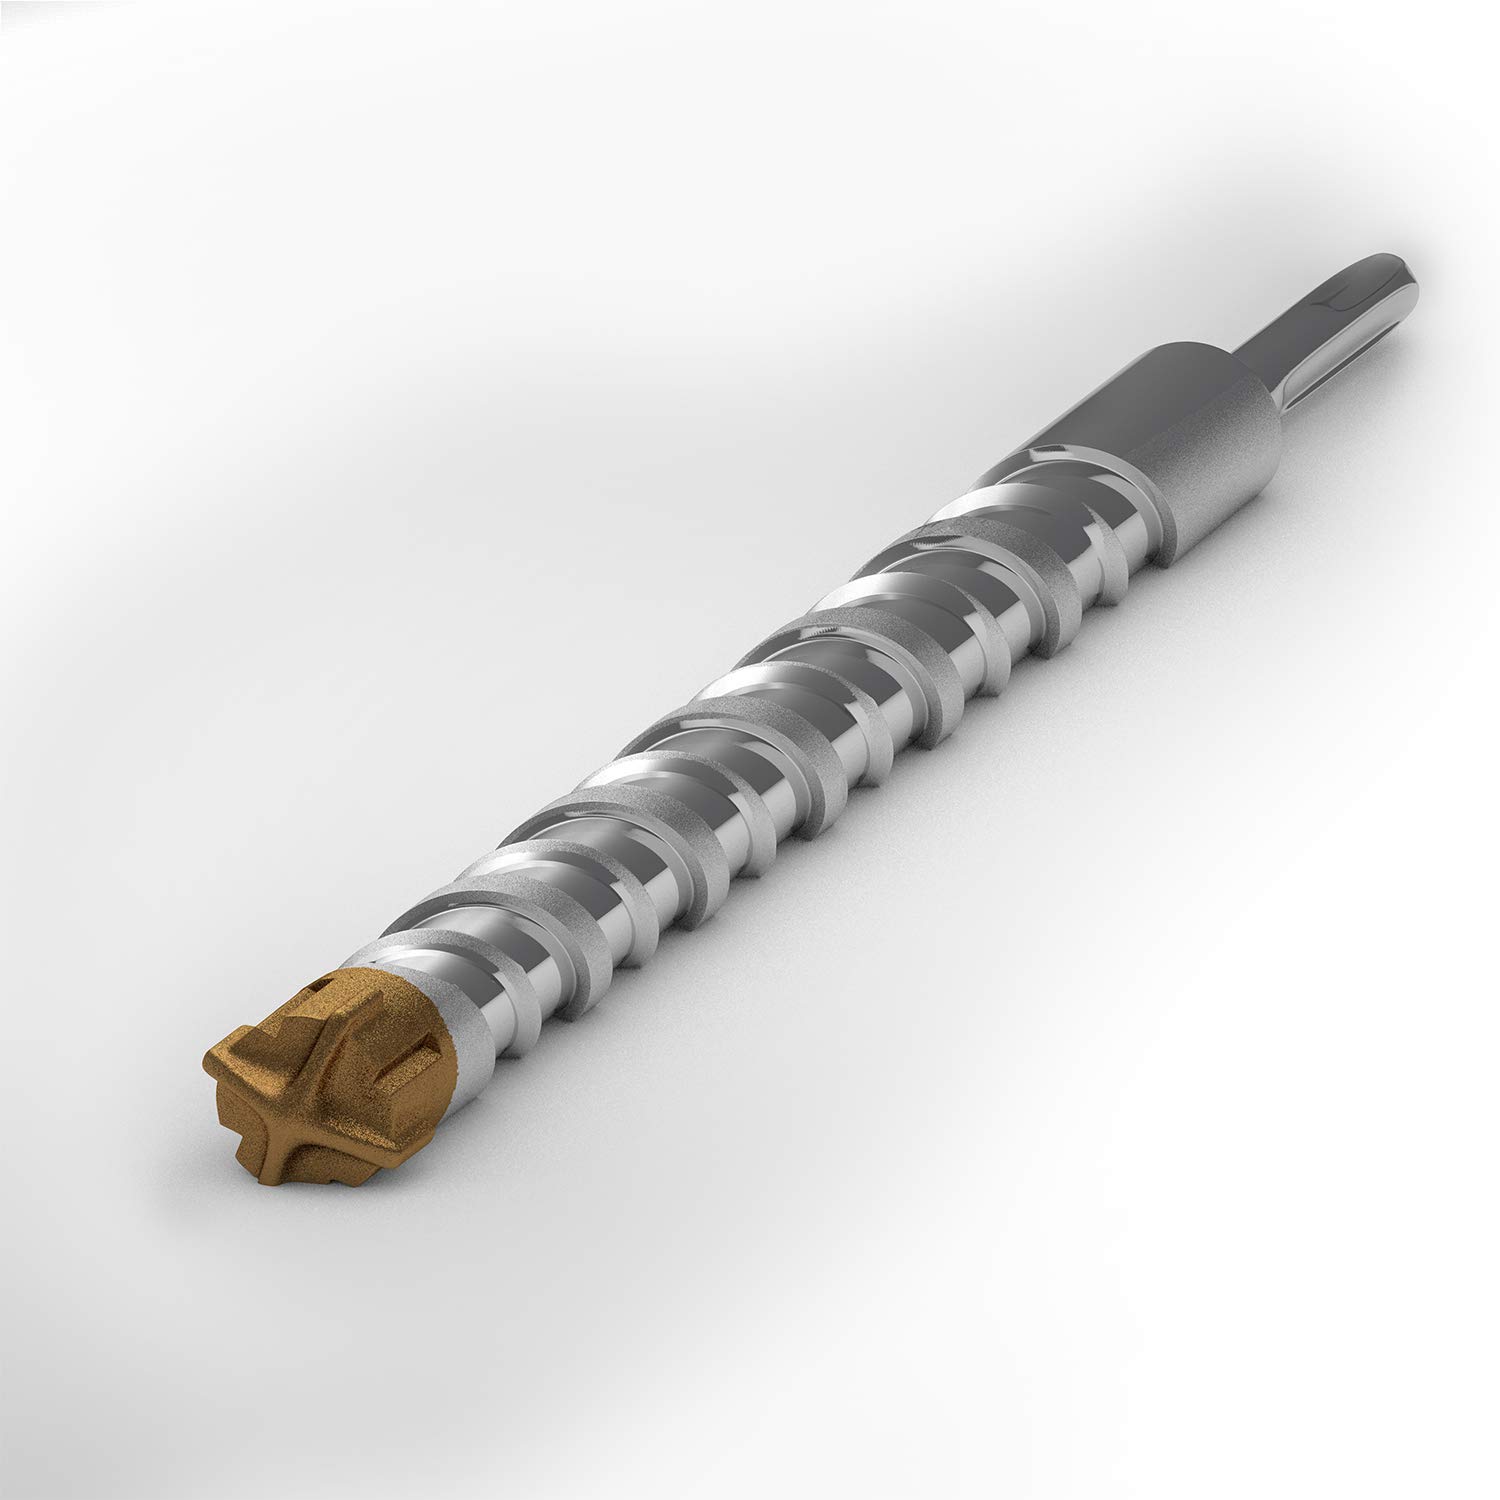
- A new drill bit: Make sure you have a compatible drill bit that is suitable for the task you are working on. Different bits are designed for specific materials and purposes, so choose the appropriate one for your project.
- Chuck key or chuck removal tool: Depending on the type of chuck your Ryobi drill has, you may need a chuck key or a specific chuck removal tool to loosen and tighten the chuck.
- Gloves and safety glasses: It’s essential to wear protective gear, such as gloves and safety glasses, to safeguard yourself from any potential injuries during the process.
Once you have gathered these tools, you are ready to move on to the next step of changing the drill bit on your Ryobi drill.
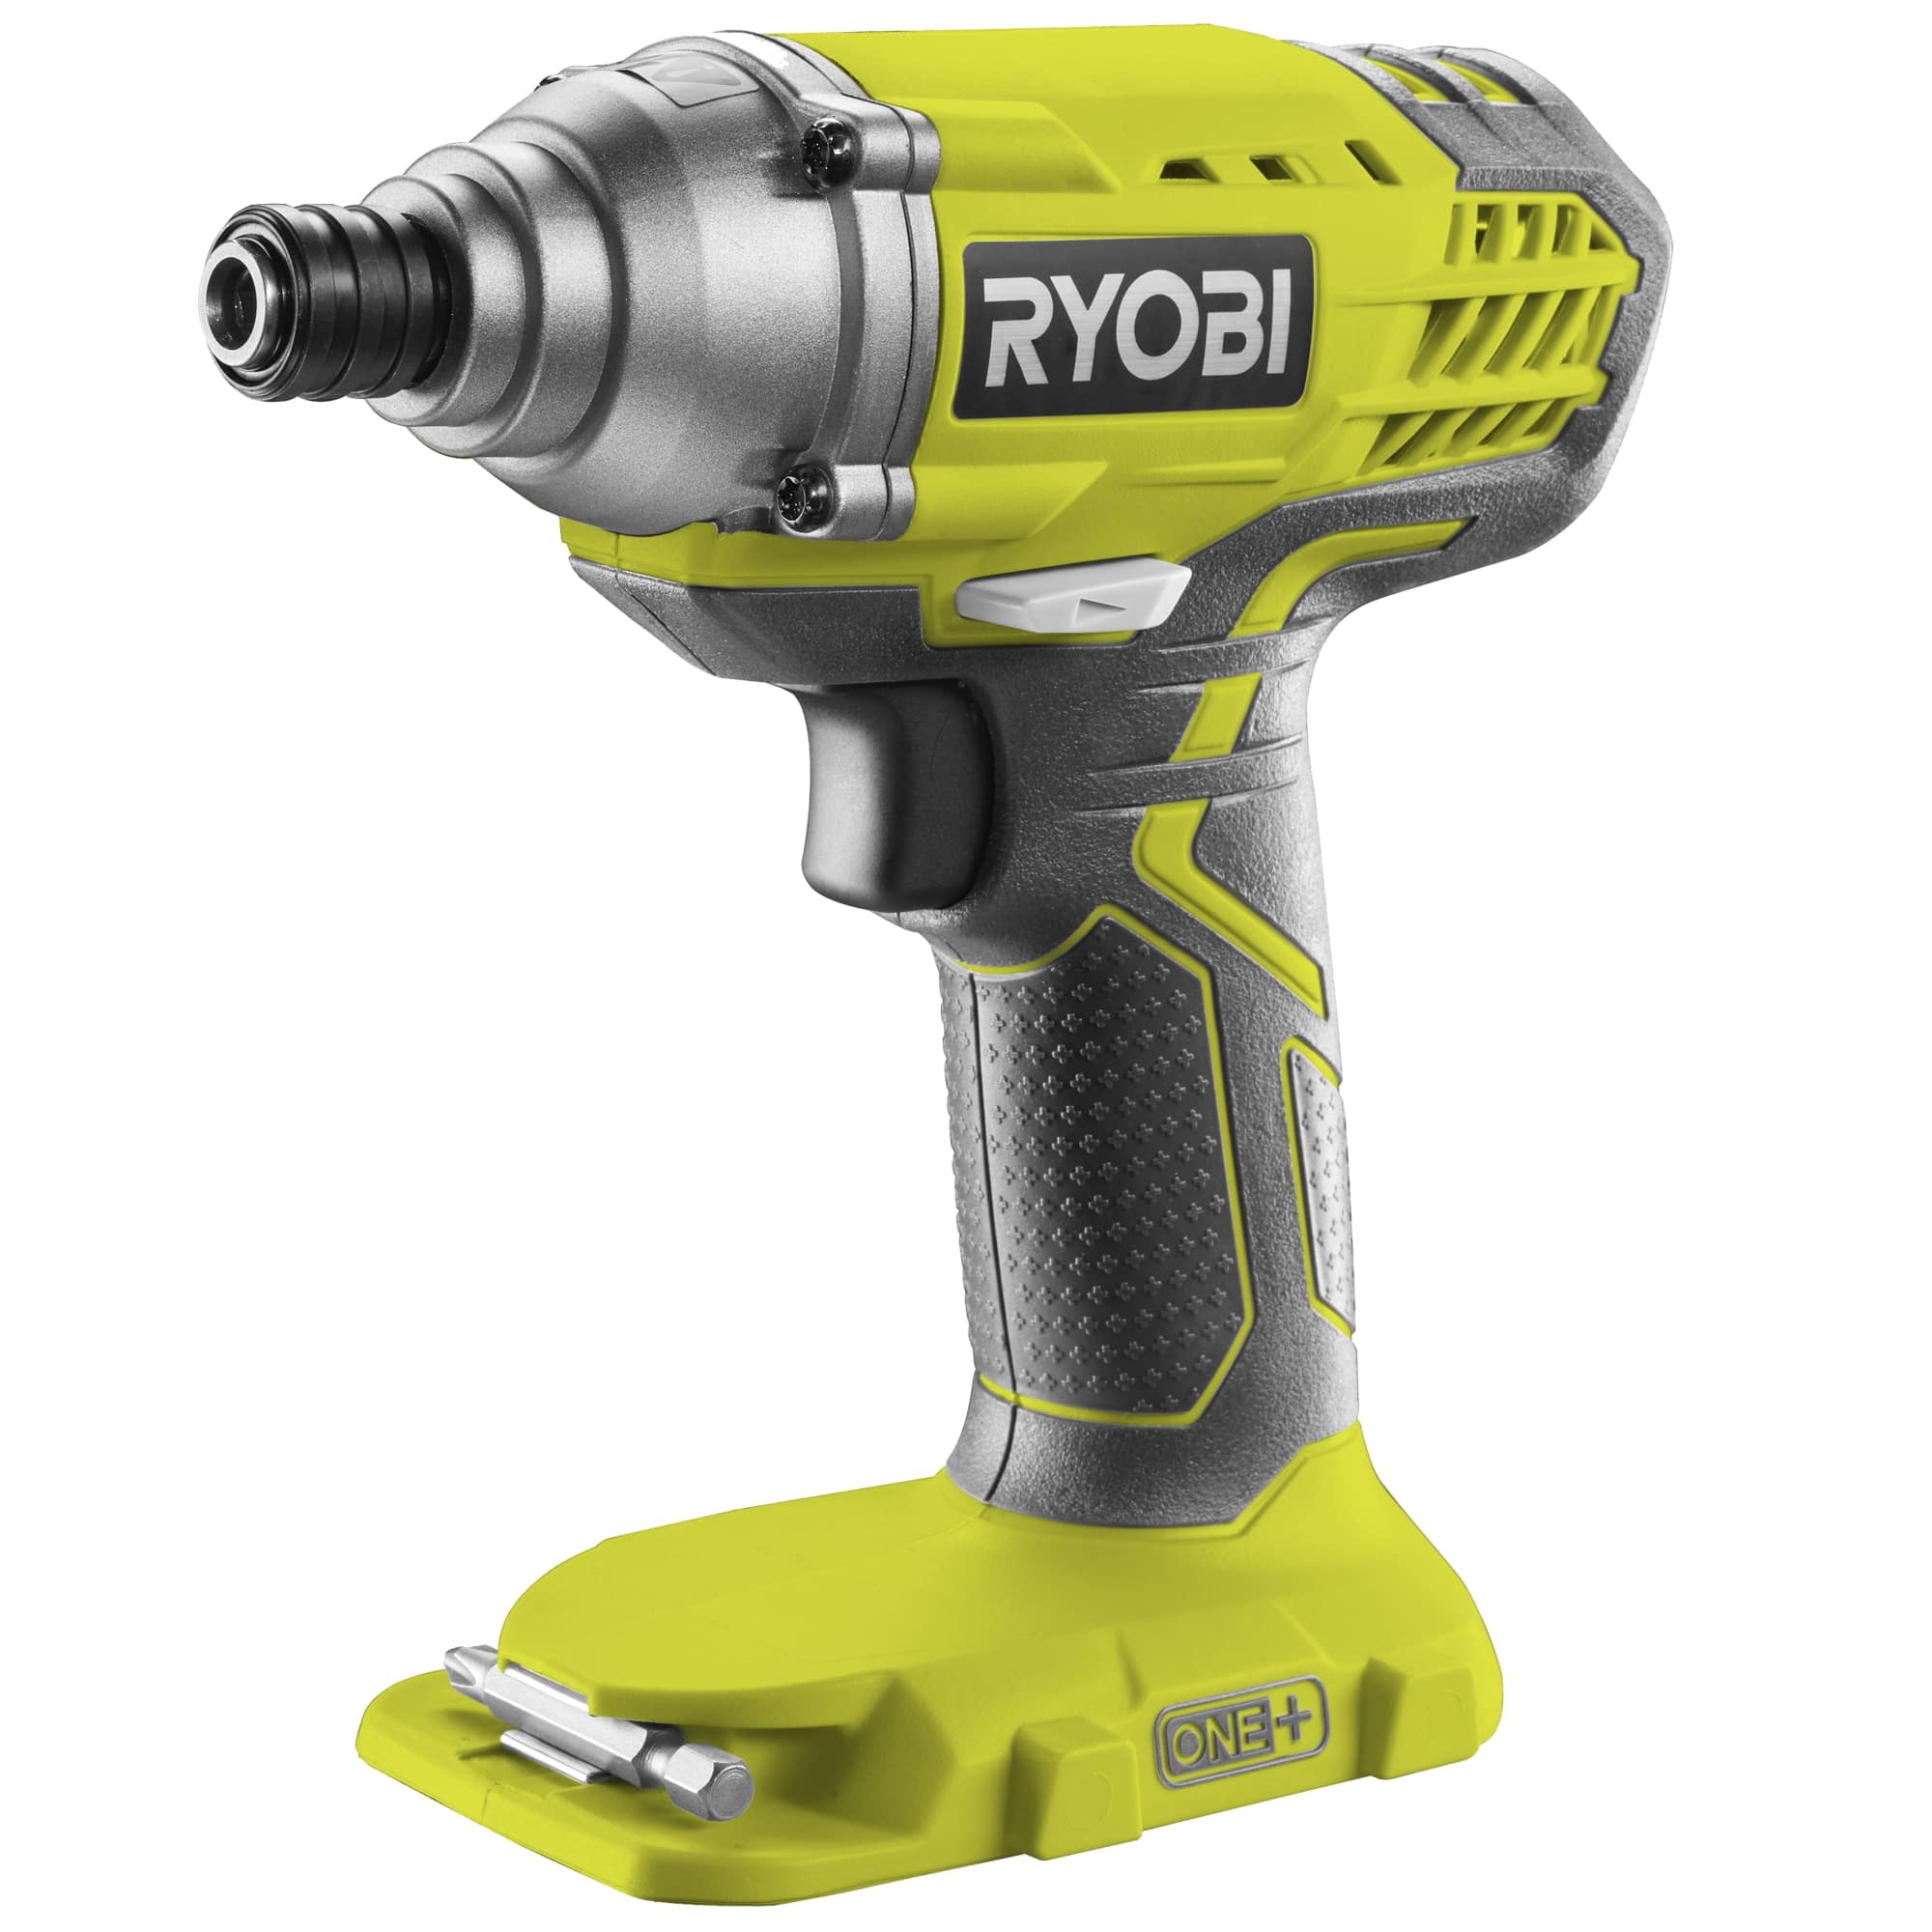
Step 2: Identify the type of drill chuck
Before you can proceed with changing the drill bit on your Ryobi drill, you need to determine the type of drill chuck your drill has. Ryobi drills typically come with two common types of chucks – keyless chucks and keyed chucks.
A keyless chuck is a convenient option as it allows you to tighten and loosen the chuck by hand, without the need for a chuck key. You simply need to twist the chuck in the appropriate direction to secure or release the drill bit.
A keyed chuck, on the other hand, requires the use of a chuck key to tighten and loosen the chuck. The chuck key has teeth that fit into corresponding slots on the chuck, allowing you to rotate it and secure or release the drill bit.
To identify the type of chuck on your Ryobi drill, examine the front of the drill where the drill bit is inserted. Look for any markings or indicators that identify it as a keyless or keyed chuck. If you are unsure, consult the instruction manual or contact Ryobi customer support for assistance.
Knowing the type of chuck on your Ryobi drill is crucial because it will determine the method you need to follow in the subsequent steps to loosen and tighten the chuck properly.
Once you have identified the type of chuck on your Ryobi drill, you are ready to move on to the next step of changing the drill bit.
Step 3: Loosen the chuck
Now that you have identified the type of chuck on your Ryobi drill, it’s time to loosen the chuck to remove the old drill bit. The process may vary depending on whether you have a keyless chuck or a keyed chuck. Follow the appropriate instructions below:
- If you have a keyless chuck: Hold the drill with one hand and manually rotate the chuck in a counterclockwise direction. This will loosen the jaws of the chuck and allow you to remove the old drill bit. Continue turning the chuck until it is fully open and the drill bit can slide out easily.
- If you have a keyed chuck: Locate the chuck key that came with your Ryobi drill. Insert the chuck key into one of the holes on the side of the chuck. The chuck key usually has teeth that fit into corresponding slots on the chuck. Inserting it into the correct hole will engage the teeth. With a firm grip on the chuck key, rotate it in a counterclockwise direction to loosen the chuck jaws. Keep rotating until the jaws are open enough to remove the old drill bit.
Remember to take your time and be careful while loosening the chuck to avoid any injuries. Once the chuck is loosened, move on to the next step to remove the old drill bit from your Ryobi drill.
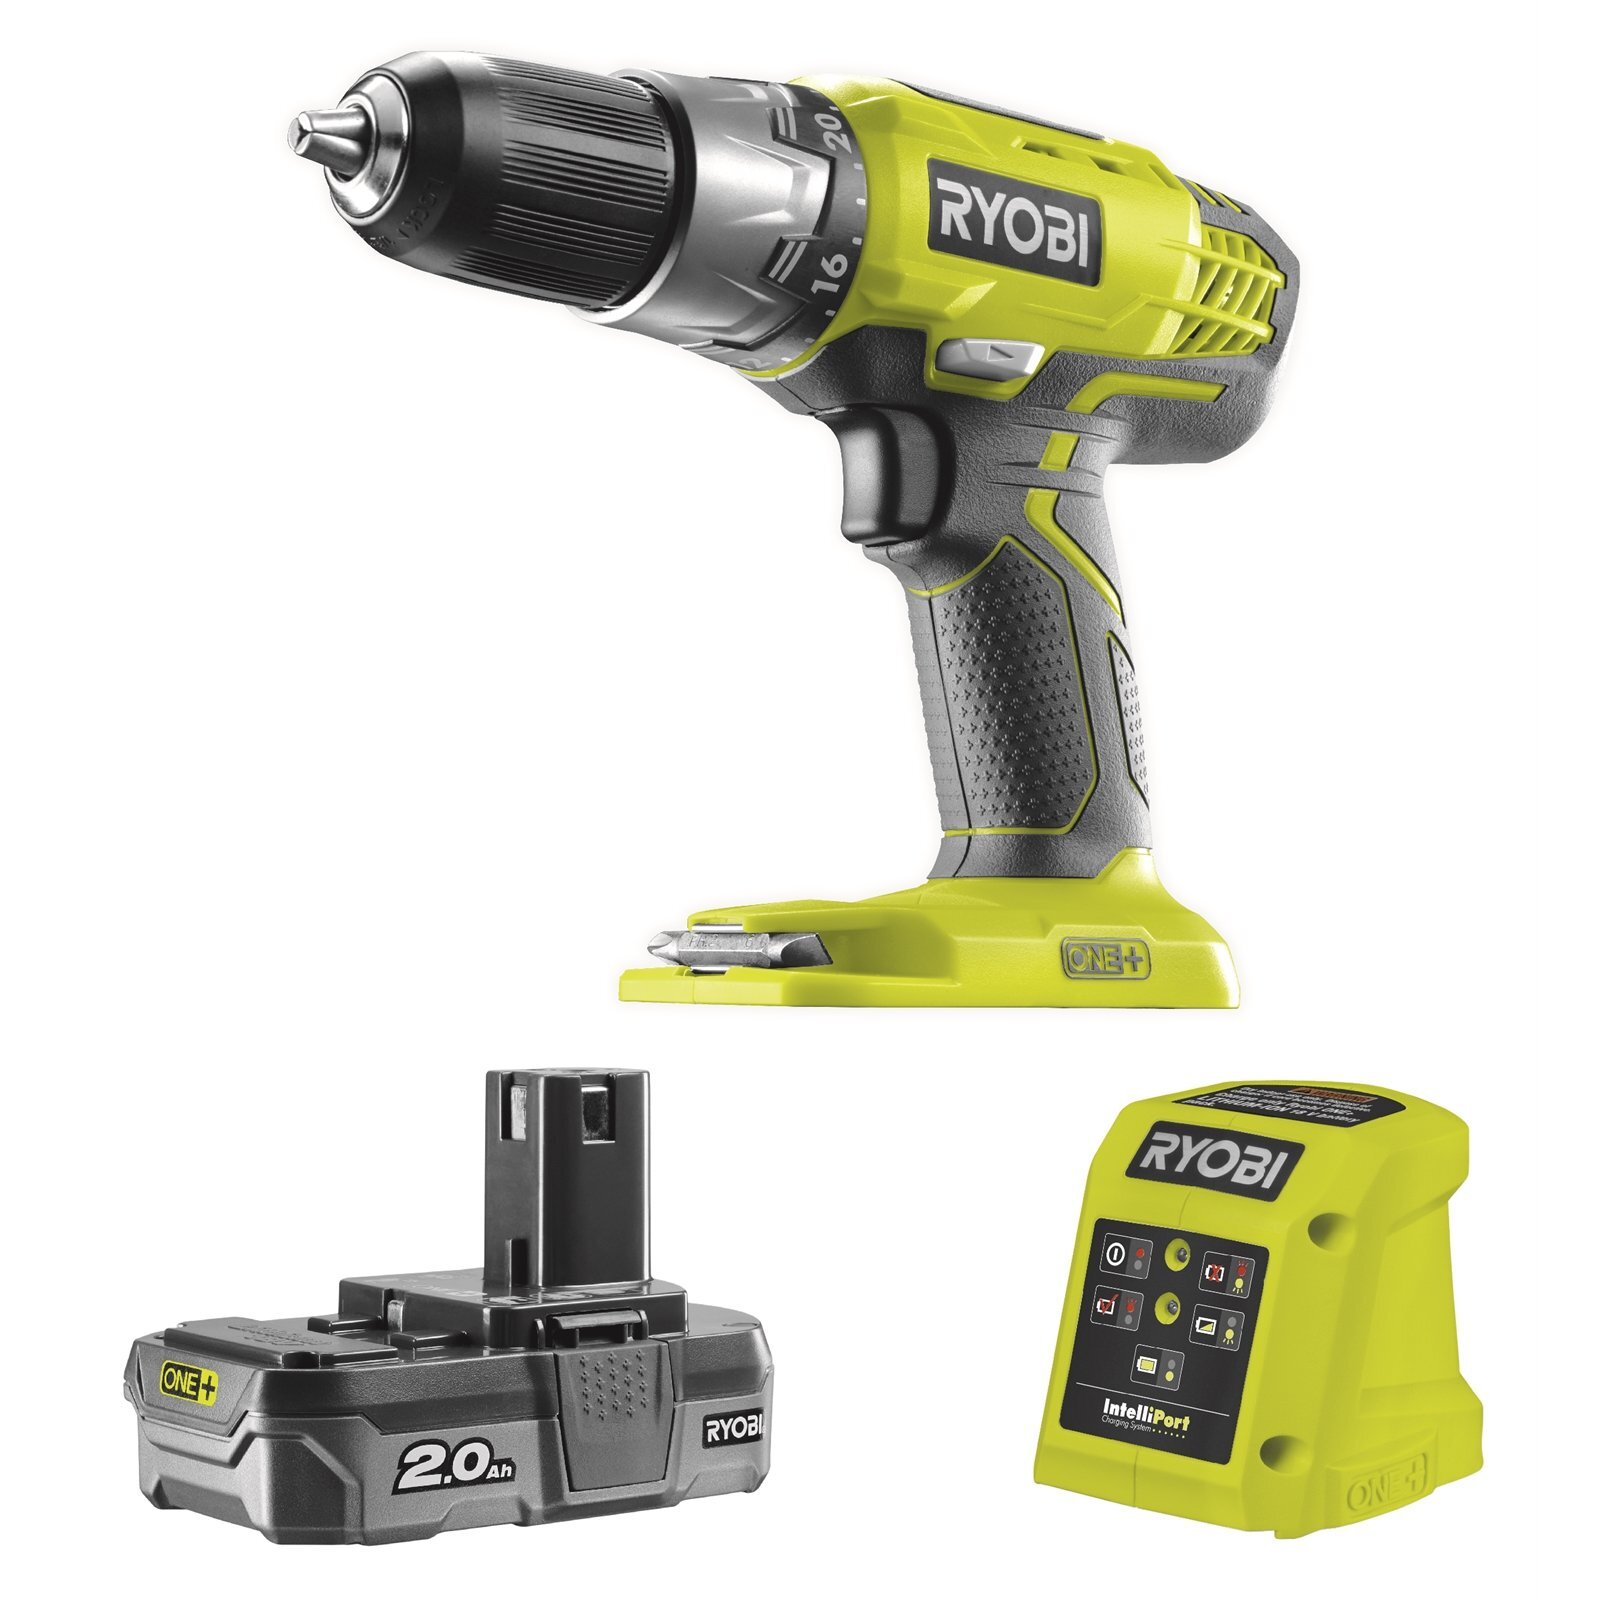
When changing a Ryobi drill bit, make sure the drill is turned off and the battery removed for safety. Use the chuck key to loosen the chuck and remove the old bit. Insert the new bit and tighten the chuck securely before using the drill.
Read more: How To Remove Bit From Ryobi Drill
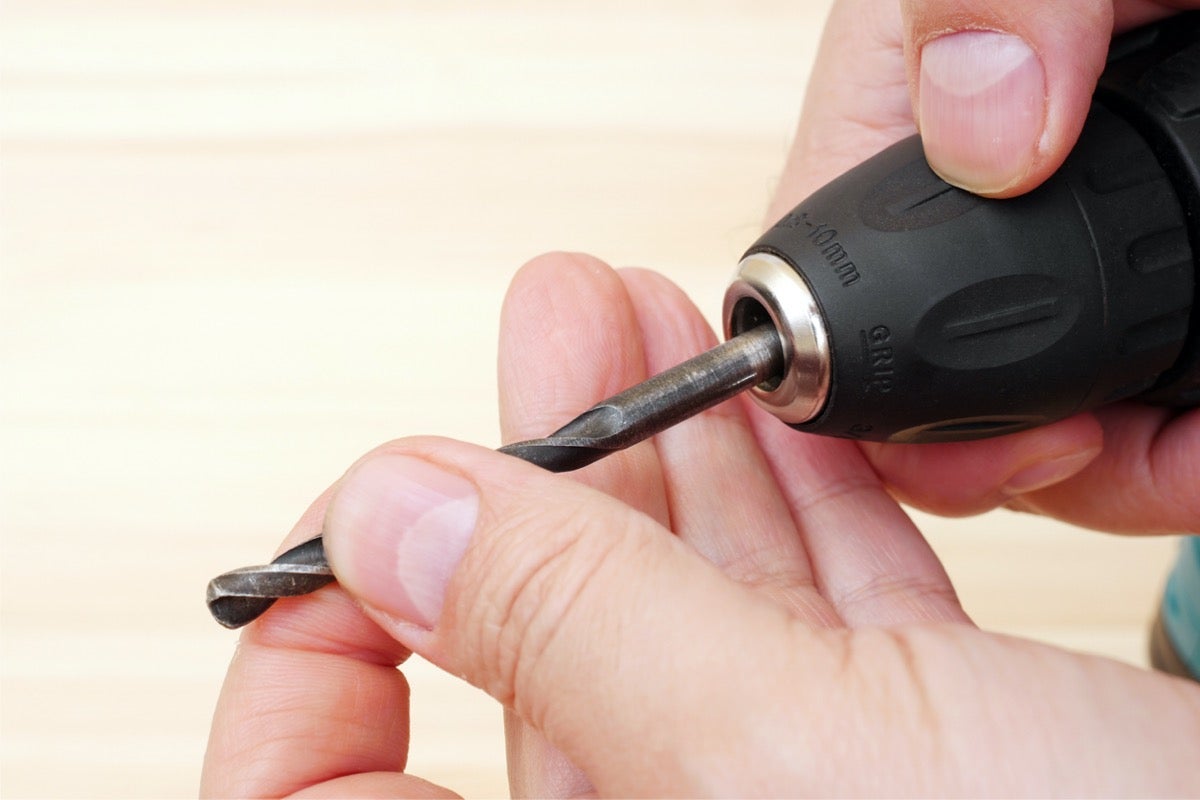
Step 4: Remove the old drill bit
With the chuck of your Ryobi drill loosened, you can now proceed to remove the old drill bit. Follow these simple steps:
- Hold the drill with one hand, firmly gripping the handle for stability.
- With your free hand, gently pull the old drill bit straight out of the chuck. Be careful not to apply too much force or twist the bit, as this may cause it to get stuck or damage the chuck.
- If the old drill bit is stubborn and doesn’t come out easily, you can try giving it a gentle twist while pulling it out. This slight rotation can help release any friction and make the removal process smoother.
- Once the old drill bit is successfully removed, set it aside in a safe place or discard it if it is no longer usable.
It is important to note that drill bits can become hot during use, especially if you have been drilling for an extended period. Allow the old drill bit to cool down before handling it to prevent any burns or discomfort.
With the old drill bit removed, you are now ready to move on to the next step and insert the new drill bit into your Ryobi drill.
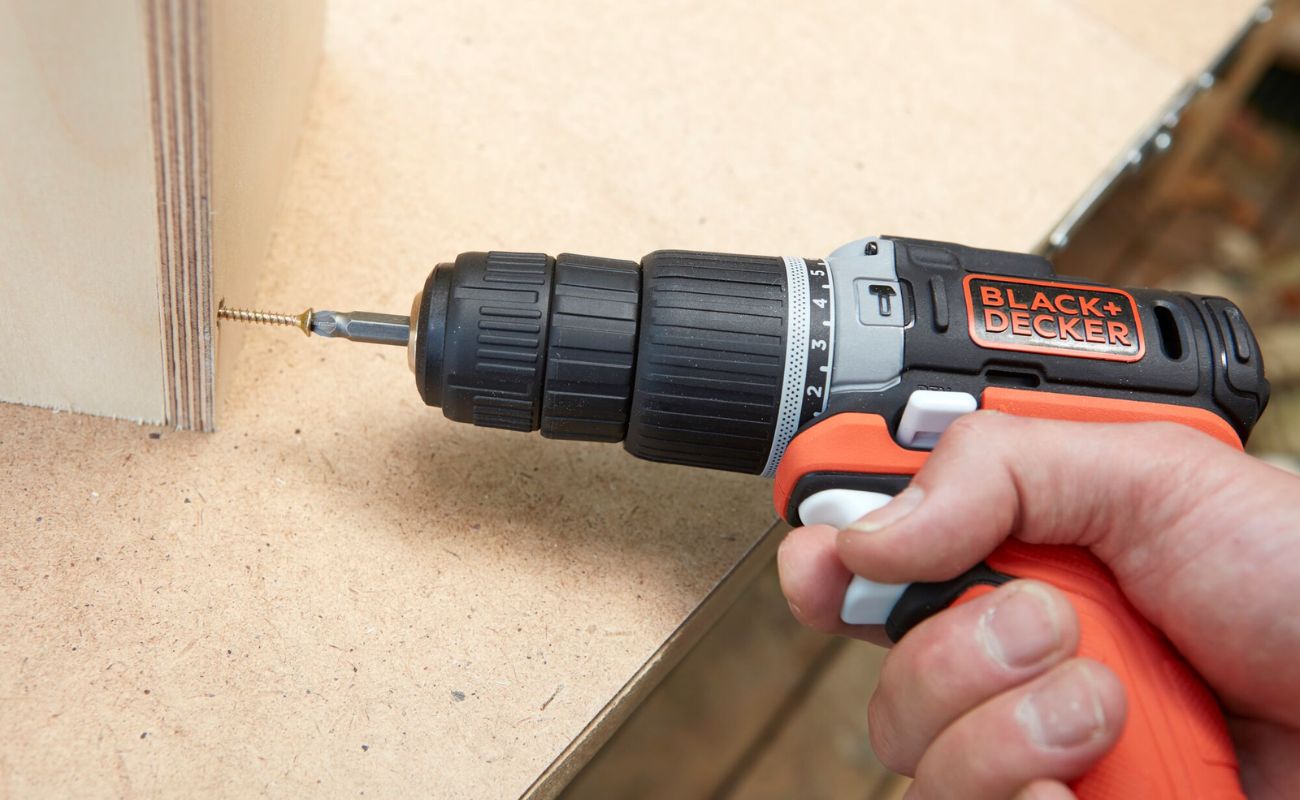
Step 5: Insert the new drill bit
Now that you have removed the old drill bit from your Ryobi drill, it’s time to insert the new one. Here’s how you can do it:
- Take the new drill bit and align it with the chuck. Ensure that the shank of the drill bit is inserted fully into the chuck, making sure it is centered.
- If you have a keyless chuck, hold the drill with one hand and use your free hand to rotate the chuck clockwise. This will tighten the jaws of the chuck and secure the new drill bit in place. Continue rotating until the chuck is firmly tightened around the drill bit.
- If you have a keyed chuck, insert the drill bit fully into the chuck. Then, insert the chuck key into the corresponding hole on the side of the chuck. Rotate the chuck key clockwise to tighten the jaws of the chuck around the drill bit. Keep rotating until the chuck is tightly secured.
Ensure that the new drill bit is securely held in place by giving it a gentle tug to check its stability. If it feels loose or wobbly, repeat the process and ensure that the drill bit is inserted correctly and tightened properly.
With the new drill bit successfully inserted into the chuck of your Ryobi drill, you are now ready to move on to the next step and tighten the chuck.
Step 6: Tighten the chuck
After inserting the new drill bit into your Ryobi drill, it’s important to properly tighten the chuck to ensure the bit is securely held in place. Here’s how you can do it:
- If you have a keyless chuck, hold the drill with one hand and use your free hand to firmly rotate the chuck in a clockwise direction. Keep turning until the chuck feels tight and secure around the drill bit. Make sure not to overtighten, as this can damage the chuck or strain the drill’s motor.
- If you have a keyed chuck, hold the drill with one hand and insert the chuck key into one of the holes on the side of the chuck. Apply firm pressure on the chuck key as you rotate it in a clockwise direction. Continue rotating until the chuck feels tight and the drill bit is securely held in place.
It’s important to note that not all Ryobi drills require the chuck to be tightened excessively. Refer to the instruction manual or the specific guidelines for your model to ensure you tighten the chuck to the appropriate level.
Once you have tightened the chuck, give the drill bit a gentle tug to ensure it is securely held in place and doesn’t wobble or move. If everything feels stable, you are ready to proceed to the final step.
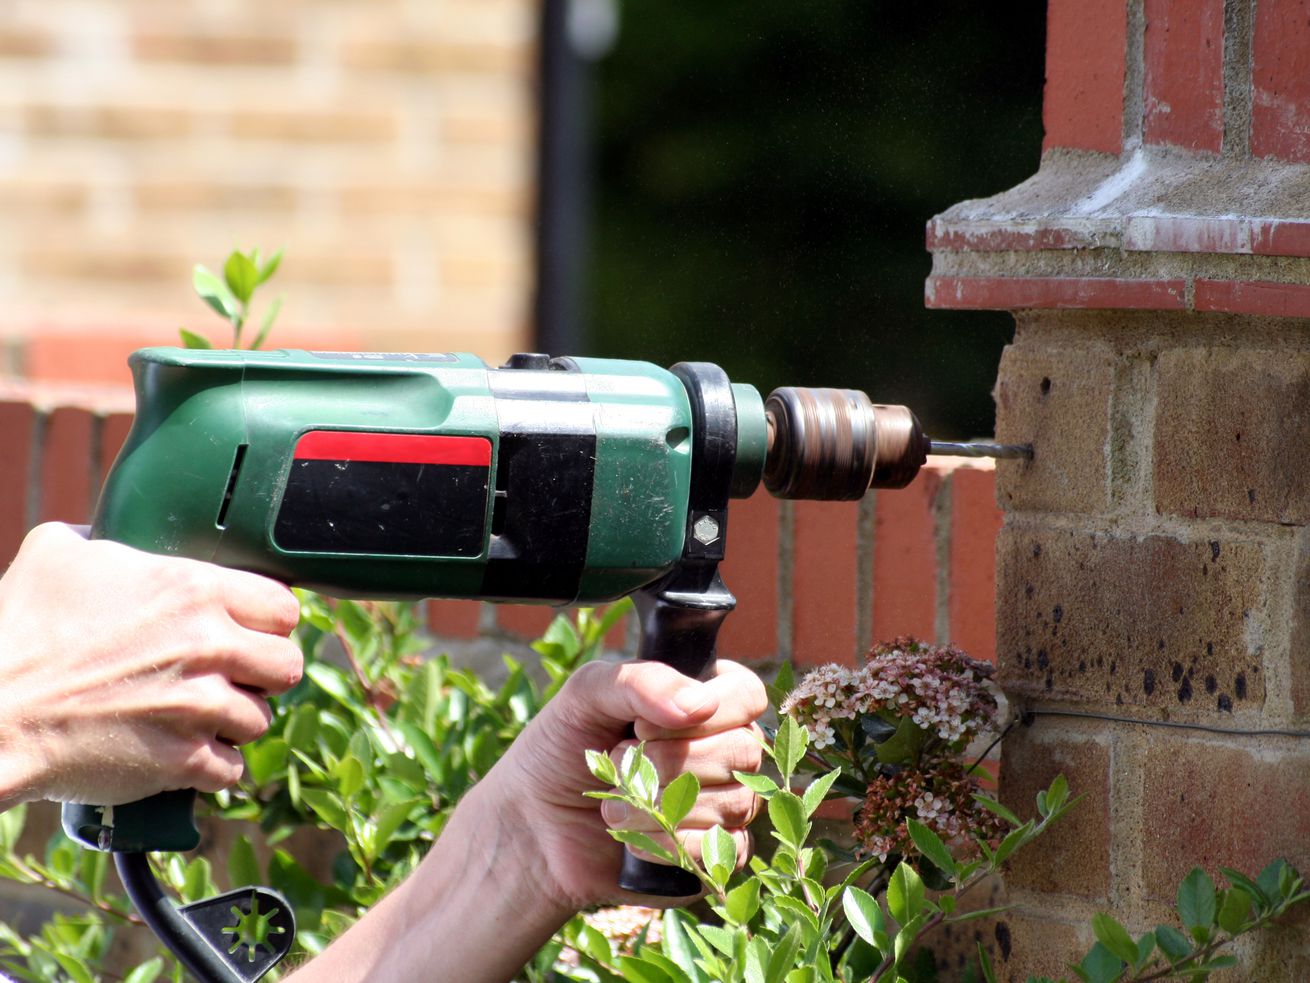
Step 7: Test the new drill bit
Now that you have changed the drill bit on your Ryobi drill, it’s important to test the new bit before starting any drilling or driving tasks. Follow these steps to ensure everything is in working order:
- Ensure that your drill is in the appropriate speed and torque setting for the task at hand. Refer to the instruction manual or adjust the settings according to your needs.
- Position the drill bit against the material you’ll be working on. Apply gentle pressure while keeping the drill steady.
- Slowly squeeze the drill’s trigger to start the rotation of the drill bit. Pay attention to the sound and feel of the drill to ensure smooth and consistent operation.
- If the drill bit starts to wobble, make strange noises, or feels unstable, stop immediately. Double-check that the chuck is tightened securely and repeat the tightening process if necessary. If the issues persist, inspect the drill bit for any damage or defects.
- If the drill bit performs well during the test, you’re ready to start your project! Remember to adjust the speed and torque settings as needed for different materials and tasks.
Testing the new drill bit allows you to ensure that it is properly installed, functioning correctly, and will provide accurate results. It also gives you the opportunity to make any necessary adjustments before starting your project, which can help prevent accidents or damages to the material.
With the test successfully completed, you are now fully equipped to tackle your woodworking, home improvement, or any other project with your Ryobi drill and new drill bit!
Read more: How To Change Bit On Ryobi Router
Conclusion
Changing the drill bit on your Ryobi drill is a fundamental skill that every DIY enthusiast or professional should master. By following the step-by-step process outlined in this article, you can easily and efficiently change the drill bit, allowing you to tackle a wide range of projects with confidence.
Remember to prioritize safety throughout the process. Wear the necessary safety gear, ensure the drill is powered off and unplugged, and handle the drill and drill bits with care. Taking these precautions will help prevent accidents and injuries.
Gathering the necessary tools, identifying the type of drill chuck, and properly loosening and tightening the chuck are crucial steps in the process. By doing so, you can safely remove the old drill bit and securely insert the new one.
Lastly, testing the new drill bit before starting any project ensures that it is functioning properly and provides optimal results. This step allows you to make any necessary adjustments and ensures a smooth and efficient work process.
With your Ryobi drill and newly changed drill bit, you’re now equipped to take on a variety of tasks, including drilling holes, driving screws, and more. Remember to adjust the drill’s speed and torque settings as needed for different materials and tasks to achieve the best results.
So, be confident, dive into your next woodworking project or home improvement task, and unleash the full potential of your Ryobi drill with ease and precision!
Now that you've mastered changing a Ryobi drill bit, why not expand your toolkit knowledge? Whether you're looking to upgrade your workshop or just curious about the latest gadgets, our article on Power Tools offers a comprehensive review of the best options available. For those who enjoy maximizing their Ryobi equipment, don't miss our feature on Ryobi Accessories; it's packed with exciting enhancements for your next project in 2024. Both articles promise to keep your DIY tasks innovative and efficient.
Frequently Asked Questions about How To Change Ryobi Drill Bit
Was this page helpful?
At Storables.com, we guarantee accurate and reliable information. Our content, validated by Expert Board Contributors, is crafted following stringent Editorial Policies. We're committed to providing you with well-researched, expert-backed insights for all your informational needs.
0 thoughts on “How To Change Ryobi Drill Bit”