Articles
How To Put Bit In Ryobi Drill
Modified: December 7, 2023
Learn how to put a bit in your Ryobi drill with our informative articles. Find step-by-step instructions and helpful tips for easy drilling.
(Many of the links in this article redirect to a specific reviewed product. Your purchase of these products through affiliate links helps to generate commission for Storables.com, at no extra cost. Learn more)
Introduction
Welcome to this comprehensive guide on how to put a bit in a Ryobi drill. Whether you’re a DIY enthusiast or a professional tradesperson, knowing how to properly insert and secure a bit in your drill is essential for carrying out various tasks. From drilling holes to driving screws, having the right bit attached to your drill can make a significant difference in the efficiency and effectiveness of your work.
In this article, we will discuss the necessary steps to safely and correctly put a bit in a Ryobi drill. We will also highlight some important safety precautions to ensure your well-being while operating power tools. So let’s get started!
Key Takeaways:
- Prioritize safety by following the manufacturer’s guidelines, checking compatibility, and securing the bit. This ensures efficient and safe drilling operations with your Ryobi drill.
- Properly preparing, inserting, testing, and removing the bit from your Ryobi drill is essential for successful and confident drilling tasks. Always prioritize safety and follow the outlined steps.
Safety Precautions
Before we begin, it is crucial to prioritize safety when working with power tools. Here are some important safety precautions to keep in mind:
- Read the Manual: Familiarize yourself with the user manual that comes with your Ryobi drill. It contains valuable information regarding safety guidelines specific to your model.
- Protective Gear: Always wear appropriate personal protective equipment (PPE) such as safety goggles, gloves, and ear protection. These will shield you from flying debris, prevent injuries, and minimize the risk of hearing damage.
- Secure Workpiece: Ensure that the workpiece is securely clamped or held in place before drilling. This will reduce the risk of the material spinning or moving unexpectedly, which could lead to accidents or injuries.
- Maintain a Clean Workplace: Keep the work area clean and free from clutter. Remove any obstacles or hazards that may interfere with your movements or cause accidents.
- Power Off: Before inserting or removing a bit, always turn off the power to the drill and unplug the cord (if applicable) or remove the battery. This prevents any accidental start-up that could result in injury.
- Inspect the Drill and Bit: Before use, inspect the drill for any damage or defects. Similarly, examine the bit for any signs of wear or damage. Do not use a drill or bit that appears to be faulty, as it could lead to accidents or poor performance.
- Follow Manufacturer’s Guidelines: Adhere to the manufacturer’s recommendations for drill usage, including speed settings, torque limits, and bit specifications. Using the drill within the specified guidelines will ensure safe and optimal performance.
- Take Breaks: When using the drill for extended periods, take regular breaks to rest, hydrate, and avoid fatigue. This will help maintain focus and prevent accidents caused by exhaustion.
By following these safety precautions, you can significantly reduce the risk of accidents and injuries while using your Ryobi drill. Now that we’ve covered the safety aspects, let’s move on to checking the compatibility of the drill and bit.
Checking Compatibility of Drill and Bit
Before you can proceed with putting a bit in your Ryobi drill, it is important to ensure that the drill and bit are compatible. Here are some key factors to consider:
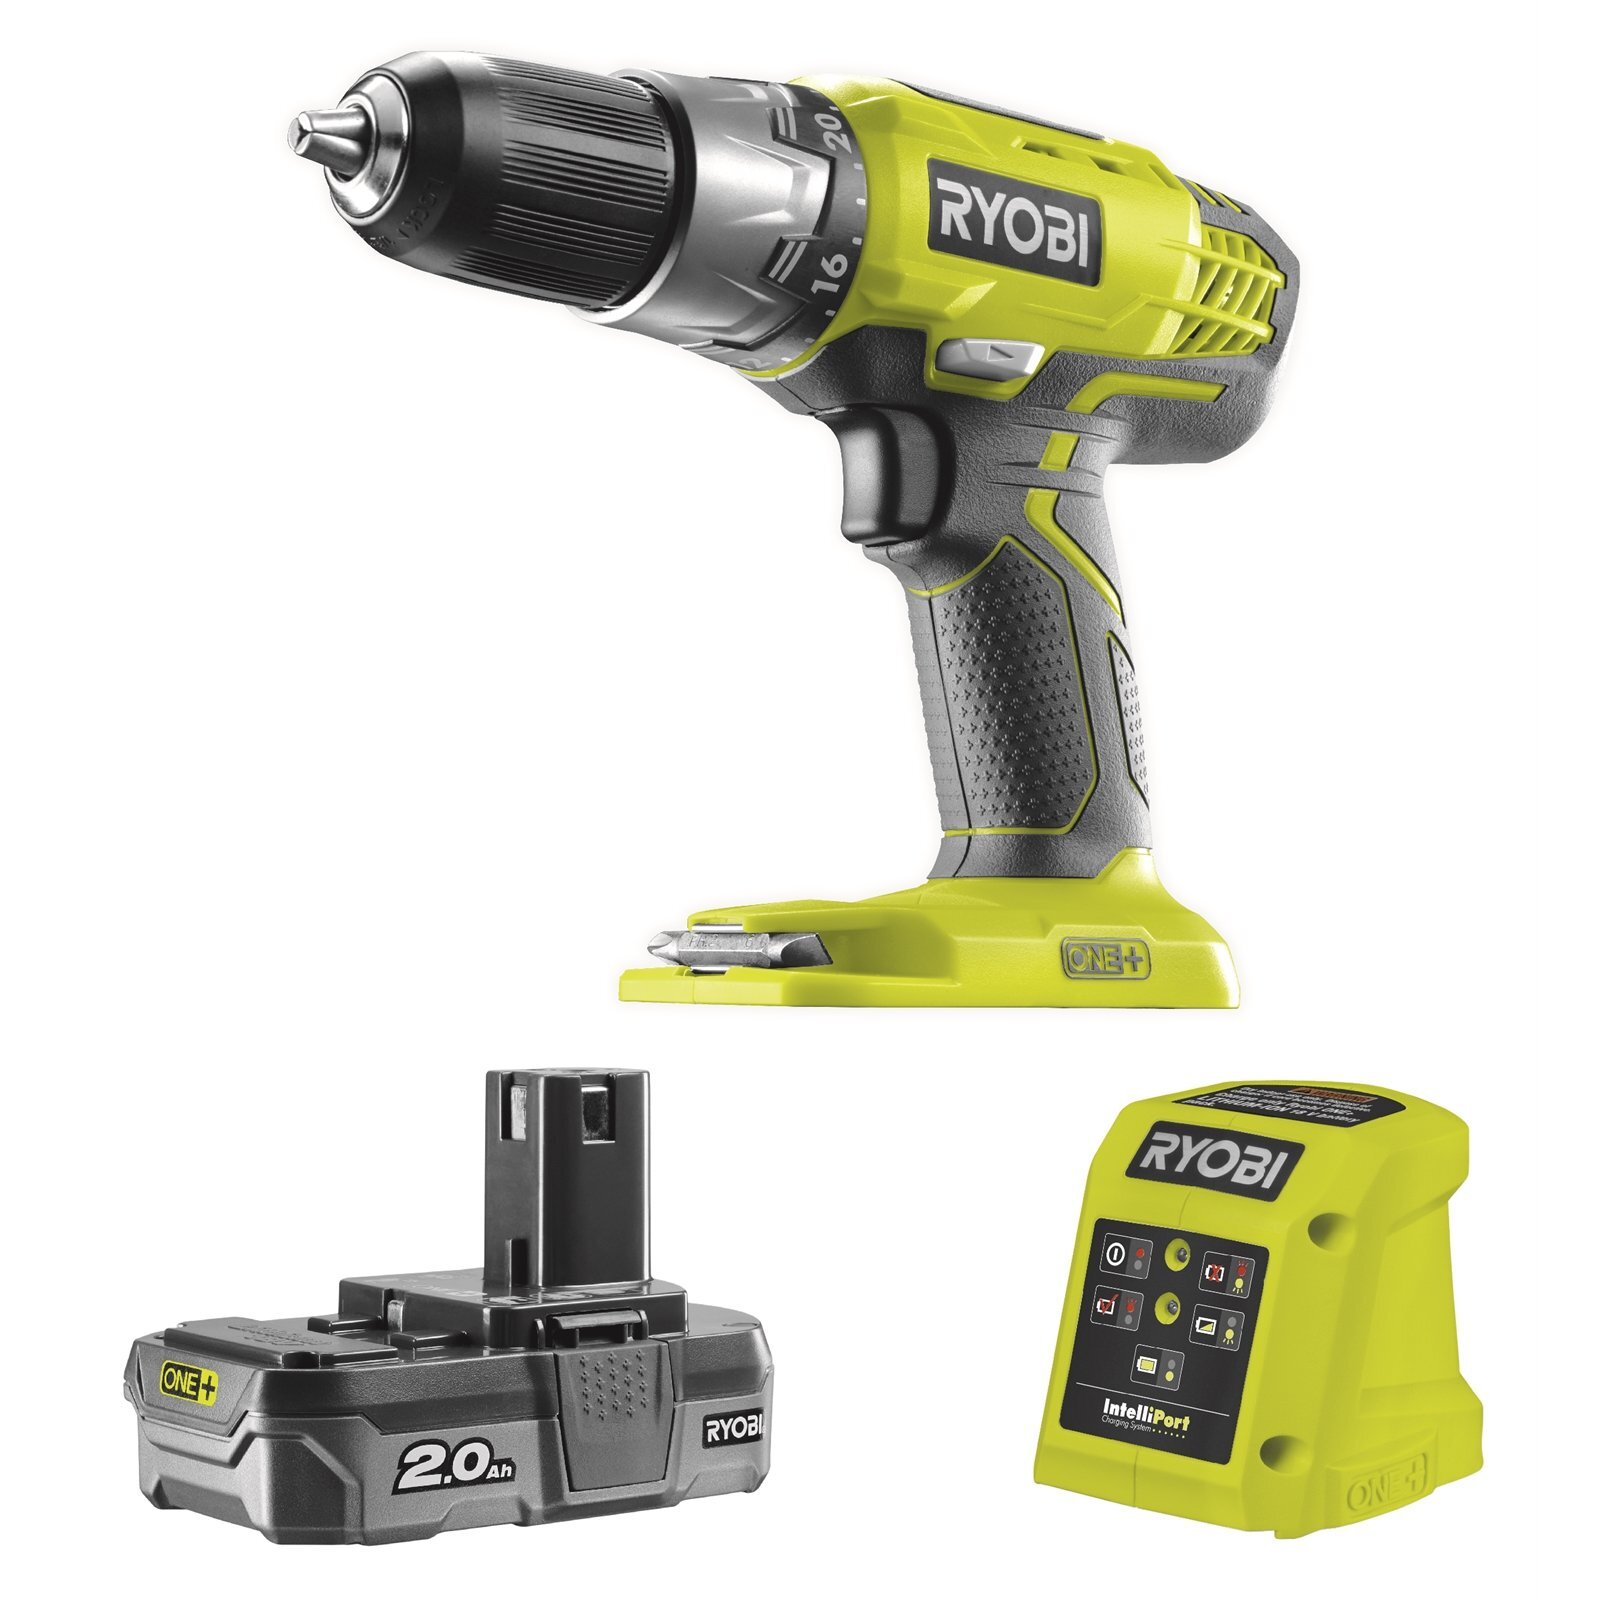
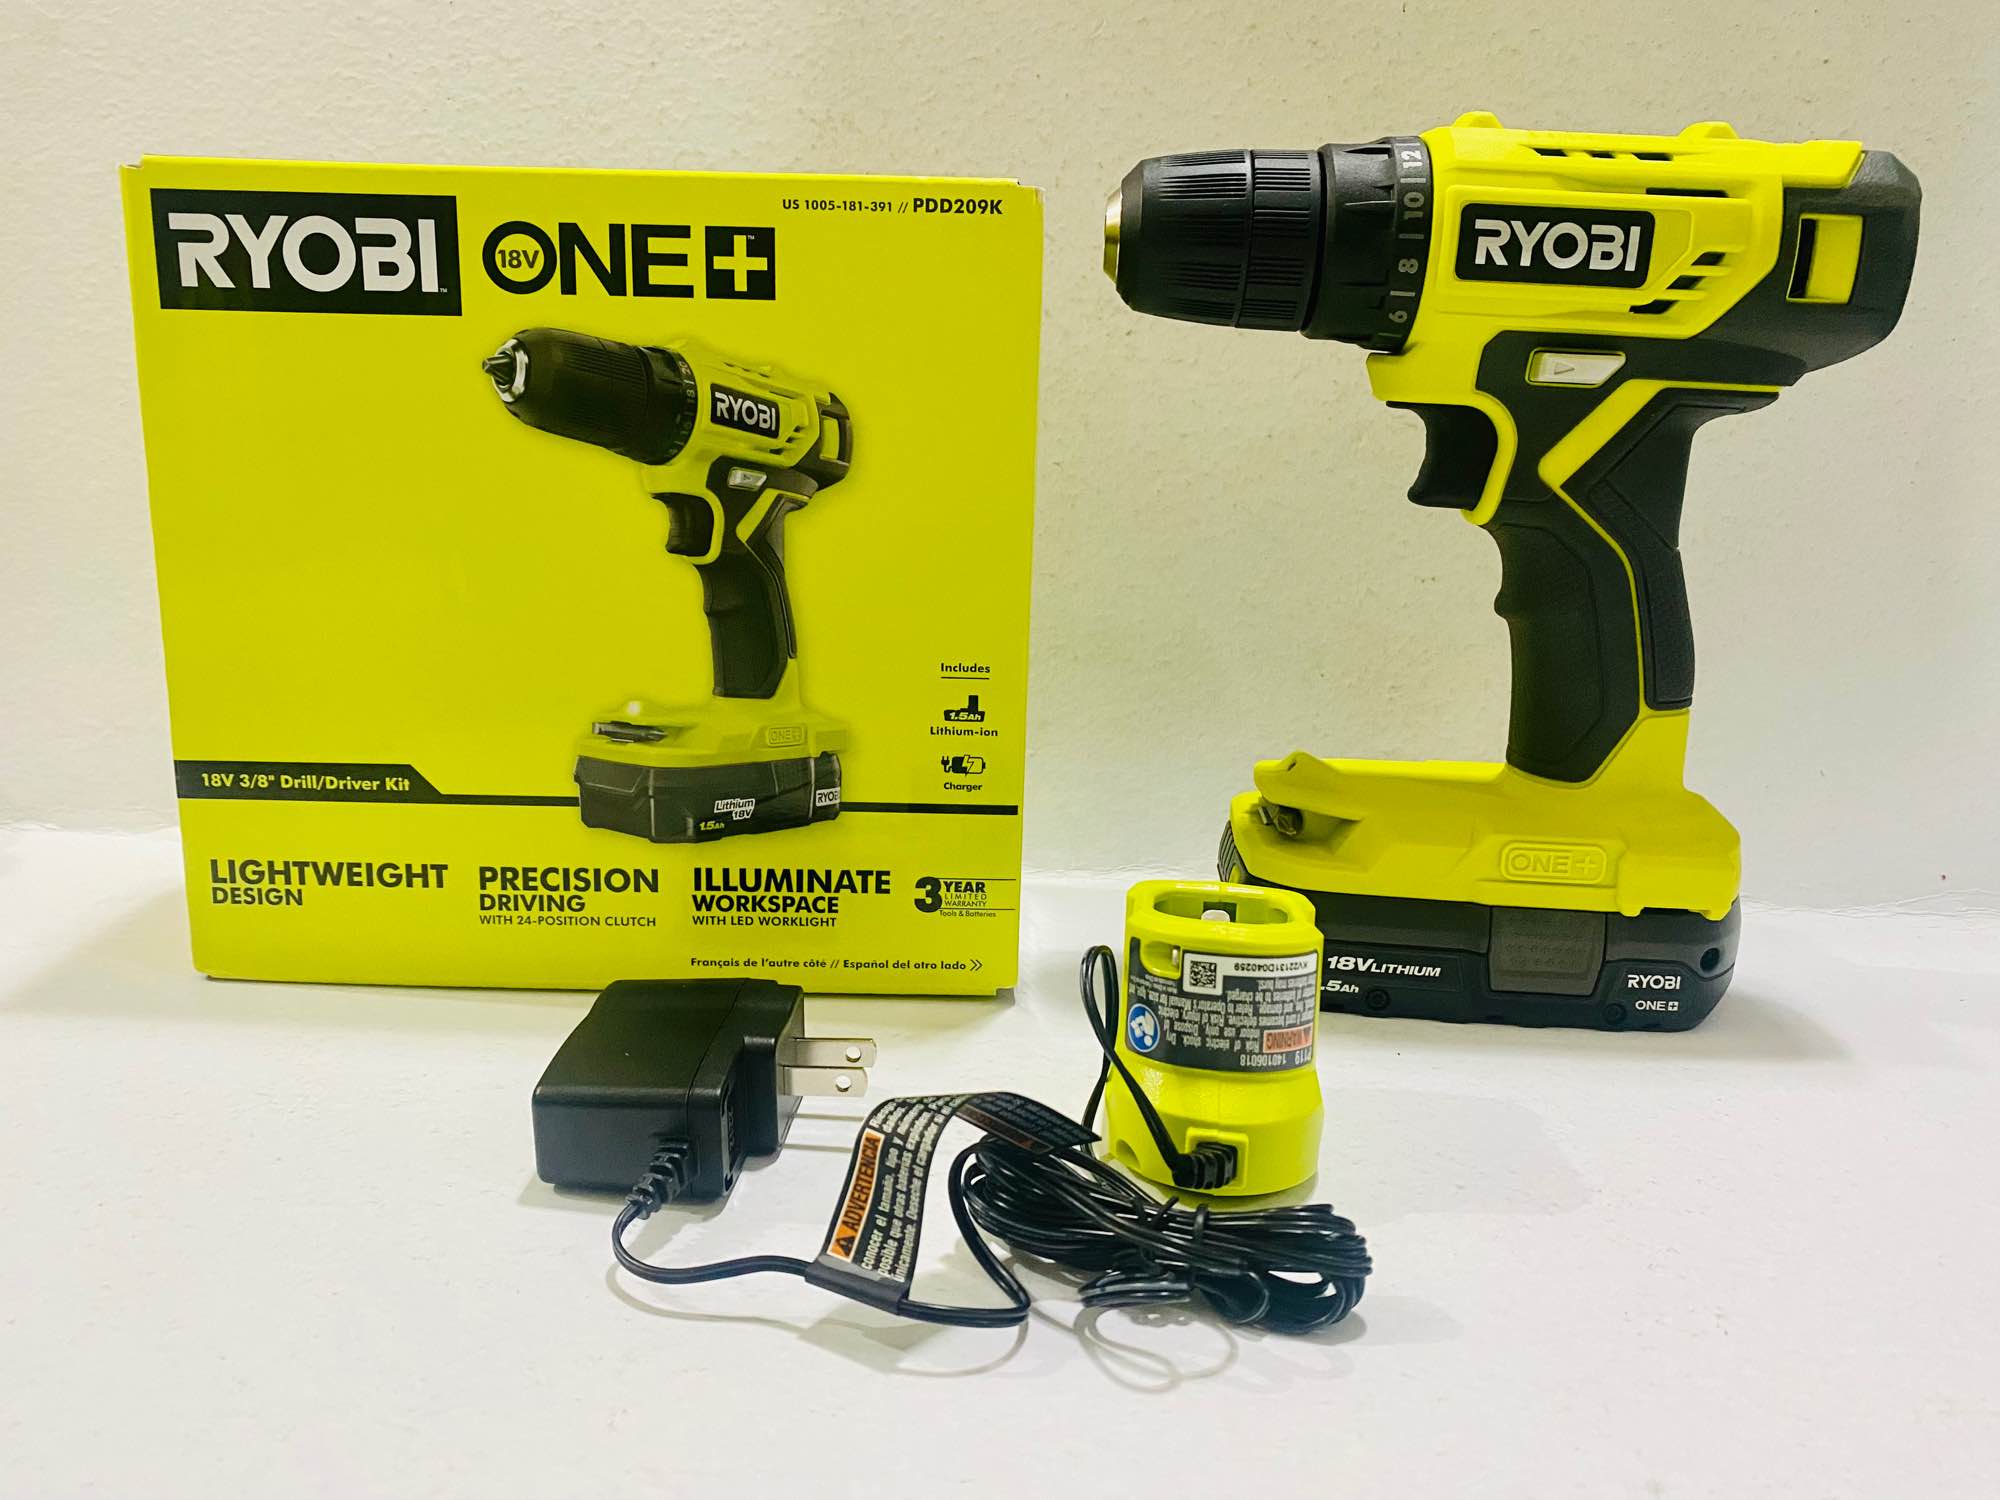
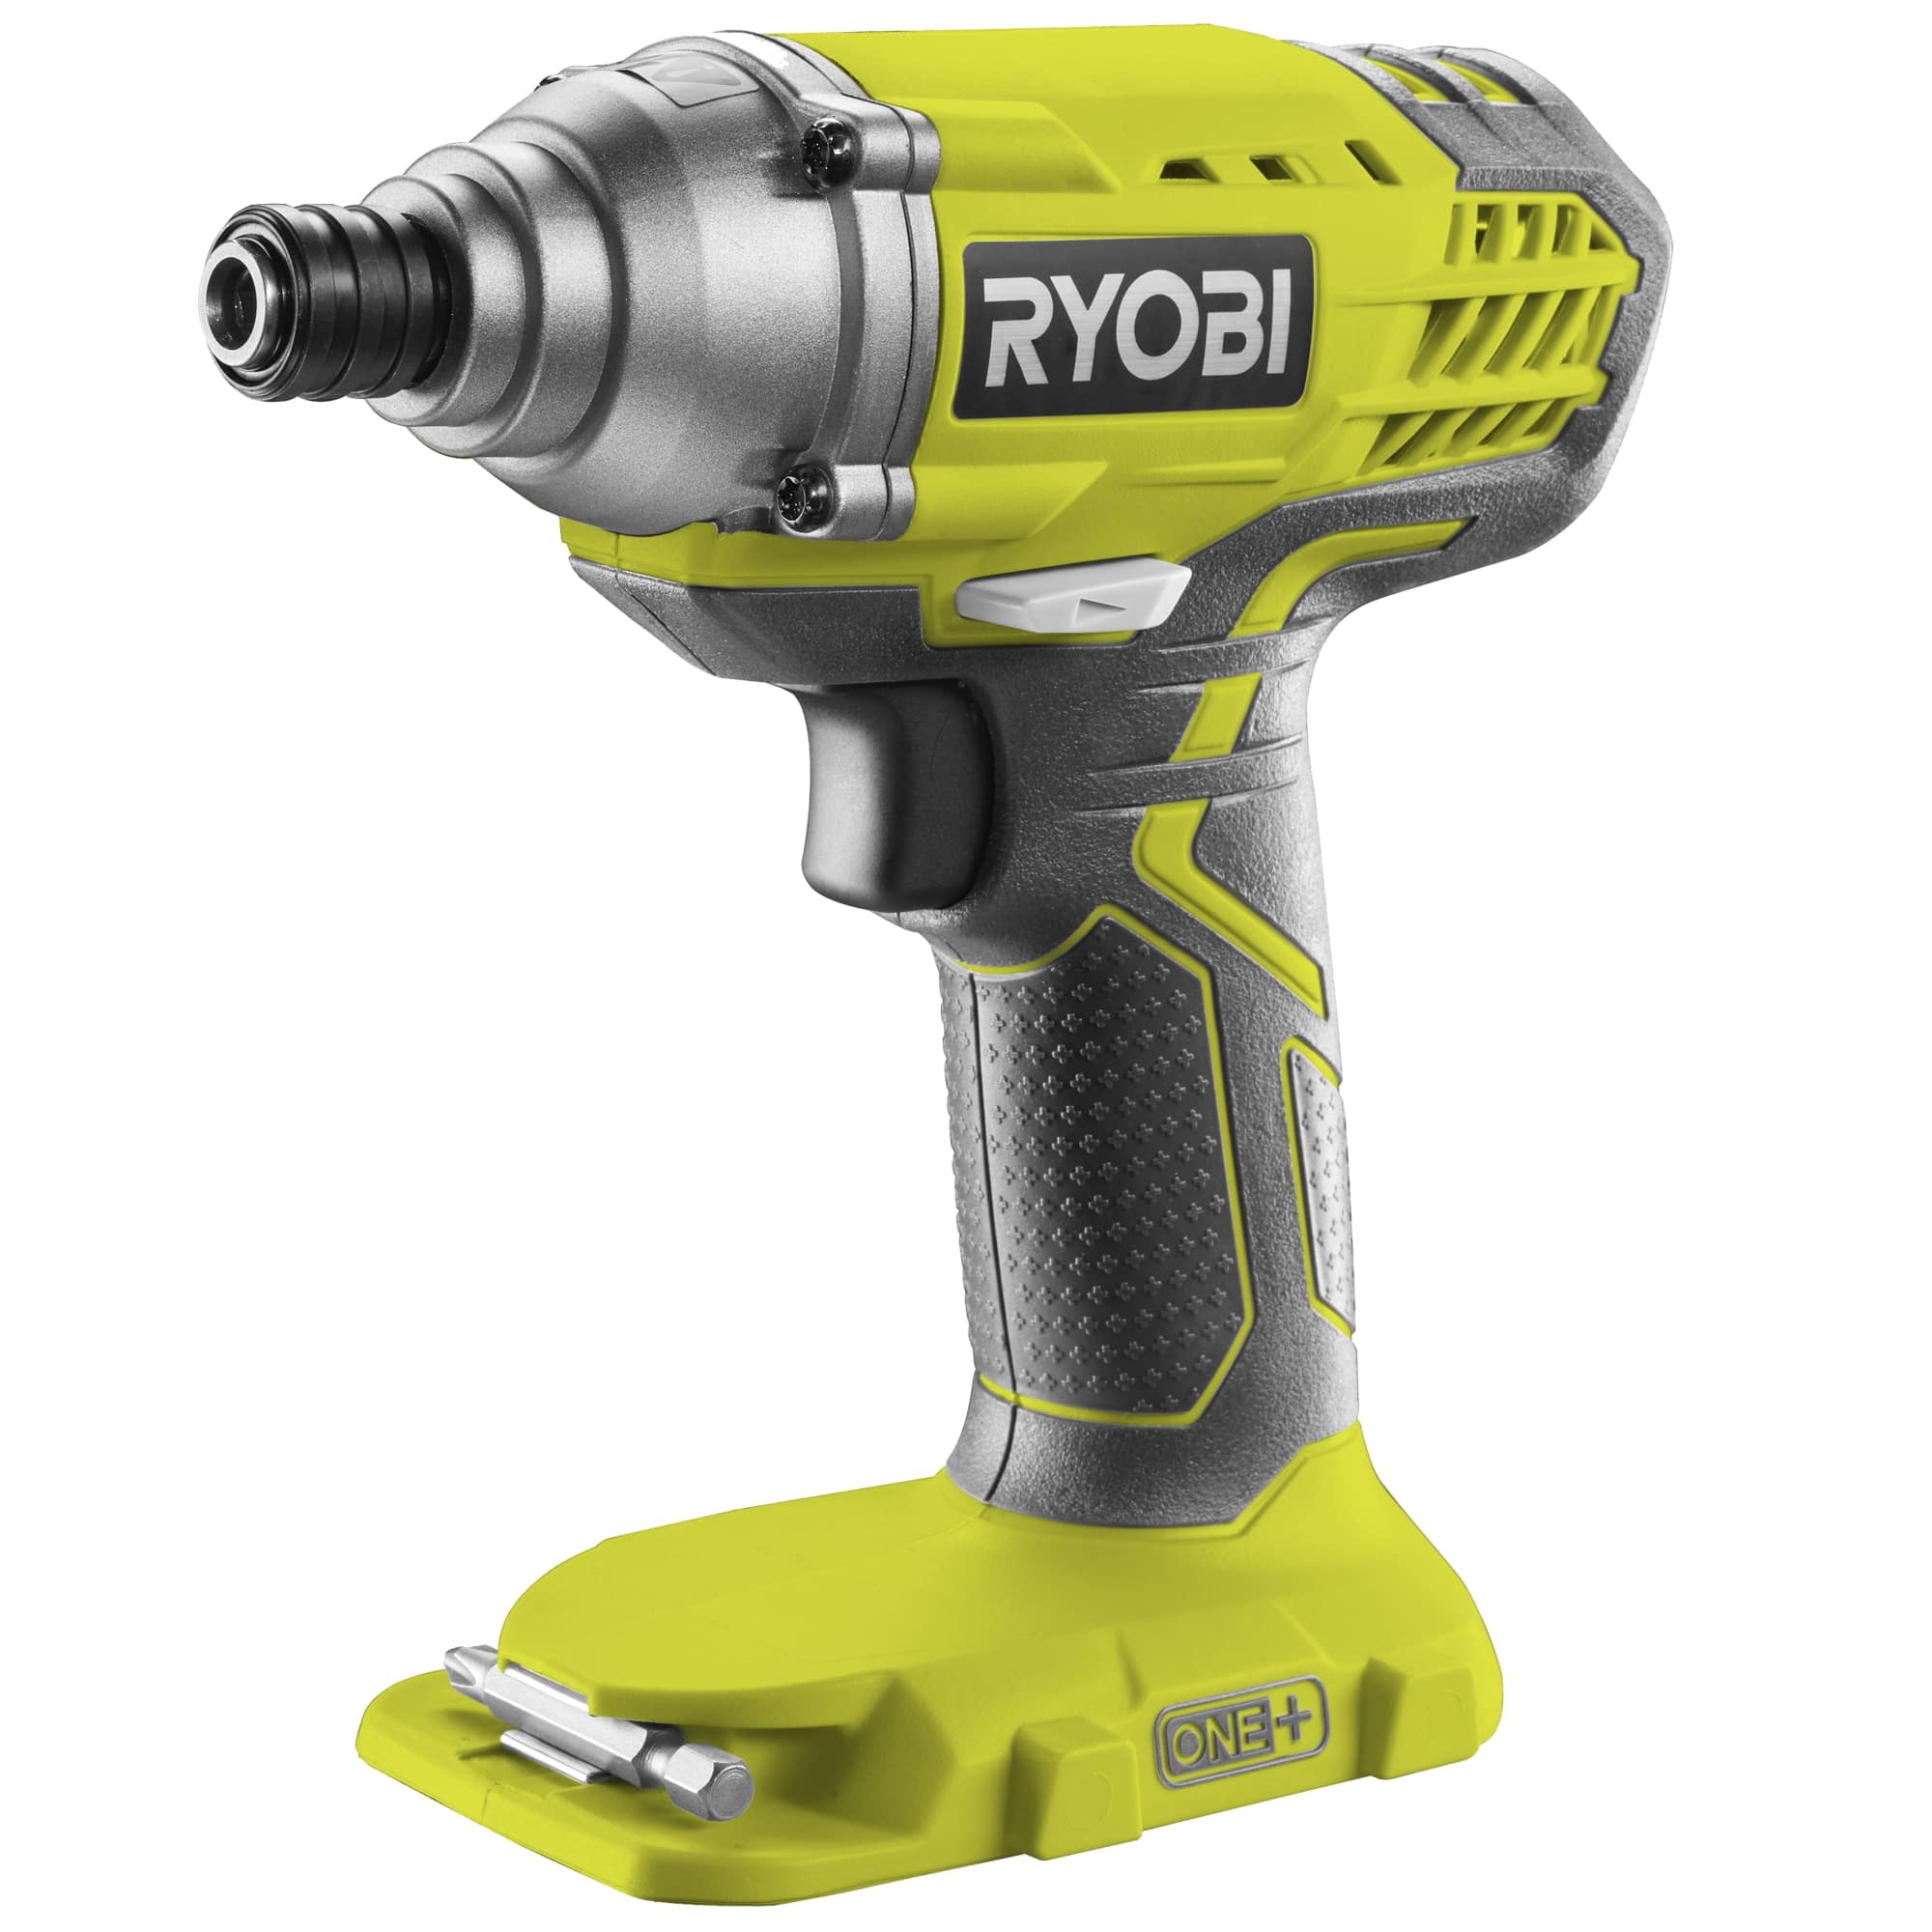
- Drill Type: Determine the type of Ryobi drill you have. Ryobi offers a range of cordless and corded drills, each with different chuck types. Most Ryobi drills have a keyless chuck, which allows for easy bit installation.
- Chuck Size: Check the chuck size of your Ryobi drill. It is typically indicated on the chuck itself or in the drill’s user manual. Common chuck sizes include 3/8-inch and 1/2-inch. Ensure that your bit has a shank size that matches the chuck size of your Ryobi drill.
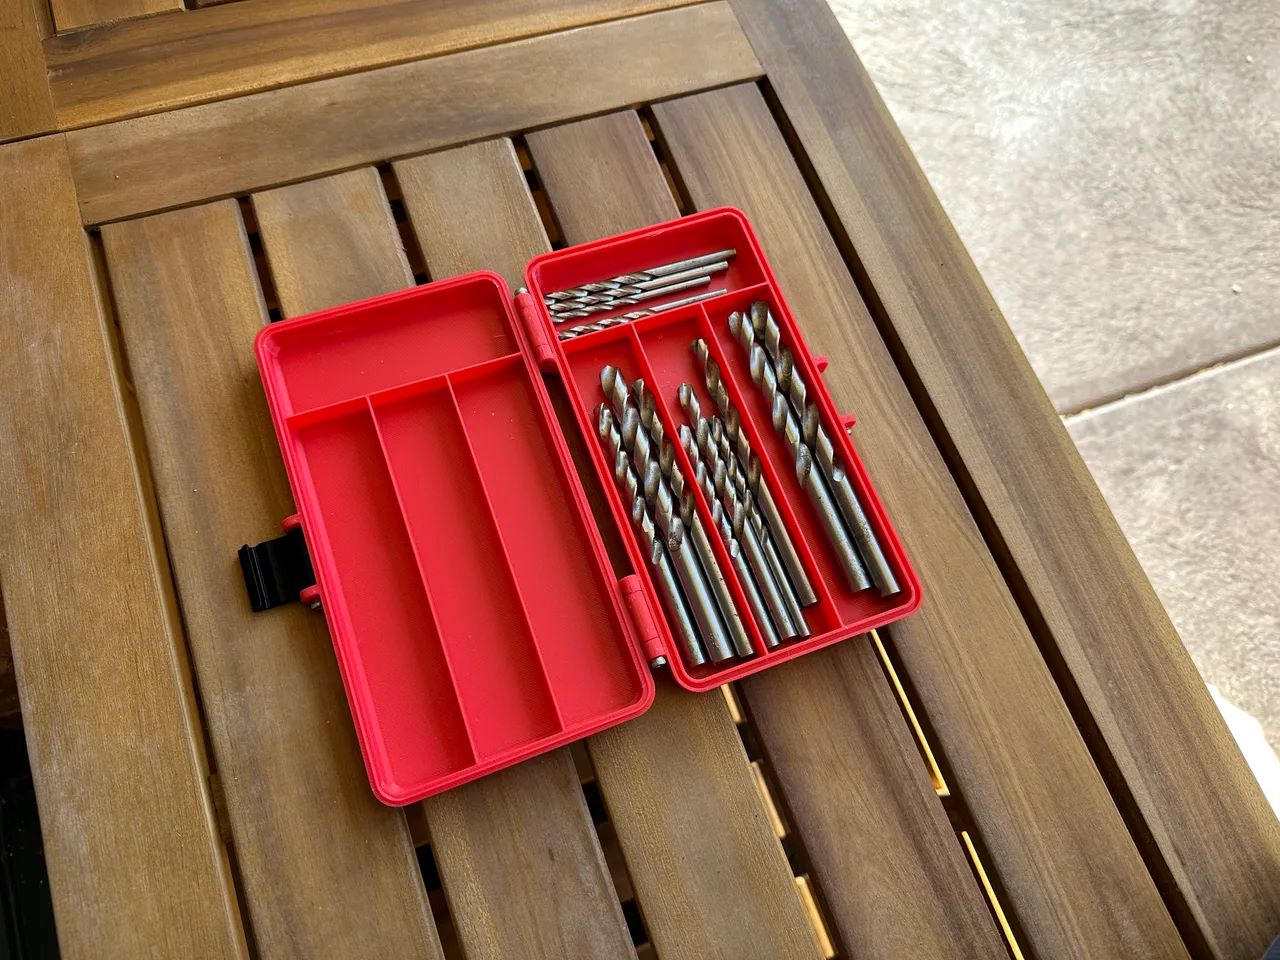
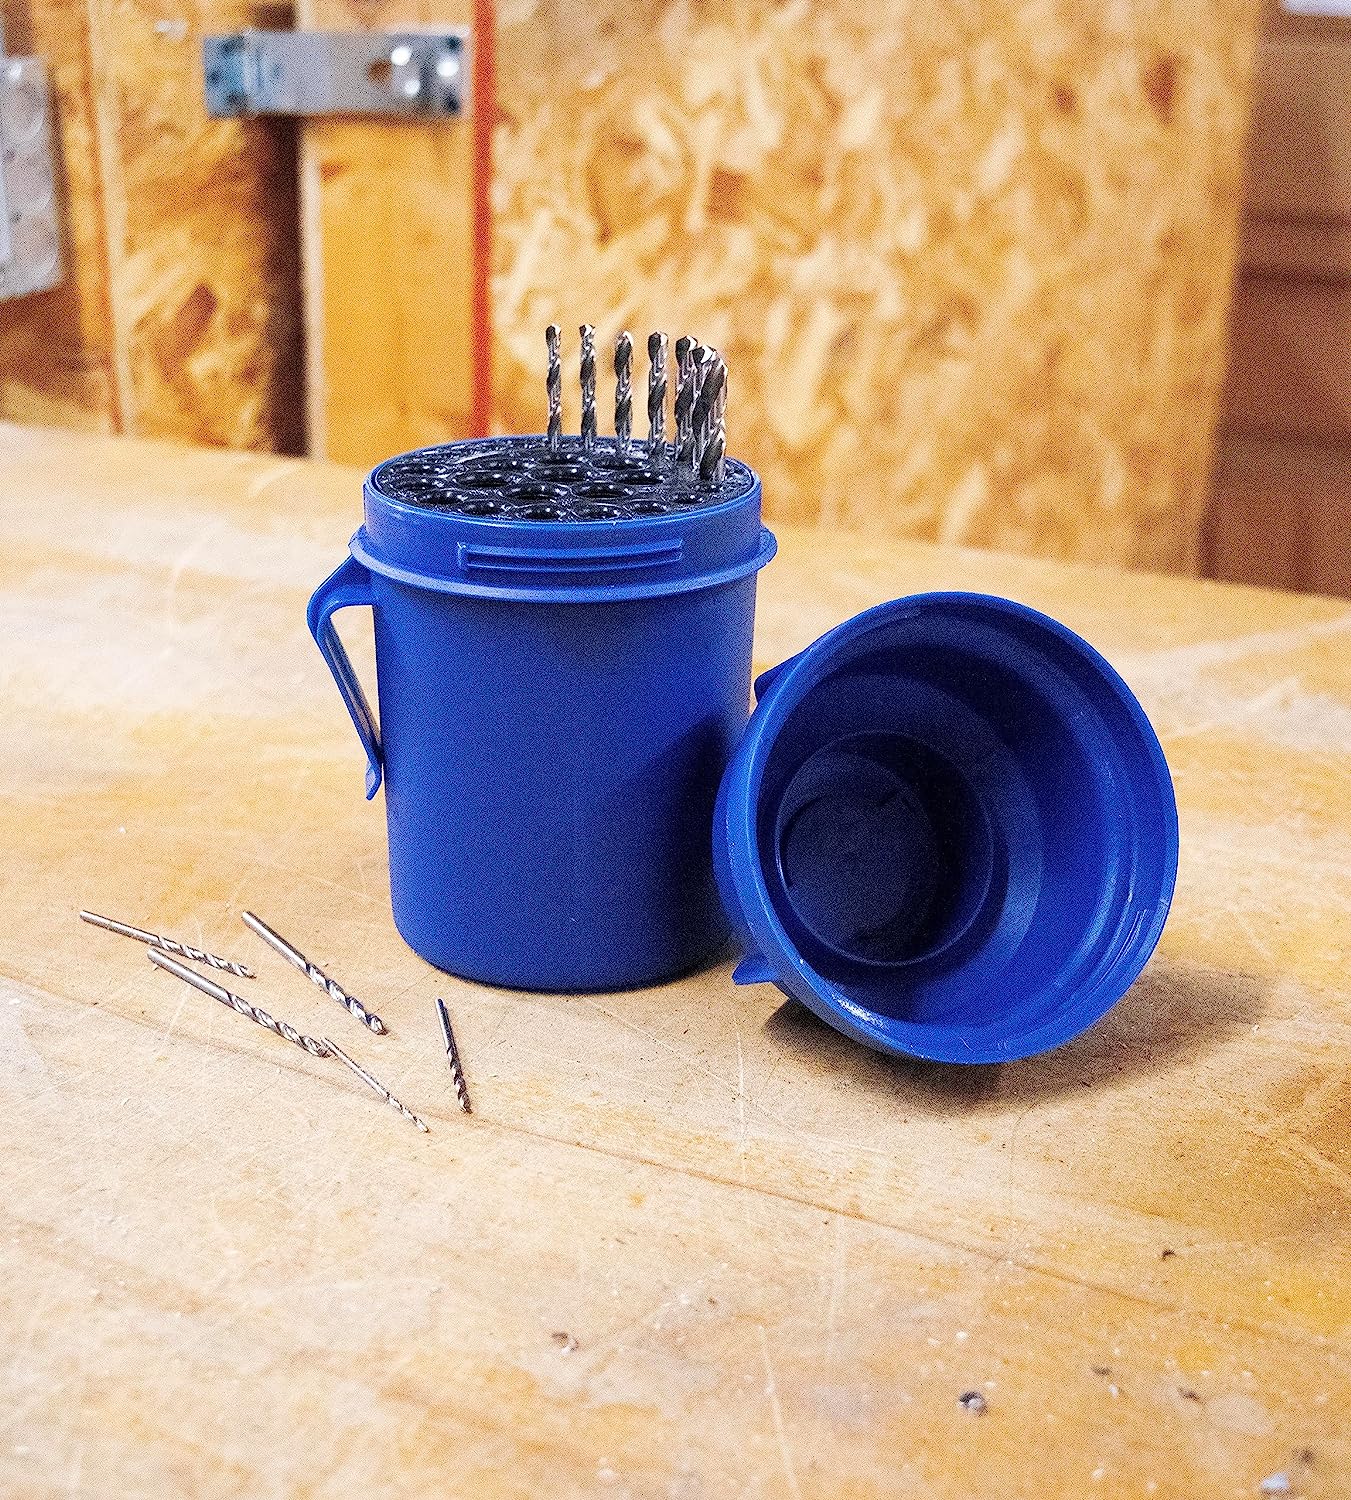
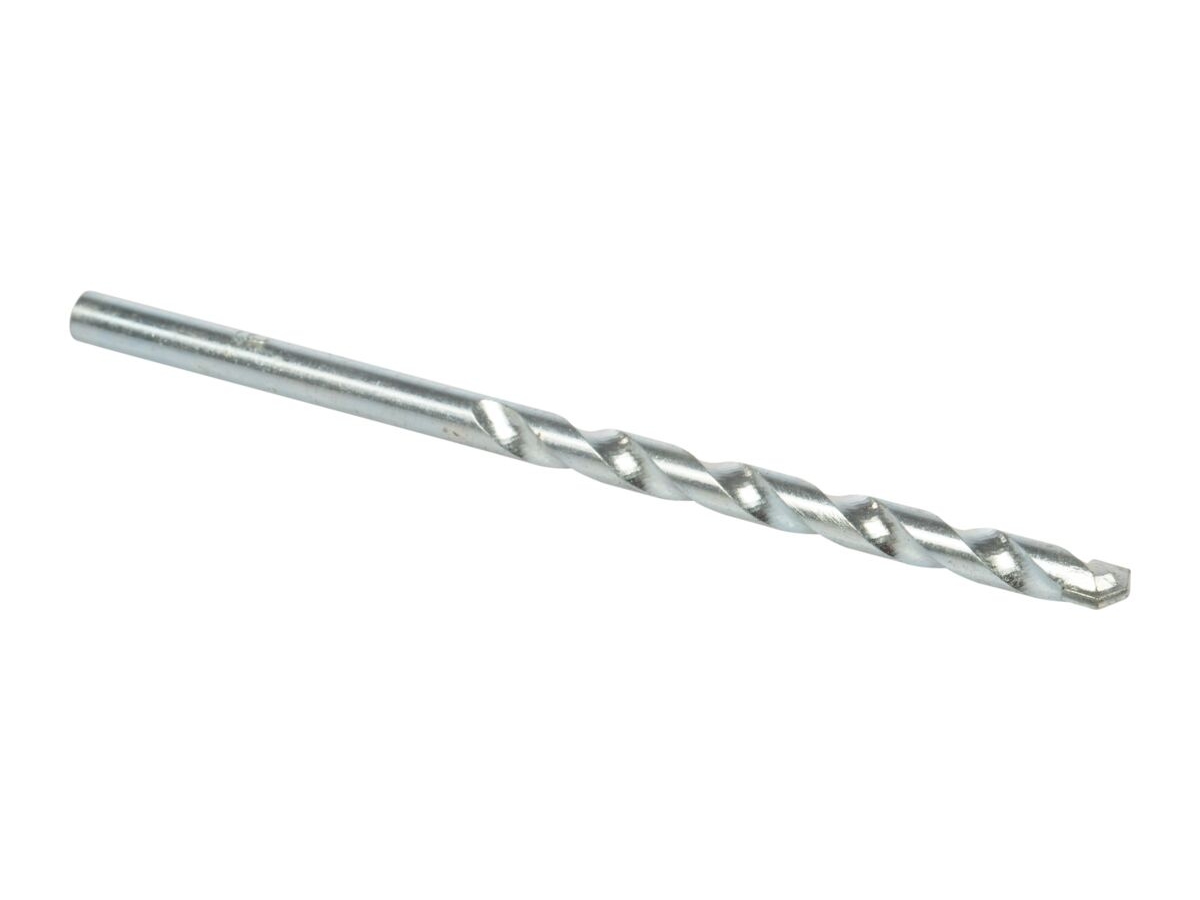
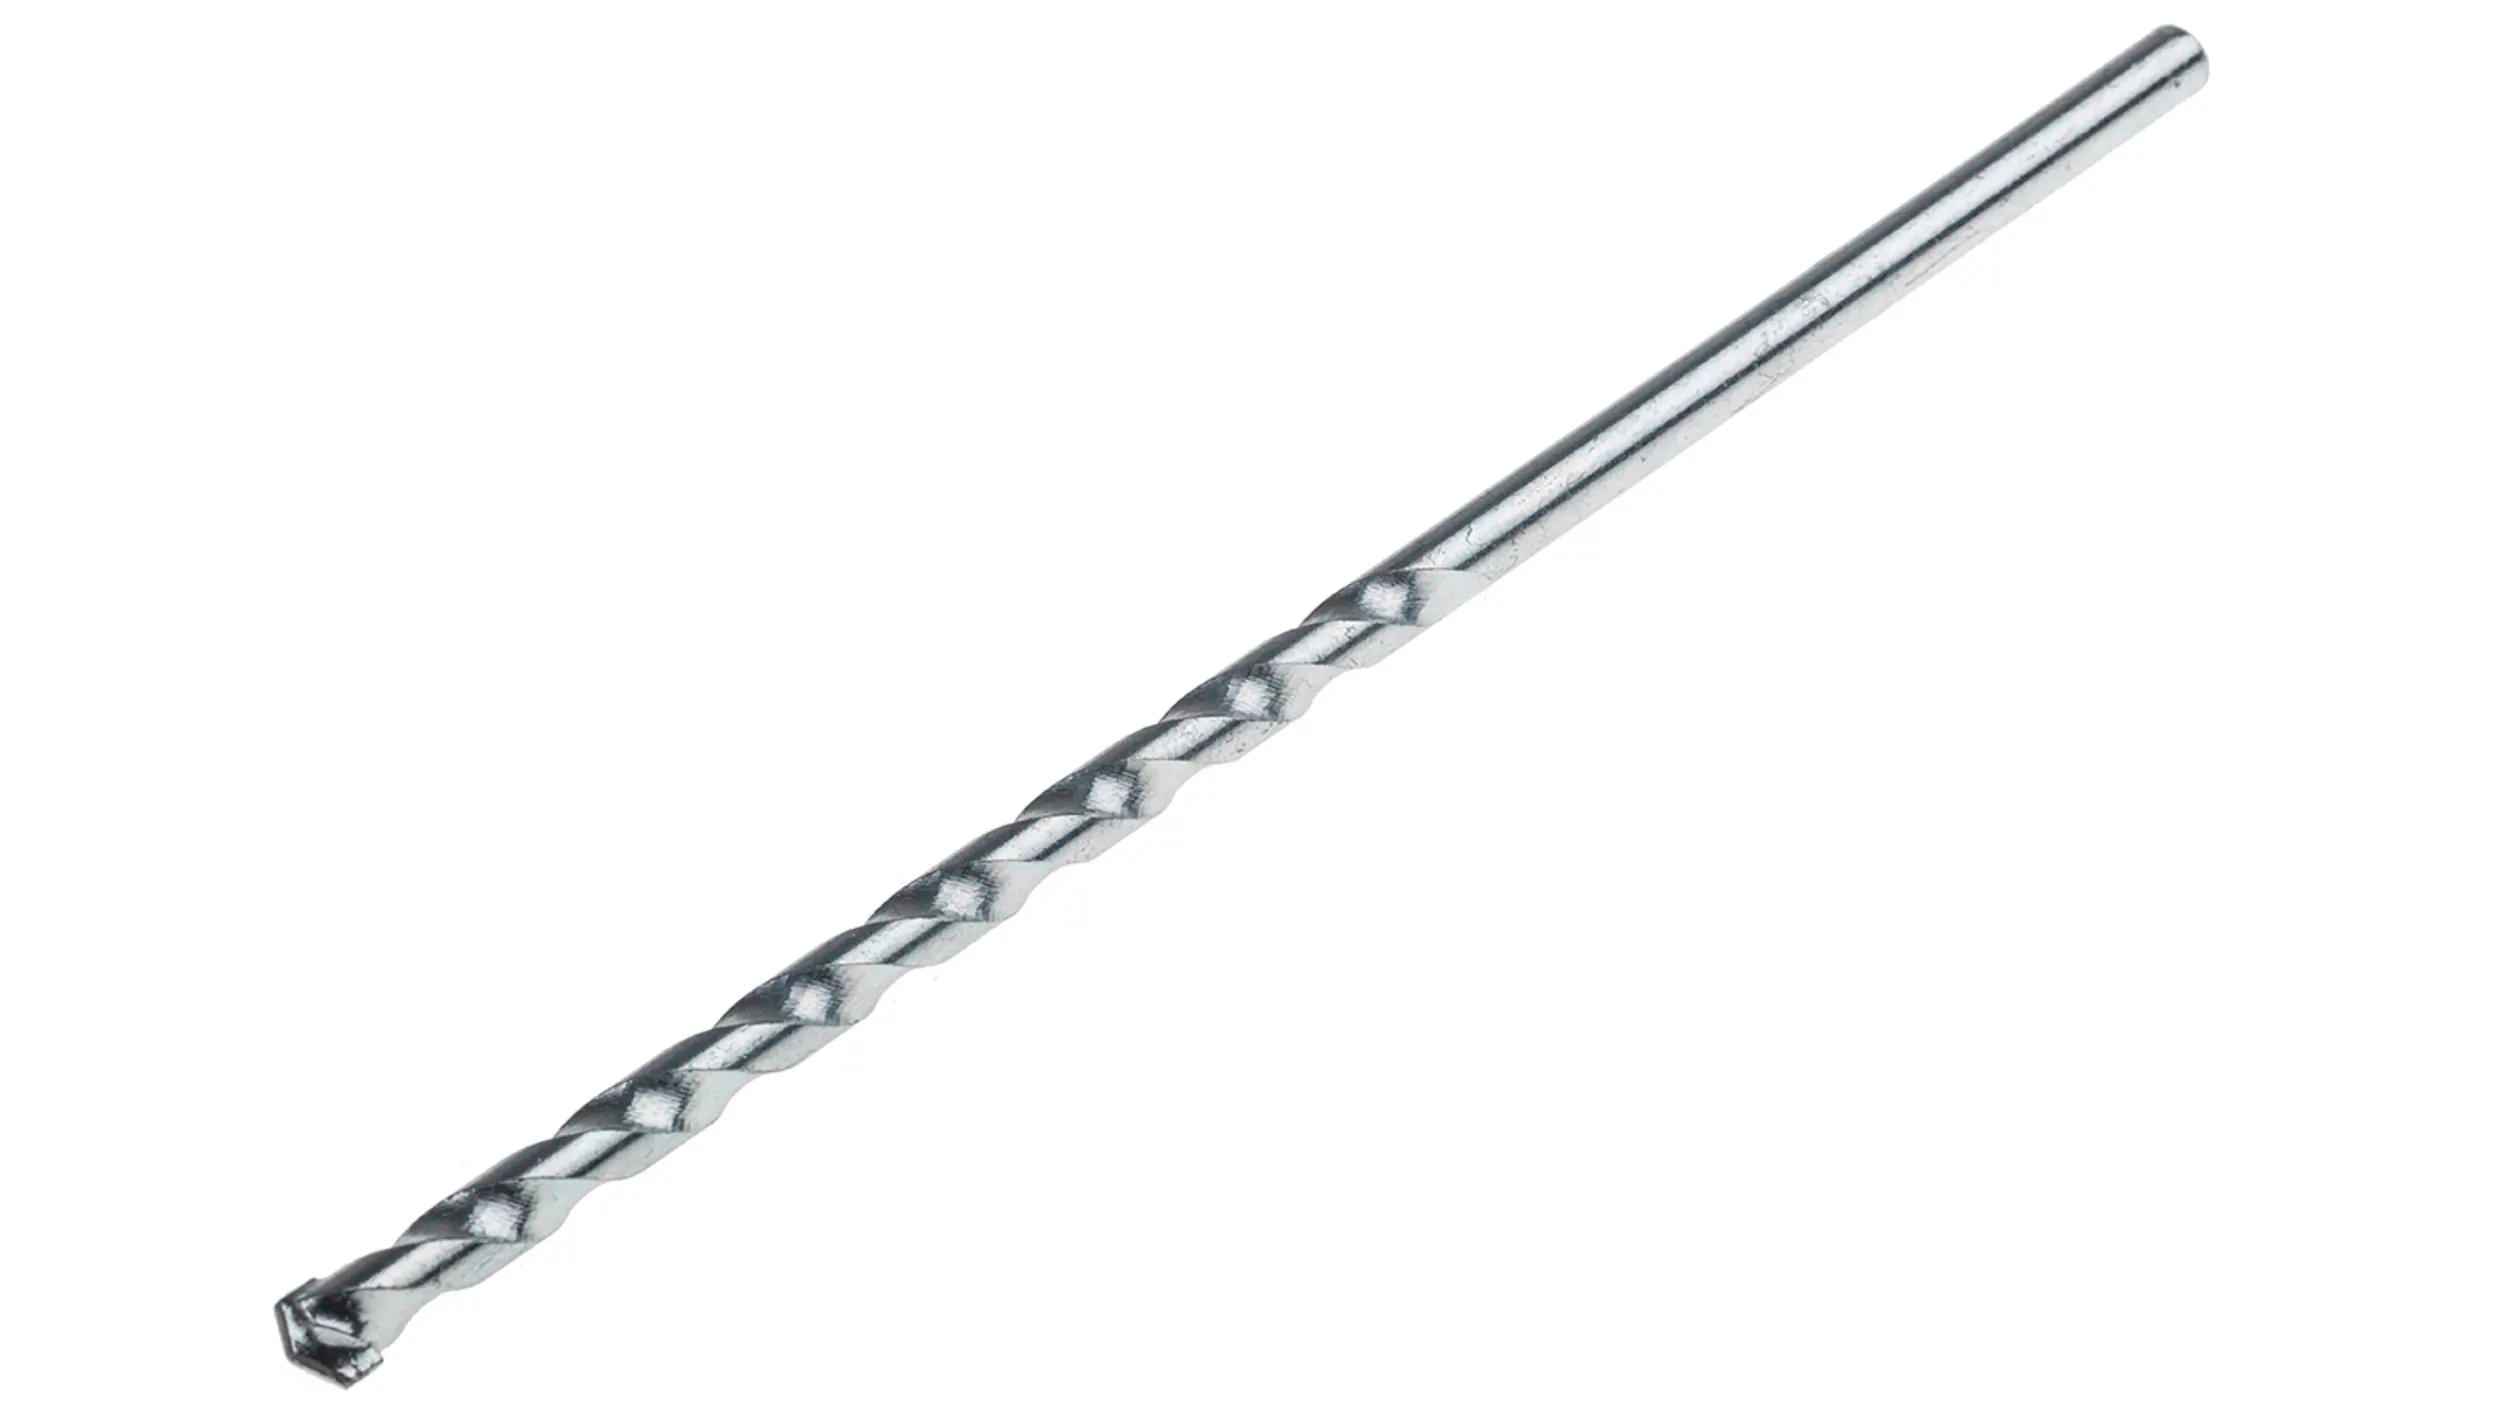
- Bit Type: Consider the type of bit you want to use. Ryobi drills are versatile and can accommodate various bit types, such as twist bits, spade bits, hole saws, or driver bits. Choose the appropriate bit for the task at hand.
- Bit Shank Size: Confirm that the shank size of the bit matches the chuck size of your Ryobi drill. Most drill bits have a standard 1/4-inch or 3/8-inch shank size, but it’s always best to double-check.
- Compatibility with Drill’s RPM: Different materials and bit types require different speeds to achieve optimal results. Ensure that your chosen bit is compatible with the recommended RPM (rotations per minute) of your Ryobi drill. This information can usually be found on the bit packaging or in the drill’s user manual.
By checking these compatibility factors, you can ensure that the drill and bit are suitable for each other, preventing any issues during the drilling process. Once you have confirmed compatibility, you can move on to preparing your Ryobi drill for bit insertion.
Preparing the Drill
Before inserting the bit into your Ryobi drill, there are a few steps you need to take to properly prepare the drill:
- Inspect the Drill: Examine your Ryobi drill for any visible damage or defects. Check the cord (if applicable) for fraying or exposed wires. If you notice any issues, do not proceed and seek professional assistance to repair or replace the drill.
- Clean the Chuck: Inspect the chuck for any debris, residue, or old bit that may still be lodged inside. Use a soft brush or cloth to clean any dirt or dust from the chuck jaws. It’s important to have a clean chuck for a secure and proper grip on the bit.
- Ensure Power Off: Confirm that your Ryobi drill is turned off and the power is disconnected. If you have a corded drill, unplug it from the power source. For cordless drills, remove the battery to prevent any accidental start-up during the bit insertion process.
- Select the Right Bit: Choose the appropriate bit for the task you wish to accomplish. Consider the material you’ll be drilling into and select the bit type and size accordingly. Having the right bit will ensure efficient and accurate drilling.
Now that your Ryobi drill is inspected, cleaned, and ready, it’s time to insert the bit. Properly inserting the bit in the drill will enable you to carry out your desired drilling or driving tasks smoothly and effectively. Let’s move on to the next step of inserting the bit.
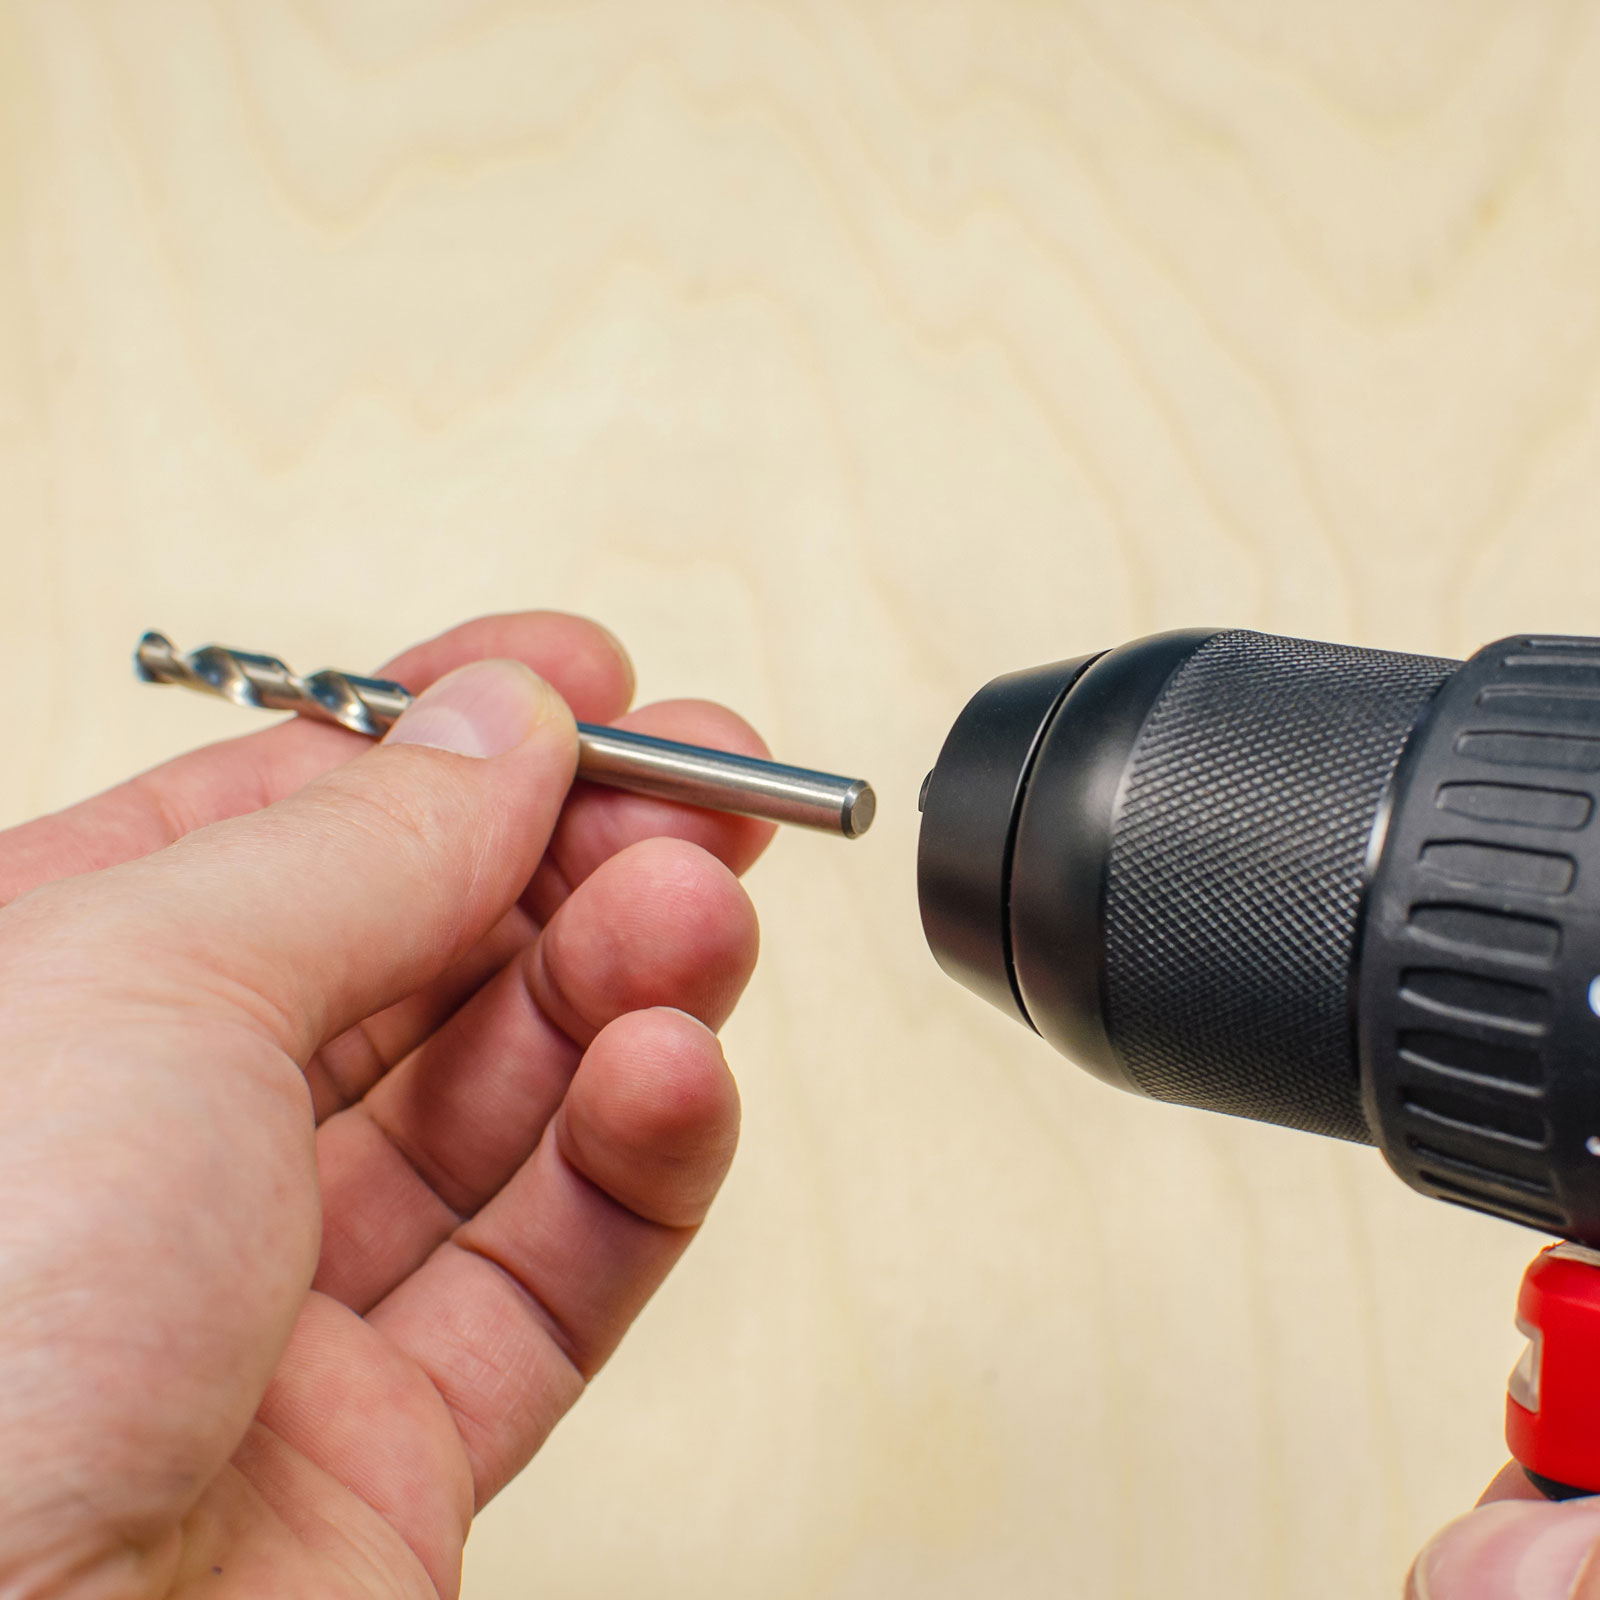
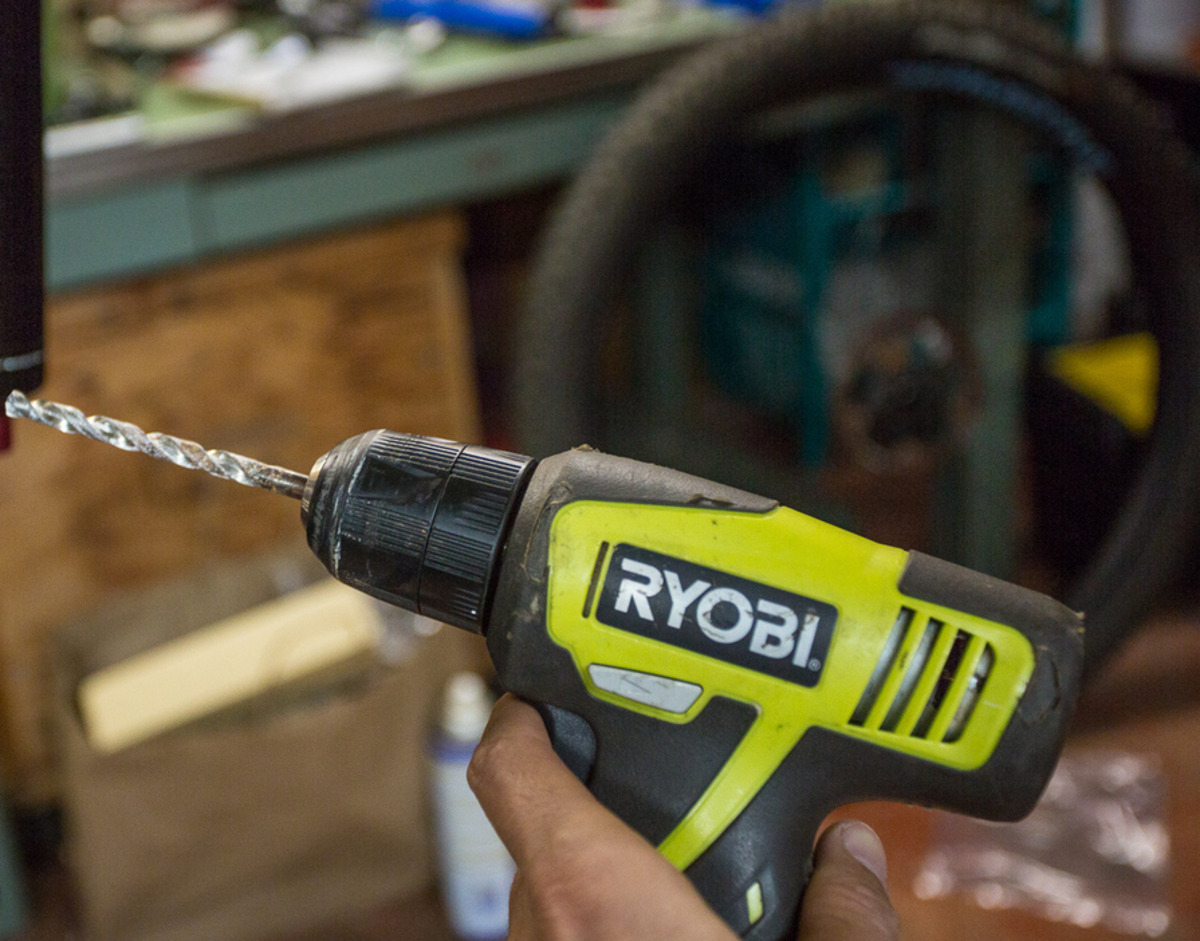
Inserting the Bit
Inserting the bit into your Ryobi drill is a straightforward process. Follow these steps to ensure a proper fit:
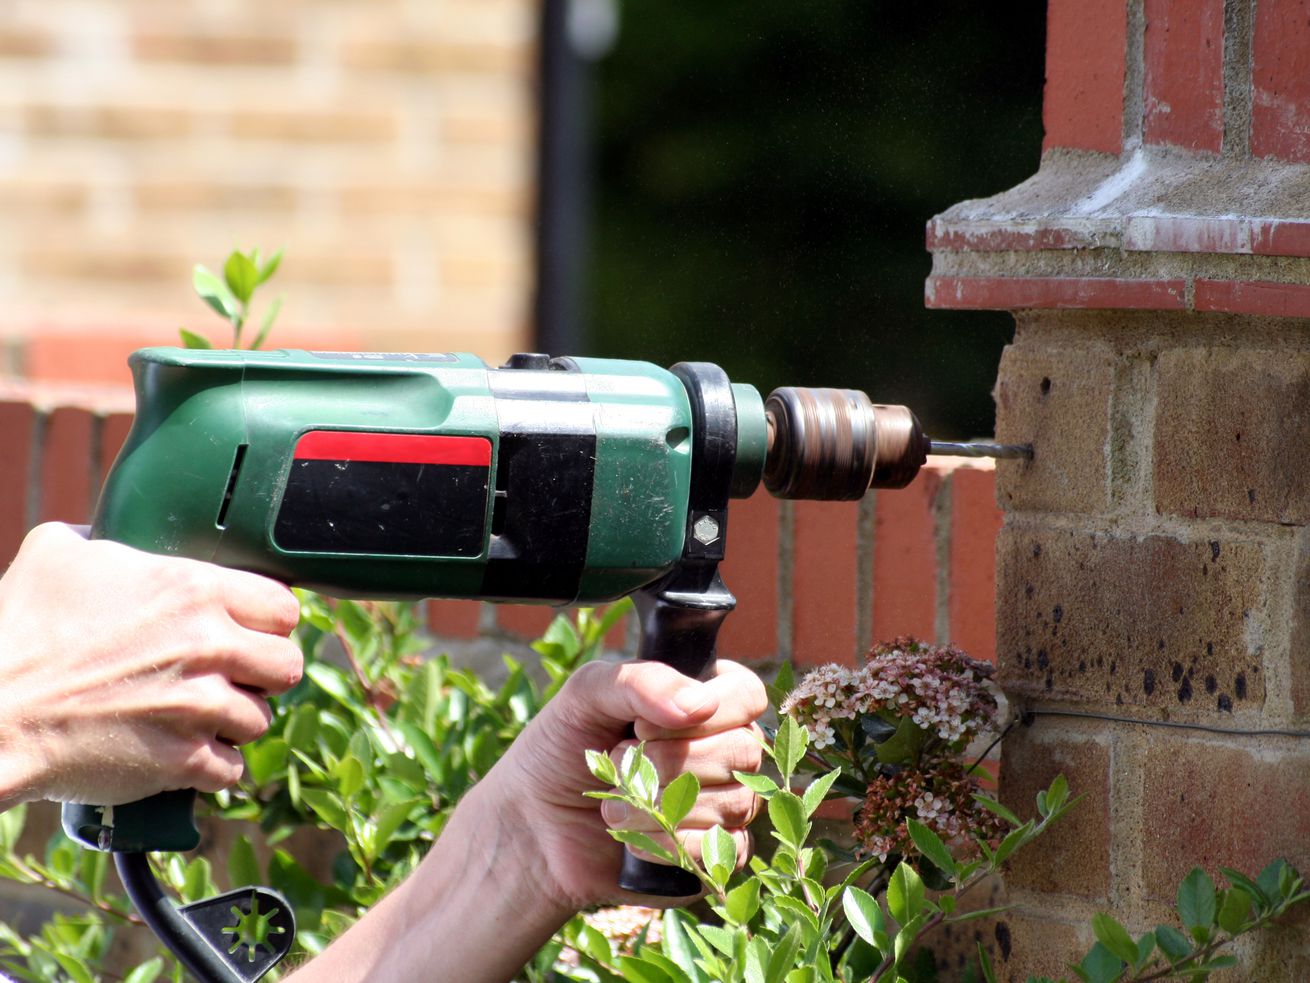
- Hold the Drill: Firmly grip the handle of your Ryobi drill with one hand, ensuring a secure and stable hold. Position your other hand near the chuck to control the movement during bit insertion.
- Open the Chuck: Most Ryobi drills feature a keyless chuck, which means you can open and close it by hand. To open the chuck, rotate it counterclockwise. This will loosen the jaws, allowing you to insert the bit.
- Align the Bit: Align the bit with the open jaws of the chuck. Ensure that the shank of the bit is straight and properly positioned in the center of the chuck.
- Insert the Bit: Gently push the bit into the chuck, making sure it goes all the way in until it reaches the bottom. Apply moderate pressure and ensure that the bit is fully seated in the chuck.
- Close the Chuck: Once the bit is inserted, tighten the chuck by rotating it clockwise. Turn it until it is securely tightened around the bit. You can use your hand to tighten it firmly, but be careful not to overtighten, as it may cause damage to the chuck or bit.
By following these steps, you can safely and effectively insert the bit into your Ryobi drill. Once the bit is properly secured, you are ready to move on to the next step of ensuring its stability.
Please note: In case you’re using a Ryobi drill with a key-style chuck, you would need to use the appropriate key to open and close the chuck jaws before inserting the bit. Refer to your drill’s user manual for specific instructions on operating the key-style chuck.
When putting a bit in a Ryobi drill, make sure the drill is turned off and the chuck is fully open. Insert the bit into the chuck and tighten it securely using the chuck key or by hand. Always double-check that the bit is securely in place before using the drill.
Read more: How To Change Ryobi Drill Bit
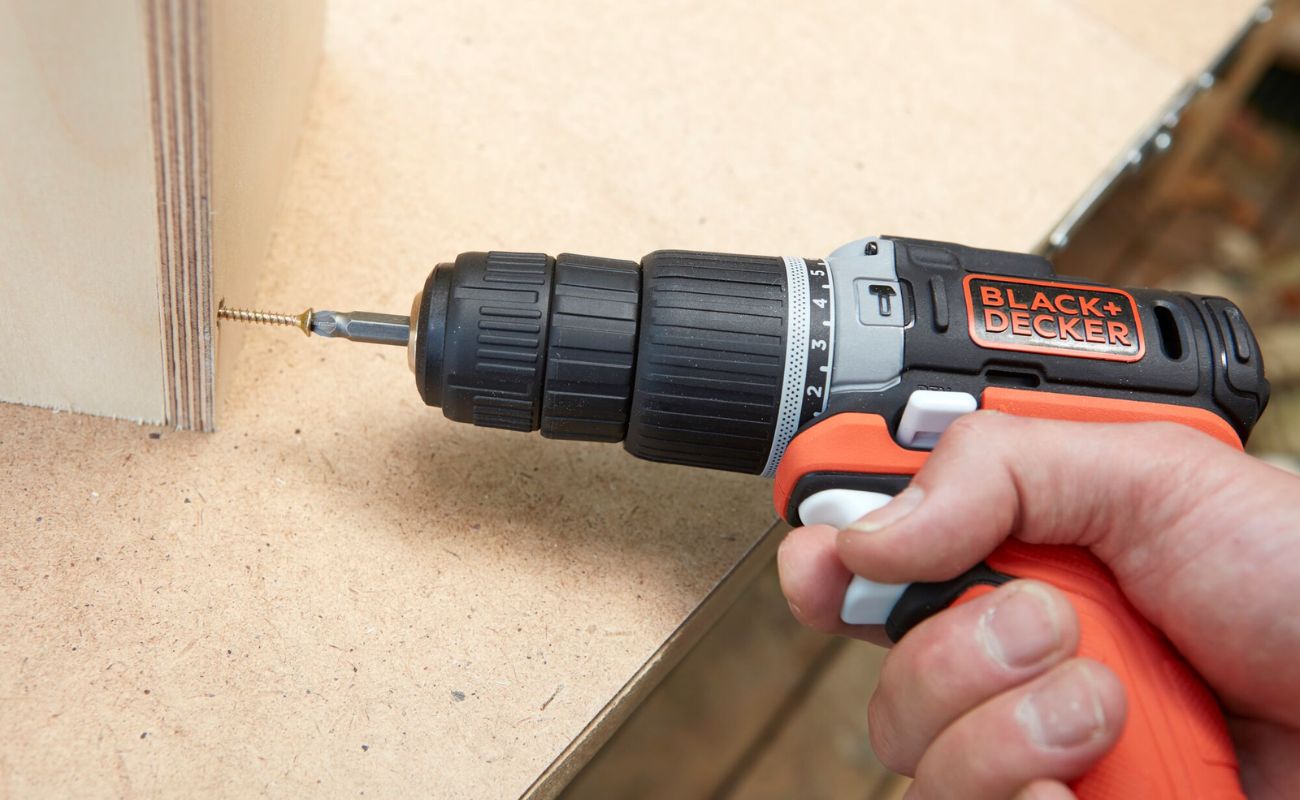
Securing the Bit
After inserting the bit into your Ryobi drill, it is essential to secure it properly to ensure stability during operation. Follow these steps to secure the bit:
- Tighten the Chuck: Using your hand, firmly rotate the chuck clockwise to tighten it further around the bit. Make sure to tighten it securely, but avoid over-tightening, as it may damage the chuck or the bit. A properly tightened chuck will prevent the bit from coming loose during drilling.
- Double-Check the Tightness: After tightening the chuck by hand, give it an extra twist to confirm that the bit is secure. Holding the drill with one hand, gently hold the bit in place with the other hand, and try to rotate it. If there is any movement or play, tighten the chuck further until the bit is firmly held in place.
- Test the Stability: Before proceeding with your drilling or driving tasks, it is recommended to give the bit a quick test to ensure its stability. Hold the drill firmly and engage the trigger button or switch momentarily to rotate the bit at a low speed. Observe if the bit wobbles or remains stable. If there is any instability, stop the drill and recheck the tightness of the chuck.
Properly securing the bit in your Ryobi drill is crucial for safe and efficient drilling. By following these steps, you can ensure that the bit remains stable during use, allowing you to perform your tasks accurately and with confidence.
Now that you have secured the bit, it’s time to move on to the next step of testing the bit to ensure smooth operation.
Testing the Bit
Testing the bit after securing it in your Ryobi drill is an important step to ensure its smooth operation. Here’s how you can test the bit:
- Select the Correct Settings: Before testing the bit, make sure that your Ryobi drill is set to the appropriate speed and torque settings for your specific task. Refer to the drill’s user manual for guidance on selecting the correct settings.
- Position the Drill: Hold the drill with a firm grip and position it over the workpiece or material you intend to drill into. Make sure you have a stable stance and a clear line of sight to the drilling area.
- Engage the Trigger: Slowly engage the trigger button or switch to start the drill. Begin with a low speed and gradually increase if necessary. Observe the bit as it rotates, ensuring that it spins smoothly and without any wobbling or excessive vibration.
- Listen for Unusual Noises: Pay attention to any unusual sounds coming from the drill or bit during testing. Grinding noises, squeaks, or rattling sounds could indicate an issue with the bit or the drill itself. If you notice any concerning noises, stop the drill immediately and investigate the cause.
- Monitor the Drilling Performance: While testing the bit, monitor how effectively it drills into the material. Assess if it is making clean and precise holes, or if it is struggling or leaving rough finishes. Adjust the speed and pressure as needed to optimize drilling performance.
By testing the bit in your Ryobi drill, you can ensure that it is functioning properly and capable of carrying out the desired drilling or driving tasks. If you encounter any issues during the testing phase, such as instability, unusual noises, or poor performance, consider reassessing the bit’s compatibility and the drill’s settings.
If the testing stage goes smoothly and the bit performs as expected, you are ready to proceed with your drilling or driving tasks. Just remember to always wear appropriate safety gear and follow safe operating procedures while using the Ryobi drill with the inserted bit.
Removing the Bit
When you are finished using a bit in your Ryobi drill, it is important to know how to properly remove it. Here are the steps to safely remove a bit from your drill:
- Power Off: Before removing the bit, turn off the power to your Ryobi drill and disconnect it from the power source. If you have a cordless drill, remove the battery to ensure complete disconnection.
- Release the Chuck: Depending on the type of chuck your Ryobi drill has, there are different methods to release it:
- Keyless Chuck: For keyless chucks, hold onto the chuck with one hand and rotate it counterclockwise to release the jaws. Keep rotating until the jaws are fully open.
- Key-Style Chuck: If your Ryobi drill has a key-style chuck, locate the chuck key that came with your drill. Insert the key into one of the small holes on the side of the chuck and turn it counterclockwise to loosen the jaws and release the bit.
- Remove the Bit: Once the chuck is released, you can simply pull the bit out of the chuck jaws. Gently wiggle and pull on the bit to remove it completely from the chuck.
- Inspect the Bit and Chuck: Take a moment to inspect the bit and chuck for any signs of damage or excessive wear. Look for any debris or residue on the chuck jaws and clean them if necessary. Likewise, check the bit for any signs of dullness or damage. If the bit is worn out or damaged, consider replacing it before your next use.
With the bit successfully removed from your Ryobi drill, you can safely store it or replace it with a new bit, depending on your needs. Properly maintaining and cleaning your drill and bits will ensure their longevity and optimal performance.
Remember, safety should always be a top priority when handling power tools. Following these steps will help you safely remove the bit from your Ryobi drill, reducing the risk of accidents or injuries.
Conclusion
Putting a bit in your Ryobi drill is a fundamental skill for any DIY enthusiast or professional tradesperson. By following the steps outlined in this guide, you can safely and effectively insert, secure, and remove bits from your drill, allowing you to tackle a wide range of drilling and driving tasks with confidence.
Remember, before beginning any work with your Ryobi drill, it is important to prioritize safety. Always wear appropriate personal protective equipment and ensure the work area is clean and clutter-free. Familiarize yourself with the user manual of your drill and follow the manufacturer’s guidelines for operation.
When checking the compatibility of your drill and bit, consider the chuck type, size, bit type, and RPM compatibility. Taking the time to verify these factors will ensure a proper fit and optimal performance.
Properly preparing the drill by inspecting, cleaning, and selecting the right bit sets a solid foundation for successful drilling. When inserting the bit, ensure it is aligned, inserted fully, and the chuck is tightened securely.
Securing the bit is crucial for stability during operation. Tightening the chuck properly and performing a quick stability test will give you the assurance that the bit is securely held in place.
Once the bit is secured, testing its smooth operation and monitoring drilling performance will confirm its suitability for the task at hand. Listen for any unusual noises and adjust the drill settings as necessary.
When finished with your drilling tasks, follow the proper steps to remove the bit. Power off the drill, release the chuck, and safely remove the bit. Take a moment to inspect the bit and chuck for any damage or wear and clean them if needed.
In conclusion, knowing how to put a bit in your Ryobi drill is essential for successful drilling and driving operations. By following the steps outlined in this guide and prioritizing safety, you can confidently use your Ryobi drill to accomplish a wide range of tasks. Happy drilling!
Frequently Asked Questions about How To Put Bit In Ryobi Drill
Was this page helpful?
At Storables.com, we guarantee accurate and reliable information. Our content, validated by Expert Board Contributors, is crafted following stringent Editorial Policies. We're committed to providing you with well-researched, expert-backed insights for all your informational needs.
0 thoughts on “How To Put Bit In Ryobi Drill”