Articles
How To Remove Bit From Ryobi Drill
Modified: December 7, 2023
Learn how to remove a bit from your Ryobi drill with this helpful articles. Find step-by-step instructions and tips to ensure a hassle-free process.
(Many of the links in this article redirect to a specific reviewed product. Your purchase of these products through affiliate links helps to generate commission for Storables.com, at no extra cost. Learn more)
Introduction
Welcome to this comprehensive guide on how to remove a bit from a Ryobi drill. Whether you’re a DIY enthusiast or a professional contractor, you’ll likely encounter scenarios where you need to switch out your drill bit. Knowing how to properly remove a bit from your Ryobi drill will save you time and frustration, allowing you to efficiently tackle your projects.
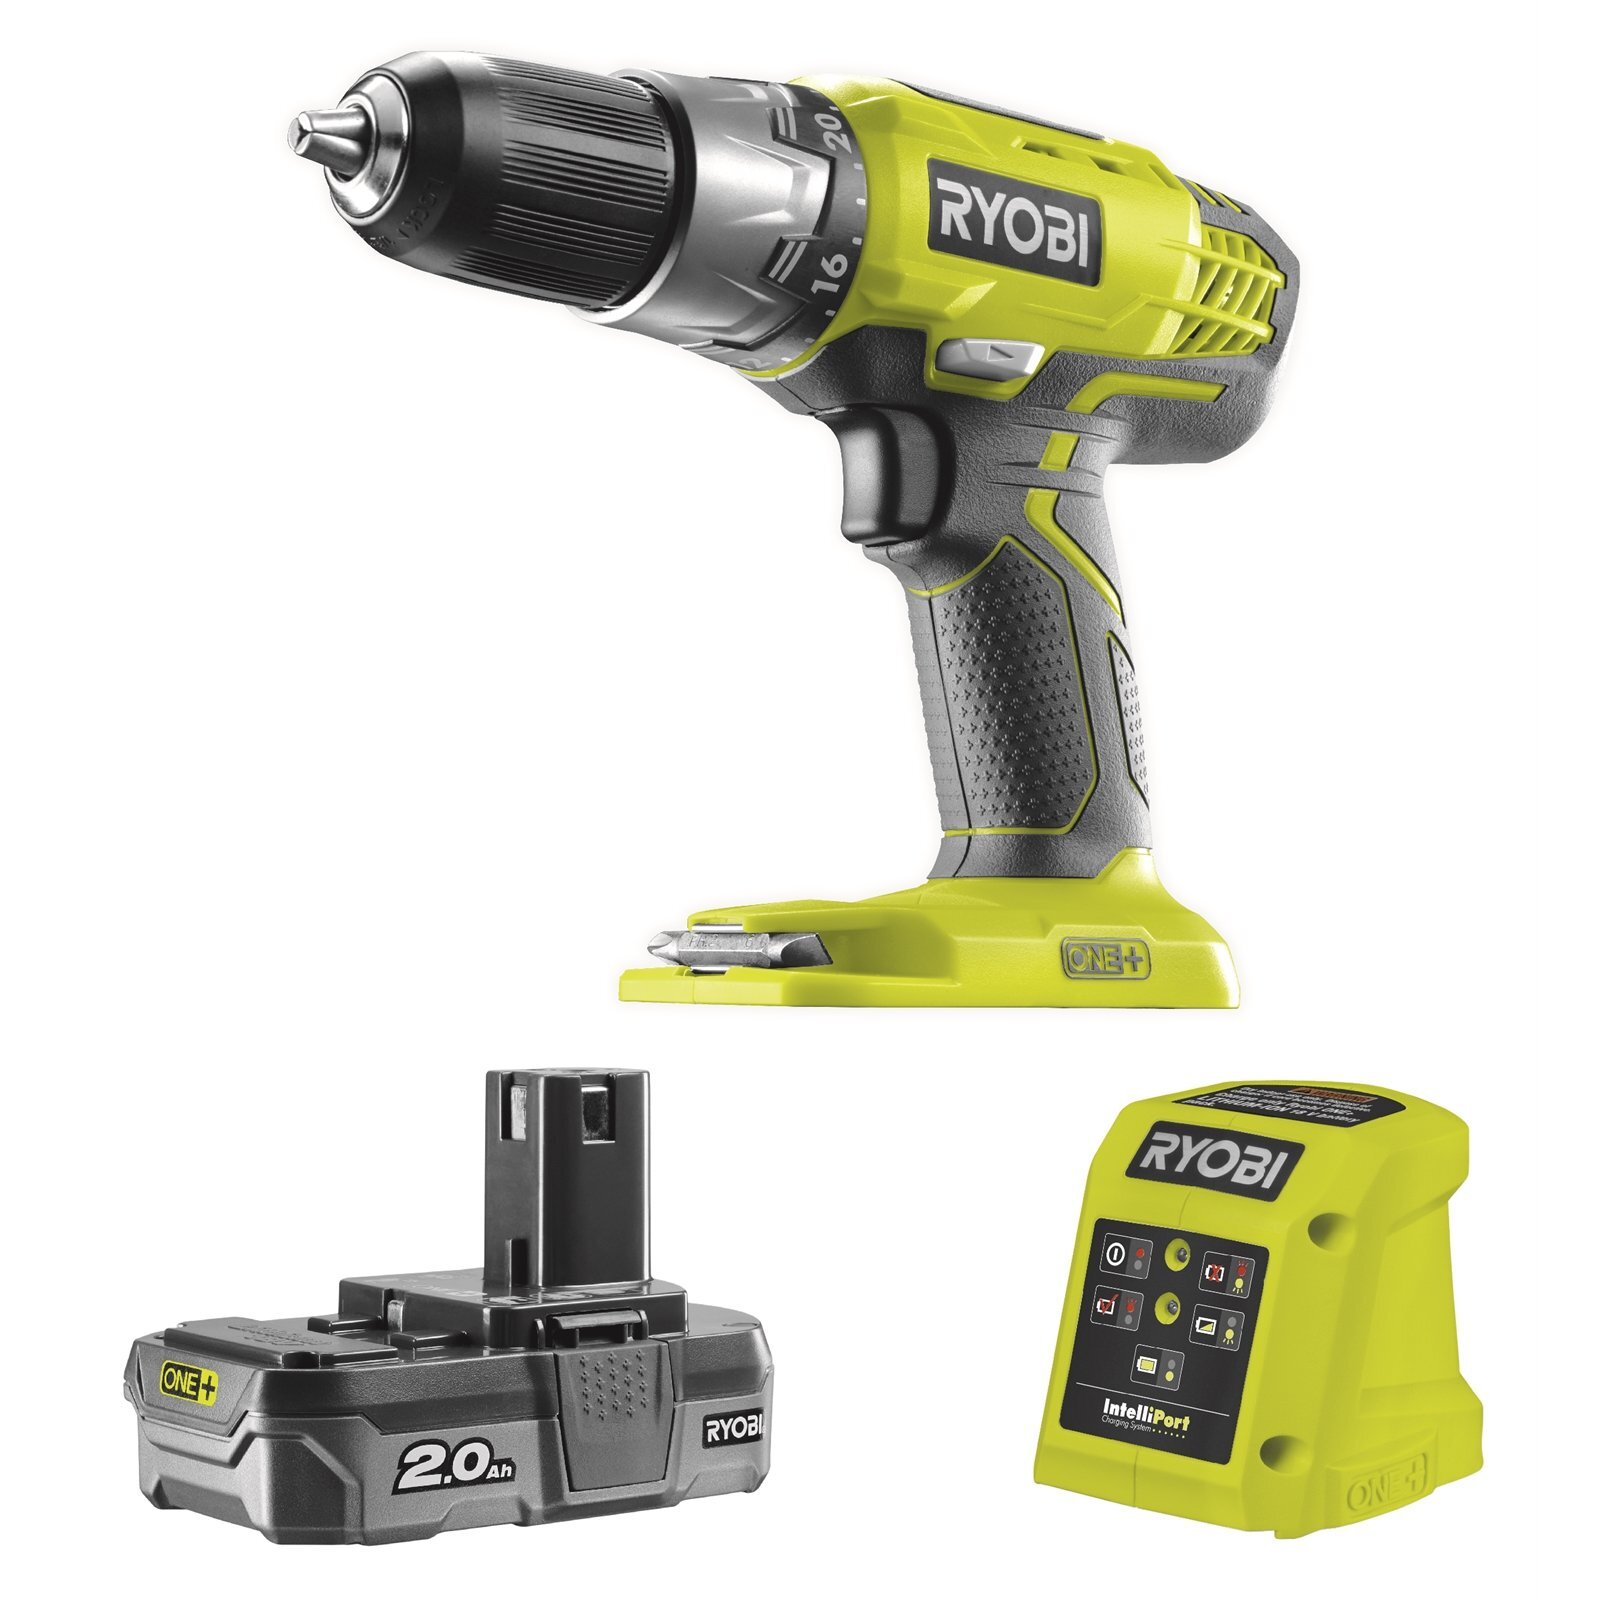
Ryobi drills are known for their durability, reliability, and ease of use. With a wide range of models available, it’s essential to familiarize yourself with the correct procedure for removing bits to ensure safe and efficient operation.
In this article, we will walk you through the step-by-step process of removing a bit from your Ryobi drill. We will also provide safety precautions, a list of tools and materials needed, and additional tips to enhance your experience. So, let’s get started!
Key Takeaways:
- Prioritize safety by wearing protective gear, preparing the drill, and following the recommended safety precautions when removing a bit from your Ryobi drill. This ensures a safe and successful experience.
- Regular cleaning and maintenance tasks after removing the bit will prolong the life of your Ryobi drill and ensure smooth and efficient operation for future projects.
Read more: How To Put Bit In Ryobi Drill
Safety Precautions
Before diving into the process of removing a bit from your Ryobi drill, it’s crucial to prioritize your safety. Here are some essential safety precautions to keep in mind:
- Always wear protective gear such as safety goggles, gloves, and ear protection to prevent any potential injuries.
- Ensure that the drill is turned off and unplugged before attempting to remove the bit.
- Work in a well-ventilated area to prevent inhaling any dust or fumes that may be generated during the process. If necessary, wear a respirator mask.
- Keep your fingers away from the chuck and moving parts of the drill to avoid pinching or crushing injuries.
- If you’re unsure about any step in the process or encounter any difficulties, consult the user manual or seek professional assistance.
By following these safety precautions, you can minimize the risk of accidents and ensure a safe working environment while removing a bit from your Ryobi drill.
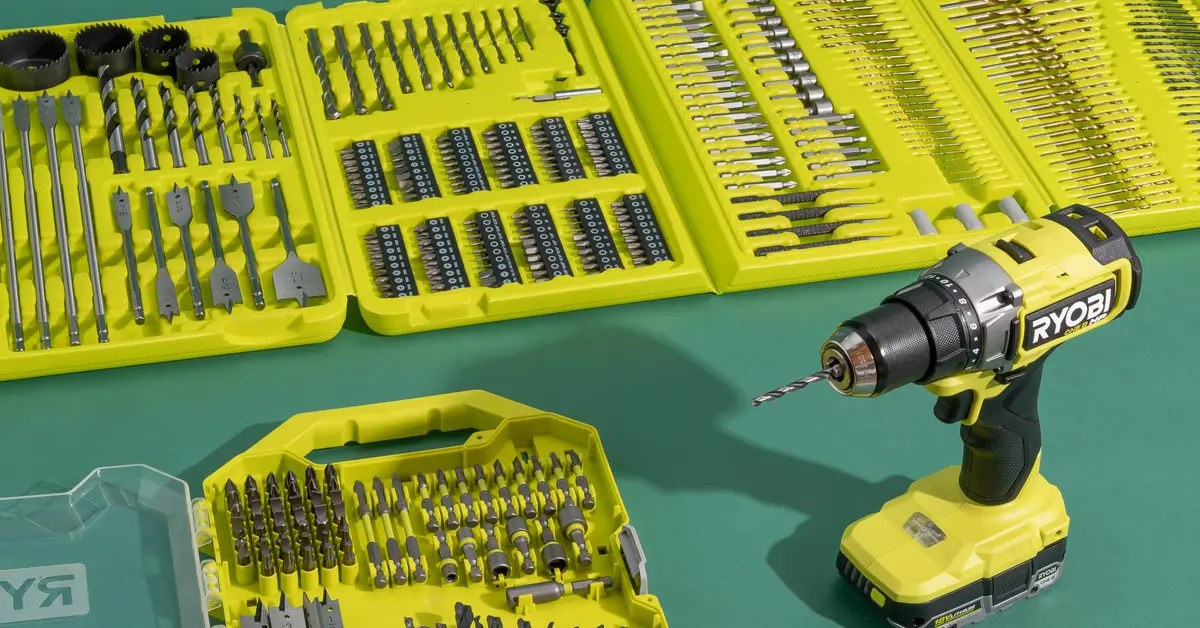
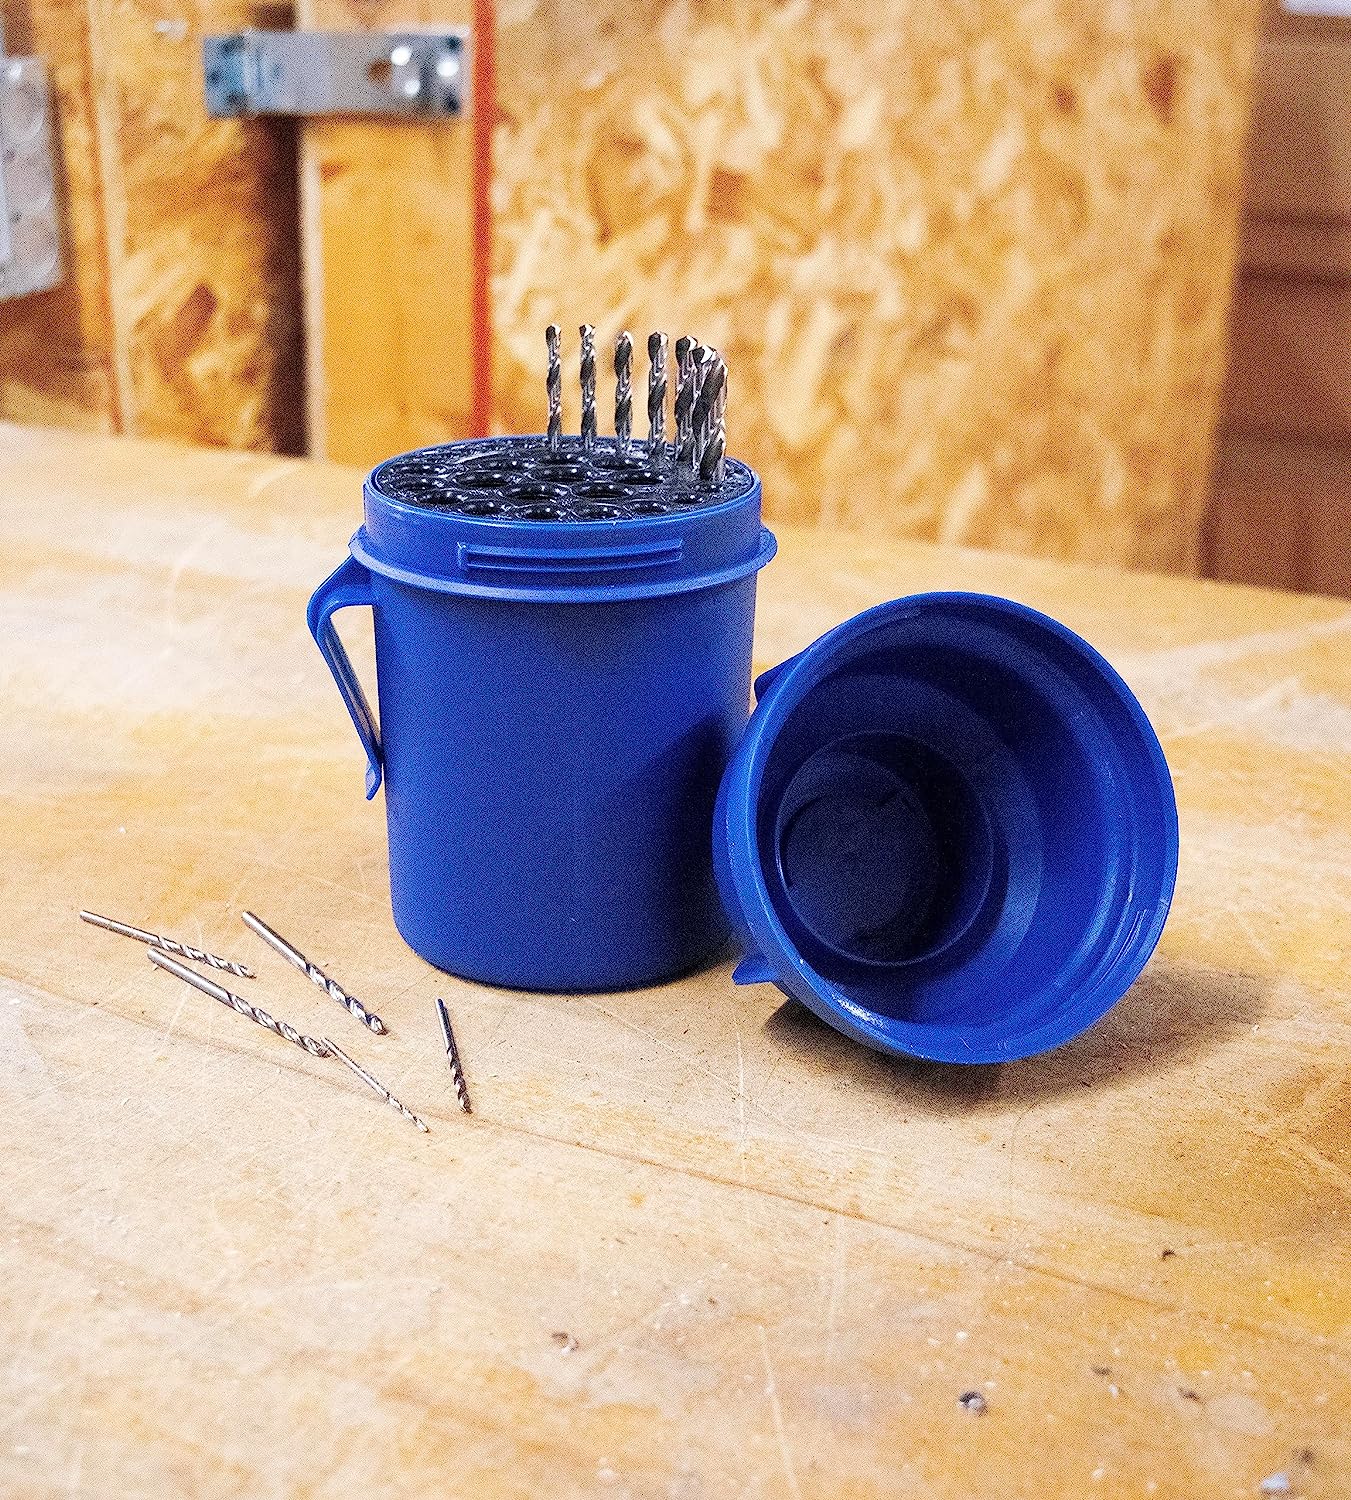
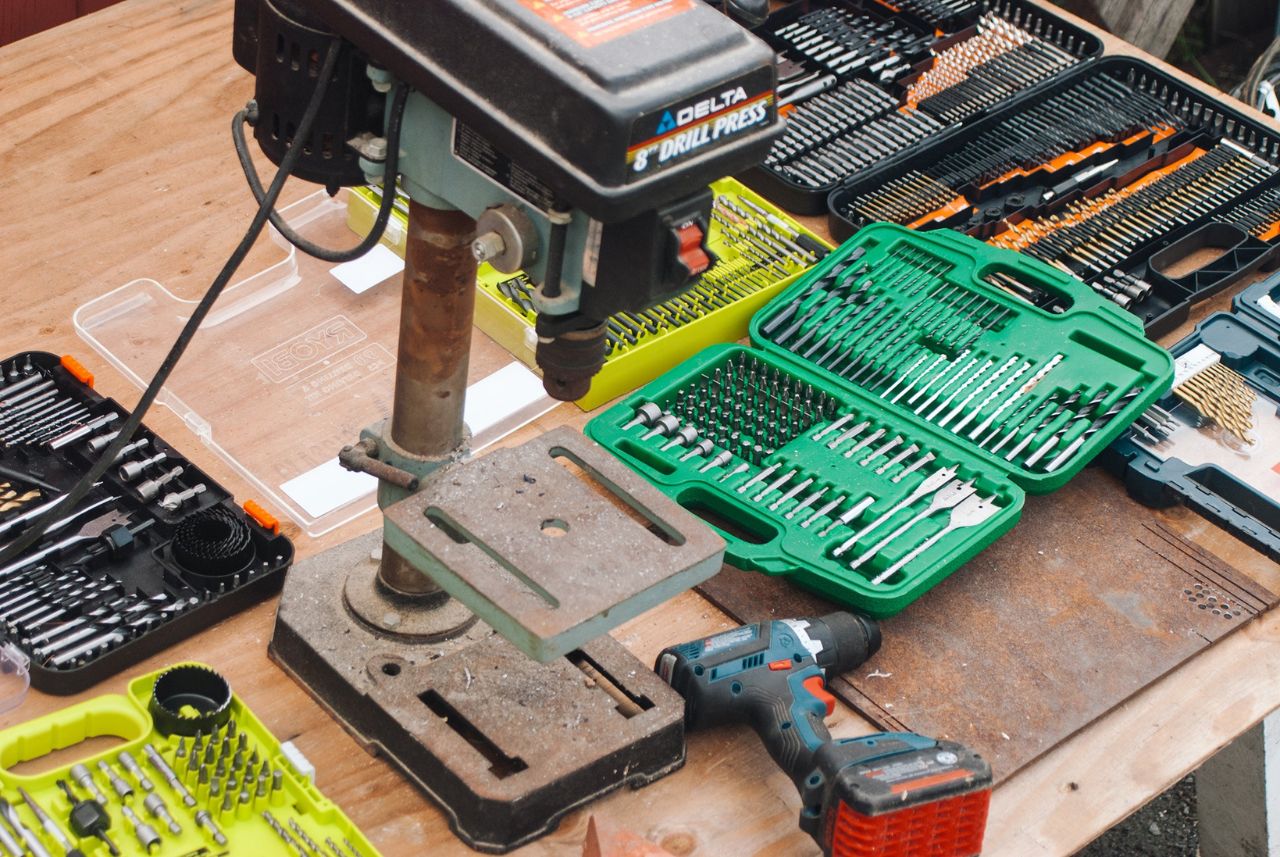
Tools and Materials Needed
Before you begin removing a bit from your Ryobi drill, gather the following tools and materials:
- Adjustable wrench
- Allen wrench or screwdriver (depending on the drill model)
- Soft cloth or towel
- Optional: lubricating oil or silicone-based lubricant
Having these tools prepared and within reach will make the process smoother and more efficient.
Step 1: Preparing the Drill
Before you can proceed with removing the bit from your Ryobi drill, it’s important to properly prepare the drill. Follow these steps:
- Ensure that the drill is turned off and unplugged from any power source.
- If your Ryobi drill has a battery, remove it to prevent accidental activation.
- Clean the drill body and chuck using a soft cloth or towel. This will remove any debris or dirt that may interfere with the bit removal process.
- If your drill has a built-in LED light, turn it on to illuminate the work area for better visibility.
By taking the time to prepare your drill properly, you set the stage for successful bit removal and reduce the risk of any mishaps during the process.
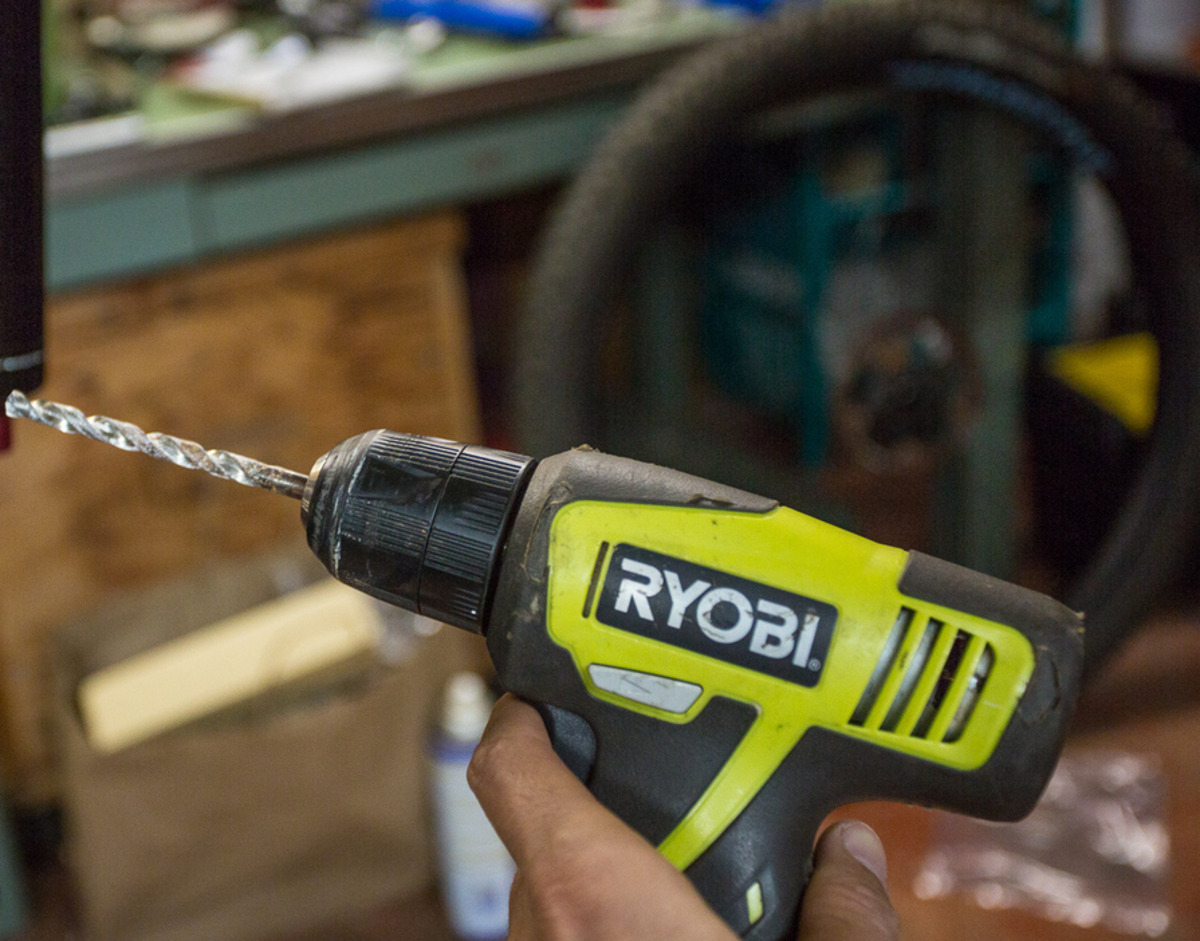
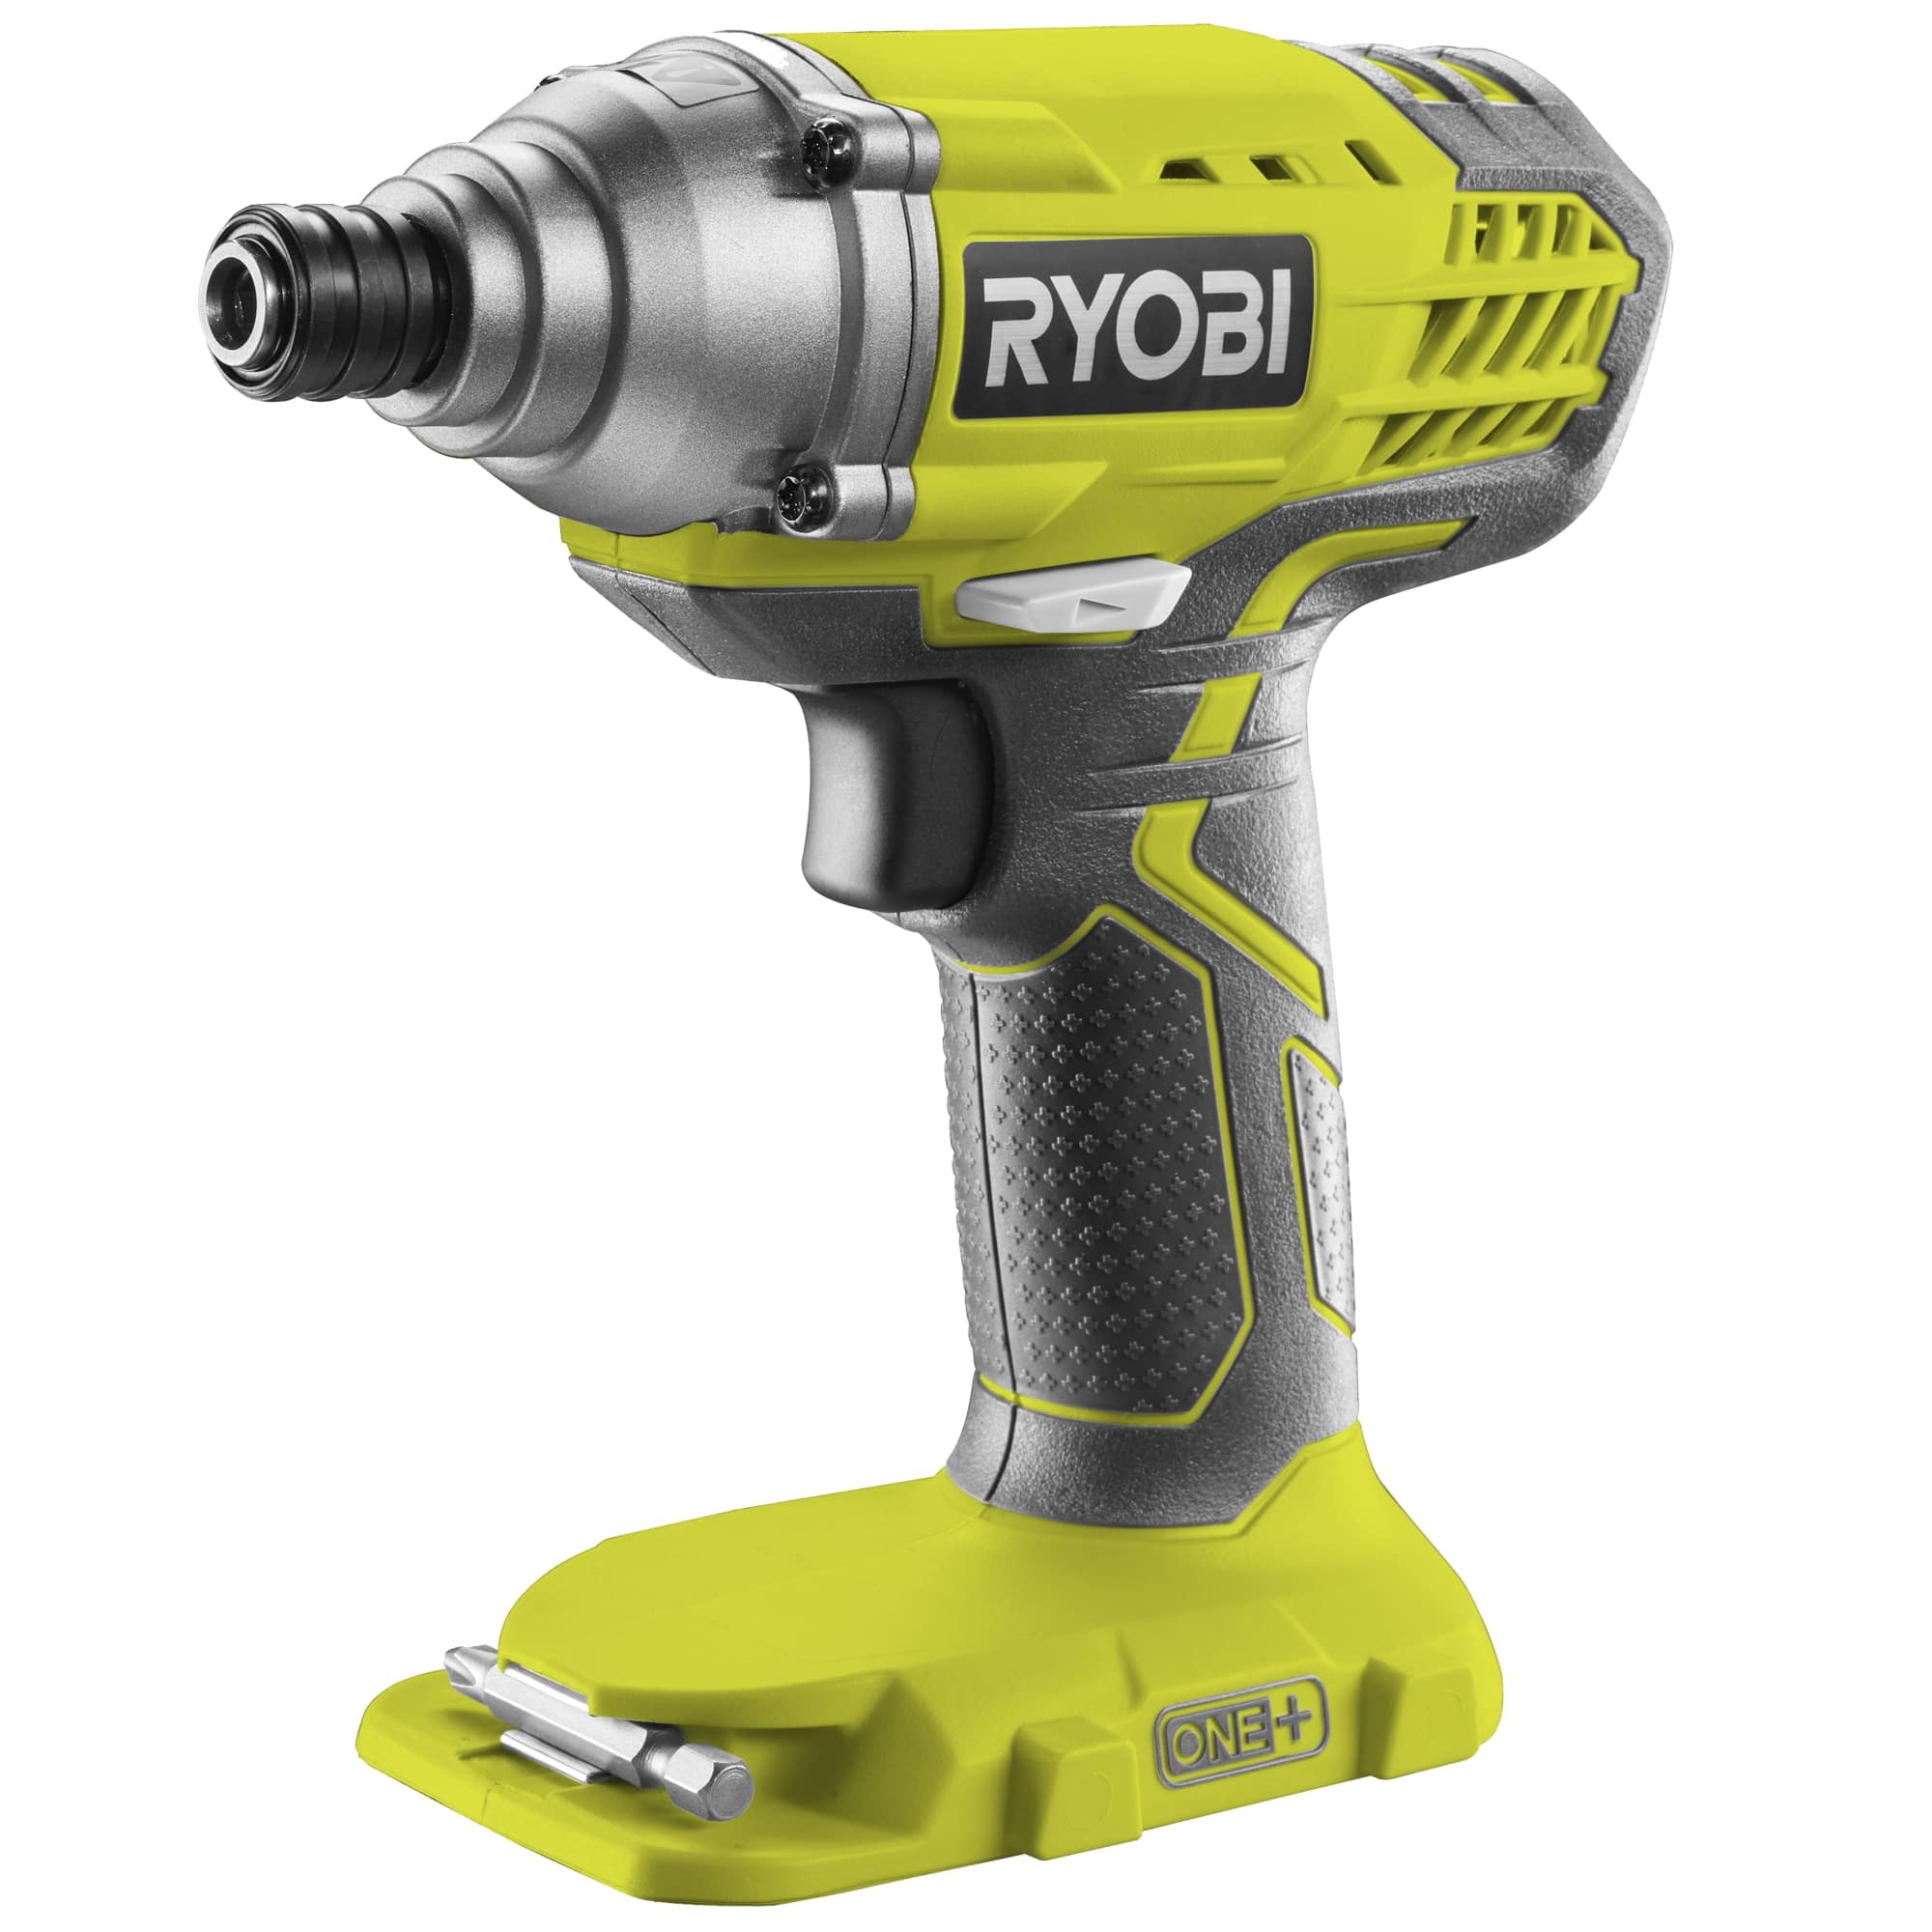
Step 2: Removing the Chuck
Now that your drill is prepared, you can proceed with removing the chuck. The chuck is the part of the drill that holds the bit in place. Follow these steps:
- Locate the chuck lock button or switch on your Ryobi drill. This button or switch is typically located near the chuck.
- Press and hold the chuck lock button or switch to secure the chuck in place.
- With your other hand, rotate the chuck counterclockwise. This will loosen the chuck and allow you to remove it from the drill.
- If the chuck is difficult to turn by hand, use an adjustable wrench to provide extra leverage.
- Continue rotating the chuck counterclockwise until it is fully loosened and can be removed from the drill.
Once the chuck is removed, you will have better access to the bit and can proceed to the next step of removing it from your Ryobi drill.
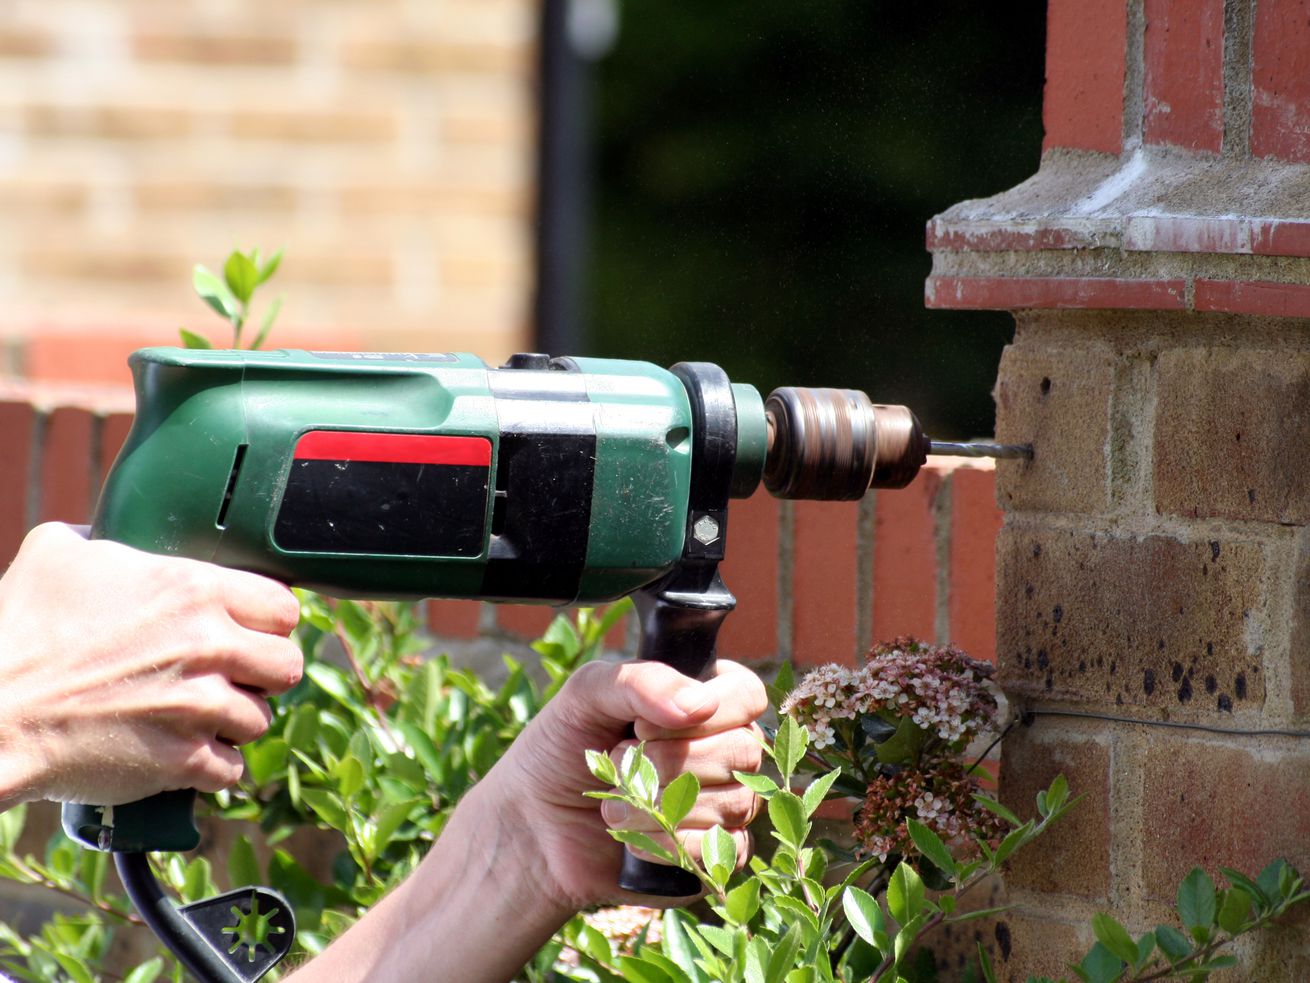
To remove a bit from a Ryobi drill, hold the chuck and turn it counterclockwise to loosen the jaws. Once the jaws are open, the bit can be easily removed.
Read more: How To Change Ryobi Drill Bit
Step 3: Removing the Bit
With the chuck removed, you can now focus on removing the bit from your Ryobi drill. Follow these steps:
- Inspect the bit to ensure it is in good condition and not damaged. If the bit is damaged, replace it with a new one before continuing.
- Locate the bit release button on your Ryobi drill. This button is typically found near the chuck or on the side of the drill’s body.
- Press and hold the bit release button to unlock the bit from the chuck.
- While holding the bit release button, pull the bit straight out of the chuck. Be careful not to twist or force the bit, as this can cause damage.
- Inspect the chuck to ensure it is clean and free from any debris. If necessary, use a soft cloth or brush to remove any dirt or particles.
By following these steps, you can safely and effectively remove the bit from your Ryobi drill. Make sure to handle the bit with caution and store it properly to prevent any injuries or damage.
Step 4: Cleaning and Maintenance
After successfully removing the bit from your Ryobi drill, it’s important to perform some cleaning and maintenance tasks. These steps will help keep your drill in optimal condition and extend its lifespan:
- Inspect the chuck and remove any debris or dirt that may have accumulated. Use a soft cloth or brush to clean the chuck thoroughly.
- If the chuck mechanism feels stiff or tight, apply a small amount of lubricating oil or silicone-based lubricant to the chuck. This will help maintain smooth operation.
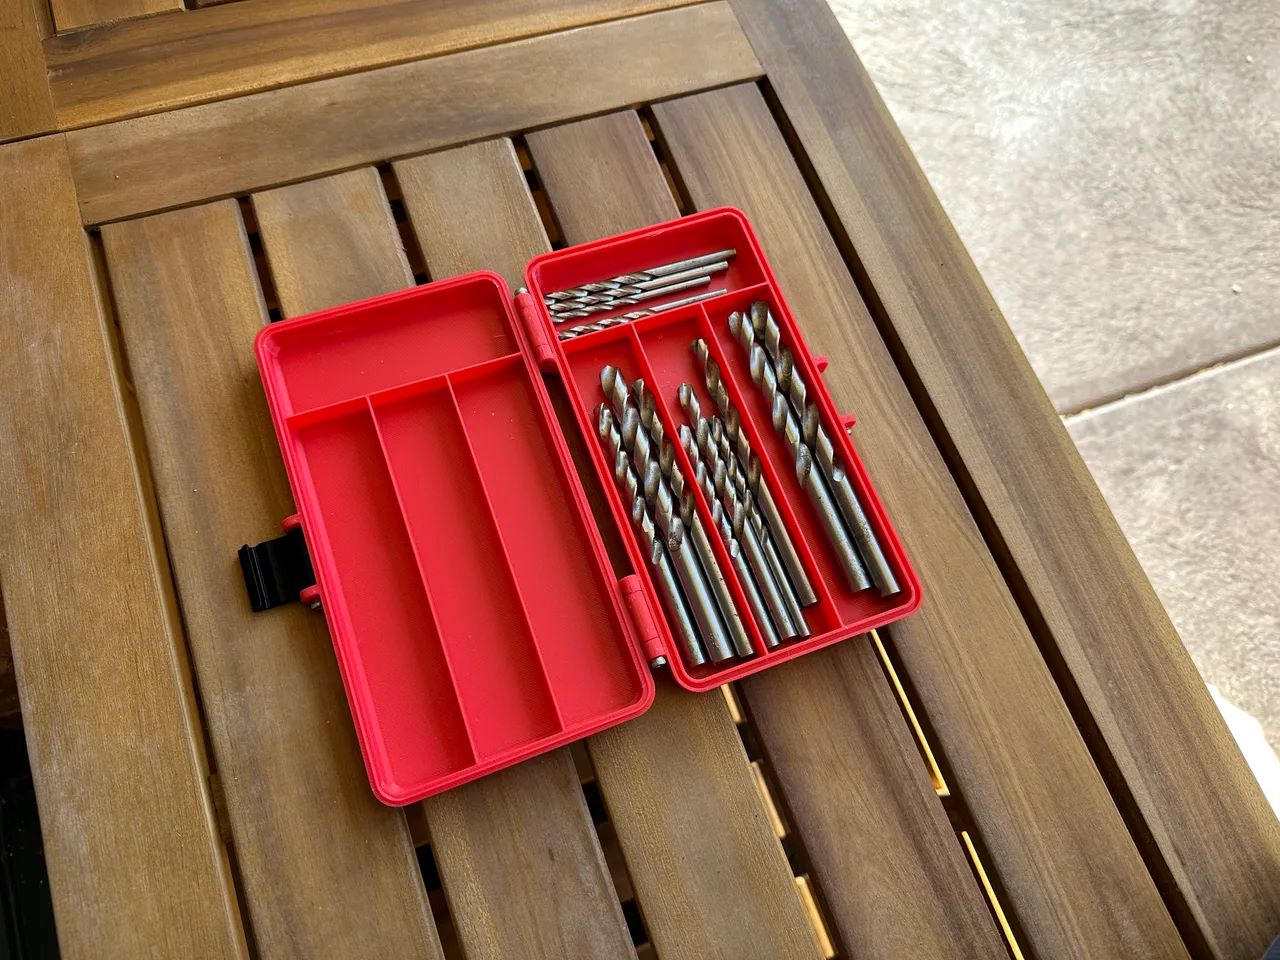
- Check the drill bit for any signs of wear or damage. If needed, clean the bit using a bit cleaner or replace it with a new one.
- Inspect the drill body and clean it using a soft cloth. Remove any dust or dirt that may have accumulated during the drilling process.
- Optional: Depending on your specific Ryobi drill model, check the user manual for any additional maintenance tasks or recommendations specific to your drill.
Regular cleaning and maintenance will not only prolong the life of your Ryobi drill but also ensure smooth and efficient operation for future projects. Take the time to perform these tasks after removing the bit.
Additional Tips and Warnings
Here are some additional tips and warnings to keep in mind when removing a bit from your Ryobi drill:
- Always read and follow the instructions provided by Ryobi in the user manual specific to your drill model.
- If you encounter any difficulties in removing the bit or have concerns about the process, consult a professional or contact Ryobi customer support for assistance.
- Store your drill bits in a dry and organized manner to prevent them from getting lost or damaged.
- Regularly check the chuck for signs of wear or damage. If the chuck becomes loose or shows excessive wear, contact Ryobi for a replacement.
- Do not attempt to remove a bit from a Ryobi drill while the drill is still powered on or connected to a power source. Always ensure the drill is turned off and unplugged.
- When removing the bit, avoid exerting excessive force or twisting the bit. Doing so can cause the bit to break or damage the chuck.
- Keep children and pets away from your work area to prevent accidents.
By following these additional tips and warnings, you can ensure a safe and successful experience when removing a bit from your Ryobi drill.
Conclusion
Removing a bit from your Ryobi drill is a straightforward process that can be easily accomplished with a few simple steps. By following the steps outlined in this guide, you’ll be able to confidently and safely remove a bit from your Ryobi drill, making it easier to switch between different drill bits for various projects.
Remember to always prioritize safety by wearing protective gear and following the recommended safety precautions. Take the time to prepare your drill, remove the chuck, and carefully remove the bit. Once the bit is removed, perform some cleaning and maintenance tasks to keep your drill in optimal condition.
Whether you’re a DIY enthusiast or a professional contractor, knowing how to properly remove a bit from your Ryobi drill is an essential skill. By following the steps outlined in this guide and adhering to the safety precautions, you’ll be well-equipped to handle various drilling projects with ease.
Thank you for reading this comprehensive guide on how to remove a bit from a Ryobi drill. Now, go ahead and apply your newfound knowledge to confidently tackle your next project!
Frequently Asked Questions about How To Remove Bit From Ryobi Drill
Was this page helpful?
At Storables.com, we guarantee accurate and reliable information. Our content, validated by Expert Board Contributors, is crafted following stringent Editorial Policies. We're committed to providing you with well-researched, expert-backed insights for all your informational needs.
0 thoughts on “How To Remove Bit From Ryobi Drill”