Home>Articles>How To Put A Drill Bit In A Ryobi Impact Driver
Articles
How To Put A Drill Bit In A Ryobi Impact Driver
Modified: May 6, 2024
Learn how to easily and properly insert a drill bit into your Ryobi Impact Driver with our informative articles. Master the process and achieve excellent results.
(Many of the links in this article redirect to a specific reviewed product. Your purchase of these products through affiliate links helps to generate commission for Storables.com, at no extra cost. Learn more)
Introduction
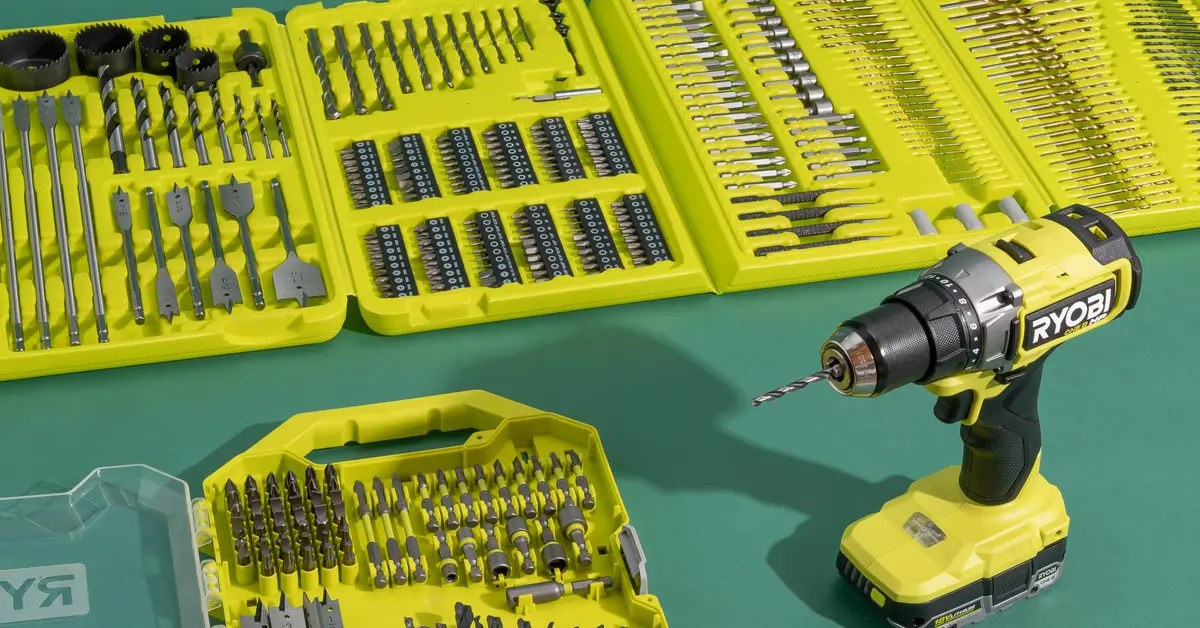
When it comes to tackling DIY projects, having the right tools at hand is essential. A drill is one of the most versatile and useful tools that you can have in your arsenal. Whether you’re driving screws or drilling holes, a drill can make your tasks much easier and efficient. And if you own a Ryobi Impact Driver, you’re in luck. This powerful tool is designed for heavy-duty applications and can easily handle a wide range of tasks.
However, to get the most out of your Ryobi Impact Driver, you need to ensure that you have the correct drill bit installed. The drill bit is the component that actually cuts and drives into the material you are working with. Whether you’re working with wood, metal, or plastic, having the right drill bit is crucial for achieving accurate and clean results.
In this article, we will guide you through the process of putting a drill bit in a Ryobi Impact Driver. We’ll provide you with step-by-step instructions, so you can confidently change the drill bit and continue with your project. So, let’s get started!
Key Takeaways:
- Properly preparing your Ryobi Impact Driver and securely inserting the new drill bit are crucial for safe and efficient operation. Always test the drill bit before starting your project to ensure optimal performance.
- Prioritize safety by wearing protective gear and following the step-by-step process to change the drill bit. With the right tools and knowledge, you can confidently tackle DIY projects with your Ryobi Impact Driver.
Read more: How To Put Bit In Ryobi Drill
Step 1: Gather the necessary tools and materials
Before you begin, it’s important to gather all the necessary tools and materials. Having everything prepared in advance will make the process smoother and more efficient. Here’s what you’ll need:
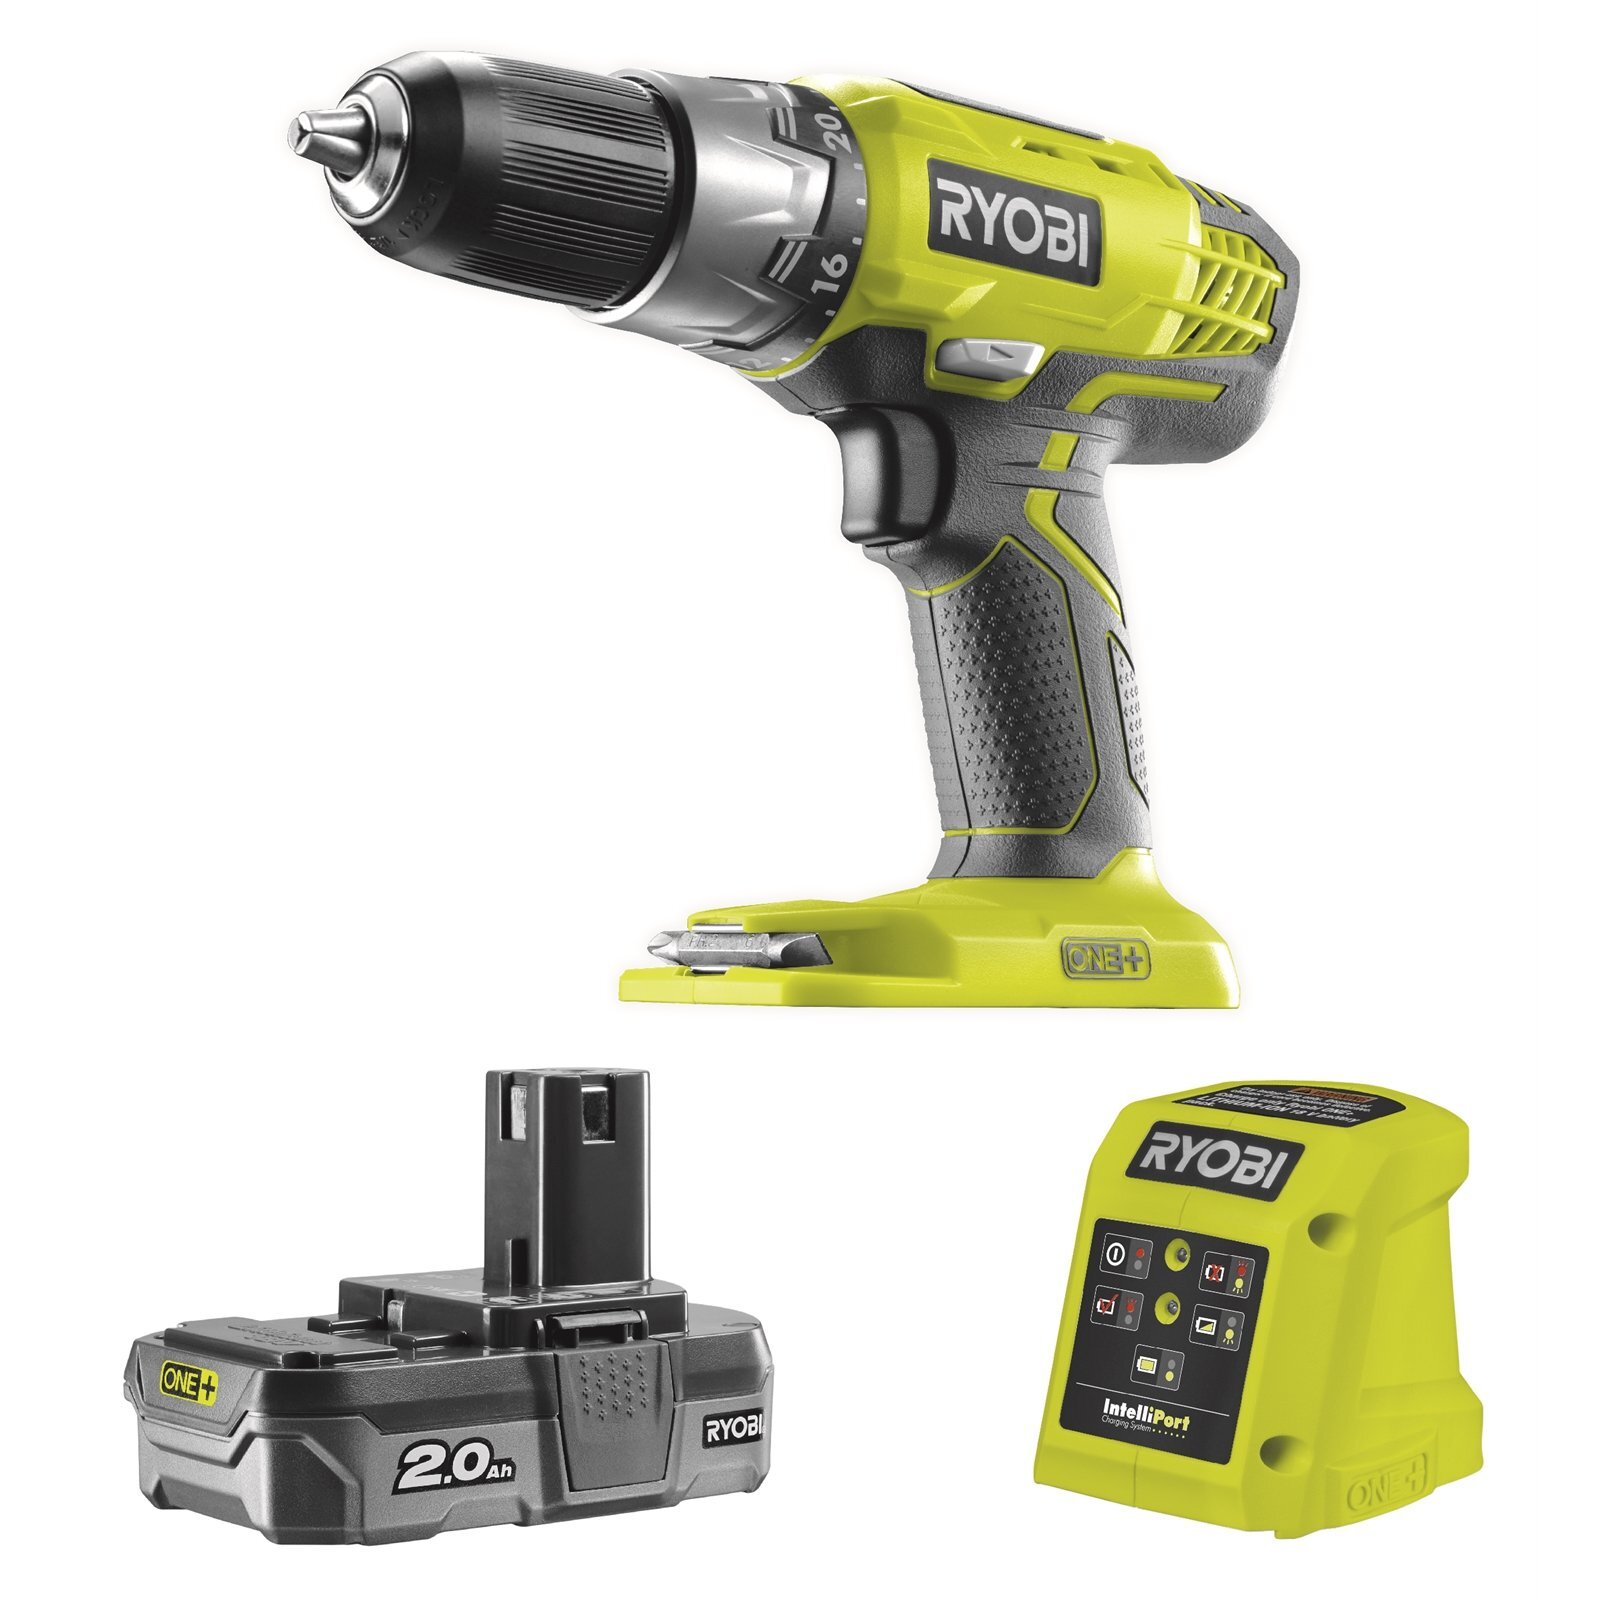
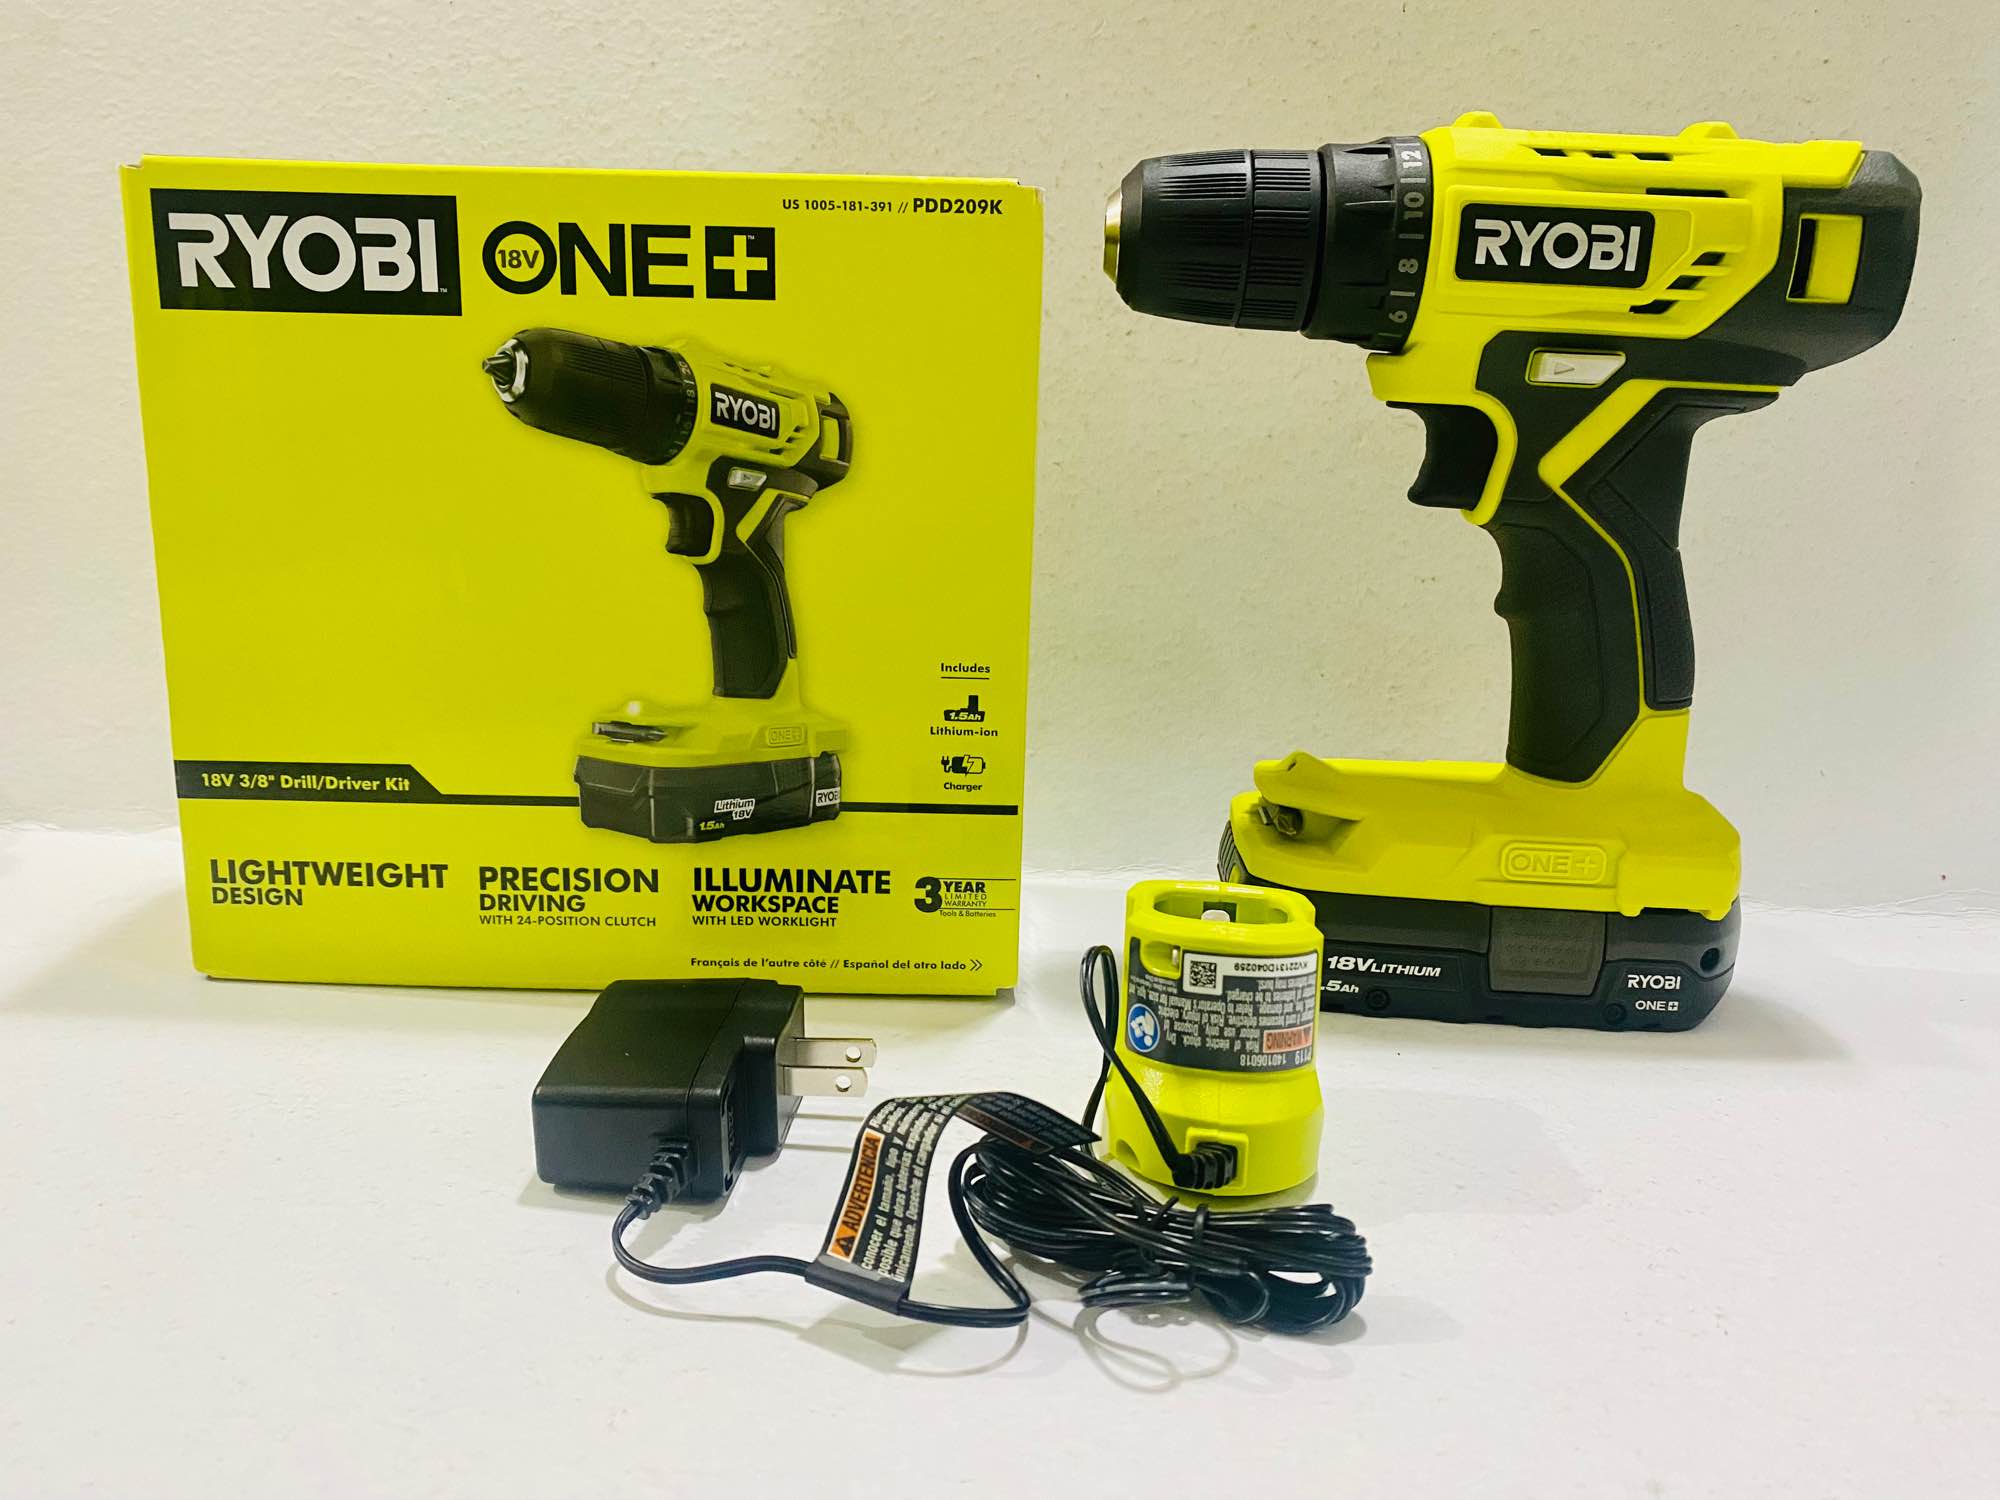
- Ryobi Impact Driver
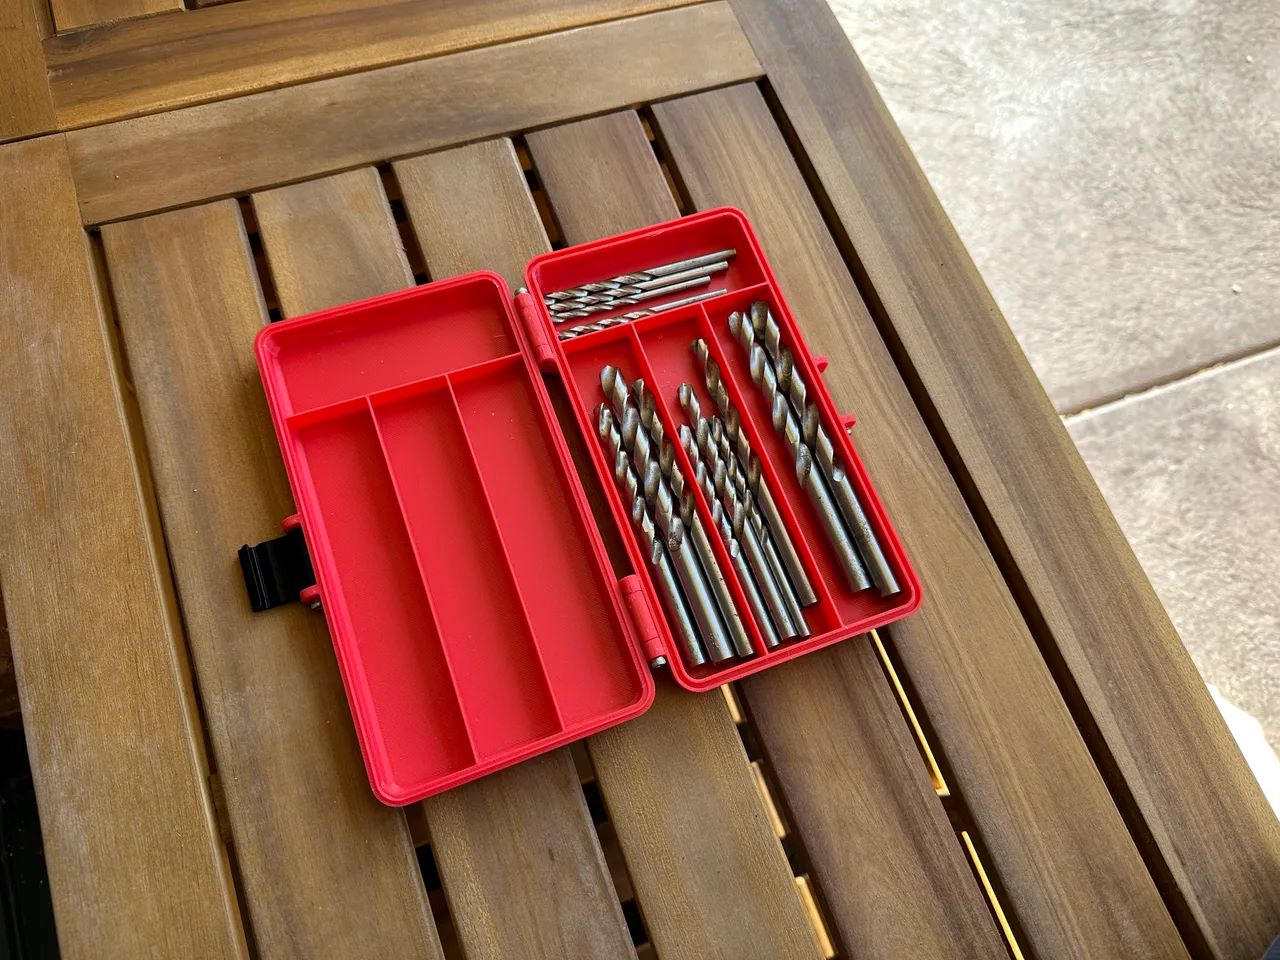
- New drill bit (compatible with Ryobi Impact Driver)
- Protective gloves
- Protective eyewear
Ensuring your safety is paramount when working with power tools. Wearing protective gloves will provide a layer of protection from any sharp edges, while protective eyewear will shield your eyes from any debris. As always, it’s important to follow safety precautions and use your tools responsibly.
Once you have gathered all the necessary tools and materials, you’re ready to move on to the next step.
Step 2: Remove the existing drill bit (if applicable)
If you already have a drill bit inserted in your Ryobi Impact Driver, you’ll need to remove it before you can replace it with a new one. Here’s how you can remove the existing drill bit:
- Ensure that the Ryobi Impact Driver is turned off and unplugged, or that the battery is removed.
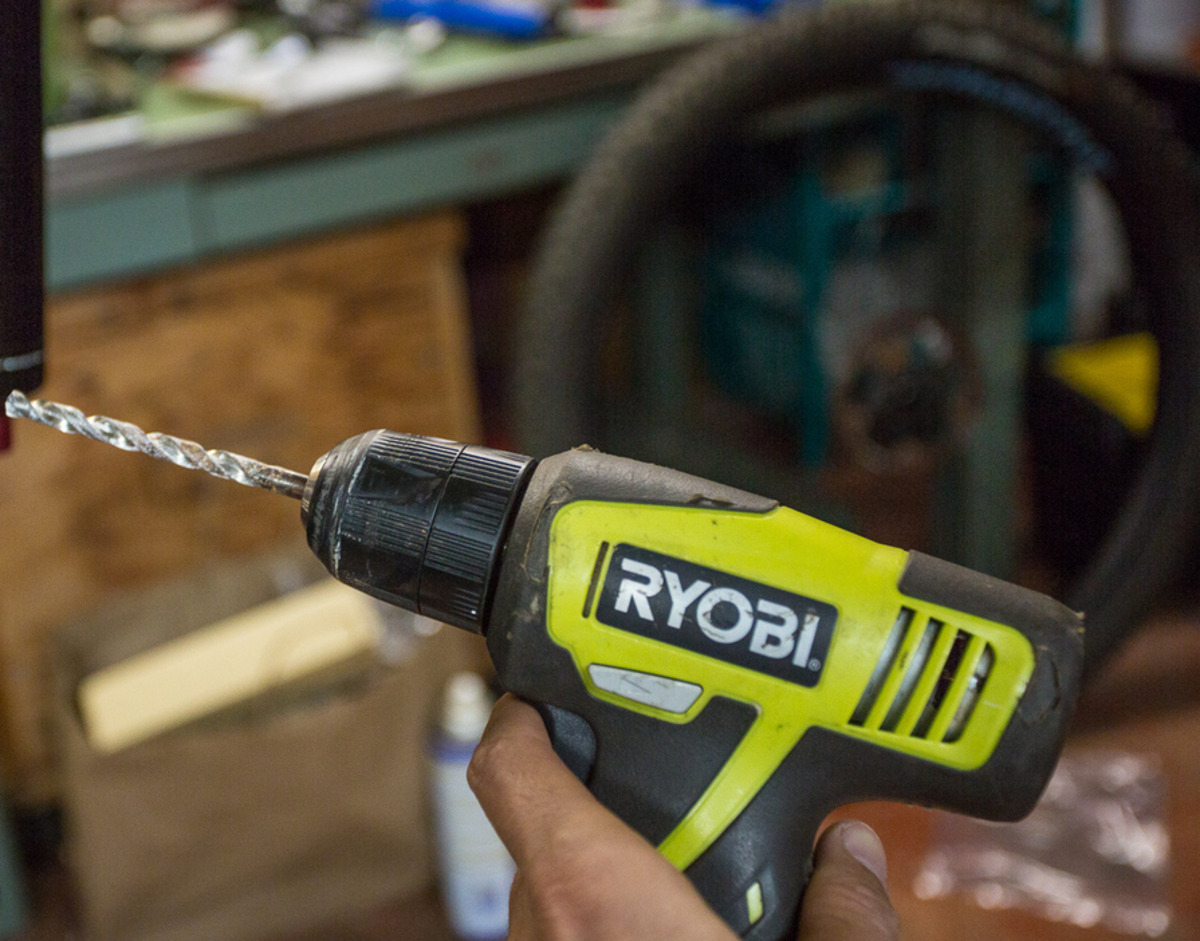
- Locate the chuck at the front of the tool. The chuck is the part that holds the drill bit in place.
- Using one hand to hold the handle of the Ryobi Impact Driver, use your other hand to firmly grasp and rotate the chuck counterclockwise. This will loosen the chuck and allow you to remove the drill bit.
- Continue rotating the chuck until it opens enough to release the drill bit. Once the chuck is fully open, the drill bit should easily slide out.
- Carefully remove the drill bit from the chuck, making sure to avoid any sharp edges.
It’s important to note that some Ryobi Impact Drivers have a keyless chuck, while others may have a key chuck. The process of removing the drill bit may vary slightly depending on the type of chuck your tool has. Refer to the manufacturer’s instructions or consult the user manual for specific guidance on your Ryobi Impact Driver model.
With the existing drill bit successfully removed, you can now proceed to the next step of putting in a new drill bit.
Step 3: Prepare the Ryobi Impact Driver
Before inserting the new drill bit into your Ryobi Impact Driver, it’s important to prepare the tool properly. Follow these steps to ensure that your Ryobi Impact Driver is ready for the new drill bit:
- If you haven’t already done so, turn off and unplug the Ryobi Impact Driver or remove the battery.
- Inspect the chuck of the tool to ensure that it is clean and free from debris. Use a brush or cloth to remove any dust or residue that may have accumulated.
- Check the jaws of the chuck to ensure that they are in good condition and can securely grip the new drill bit.
- If your Ryobi Impact Driver has a keyless chuck, rotate it fully counterclockwise to open it as wide as possible. If you have a key chuck, locate the chuck key and insert it into the designated holes on the chuck.
- Twist the key clockwise to open the jaws of the chuck.
- Ensure that the chuck is fully open and ready to accept the new drill bit.
By properly preparing your Ryobi Impact Driver, you’ll ensure that the new drill bit can be inserted smoothly and securely. With the tool in its optimal condition, you’re now ready to move on to the next step of inserting the new drill bit.
When putting a drill bit in a Ryobi impact driver, make sure to use the correct size and type of bit for the job. Insert the bit into the chuck and tighten it securely using the chuck key or by hand. Always wear safety goggles when using power tools.
Step 4: Insert the new drill bit
Now that you have prepared your Ryobi Impact Driver, it’s time to insert the new drill bit. Follow these steps to ensure a proper and secure insertion:
- Take the new drill bit and ensure that it is compatible with your Ryobi Impact Driver. Check for any size or compatibility markings on the drill bit packaging or the bit itself.
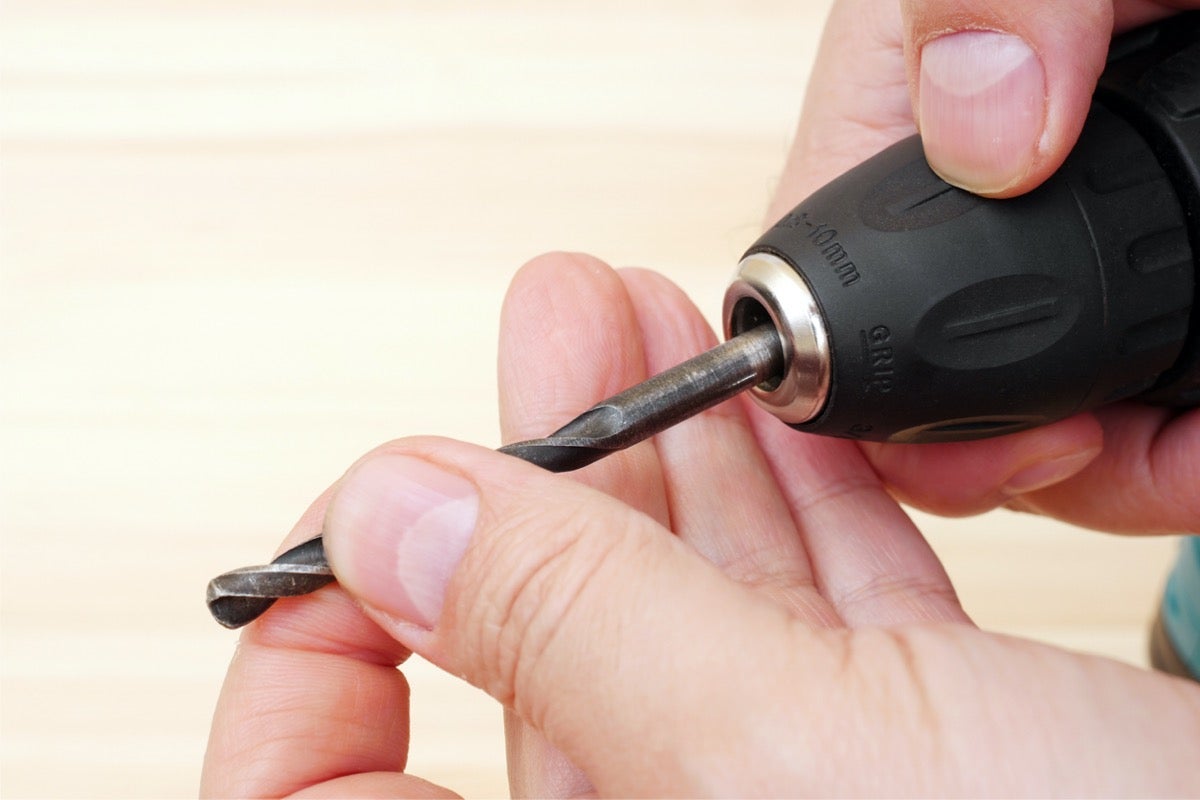
- Align the shank of the drill bit with the jaws of the chuck.
- Insert the drill bit into the chuck, making sure it goes in as far as possible.
- If you have a keyless chuck, hold the drill bit firmly and rotate the chuck clockwise to tighten the jaws around the drill bit. If you have a key chuck, locate the chuck key and insert it into the designated holes on the chuck. Twist the key counterclockwise to close the jaws tightly around the drill bit.
- Continue tightening the chuck until the drill bit feels secure and firmly held in place. Ensure that there is no wobbling or movement of the drill bit.
It’s important to note that different Ryobi Impact Driver models may have different chuck designs. Some may have a keyless chuck that requires manual tightening, while others may have a key chuck that requires the use of a chuck key. Refer to the manufacturer’s instructions or consult the user manual of your specific Ryobi Impact Driver model if you have any questions or concerns.
With the new drill bit successfully inserted into the Ryobi Impact Driver, you’re one step closer to resuming your project.
Read more: How To Remove Bit From Ryobi Impact Driver
Step 5: Secure the drill bit
Now that you have inserted the new drill bit into your Ryobi Impact Driver, it’s important to ensure that it is securely held in place. Follow these steps to properly secure the drill bit:
- If you have a keyless chuck, hold the drill bit firmly and give the chuck a quick clockwise twist to ensure that it is tightened securely. If you have a key chuck, use the chuck key to further tighten the jaws around the drill bit by twisting it clockwise.
- Check for any wobbling or movement of the drill bit. If you notice any, repeat the tightening process to ensure a secure fit.
- Verify that the drill bit is fully inserted into the chuck and properly aligned. It should be centered and straight.
- Give the chuck a final check to ensure that it is tight and the drill bit is firmly secured. This will help prevent any accidents or damage during operation.
Ensuring that the drill bit is securely held in place is important for both safety and performance. A loose drill bit can cause the bit to slip or even come out during use, which can result in accidents or damage to your workpiece. Take the time to properly secure the drill bit to ensure a safe and efficient operation.
Once you have confirmed that the drill bit is securely fastened, you’re ready to move on to the final step of the process.
Step 6: Test the drill bit
After inserting and securing the new drill bit in your Ryobi Impact Driver, it’s important to test it before you begin your project. Testing the drill bit will ensure that it is functioning properly and ready for use. Follow these steps to test the drill bit:
- Ensure that you are in a safe and appropriate work area. Clear any obstacles or debris that may interfere with your testing.
- Put on your protective gloves and eyewear to ensure your safety.
- Turn on the Ryobi Impact Driver or insert the battery, depending on the power source of your tool.
- Hold the Ryobi Impact Driver with a secure grip, making sure to position it correctly for the task at hand (drilling or driving screws).
- Place the new drill bit against the material you will be working with (wood, metal, etc.).
- Apply gentle pressure to the Ryobi Impact Driver and pull the trigger to activate the tool.
- Observe the performance of the drill bit. Is it drilling smoothly and effectively? Is it driving screws without any issues?
- If the drill bit is functioning properly and providing the desired results, you can proceed with your project. If there are any issues, such as the drill bit not drilling efficiently or wobbling during use, you may need to recheck the secureness of the chuck and repeat the process of inserting and securing the drill bit.
By testing the drill bit, you can ensure that it is in good working condition and ready to tackle your project. If you encounter any difficulties or notice any problems during the testing process, it’s always a good idea to troubleshoot and address the issue before continuing.
With the drill bit successfully tested and confirmed to be working effectively, you are ready to proceed with your project with confidence and precision.
Conclusion
Changing the drill bit in your Ryobi Impact Driver is a simple process that can greatly enhance your DIY capabilities. By following the steps outlined in this guide, you can easily replace the drill bit and ensure that your tool is ready for any drilling or driving task that comes your way.
Remember to always prioritize your safety by wearing protective gloves and eyewear when working with power tools. Take the time to gather all the necessary tools and materials before starting the process, as this will make the task more efficient and seamless.
Removing the existing drill bit, preparing the Ryobi Impact Driver, and properly inserting and securing the new drill bit are crucial steps to ensure a successful and safe operation. Testing the drill bit before starting your project is also essential to verify its functionality and performance.
By maintaining your Ryobi Impact Driver and ensuring that you have the right drill bit for the task at hand, you can confidently take on various DIY projects with ease. Whether you’re drilling into wood, metal, or plastic, having a properly installed drill bit will help you achieve accurate and clean results.
Now that you have the knowledge and understanding of how to put a drill bit in a Ryobi Impact Driver, you can confidently tackle any project that requires the use of this powerful tool. Happy drilling!
Now that you've mastered inserting a drill bit into your Ryobi Impact Driver, why stop there? Equip yourself with more knowledge on enhancing your tool collection by checking out our detailed guide on power tools. This article offers invaluable insights into selecting the best tools that will fit your projects perfectly, ensuring you're always prepared, no matter the task at hand.
Frequently Asked Questions about How To Put A Drill Bit In A Ryobi Impact Driver
Was this page helpful?
At Storables.com, we guarantee accurate and reliable information. Our content, validated by Expert Board Contributors, is crafted following stringent Editorial Policies. We're committed to providing you with well-researched, expert-backed insights for all your informational needs.
0 thoughts on “How To Put A Drill Bit In A Ryobi Impact Driver”