Home>Renovation & DIY>Tools & Equipment>What Grit Sandpaper For Bike Frame
Tools & Equipment
What Grit Sandpaper For Bike Frame
Published: December 20, 2023
Find the right grit sandpaper for your bike frame with our comprehensive guide. Get the best tools and equipment for your bike maintenance needs.
(Many of the links in this article redirect to a specific reviewed product. Your purchase of these products through affiliate links helps to generate commission for Storables.com, at no extra cost. Learn more)
Introduction
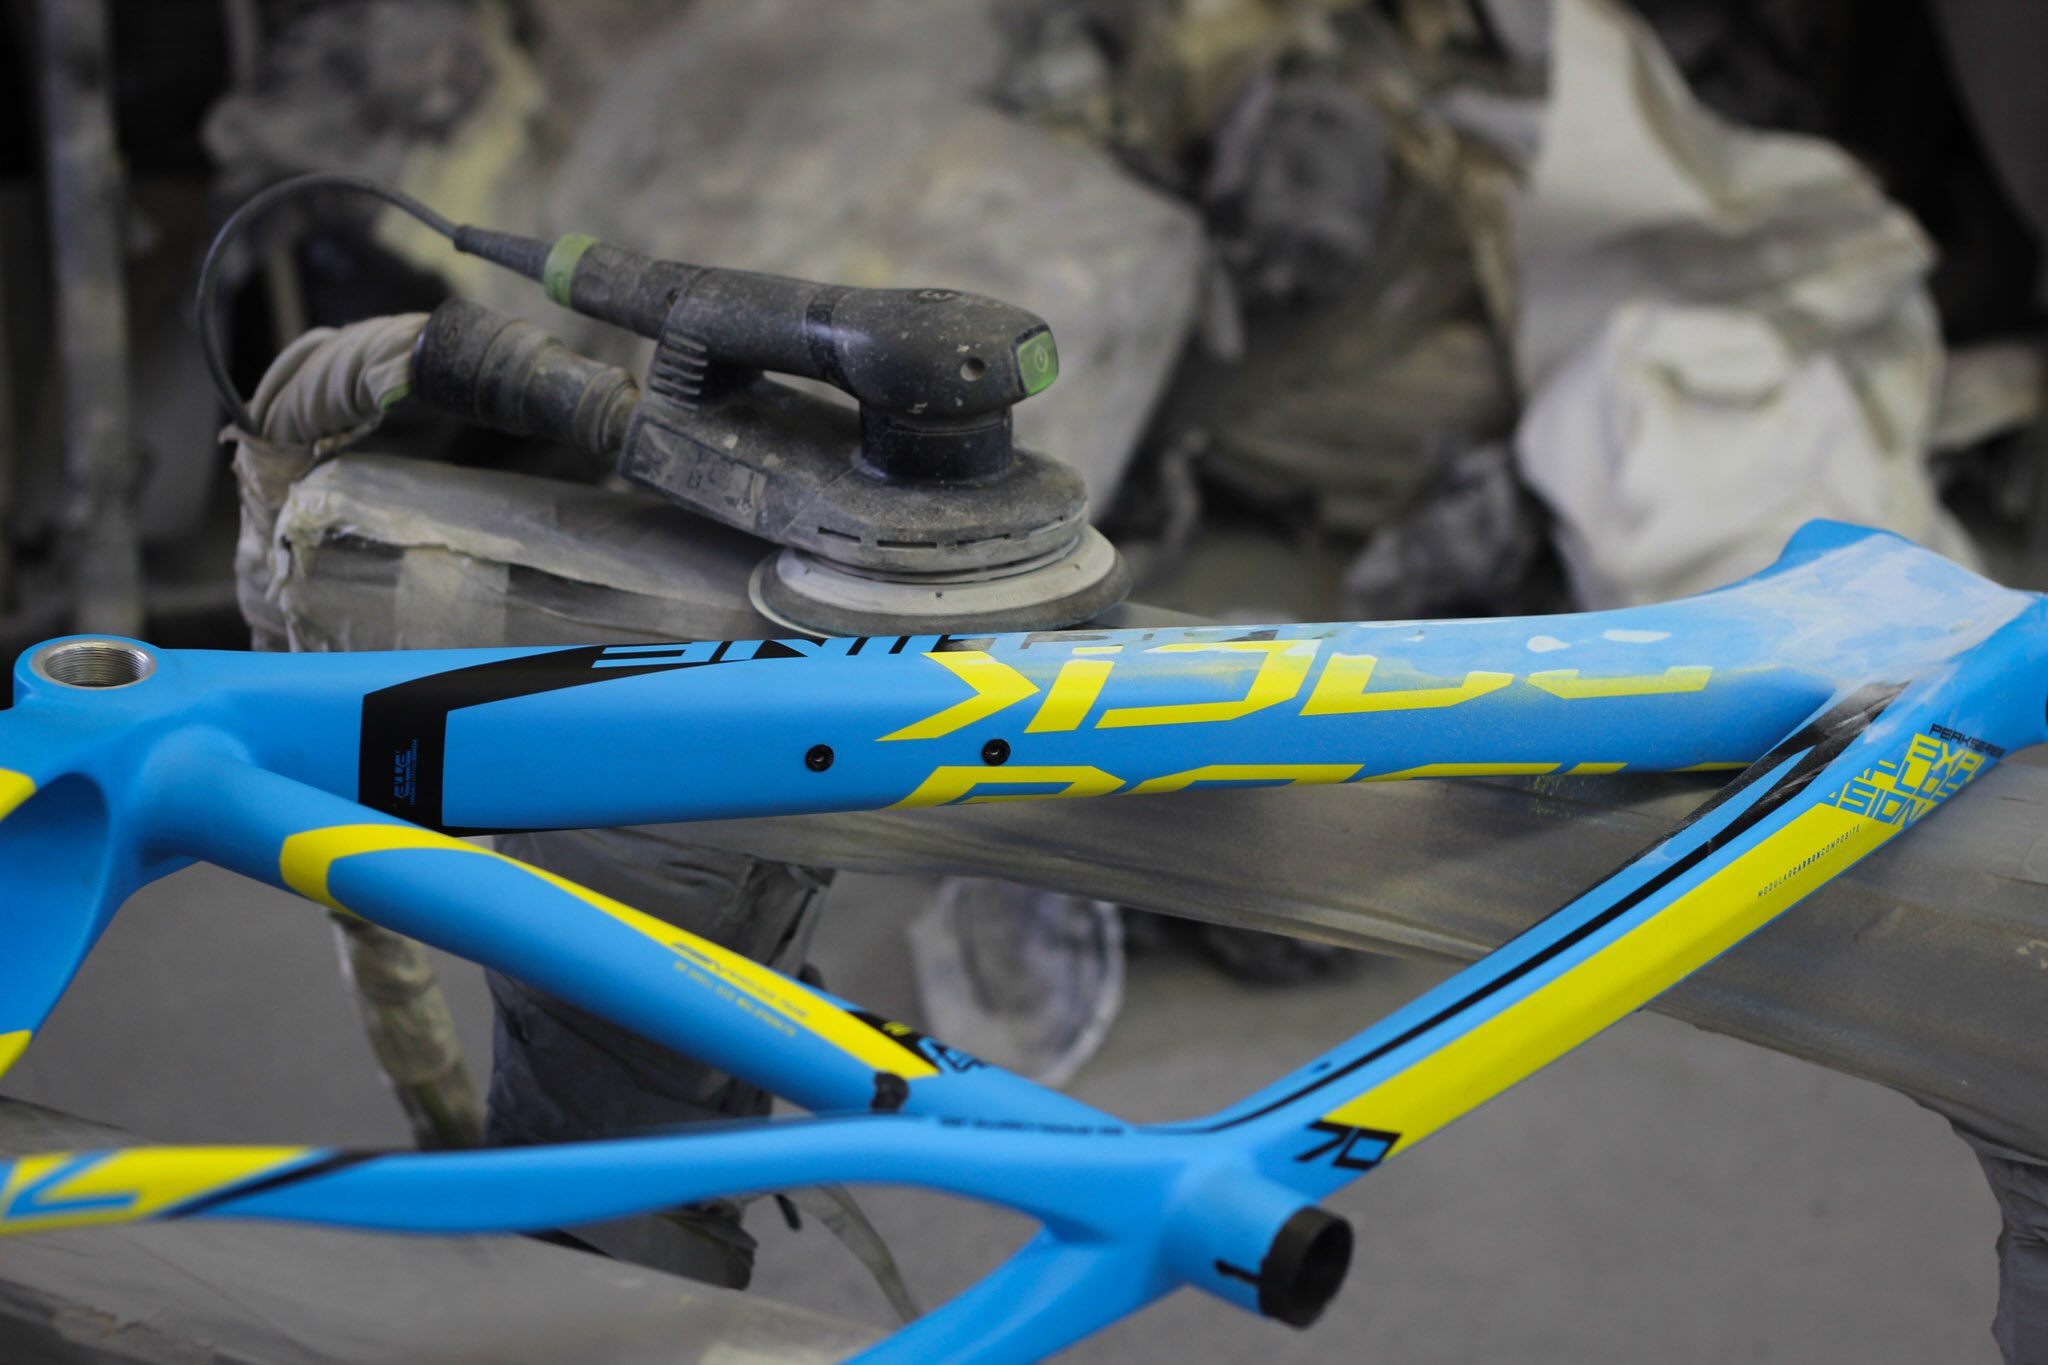
Welcome to the world of bike maintenance, where attention to detail and precision are key. When it comes to refinishing a bike frame, the process can seem daunting, but with the right tools and a bit of know-how, it becomes an achievable feat. One essential tool in this endeavor is grit sandpaper, a versatile and indispensable asset for smoothing and prepping surfaces.
In this comprehensive guide, we will delve into the realm of grit sandpaper and its pivotal role in the restoration of bike frames. From understanding the nuances of grit to selecting the appropriate sandpaper for your specific needs, we will equip you with the knowledge to elevate your bike refinishing projects.
So, fasten your helmet, roll up your sleeves, and let’s explore the world of grit sandpaper and its application in rejuvenating bike frames.
Key Takeaways:
- Choose the right grit sandpaper based on the bike frame’s condition. Start with a coarser grit for imperfections, then transition to finer grits for a polished finish.
- Employ progressive sanding techniques, starting with coarse grit and transitioning to finer grits for a flawless bike frame restoration.
Read more: What Grit Sandpaper For Polyurethane
Understanding Grit Sandpaper
Before delving into the intricacies of choosing the right grit sandpaper for your bike frame, it’s crucial to grasp the concept of grit and its significance in the sanding process. Grit refers to the coarseness or fineness of the particles embedded in the sandpaper, which determines its abrasive quality.
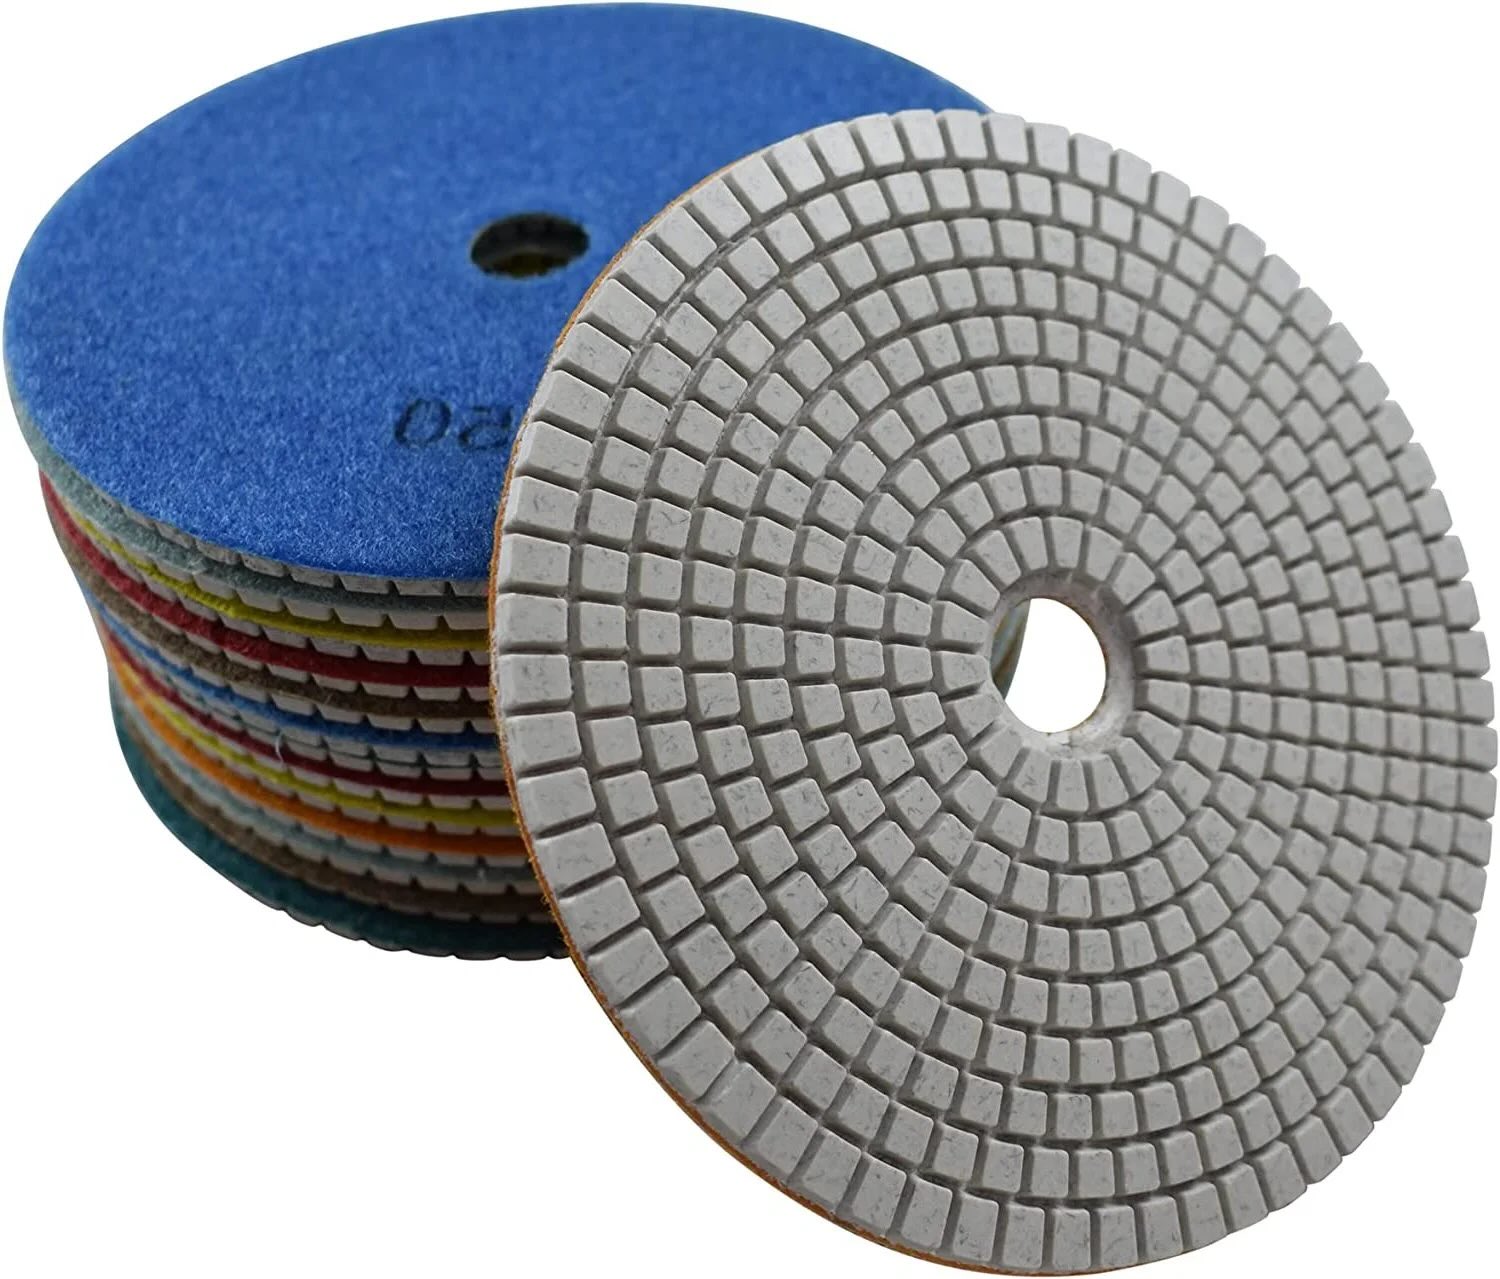
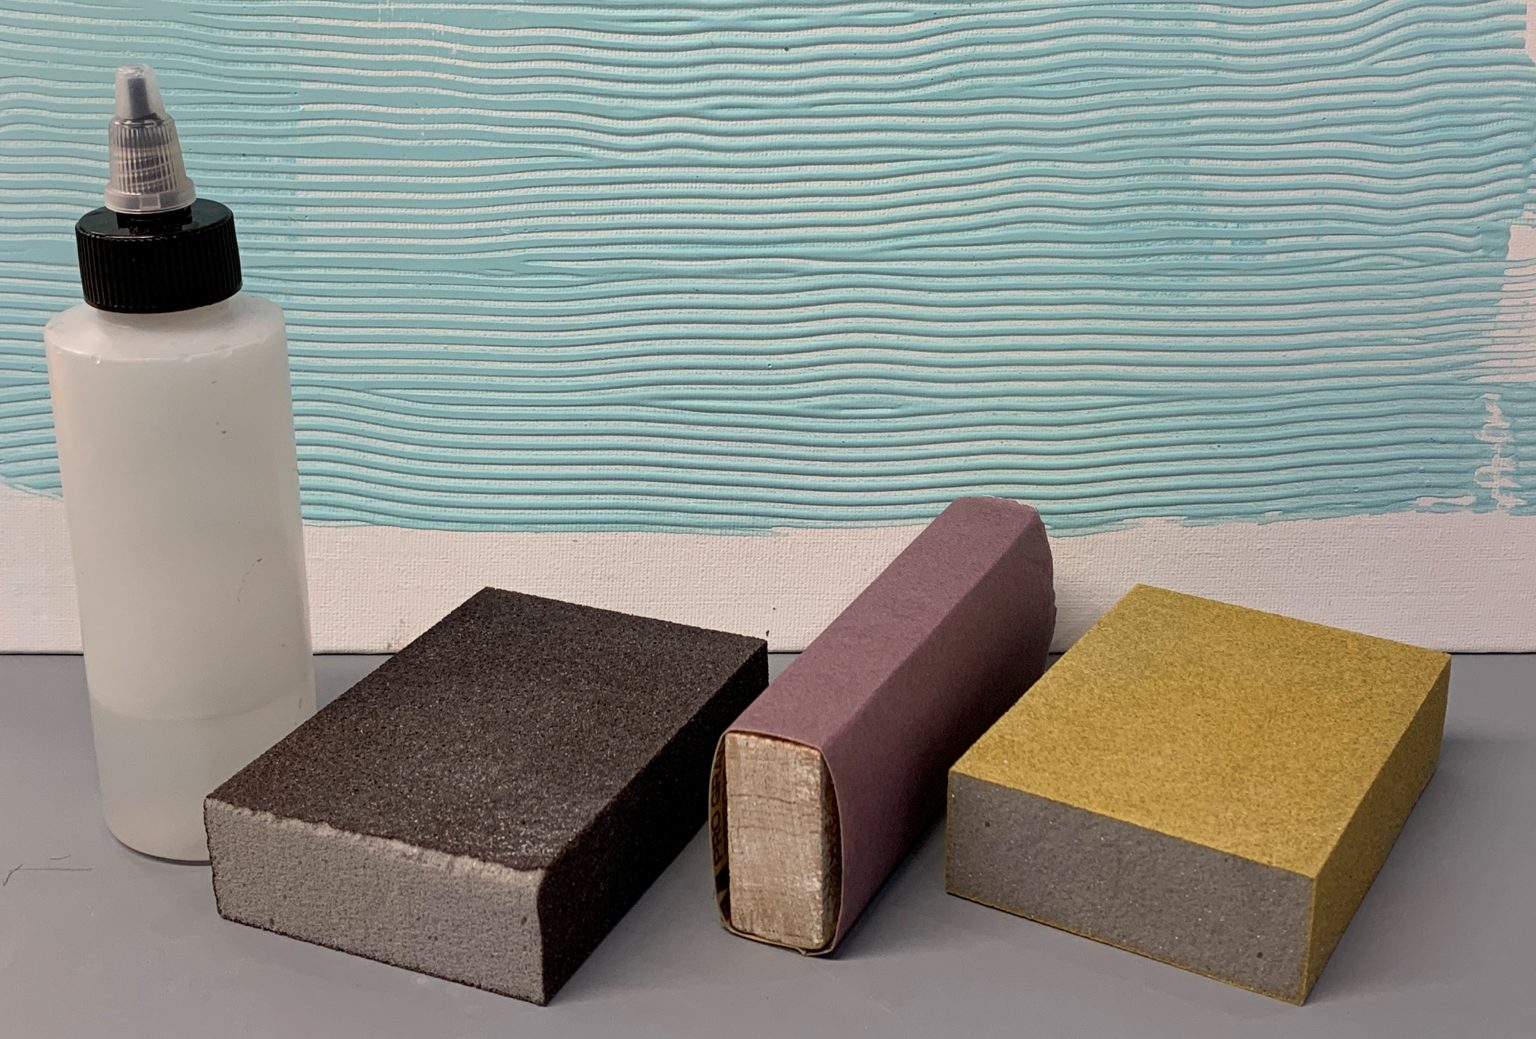
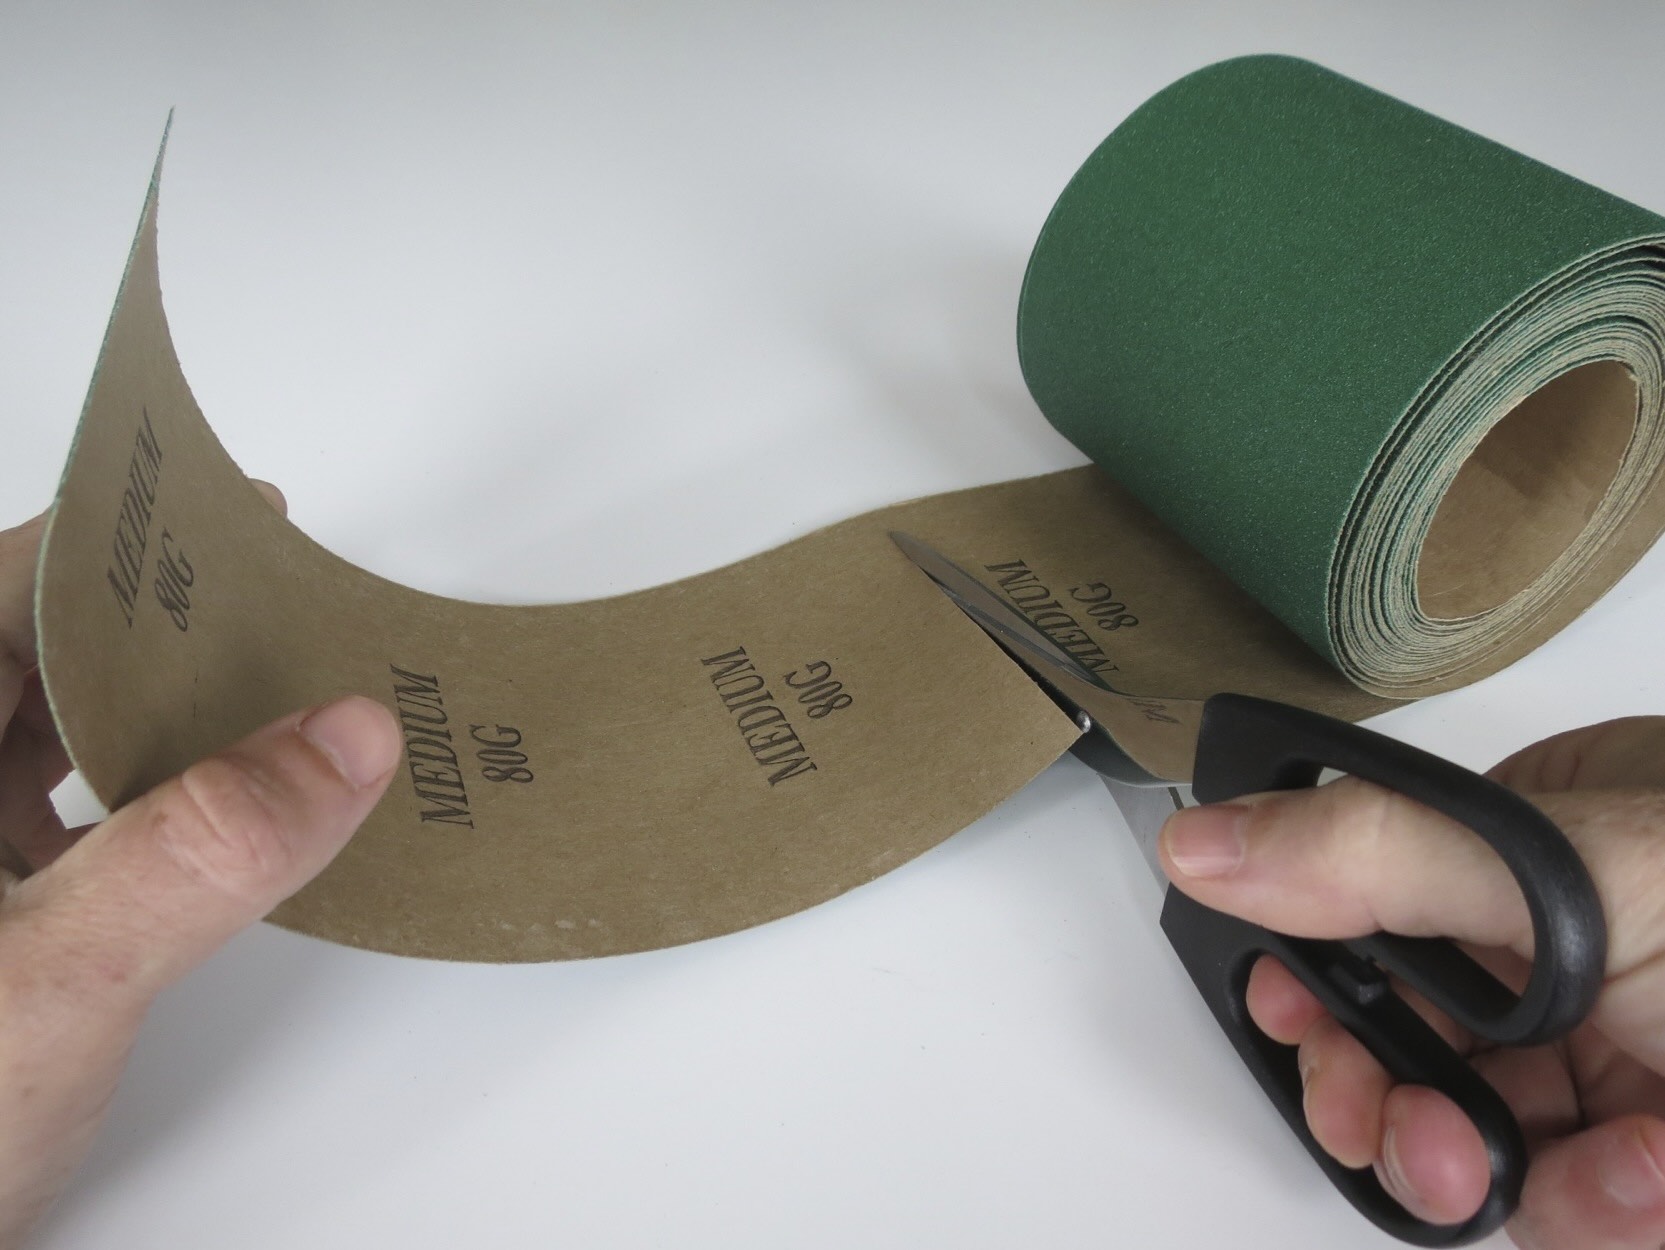
Sandpaper is categorized based on grit levels, typically ranging from very coarse to extremely fine. The lower the grit number, the coarser the sandpaper, and vice versa. Common grit categories include extra coarse (24-36 grit), coarse (40-50 grit), medium (60-100 grit), fine (120-220 grit), and very fine (240-600 grit).
Coarser grit sandpaper is adept at swiftly removing material and smoothing rough surfaces, making it ideal for initial refinishing stages. As the grit number increases, the sandpaper becomes finer, suitable for progressively refining the surface and achieving a smooth, polished finish.
Understanding the relationship between grit and surface texture is pivotal in achieving the desired results. Coarse grit is akin to a sculptor’s chisel, shaping and refining the contours, while finer grit functions as a meticulous artisan’s tool, perfecting the surface with precision and finesse.
When selecting grit sandpaper, it’s essential to consider the condition of the bike frame. If the frame exhibits deep scratches, rust, or old paint, starting with a coarser grit to level the surface is advisable. Conversely, if the surface is relatively smooth and requires minor touch-ups, a finer grit can be employed for polishing and preparing the frame for painting.
Now that we’ve unraveled the essence of grit sandpaper, let’s transition to the pivotal aspect of selecting the right grit sandpaper for your bike frame restoration project.
Choosing the Right Grit Sandpaper for Bike Frame
When embarking on the restoration of a bike frame, the selection of the appropriate grit sandpaper is a critical decision that significantly influences the outcome. The condition of the frame, the extent of imperfections, and the desired finish all play a role in determining the ideal grit for the sanding process.
For frames with substantial blemishes, such as deep scratches, rust, or chipped paint, initiating the refinishing journey with a coarser grit, such as 80 or 100, is recommended. This coarse grit efficiently levels the surface, smoothing out imperfections and preparing the frame for subsequent refinements.
As the surface becomes more uniform and the imperfections are addressed, transitioning to a medium grit, typically in the range of 120 to 180, allows for further refinement. This intermediate grit facilitates the smoothing of the surface, ensuring that it is primed for the application of new paint or finishes.
Once the frame approaches the desired texture and smoothness, employing a finer grit, such as 220 or 320, refines the surface to a polished state, ready to receive the chosen coating. This finer grit not only enhances the aesthetic appeal but also promotes paint adhesion, ensuring a durable and uniform finish.
It’s important to note that the progression from coarser to finer grits is akin to a journey of transformation, where the rough and imperfect surface evolves into a pristine canvas, poised for rejuvenation. Each grit level plays a pivotal role in this metamorphosis, culminating in a surface that is not only visually appealing but also primed for long-term durability.
Furthermore, the type of material used in the bike frame, such as steel, aluminum, or carbon fiber, influences the choice of grit sandpaper. While steel frames can withstand coarser grits due to their robust nature, aluminum and carbon fiber frames require a more delicate approach, typically starting with finer grits to prevent surface damage.
By aligning the grit selection with the specific requirements of the bike frame, you lay the foundation for a successful refinishing endeavor, ensuring that the surface is meticulously prepared for the application of new finishes.
Now that we’ve elucidated the nuances of choosing the right grit sandpaper, let’s delve into the essential sanding techniques for bike frame restoration.
Use 120-150 grit sandpaper to remove old paint and rust from a bike frame. This grit is coarse enough to effectively remove the old finish without damaging the metal underneath.
Sanding Techniques for Bike Frame
As you embark on the journey of refinishing a bike frame, mastering the art of sanding is pivotal in achieving a flawless and professional-quality finish. Employing the right sanding techniques not only ensures the optimal preparation of the surface but also contributes to the overall aesthetic appeal and longevity of the final coating.
1. Surface Preparation: Before commencing the sanding process, thoroughly clean the bike frame to remove any dirt, grease, or residual coatings. This sets the stage for effective sanding, allowing the abrasive action of the sandpaper to directly engage with the surface, promoting uniformity and adhesion of the new finish.
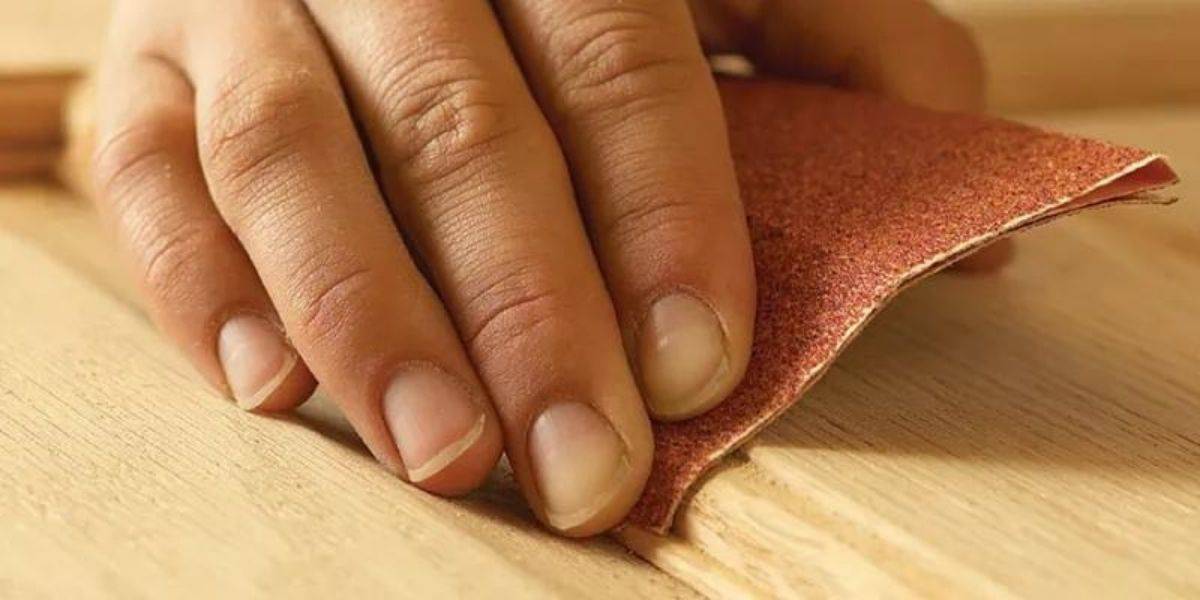
2. Progressive Grit Application: Begin the sanding process with a coarser grit sandpaper, such as 80 or 100, to address any significant imperfections or surface irregularities. Employing a back-and-forth motion, ensure even coverage and consistent pressure, gradually leveling the surface until the imperfections are mitigated.
3. Intermediate Smoothing: Transition to a medium grit, typically in the range of 120 to 180, to further refine the surface and eliminate the marks left by the coarser grit. This stage focuses on achieving a uniform texture, preparing the frame for the subsequent stages of sanding and finishing.
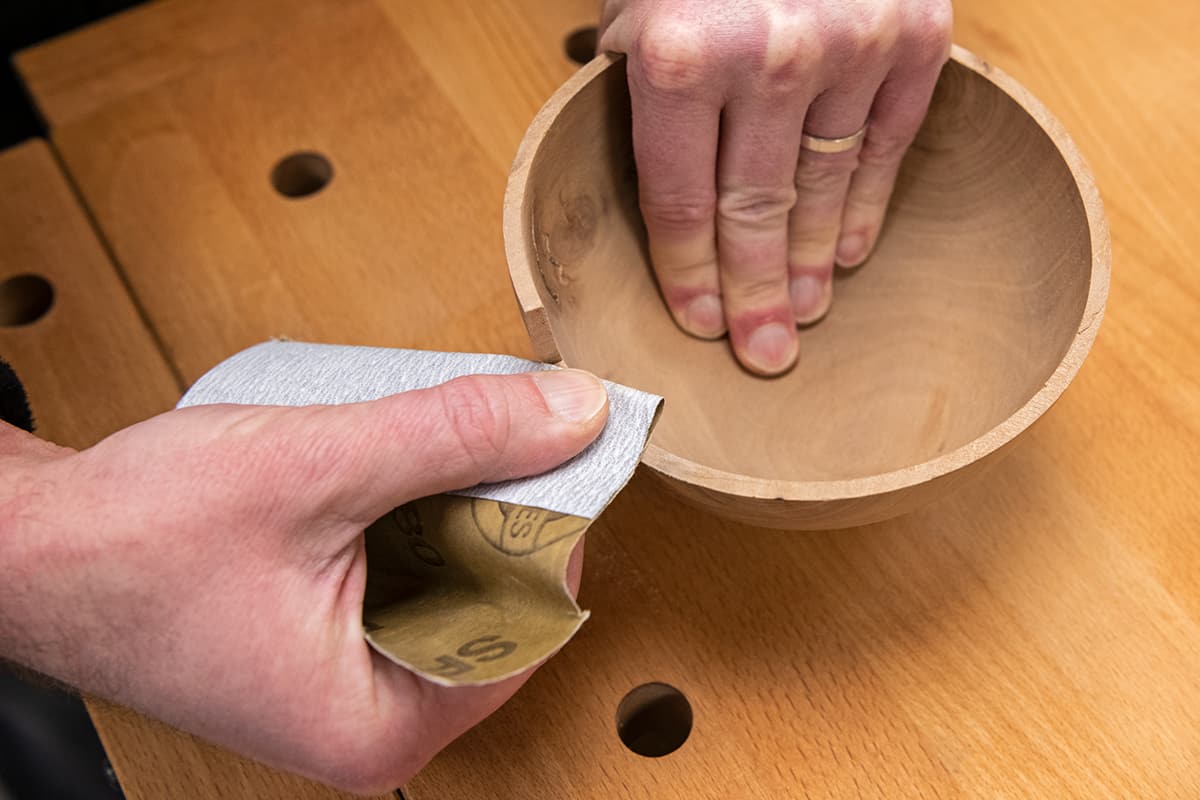
4. Fine Polishing: As the surface approaches the desired smoothness, switch to a finer grit, such as 220 or 320, to polish the frame, removing any remaining blemishes and ensuring a pristine canvas for the application of new coatings.
5. Mindful Pressure and Motion: Throughout the sanding process, maintain consistent pressure and employ smooth, overlapping strokes to prevent uneven abrasion and promote a uniform finish. Pay attention to intricate areas and contours, ensuring that the sanding action reaches all surfaces for comprehensive preparation.
6. Intermittent Inspection: Periodically inspect the sanded surface under adequate lighting to identify any lingering imperfections or uneven areas. This allows for timely adjustments and ensures that the surface is impeccably prepared for the subsequent steps of refinishing.
7. Final Cleaning: Once the sanding process is complete, thoroughly clean the frame to remove any residual dust or particles. A clean surface sets the stage for the application of primers, paints, or protective coatings, ensuring optimal adhesion and a pristine finish.
By embracing these sanding techniques, you elevate the preparation process, setting the stage for a remarkable transformation of the bike frame. The meticulous application of progressive grits, coupled with mindful pressure and thorough inspection, paves the way for a refined and enduring finish, breathing new life into your beloved bike.
With the sanding techniques elucidated, it’s time to conclude our journey through the realm of grit sandpaper and its application in bike frame restoration.
Conclusion
Congratulations on embarking on the enlightening expedition into the world of grit sandpaper and its pivotal role in the restoration of bike frames. Armed with a profound understanding of grit, the art of choosing the right sandpaper, and the essential sanding techniques, you are poised to elevate your bike refinishing endeavors to new heights.
As you venture forth, remember that the journey of refinishing a bike frame is not merely a restoration of its physical appearance but a revival of its spirit and legacy. Each stroke of the sandpaper, each transition between grits, and each meticulous application of technique contributes to the metamorphosis of the frame, breathing new life into its form and essence.
Embrace the process with patience and reverence, for it is a testament to your dedication to preserving and enhancing the beauty of your cherished bike. The synergy of grit sandpaper and your craftsmanship converges to unveil a canvas of limitless potential, awaiting the infusion of your vision and artistry.
Remember, the choice of grit sandpaper is not merely a selection of abrasive material; it is a symphony of transformation, orchestrating the evolution of the frame from its current state to a realm of renewed splendor. Each grit level weaves a narrative of refinement, culminating in a surface that beckons the touch of new finishes and the admiration of onlookers.
As you traverse the path of bike frame restoration, may the wisdom encapsulated in these insights serve as your guiding light, illuminating the way to impeccable results and unparalleled satisfaction. Let your passion for cycling resonate through the meticulous care bestowed upon your bike frame, transcending it into a masterpiece that mirrors your devotion and artistry.
With the knowledge encapsulated in this guide, may your bike frame restoration endeavors be marked by precision, creativity, and a profound connection with the craft. The marriage of grit sandpaper and your unwavering dedication ignites a symphony of rejuvenation, etching a timeless tale of transformation for your beloved bike.
So, as you set out to breathe new life into your bike frame, may the symphony of grit sandpaper and your craftsmanship harmonize to unveil a masterpiece that stands as a testament to your passion and reverence for the art of bike maintenance.
Now, with your spirit kindled and your expertise honed, may your bike frame restoration journey unfold as a testament to the seamless fusion of artistry and technical prowess, culminating in a triumph that transcends the realms of restoration and ventures into the realm of timeless legacy.
Curious about achieving an even smoother finish on your projects? Delve deeper into the world of sanding with our detailed article on sandpaper grit. You'll find out just how fine you can go to get that perfect, sleek surface every time. Perfect for those who are keen on DIY improvements or professional tasks, this guide is sure to help refine your technique and bring out the best in your work.
Frequently Asked Questions about What Grit Sandpaper For Bike Frame
Was this page helpful?
At Storables.com, we guarantee accurate and reliable information. Our content, validated by Expert Board Contributors, is crafted following stringent Editorial Policies. We're committed to providing you with well-researched, expert-backed insights for all your informational needs.


0 thoughts on “What Grit Sandpaper For Bike Frame”