Home>Renovation & DIY>Tools & Equipment>What Grit Sandpaper For Marble
Tools & Equipment
What Grit Sandpaper For Marble
Published: December 20, 2023
Discover the right grit sandpaper for marble with our comprehensive guide. Find the best tools and equipment for achieving a flawless finish.
(Many of the links in this article redirect to a specific reviewed product. Your purchase of these products through affiliate links helps to generate commission for Storables.com, at no extra cost. Learn more)
Introduction
Marble is a stunning natural stone that is renowned for its elegance and durability. Whether you are a DIY enthusiast or a professional contractor, understanding how to properly sand marble is essential to achieve a flawless finish. Sanding marble helps to remove scratches, stains, and imperfections from the surface, allowing its natural beauty to shine through.
When it comes to sanding marble, choosing the right grit sandpaper is crucial. The grit size refers to the coarseness or fineness of the abrasive particles on the sandpaper. Different grits are used at various stages of the sanding process to achieve the desired level of smoothness and to remove specific imperfections.
In this article, we will delve into the world of sanding marble and explore the factors to consider when choosing the right grit sandpaper for your project. We will also provide some tips and precautions to ensure your sanding process goes smoothly.
So, if you’re ready to transform your marble surfaces and bring out their natural brilliance, let’s dive in and discover everything you need to know about the grit sandpaper for marble.
Key Takeaways:
- Choose the right grit sandpaper for marble based on surface imperfections and desired smoothness. Start with coarse grits (24-60) for deep scratches, then progress to finer grits (150-600) for a polished finish.
- Take precautions when sanding marble to avoid damage. Protect surrounding areas, use gentle pressure, and maintain a wet surface. Consider professional assistance for delicate or valuable marble projects.
Read more: What Grit Sandpaper For Polyurethane
Understanding Grit Sandpaper
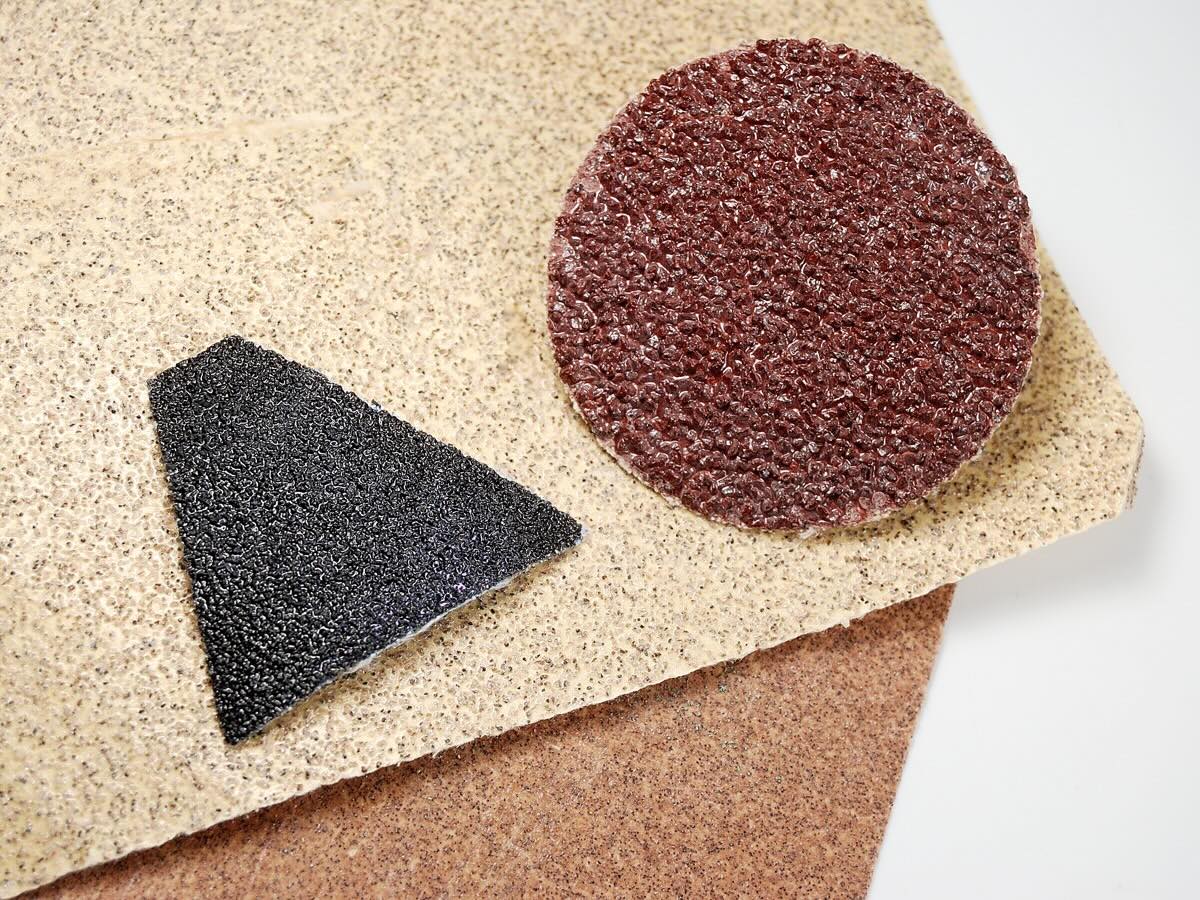
Grit sandpaper is a type of abrasive material that is attached to a backing such as paper or cloth. It is designed to remove material from a surface through abrasion. The grit refers to the size of the abrasive particles on the sandpaper, with lower grit numbers representing coarser particles and higher numbers indicating finer particles.
When it comes to sanding marble, using the right grit sandpaper is essential. The choice of grit depends on the level of surface imperfections and the desired outcome. Coarser grits are effective for removing deep scratches, stains, or heavy coatings, while finer grits are ideal for achieving a smooth and polished finish.
Here are some commonly used grit ranges and their purposes in sanding marble:
- Coarse Grits (24-60): Coarse grit sandpaper is used to quickly remove deep scratches, etches, or heavy coatings from marble surfaces. It is the first step in the sanding process, helping to level the surface and prepare it for finer grits.
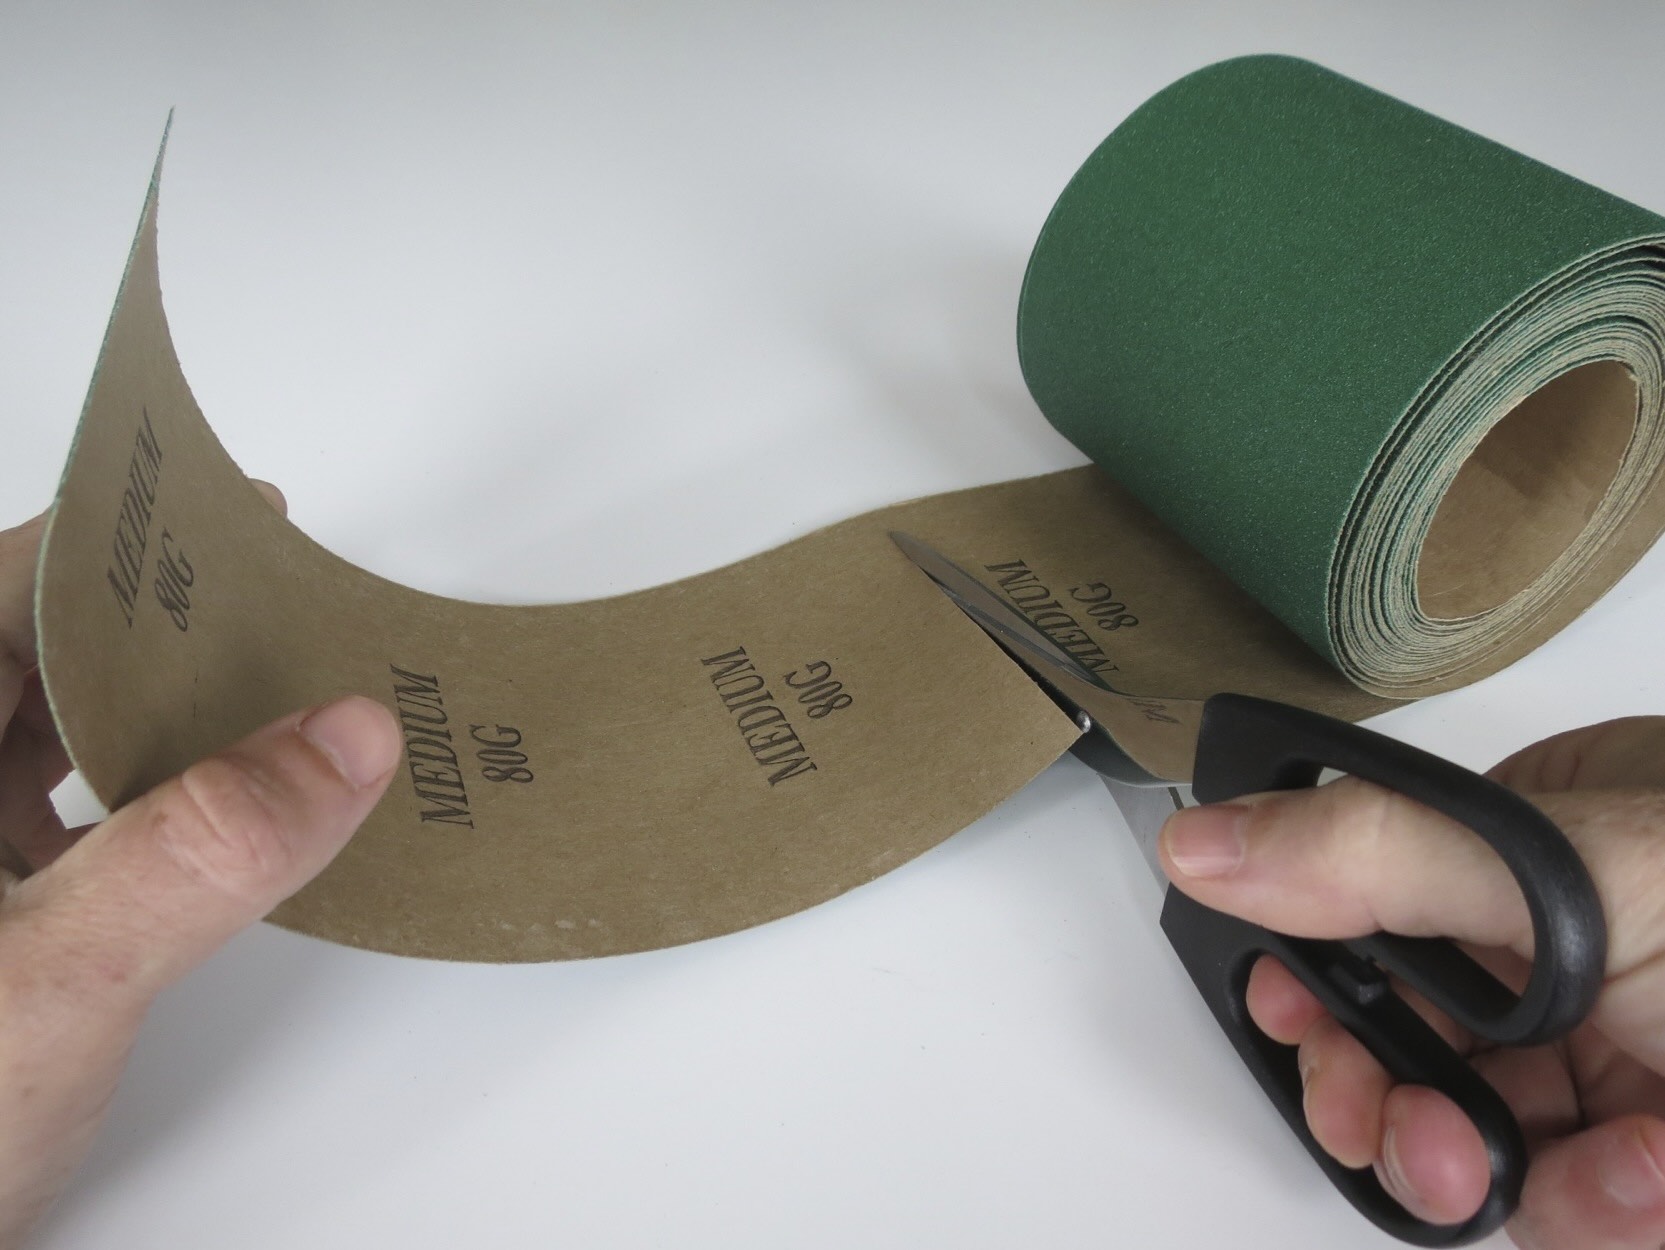
- Medium Grits (80-120): Medium grit sandpaper is used to continue the sanding process, removing any remaining scratches or imperfections from the surface. It helps to refine the surface and prepare it for finer grits.
- Fine Grits (150-300): Fine grit sandpaper is used to achieve a smooth and polished finish on marble surfaces. It is effective at removing light scratches, leveling the surface, and preparing it for polishing.
- Very Fine Grits (400-600+): Very fine grit sandpaper is used for final sanding and polishing of marble surfaces. It helps to create a mirror-like finish and enhance the natural beauty of the stone. This grit range is often used in conjunction with polishing compounds or pads.
It is important to note that the specific grits used may vary depending on the condition of the marble surface and the extent of the imperfections. Always assess the surface carefully to determine the appropriate grit progression for optimal results.
By understanding the different grit sandpaper options available and their purposes, you can effectively sand marble surfaces and achieve stunning results. The next step is to consider various factors when choosing the right grit sandpaper for your marble project, which we will explore in the next section.
Factors to Consider when Sanding Marble
When sanding marble, several factors should be taken into consideration to ensure a successful outcome. These factors include the condition of the marble surface, the type of imperfections present, the desired level of smoothness, and the equipment and tools available. Let’s explore these factors in detail:
- Marble Surface Condition: Assess the condition of the marble surface before determining the grit sandpaper to use. If the surface has deep scratches, heavy stains, or coatings, starting with a coarse grit sandpaper such as 24 or 60 grit may be necessary. For surfaces with minor imperfections, starting with a medium or fine grit sandpaper may be sufficient.
- Type of Imperfections: The type of imperfections on the marble surface will also influence the choice of grit sandpaper. Coarser grits are effective for removing deep scratches, etches, and heavy coatings, while finer grits are better suited for light scratches and surface leveling.
- Desired Level of Smoothness: Consider the level of smoothness you want to achieve on the marble surface. Coarser grits will remove more material, resulting in a rougher surface, while finer grits will provide a smoother and more polished finish.
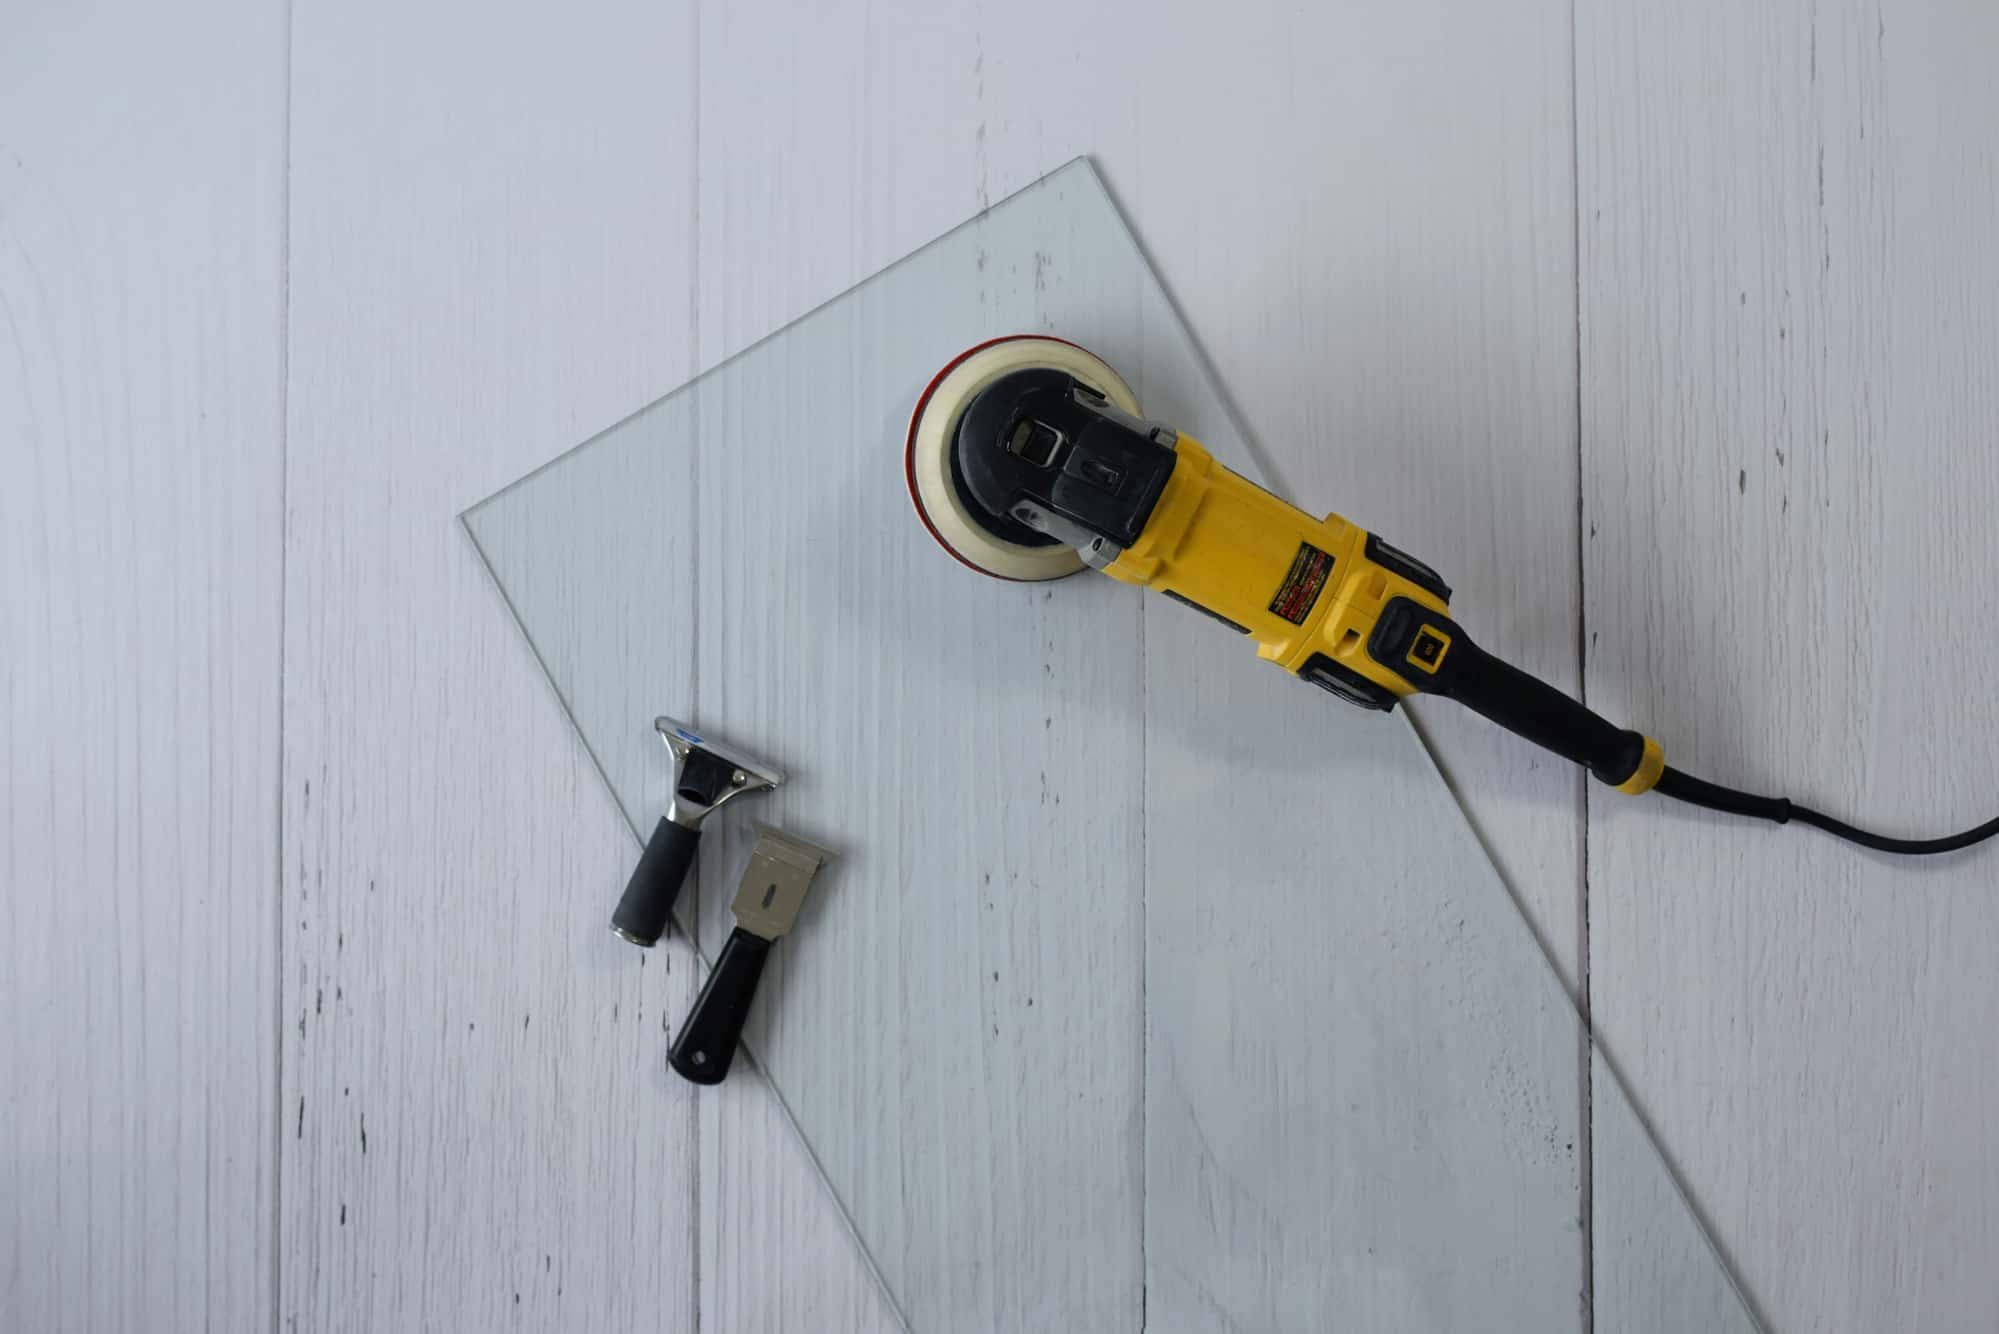
- Equipment and Tools: Evaluate the equipment and tools available for the sanding process. Some sanders, such as orbital or random orbital sanders, have specific grit recommendations. Ensure that the sandpaper you choose is compatible with your equipment.
- Progressive Grit Sequence: Plan a progressive grit sequence to achieve the desired results. Start with the appropriate coarse grit sandpaper, then gradually move to finer grits to refine the surface and achieve a polished finish.
It is important to note that each marble project is unique, and the factors to consider may vary based on the specific requirements. Take the time to evaluate the marble surface, consider the imperfections, and determine the level of smoothness you wish to achieve. This will guide you in selecting the most appropriate grit sandpaper for your project.
Now that we have a better understanding of the factors to consider when sanding marble, let’s dive into the different grit sandpapers available for marble surfaces.
Different Grit Sandpapers for Marble
When it comes to sanding marble, there is a wide range of grit sandpapers available to suit different needs and achieve various levels of smoothness. Understanding the different grits and their purposes will help you select the right sandpaper for your marble project. Here are the commonly used grit sandpapers for sanding marble:
- Coarse Grit Sandpaper (24-60 Grit): Coarse grit sandpaper is the initial stage in the sanding process. It is used to remove deep scratches, prominent stains, or heavy coatings from the marble surface. Coarse grits such as 24 or 60 are ideal for leveling and preparing the surface for finer grit sandpapers.
- Medium Grit Sandpaper (80-120 Grit): Medium grit sandpaper is the next step in the sanding process. It helps to refine the surface by removing remaining scratches or imperfections left by the coarse grit sandpaper. Medium grits like 80 or 120 are effective in achieving a smoother surface texture.
- Fine Grit Sandpaper (150-300 Grit): Fine grit sandpaper is used to achieve a polished finish on the marble surface. It is effective in removing light scratches, leveling the surface, and preparing it for polishing. Grits in the range of 150 to 300 are commonly used for this purpose.
- Very Fine Grit Sandpaper (400-600+ Grit): Very fine grit sandpaper is used for the final sanding and polishing stages. It helps to create a mirror-like finish on the marble surface. Grits in the range of 400 to 600 or higher are used along with polishing compounds or pads to achieve exceptional smoothness and shine.
It is important to follow a progressive grit sequence when sanding marble. Starting with a coarse grit sandpaper and gradually moving to finer grits allows for effective and efficient removal of imperfections while achieving a smooth surface texture.
Keep in mind that the specific grits used may vary based on the condition of the marble surface and the desired outcome. Assess the surface carefully and plan your sanding process accordingly.
Now that we have discussed the different grit sandpapers for marble, let’s move on to the next section to learn how to choose the right grit sandpaper for your specific marble project.
Use 120-220 grit sandpaper for marble to remove scratches and etching. Start with the lower grit and gradually move to the higher grit for a smooth finish.
Choosing the Right Grit Sandpaper for Your Marble Project
When it comes to sanding marble, choosing the right grit sandpaper is crucial to achieve the desired results. The selection depends on the condition of the marble surface and the level of imperfections you need to address. Here are some steps to help you choose the right grit sandpaper for your marble project:
- Assess the Marble Surface: Evaluate the condition of the marble surface to determine the extent of scratches, stains, or coatings that need to be removed. Identify any deep scratches or imperfections that require the use of a coarse grit sandpaper.
- Start with a Coarse Grit: If the marble surface has significant imperfections or coatings, start with a coarse grit sandpaper such as 24 or 60 grit. This will help level the surface and remove deep scratches or stains. Gradually move to finer grits as you progress through the sanding process.
- Consider Medium Grits: After using a coarse grit sandpaper, transition to medium grits such as 80 or 120. These grits will further refine the surface and remove any remaining scratches or imperfections left by the coarse grit sandpaper.
- Use Fine Grits for Smoothing: Once the surface is relatively smooth, switch to fine grit sandpaper in the range of 150 to 300. These grits will help achieve a smooth and polished finish on the marble surface.
- Finalize with Very Fine Grits: For exceptional smoothness and shine, use very fine grit sandpaper in the range of 400 to 600 or higher. These grits, along with polishing compounds or pads, will help create a mirror-like finish on the marble surface.
- Test in an inconspicuous area: Before proceeding with sanding the entire marble surface, it is advisable to test the chosen grit sandpaper in an inconspicuous area. This allows you to assess the effectiveness of the grit and ensure it is suitable for your specific marble project.
Remember to regularly inspect the marble surface during the sanding process to determine if you need to switch to a finer grit sandpaper or make adjustments based on the desired level of smoothness. It is important to use a gradual progression of grits to achieve optimal results.
By carefully considering the condition of the marble surface, starting with an appropriate grit, and progressing through the sanding process, you can effectively choose the right grit sandpaper for your marble project and achieve a beautifully polished finish.
Next, we will explore some tips for sanding marble effectively to ensure a successful outcome.
Read more: What Grit Sandpaper For Varnish
Tips for Sanding Marble Effectively
Sanding marble requires attention to detail and proper technique to achieve the best results. Here are some valuable tips to help you sand marble effectively:
- Prepare the Surface: Before sanding, clean the marble surface thoroughly to remove any dirt, dust, or debris. This ensures that sanding is done on a clean and smooth surface.
- Wear Protective Gear: Protect yourself by wearing safety goggles, a dust mask, and gloves when sanding marble. This helps prevent eye injuries from flying debris and keeps you safe from inhaling dust particles.
- Work in Stages: Divide the marble surface into manageable sections and sand one section at a time. This allows for better control and ensures consistent sanding across the entire surface.
- Maintain Consistent Pressure: Apply even and consistent pressure when sanding marble. Avoid pressing too hard, as it can damage the surface. Let the sandpaper do the work, and allow the grit to gradually remove imperfections.
- Use Water for Lubrication: When sanding marble, keep the surface wet by spraying water onto it. This helps to lubricate the sandpaper and prevent overheating. It also helps to minimize dust production and keep the surface cool during the sanding process.
- Check Progress Regularly: Stop periodically to inspect the marble surface and check the progress of the sanding. This allows you to evaluate if you need to switch to a finer grit or make any adjustments based on the desired level of smoothness.
- Work Gradually with Finer Grits: Progress through the sanding process gradually, starting with a coarse grit and moving to finer grits. Each grit should refine the surface and prepare it for the next step. Do not rush the process, as patience and attention to detail are key to achieving a polished finish.
- Keep the Sandpaper Clean: Regularly clean the sandpaper by brushing off any residue or debris that may build up during the sanding process. Clean sandpaper ensures optimal performance and prevents clogging.
- Finish with Polishing: Once the sanding process is complete, consider applying a marble polish to enhance the shine and protect the surface. Follow the manufacturer’s instructions for proper application.
- Practice on Scrap Marble: If you are new to sanding marble, it is recommended to practice on a small piece of scrap marble before working on larger projects. This allows you to familiarize yourself with the sanding process and gain confidence before tackling more significant surfaces.
By following these tips, you can sand marble effectively and achieve professional-looking results. Remember to work patiently, maintain the appropriate grit progression, and prioritize safety throughout the process.
Now, let’s move on to the next section, where we will discuss some precautions to take while sanding marble to avoid any potential damage.
Precautions to Take While Sanding Marble
While sanding marble can help restore its beauty and remove imperfections, it is important to take certain precautions to avoid damaging the surface. Here are some essential precautions to keep in mind:
- Protect Surrounding Areas: Before starting the sanding process, it’s crucial to protect adjacent surfaces and objects from potential damage. Cover them with drop cloths or plastic sheets to prevent any accidental scratches or debris from falling on them.
- Secure the Marble Surface: Ensure that the marble surface is securely positioned or clamped down to prevent movement or slippage while sanding. This stability is essential for achieving consistent results and preventing accidents.
- Start with the Right Grit: Use the appropriate grit sandpaper based on the condition of the marble surface. Starting with a grit that is too coarse may remove too much material and cause irreversible damage. Always begin with a less aggressive grit and progress gradually as needed.
- Avoid Excessive Pressure: Applying too much pressure while sanding can potentially damage the marble surface. Let the sandpaper do the work and apply even, gentle pressure. Avoid using excessive force, as it can result in uneven sanding or even create new scratches.
- Maintain a Wet Surface: Keep the marble surface wet throughout the sanding process by spraying water. This helps to reduce friction and heat, preventing the marble from overheating and potentially cracking. It also helps to minimize the amount of dust generated during sanding.
- Regularly Clean the Sandpaper: Clear away dust and debris from the sandpaper regularly to ensure optimal performance. This prevents clogging and allows the sandpaper to effectively remove imperfections from the marble surface.
- Practice Patience: Take your time and work slowly and methodically when sanding marble. Rushing the process can result in uneven sanding or the removal of too much material. Patience and attention to detail are key to achieving a beautiful and polished finish.
- Use Personal Protective Equipment (PPE): Protect yourself during the sanding process by wearing safety goggles, a dust mask, and gloves. This safeguards your eyes, respiratory system, and hands from potential injuries and dust particles.
- Test in an Inconspicuous Area: Before sanding the entire marble surface, it is advisable to test the chosen grit sandpaper in a small, inconspicuous area. This allows you to evaluate the effect of the sandpaper on the specific marble type without risking damage to the entire surface.
- Consider Professional Assistance: If you are unsure about sanding marble or if the project involves delicate or valuable marble, it may be best to seek the help of a professional. They have the expertise and specialized equipment to handle the process safely and effectively.
By adhering to these precautions, you can minimize the risk of damaging the marble surface and ensure a successful sanding process. Remember, taking the necessary precautions is crucial to achieve the desired results while preserving the beauty and integrity of the marble.
Now, let’s wrap up and summarize the key points we have covered in this article.
Conclusion
Sanding marble is a meticulous process that requires careful consideration and attention to detail. By understanding the different grit sandpapers available and considering various factors such as the condition of the marble surface and the desired level of smoothness, you can choose the right grit sandpaper for your project.
Coarse grit sandpapers, such as 24 or 60, are ideal for removing deep scratches and heavy coatings, while finer grits like 150 to 300 are used to achieve a polished finish. Very fine grit sandpapers in the range of 400 to 600 or higher are suitable for final sanding and polishing stages.
To sand marble effectively, it is important to prepare the surface, wear protective gear, work in stages, and maintain consistent pressure. Using water as a lubricant, performing regular inspections, and cleaning the sandpaper are also necessary for successful sanding.
Taking precautions throughout the sanding process, such as protecting surrounding areas, securing the marble surface, and avoiding excessive pressure, can help prevent any potential damage. Additionally, practicing patience and seeking professional assistance when needed are essential for achieving the best possible results while safeguarding the marble surface.
Remember to test the chosen grit sandpaper in an inconspicuous area before proceeding with the entire surface. This allows you to evaluate its effectiveness and ensure it meets your expectations.
With the right grit sandpaper and proper techniques, you can transform your marble surfaces, restoring their natural beauty and achieving a polished finish that enhances any space. So, whether you’re tackling a DIY project or working as a professional contractor, follow these guidelines and enjoy the rewarding process of sanding marble to perfection.
Frequently Asked Questions about What Grit Sandpaper For Marble
Was this page helpful?
At Storables.com, we guarantee accurate and reliable information. Our content, validated by Expert Board Contributors, is crafted following stringent Editorial Policies. We're committed to providing you with well-researched, expert-backed insights for all your informational needs.


0 thoughts on “What Grit Sandpaper For Marble”