Home>Renovation & DIY>Tools & Equipment>What Grit Sandpaper To Use Before Painting Walls
Tools & Equipment
What Grit Sandpaper To Use Before Painting Walls
Modified: October 20, 2024
Prepare your walls for a flawless paint job with the right grit sandpaper. Find out which tools and equipment to use for the best results.
(Many of the links in this article redirect to a specific reviewed product. Your purchase of these products through affiliate links helps to generate commission for Storables.com, at no extra cost. Learn more)
Introduction
When it comes to giving your walls a fresh coat of paint, preparation is key. One essential step in this process is sanding the walls to achieve a smooth and even surface for the new paint to adhere to. However, the world of sandpaper can be daunting, with its various grit numbers and types. Understanding which grit sandpaper to use before painting your walls is crucial for achieving a professional-looking finish.
In this comprehensive guide, we will delve into the realm of grit sandpaper and its role in wall preparation. We will explore the different grit numbers, discuss the optimal grit sandpaper for pre-painting tasks, and provide valuable insights into sanding techniques. By the end of this article, you will be equipped with the knowledge and confidence to tackle your wall-painting project with finesse.
Let's embark on this enlightening journey through the intricacies of wall preparation and grit sandpaper selection. Whether you're a seasoned DIY enthusiast or a novice homeowner seeking to revitalize your living space, this guide is tailored to empower you with the expertise needed to achieve impeccable painting results. So, grab your sandpaper and let's dive into the world of wall preparation!
Key Takeaways:
- Choose the right grit sandpaper based on wall imperfections. Start with coarse grit (80-120), then medium (150-180), and finish with fine grit (220-240) for a flawless paint-ready surface.
- Use even pressure and circular motions when sanding walls. Progress from coarser to finer grits, and pay special attention to corners and edges for a professional paint finish.
Read more: What Grit Sandpaper To Use Before Painting
Understanding Grit Sandpaper
Before delving into the specifics of wall preparation, it’s essential to grasp the concept of grit sandpaper and its role in the painting process. Grit refers to the coarseness or fineness of the abrasive particles on the sandpaper. A higher grit number indicates finer particles, while a lower grit number signifies coarser particles. The grit number directly correlates to the sandpaper’s abrasive quality and its suitability for various tasks.
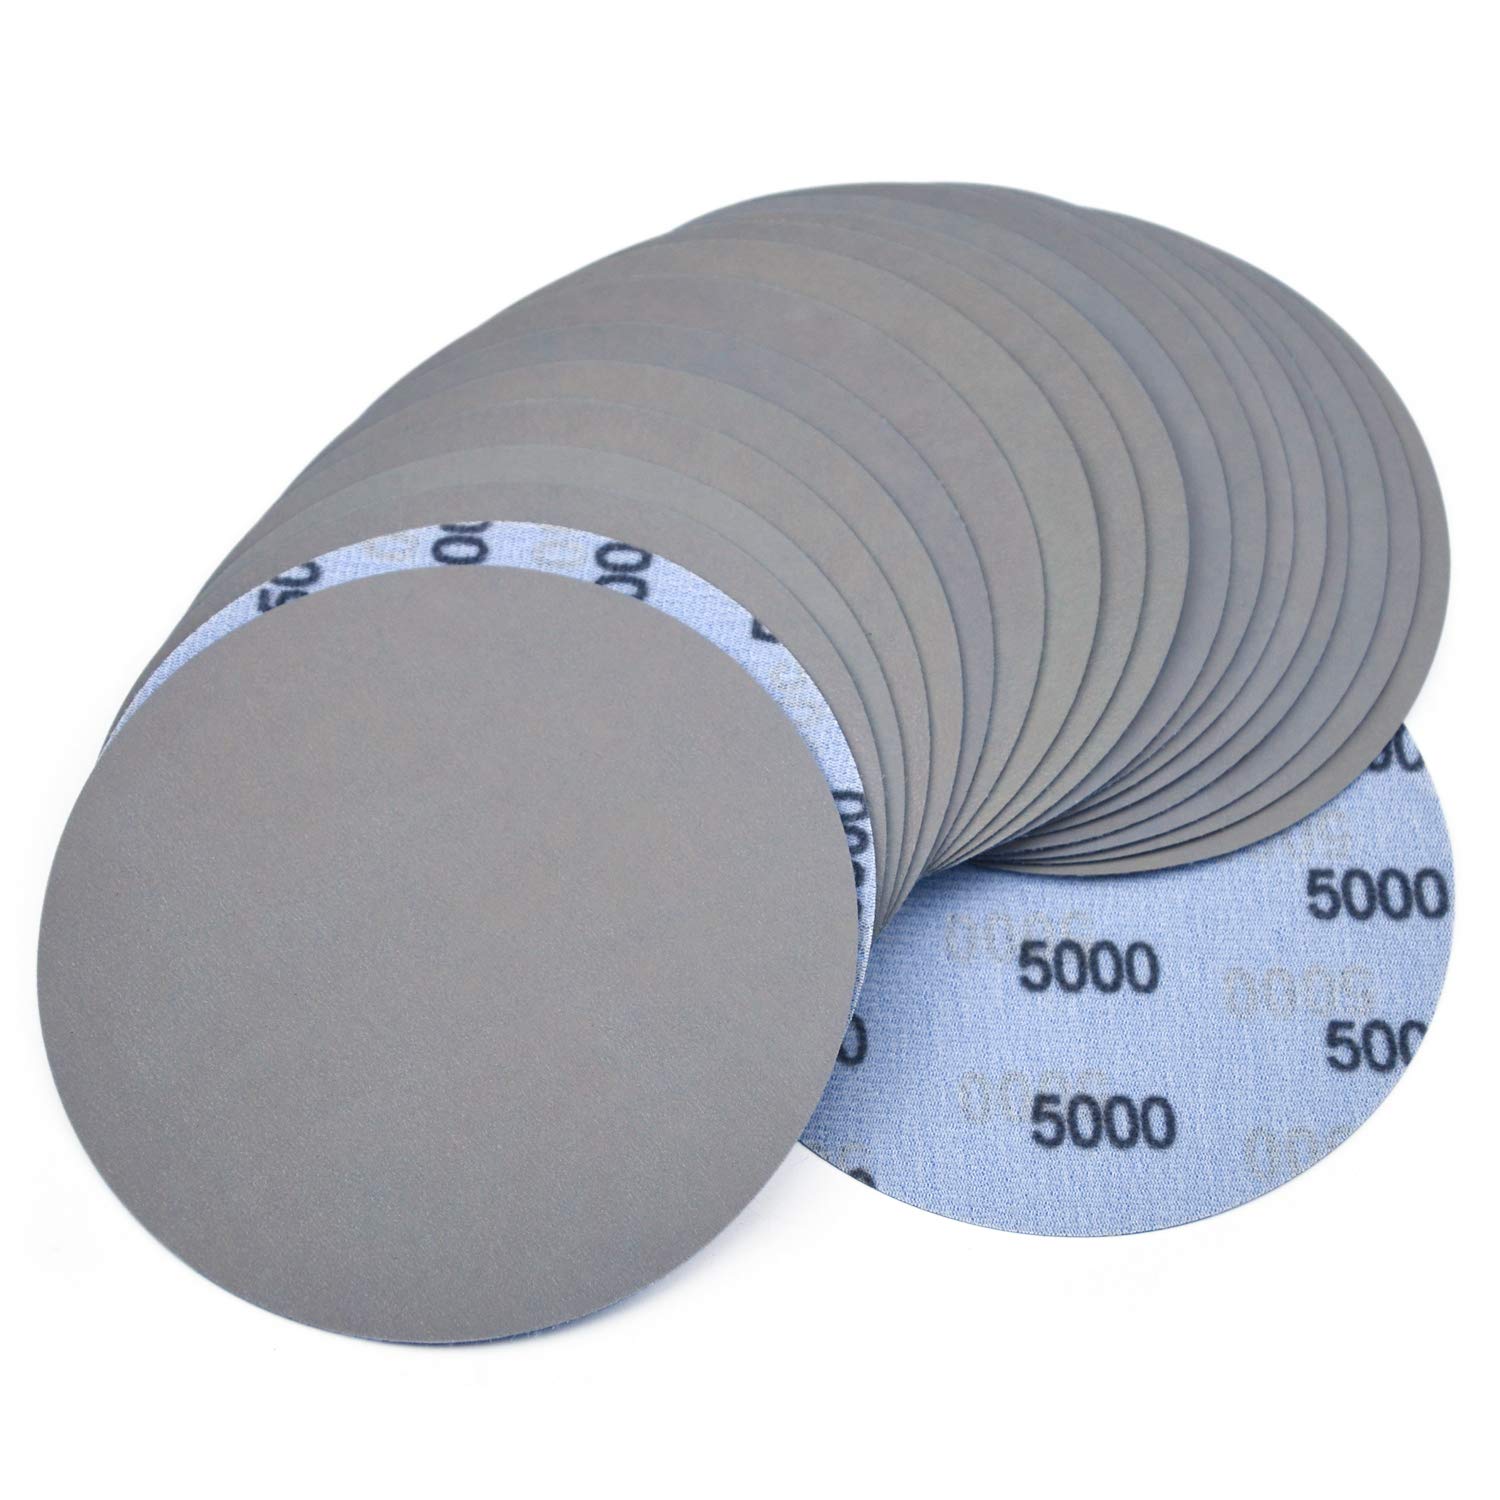
Common grit numbers range from 40 (coarse) to 3000 (extra fine), with each serving a distinct purpose. Coarse grit sandpaper, such as 40 to 60 grit, is ideal for heavy material removal, such as stripping old paint or smoothing rough surfaces. As the grit number increases, the sandpaper becomes finer and is suitable for progressively lighter sanding and smoothing tasks.
Understanding the relationship between grit numbers and sandpaper coarseness is pivotal in achieving the desired surface texture before painting. For wall preparation, the choice of grit sandpaper hinges on the wall’s condition and the extent of imperfections that need to be addressed.
Furthermore, being familiar with the types of grit sandpaper available, including aluminum oxide, garnet, and silicon carbide, can aid in selecting the most suitable option for your specific wall-painting project. Each type possesses unique abrasive properties, durability, and compatibility with different surfaces, influencing its effectiveness in smoothing and preparing walls for painting.
Armed with a foundational understanding of grit sandpaper and its variations, you are better equipped to navigate the nuances of wall preparation. The next section will delve into the intricacies of preparing walls for painting and the pivotal role that grit sandpaper plays in this process.
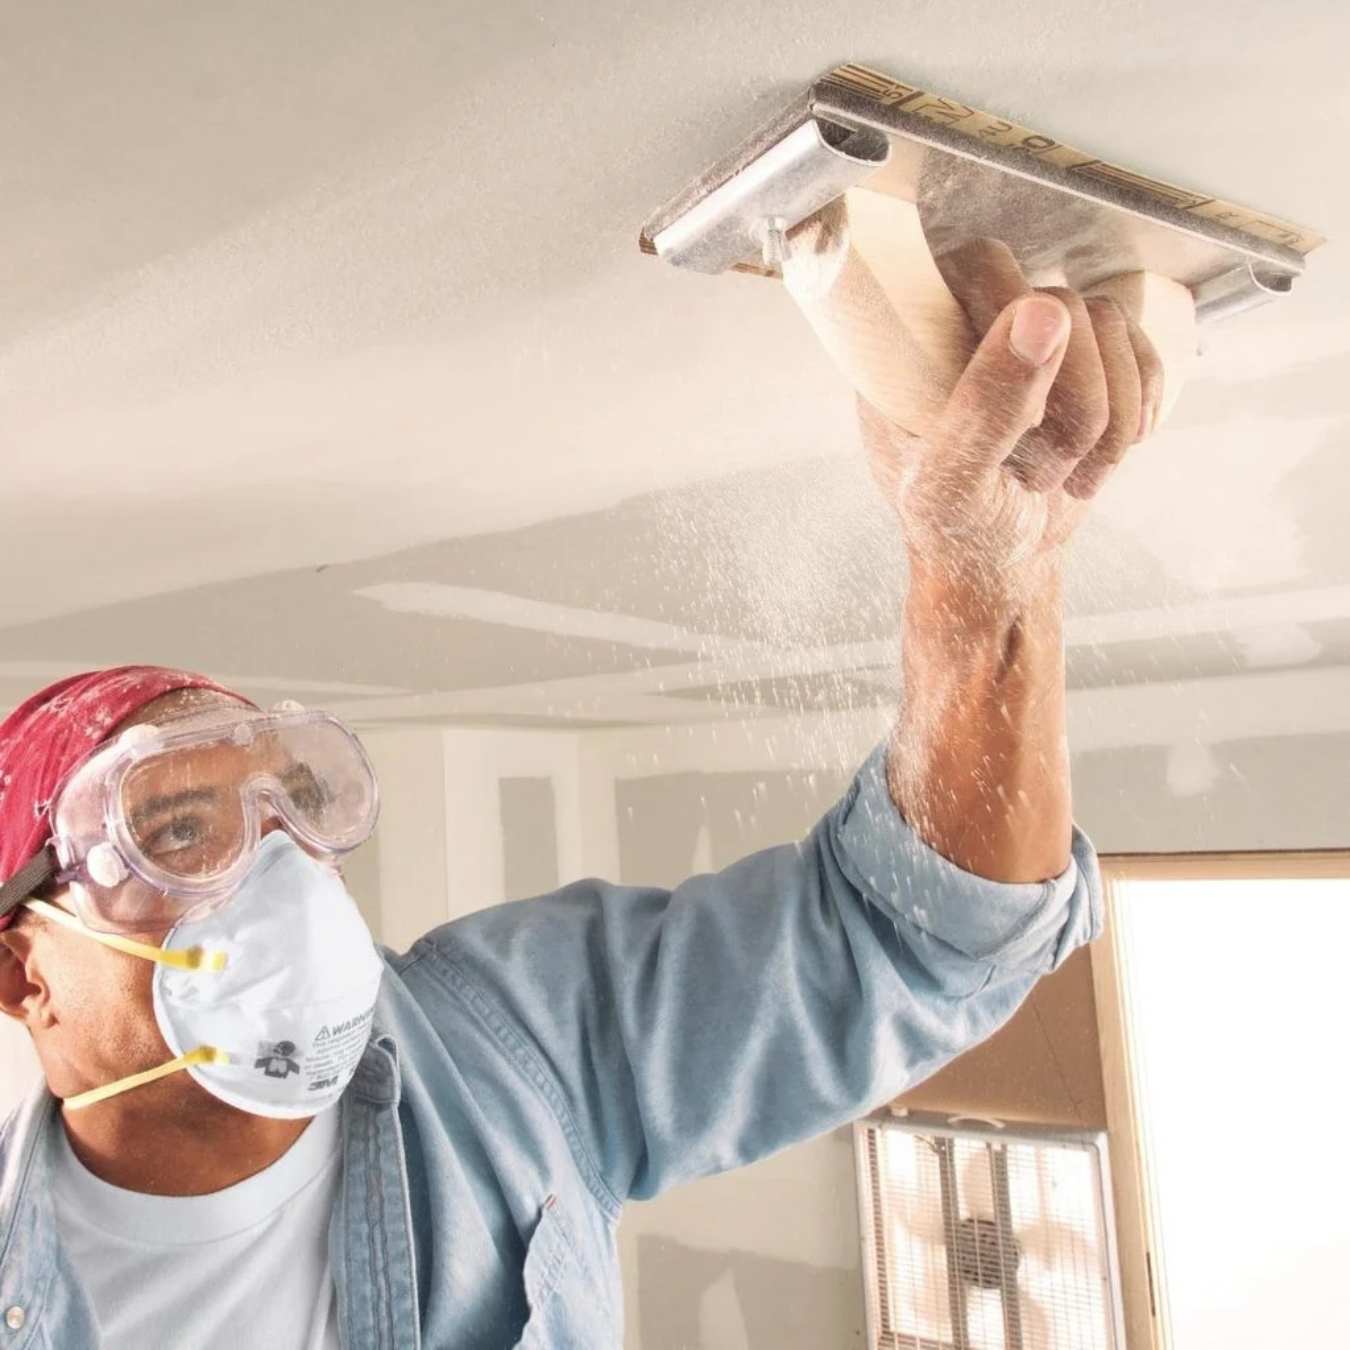
Preparing Walls for Painting
Before embarking on a painting project, it’s essential to ensure that the walls are adequately prepared to receive the new coat of paint. This preparation involves addressing imperfections, such as bumps, dents, and old paint residue, and creating a smooth, uniform surface for the paint to adhere to. Proper wall preparation not only enhances the aesthetic appeal of the finished paint job but also contributes to its longevity.
The initial step in wall preparation is to thoroughly clean the walls to remove dust, dirt, and any greasy residues that may hinder paint adhesion. This can be achieved using a mild detergent solution and a sponge or cloth. Once the walls are clean and dry, it’s time to assess their condition and address any imperfections that could mar the final paint finish.
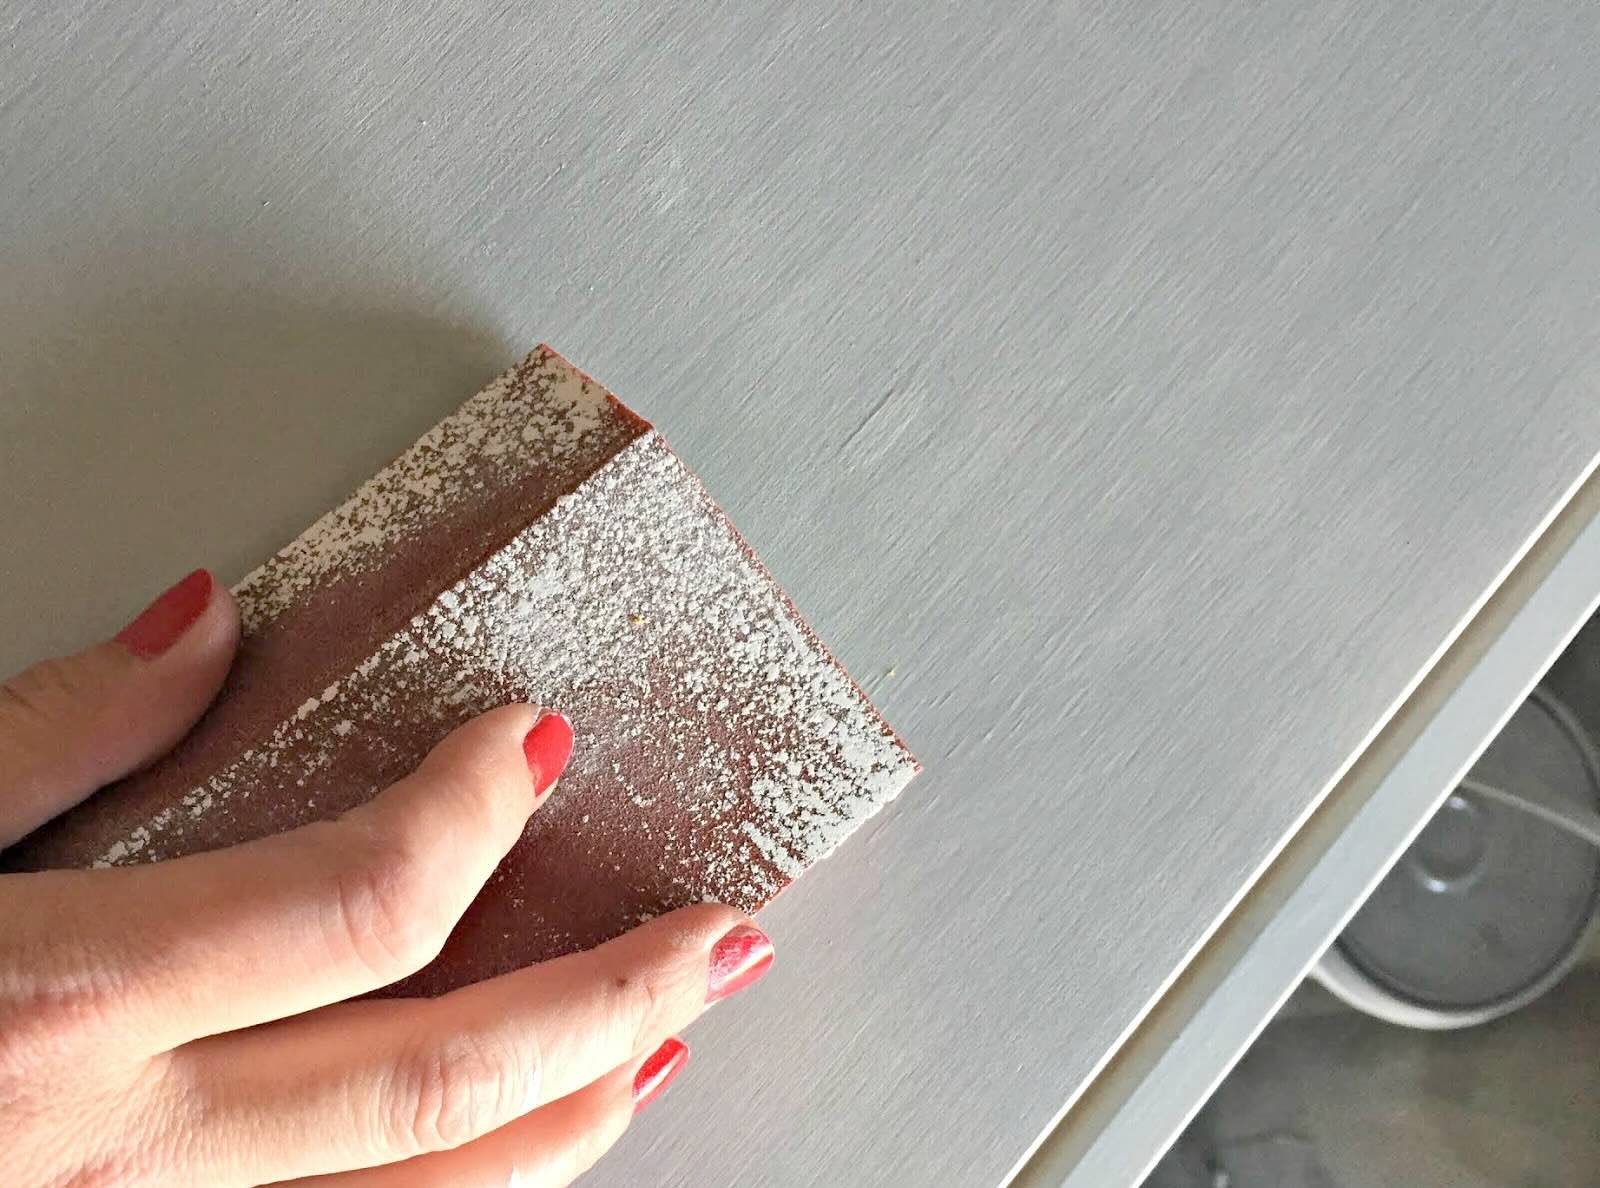
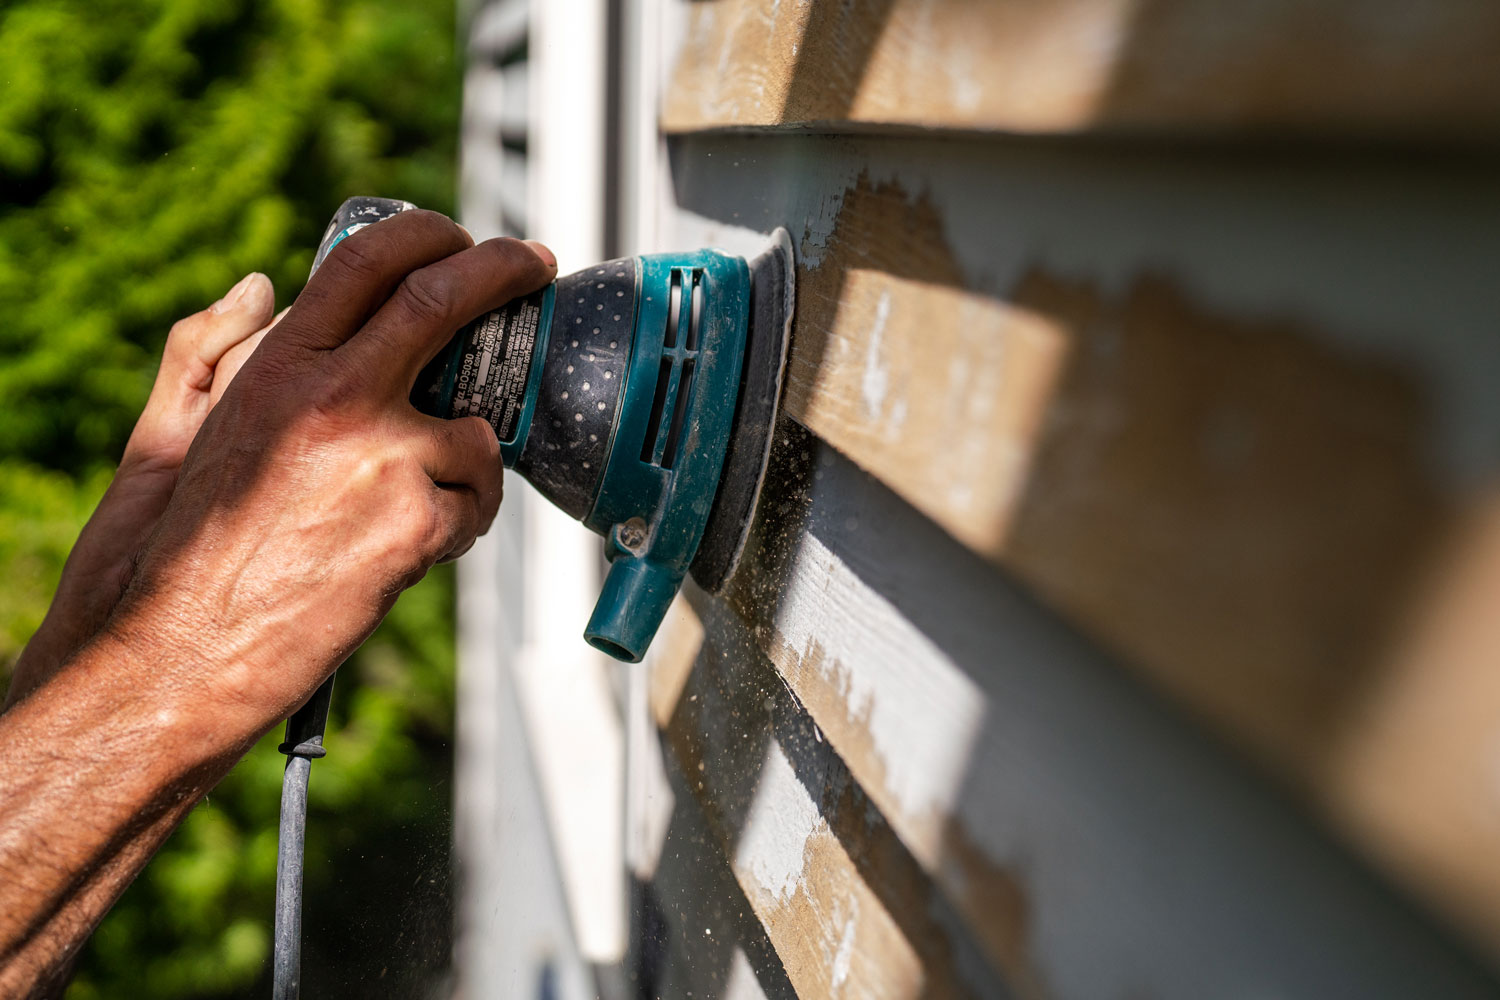
For walls with noticeable imperfections, such as uneven textures, bumps, or small cracks, sanding is a crucial step in achieving a flawless surface. Grit sandpaper serves as the primary tool for smoothing out these imperfections, creating an even canvas for the new paint. Additionally, sanding helps to remove any remnants of old paint or varnish, ensuring a clean and uniform surface for the fresh coat of paint.
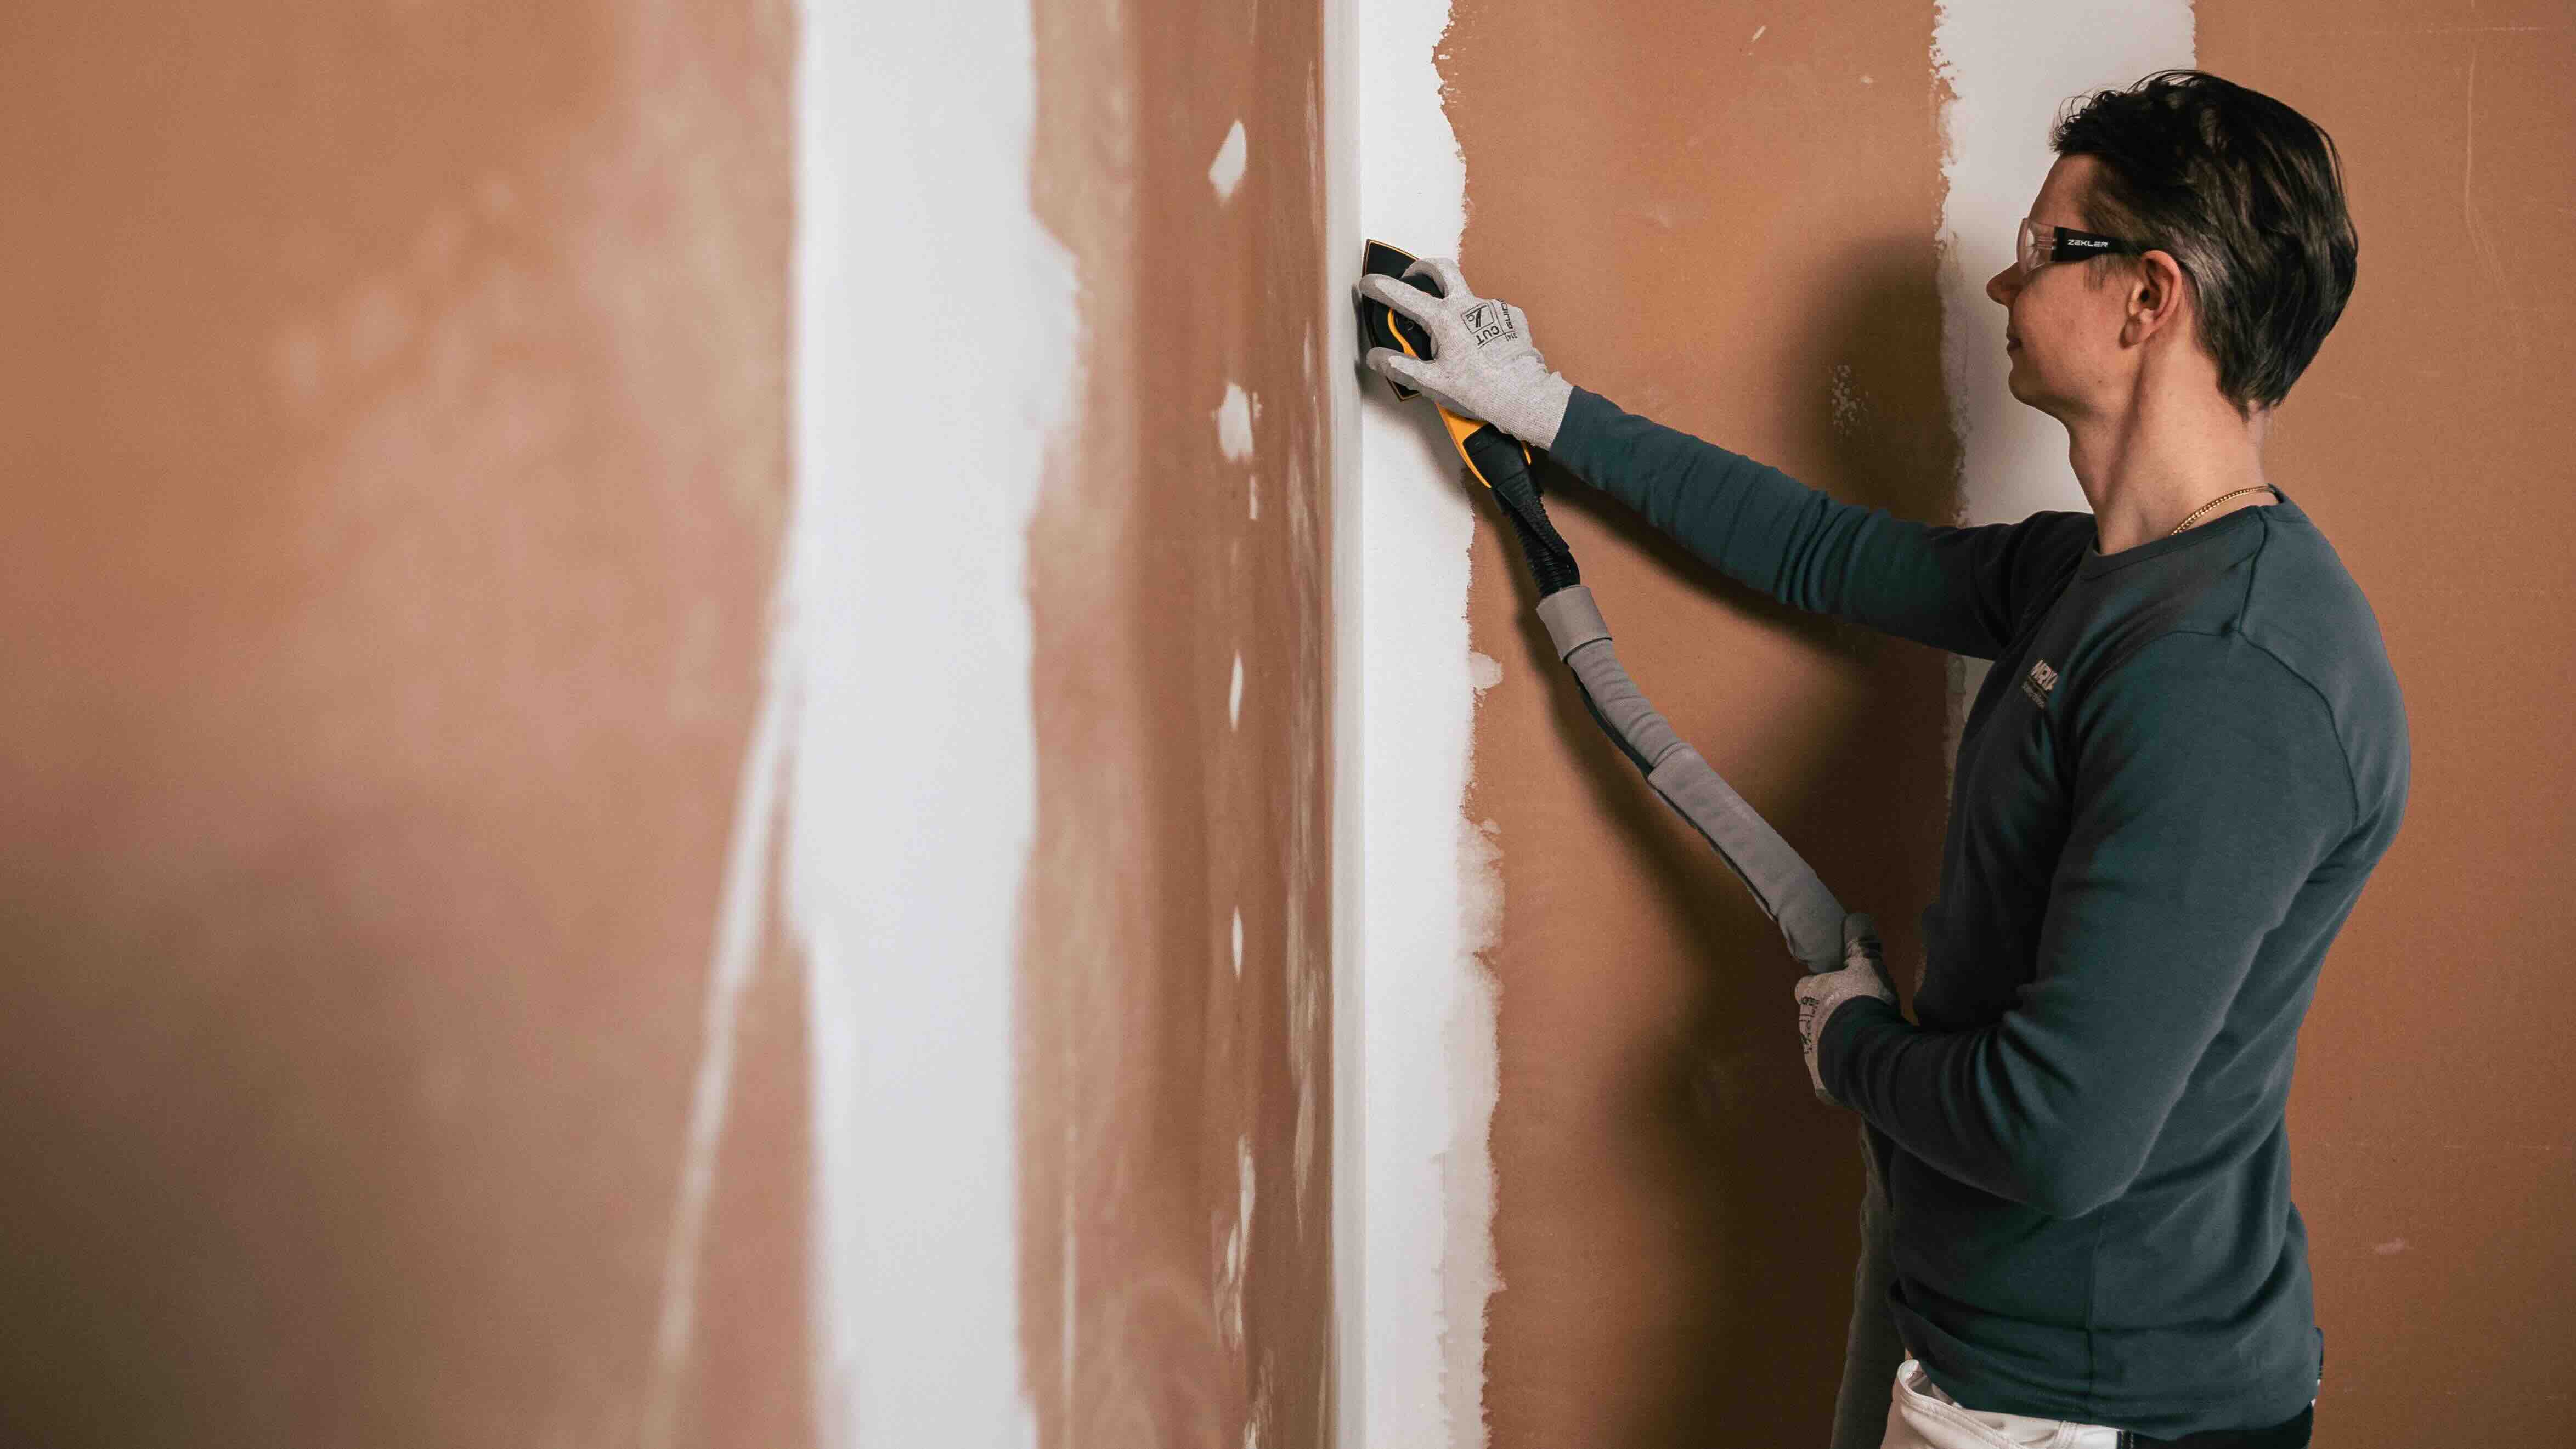
It’s important to pay attention to corners, edges, and trim, as these areas may require special attention during the sanding process. Properly preparing these intricate areas will contribute to a professional-looking paint job with clean, crisp lines and uniform texture throughout the walls.
By meticulously preparing the walls for painting, you set the stage for a successful and visually appealing outcome. The next section will delve into the crucial aspect of selecting the right grit sandpaper for wall preparation, guiding you through the process of choosing the optimal grit for your specific painting project.
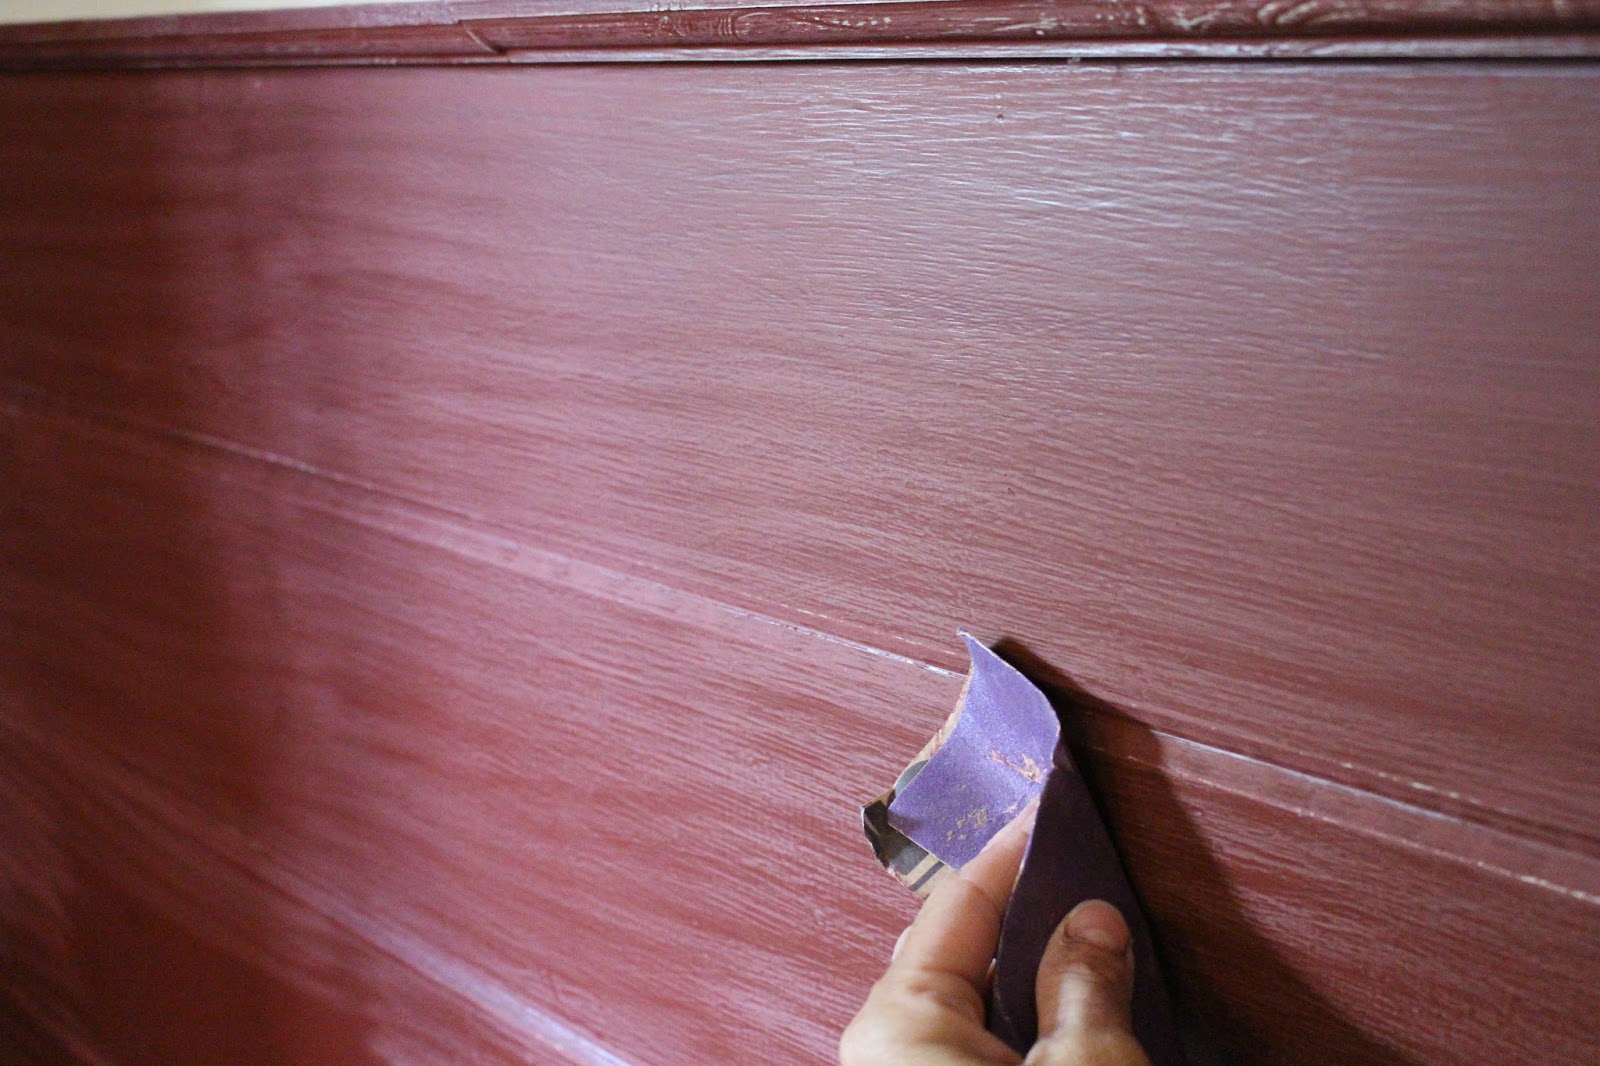
Use 120-150 grit sandpaper to smooth walls before painting. This grit is fine enough to remove imperfections but not too rough to create deep scratches.
Choosing the Right Grit Sandpaper
When it comes to selecting the appropriate grit sandpaper for preparing walls before painting, several factors come into play. The condition of the walls, the type of imperfections present, and the desired smoothness of the surface all influence the choice of grit. Understanding the correlation between grit numbers and their respective applications is instrumental in achieving the desired results.
For walls with significant imperfections, such as rough patches, old paint residue, or minor dents, a coarser grit sandpaper, typically in the range of 80 to 120 grit, is well-suited for the initial sanding. This coarse grit effectively smoothens rough surfaces and facilitates the removal of stubborn imperfections, preparing the walls for subsequent finer sanding.
As the initial sanding with coarse grit sandpaper yields a smoother surface, transitioning to a medium-grit sandpaper, around 150 to 180 grit, allows for further refinement. This medium grit is effective in smoothing out the surface, eliminating any residual marks or uneven textures left behind by the coarser sandpaper.
Once the walls have been sufficiently smoothed with medium-grit sandpaper, the final sanding stage involves using a finer grit, typically in the range of 220 to 240 grit. This fine grit sandpaper provides the finishing touches, ensuring a uniformly smooth surface that is primed for the application of paint. The finer grit removes any remaining imperfections and creates an ideal surface for the paint to adhere to, resulting in a flawless finish.
It’s important to note that the choice of grit sandpaper may vary based on the specific condition of the walls and the type of paint being applied. For instance, if the walls are in relatively good condition with minimal imperfections, starting with a medium-grit sandpaper may suffice, followed by a finer grit for the final smoothing.
By understanding the role of different grit sandpapers and their applications, you can make informed decisions when preparing your walls for painting. The next section will delve into the nuances of sanding techniques, providing valuable insights into achieving optimal results during the wall preparation process.
Sanding Techniques
Effective sanding techniques are instrumental in achieving a smooth and flawless surface for painting. Whether you are addressing minor imperfections or preparing a larger wall area, employing the right sanding techniques can significantly impact the quality of the final paint finish. Here are some essential sanding techniques to elevate your wall preparation process:
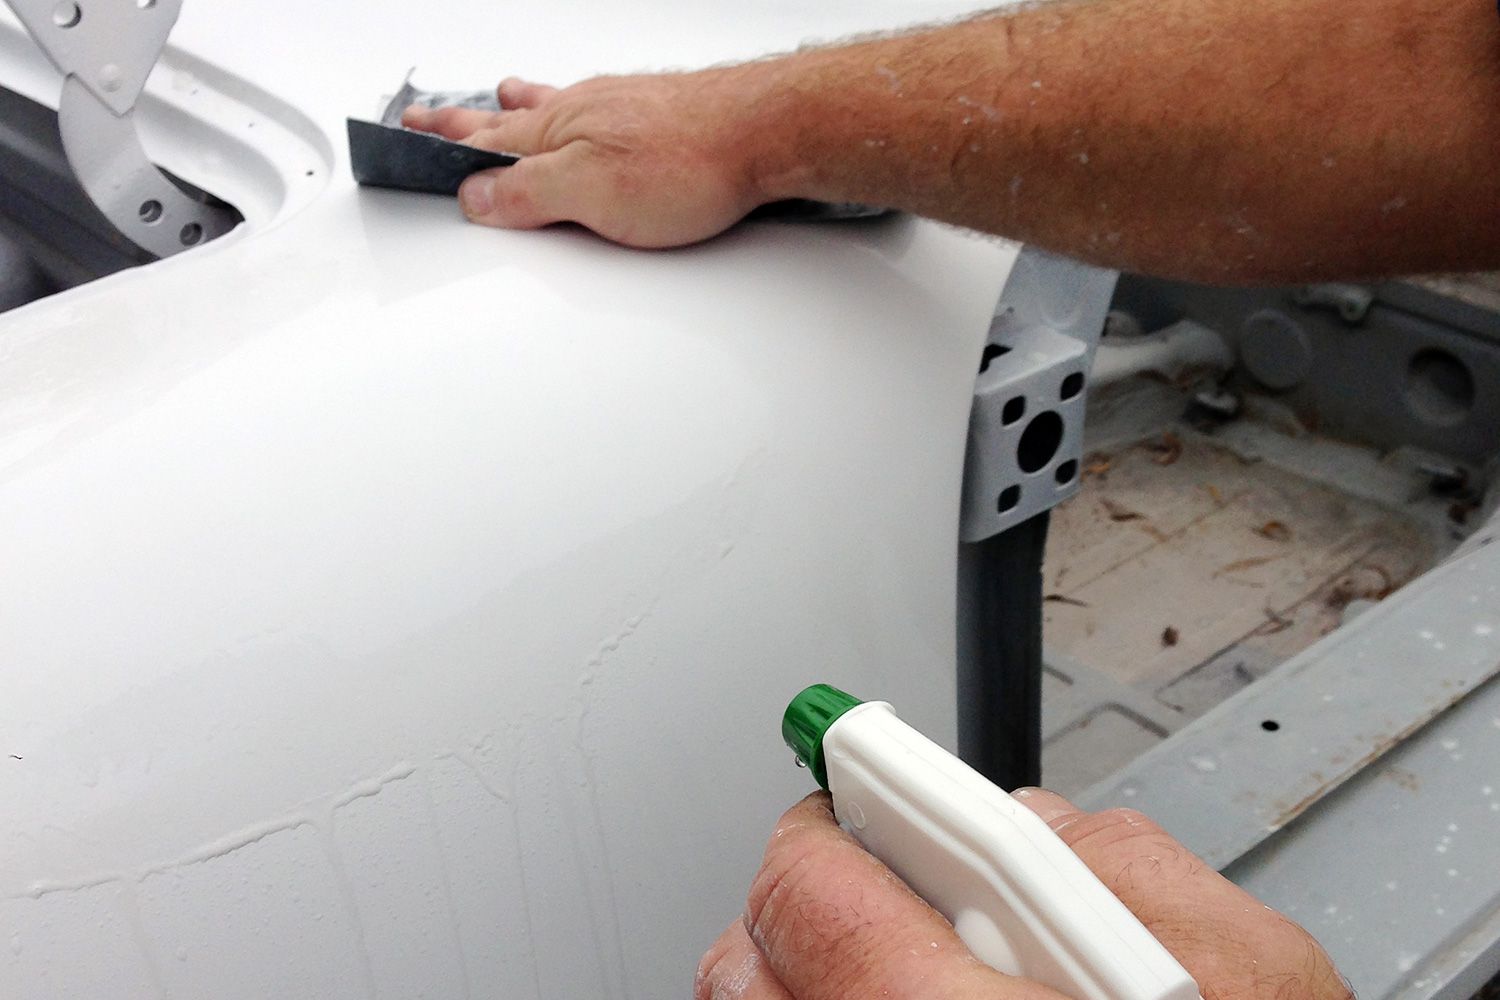
- Even Pressure: When sanding the walls, apply even pressure across the sandpaper to ensure uniform smoothing. Avoid exerting excessive force, as this can result in uneven surfaces and may damage the wall material.
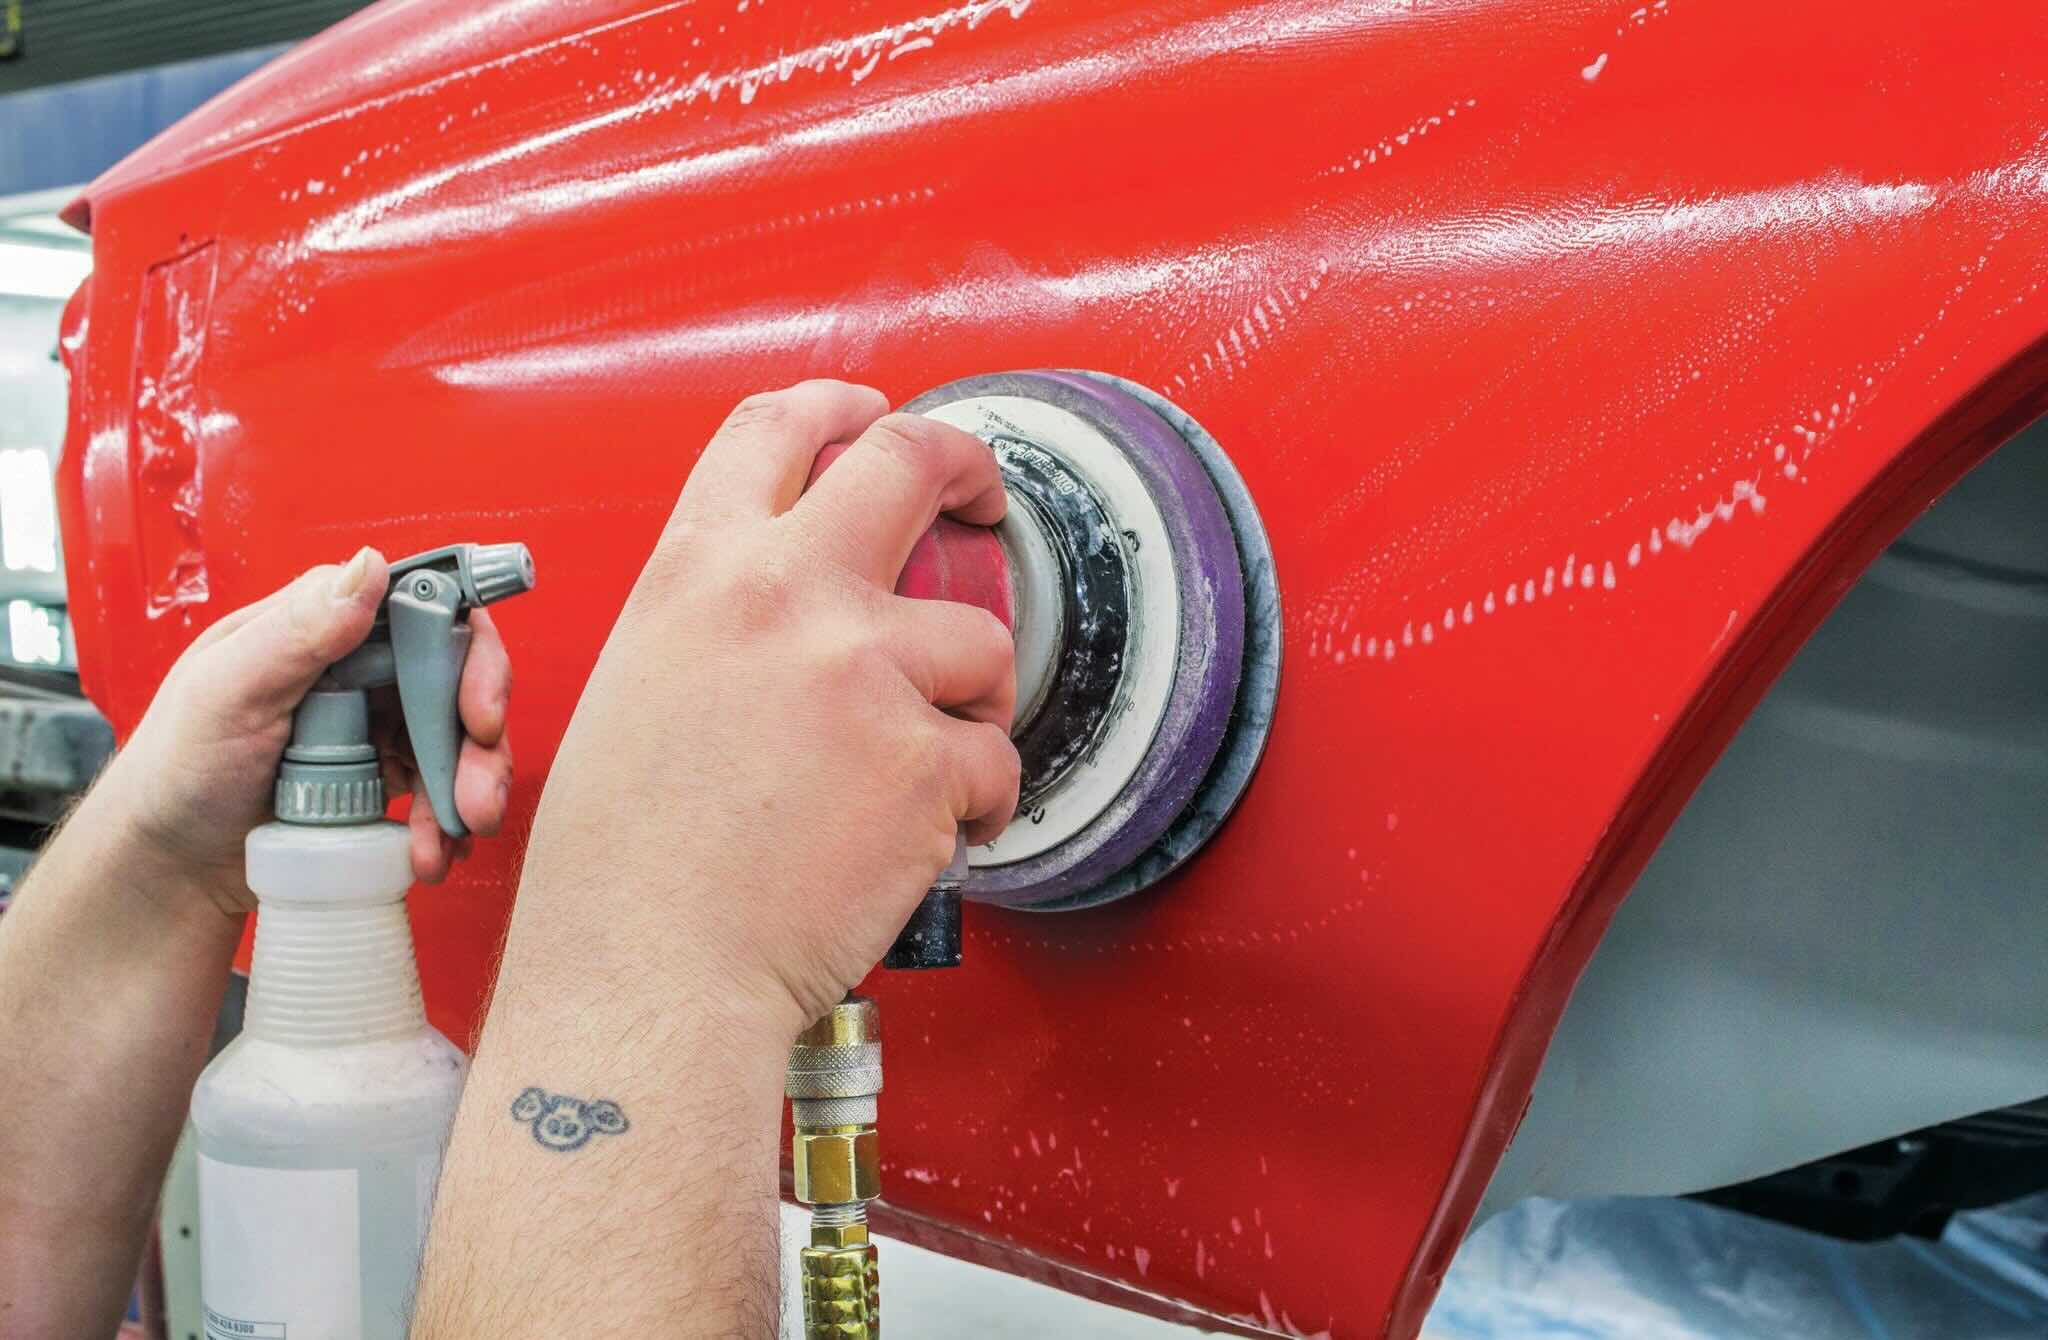
- Circular Motion: Using a circular motion while sanding helps to distribute the pressure evenly and prevents the formation of noticeable sanding patterns on the walls. This technique contributes to a consistent and seamless finish.
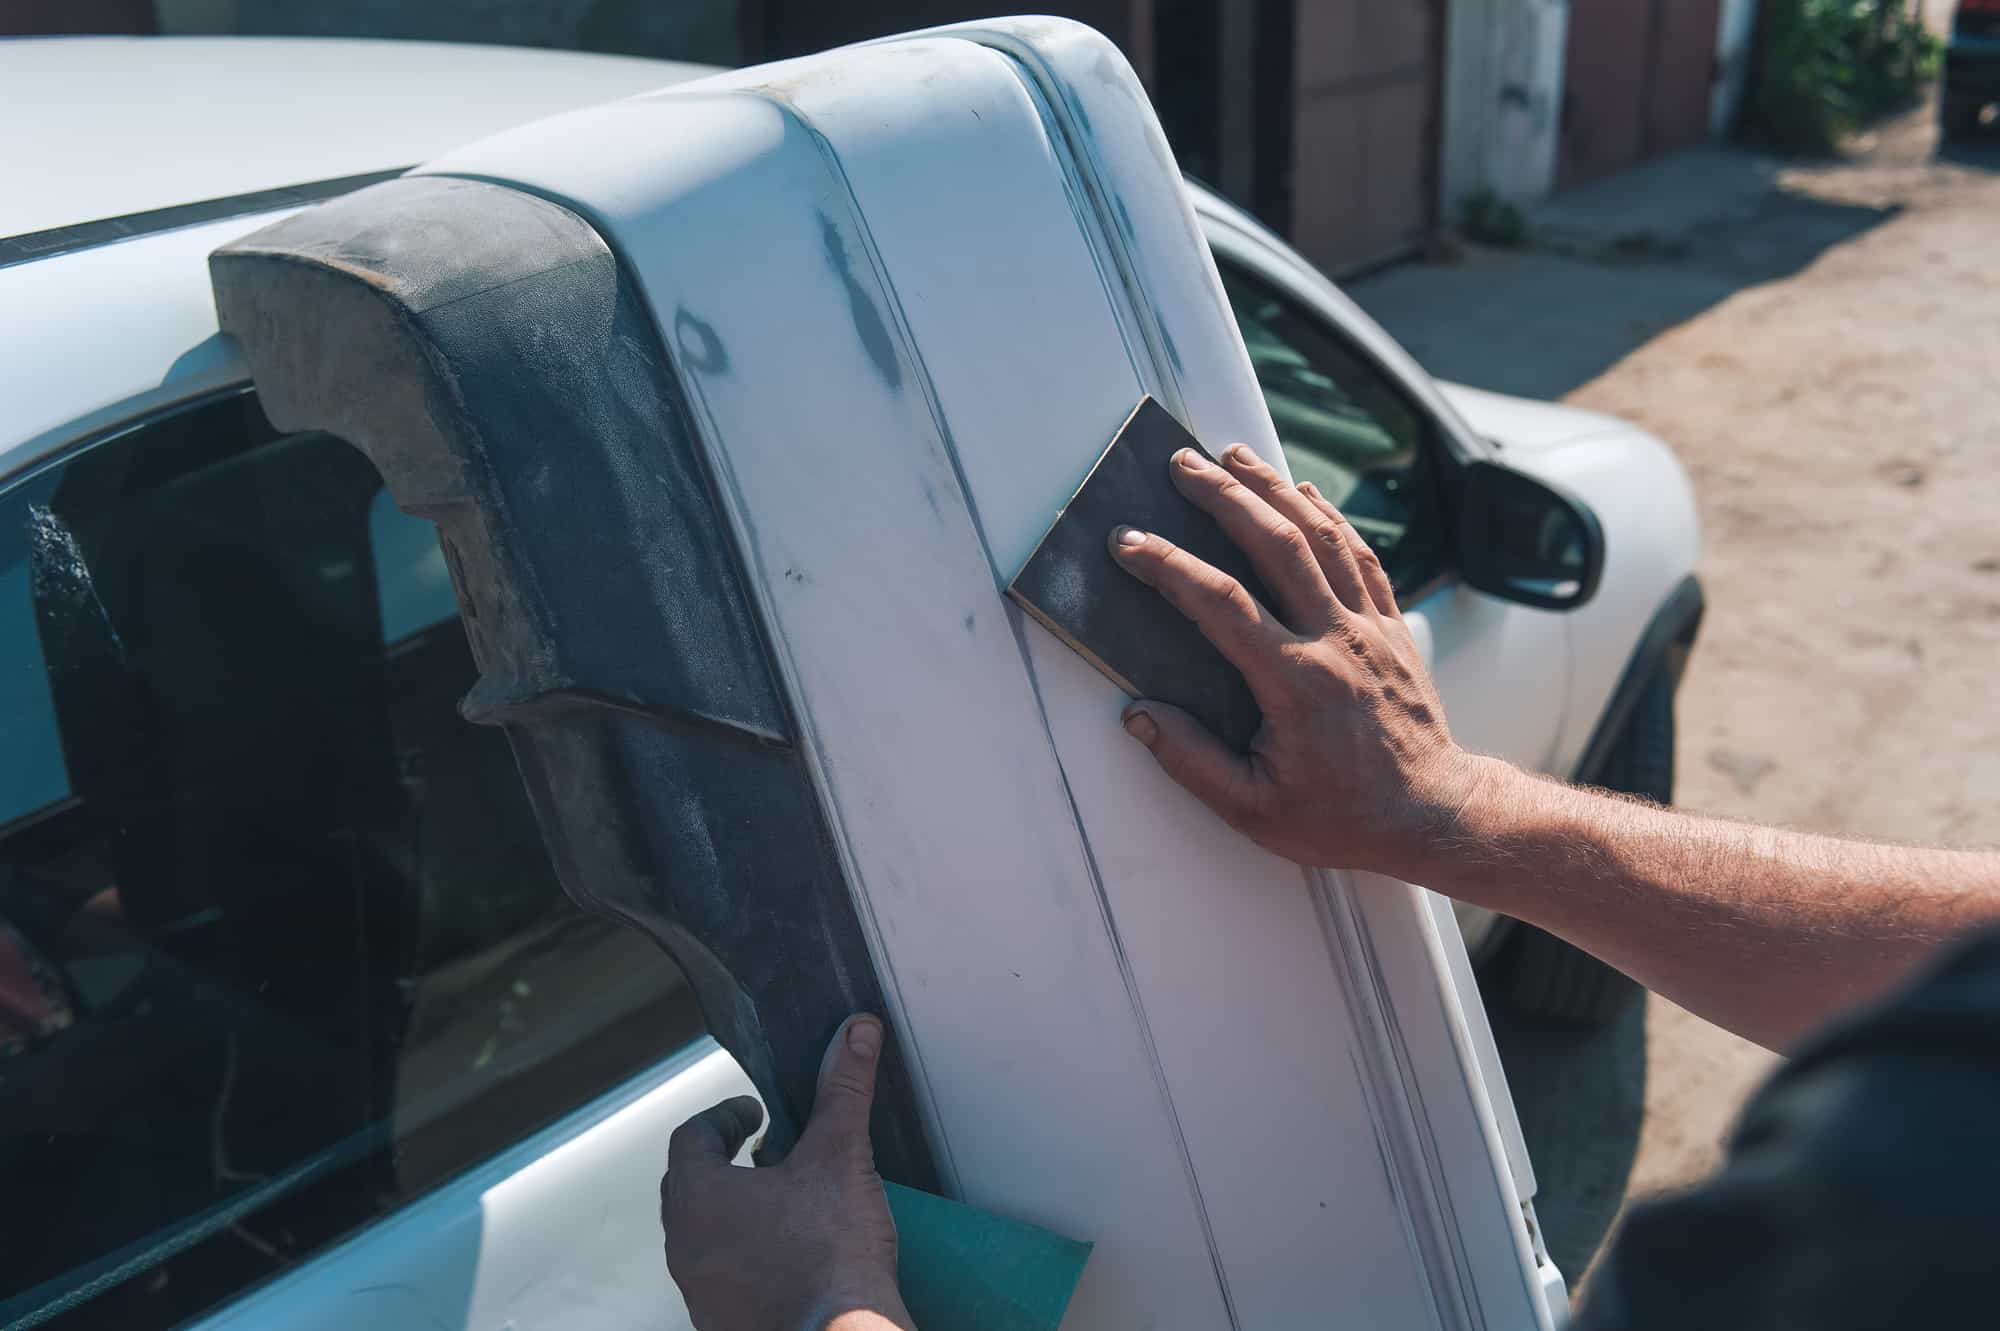
- Multiple Grits: Progressively transition from coarser to finer grit sandpapers, ensuring thorough coverage of the entire wall surface. This stepwise approach allows for comprehensive smoothing and the removal of imperfections at varying levels of coarseness.
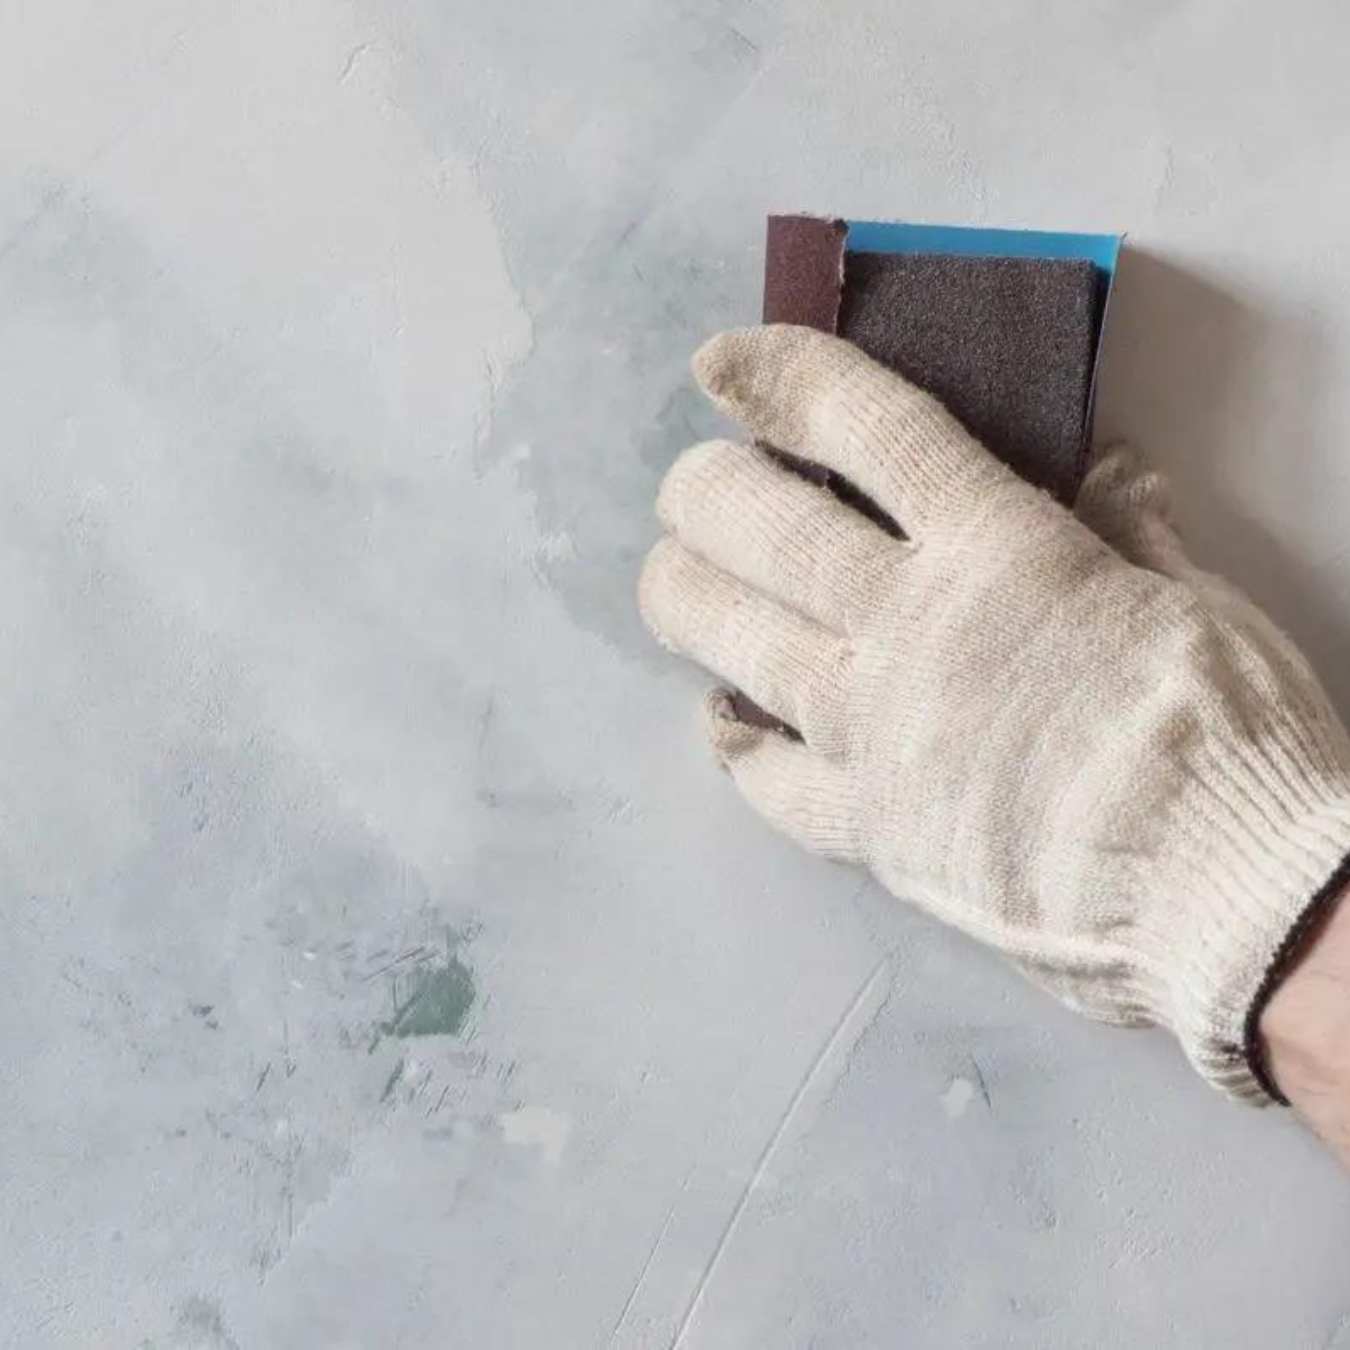
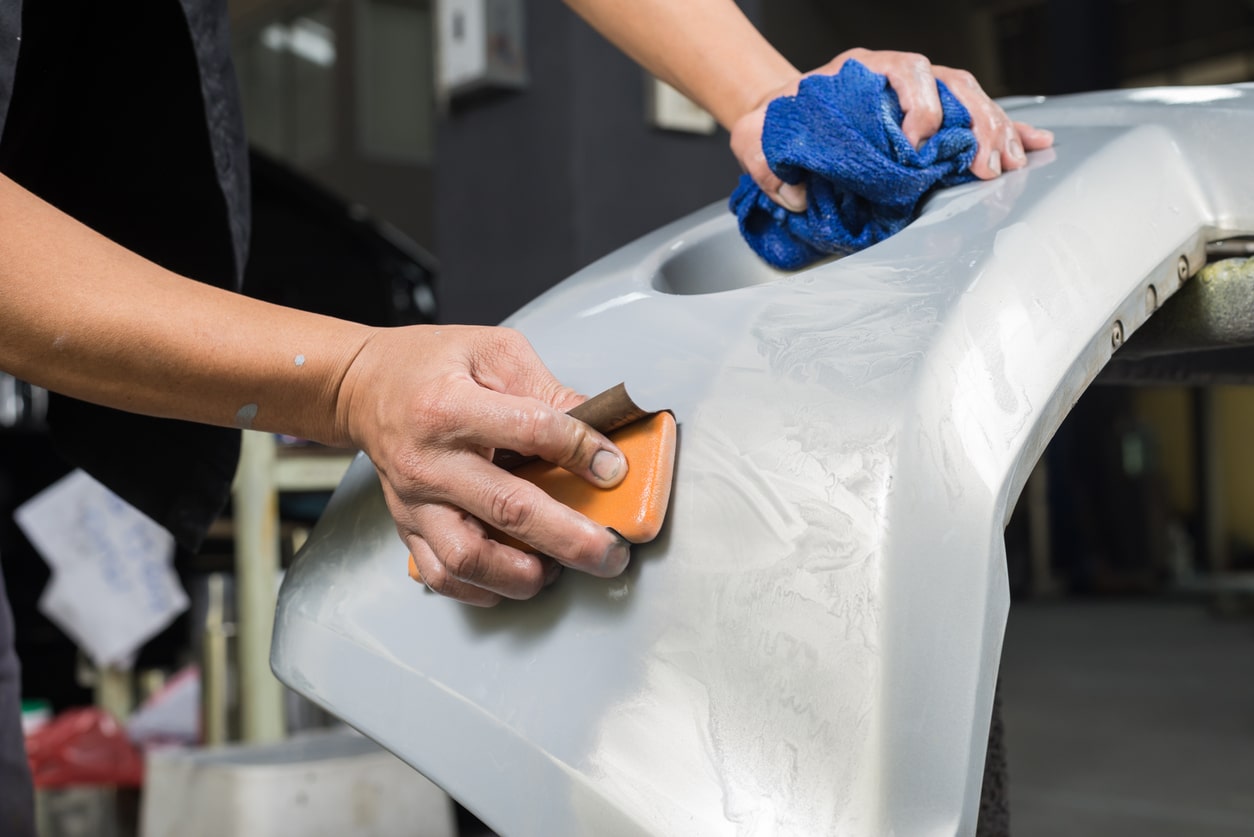
- Corner and Edge Sanding: Pay special attention to corners, edges, and trim, as these areas often require meticulous sanding to achieve a uniform texture. Utilize sanding sponges or smaller sanding tools to effectively address these intricate spaces.
- Intermittent Inspections: Periodically inspect the sanded surface to identify any remaining imperfections or uneven areas. This allows for timely adjustments and ensures that the walls are thoroughly prepared for painting.
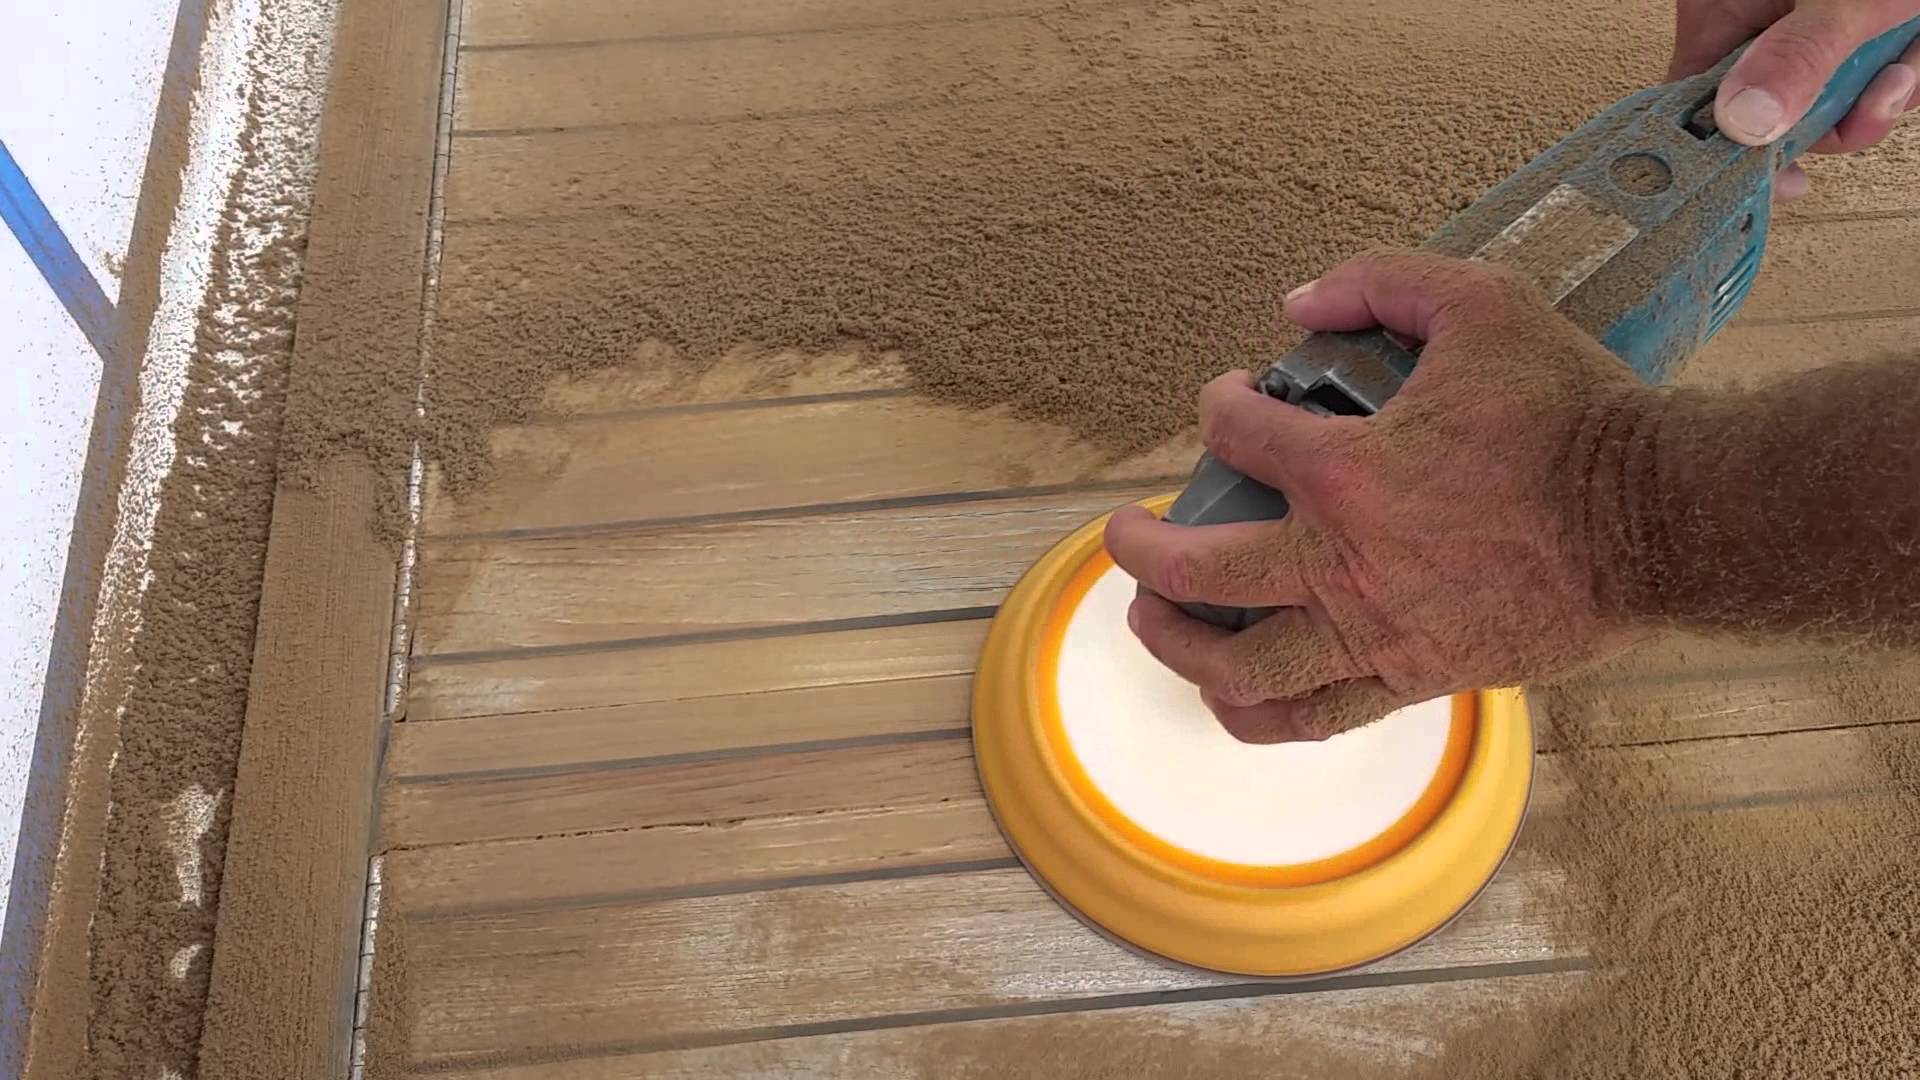
Additionally, employing the right sanding tools, such as sanding blocks, sanding sponges, or orbital sanders, can streamline the sanding process and contribute to achieving a consistent surface texture. These tools offer precision and control, particularly in challenging areas, and facilitate efficient sanding across the entire wall surface.
By incorporating these sanding techniques and leveraging suitable sanding tools, you can elevate the quality of wall preparation, setting the stage for a successful painting endeavor. The meticulous application of these techniques ensures that the walls are primed to showcase the new paint with a flawless and professional finish.
With a comprehensive understanding of grit sandpaper, wall preparation, and effective sanding techniques, you are well-equipped to embark on your painting project with confidence. The seamless integration of these elements will undoubtedly contribute to the creation of visually stunning and long-lasting painted walls.
Conclusion
As we conclude our exploration of grit sandpaper and its pivotal role in wall preparation for painting, it’s evident that the meticulous selection of the right grit and the application of effective sanding techniques are essential components of achieving a flawless and professional paint finish. The journey through the nuances of grit sandpaper, wall preparation, and sanding techniques has equipped you with the knowledge and insights necessary to elevate your painting endeavors.
Understanding the diverse applications of grit sandpaper, from addressing coarse imperfections to achieving a smooth, uniform surface, empowers you to make informed decisions when preparing your walls for painting. The strategic progression from coarser to finer grits, tailored to the specific condition of the walls, ensures that each sanding stage contributes to the creation of an ideal canvas for the new coat of paint.
Furthermore, the implementation of effective sanding techniques, such as maintaining even pressure, employing circular motions, and addressing intricate areas with precision, enhances the overall quality of wall preparation. These techniques, combined with the utilization of suitable sanding tools, facilitate a thorough and consistent smoothing of the wall surface, setting the stage for a flawless paint application.
Armed with this comprehensive knowledge, you are poised to embark on your wall-painting project with confidence and finesse. Whether you are refreshing the walls of your home or engaging in a professional painting endeavor, the integration of grit sandpaper insights and refined sanding techniques will undoubtedly contribute to the creation of visually stunning and long-lasting painted walls.
As you venture into the realm of wall preparation and painting, may your newfound expertise in grit sandpaper and sanding techniques serve as the cornerstone of your success, culminating in beautifully transformed walls that exude craftsmanship and elegance.
So, pick up your sandpaper, embrace the art of wall preparation, and unleash your creativity as you embark on the journey of painting your walls to perfection.
Now that your walls are smooth and ready for a fresh coat of paint, why stop there? Mastering the art of painting extends beyond walls. Our next feature offers practical painting tips that will transform mundane objects into eye-catching elements of your home decor. If you've ever wondered about refreshing your ceiling fan without replacing it, our guide on how to paint a ceiling fan is a must-read. This step-by-step tutorial will ensure your fan complements your newly painted walls beautifully.
Frequently Asked Questions about What Grit Sandpaper To Use Before Painting Walls
Was this page helpful?
At Storables.com, we guarantee accurate and reliable information. Our content, validated by Expert Board Contributors, is crafted following stringent Editorial Policies. We're committed to providing you with well-researched, expert-backed insights for all your informational needs.


0 thoughts on “What Grit Sandpaper To Use Before Painting Walls”