Home>Renovation & DIY>Tools & Equipment>What Grit Sandpaper For Refinishing Wood Table
Tools & Equipment
What Grit Sandpaper For Refinishing Wood Table
Modified: January 4, 2024
Discover the perfect grit sandpaper for refinishing your wood table. Find the best tools and equipment to achieve a flawless finish.
(Many of the links in this article redirect to a specific reviewed product. Your purchase of these products through affiliate links helps to generate commission for Storables.com, at no extra cost. Learn more)
Introduction
When it comes to refinishing a wood table, the process can seem intricate and overwhelming. However, with the right tools and equipment, you can transform your tired and worn-out table into a stunning centerpiece. One essential component of this process is choosing the appropriate grit sandpaper.
Grit sandpaper is classified based on the coarseness of its abrasive particles. The higher the grit number, the finer the sandpaper. Different grits are used for specific tasks during the refinishing process, such as removing old finishes, smoothing the surface, and preparing it for a new coat.
In this article, we will guide you through the factors to consider when refinishing a wood table and help you determine the ideal grit sandpaper for your project. We will also offer recommendations and essential tips to ensure a successful and professional-looking refinishing job.
Key Takeaways:
- Choose the right grit sandpaper (80-120) to strip old finishes and imperfections, then progress to finer grits (120-320) for a smooth, polished surface. Test different grits and follow wood grain for best results.
- Prepare the work area, wear protective gear, and take your time to achieve a beautifully sanded and refined wood table. Use multiple thin coats of finish for a durable and even result.
Read more: What Grit Sandpaper For A Wood Dresser
Understanding Grit Sandpaper
Before diving into the world of refinishing a wood table, it’s essential to understand the concept of grit sandpaper. Grit refers to the coarseness of the abrasive particles on the sandpaper. The higher the grit number, the finer the sandpaper.
Coarser grit sandpapers, such as those in the 40 to 80 grit range, have larger and more aggressive abrasive particles. They are primarily used for removing old finishes, paint, or deep scratches from the wood surface. As you progress to finer grits, such as 120 to 180, the abrasive particles become smaller, allowing for smoothing out imperfections and preparing the surface for a new coat.
When it comes to refinishing a wood table, it’s essential to have a variety of grit sandpapers at your disposal. This way, you can choose the appropriate grit based on the job at hand. By utilizing a step-by-step approach, starting with coarser grits and gradually moving towards finer grits, you can achieve a smooth and professional-looking finish.
Additionally, it’s important to note that different types of wood may require different grit sandpapers. Softer woods, like pine or cedar, may need a lighter touch with finer grits, while harder woods, like oak or maple, can tolerate more aggressive sanding with coarser grits.
Ultimately, the goal is to remove the old finish, smooth out any imperfections, and create a clean and even surface before applying a new finish. Understanding the various grit sandpapers available and their specific uses will enable you to achieve the desired result and bring new life to your wood table.
Factors to Consider for Refinishing a Wood Table
Refinishing a wood table requires careful consideration of various factors to ensure a successful and long-lasting result. By taking these factors into account, you can make informed decisions about the grit sandpaper and other tools you’ll need for the job.
Type of Wood: Different types of wood have unique characteristics and may require specific refinishing techniques. Some woods, like oak or mahogany, have open pores that may need to be filled before refinishing. Understanding the characteristics of the wood will help you choose the appropriate grit sandpaper and refine the table accordingly.
Condition of the Table: Assess the condition of the table before determining the grit sandpaper you’ll need. If there are old finishes or deep scratches, you may need to start with a coarser grit sandpaper, such as 80 or 100, to remove them. For tables in better condition, starting with a finer grit, like 120 or 150, may be sufficient.
Desired Finish: Consider the type of finish you want for your wood table. If you’re aiming for a smooth, glossy finish, you’ll need to progress through finer grits to achieve a polished surface. On the other hand, if you prefer a more rustic or textured finish, you may not need to use the finest grit sandpaper.
Time and Patience: Refinishing a wood table requires time and patience. Be prepared to spend several hours sanding, especially if the table has intricate details or hard-to-reach areas. Having a variety of grit sandpapers on hand will allow you to tackle different sections efficiently.
Protective Gear: When working with sandpaper, it’s crucial to protect yourself. Wear safety goggles to shield your eyes from flying debris and a dust mask to prevent inhalation of wood dust. Additionally, consider using gloves to protect your hands from splinters or harsh chemicals if you’re using any during the refinishing process.
By considering these factors and taking the necessary precautions, you’ll be well-prepared to tackle the refinishing process with the appropriate grit sandpaper and achieve exceptional results.
Determining the Grit Sandpaper for Refinishing Wood Tables
Determining the grit sandpaper you’ll need for refinishing a wood table requires careful assessment of the table’s condition, the desired finish, and the type of wood you’re working with. Here are some guidelines to help you make an informed decision:
Assess the Condition: Start by examining the condition of the table. If it has a thick, worn-out finish or deep scratches, you’ll need to begin with a coarser grit sandpaper to remove the old finish and smooth out imperfections. Consider starting with a grit between 80 and 120.
Consider the Wood Type: Different wood types may require different grits due to variations in hardness and porosity. Softer woods like pine or cedar can be more easily damaged by aggressive sanding, so it’s best to start with a lower grit, such as 100 or 120. Harder or more durable woods like oak or mahogany can handle coarser grits, starting at around 80.
Desired Finish: The type of finish you want to achieve will also influence your choice of sandpaper grit. For a smooth and polished finish, you’ll need to progress through finer grits. Start with a medium grit, between 120 and 180, to remove scratches left by coarser grits. Continue with finer grits, such as 240 or 320, to achieve a silky smooth surface. If you prefer a more textured or rustic finish, you may not need to go beyond a medium grit.
Test Areas: If you’re unsure about the appropriate grit sandpaper to use, it’s always a good idea to test different grits in inconspicuous areas of the table. This will allow you to see how the wood reacts to different sandpapers before committing to a specific grit for the entire surface.
Progress Gradually: Whether you’re starting with a coarser or finer grit, it’s important to progress gradually through the grits. Each grit should remove the scratches left by the previous one, gradually refining the surface. This ensures an even and consistent finish.
By carefully considering the table’s condition, wood type, desired finish, and conducting tests if needed, you can determine the appropriate grit sandpaper to use for refinishing your wood table. Remember to take your time, be patient, and enjoy the process of transforming your table into a beautiful piece of furniture.
When refinishing a wood table, start with 80-100 grit sandpaper to remove old finish and imperfections. Then move to 120-150 grit for smoothing before applying a new finish.
Recommended Grit Sandpaper for Refinishing Wood Tables
Choosing the right grit sandpaper is crucial for achieving a smooth and professional finish when refinishing a wood table. Here are some recommended grits to consider for different stages of the refinishing process:
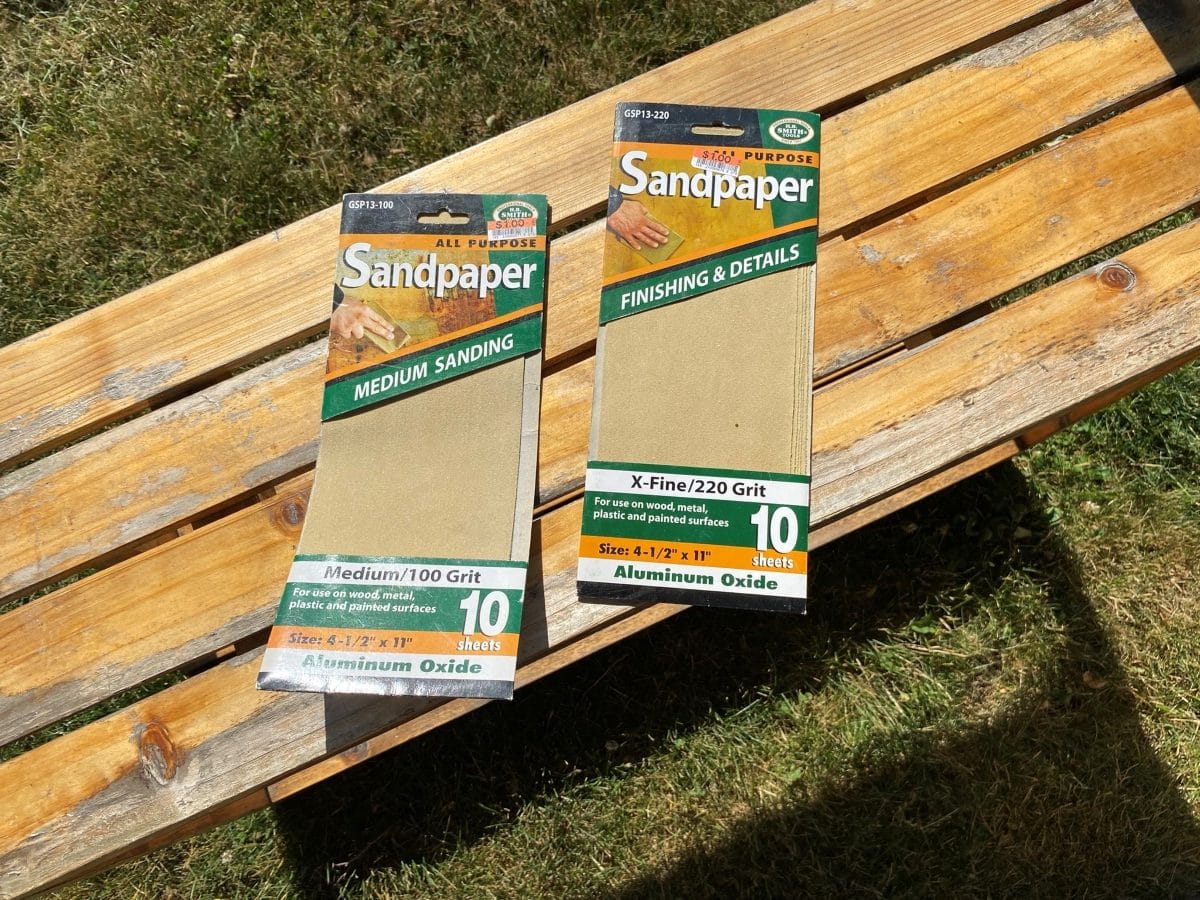
Initial Stripping: If your table has a thick, old finish or significant imperfections, start with a coarser grit sandpaper in the range of 80 to 120. This will help you remove the old finish and smooth out any deep scratches or blemishes.
Surface Smoothing: After stripping the table, it’s time to smooth the surface. Move up to a medium grit sandpaper, typically between 120 and 180, to remove the scratches left by the coarser grits. This step will help prepare the wood for a new finish and create a more even surface.
Fine Sanding: Once the surface is relatively smooth, it’s important to proceed with fine sanding to achieve a polished finish. Use sandpaper with a grit between 240 and 320 to further refine the surface and eliminate any remaining imperfections. This step will provide a smooth and flawless foundation for applying a new finish.
Between Coats: If you’re applying multiple coats of finish, it’s recommended to use a very fine grit sandpaper, such as 400 or higher, in between each coat. Lightly sanding between coats will help create a smooth and even surface, ensuring a professional-looking finish.
Final Finish Sanding: Before applying the final coat of finish, consider using a super fine sandpaper, typically between 800 and 1200 grit. This ultra-fine sanding will provide an exceptionally smooth and velvety surface, enhancing the overall appearance of your finished wood table.
It’s important to note that these grit recommendations are general guidelines and may vary depending on the specific wood type, condition of the table, and desired finish. It’s always recommended to test different grits on small, inconspicuous areas to determine the optimal sandpaper for your particular project.
Remember to take your time and progress through the grits gradually, allowing each grit to smooth out the scratches left by the previous one. By choosing the appropriate grits for each stage of the refinishing process, you’ll be well on your way to achieving a beautifully restored wood table that you can be proud of.
Read more: What Grit Sandpaper For Pine Wood
Tips for Sanding and Refinishing a Wood Table
Sanding and refinishing a wood table can be a rewarding project that revitalizes the beauty of your furniture. To help you achieve the best results, here are some essential tips to keep in mind:
- Prepare the Work Area: Clear the area where you’ll be working, ensuring there’s enough space to maneuver around the table. Lay down a drop cloth or old sheets to protect the floor or any surrounding furniture from dust and debris.
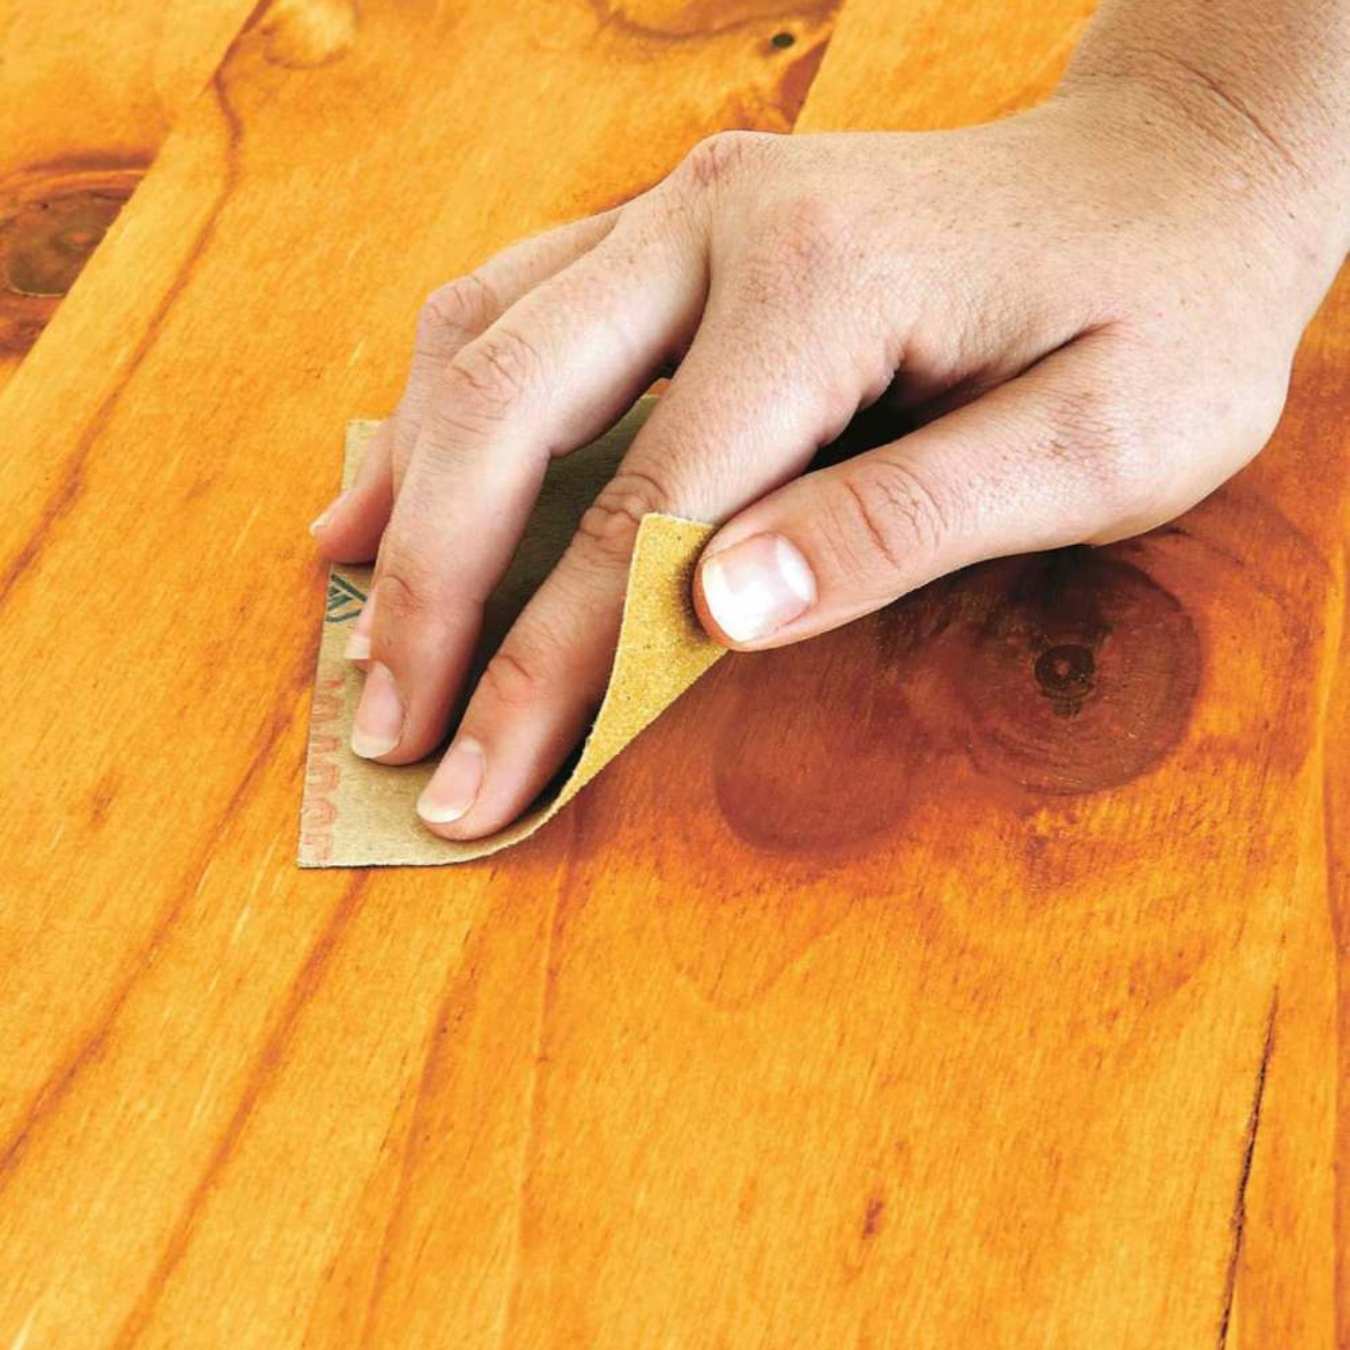
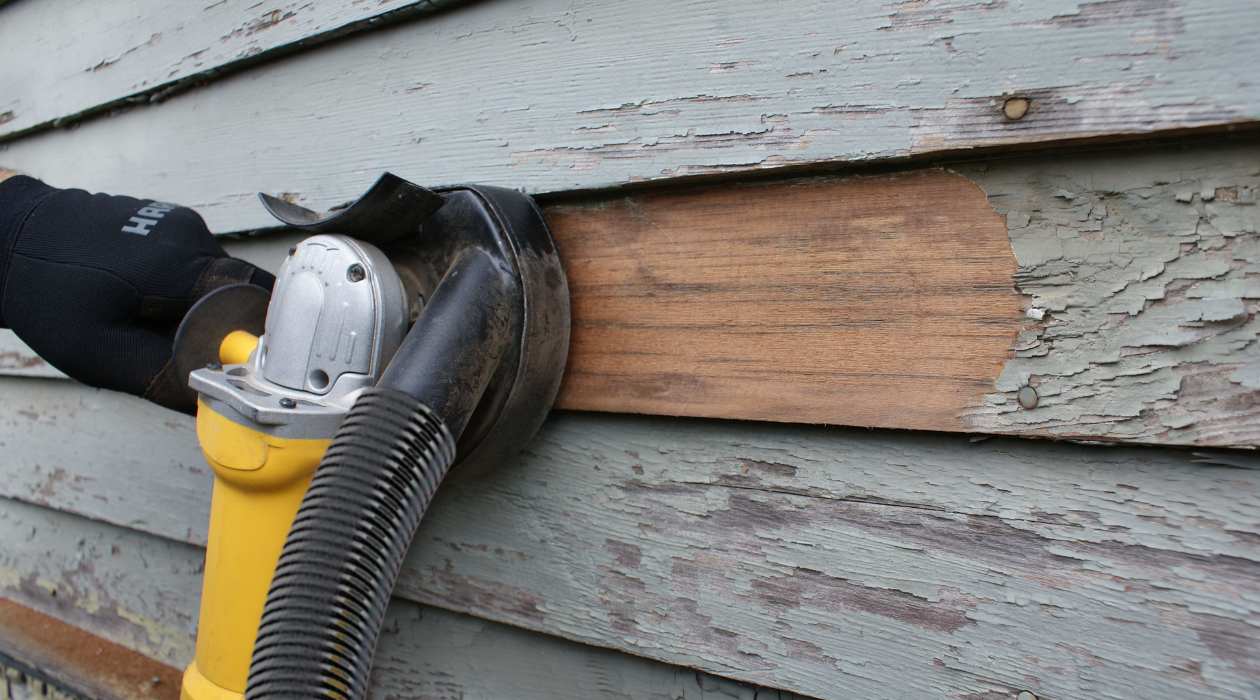
- Start with Coarse Grit: If your table has an existing finish you need to remove, start with a coarse grit sandpaper (around 80 or 100) to strip it off. Move the sandpaper in the direction of the wood grain, applying even pressure. Be careful not to press too hard, as it can leave uneven marks or damage the wood.
- Progress to Finer Grits: Once the old finish is removed, switch to finer grit sandpapers to achieve a smoother surface. Gradually work your way from medium grits (120 to 180) to fine grits (240 to 320), ensuring each grit removes the scratches left by the previous one.
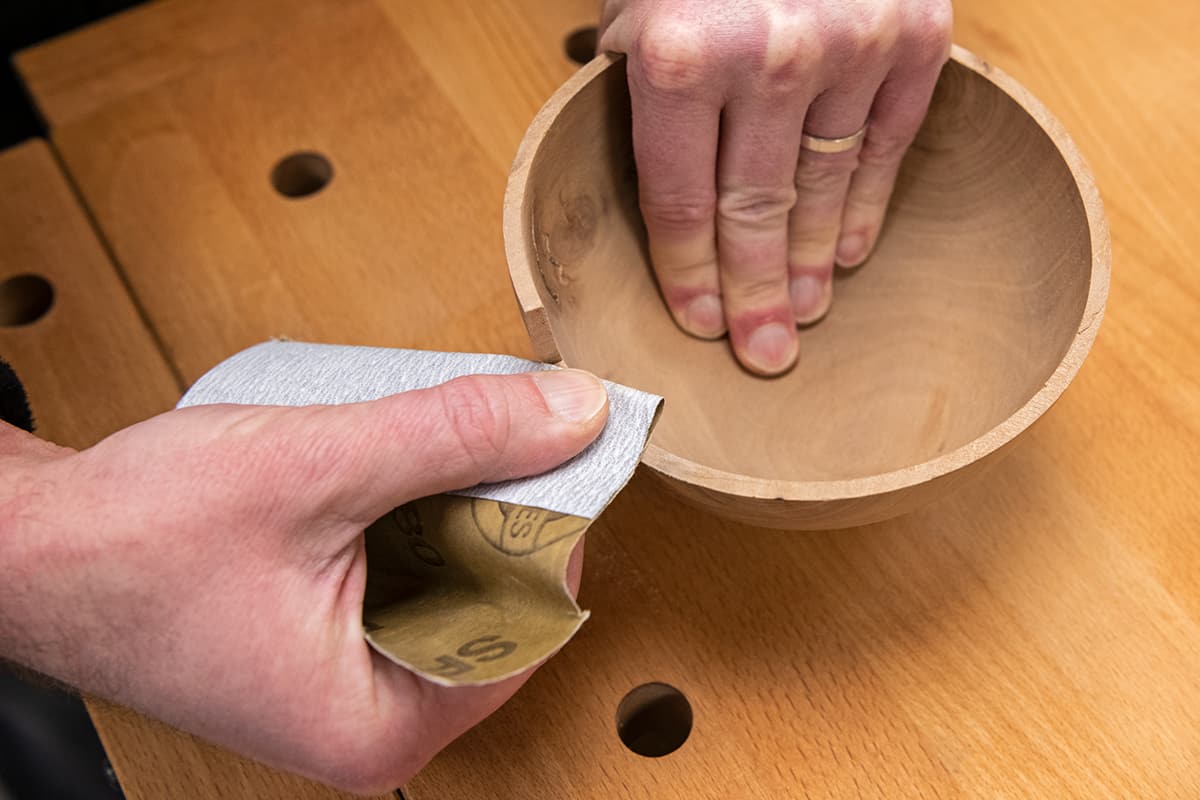
- Sand in the Direction of the Grain: Always sand in the direction of the wood grain to avoid creating visible scratches that could show through the new finish. Sanding against the grain can cause the wood fibers to tear, resulting in an uneven and rough surface.
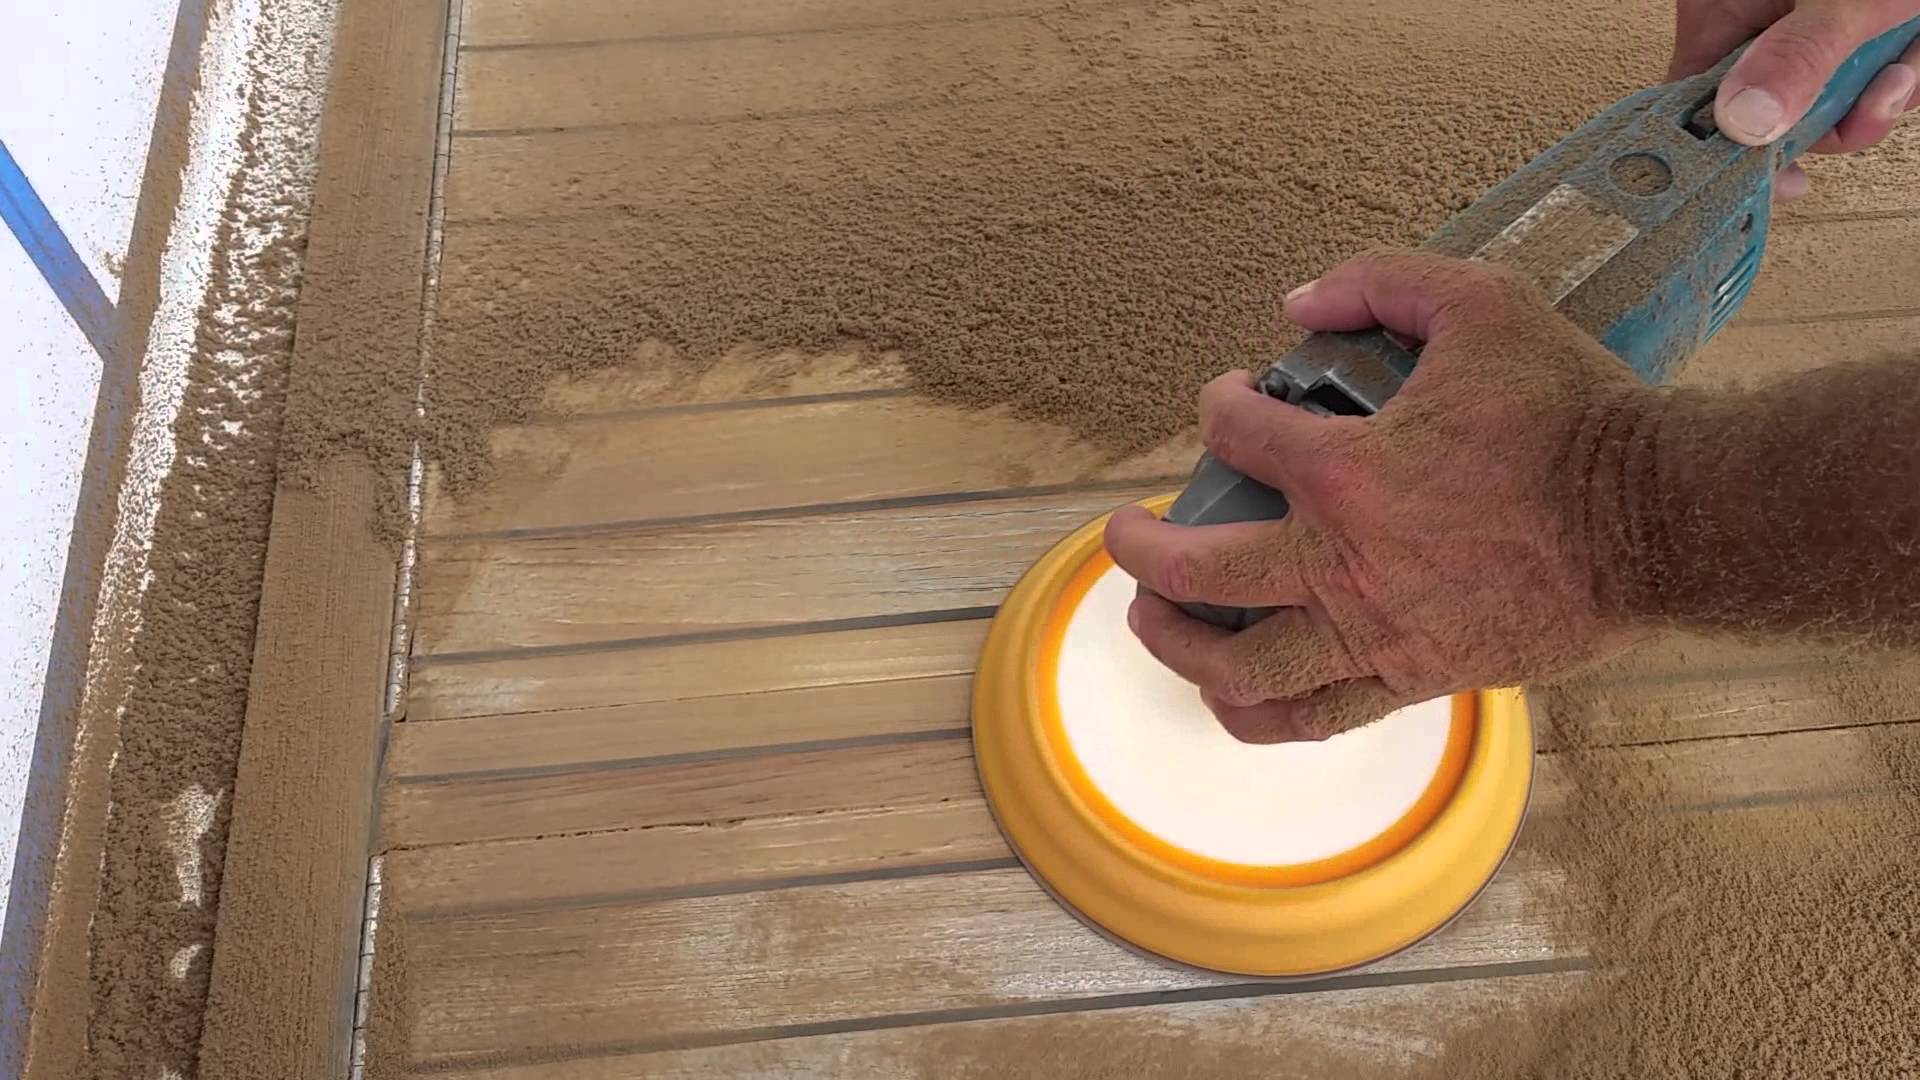
- Keep Sandpaper Flat: To achieve an even and uniform surface, keep the sandpaper flat against the table. Avoid tilting it at an angle, as it can create uneven spots and grooves. If using a palm sander or orbital sander, let the tool do the work rather than applying excessive pressure.
- Inspect and Fill Imperfections: After sanding, inspect the table’s surface for any imperfections, such as cracks, holes, or dents. Fill them using a wood filler, following the manufacturer’s instructions. Once dry, sand the filled areas lightly to ensure they blend seamlessly with the rest of the table.
- Remove Dust: Clean the table thoroughly to remove any dust and residue before applying the new finish. Use a tack cloth or a damp cloth to wipe away any particles, ensuring a clean surface for the best finish adherence.
- Apply Multiple Thin Coats: When applying the new finish, it’s often better to apply multiple thin coats rather than one thick coat. This ensures a more even and durable finish. Sand lightly between each coat using a fine grit sandpaper (around 400 or higher) to promote adhesion and create a smooth surface.
- Protect Yourself: Wear safety goggles, a mask, and gloves when sanding and applying finishes to protect yourself from dust, fumes, and chemicals. Work in a well-ventilated area to minimize the risk of inhaling any harmful substances.
- Allow Ample Drying Time: Be patient and allow each coat of finish to dry thoroughly before using or applying the next coat. Follow the instructions on the finish product for recommended drying times, as these can vary based on the specific type of finish you’re using.
By following these tips, you’ll be well on your way to achieving a beautifully sanded and refined wood table. Remember to work patiently, take breaks when needed, and enjoy the process of transforming your table into a stunning focal point for your space.
Conclusion
Refinishing a wood table can breathe new life into your furniture and create a stunning focal point in your space. The choice of grit sandpaper plays a crucial role in achieving a smooth and professional finish. By understanding the different grits available and considering factors such as the wood type, table condition, and desired finish, you can determine the optimal grits for each stage of the refinishing process.
Starting with a coarse grit sandpaper (around 80 to 120) will help strip away old finishes and deep imperfections. As you progress to finer grits (120 to 320), you’ll achieve a smoother and more refined surface. Use very fine sandpaper (400 or higher) between coats to ensure a flawless finish. Remember to sand in the direction of the wood grain, keep the sandpaper flat, and consistently inspect for imperfections.
Preparing the work area, using appropriate safety gear, and taking your time throughout the process are essential aspects of sanding and refinishing a wood table. By following these tips, you can minimize mistakes and create a beautiful end result.
Whether you’re refinishing an heirloom piece or giving a worn-out table a new lease on life, the journey of transforming your wood table is a fulfilling one. With the right grit sandpaper, attention to detail, and a little patience, you can achieve a stunning finish that showcases the natural beauty of the wood.
So, gather your tools, choose the appropriate grit sandpaper, and embark on the exciting journey of refinishing your wood table. Before you know it, you’ll have a beautifully restored piece of furniture that will be the envy of all who see it.
Frequently Asked Questions about What Grit Sandpaper For Refinishing Wood Table
Was this page helpful?
At Storables.com, we guarantee accurate and reliable information. Our content, validated by Expert Board Contributors, is crafted following stringent Editorial Policies. We're committed to providing you with well-researched, expert-backed insights for all your informational needs.


0 thoughts on “What Grit Sandpaper For Refinishing Wood Table”