Home>Renovation & DIY>Tools & Equipment>What Grit Sandpaper For Plaster Walls
Tools & Equipment
What Grit Sandpaper For Plaster Walls
Published: December 20, 2023
Discover the best grit sandpaper for plaster walls with our comprehensive guide. Find the right tools and equipment for a smooth and flawless finish.
(Many of the links in this article redirect to a specific reviewed product. Your purchase of these products through affiliate links helps to generate commission for Storables.com, at no extra cost. Learn more)
Introduction
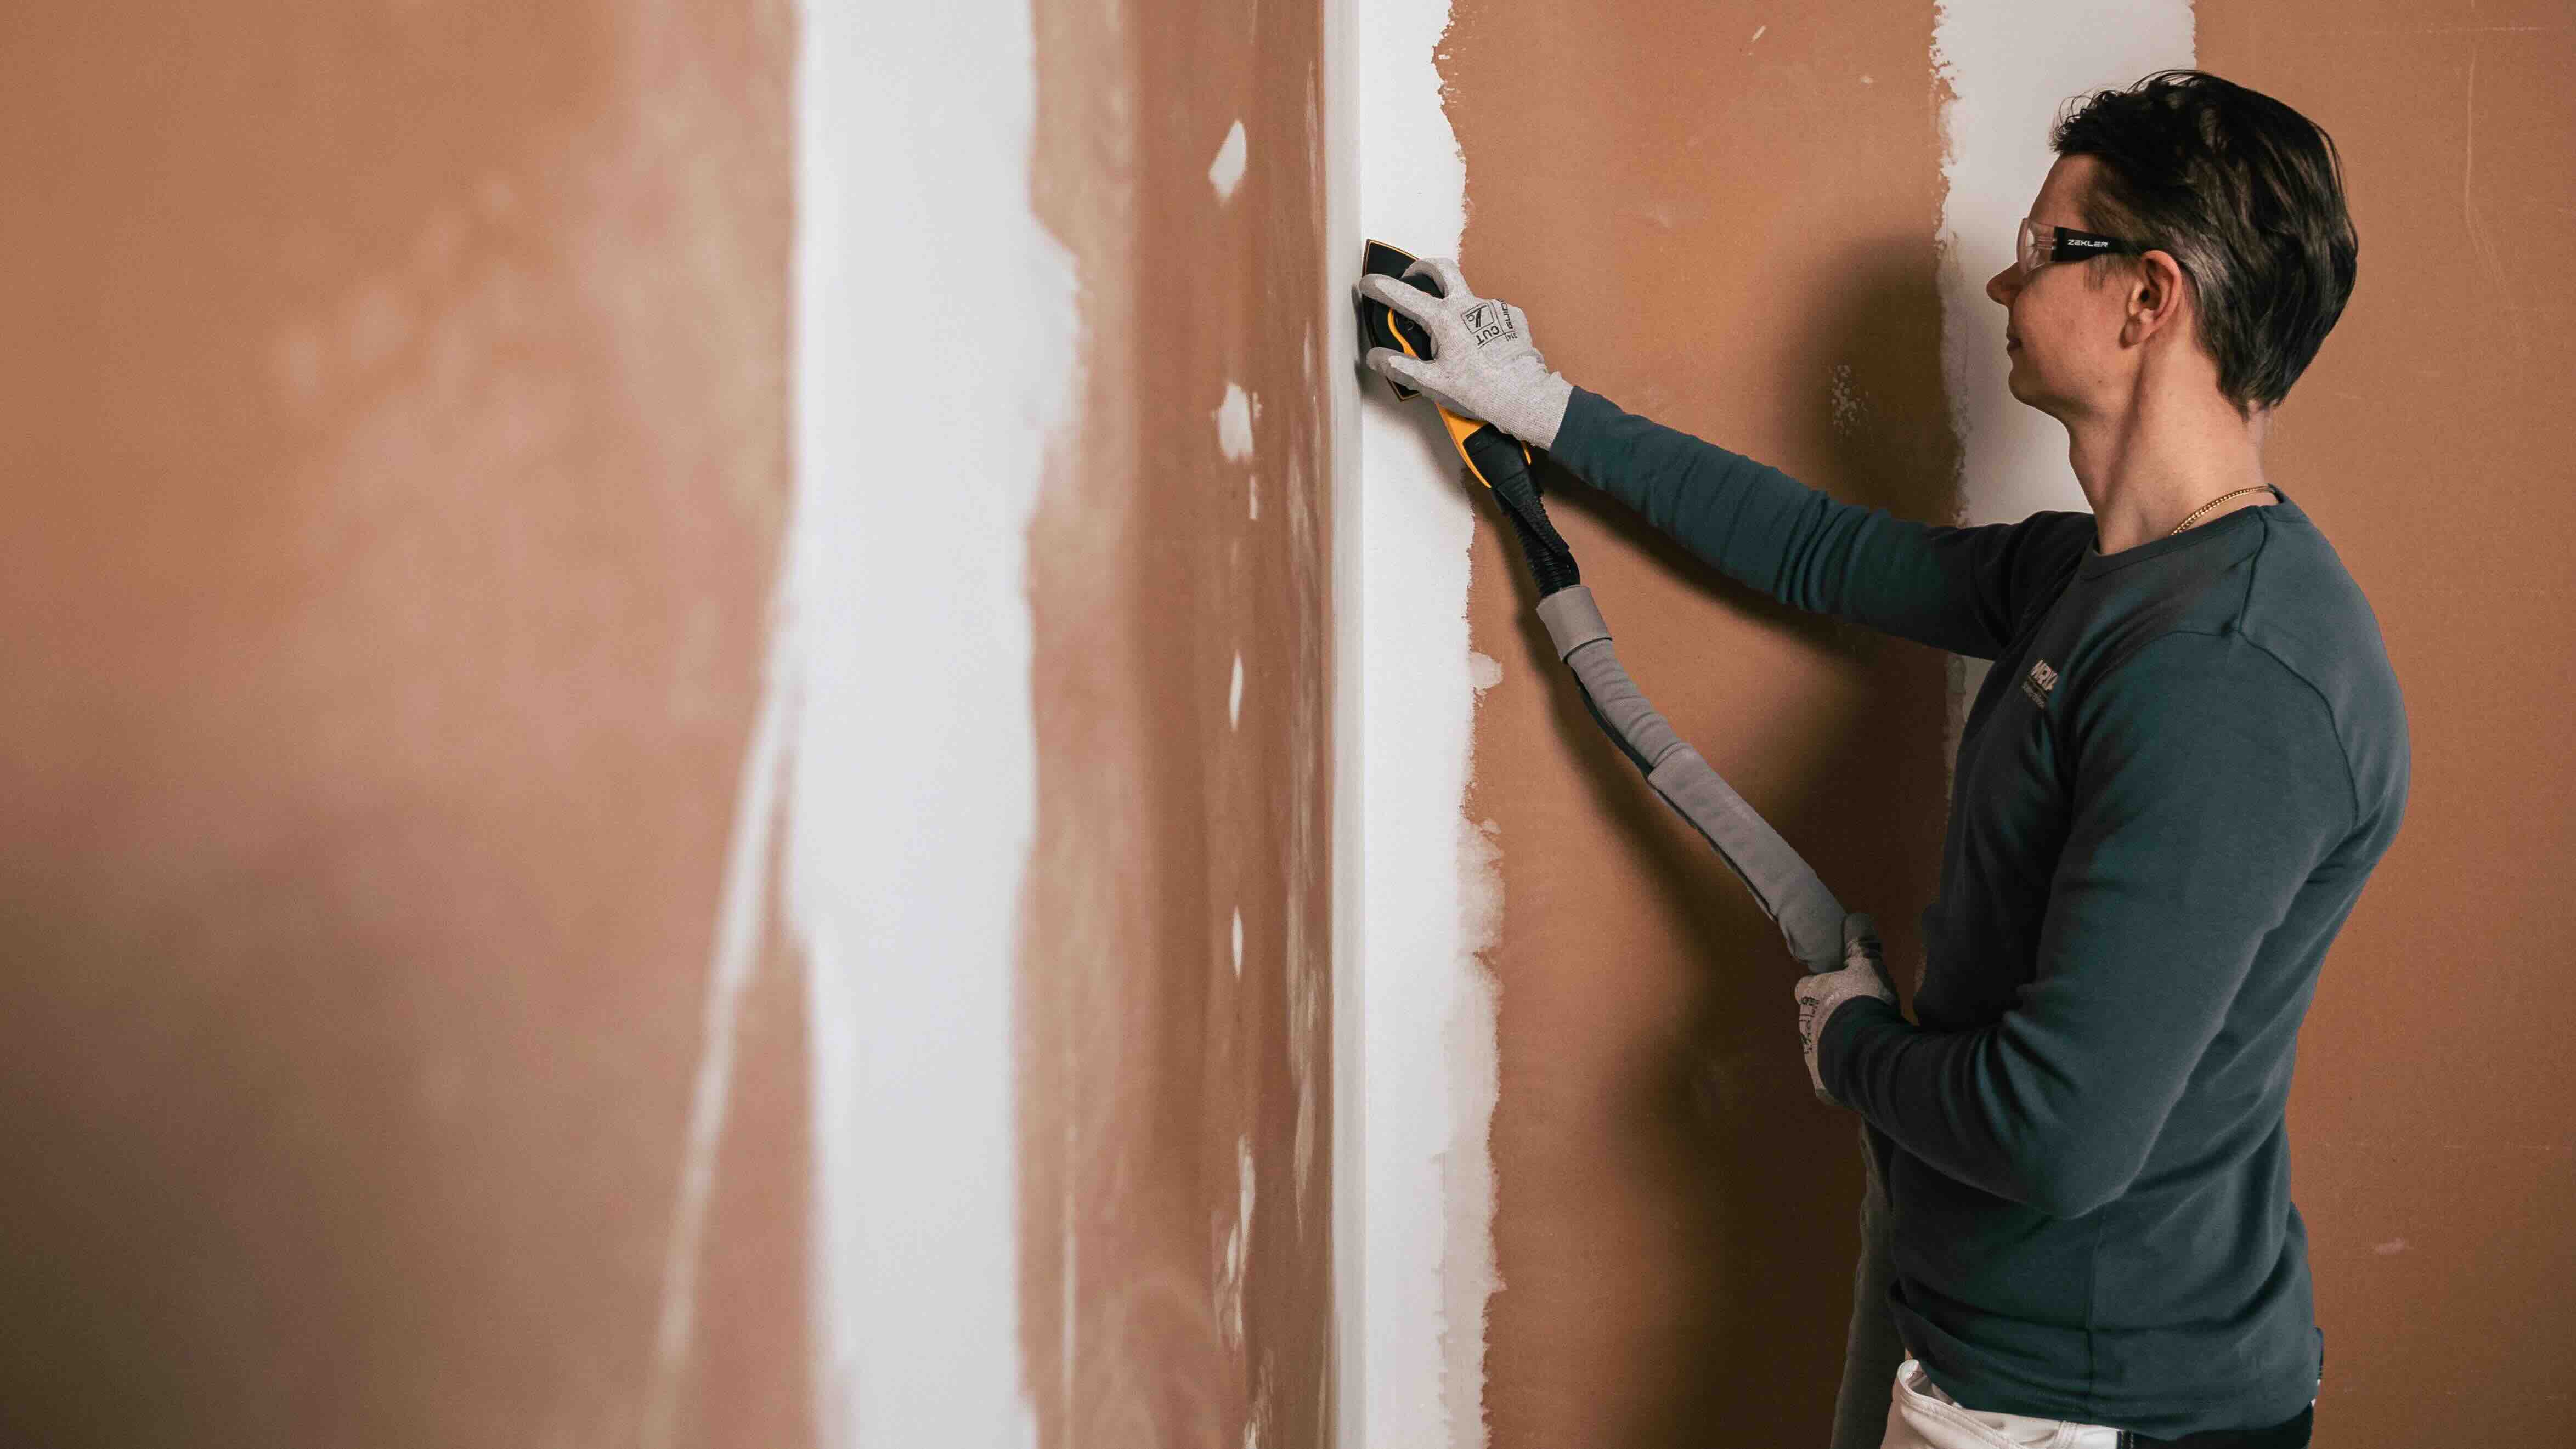
When it comes to renovating or repairing plaster walls, sanding is often a necessary step to achieve a smooth and seamless finish. Sanding helps to remove imperfections, bumps, and rough patches, preparing the surface for painting or applying a fresh coat of plaster. However, choosing the right grit sandpaper can make all the difference in achieving the desired results.
Understanding the different grit levels and factors to consider before sanding plaster walls is crucial in ensuring a successful project. This article aims to provide a comprehensive guide on choosing the appropriate grit sandpaper for plaster walls and the necessary precautions to take during the sanding process.
Keep in mind that the purpose of sanding plaster walls is to create a smooth and even surface without damaging the underlying plaster. By following the correct techniques and using the right grit sandpaper, you can achieve professional-looking results that will enhance the appearance of your walls.
Key Takeaways:
- Choose medium grit sandpaper (100-150) for plaster walls to balance imperfection removal and surface preservation. Assess wall condition, fragility, and personal preference for optimal results.
- Take precautions while sanding plaster walls, including wearing PPE, working in a ventilated area, and using appropriate tools. Regular inspection and proper cleaning ensure a smooth finish.
Read more: What Grit Sandpaper For Polyurethane
Understanding the Grit Levels of Sandpaper
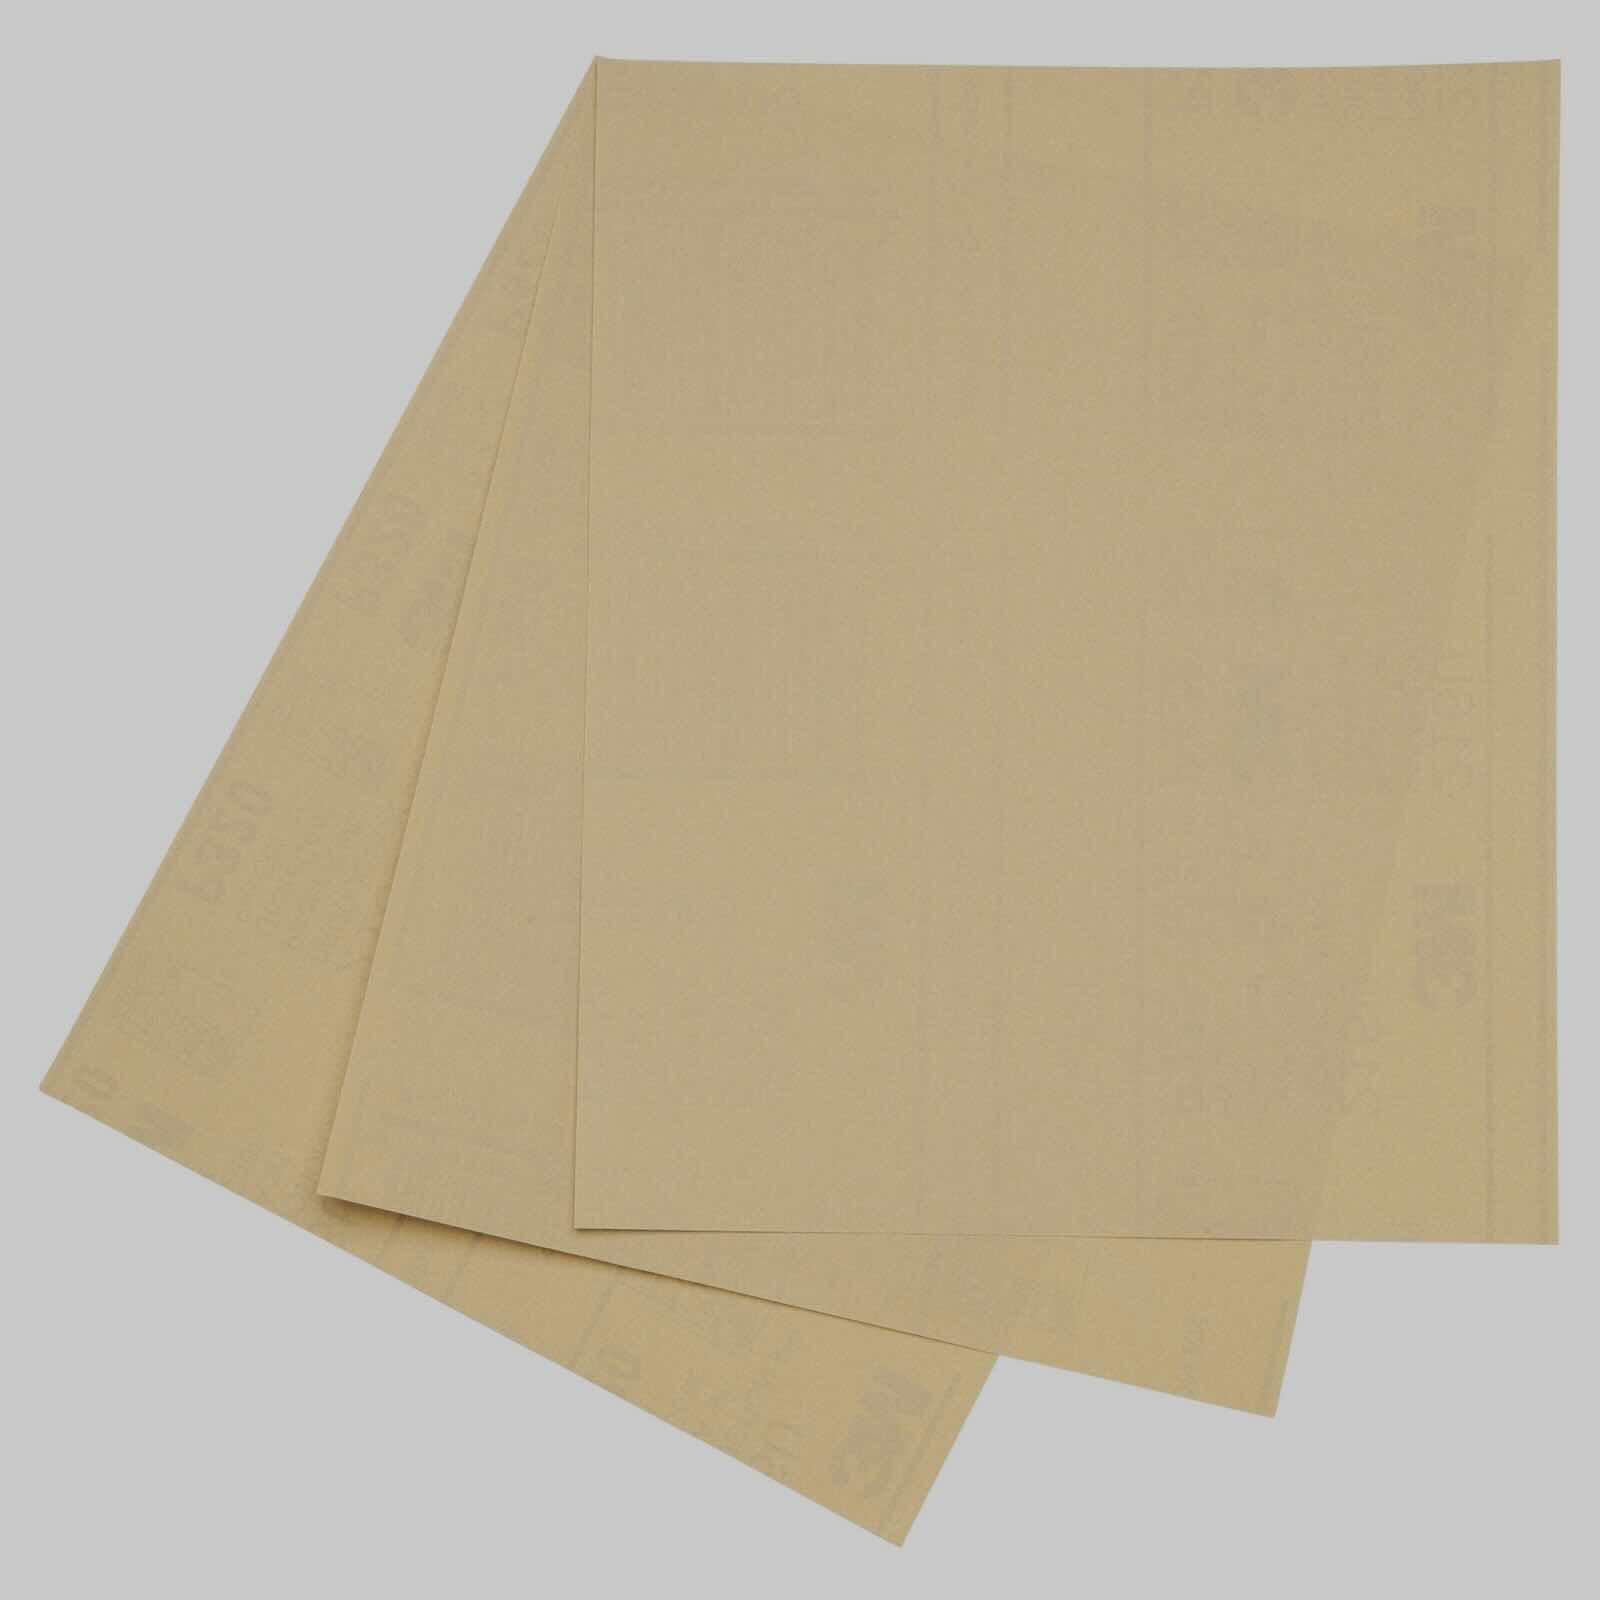
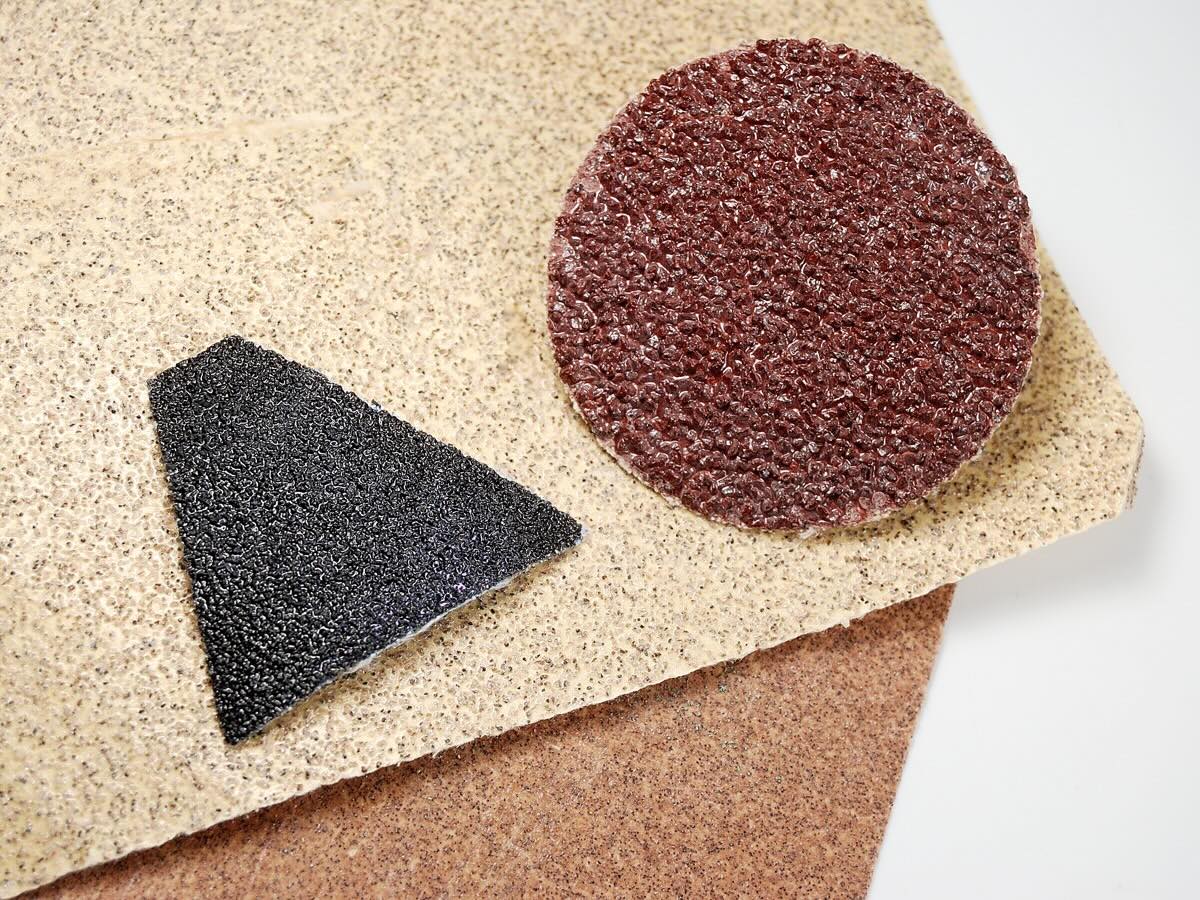
When it comes to sandpaper, the “grit” refers to the number of abrasive particles per square inch on the sandpaper’s surface. The higher the number, the finer the grit and the smoother the sandpaper will be. Grit levels typically range from coarse to very fine, and each level serves a specific purpose in the sanding process.
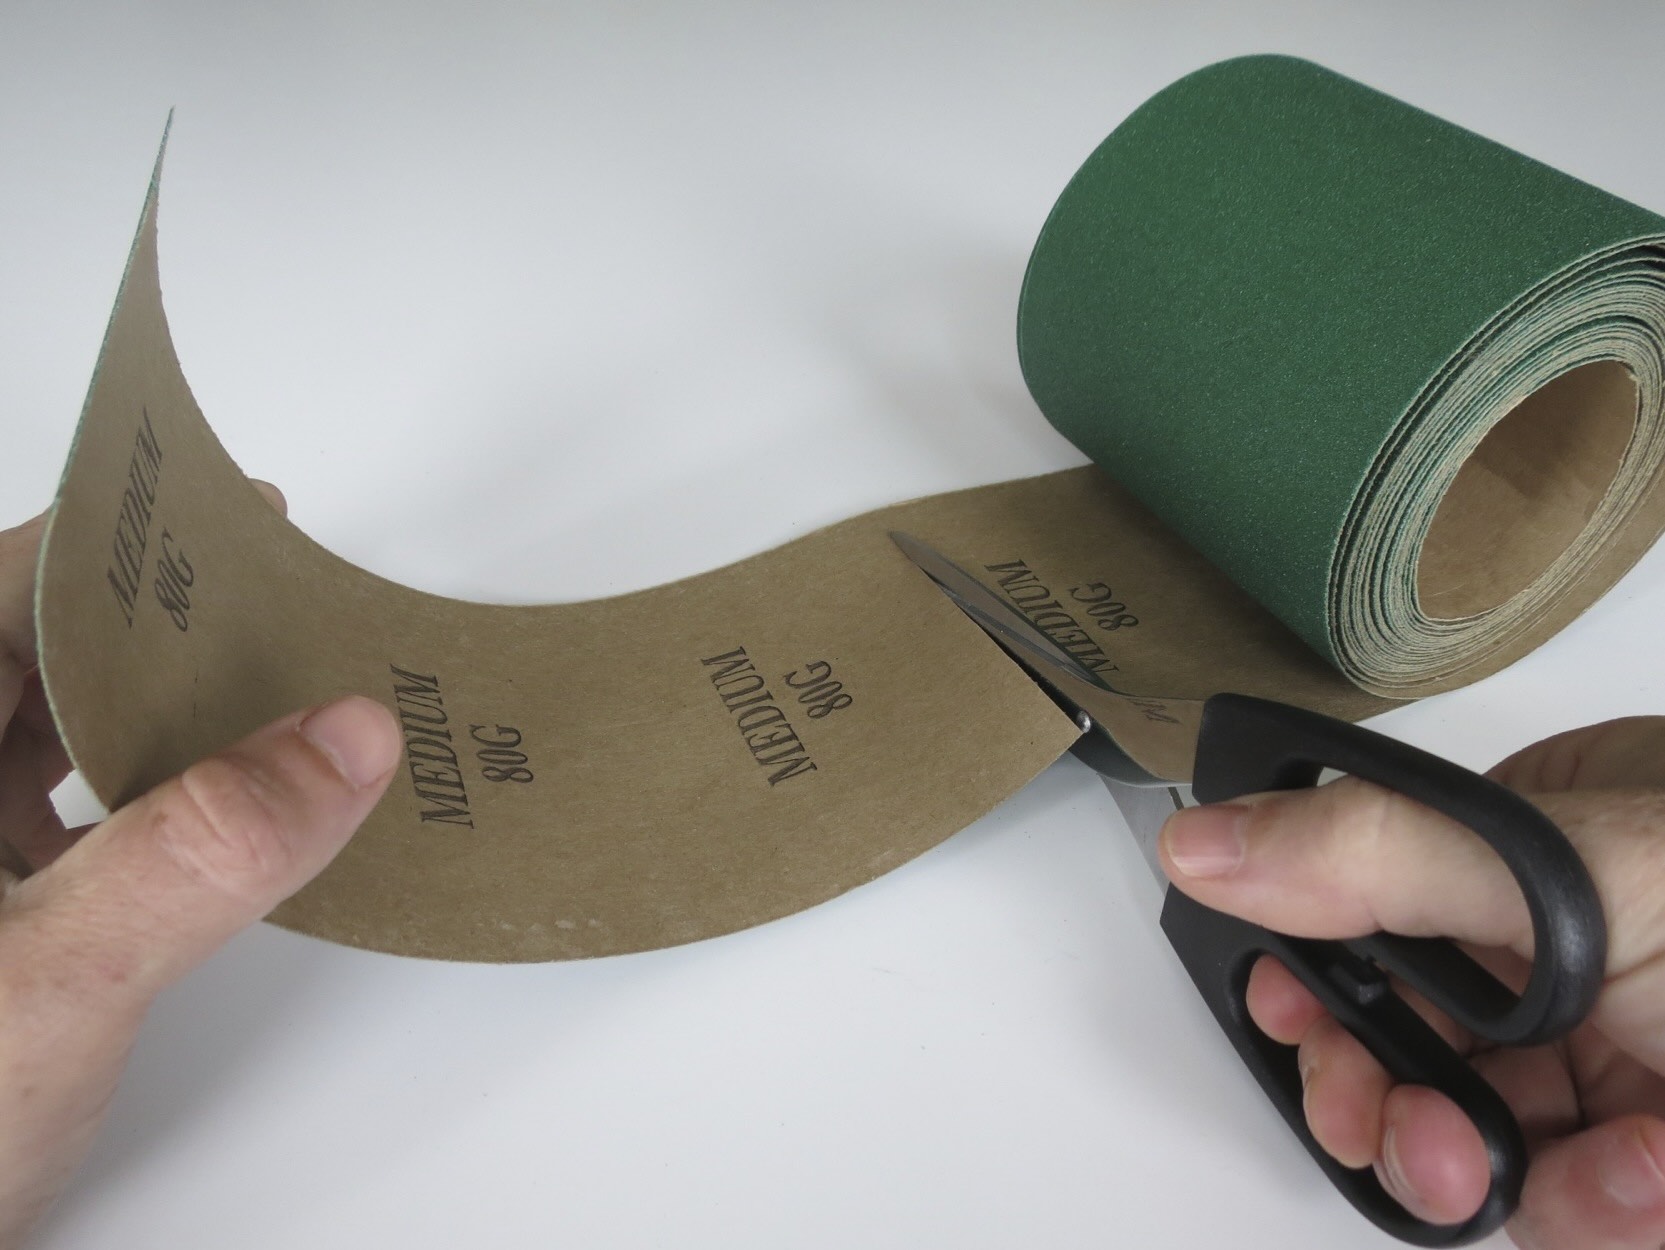
Coarse grit sandpaper, usually ranging from 40 to 80 grit, is ideal for heavy-duty sanding tasks. This level of sandpaper is designed to quickly remove material, such as old paint, rough patches, or deep imperfections on the plaster surface. It is not recommended to use coarse grit sandpaper directly on plaster walls, as it can cause damage and create uneven surfaces.
Moving up the scale, medium grit sandpaper, ranging from 100 to 150 grit, is more suitable for sanding plaster walls. It effectively smoothens out imperfections and prepares the surface for further refinement. Medium grit sandpaper can remove minor blemishes and even out rough patches while still being gentle enough not to damage the underlying plaster.
As you move towards finer grit sandpapers, such as 220 to 400 grit, you enter the realm of fine and very fine sanding. These levels of sandpaper are used for achieving a polished finish and removing any remaining scratches or marks left behind by the coarser grits. Fine grit sandpaper is ideal for preparing the surface for painting or applying a fresh coat of plaster.
It’s important to note that sandpaper with grit levels above 400 is considered ultra-fine and typically used for specialized applications like sanding between coats of paint or for delicate finishes. These extremely fine grits are not usually necessary for sanding plaster walls and may result in a more time-consuming process without significant benefits.
By understanding the different grit levels of sandpaper, you can select the appropriate ones for sanding plaster walls. This will ensure that you achieve the desired level of smoothness without causing damage or unnecessary delays in your project.
Factors to Consider before Choosing Grit Sandpaper for Plaster Walls
When it comes to choosing the right grit sandpaper for plaster walls, there are several factors to consider. These factors will help you determine the appropriate level of abrasiveness needed to achieve the desired results and ensure a successful sanding process. Let’s explore the key factors to consider:
1. Level of Imperfections: Assess the condition of your plaster walls and determine the level of imperfections present. If you have significant bumps, rough patches, or deep scratches, you may need to start with a coarser grit sandpaper to remove these imperfections. On the other hand, if the walls are relatively smooth with minor blemishes, a medium or fine grit sandpaper will suffice.
2. Surface Fragility: Consider the fragility of your plaster walls. Plaster is a sensitive material that can easily chip or crack if too much pressure is applied during sanding. If your plaster walls are older or more prone to damage, it is recommended to opt for a finer grit sandpaper to minimize the risk of causing harm.
3. Project Scope: Determine the scope of your project. Are you sanding a small area or an entire room? The size of your project will determine the amount of time and effort needed. If you are working on a larger area, it may be more practical to start with a medium grit sandpaper to remove major imperfections quickly and then progress to a finer grit for the final smoothing.
4. Personal Preference: Consider your personal preference and desired outcome. Some individuals prefer a perfectly smooth surface, while others may prefer a more textured finish. Determining the level of smoothness you desire will help you choose the appropriate grit sandpaper.
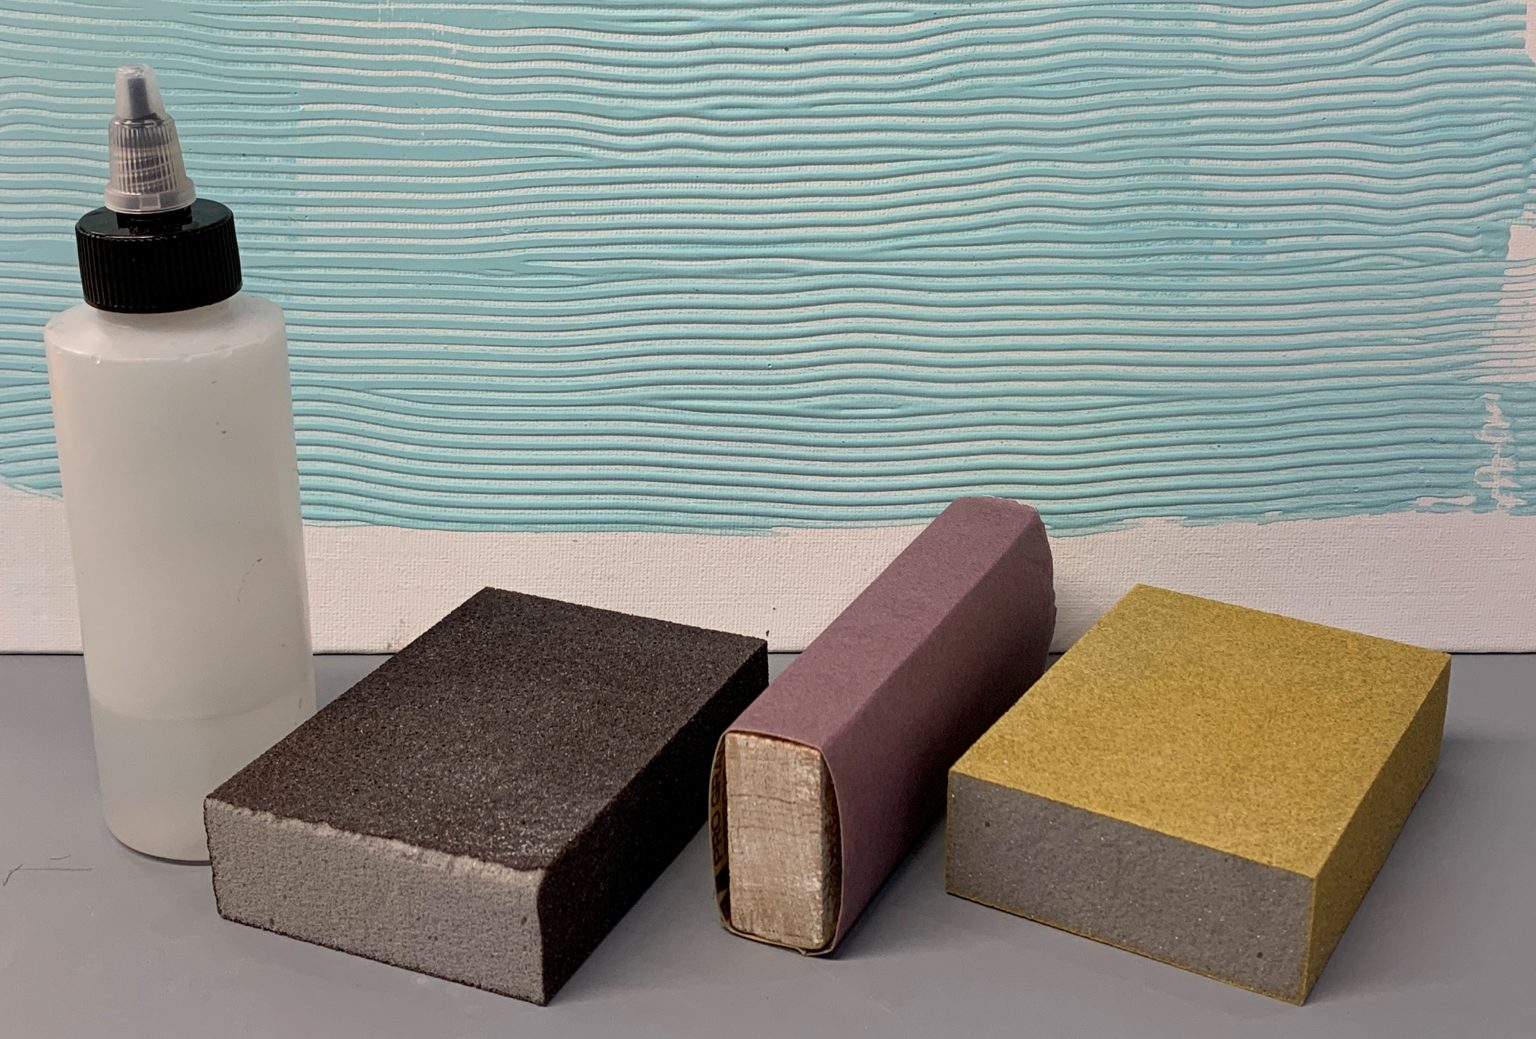
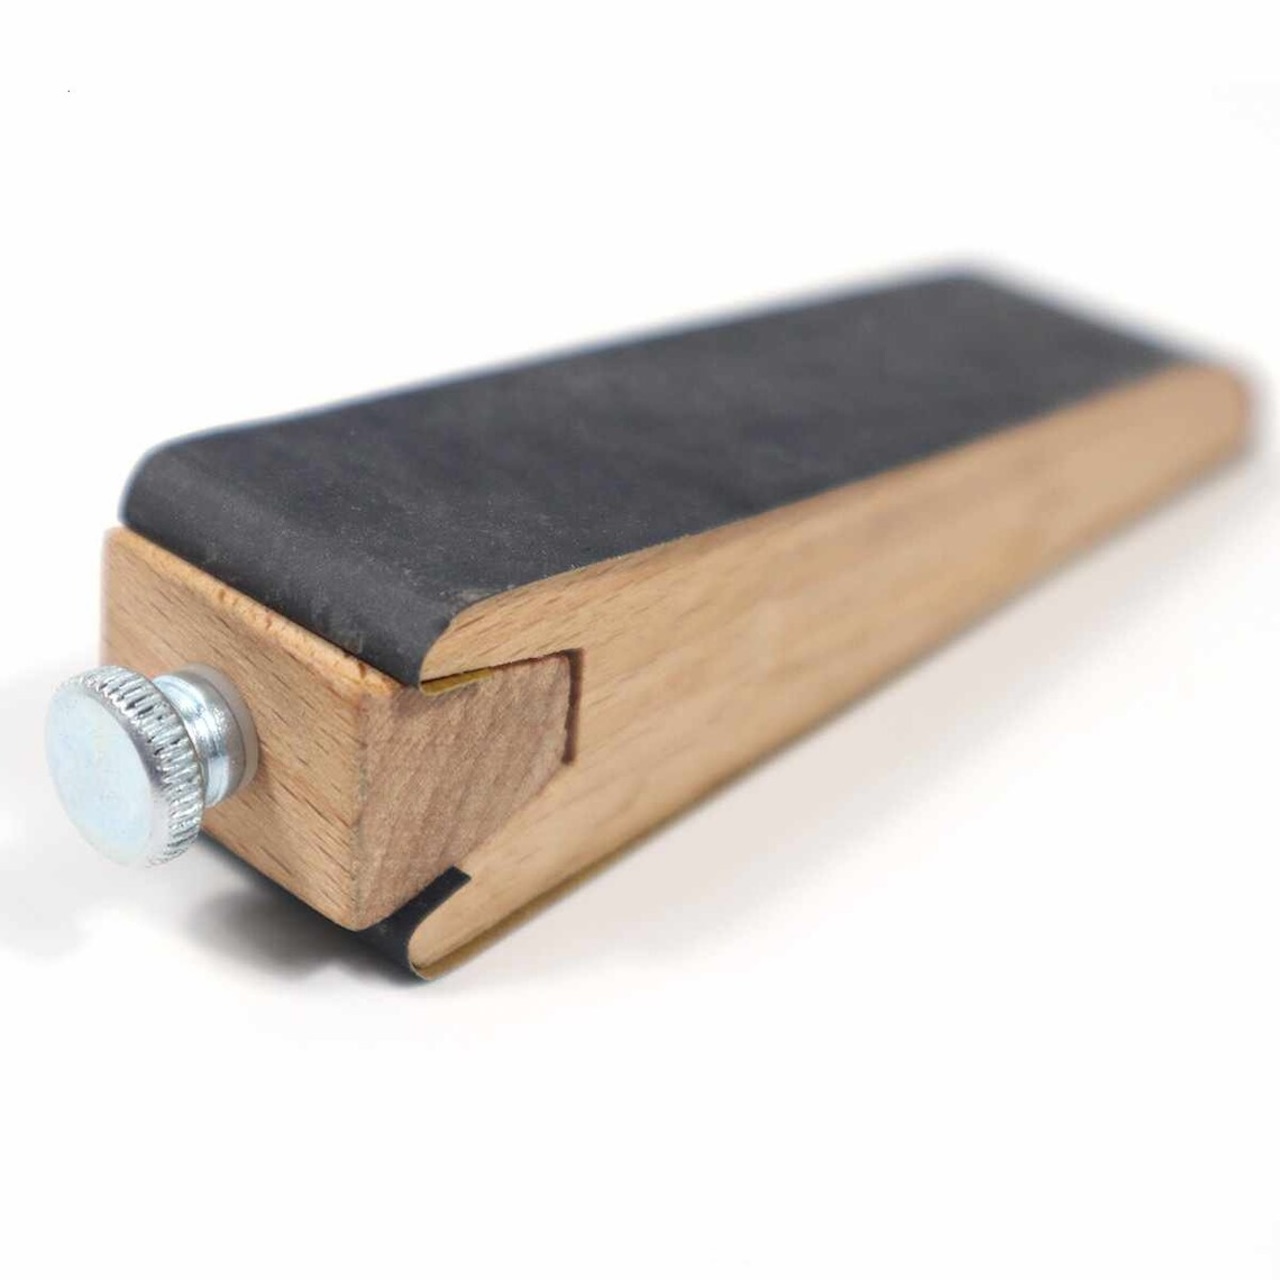
5. Availability of Tools: Assess the tools available to you. Depending on the equipment you have, certain grit levels may be easier to work with. For example, if you have a sanding block or an electric sander, finer grit sandpaper may be more manageable.
6. Time and Patience: Lastly, consider the amount of time and patience you are willing to invest in the sanding process. Finer grit sandpapers require more time and effort to achieve a smooth finish. If you are working on a tight schedule or have limited patience, a coarser grit sandpaper may be a more practical choice.
By taking these factors into account, you can confidently choose the most suitable grit sandpaper for your plaster walls. Remember, it’s important to strike a balance between removing imperfections and maintaining the integrity of the plaster surface.
Recommended Grit Sandpaper for Plaster Walls
Choosing the right grit sandpaper for plaster walls is essential to achieve a smooth and flawless finish. Based on the factors mentioned earlier, here are some recommended grit levels that can help guide you in your sanding process:
1. Coarse Grit (40 to 80): As mentioned before, coarse grit sandpaper is not recommended directly on plaster walls as it can cause damage. However, if you have significant imperfections or need to remove layers of old paint or rough patches, you can start with a coarse grit sandpaper to quickly eliminate these issues. Just be cautious and use the coarse grit sandpaper sparingly to avoid damaging the plaster.
2. Medium Grit (100 to 150): Medium grit sandpaper is the most commonly used for sanding plaster walls. It effectively smoothens out minor blemishes, evens out rough patches, and prepares the surface for further refinement. This grit level strikes a balance between removing imperfections and preserving the integrity of the plaster. It’s recommended to start with medium grit sandpaper and evaluate the results before deciding if further sanding is necessary.
3. Fine Grit (220 to 400): Once you have achieved a relatively smooth surface with medium grit sandpaper, you can use a fine grit sandpaper to refine the finish. Fine grit sandpaper helps to eliminate any remaining scratches or minor imperfections, resulting in a smoother and more polished surface. This grit level is especially useful if you plan to paint or apply a fresh coat of plaster.
It’s important to note that the recommended grit levels may vary depending on the condition of your plaster walls and personal preference. If you find that the medium grit sandpaper is too aggressive or causing damage, you can start with a finer grit sandpaper, such as 150 or 180, to ensure a gentler sanding process.
Remember to regularly assess the surface during sanding to ensure you are achieving the desired results. It’s always better to start with a less aggressive grit and progress to a coarser grit if needed, rather than risk damaging the plaster walls.
Ultimately, the recommended grit sandpaper for plaster walls will depend on factors such as the level of imperfections, surface fragility, and personal preference. Take your time, be cautious, and experiment with different grit levels to find the best fit for your specific project.
Use 100-120 grit sandpaper for smoothing out plaster walls. This grit is coarse enough to remove imperfections but fine enough to avoid damaging the surface.
Steps to Sanding Plaster Walls
Sanding plaster walls requires careful attention to detail and a systematic approach to achieve the desired results. Follow these steps to ensure a successful sanding process:
1. Prepare the Work Area: Before you begin sanding, it’s important to prepare the work area. Remove any furniture or objects that could obstruct your access to the walls. Cover the floor and surrounding areas with drop cloths or plastic sheets to protect them from dust and debris.
2. Clean the Walls: Use a soft brush or a vacuum cleaner with a brush attachment to remove any loose dust or dirt from the walls. Cleaning the walls will help ensure a smooth sanding process and prevent any particles from interfering with the sanding action.
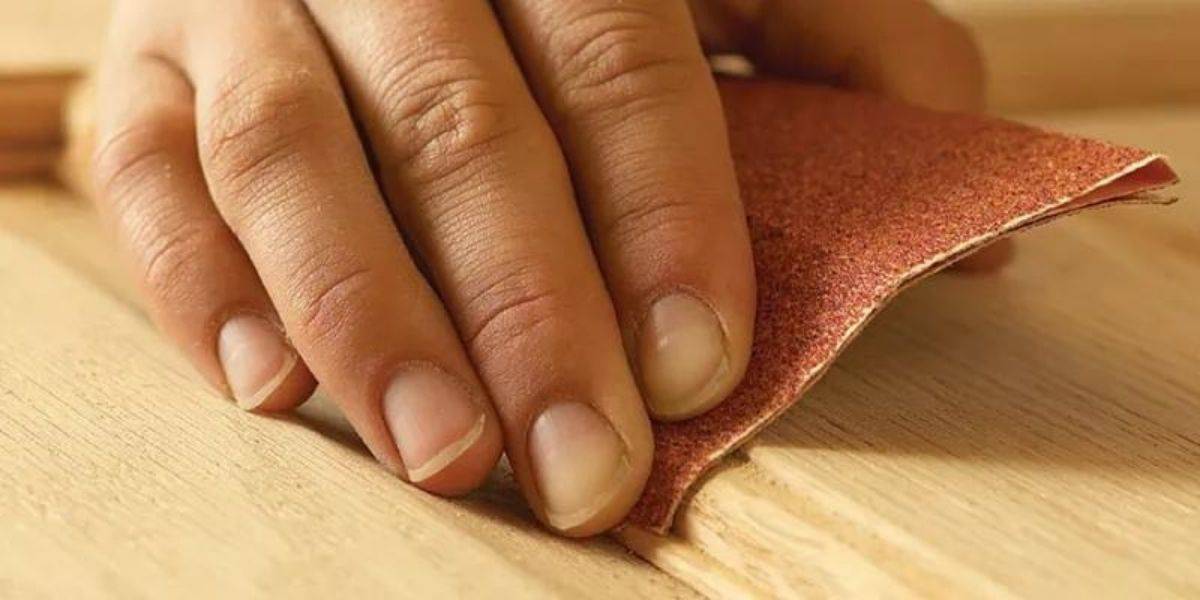
3. Start with Medium Grit Sandpaper: Begin sanding with medium grit sandpaper (around 100 to 150 grit). Use a sanding block or an electric sander for larger areas to ensure even pressure distribution. Begin sanding in a circular or back-and-forth motion, applying light to medium pressure. Move the sandpaper in a consistent pattern to avoid creating uneven spots.
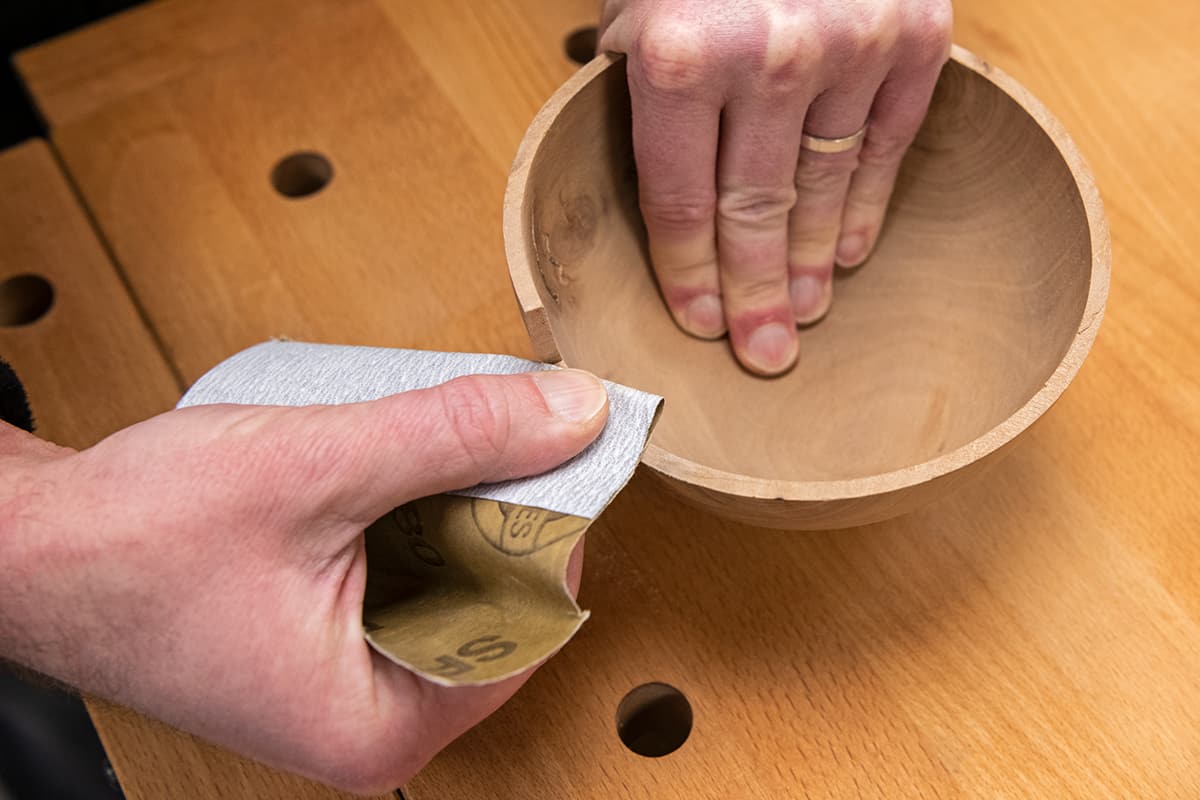
4. Check the Surface: Periodically stop sanding and run your hand over the sanded area to assess the smoothness. If there are still visible imperfections or rough patches, continue sanding until the surface feels relatively smooth.
5. Progress to Finer Grits: Once you have achieved a relatively smooth surface with medium grit sandpaper, switch to a finer grit sandpaper (around 220 to 400) to further refine the surface. Repeat the same sanding motion as before, applying light pressure, and check the surface regularly for smoothness.
6. Smooth Edges and Corners: Pay close attention to edges and corners while sanding. Use a sanding sponge or folded sandpaper to reach these areas effectively. Be careful not to oversand these delicate areas.
7. Clean the Walls Again: Once you have finished sanding, clean the walls again to remove any dust or debris. Use a soft brush or vacuum cleaner to ensure the surface is free from particles that could affect the quality of your finish.
8. Optional: Use a Tack Cloth: To ensure a truly clean surface, you can use a tack cloth to wipe down the walls. Tack cloths are sticky cloths designed to pick up any last traces of dust or particles.
9. Proceed with Painting or Plastering: After sanding and cleaning the walls, you are now ready to proceed with painting or applying a fresh coat of plaster. The smooth surface you have achieved will help ensure a professional-looking finish.
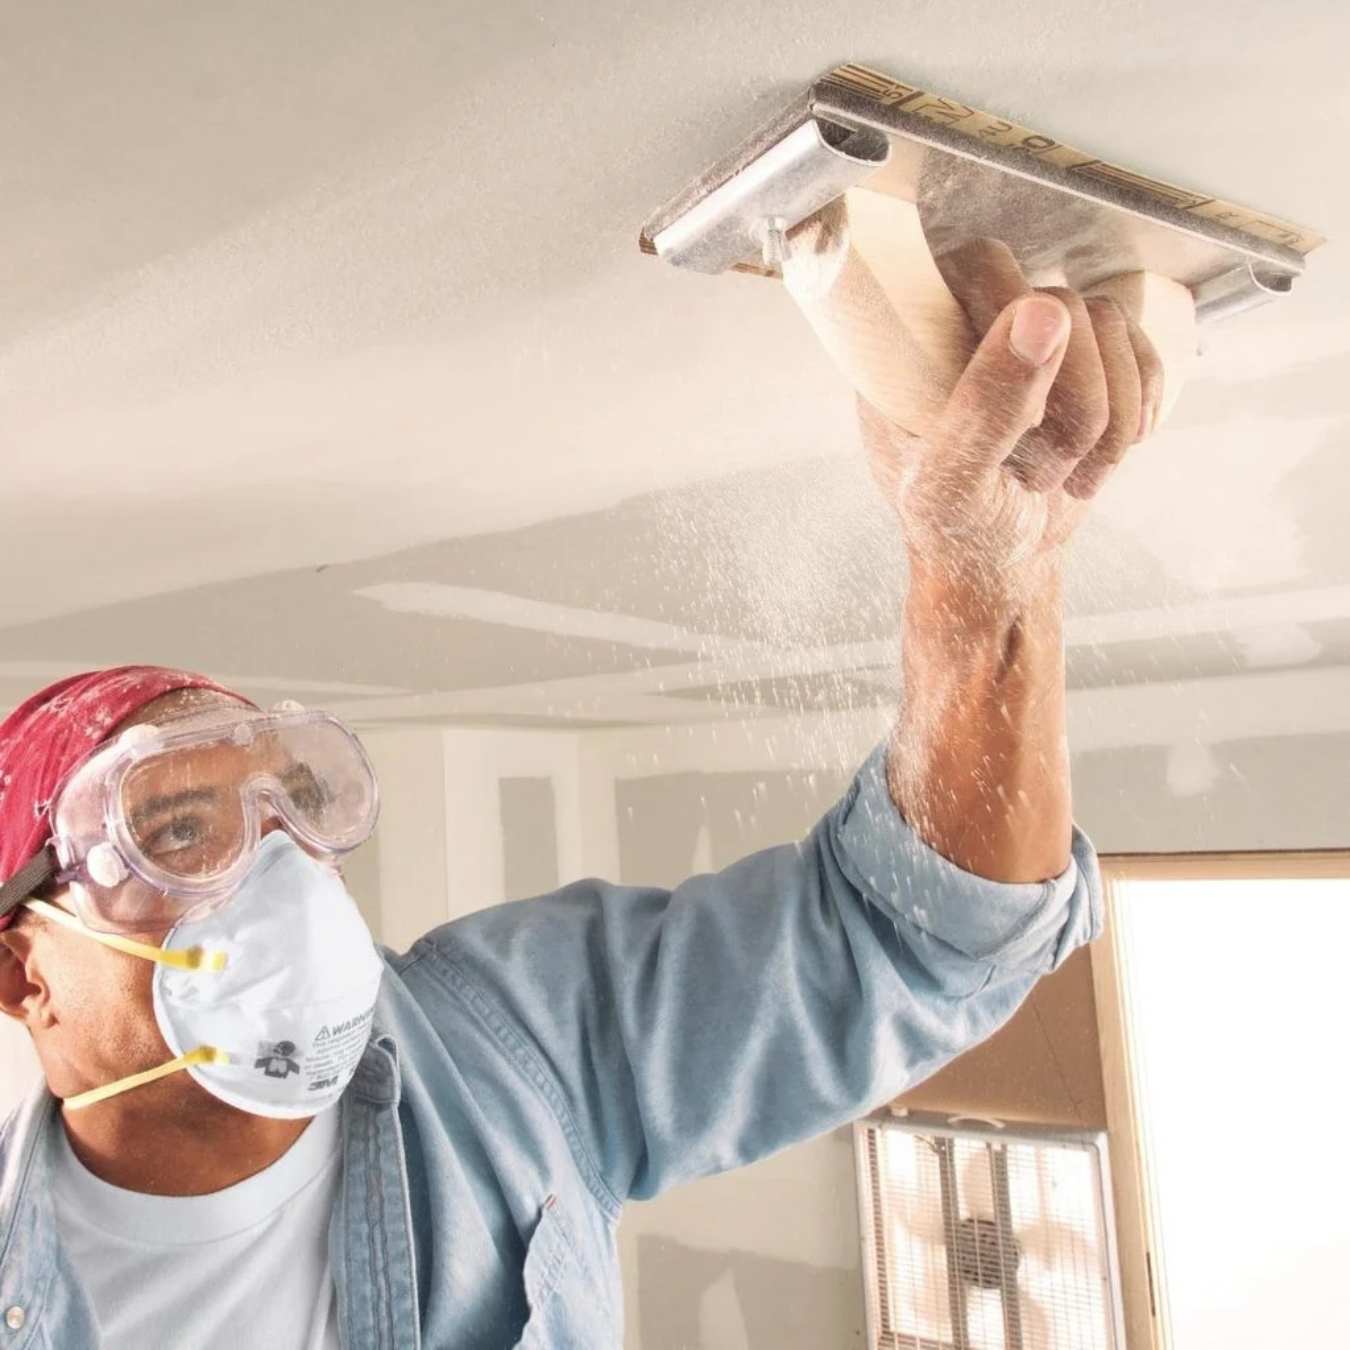
Remember to take breaks when needed and work in a well-ventilated area to avoid breathing in excessive dust. Sanding plaster walls can be a dusty process, so it’s important to use personal protective equipment, such as a dust mask and safety goggles, to protect yourself.
By following these steps and taking your time to sand properly, you can achieve a smooth and flawless surface on your plaster walls, ready for the next stage of your renovation project.
Read more: What Grit Sandpaper For Marble
Precautions to Take while Sanding Plaster Walls
Sanding plaster walls requires careful handling and adherence to safety precautions to protect both yourself and the integrity of the walls. Here are some important precautions to take while sanding plaster walls:
1. Wear Personal Protective Equipment (PPE): Before you start sanding, always wear the necessary personal protective equipment. This includes a dust mask, safety goggles, and gloves to protect your respiratory system, eyes, and hands from dust particles and debris generated during the sanding process.
2. Work in a Well-Ventilated Area: Sanding plaster walls can create a significant amount of dust. It is crucial to work in a well-ventilated area to prevent the accumulation of dust and to ensure proper air circulation. Open windows or use fans to improve ventilation and reduce the inhalation of airborne particles.
3. Prevent Dust Spreading: To minimize dust spreading to other areas of your home, seal off the work area as much as possible. Close doors and cover any air vents in the room. Additionally, use plastic sheets or drop cloths to cover furniture, floors, and any other exposed surfaces.
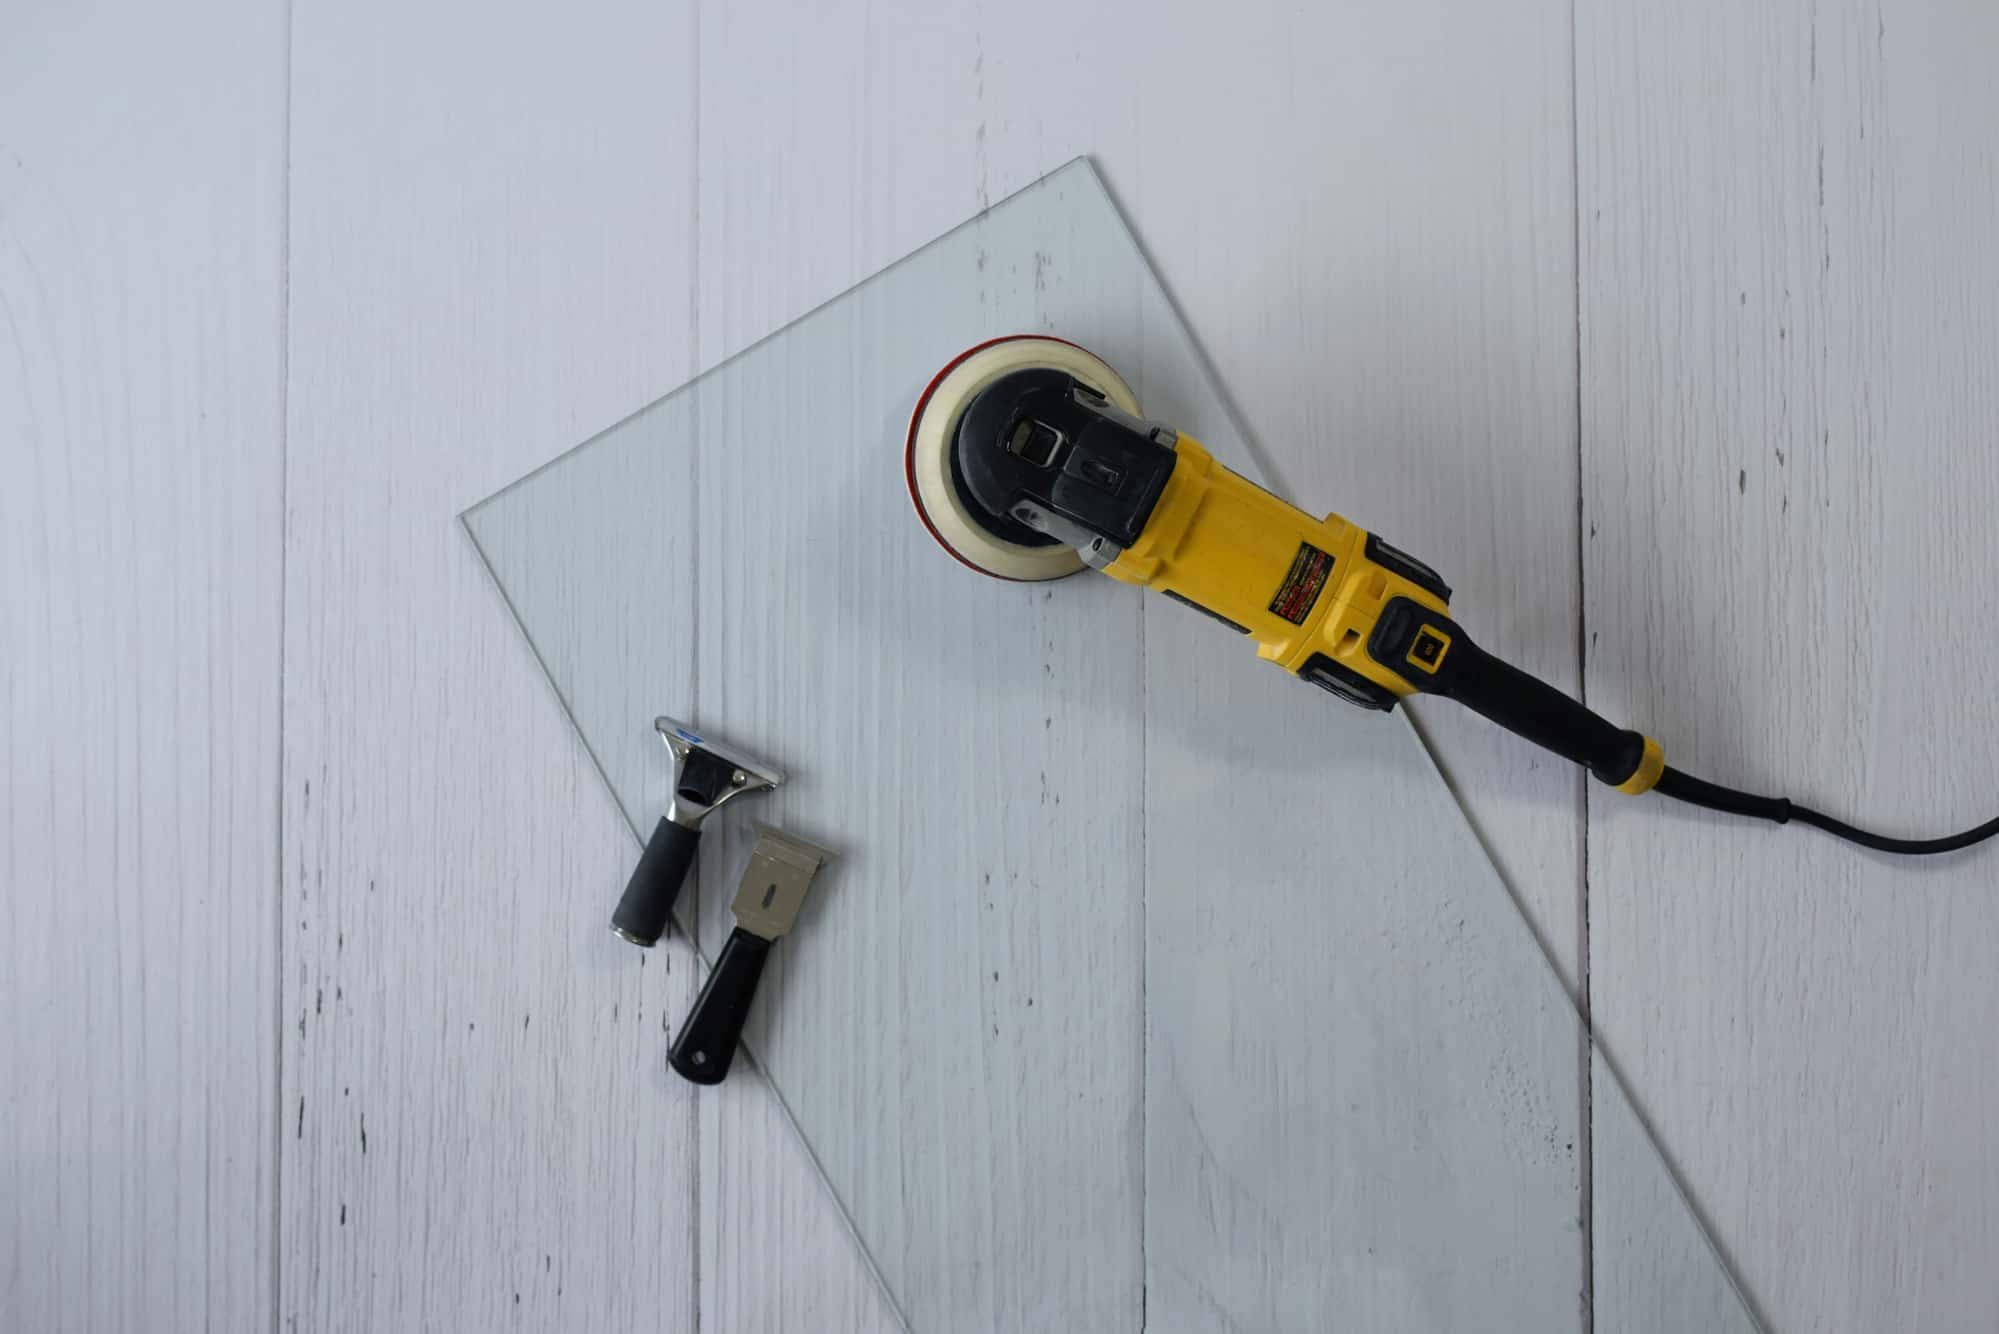
4. Use Appropriate Sanding Tools: Ensure that you are using the correct sanding tools for the job. A sanding block or an electric sander with a built-in dust collection system can effectively minimize the amount of dust created during the sanding process. Using the appropriate tools will not only improve efficiency but also help maintain a cleaner workspace.
5. Start with a Gentle Touch: When initially sanding the plaster walls, start with a light touch to gauge the sensitivity of the surface. Applying too much pressure can damage the plaster and create uneven spots. Gradually increase the pressure as needed, being mindful of maintaining a consistent sanding motion.
6. Inspect the Walls Regularly: Periodically stop and inspect the sanded walls to assess the progress and ensure you are achieving the desired smoothness. This will help you identify any areas that require additional attention or adjustments in your sanding technique.
7. Take Breaks and Hydrate: Sanding can be physically demanding, so it is important to take regular breaks to rest and hydrate. Prolonged sanding without breaks can lead to fatigue, which may affect your concentration and the quality of your work.
8. Clean the Walls and Workspace Thoroughly: After sanding, clean the walls and the workspace meticulously to remove all dust and debris. Use a vacuum cleaner equipped with a brush attachment, followed by a damp cloth or sponge, to ensure a thorough cleaning.
9. Dispose of Dust Properly: Be mindful of how you dispose of the collected dust and debris. Seal it in a plastic bag or container before disposing of it in accordance with local waste management regulations. This will prevent the dust from being released back into the environment or causing any health hazards.
10. Consider Professional Help if Needed: If you are unsure about sanding plaster walls or you have extensive damage, it may be best to seek professional help. Experienced professionals have the expertise and tools to handle the job safely and efficiently, ensuring optimal results.
By taking these precautions while sanding plaster walls, you can safeguard yourself and the surrounding environment while achieving a smooth and flawless surface. Remember, safety should always be a top priority during any renovation project.
Conclusion
Sanding plaster walls is a crucial step in achieving a smooth and flawless finish for your renovation or repair project. By understanding the grit levels of sandpaper, considering various factors, and following the recommended steps and precautions, you can ensure a successful sanding process.
Choosing the right grit sandpaper, such as starting with a medium grit and progressing to a finer grit, allows you to effectively remove imperfections while preserving the integrity of the plaster walls. Assessing the level of imperfections, considering the fragility of the surface, and personal preference are important factors to consider before choosing the appropriate grit sandpaper.
During the sanding process, it is essential to take precautions to protect yourself and the surrounding environment. Wearing personal protective equipment, working in a well-ventilated area, and preventing dust spreading are vital. Properly using sanding tools, starting with a gentle touch, and inspecting the walls regularly help in achieving the desired smoothness.
After sanding, cleaning the walls thoroughly and disposing of dust properly ensure a clean and safe workspace. It is important to remember that if you are unsure or have extensive damage, seeking professional help may be the best option.
With careful attention to detail, patience, and adherence to safety precautions, sanding plaster walls can be a rewarding process that yields professional-looking results. So, before your next plaster wall project, take the time to choose the right grit sandpaper, follow the recommended steps, and take the necessary precautions. Your efforts will be well worth it when you see your smooth and beautifully finished plaster walls.
Frequently Asked Questions about What Grit Sandpaper For Plaster Walls
Was this page helpful?
At Storables.com, we guarantee accurate and reliable information. Our content, validated by Expert Board Contributors, is crafted following stringent Editorial Policies. We're committed to providing you with well-researched, expert-backed insights for all your informational needs.


0 thoughts on “What Grit Sandpaper For Plaster Walls”