Home>Renovation & DIY>Tools & Equipment>What Grit Sandpaper For Plastic Bumper Before Painting
Tools & Equipment
What Grit Sandpaper For Plastic Bumper Before Painting
Published: December 20, 2023
Ensure a flawless finish on your plastic bumper with the right grit sandpaper. Find out which tools and equipment are best for prepping plastic surfaces before painting.
(Many of the links in this article redirect to a specific reviewed product. Your purchase of these products through affiliate links helps to generate commission for Storables.com, at no extra cost. Learn more)
Introduction
Welcome to the world of automotive restoration and customization! Whether you're a seasoned auto enthusiast or a DIY enthusiast, the process of refinishing plastic bumpers is an essential skill to master. When it comes to prepping plastic bumpers for painting, the choice of grit sandpaper plays a pivotal role in achieving a smooth, flawless finish.
In this comprehensive guide, we will delve into the intricacies of selecting the right grit sandpaper for plastic bumpers before painting. We'll explore the nuances of grit sandpaper, the importance of proper surface preparation, and the factors to consider when choosing the ideal grit for your specific project.
So, grab your sandpaper, put on your safety goggles, and let's embark on this journey to discover the art and science of prepping plastic bumpers for a professional-grade paint job!
Key Takeaways:
- Choose the right grit sandpaper based on the condition of the plastic bumper and the desired smoothness. Coarser grits for imperfections, medium for smoothing, and very fine for a flawless finish.
- Properly preparing plastic bumpers for painting involves cleaning, sanding, and applying primer. The choice of grit sandpaper is crucial for achieving a professional-looking paint job.
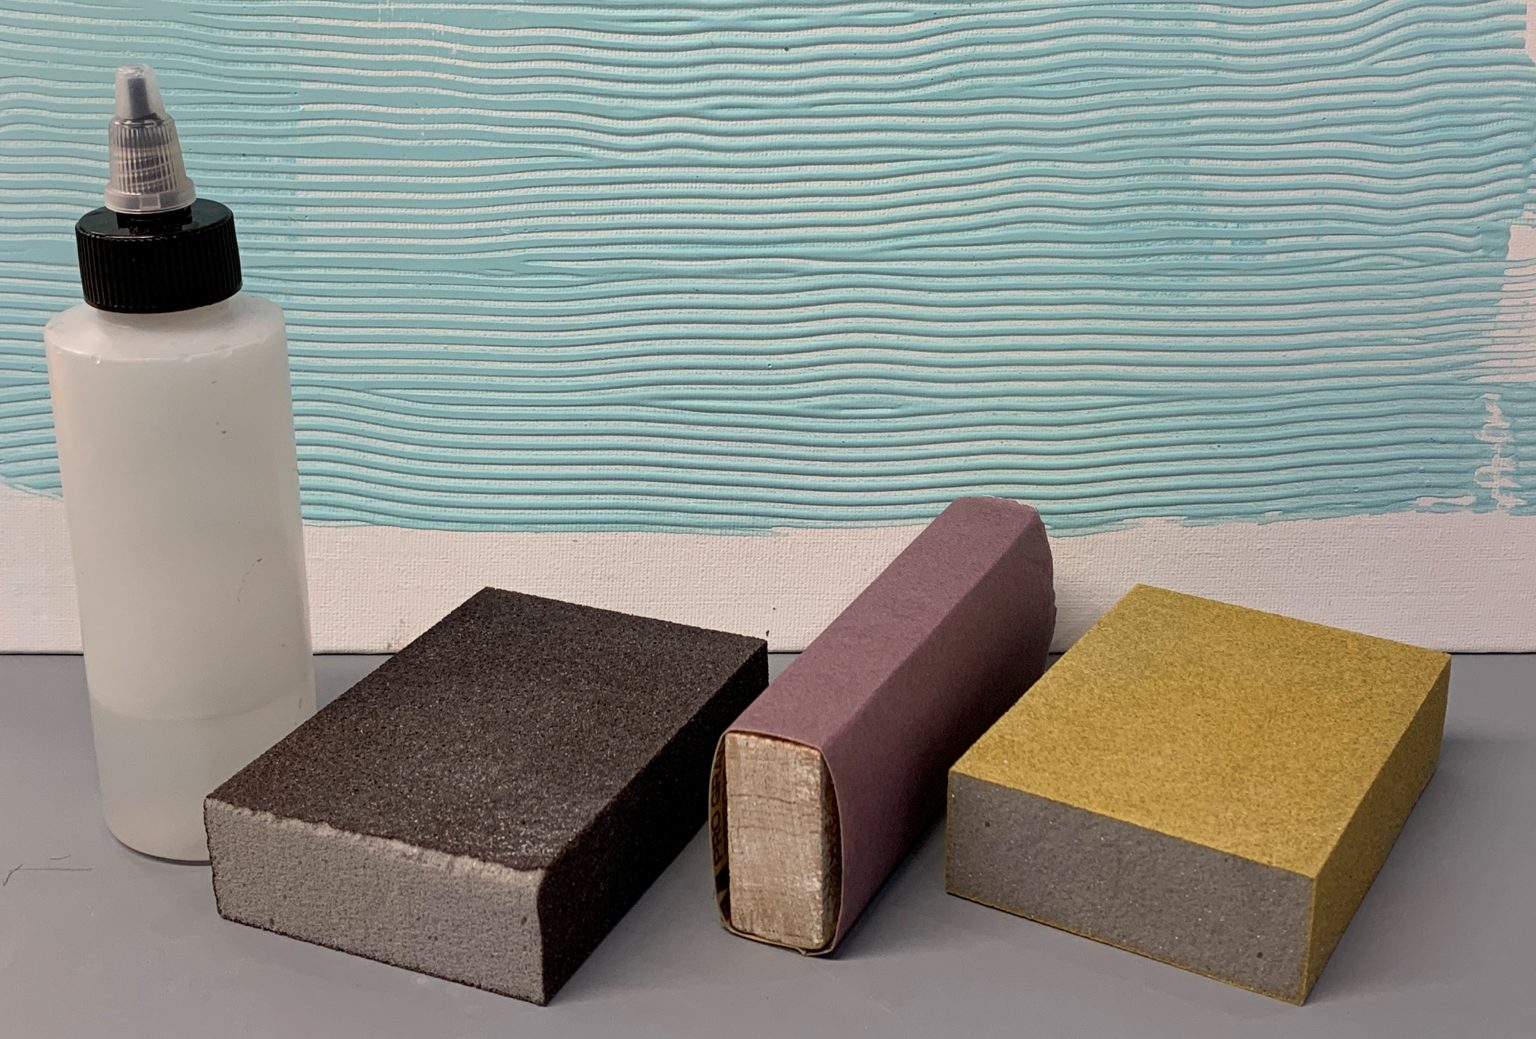
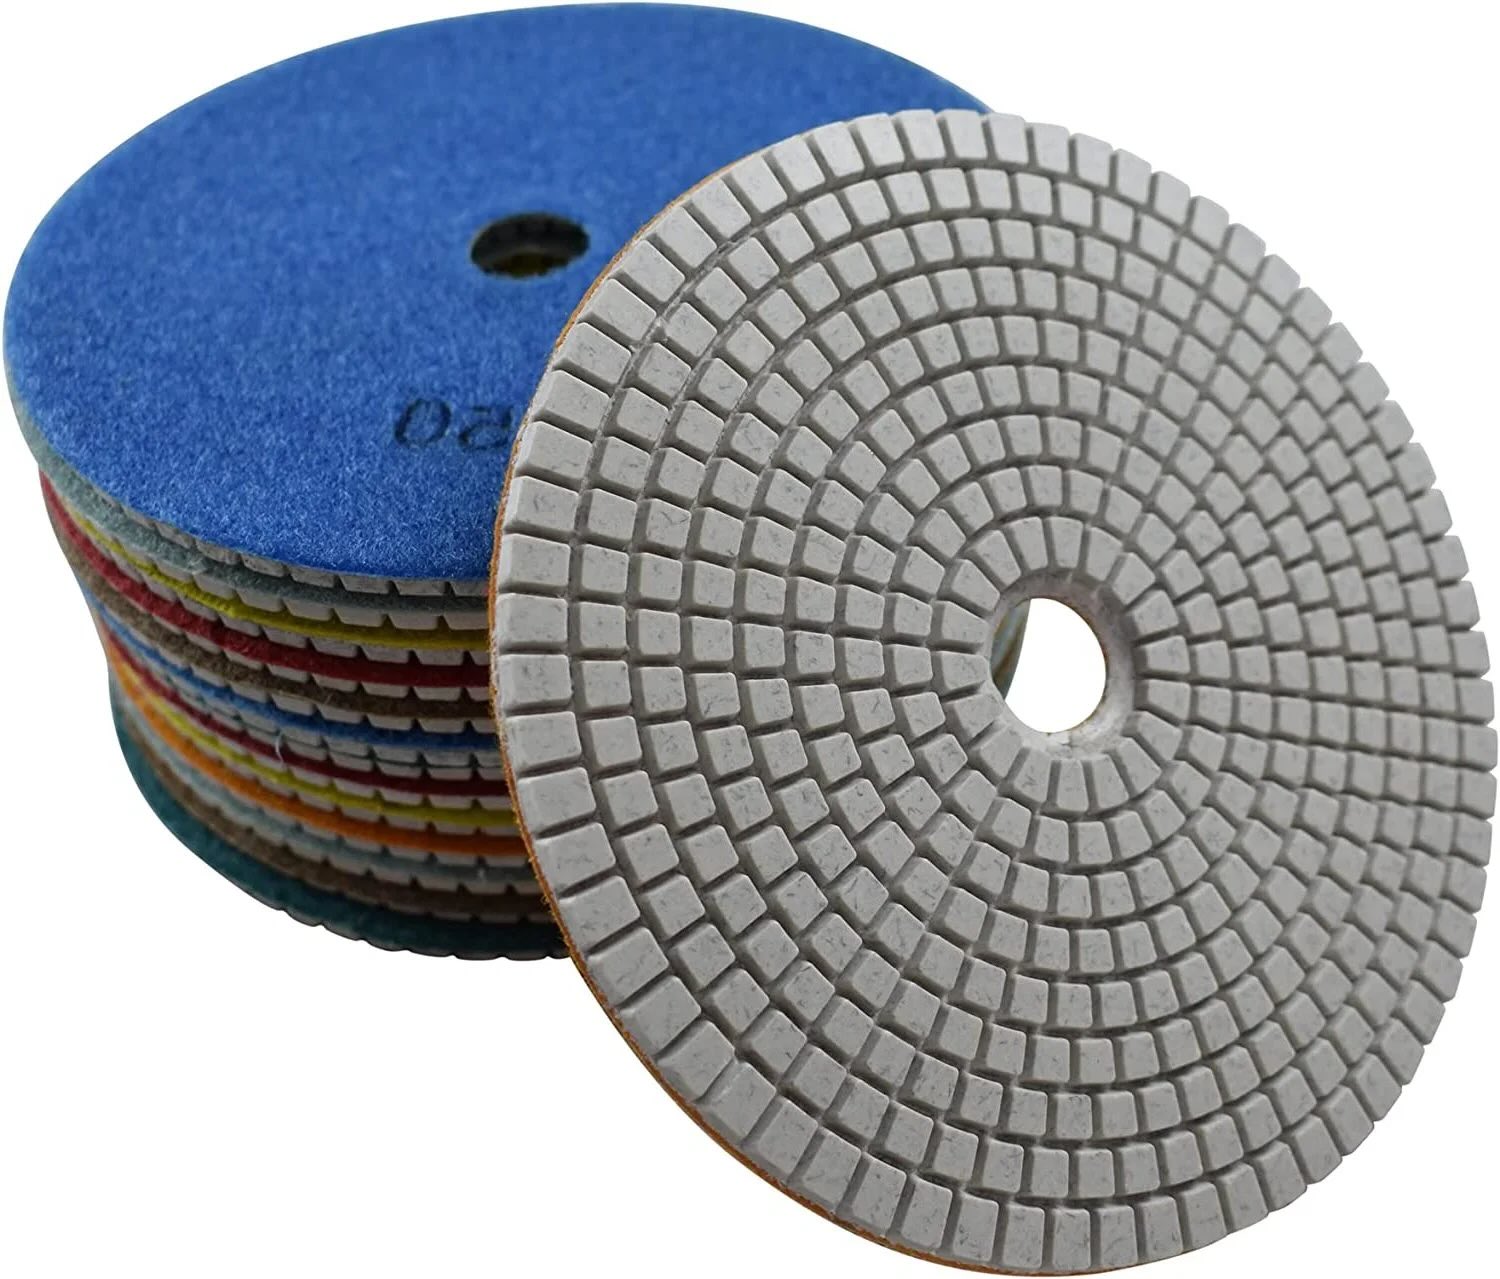
Understanding Grit Sandpaper
Before delving into the specifics of sanding plastic bumpers, it's crucial to understand the concept of grit sandpaper. Grit refers to the number of abrasive particles per square inch of the sandpaper. The higher the grit number, the finer the sandpaper and the less aggressive it is. Conversely, lower grit numbers indicate coarser sandpaper with more abrasive particles, making it suitable for heavy material removal.
Common grit ranges include:
- Coarse Grit (40-60): Ideal for removing paint, rust, and heavy imperfections from surfaces.
- Medium Grit (80-120): Effective for smoothing rough surfaces and preparing them for finer sanding.
- Fine Grit (150-180): Suitable for light sanding, smoothing out imperfections, and preparing surfaces for painting.
- Very Fine Grit (220-240): Used for final sanding before applying paint or clear coat.
Understanding the characteristics of different grit sandpapers is essential for achieving the desired surface texture and preparing plastic bumpers for a flawless paint finish.
Now that we've laid the groundwork for comprehending grit sandpaper, let's move on to the crucial steps involved in preparing plastic bumpers for painting.
Preparing Plastic Bumpers for Painting
As with any refinishing project, proper preparation is key to achieving a professional-looking paint job. Plastic bumpers, being exposed to the elements and road debris, often require thorough cleaning and surface smoothing before painting. Here are the essential steps for preparing plastic bumpers:
- Clean the Surface: Begin by thoroughly cleaning the bumper with a mild detergent to remove dirt, grease, and grime. Rinse it well and allow it to dry completely before proceeding.
- Remove Imperfections: Inspect the bumper for any scratches, dents, or imperfections. Use a suitable filler or putty to repair minor damages and ensure a smooth surface for painting.
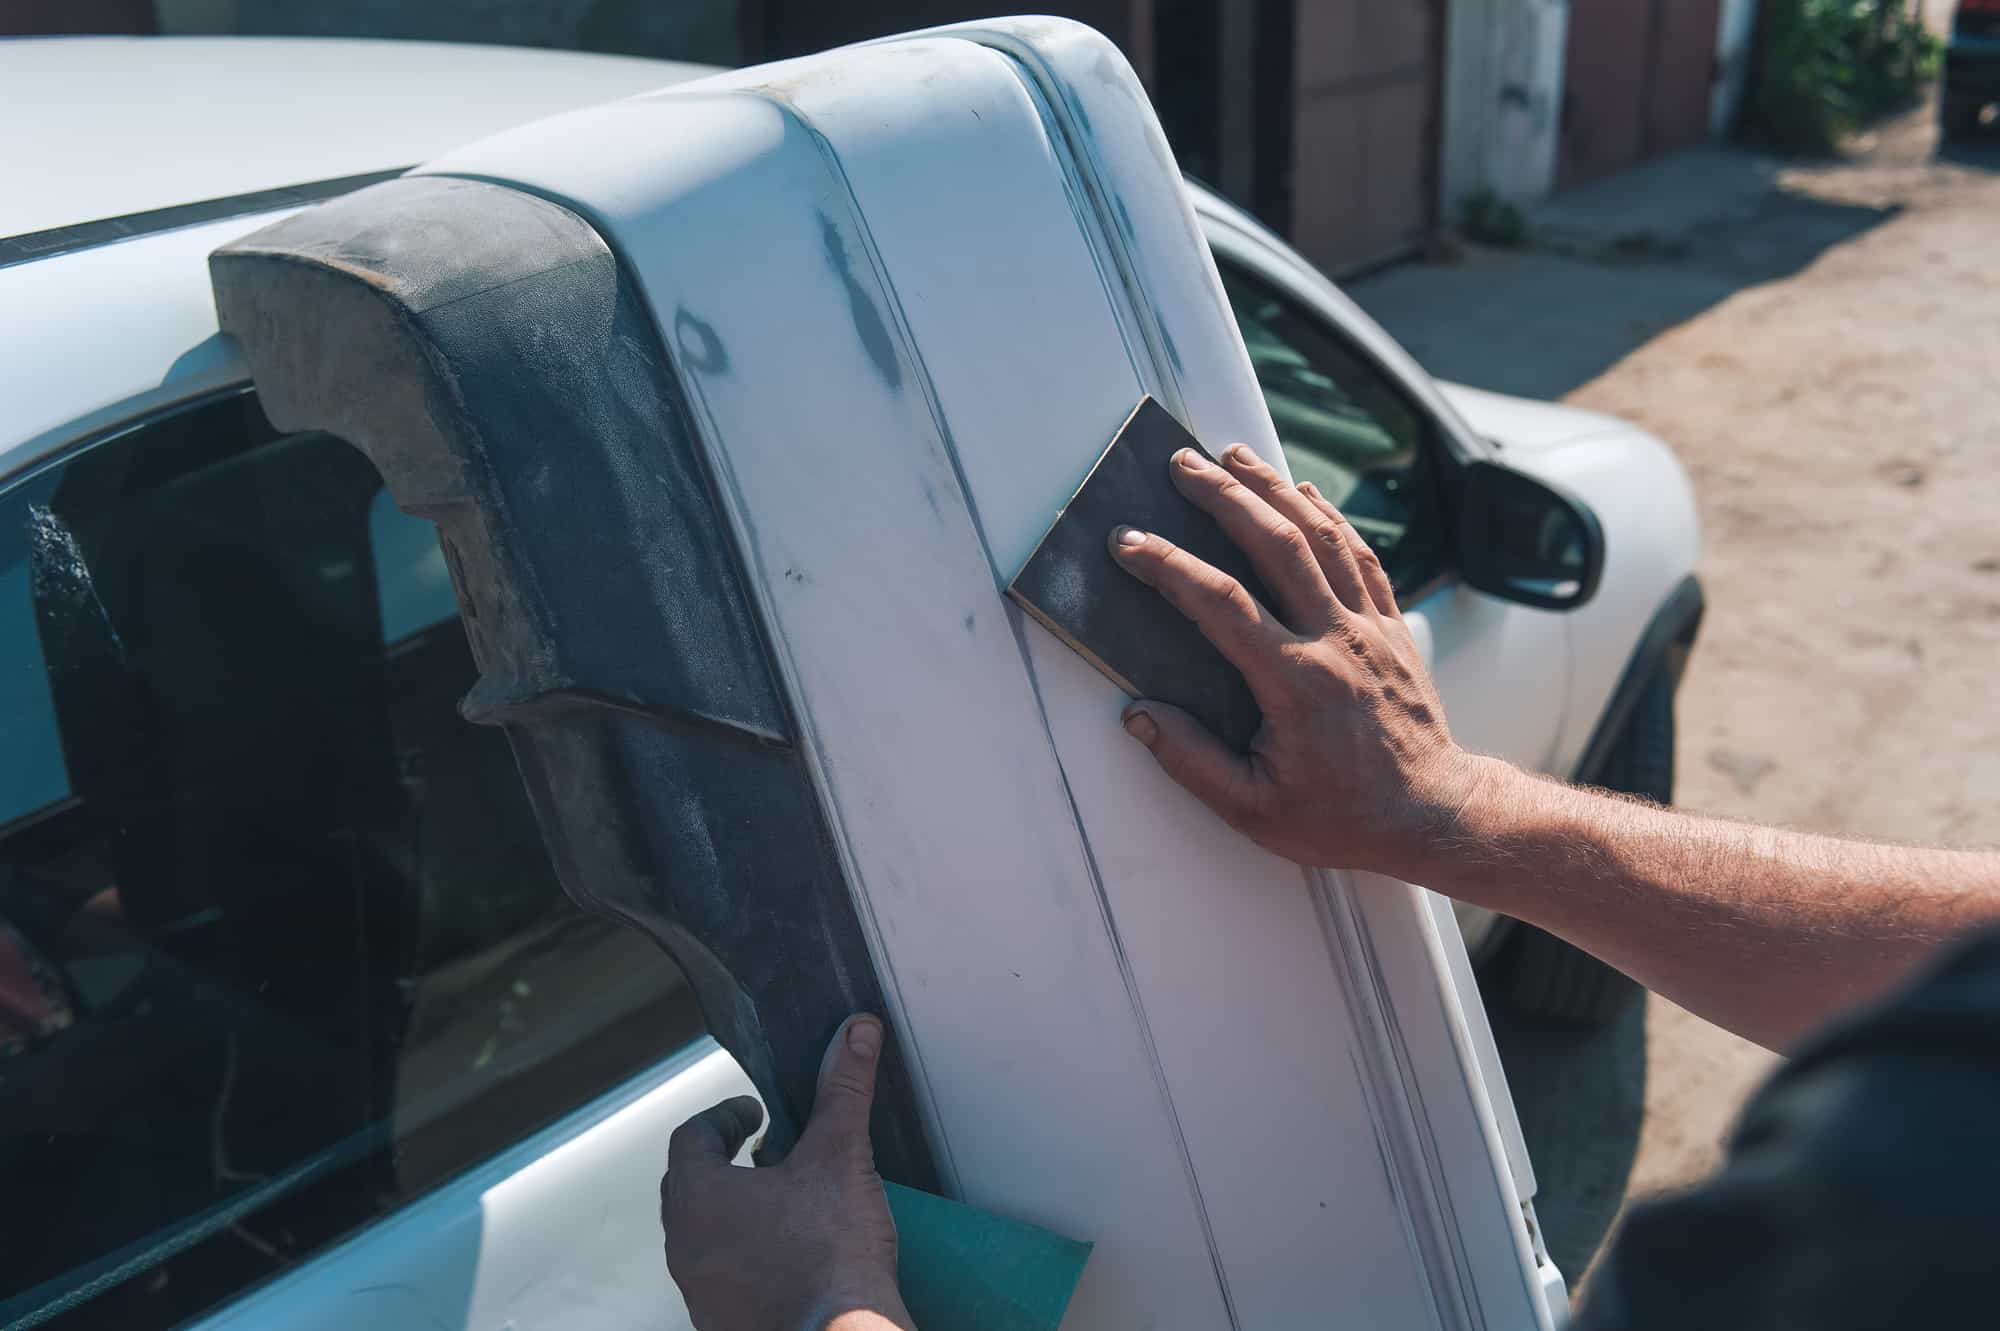
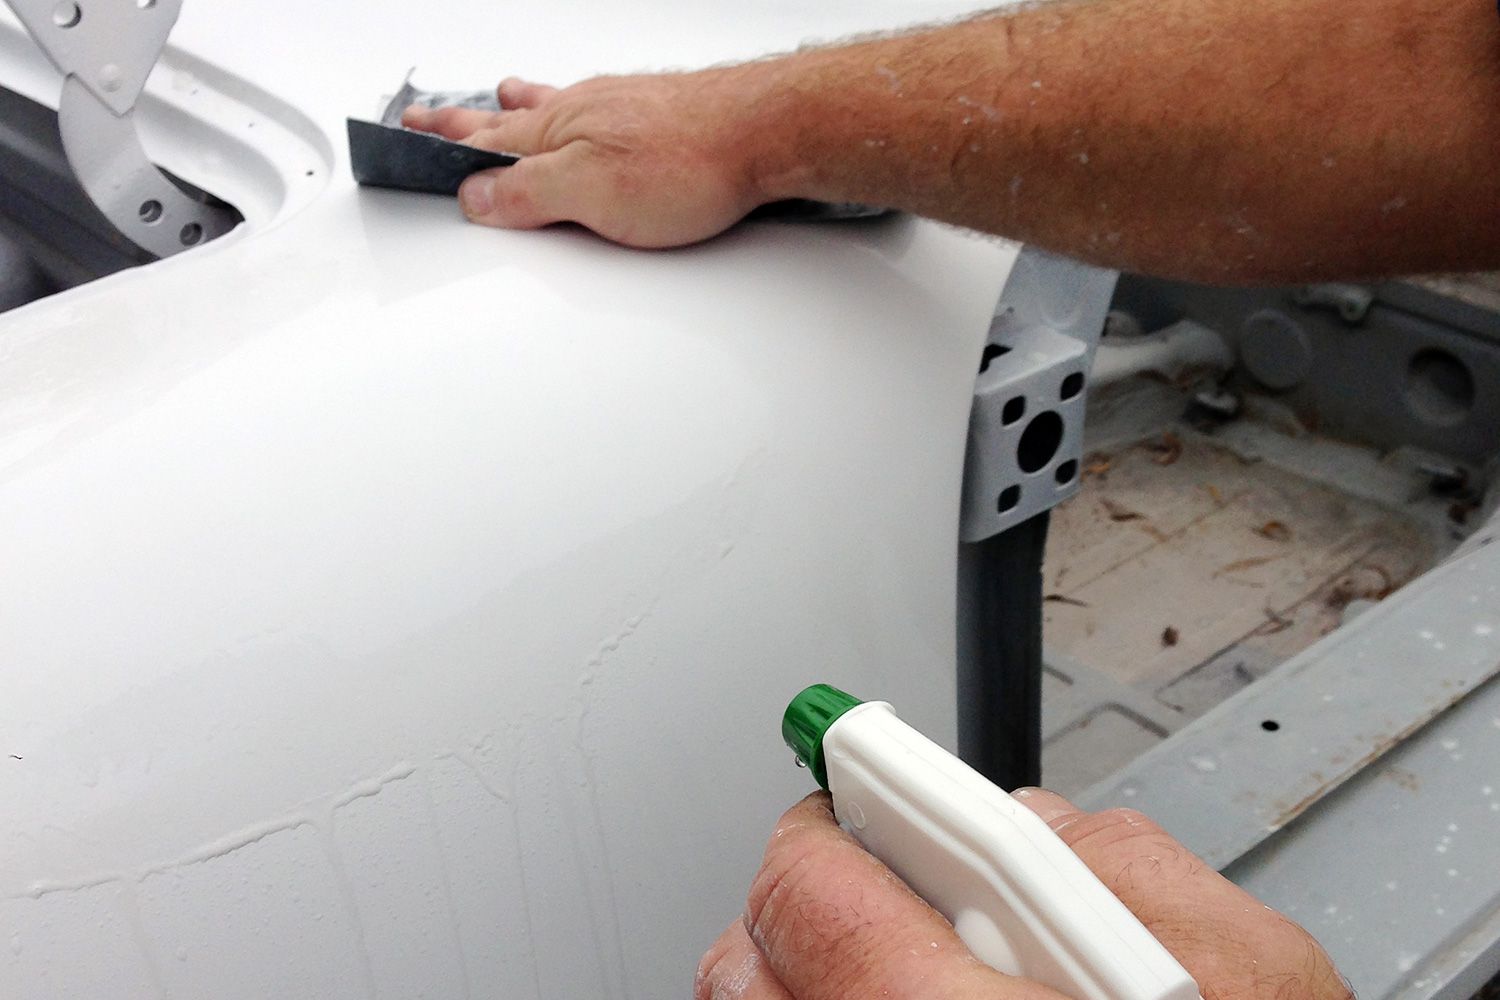
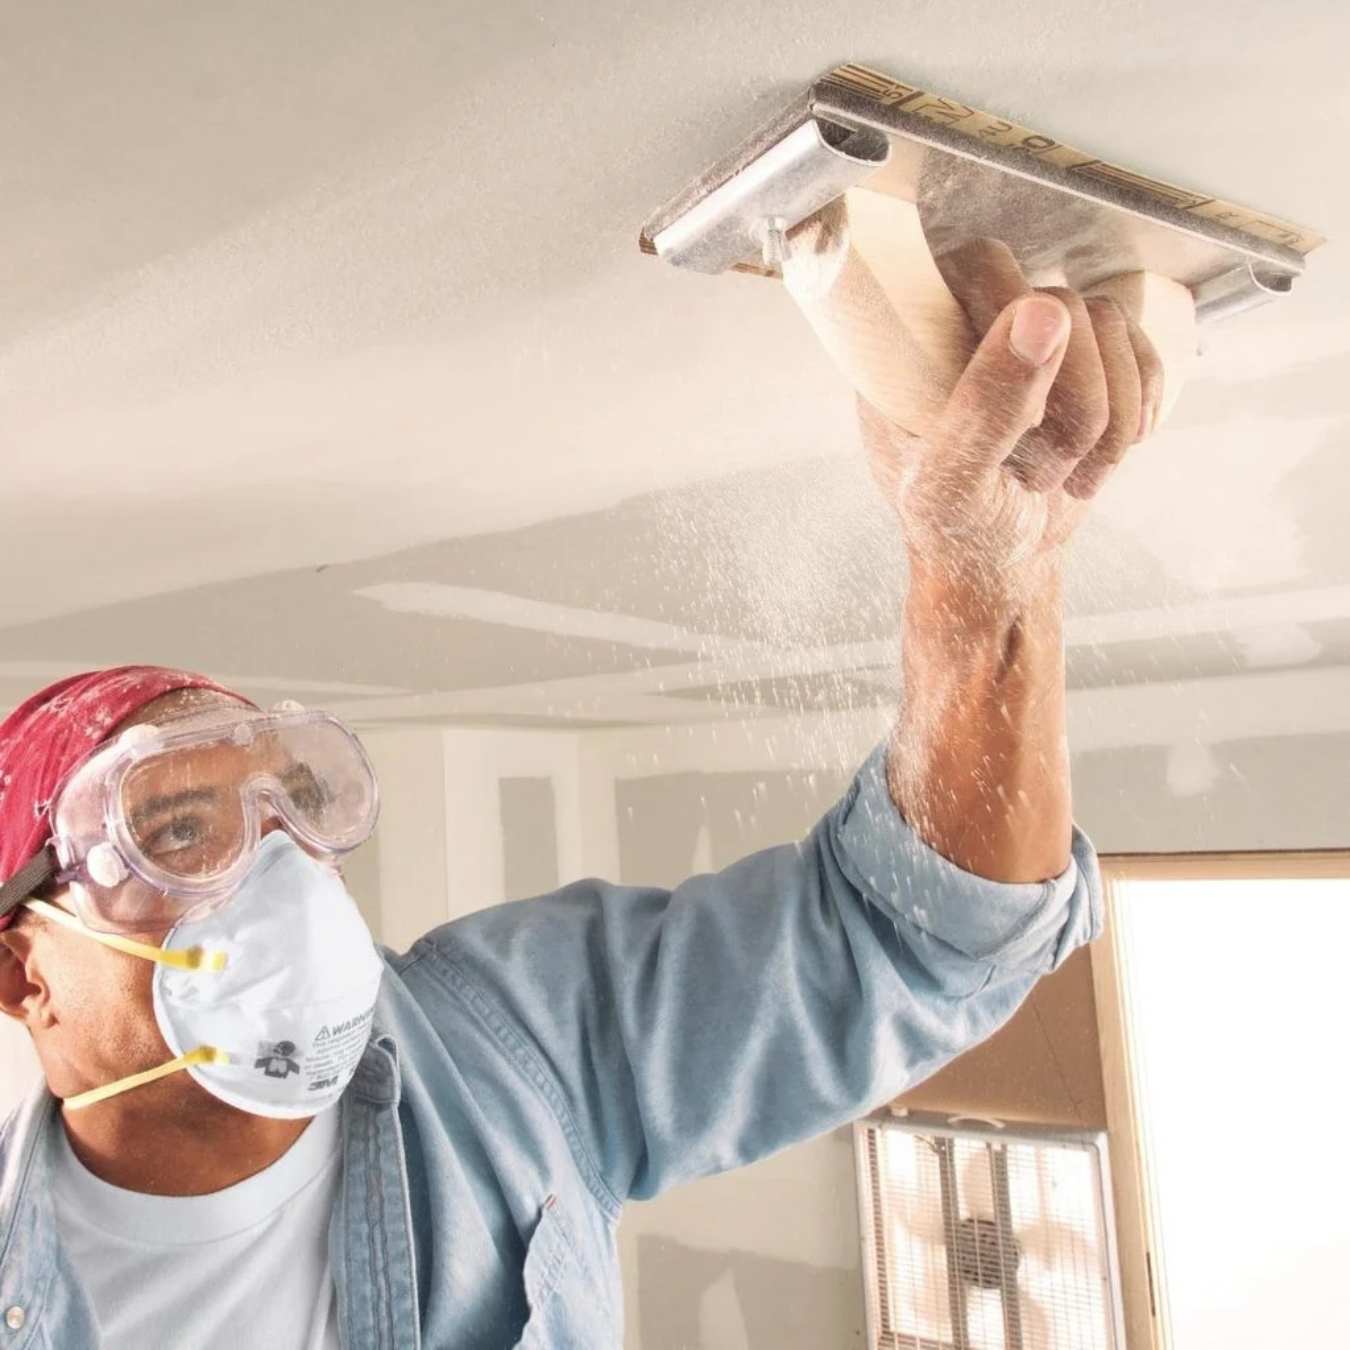
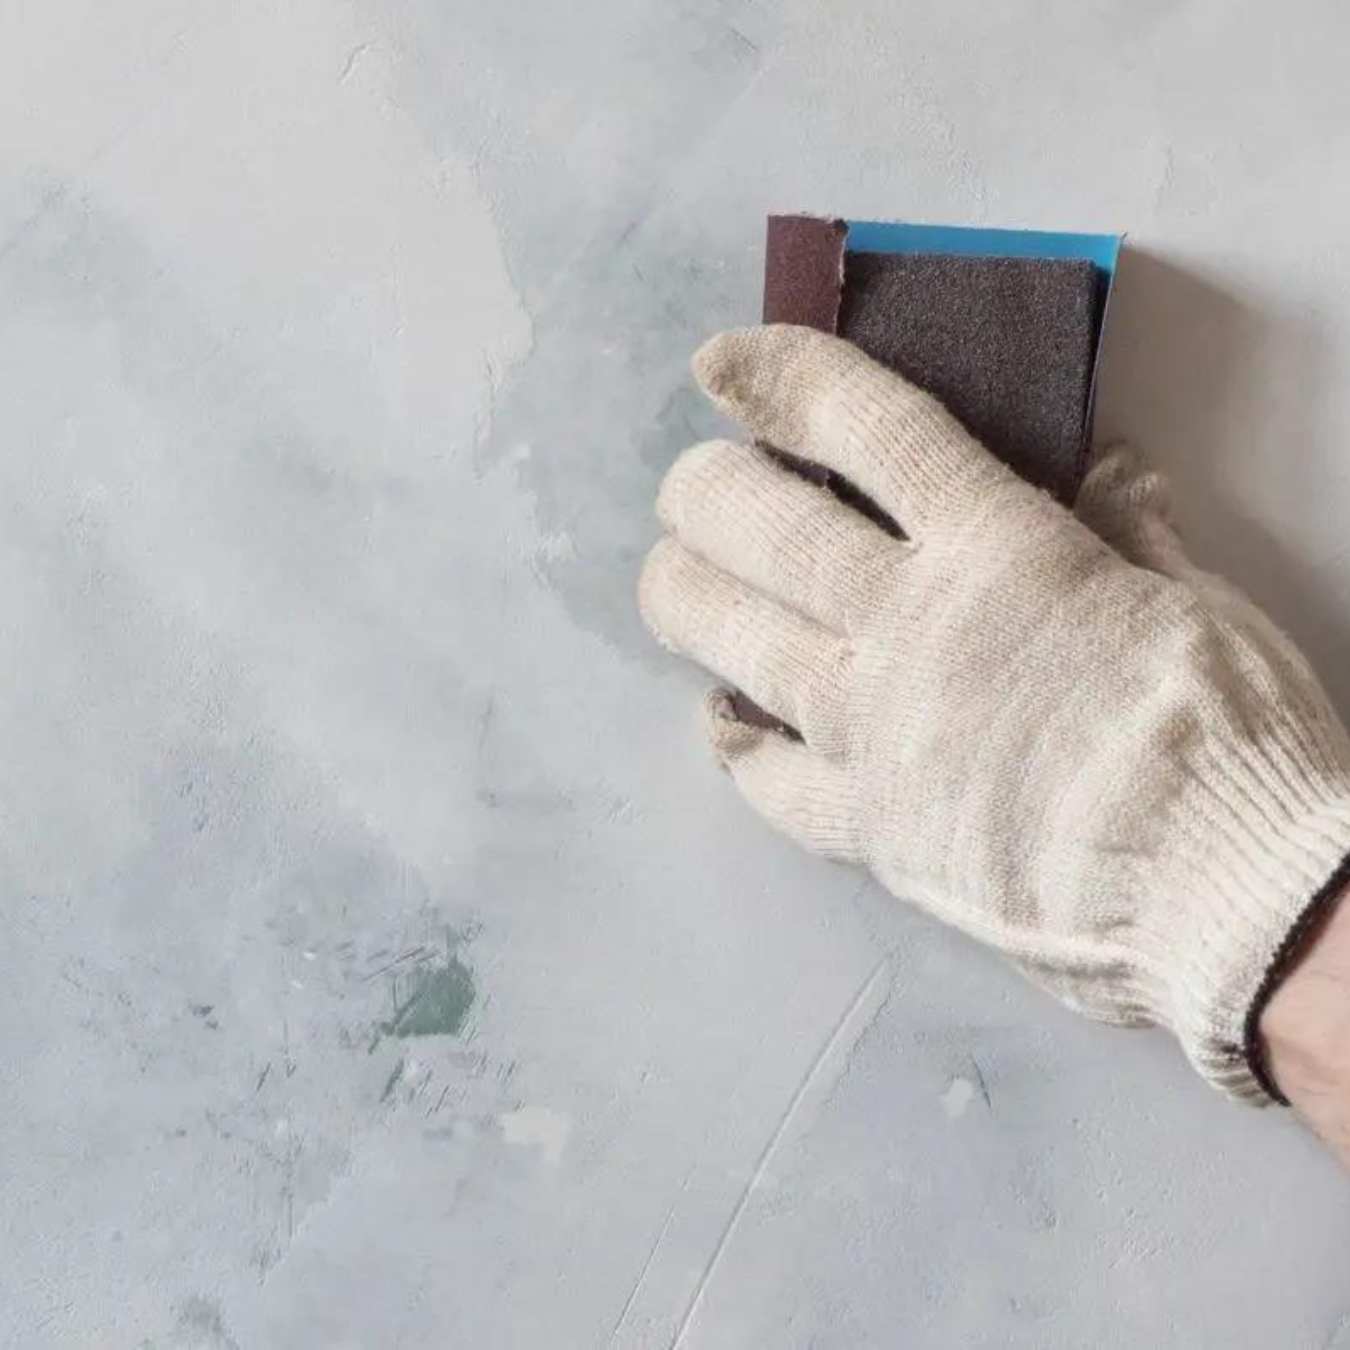
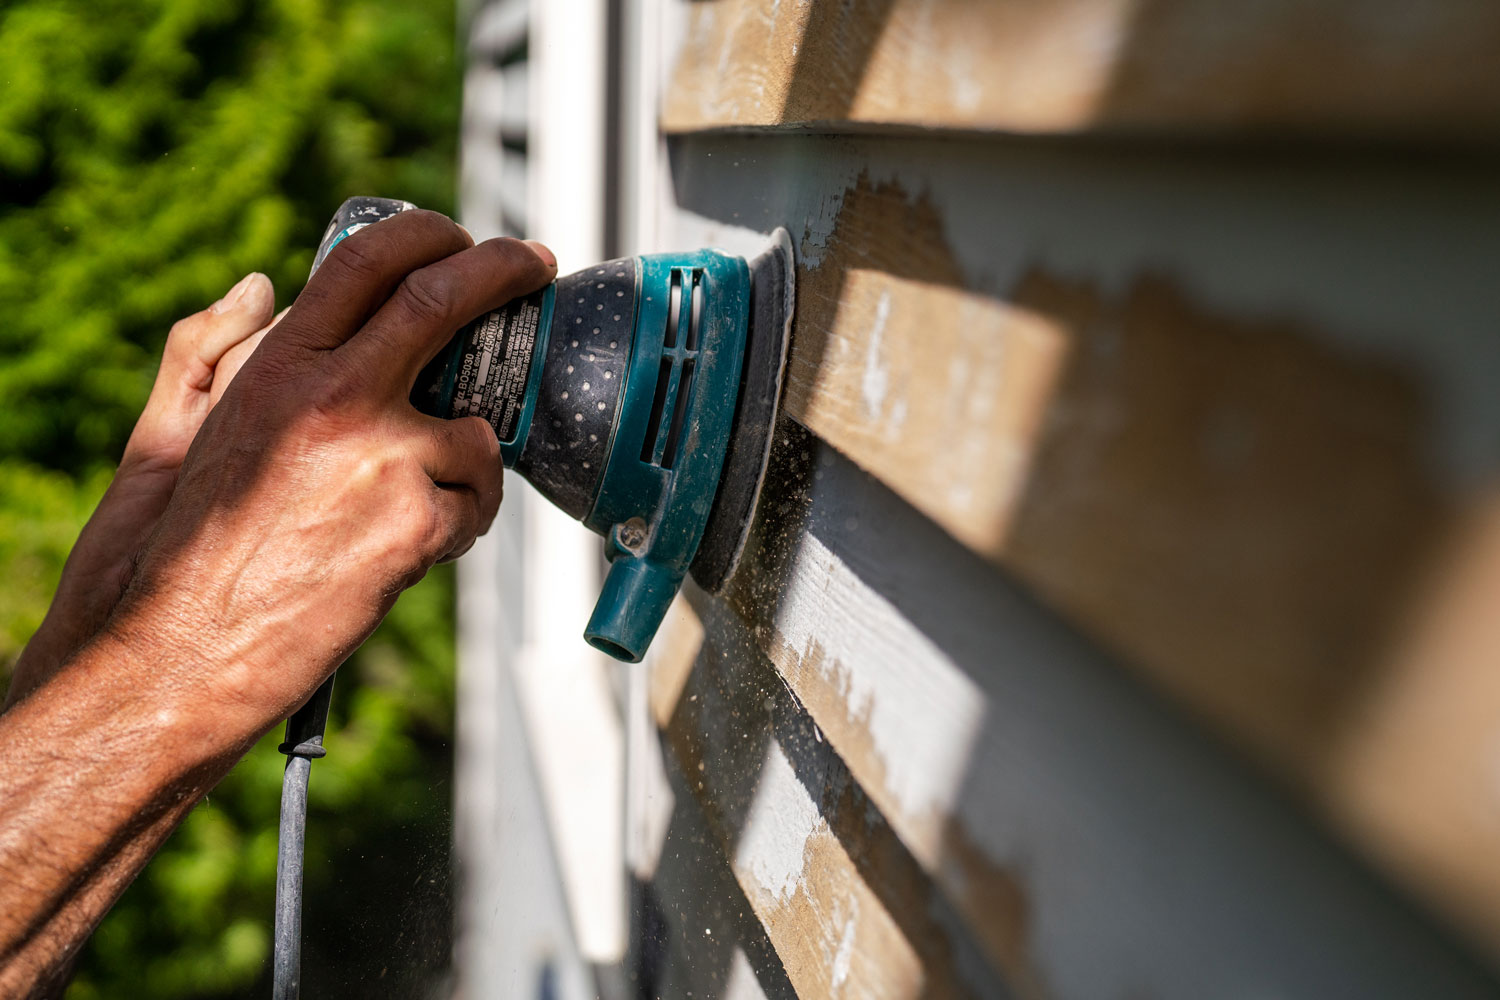
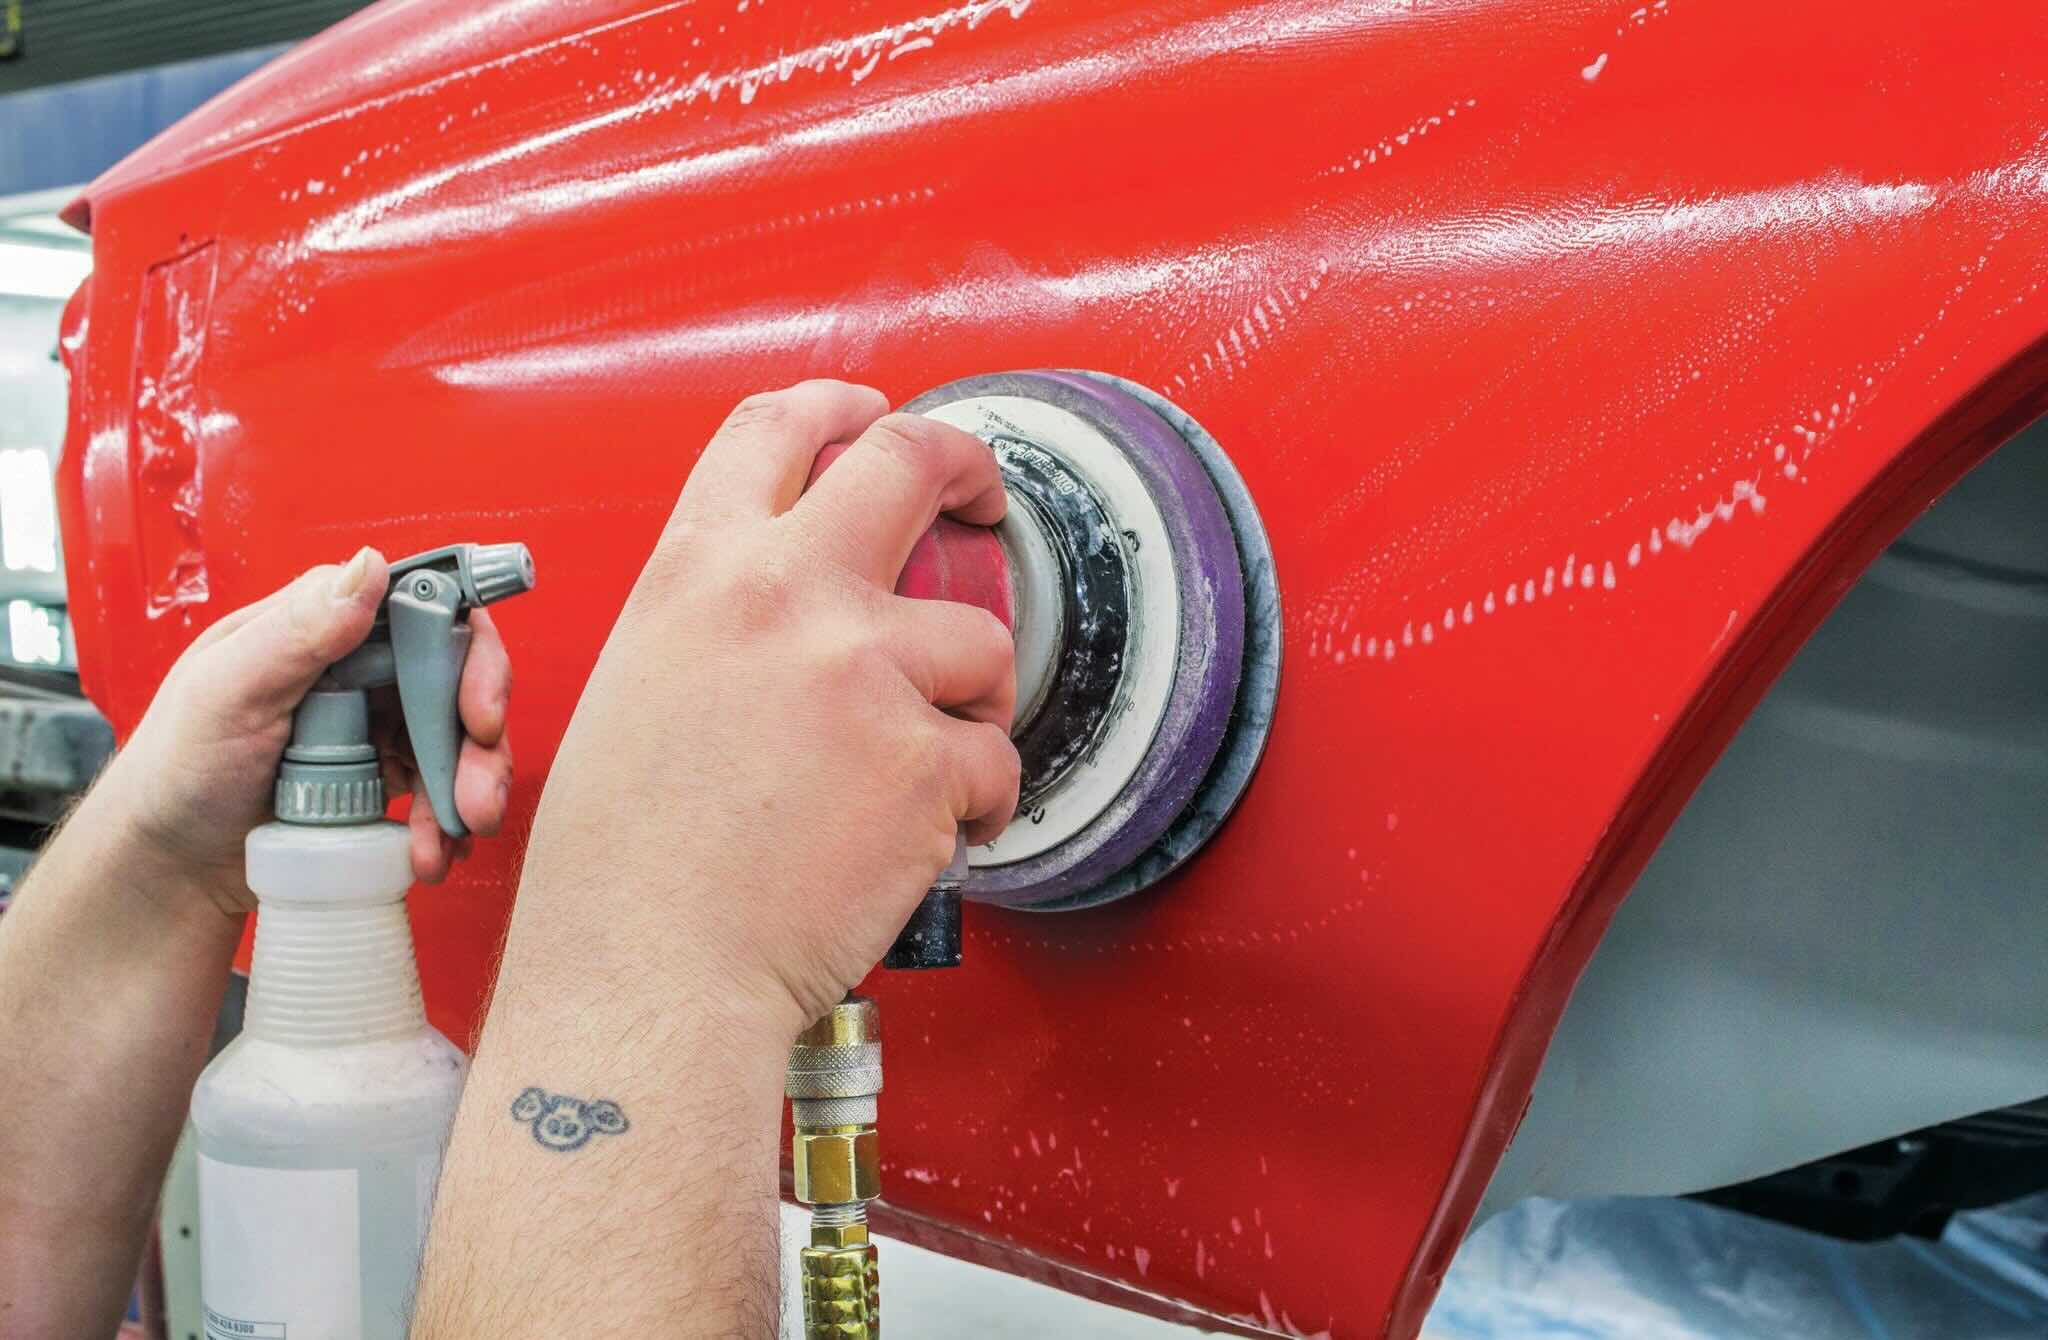
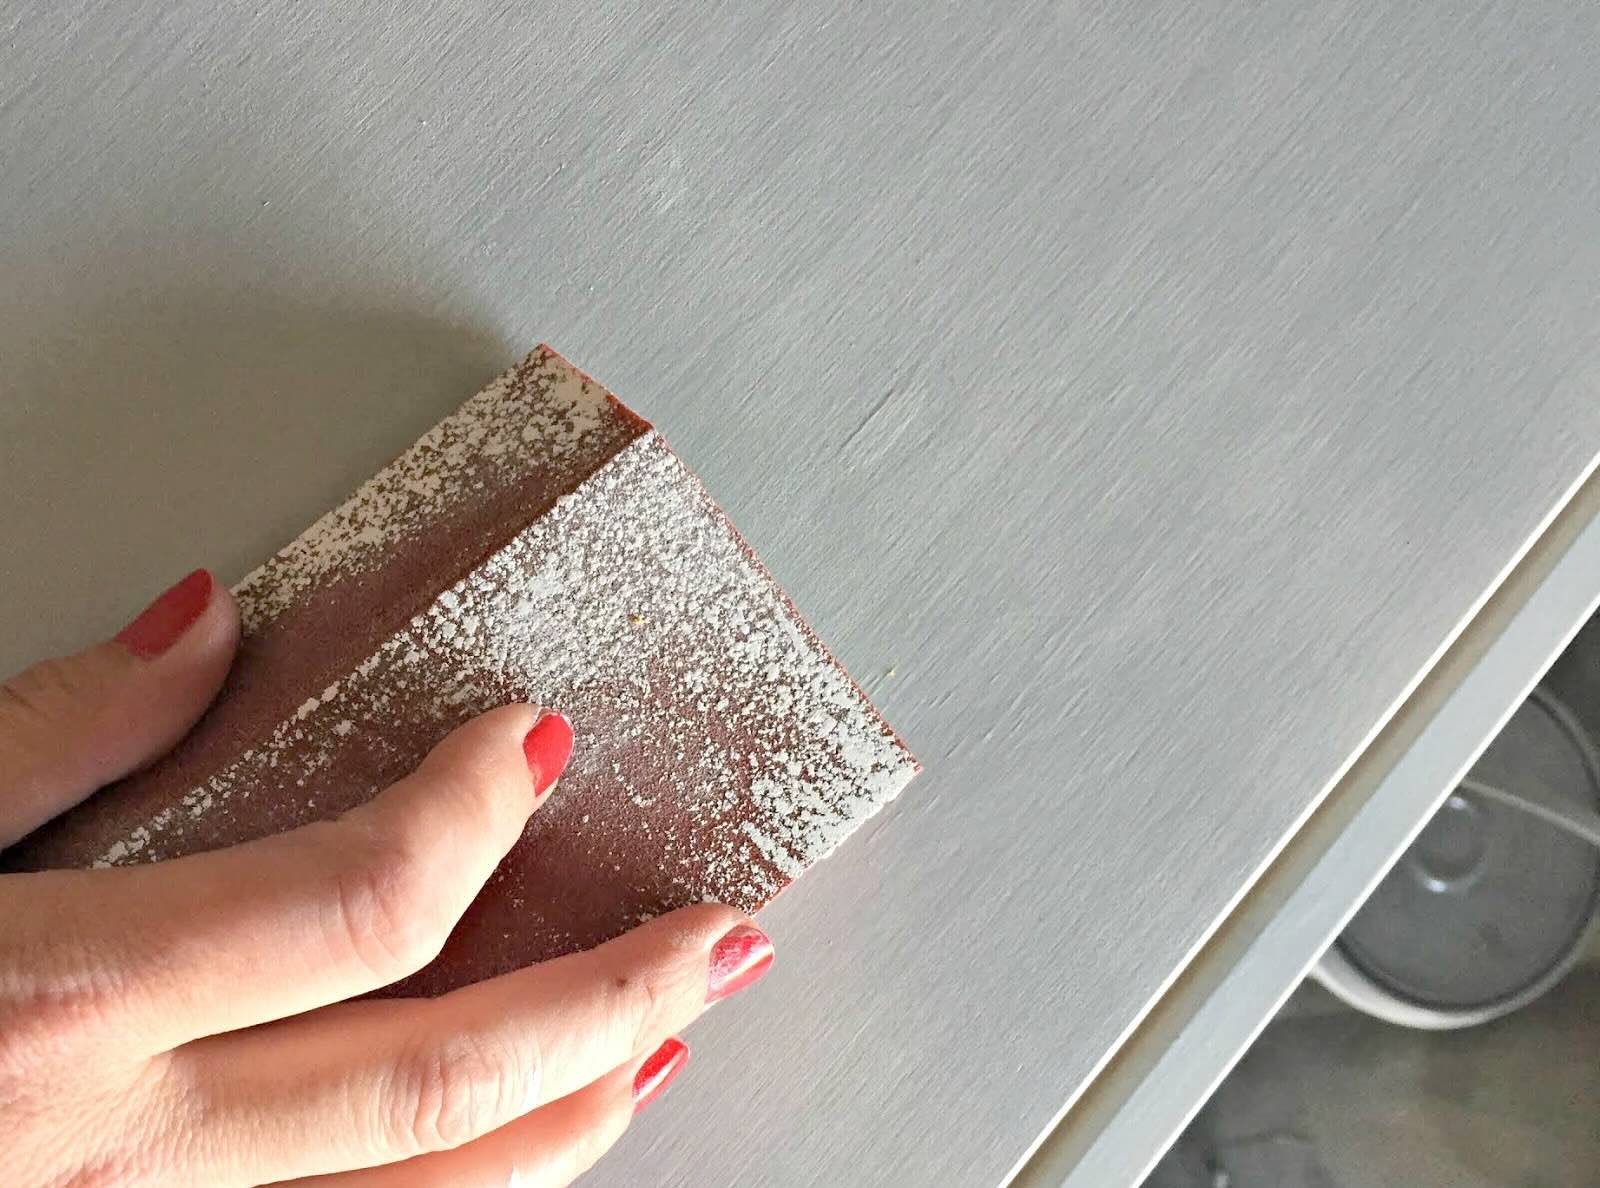
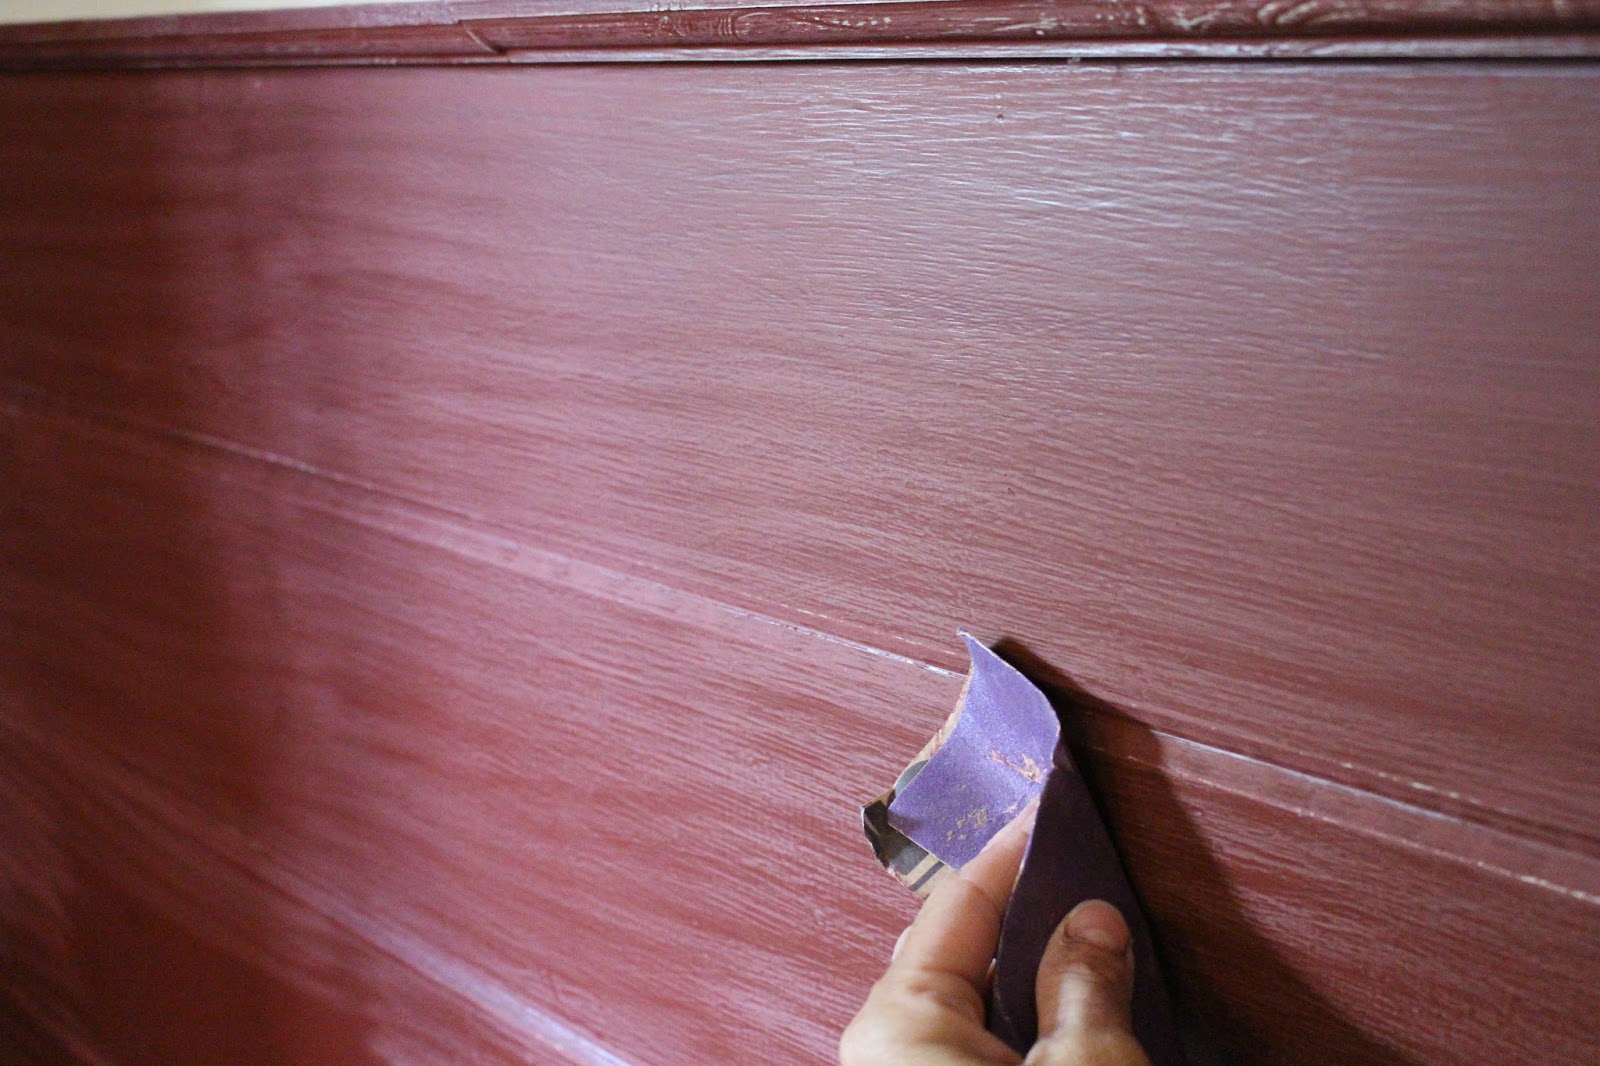
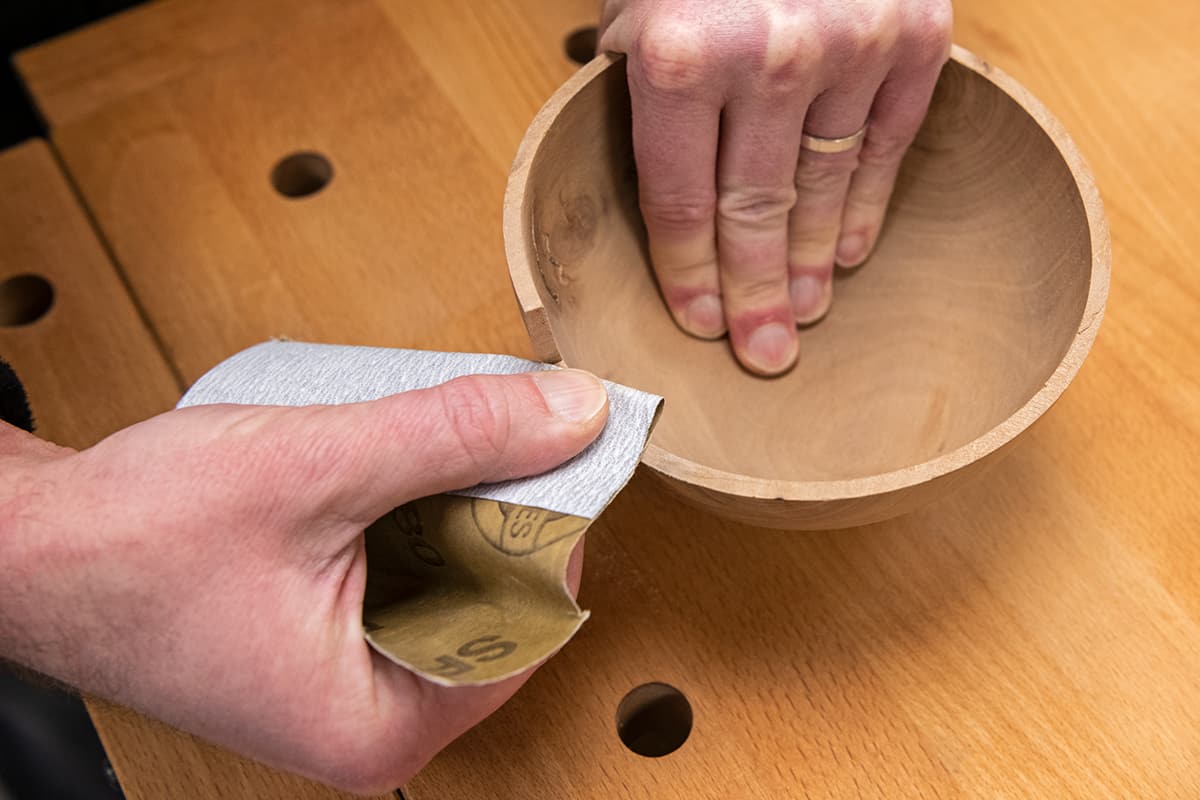
- Sand the Bumper: Using the appropriate grit sandpaper, carefully sand the entire surface of the bumper. This step is crucial for promoting paint adhesion and achieving a uniform finish.
- Primer Application: After sanding, apply a high-quality adhesion promoter or plastic primer to enhance paint adhesion and prevent peeling or flaking.
- Final Cleaning: Once the primer has dried, clean the bumper again to remove any dust or debris, ensuring a pristine surface for painting.
By meticulously following these preparatory steps, you can ensure that the plastic bumper is primed and ready for the transformative process of painting.
Now that we've established the importance of thorough preparation, let's delve into the critical factor of selecting the right grit sandpaper for prepping plastic bumpers.
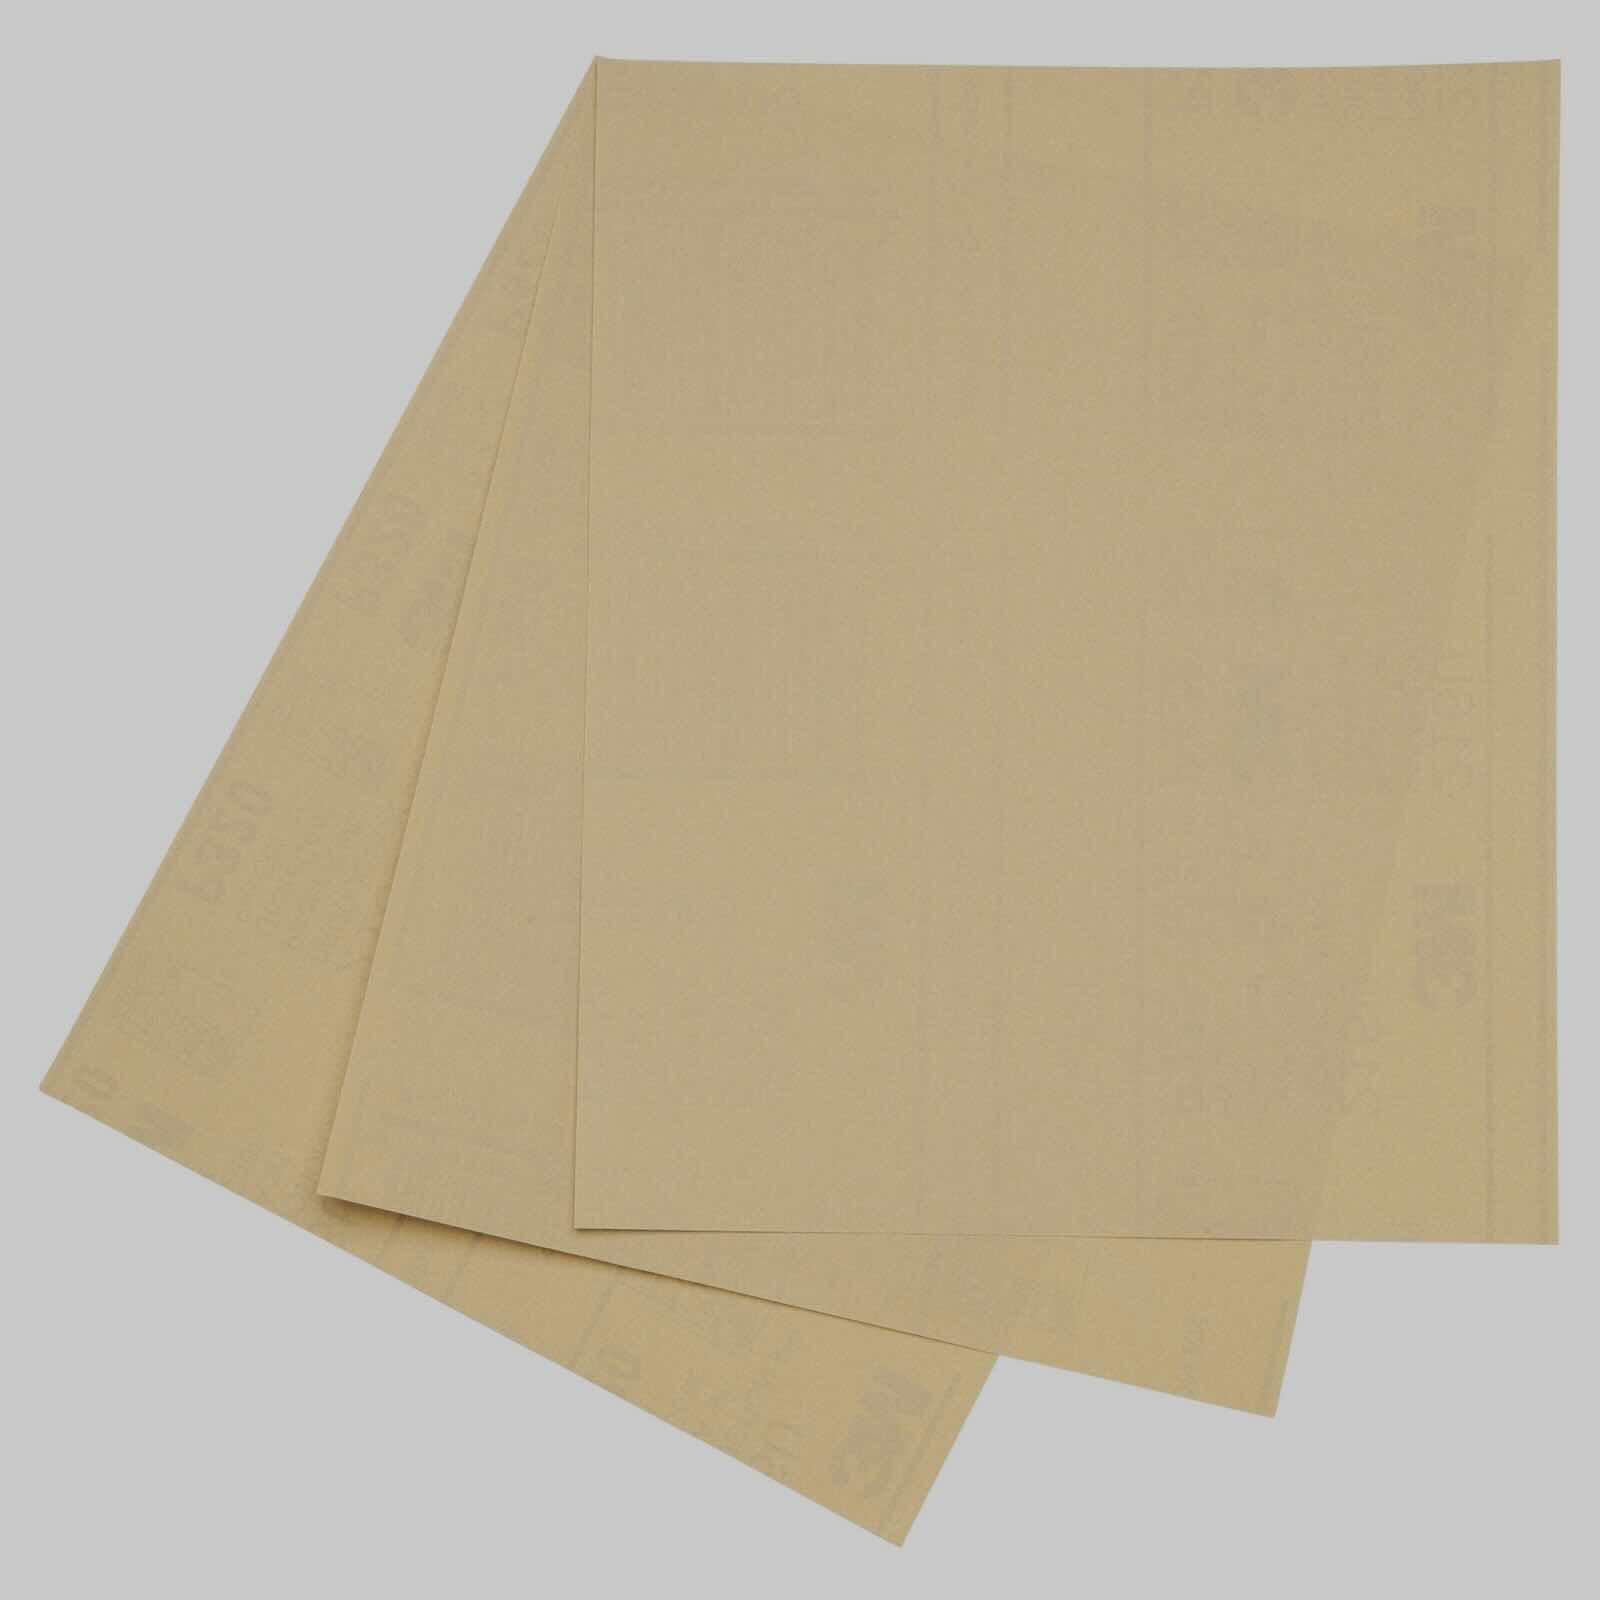
Use 400-600 grit sandpaper to scuff the plastic bumper before painting. This will create a smooth surface for the paint to adhere to, ensuring a professional finish.
Selecting the Right Grit Sandpaper for Plastic Bumpers
Choosing the appropriate grit sandpaper for prepping plastic bumpers is a pivotal decision that directly impacts the quality of the final paint finish. The following factors should be considered when selecting the right grit:
- Surface Condition: Assess the condition of the bumper. If it has deep scratches, paint overspray, or significant imperfections, start with a coarser grit (e.g., 80-120) to level the surface and remove the existing finish.
- Smoothness Requirement: Determine the level of smoothness desired for the bumper. For minor imperfections or surface smoothing, transition to a medium grit (e.g., 150-180) to refine the surface and prepare it for painting.
- Final Finishing: If the goal is to achieve a flawless, glass-like finish, employ a very fine grit (e.g., 220-240) for the final sanding before applying the paint or clear coat.
- Compatibility with Primer: Consider the type of primer being used. Some primers may require a specific grit for optimal adhesion and compatibility, so consult the primer manufacturer’s guidelines for recommendations.
It’s important to note that the selection of grit sandpaper should align with the specific requirements of the plastic bumper, taking into account its material composition, existing condition, and the desired level of surface refinement.
By carefully evaluating these factors and choosing the appropriate grit sandpaper, you can effectively prepare the plastic bumper for a seamless and professional paint application.
With a clear understanding of the significance of grit selection, let’s wrap up our exploration of prepping plastic bumpers for painting.
Conclusion
Embarking on the journey of refinishing plastic bumpers demands attention to detail, a meticulous approach, and the right tools, including the selection of the appropriate grit sandpaper. By understanding the nuances of grit sandpaper and its role in surface preparation, you can elevate the quality of your paint job and achieve a stunning finish for your plastic bumpers.
Remember, the choice of grit sandpaper is not a one-size-fits-all decision. It hinges on the specific condition of the bumper, the desired level of surface refinement, and the compatibility with the primer being used. By carefully assessing these factors, you can tailor your sanding process to meet the unique requirements of each project, ensuring optimal results.
As you embark on your plastic bumper refinishing endeavors, keep in mind that the journey is just as important as the destination. Embrace the process, enjoy the transformation, and take pride in the craftsmanship that goes into prepping and painting your plastic bumpers.
So, the next time you reach for your sandpaper to prepare a plastic bumper for painting, remember the artistry and precision involved in selecting the right grit. With patience, skill, and the knowledge gained from this guide, you’re well-equipped to elevate your refinishing projects to a new level of excellence.
Now, armed with a deeper understanding of grit sandpaper and its role in prepping plastic bumpers, go forth and unleash your creativity, knowing that the perfect finish is within reach.
Frequently Asked Questions about What Grit Sandpaper For Plastic Bumper Before Painting
Was this page helpful?
At Storables.com, we guarantee accurate and reliable information. Our content, validated by Expert Board Contributors, is crafted following stringent Editorial Policies. We're committed to providing you with well-researched, expert-backed insights for all your informational needs.

0 thoughts on “What Grit Sandpaper For Plastic Bumper Before Painting”