Home>Renovation & DIY>Tools & Equipment>What Grit Sandpaper For Sanding Cabinets

Tools & Equipment
What Grit Sandpaper For Sanding Cabinets
Modified: January 4, 2024
Find the right grit sandpaper for sanding cabinets with our tools and equipment. Achieve a smooth, flawless finish for your cabinetry project.
(Many of the links in this article redirect to a specific reviewed product. Your purchase of these products through affiliate links helps to generate commission for Storables.com, at no extra cost. Learn more)
Introduction
In the world of home improvement and renovation, sanding cabinets is a task that requires precision, care, and the right tools. One of the key tools needed for this project is sandpaper. But with a wide variety of grit options available, it can be confusing to determine which sandpaper is best for sanding cabinets.
In this article, we’ll explore the different grit sandpaper options and provide recommendations to help you achieve a smooth and professional-looking finish on your cabinets. Whether you’re a seasoned DIY enthusiast or a novice tackling your first cabinet sanding project, understanding the right grit sandpaper to use is crucial for achieving the desired result.
So, let’s dive in and discover the world of grit sandpaper for sanding cabinets!
Key Takeaways:
- Choose the right grit sandpaper for cabinet sanding based on the condition, material, and desired finish. Test in inconspicuous areas and follow the natural wood grain for professional results.
- Progress from coarse to extra fine grit sandpaper for a smooth and polished cabinet finish. Use gentle pressure, clean between sanding stages, and aim for impressive, refreshed cabinets.
Read more: What Grit Sandpaper For Sanding Spackle
What is Grit Sandpaper?
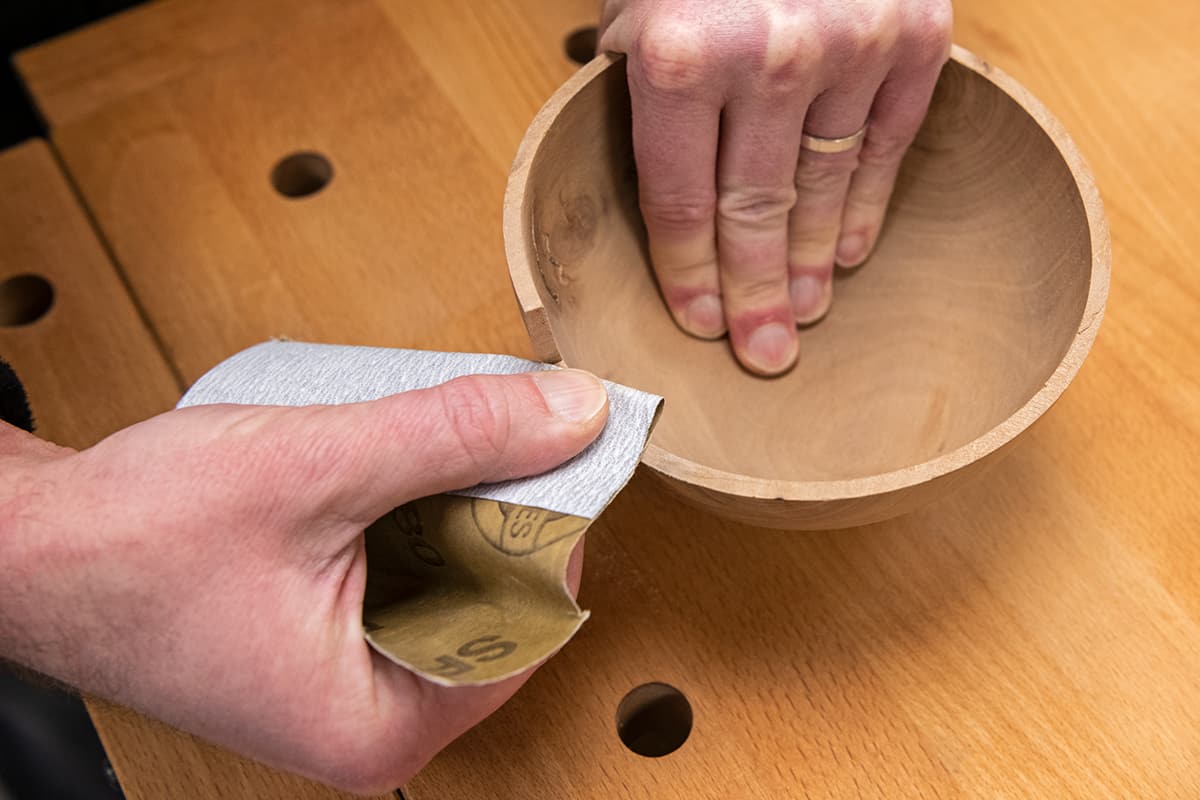
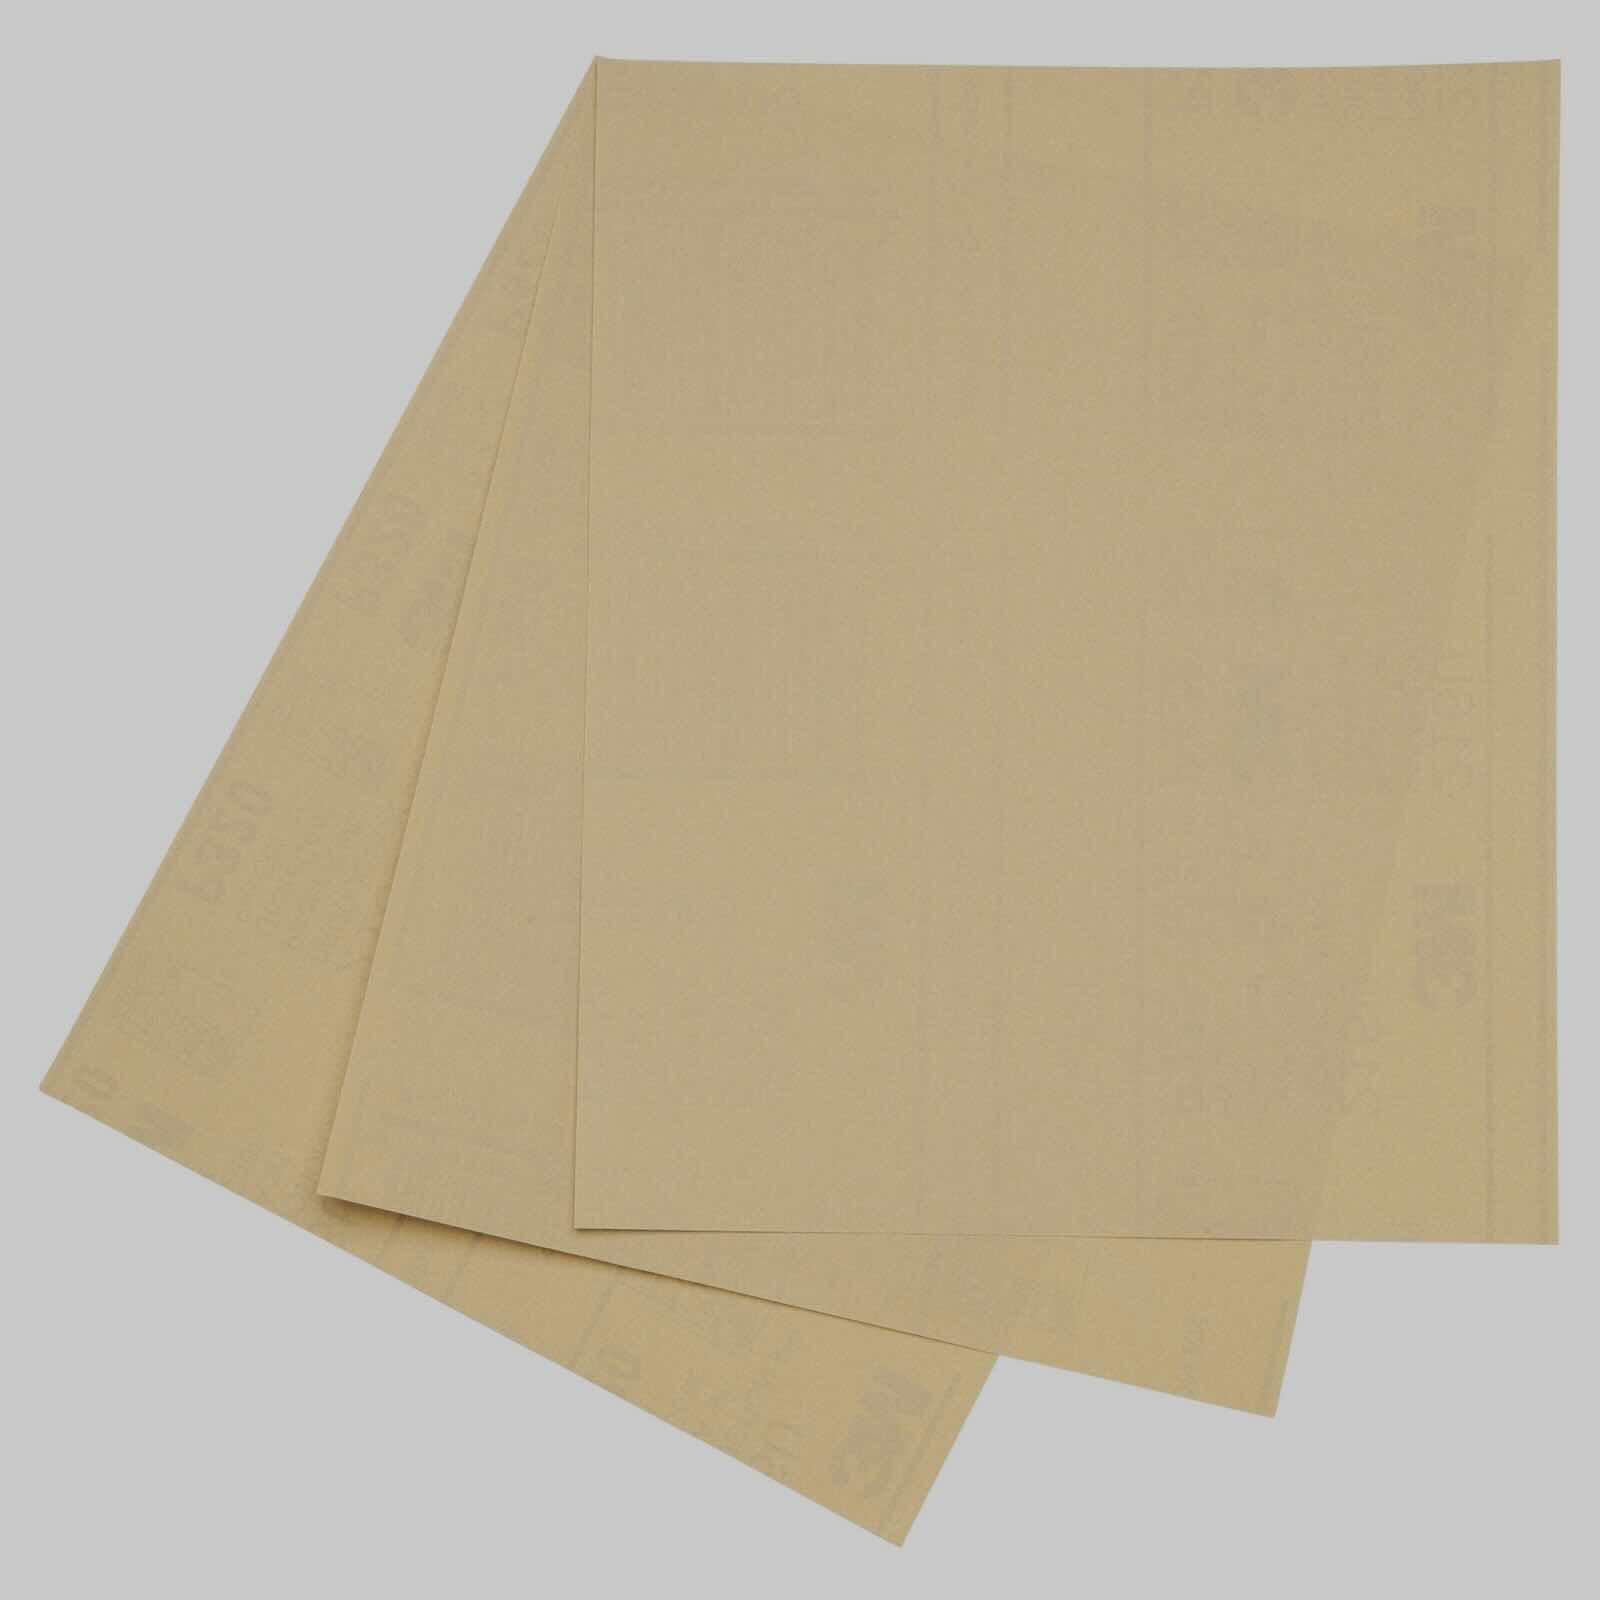
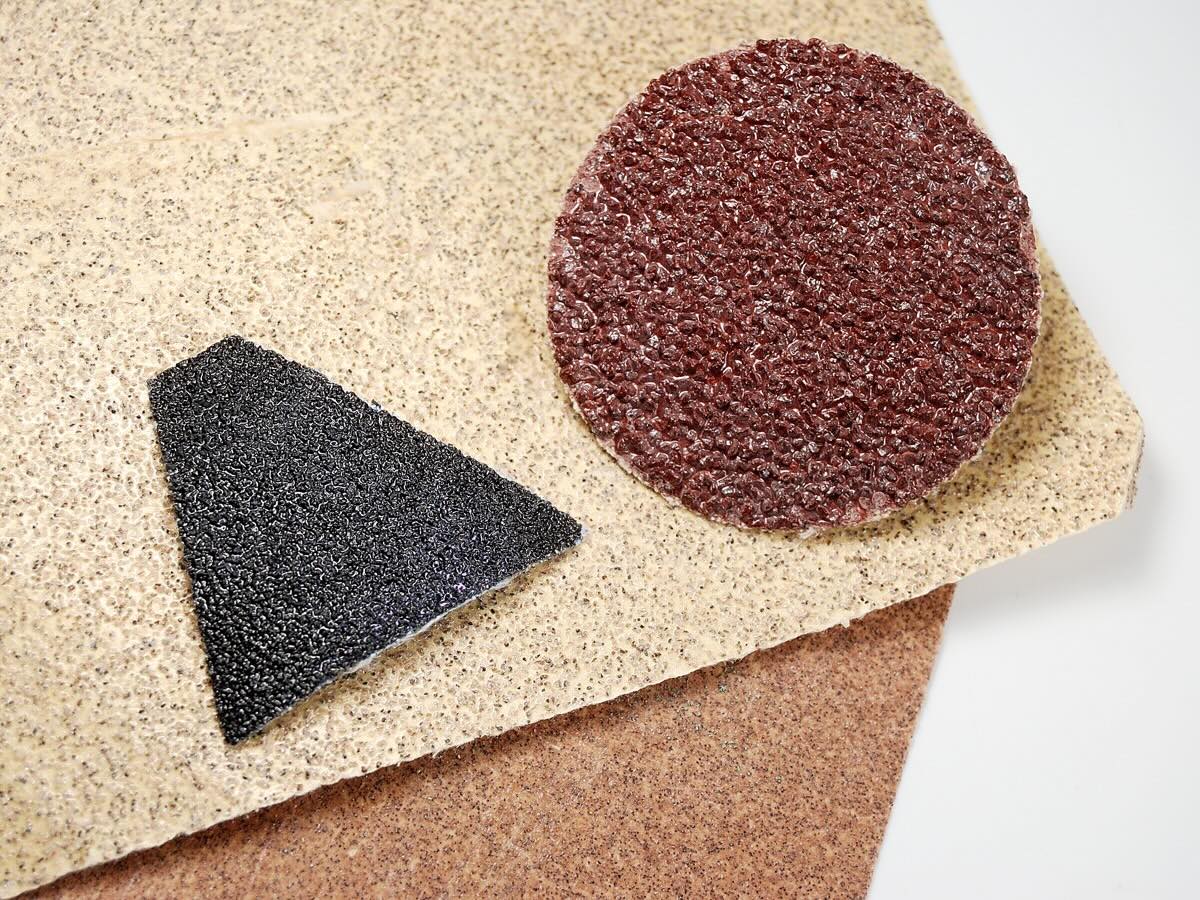
Grit sandpaper is an abrasive material used for smoothing surfaces through the process of sanding. It consists of a flexible paper or cloth backing coated with tiny abrasive particles known as grit. The size and type of grit determine the aggressiveness and level of abrasiveness of the sandpaper.
Grit is typically measured in a unit called “grit size” or “grit count.” The higher the number, the finer the grit, and the smoother the surface it will produce. The three most common types of grit materials used in sandpaper are aluminum oxide, silicon carbide, and garnet.
Aluminum oxide is the most commonly used grit material due to its durability and versatility. It is suitable for a wide range of sanding tasks, including wood, metal, and plastic surfaces. Silicon carbide is an excellent option for sanding harder materials like stone, ceramic, and glass. Garnet, on the other hand, is a natural substance that provides excellent sanding performance on wood surfaces.
The variety of grit sizes available for sandpaper ranges from coarse to extra fine. Coarse grits like 40 or 60 are used for heavy material removal and leveling uneven surfaces. Medium grits, such as 80 or 120, are ideal for smoothing rough surfaces and removing scratches. Fine grits like 180 or 220 are suitable for light sanding and preparing surfaces for finishing. Finally, extra fine grits like 320 or 400 provide a smooth and polished finish.
Understanding the purpose and function of grit sandpaper is essential for achieving the desired outcome when sanding cabinets. Using the wrong grit can result in an uneven surface, visible scratch marks, or even damage to the cabinets.
Now that we have a basic understanding of grit sandpaper, let’s take a closer look at how it applies to sanding cabinets.
Understanding Cabinet Sanding
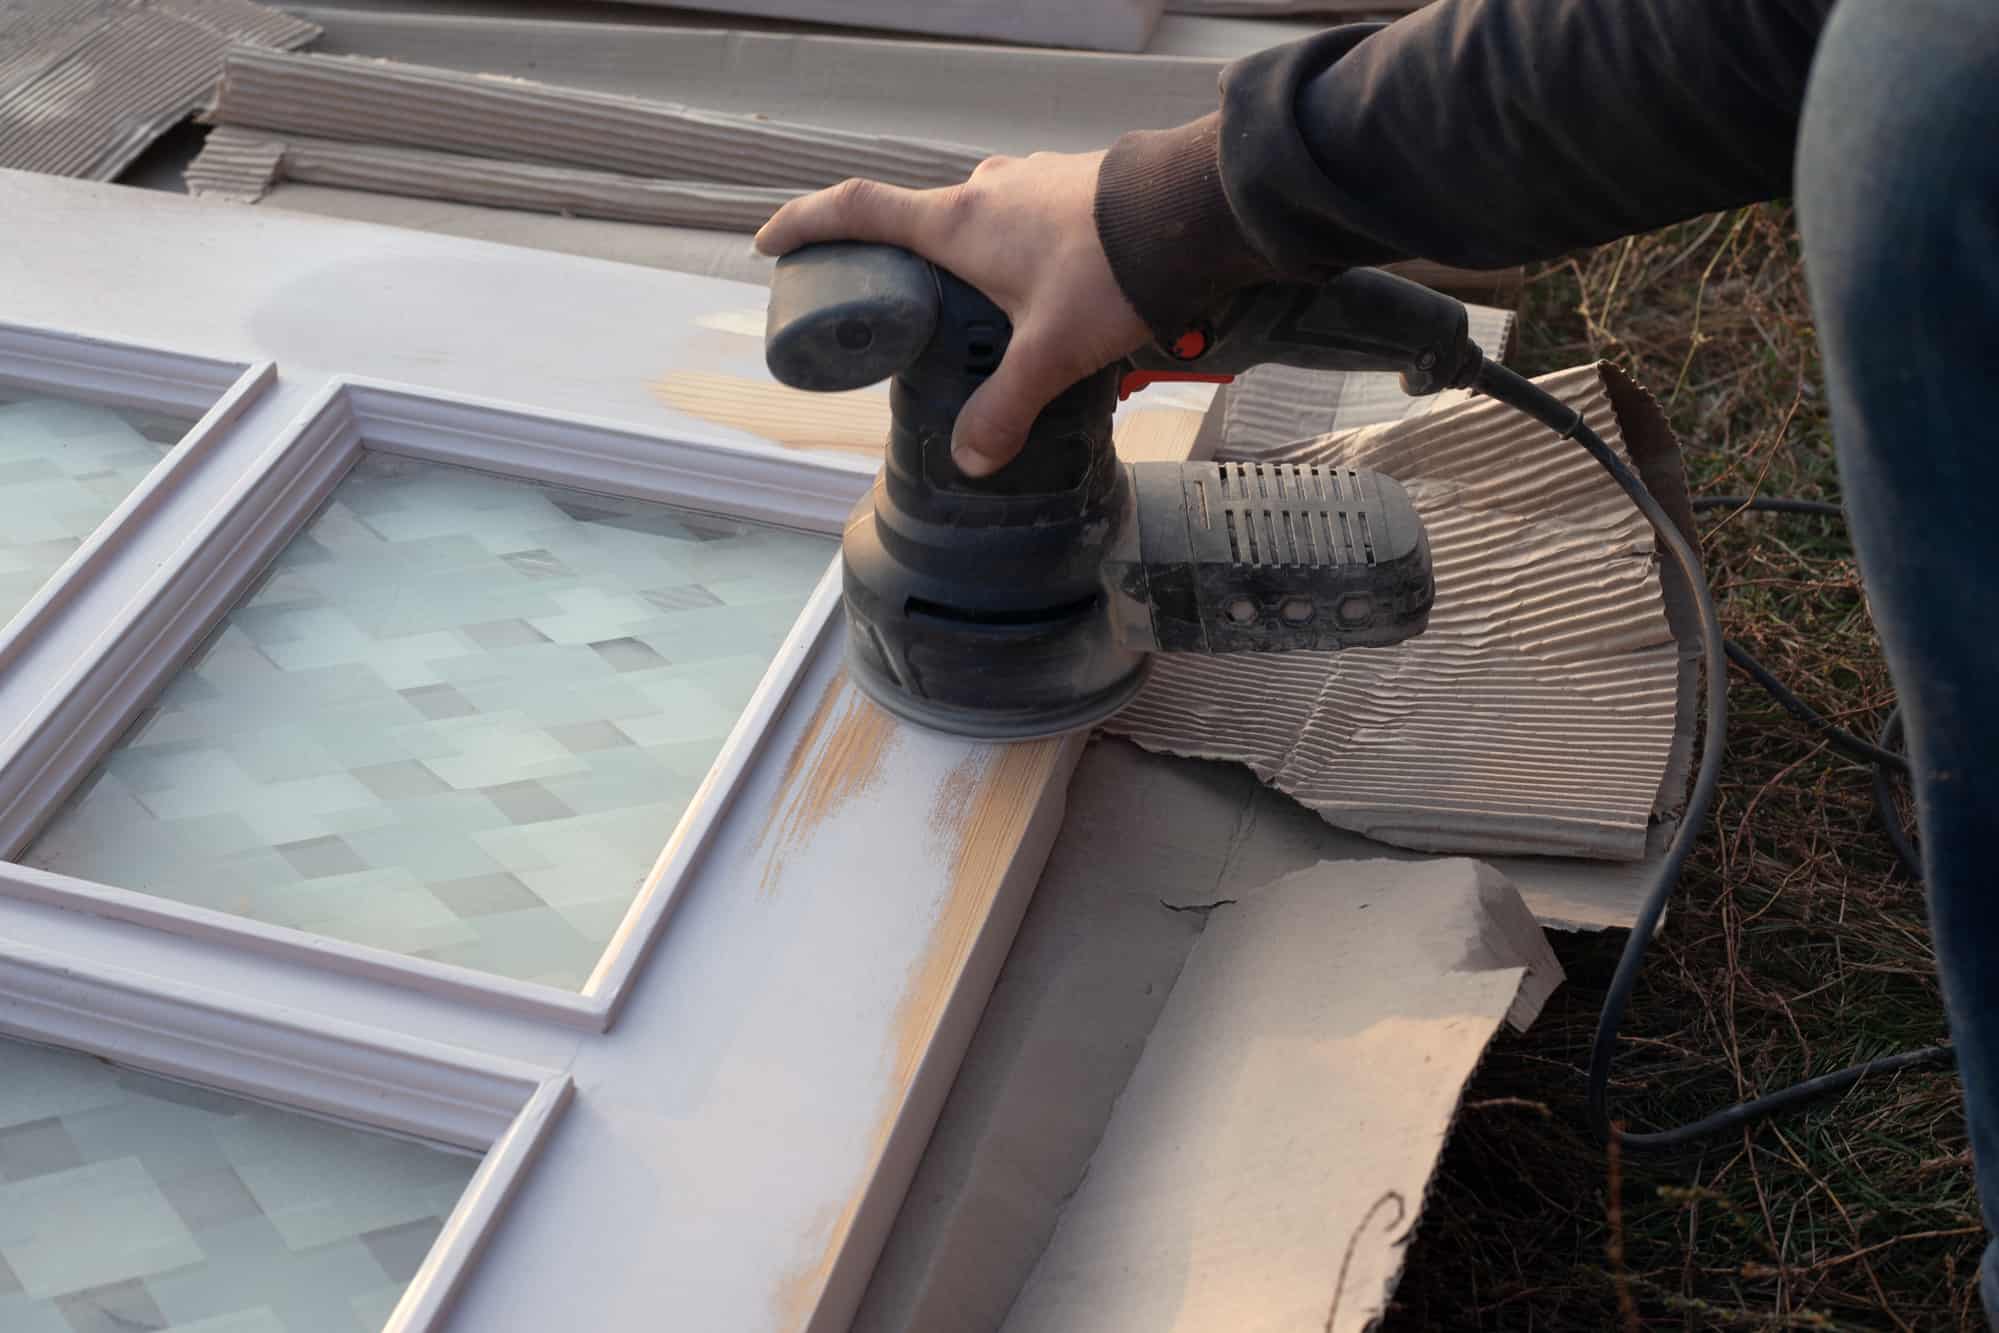
Cabinet sanding is a vital step in the process of refinishing cabinets or preparing them for a fresh coat of paint. It involves the removal of the existing finish or smoothens the surface to provide an ideal base for the new finish.
Before starting the sanding process, it is important to clean the cabinets thoroughly and remove any hardware such as knobs or handles. This will prevent scratches or damage to the cabinet’s surface and ensure a more effective sanding process.
The sanding process typically involves using different grit sandpapers to achieve a smooth and even surface. Starting with a coarser grit, you’ll gradually move to finer grits to eliminate any imperfections or flaws.
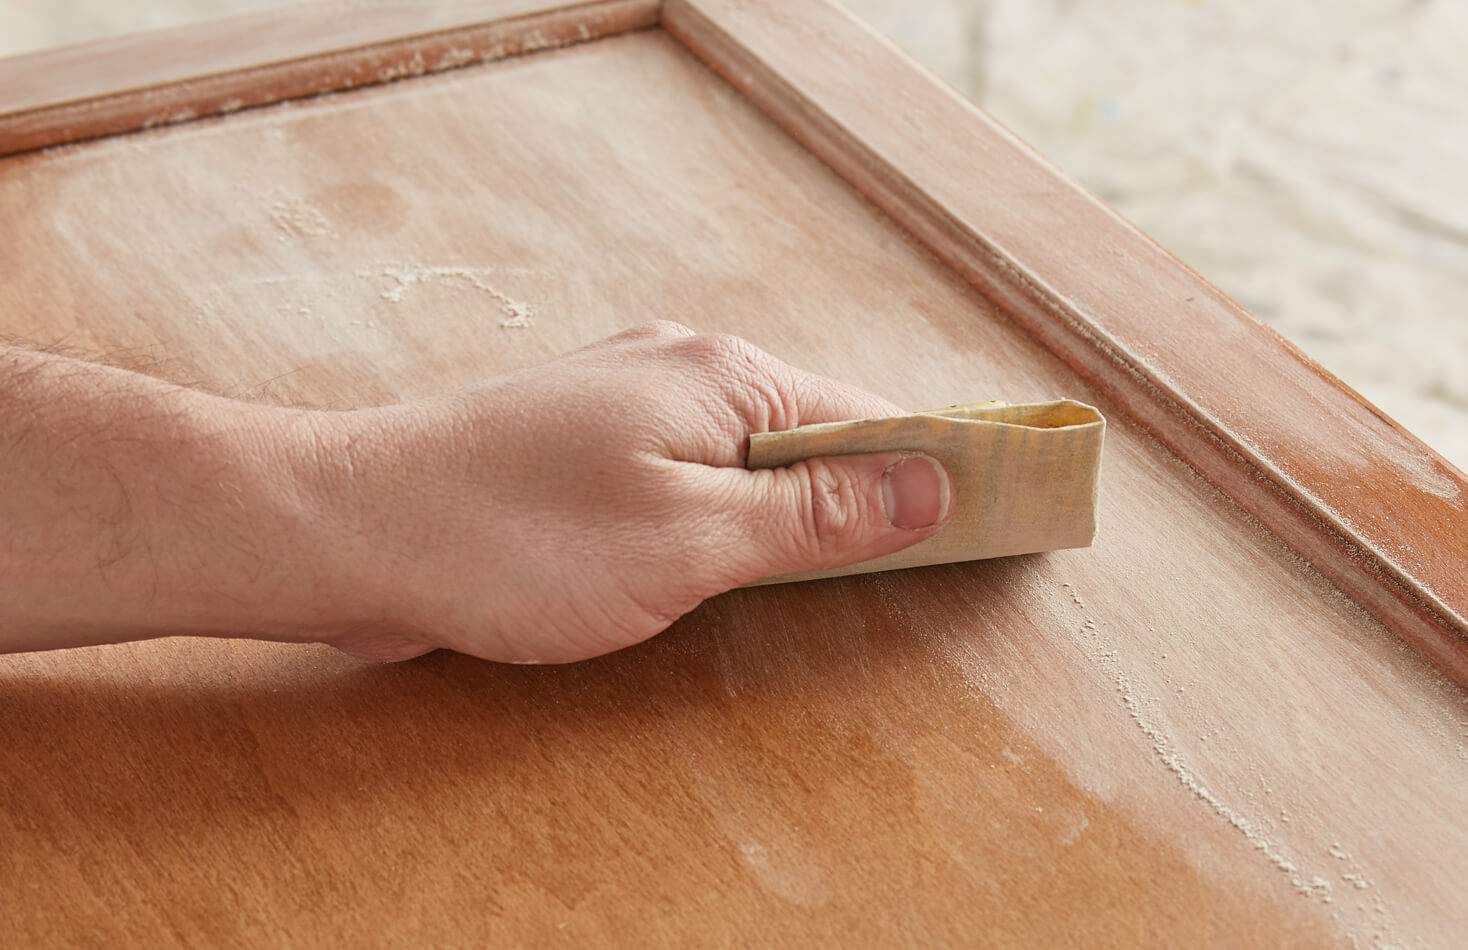
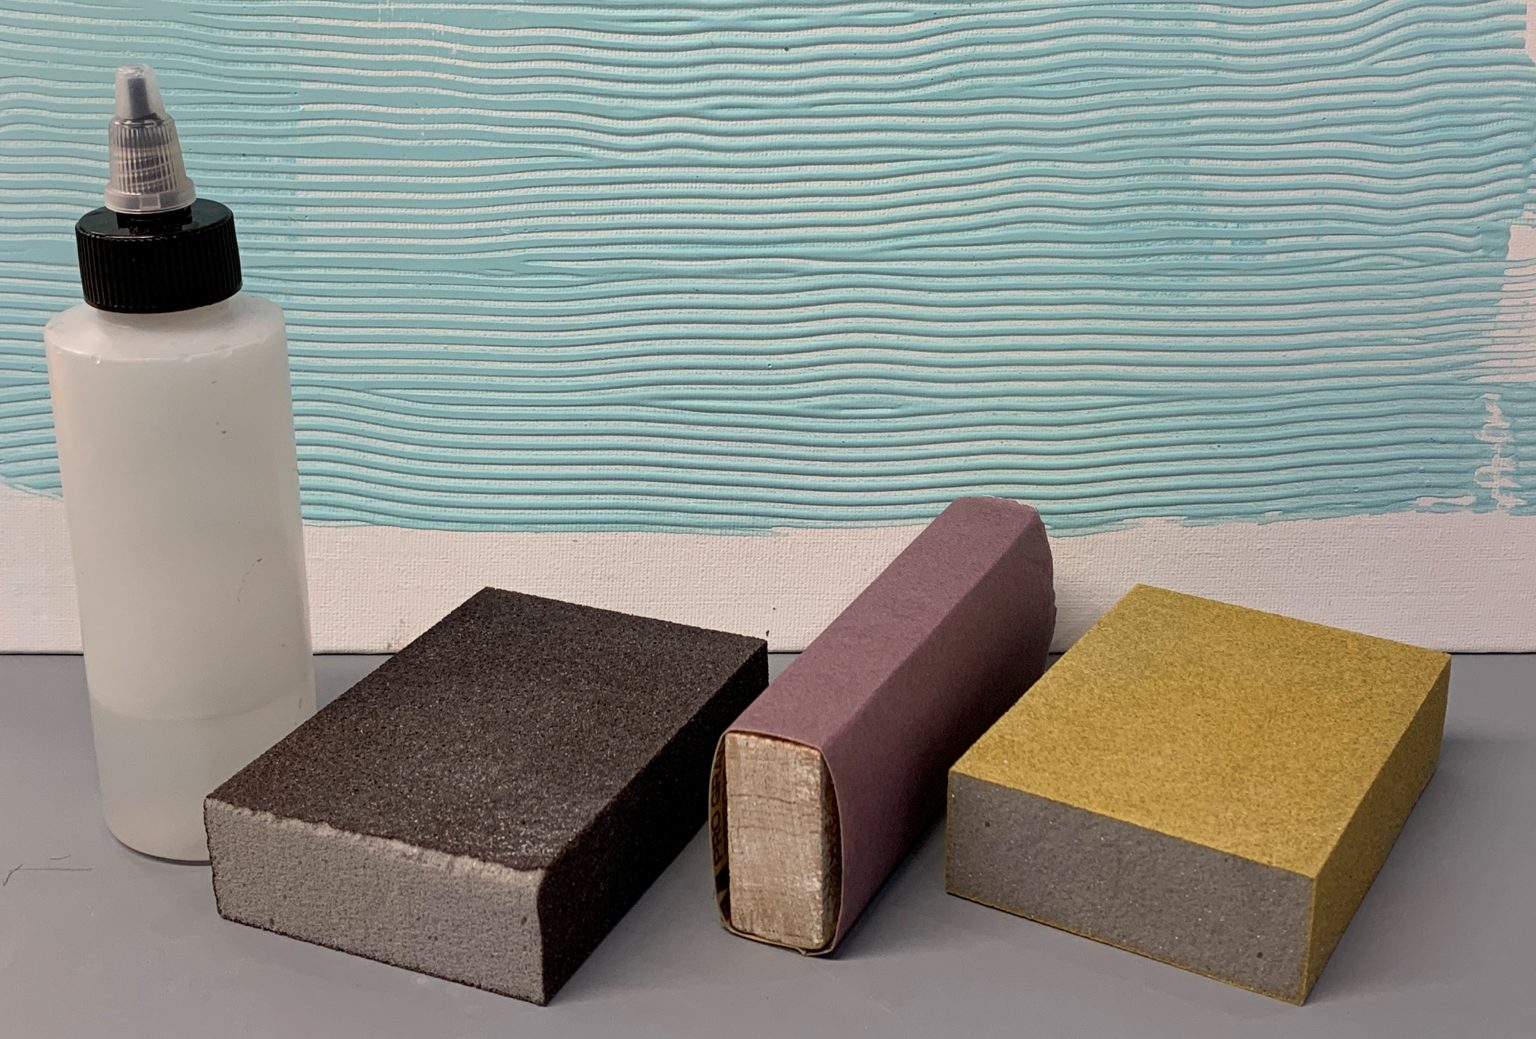
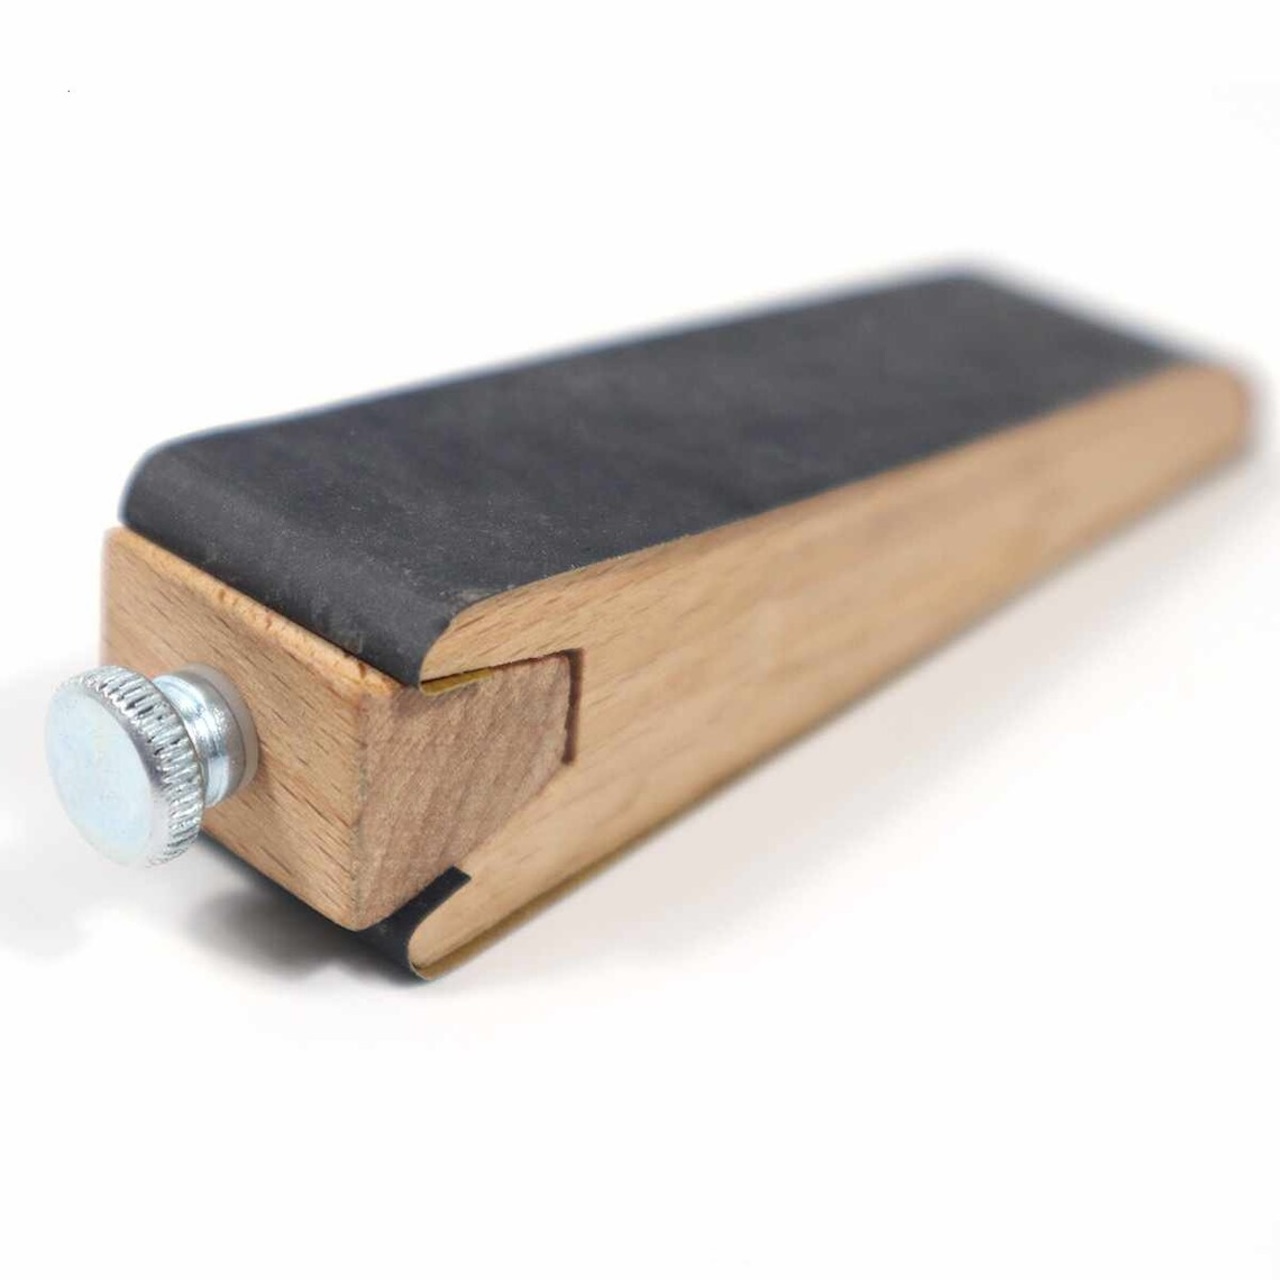
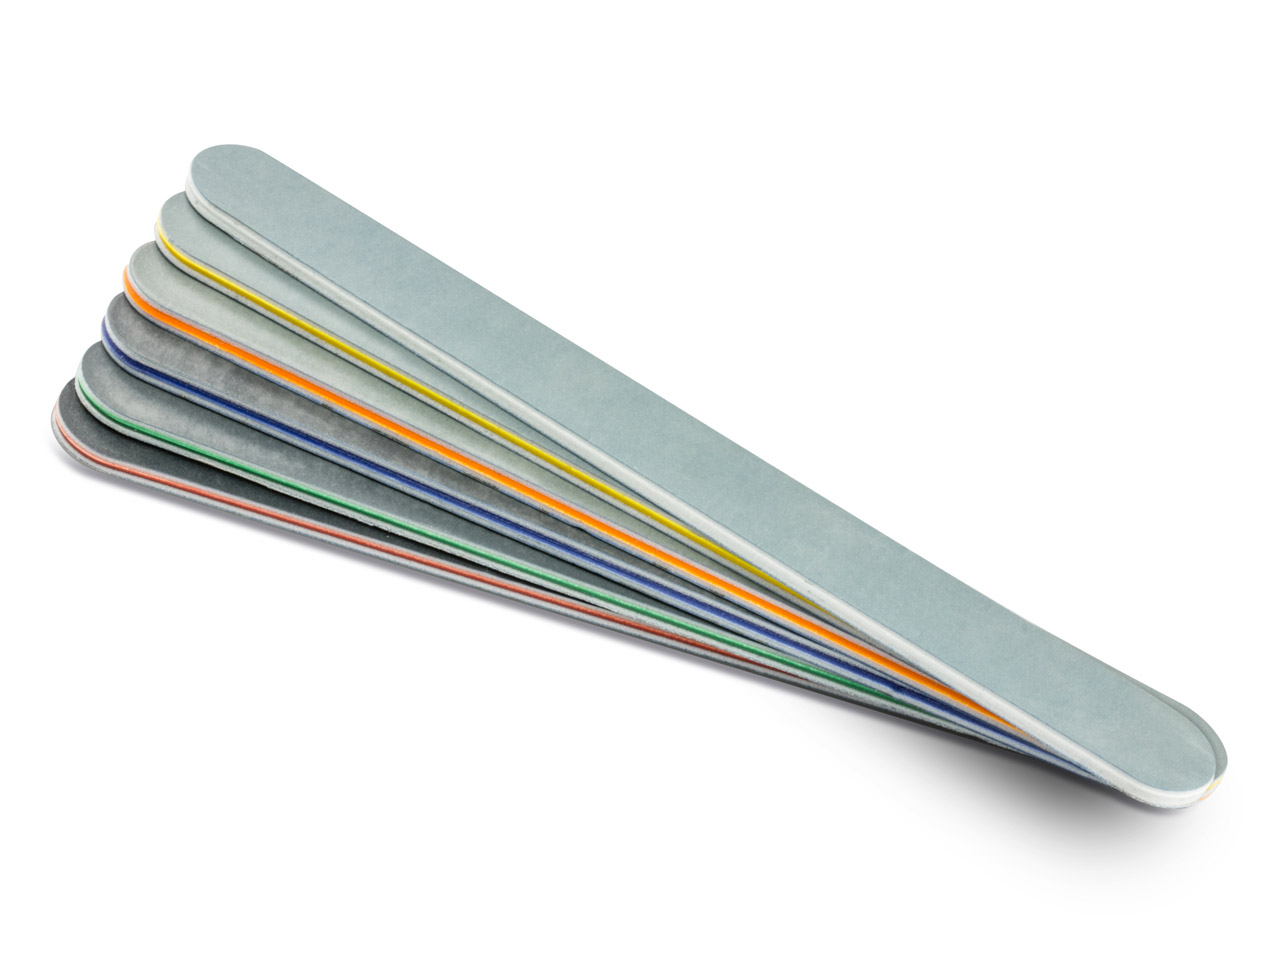
When sanding cabinets, it’s important to follow the natural grain of the wood. Sanding against the grain can cause scratches and damage the cabinet’s appearance. Additionally, using a sanding block or a sanding sponge can help maintain a consistent level of pressure and prevent uneven sanding.
Another important consideration is to avoid applying excessive pressure while sanding. Too much pressure can result in uneven surfaces or even sand through the material, causing irreparable damage to the cabinets. Instead, let the sandpaper do the work and apply consistent but gentle pressure while moving in smooth, controlled motions.
Throughout the sanding process, it’s crucial to periodically check the surface to ensure that you’re achieving the desired smoothness. Look for any remaining imperfections or rough areas and continue sanding until the surface feels even and free of any flaws.
Once you’ve completed the sanding process, make sure to remove all the dust and debris using a vacuum cleaner or a damp cloth. This will ensure a clean surface and prevent any particles from adhering to the new finish.
Understanding the process and techniques involved in cabinet sanding is essential for achieving professional-looking results. Now that we have a solid foundation in cabinet sanding, let’s explore the different grit sandpaper options suitable for this task.
Types of Grit Sandpaper for Sanding Cabinets
When it comes to sanding cabinets, selecting the right grit sandpaper is crucial for achieving a smooth and professional finish. Different stages of the sanding process require different grits to effectively remove old finishes, smooth out imperfections, and prepare the surface for painting or refinishing.
Here are the different types of grit sandpaper that are commonly used for sanding cabinets:
- Coarse Grit Sandpaper (40-80 grit): Coarse grit sandpaper is used for heavy material removal, such as stripping old finishes or removing deep scratches and dents. It quickly levels the surface but leaves behind visible sanding marks. This grit is typically used during the initial stages of cabinet sanding.
- Medium Grit Sandpaper (80-120 grit): Medium grit sandpaper is used for smoothing surfaces and removing visible sanding marks left by coarse grit sandpaper. It prepares the cabinet surface for the next stage of sanding and helps achieve a more even surface. It is also effective in removing light scratches and imperfections.
- Fine Grit Sandpaper (120-220 grit): Fine grit sandpaper is used for further smoothing the surface and removing any remaining scratches or imperfections. It provides a smooth and even finish, ready for the application of paint or a new finish. This grit is commonly used as a final sanding step before proceeding to the finishing stage.
- Extra Fine Grit Sandpaper (220+ grit): Extra fine grit sandpaper is used for achieving a polished finish. It is ideal for cabinets that require a high level of smoothness and refinement before applying paint or varnish. This grit gives the cabinets a professional look by removing any remaining fine scratches and providing a smooth surface.
It’s important to note that the exact grit sequence you use may vary depending on the condition of your cabinets and the level of refinishing or painting you plan to do. In some cases, you may need to start with a coarser grit to remove old finishes or imperfections, while in other cases, you may begin with a finer grit if your cabinets are already in decent condition.
Now that we have a better understanding of the different grit sandpaper options available for sanding cabinets, let’s move on to selecting the right grit sandpaper for your specific project.
For sanding cabinets, start with 120-grit sandpaper to remove old finish and smooth out imperfections. Then, use 220-grit sandpaper for a finer finish before painting or staining.
Selecting the Right Grit Sandpaper
Choosing the right grit sandpaper for your cabinet sanding project is essential to achieve the desired finish. The selection process involves considering the condition of your cabinets, the type of material they are made from, and the level of surface preparation required.
Here are some factors to consider when selecting the right grit sandpaper:
- Cabinet Condition: Assess the current condition of your cabinets. If they have a thick layer of paint or varnish, you may need to start with a coarser grit sandpaper to remove the old finish. On the other hand, if your cabinets are in decent condition, you can start with a finer grit sandpaper for a smoother finish.
- Material: Consider the material of your cabinets. Different materials may require different sandpaper grits. For example, hardwood cabinets may require a finer grit sandpaper compared to cabinets made from softer woods or laminate materials.
- Surface Imperfections: Take note of any visible scratches, dents, or imperfections on the cabinet surface. Coarser grits are effective in removing deeper imperfections, while finer grits can smooth out lighter scratches.
- Surface Preparation: Determine the level of surface preparation you desire. If you plan to apply a fresh coat of paint or varnish, a smoother surface may be necessary. In this case, starting with a medium grit and progressively moving to finer grits will help you achieve a smooth and even finish.
It’s important to keep in mind that each sanding stage requires progressively finer grit sandpaper. Starting with a coarser grit and gradually working your way to finer grits allows for smoother transitions and a more polished final result.
Consider doing a test sanding in an inconspicuous area of your cabinets to determine the optimal grit sandpaper for your specific project. This will give you a better understanding of the results you can achieve and allow you to make any necessary adjustments before tackling the entire cabinet surface.
Lastly, make sure to use high-quality sandpaper to ensure durability and effectiveness. Cheap or low-quality sandpaper can wear out quickly or leave behind residue, compromising the quality of your cabinet sanding.
By carefully considering the condition of your cabinets, the material they are made from, and the desired level of surface preparation, you can select the right grit sandpaper to achieve a professional-looking finish.
Sandpaper Grit Recommendations
While the selection of sandpaper grit ultimately depends on the specific condition and requirements of your cabinets, here are some general recommendations to help guide you in the sanding process:
- Starting Grit: If your cabinets have a thick layer of paint or varnish that needs to be removed, begin with a coarse grit sandpaper, such as 60 or 80. This will effectively strip away the old finish and prepare the surface for further sanding.
- Smoothing and Leveling: After removing the old finish, move on to a medium grit sandpaper, such as 120 or 150. This will help smooth out any unevenness, level the surface, and remove visible sanding marks left by the coarser grit. Repeat the sanding process using this grit until the surface feels smooth and uniform.
- Fine Finishing: Once the surface is smooth and free from imperfections, proceed to a fine grit sandpaper, such as 220 or 240. This grit will further refine the surface, remove any remaining scratches or marks, and prepare it for the application of paint or a new finish. Sand with this fine grit until the surface feels silky smooth to the touch. If you desire an extra polished finish, you can even go for a higher grit, like 320 or 400.
Remember to always sand in the direction of the wood grain and use light pressure to avoid damaging the cabinets. As you progress through the grits, be sure to clean off any dust or debris before moving on to the next sanding stage. This will ensure a clean working surface and prevent any particles from scratching the cabinet surface.
It’s important to note that these grit recommendations serve as general guidelines and may vary depending on the specific condition of your cabinets and the desired level of surface preparation. Adjust the grit selection accordingly to achieve the best results for your project.
Keep in mind that the goal of sanding is to achieve a smooth and even surface. If you find that the current grit isn’t providing the desired results, consider going back to a coarser grit and working your way through the sequence again. Remember to always test in an inconspicuous area before proceeding with the entire cabinet surface.
By following these sandpaper grit recommendations and maintaining a careful sanding process, you’ll be well on your way to achieving beautifully refinished cabinets!
Conclusion
Sanding cabinets is an essential part of refinishing or preparing them for a fresh coat of paint. Selecting the right grit sandpaper is paramount to achieving a smooth and professional-looking finish. By understanding the different types of grit sandpaper and their recommended uses, you can effectively tackle your cabinet sanding project.
Start with a coarse grit sandpaper to remove old finishes and imperfections, then gradually progress to finer grits for smoothing and refining the surface. Follow the natural grain of the wood, use gentle pressure, and periodically check the surface for smoothness. Remember to clean off any dust or debris between sanding stages for optimal results.
Consider the condition of your cabinets, the type of material they are made from, and the level of surface preparation required when selecting the right grit sandpaper. Test in inconspicuous areas to gauge the results and make any necessary adjustments before proceeding with the entire cabinet surface.
By following these recommendations and techniques, you’ll be well-equipped to achieve impressive results in your cabinet sanding project. Whether you’re aiming to restore the natural beauty of the wood or prepare the cabinets for a new finish, the right grit sandpaper will be your invaluable tool.
Remember to use high-quality sandpaper and take your time to ensure a meticulous sanding process. Your efforts will be rewarded with cabinets that look refreshed, smooth, and ready to take center stage in your home.
So, grab the appropriate grit sandpaper, put on your gloves, and get ready to transform your cabinets into stunning pieces of art!
Frequently Asked Questions about What Grit Sandpaper For Sanding Cabinets
Was this page helpful?
At Storables.com, we guarantee accurate and reliable information. Our content, validated by Expert Board Contributors, is crafted following stringent Editorial Policies. We're committed to providing you with well-researched, expert-backed insights for all your informational needs.


0 thoughts on “What Grit Sandpaper For Sanding Cabinets”