Home>Dining>Table Decor>How To Add Triangles To Ends Of Rectangular Table Runners
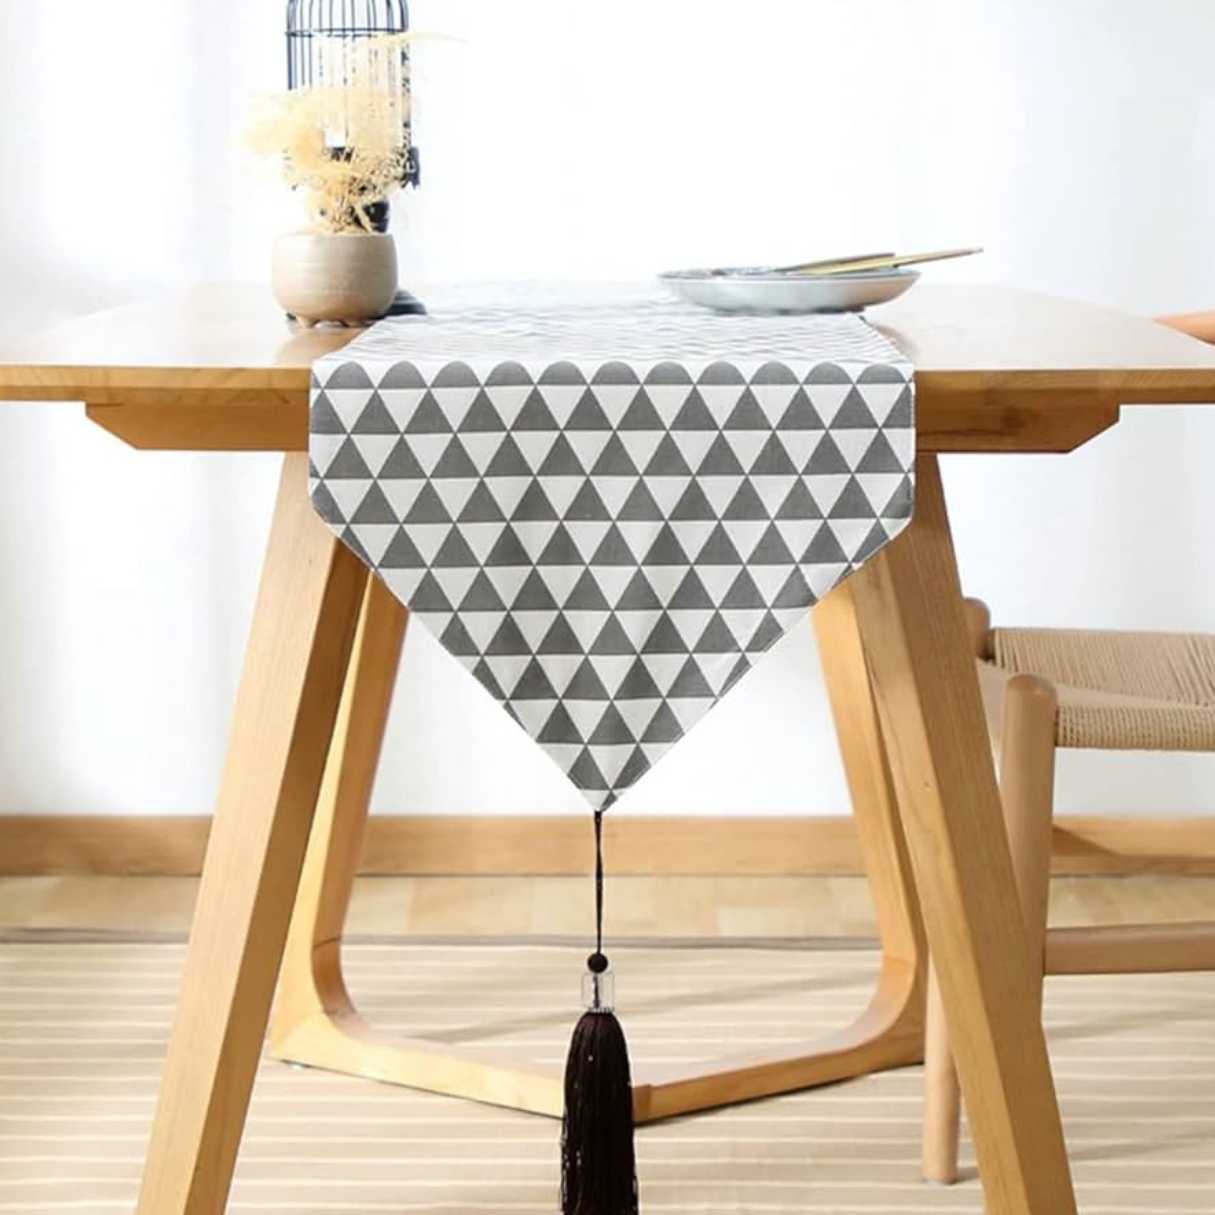
Table Decor
How To Add Triangles To Ends Of Rectangular Table Runners
Modified: November 2, 2024
Learn how to add stylish tri-angles to rectangular table runners to elevate your table decor. Impress your guests with this unique and easy DIY project!
(Many of the links in this article redirect to a specific reviewed product. Your purchase of these products through affiliate links helps to generate commission for Storables.com, at no extra cost. Learn more)
Introduction
Welcome to the world of table decor! If you’re looking to add a unique and stylish touch to your rectangular table runners, why not consider adding tri-angles to the ends? This simple yet eye-catching design element can elevate your table decor to a whole new level. In this article, we will guide you through the step-by-step process of measuring, cutting, folding, pinning, sewing, trimming, and pressing to create beautiful tri-angles on your table runners.
Adding tri-angles to your table runners not only adds visual interest, but it also allows you to customize your decor to suit any occasion or theme. Whether you’re preparing for a formal dinner party, a casual get-together with friends, or even a festive holiday celebration, this DIY project is the perfect way to showcase your personal style and creativity.
Before we jump into the steps, let’s go over the materials you’ll need for this project:
Key Takeaways:
- Elevate your table decor with stylish tri-angles on rectangular table runners. Impress guests and showcase your personal style with this simple yet stunning DIY project.
- Transform basic table runners into personalized decor pieces. Follow the step-by-step guide to add tri-angles, customize for any occasion, and enjoy the beauty of your unique table decor.
Materials Needed
Before you begin your table runner transformation, gather the following materials:
- Fabric of your choice: Ensure that you have enough fabric to cover the length of your table runner, plus extra for the tri-angle ends.
- Measuring tape: An essential tool for accurately measuring the dimensions of your table runner and tri-angles.
- Fabric scissors: Sharp scissors to cut the fabric neatly and precisely.
- Sewing machine: A sewing machine will make the process quicker and more efficient, but you can also hand-sew if you prefer.
- Pins: Use pins to hold the fabric in place during the folding and sewing process.
- Iron and ironing board: An iron will help you to create crisp folds and press the fabric for a professional finish.
- Thread: Choose a thread color that matches or complements your fabric for seamless stitching.
- Sewing needle: If you’re hand-sewing, make sure you have a needle that can handle the weight of your fabric.
Now that you have everything you need, let’s dive into the step-by-step process of adding tri-angles to your rectangular table runners.
Step 1: Measuring and Cutting
The first step in adding tri-angles to your rectangular table runners is to measure and cut the fabric to the desired length. Start by measuring the length of your table runner, taking into account any desired overhang on the ends. Using a measuring tape, measure the width of your table runner. Determine how long you want the tri-angles to be at each end of the runner. This will depend on your personal preference and the overall aesthetic you’re going for. Once you have your measurements, it’s time to cut your fabric. Lay the fabric on a flat surface and use fabric scissors to carefully cut along the measured lines. Remember to leave some extra fabric for seam allowances and folding. If you want your tri-angles to have a contrasting fabric, now is the time to cut those pieces as well. You can choose a fabric that complements or contrasts with the main fabric. After cutting the fabric, ensure that all edges are clean and straight. This will help you achieve a professional-looking finish in the final product.
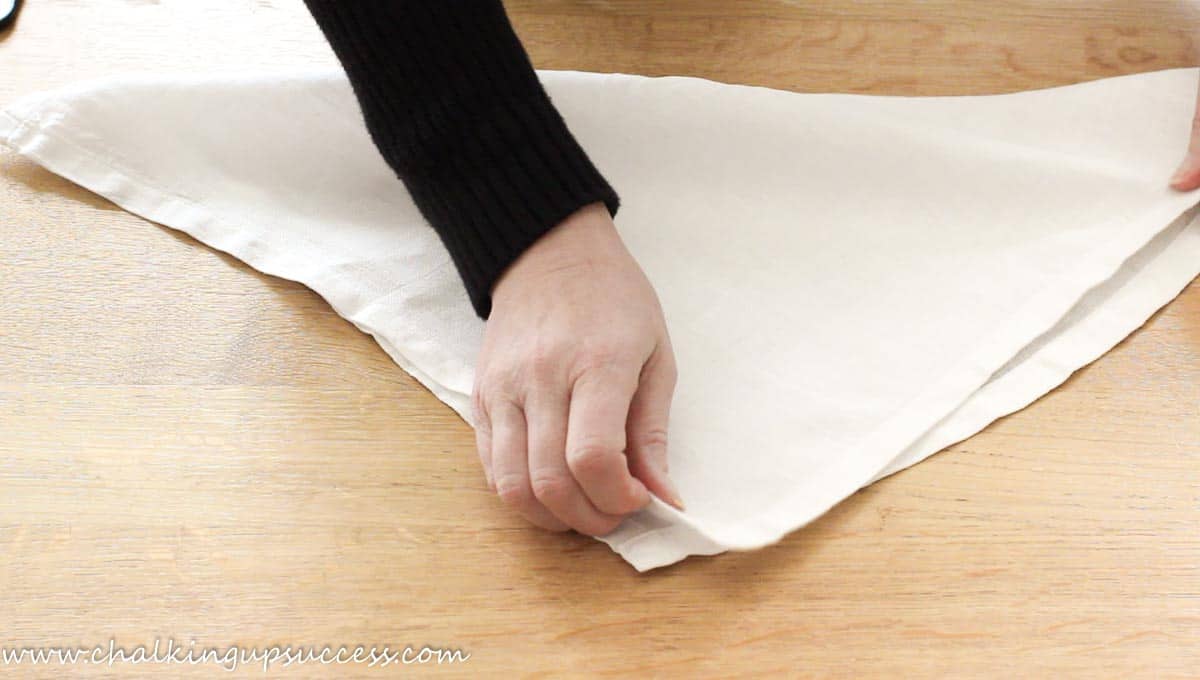
Step 2: Folding and Pinning
Now that you have your fabric cut to the desired size, it’s time to start folding and pinning the tri-angles. This step will create the shape and structure of the tri-angles.
- Begin by folding the fabric in half lengthwise, right sides together. Make sure the edges are aligned.
- At one end of the folded fabric, mark a point at the desired length of your tri-angle. This will be where the folded edge starts.
- From the marked point, draw a diagonal line towards the opposite corner of the fabric. This line will form the slanted side of the tri-angle.
- Next, fold the fabric along the diagonal line, bringing the marked point to meet the opposite corner.
- Pinning is crucial to hold the fabric in place before sewing. Use straight pins to secure the folded fabric along the edges, making sure the slanted side of the tri-angle is properly aligned.
- Repeat this folding and pinning process on the other end of the table runner to create the second tri-angle.
Once you have both tri-angles folded and pinned, take a step back and double-check their symmetry and alignment. Adjust the folds and pins if necessary to ensure a balanced and visually appealing result. When you’re satisfied with the placement, you’re ready to move on to the next step: sewing the tri-angles.
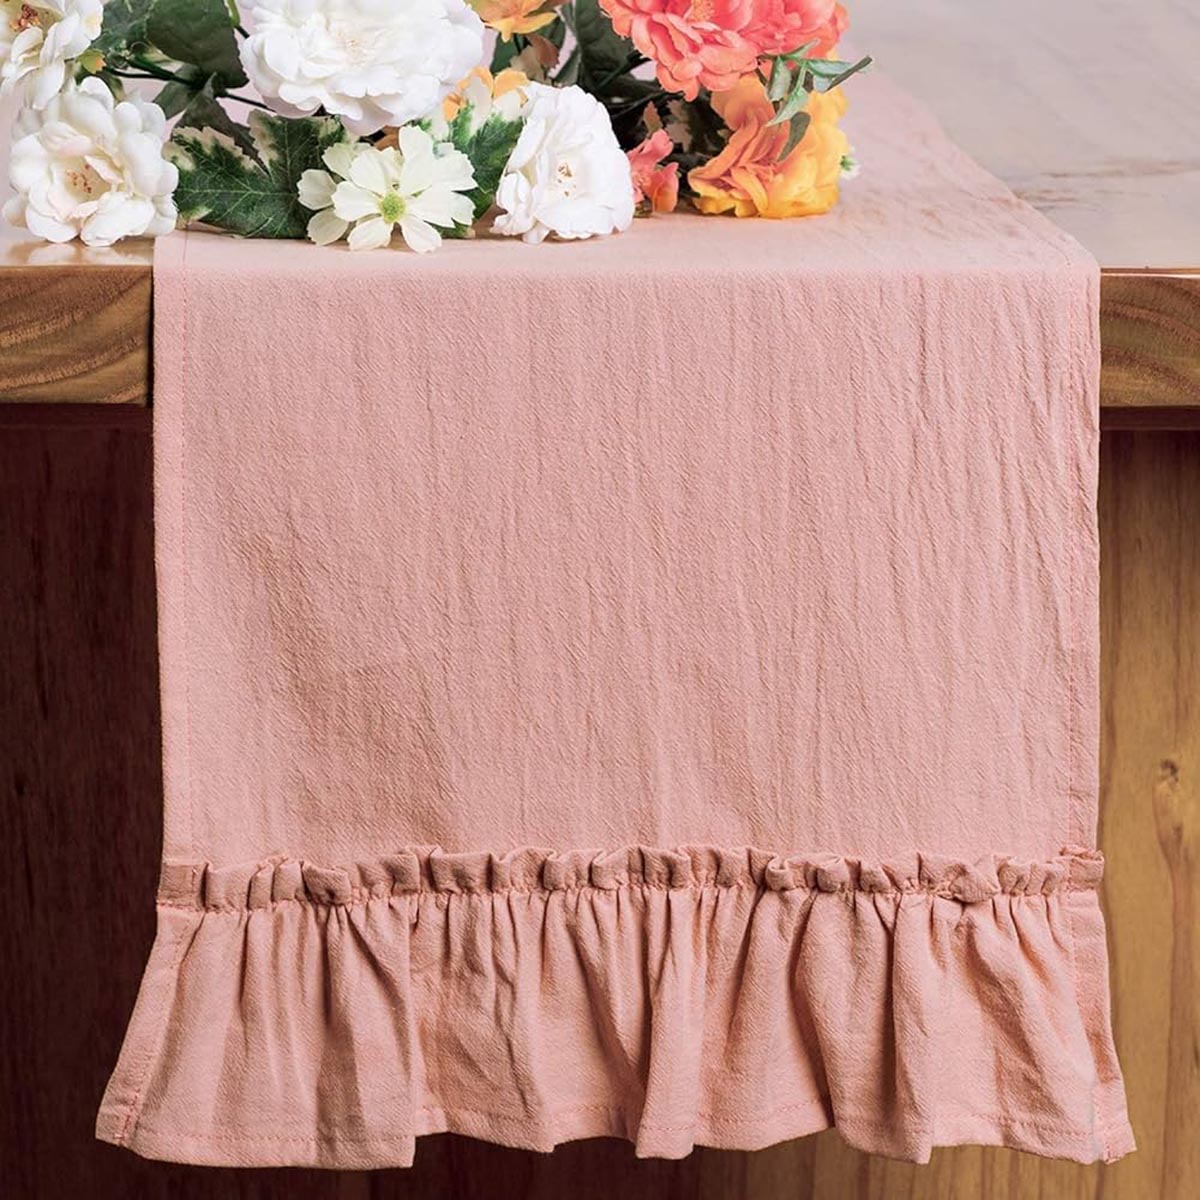
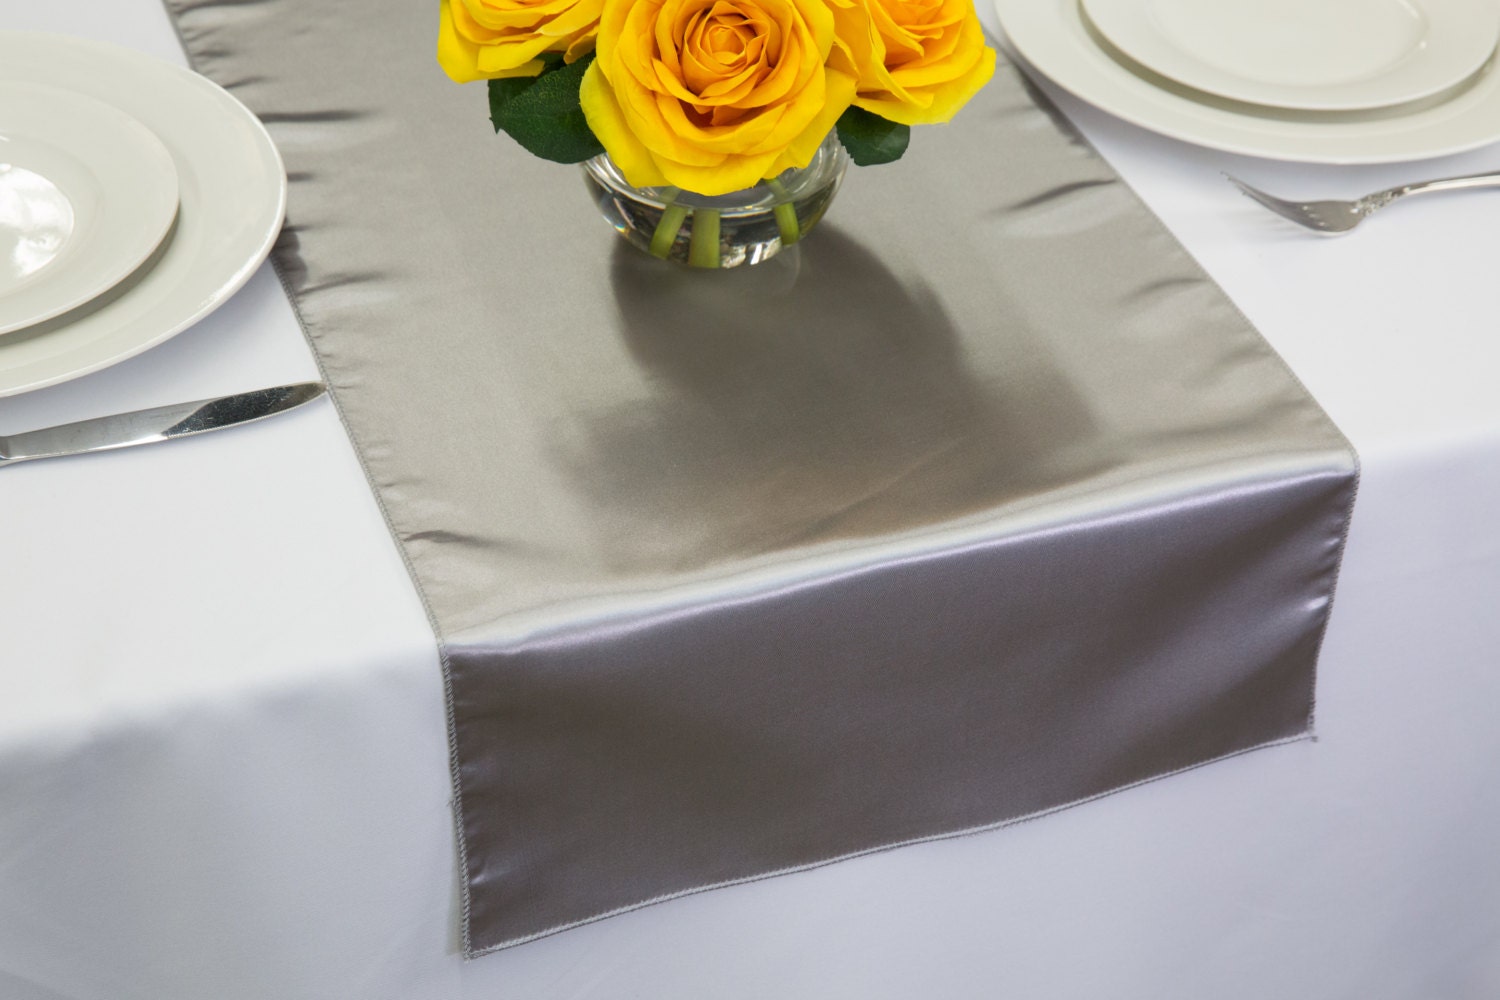
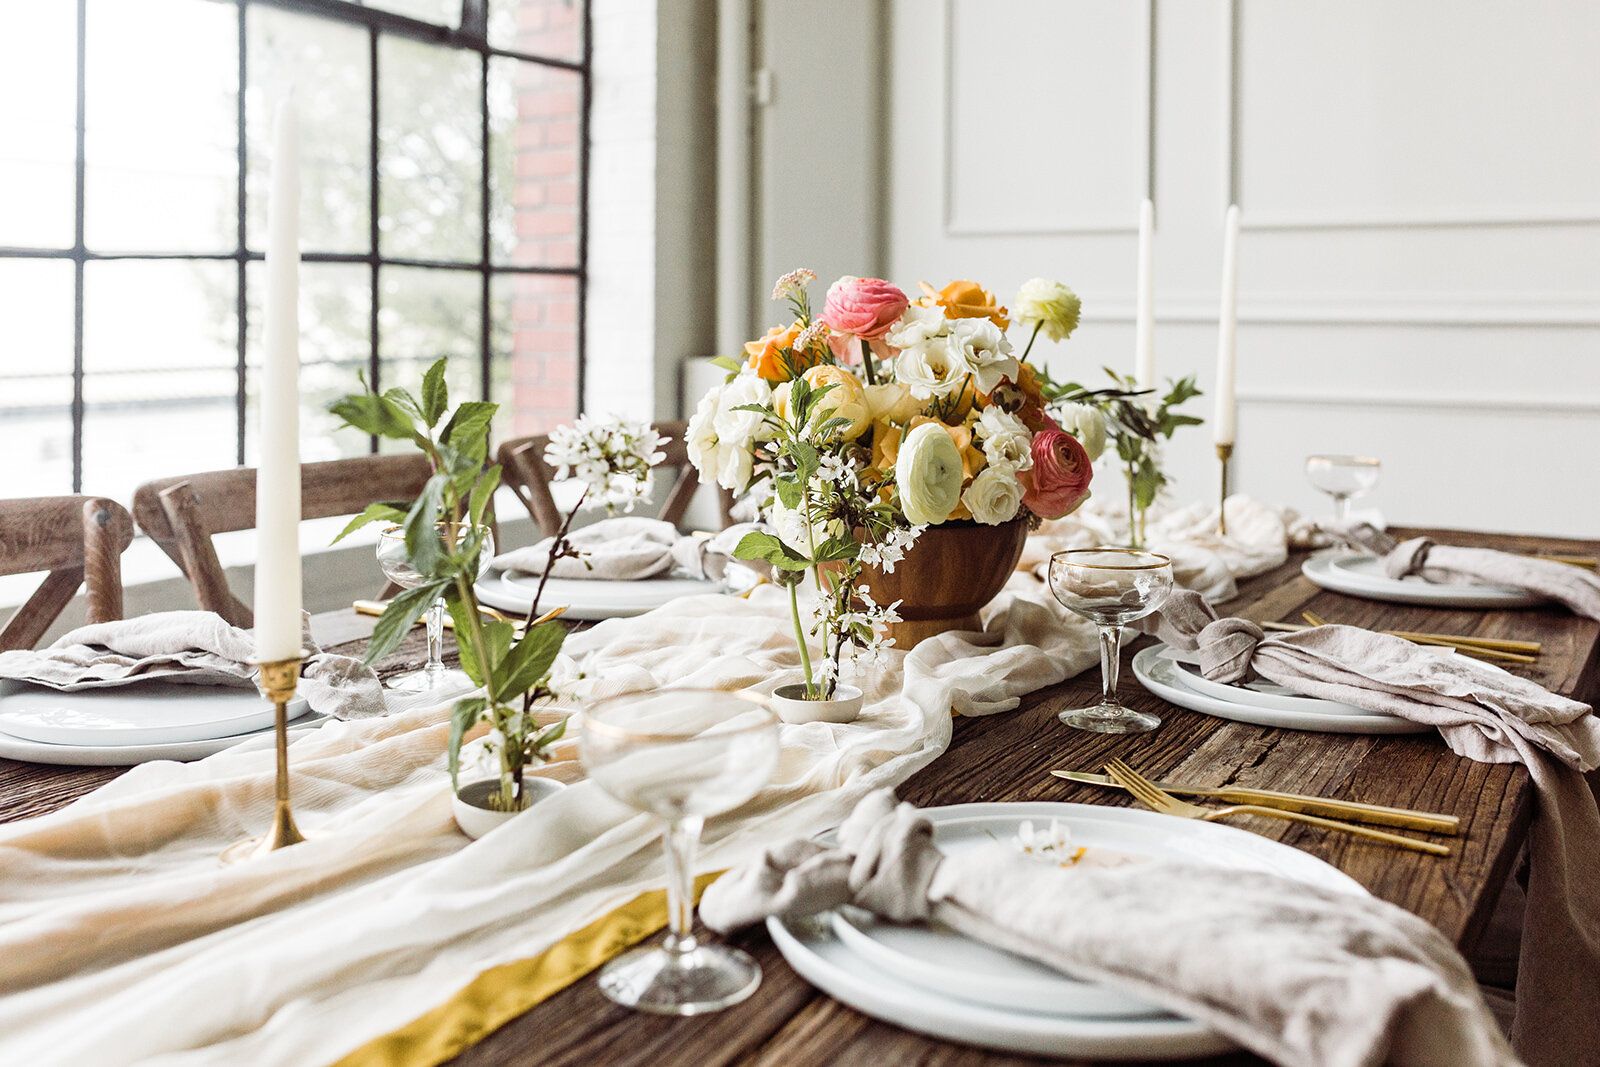
Consider using fabric triangles to add a decorative touch to the ends of rectangular table runners. Sew the triangles onto the ends for a unique and stylish finish.
Step 3: Sewing the Tri-Angles
Now it’s time to bring out the sewing machine and start sewing the tri-angles of your table runner. Follow these steps to secure the folds and create a polished look:
- Thread your sewing machine with a thread color that matches or complements your fabric.
- Starting at one corner of the folded fabric, sew along the slanted edge of the tri-angle, using a straight stitch. Take care to remove the pins as you go, ensuring smooth sewing without any obstructions.
- Continue sewing along the slanted edge until you reach the opposite corner.
- Repeat this process on the other tri-angle, sewing along the slanted edge until you reach the opposite corner. This will secure both tri-angles in place.
- Once you’ve sewn both tri-angles, reinforce the stitches by backstitching at the beginning and end of each seam. This will prevent the stitches from unraveling.
- Trim any excess fabric and loose threads, making sure to leave a small seam allowance.
After sewing the tri-angles, take a moment to inspect the stitches and make any needed adjustments. Ensure that the corners are securely stitched and the lines are straight. It’s also a good idea to press the sewn seams with an iron to create a crisp and professional finish.
With the tri-angles sewn in place, you’re now ready to move on to the next step: trimming and pressing.
Step 4: Trimming and Pressing
In this step, you will refine the appearance of your table runner by trimming any excess fabric and pressing the seams. These finishing touches will give your runner a polished and professional look.
- Using fabric scissors, carefully trim any excess fabric around the stitched tri-angles. Take your time to ensure clean and straight edges.
- Once you’ve trimmed the fabric, it’s time to press the seams. Set up your ironing board and preheat your iron to the appropriate setting for your fabric.
- Start by pressing the tri-angles from the backside of the fabric. Gently flatten the fabric with the iron, applying even pressure along the seams. This will help set the stitches and create a crisp edge.
- Flip the table runner over and press the tri-angles from the front. This will further smooth out any wrinkles and ensure that the fabric lies flat and neat.
- Be careful not to press directly on any decorative elements or embellishments, if you have incorporated any in your runner.
Take your time during the trimming and pressing process to achieve a clean and polished result. Smooth out any wrinkles or creases, and make sure the tri-angles are sharp and well-pressed.
Once you’ve completed this step, your table runner will be almost ready for use. The final step involves a few finishing touches to make it truly stand out. Keep reading to find out more!
Step 5: Finishing Touches
In the final step of adding tri-angles to your rectangular table runners, it’s time to add some finishing touches to make your creation truly special. These additional details will elevate your table runner and make it a standout piece.
- If desired, you can add decorative elements such as trim, lace, or embroidery to the edges of the table runner. This will further enhance the visual appeal and coordinate with your overall table decor.
- Inspect the runner for any loose threads or uneven edges. Trim any stray threads and make any necessary adjustments to ensure a clean and professional finish.
- Consider washing or steaming the table runner according to the fabric’s care instructions. This will freshen up the fabric and remove any wrinkles or creases that may have occurred during the sewing process.
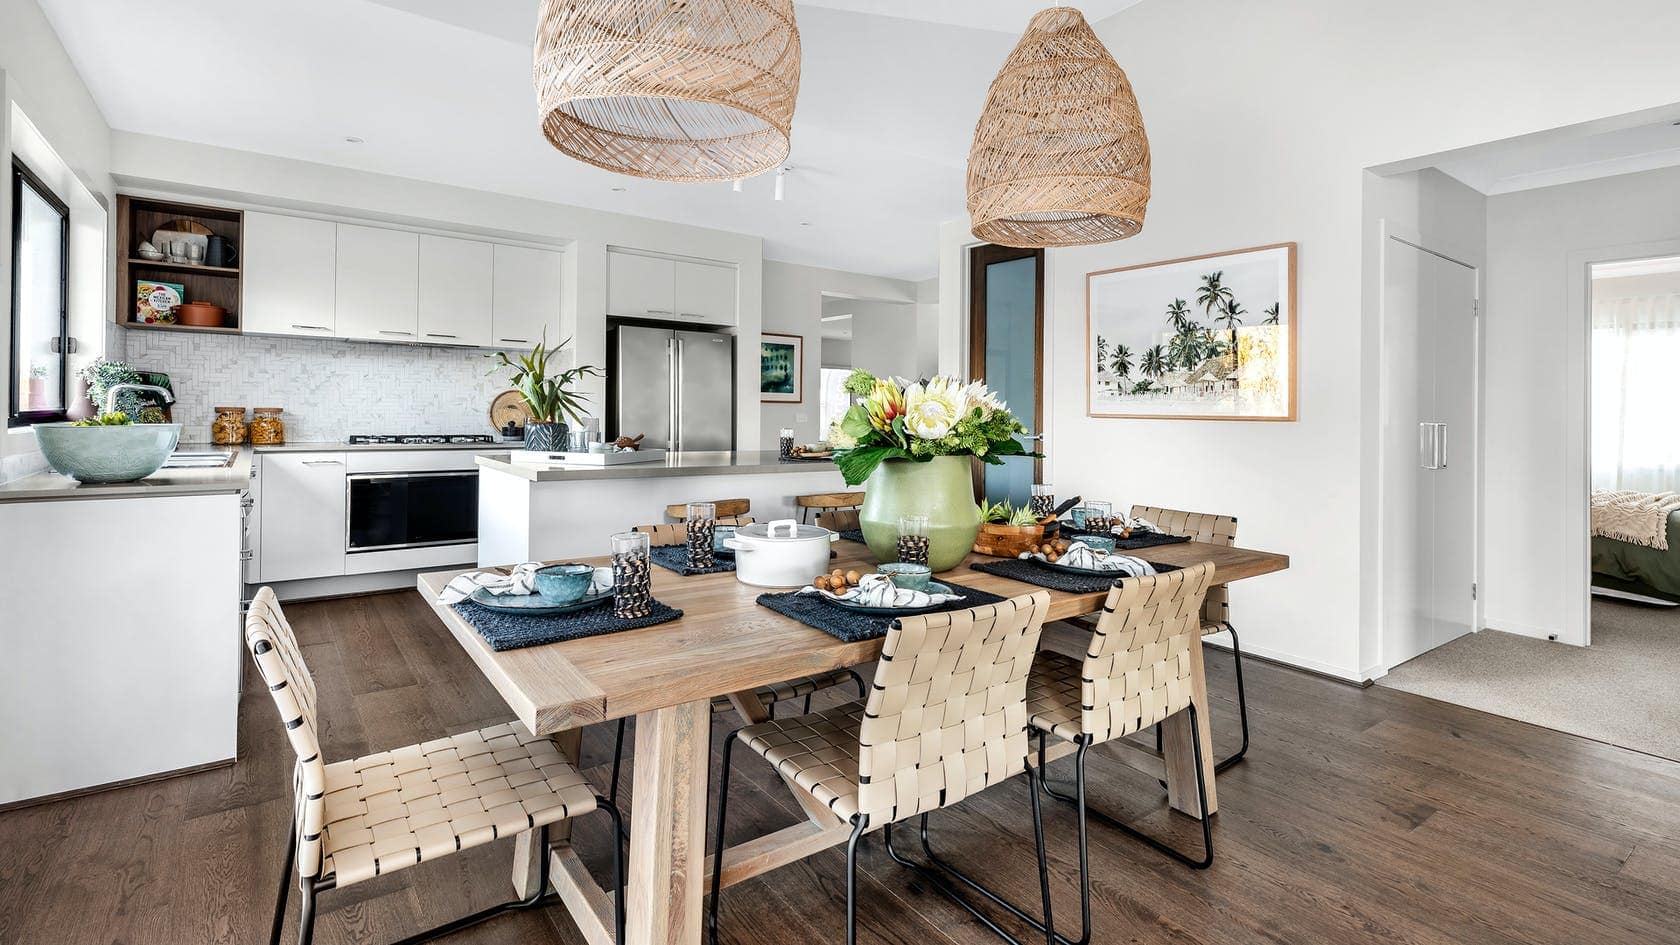
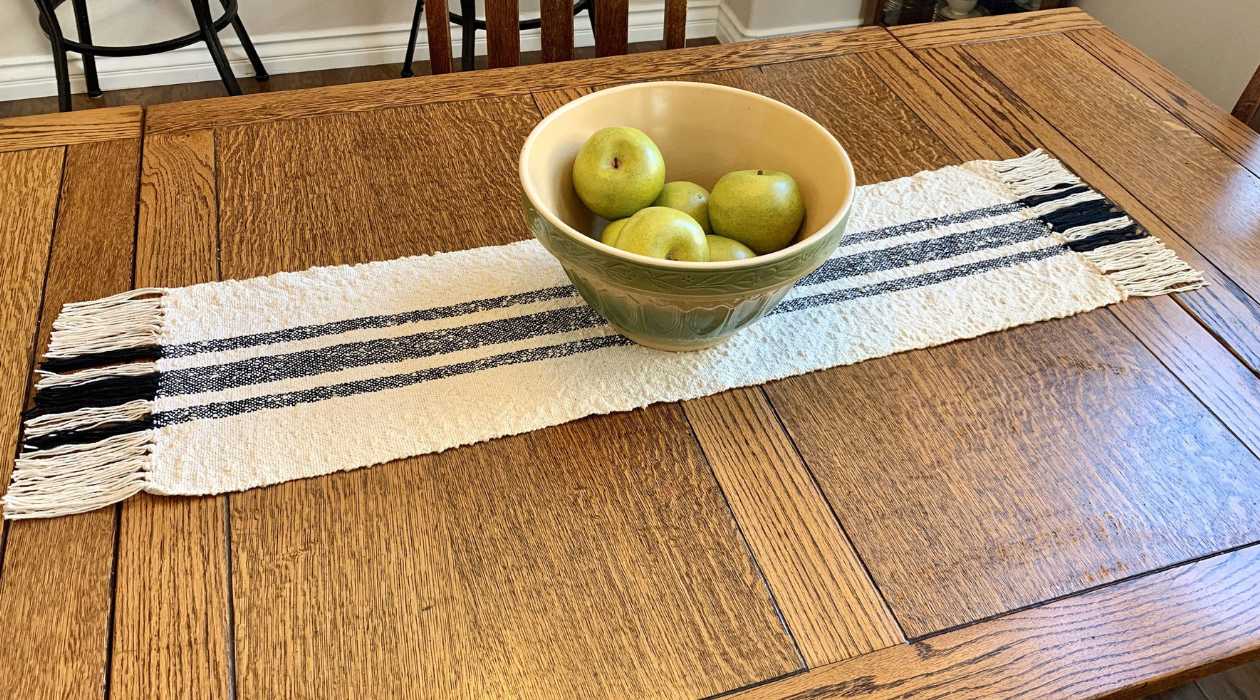
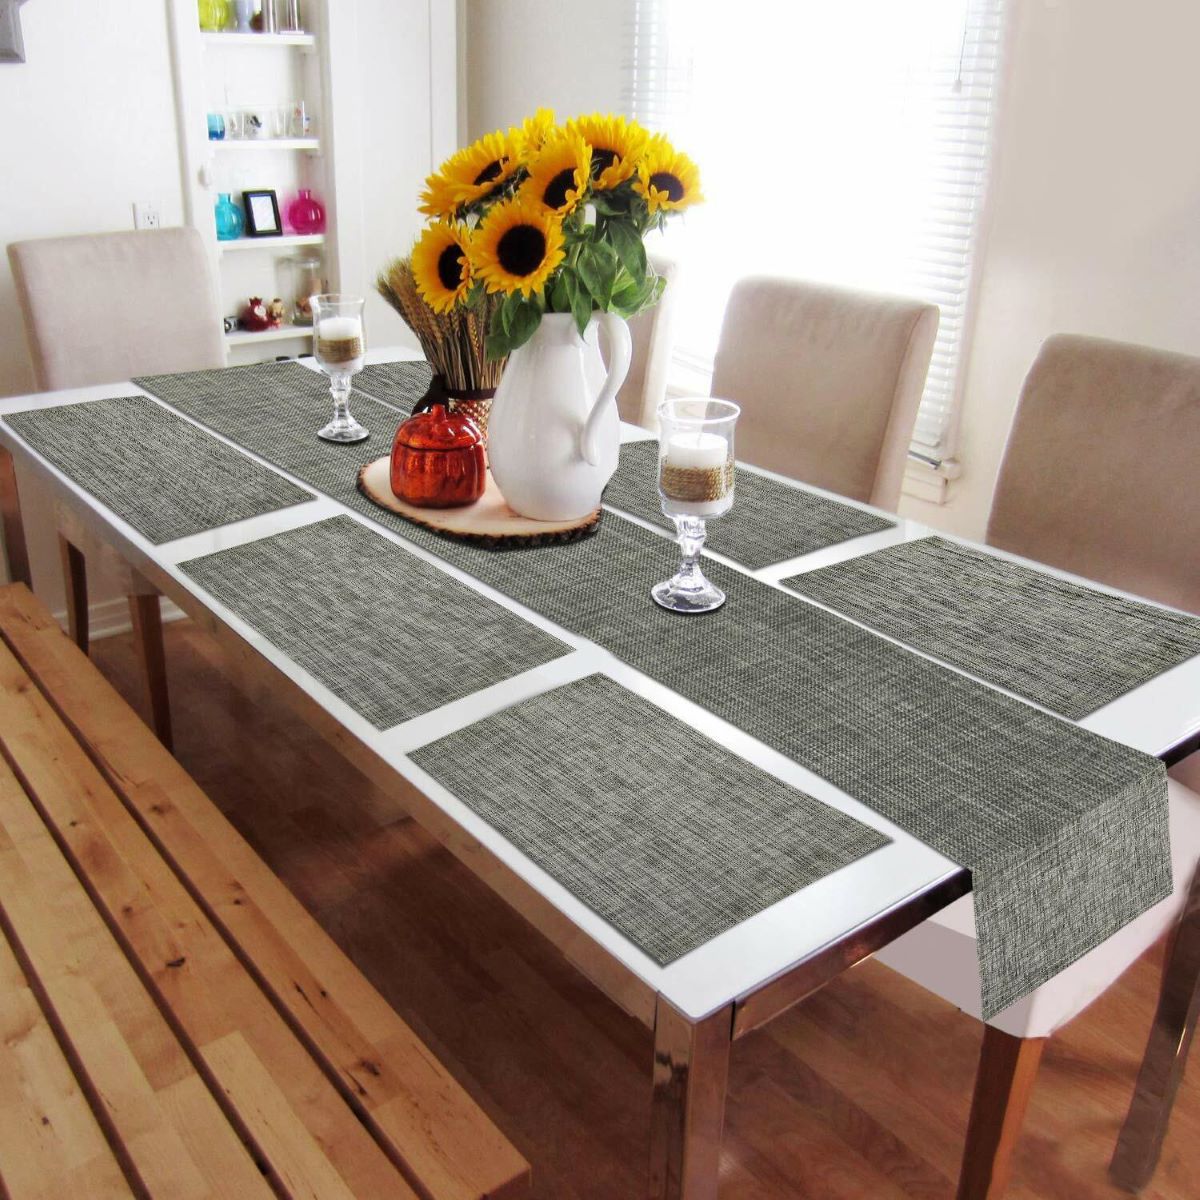
- Now it’s time to proudly display your table runner! Place it on your dining table, buffet table, or any other surface to add an elegant and unique touch to your gatherings.
Remember to store your table runner in a clean and dry place when not in use, to keep it in pristine condition for future events.
Congratulations! You have successfully added tri-angles to your rectangular table runner. By following these simple steps, you’ve transformed a basic runner into a stylish and personalized decor piece that will impress your guests.
Feel free to experiment with different fabrics, colors, and patterns to customize your table runners for different occasions or themes. Get creative and have fun with your table decor!
Now it’s time to sit back, relax, and enjoy the beauty of your newly adorned table runner.
Conclusion
Adding tri-angles to the ends of rectangular table runners is a fantastic way to elevate your table decor and showcase your personal style. This DIY project is simple and straightforward, yet it results in a stunning and unique design element that will impress your guests.
Throughout this guide, we have walked you through the step-by-step process of measuring, cutting, folding, pinning, sewing, trimming, pressing, and adding finishing touches to your table runner. By following these instructions, you can create a professional-looking table runner that perfectly suits your desired aesthetic.
Remember to choose fabrics that complement your overall table decor and select colors and patterns that align with the event or theme. Don’t be afraid to get creative and experiment with different fabrics, trims, and embellishments to make your table runner truly one of a kind.
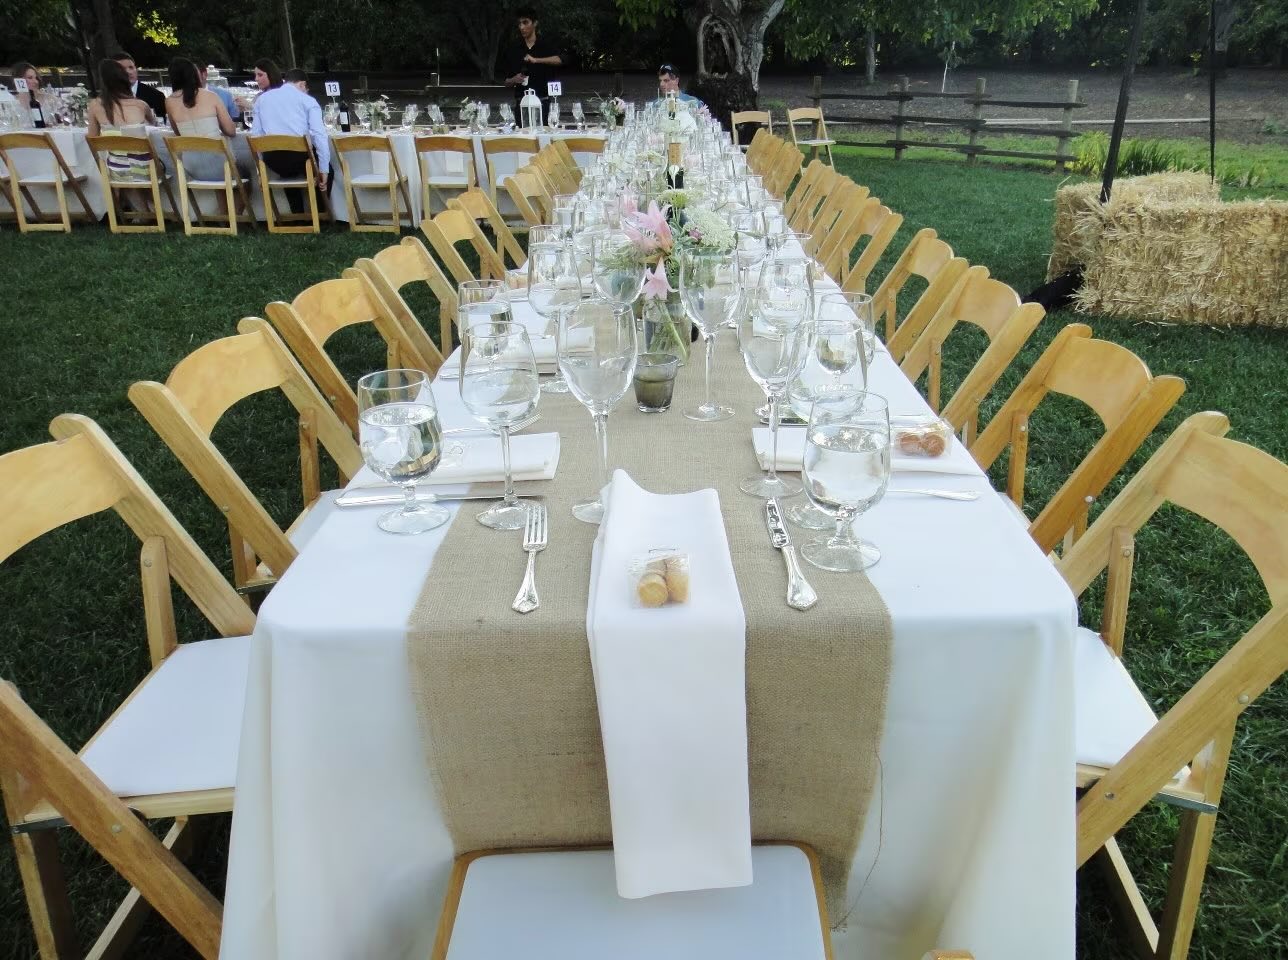
Whether you’re hosting a formal dinner party, a casual gathering, or a festive celebration, your newly adorned table runner is sure to be a focal point that adds elegance and style to any occasion.
So gather your materials, follow the steps outlined in this guide, and let your creativity and sewing skills shine. Let your table runner serve as a symbol of your personal style and passion for beautiful table decor.
Enjoy the process of creating and the joy of showcasing your handmade masterpiece. Happy crafting!
Frequently Asked Questions about How To Add Triangles To Ends Of Rectangular Table Runners
Was this page helpful?
At Storables.com, we guarantee accurate and reliable information. Our content, validated by Expert Board Contributors, is crafted following stringent Editorial Policies. We're committed to providing you with well-researched, expert-backed insights for all your informational needs.


0 thoughts on “How To Add Triangles To Ends Of Rectangular Table Runners”