Home>Seasonal Storage>How To Wrap Gift Baskets
Seasonal Storage
How To Wrap Gift Baskets
Modified: October 28, 2024
Discover the best techniques for wrapping gift baskets with our step-by-step guide. Keep your seasonal storage stylish and organized.
(Many of the links in this article redirect to a specific reviewed product. Your purchase of these products through affiliate links helps to generate commission for Storables.com, at no extra cost. Learn more)
Materials Needed
Before you start wrapping your gift basket, make sure you have all the necessary materials. Here’s a list of items you’ll need:
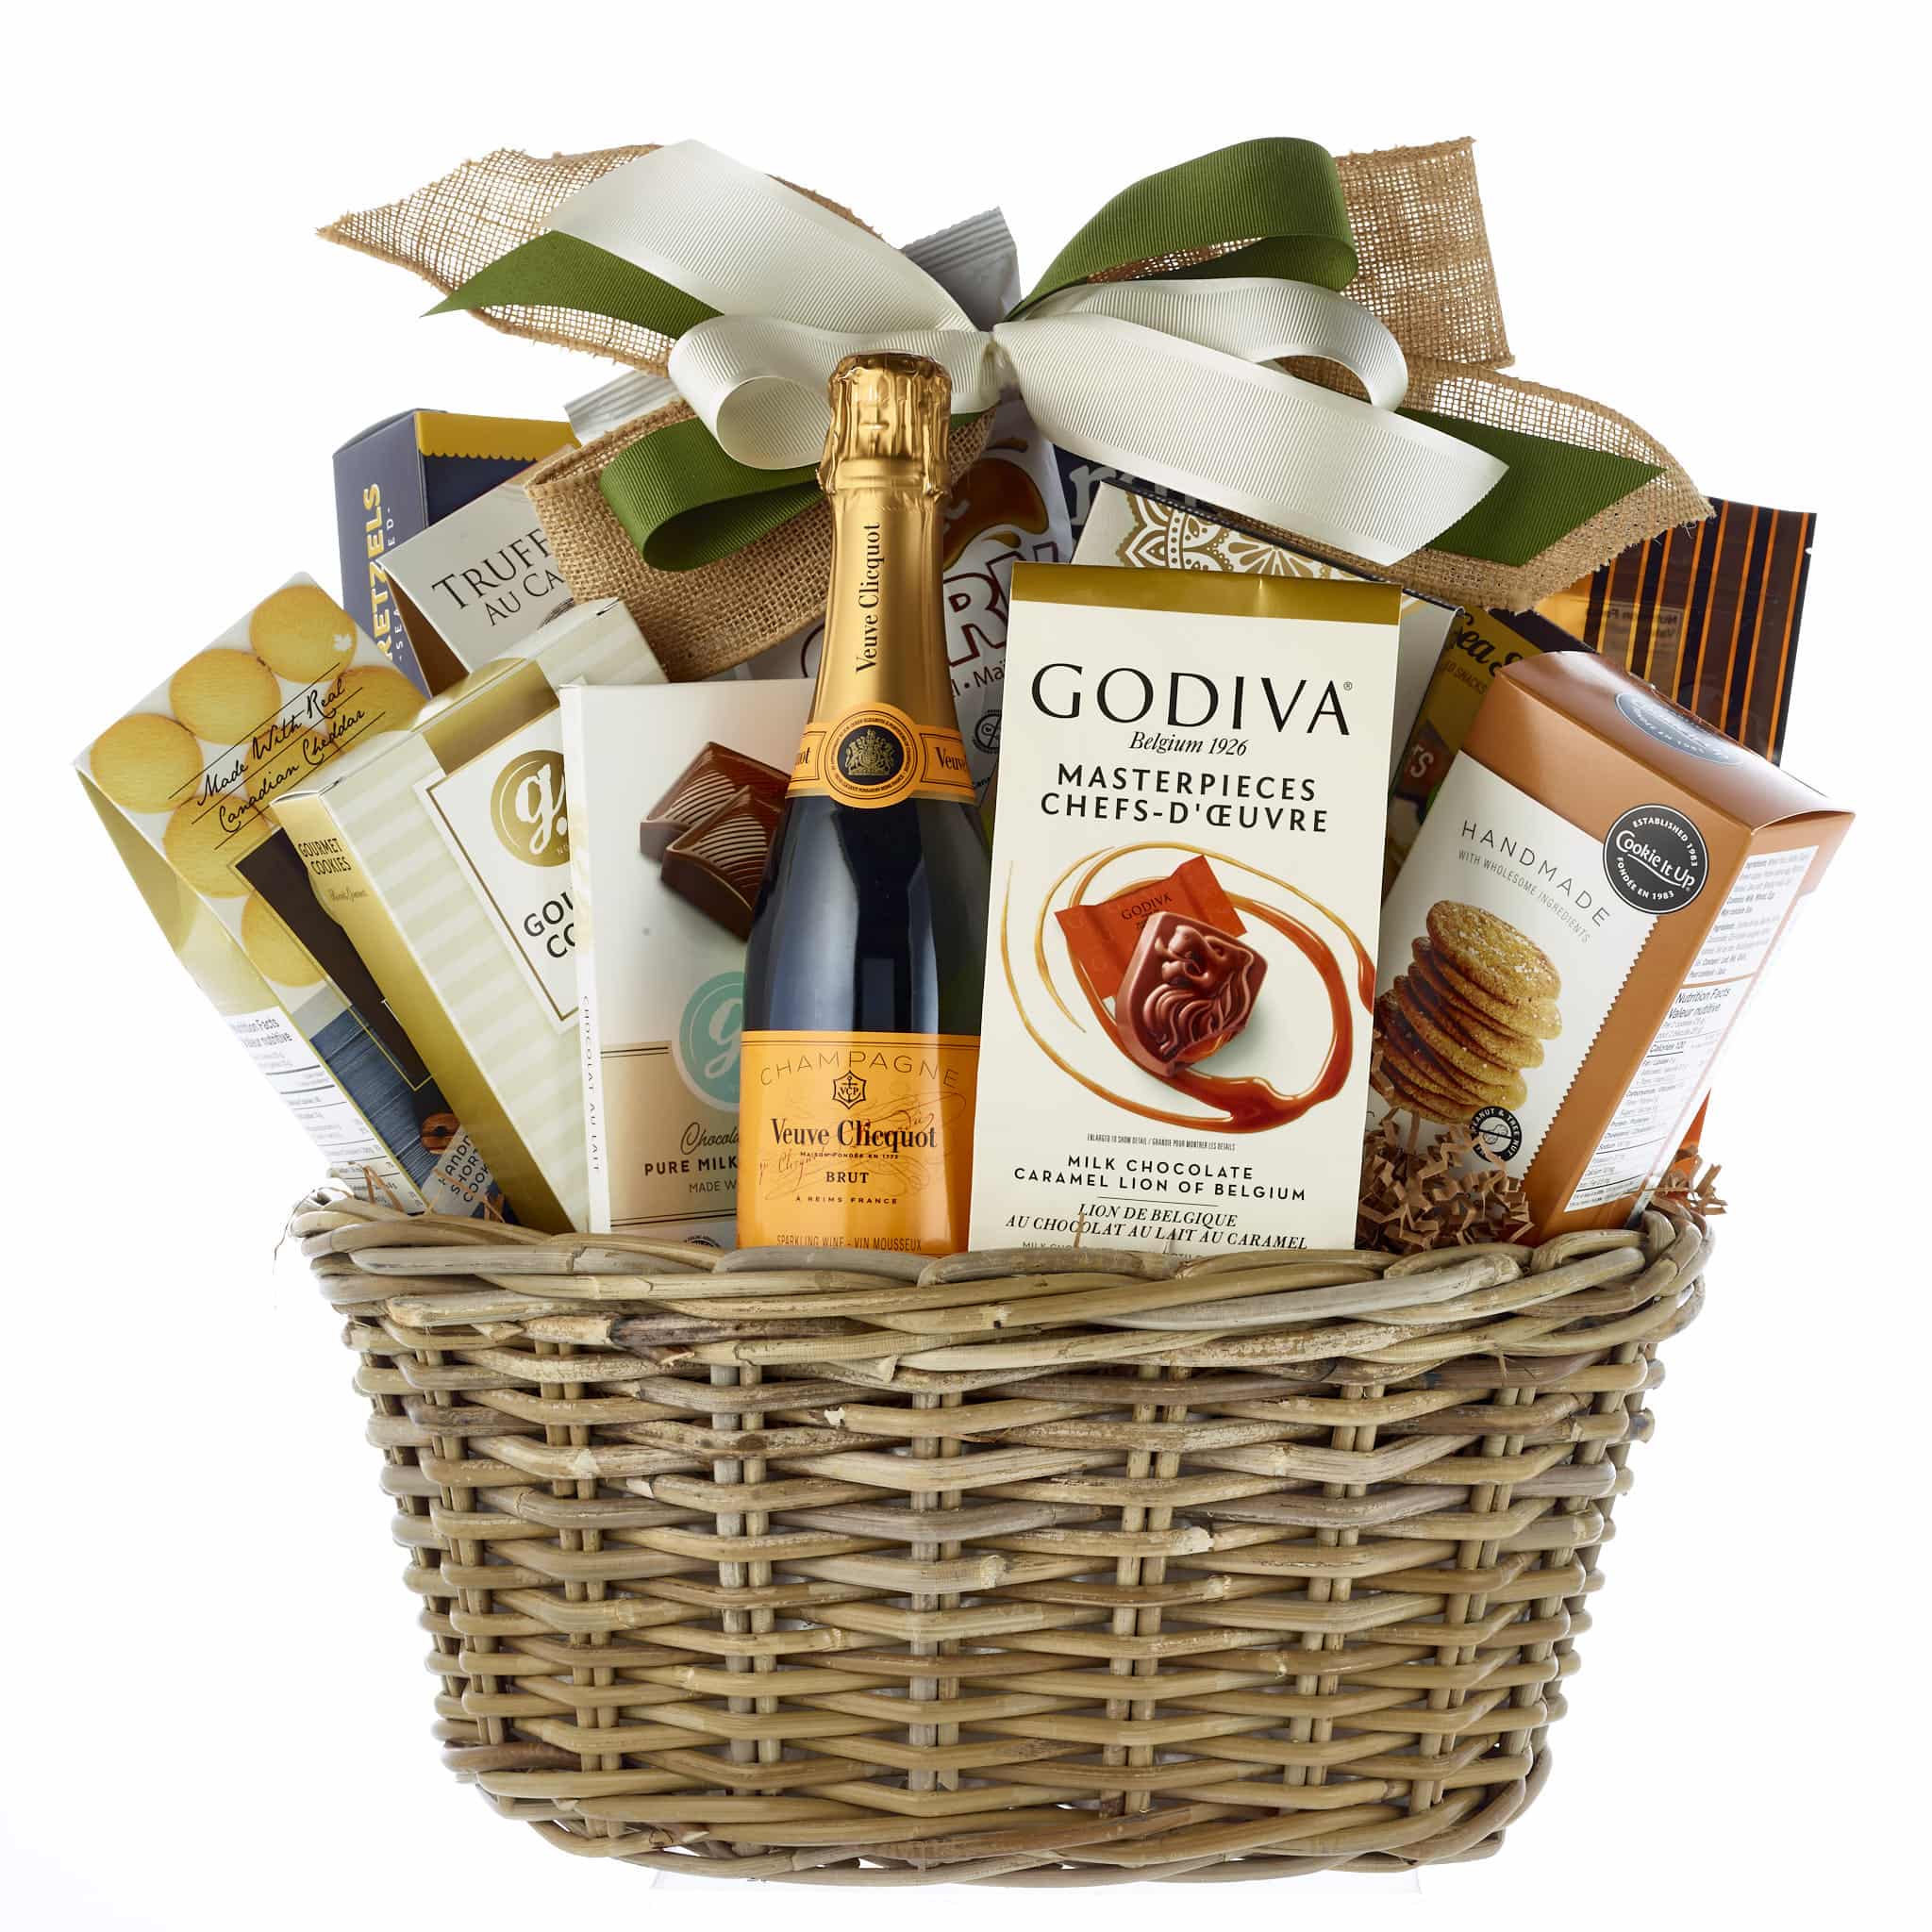
- A basket – Choose a basket that is sturdy and the right size for your gift items. You can find a wide variety of baskets in stores or online, ranging from traditional wicker baskets to decorative boxes or even reusable containers.
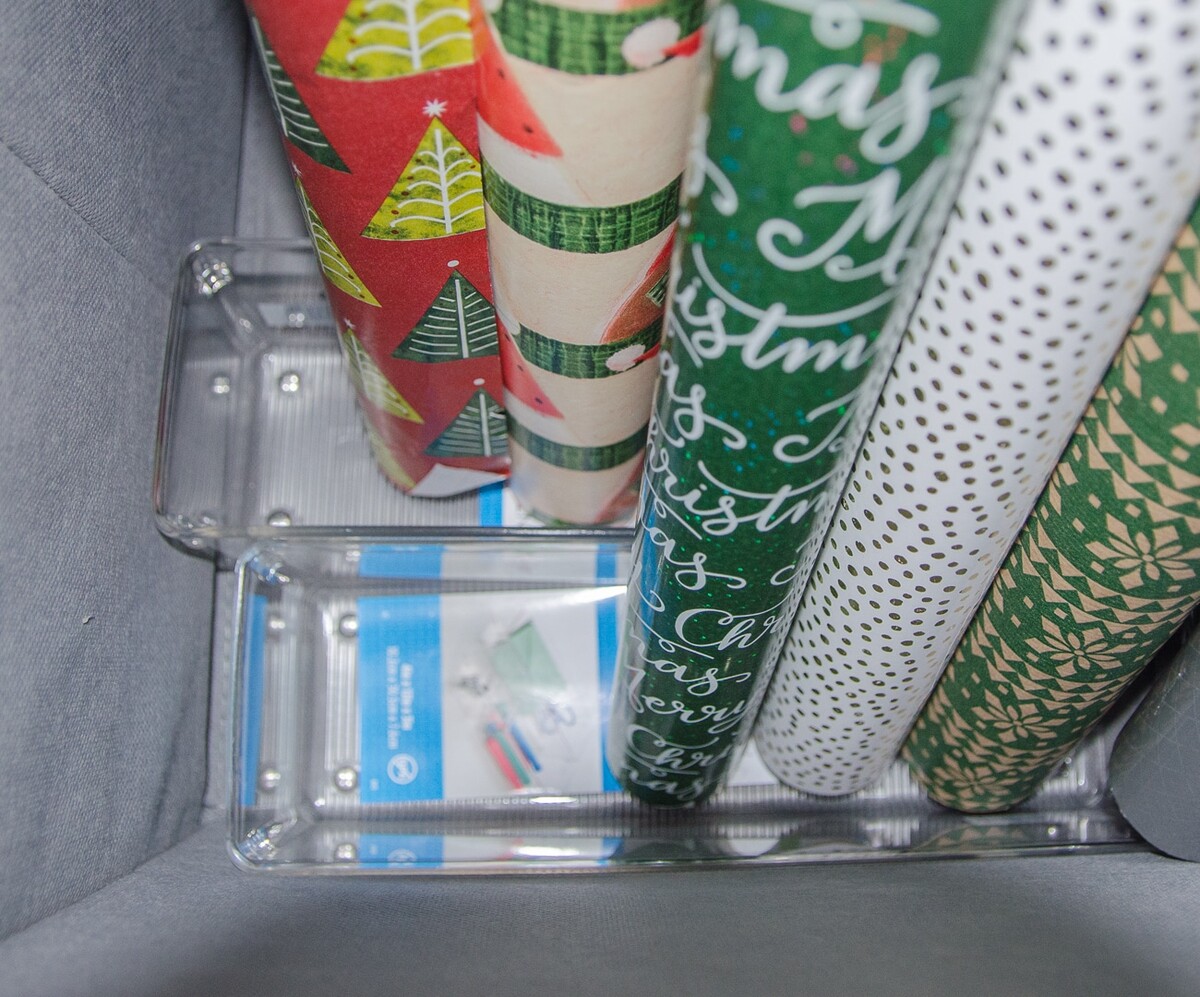
- Cellophane or wrapping paper – This will be used to wrap the basket and give it a polished look. Choose a color or pattern that complements the theme of your gift basket.
- Ribbon or twine – Use ribbon or twine to secure the wrapping and add a decorative touch. You can opt for a simple solid color or go for a more elaborate design.
- Scissors – A good pair of scissors will come in handy for cutting the wrapping paper, ribbon, and any other materials.
- Tape or glue – You’ll need tape or glue to secure the wrapping paper and attach the decorations.
- Gift items – Choose the items that you wish to include in the gift basket. This could be anything from gourmet food items to bath and body products, or even a collection of small toys or books.
- Fillers – To create a visually appealing gift basket, consider using fillers such as shredded paper, tissue paper, or crinkle-cut paper. These will help to elevate your gift items and keep them securely in place.
- Decorations – Optional decorations can add an extra special touch to your gift basket. This could include embellishments like bows, stickers, or even small ornaments.
Having these materials ready will ensure that you have everything you need to create a beautifully wrapped gift basket. Now that you have your materials prepared, let’s move on to the next step: Choosing a Basket.
Key Takeaways:
- Elevate your gift-giving with beautifully wrapped gift baskets using the right materials, thoughtful preparation, and creative decorations. Personalize and delight your loved ones with stunning, themed presentations.
- Create memorable moments by crafting unique gift baskets tailored to the recipient’s interests and occasions. Add personal touches, surprise elements, and finishing flair for truly special gifts.
Read more: How To Shrink Wrap Gift Baskets
Step 1: Choosing a Basket
The first step in wrapping a gift basket is selecting the right basket for your gift items. Here are some considerations to keep in mind:
- Size – Choose a basket that is appropriately sized for the items you plan to include. You want the basket to be large enough to hold all the gifts comfortably, but not so big that it looks empty.
- Style – Consider the theme or occasion of the gift basket and choose a basket that complements it. For example, a rustic woven basket might be perfect for a nature-inspired gift, while a sleek, modern box may suit a more contemporary theme.
- Handle – Check if the basket has a handle or not. Handles can make it easier to transport the gift and add a practical element to the design.
- Material – Baskets can be made from various materials such as wicker, bamboo, metal, or even fabric. Choose a material that matches the overall aesthetic you want to achieve.
- Shape – Baskets come in different shapes, including round, rectangular, oval, or square. Consider the shape that best suits your gift items and the style you want to create.
When choosing a basket, think about the recipient’s preferences and what will make the gift truly special. You can also personalize the basket by selecting one that has significance or represents something meaningful to the recipient.
Once you have chosen the perfect basket, it’s time to move on to the next step: Preparing the Basket.
Step 2: Preparing the Basket
Now that you have selected the ideal basket, it’s time to prepare it before wrapping. Follow these steps to ensure your gift basket is ready for presentation:
- Clean the basket – If your basket is new, it may just need a quick wipe with a clean cloth to remove any dust or debris. However, if you’re using a second-hand or vintage basket, give it a thorough cleaning with mild soap and water.
- Line the basket – To protect the items inside the basket and create a clean base, consider lining it with tissue paper or a fabric liner that complements the theme or color scheme. This will also add an extra layer of elegance to your gift.
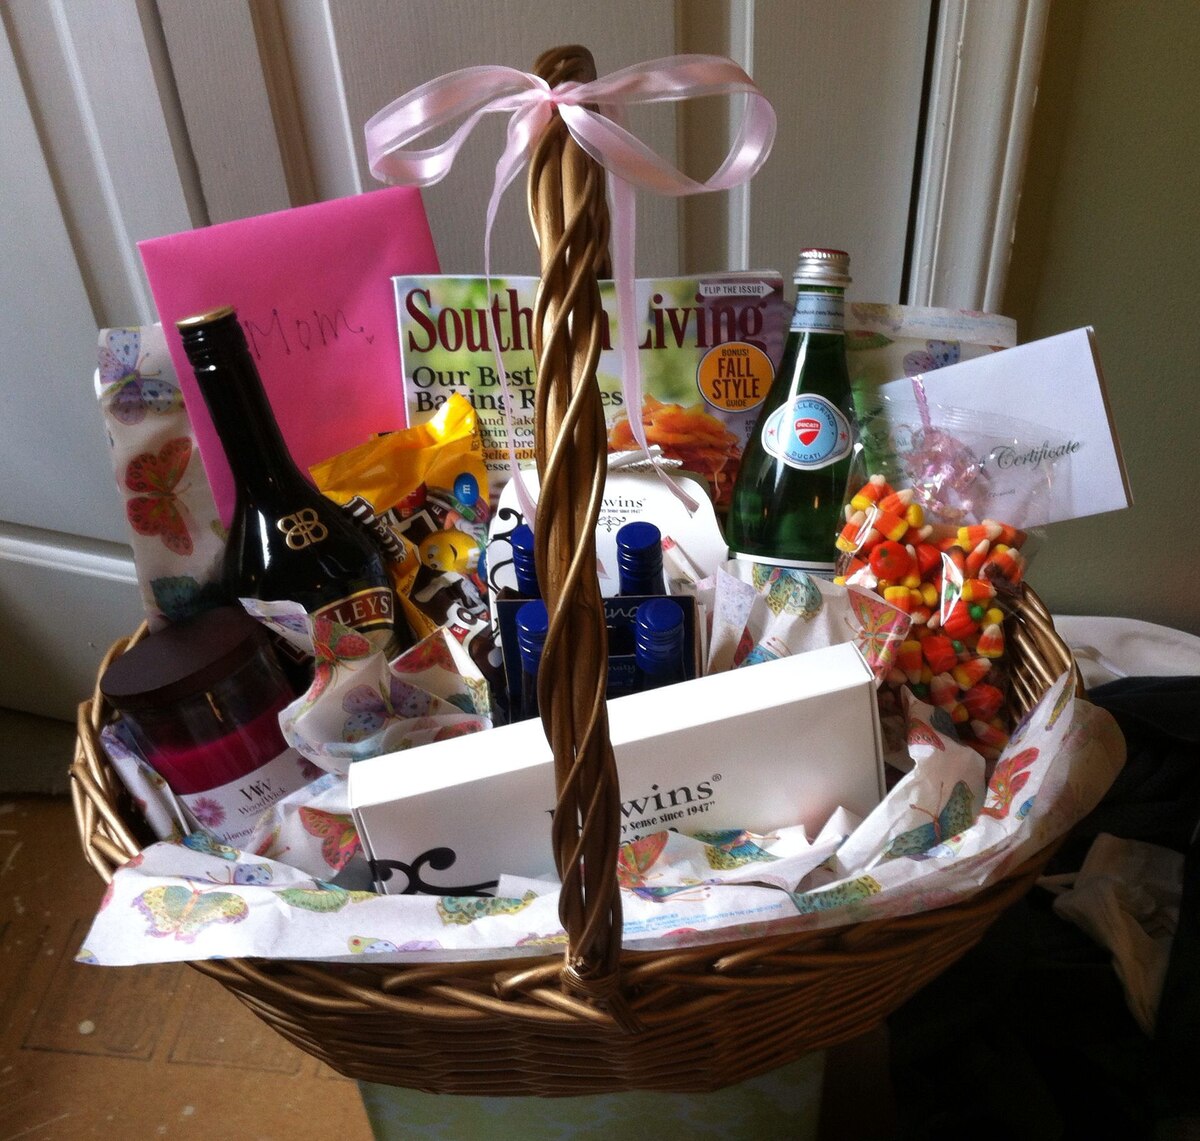
- Arrange the items – Place the largest or tallest gift items in the back of the basket, leaning against the sides for support. Gradually arrange the smaller items in front, creating layers and ensuring that each gift is visible.
- Use fillers – Use fillers such as shredded paper, tissue paper, or crinkle-cut paper to fill the gaps between the items and provide stability. This will prevent the gifts from shifting during transportation or handling.
- Create a focal point – Select one or two standout items to be the focal point of the gift basket. Position them strategically in the center or at the front of the basket to draw attention and create visual interest.
- Secure loose items – If there are any loose or fragile items in the basket, secure them with ribbons, twine, or tissue paper to prevent them from moving around.
By following these preparation steps, you’ll ensure that your gift basket looks well-organized and professionally arranged. With the basket prepared, it’s time to move on to the next step: Wrapping the Basket.
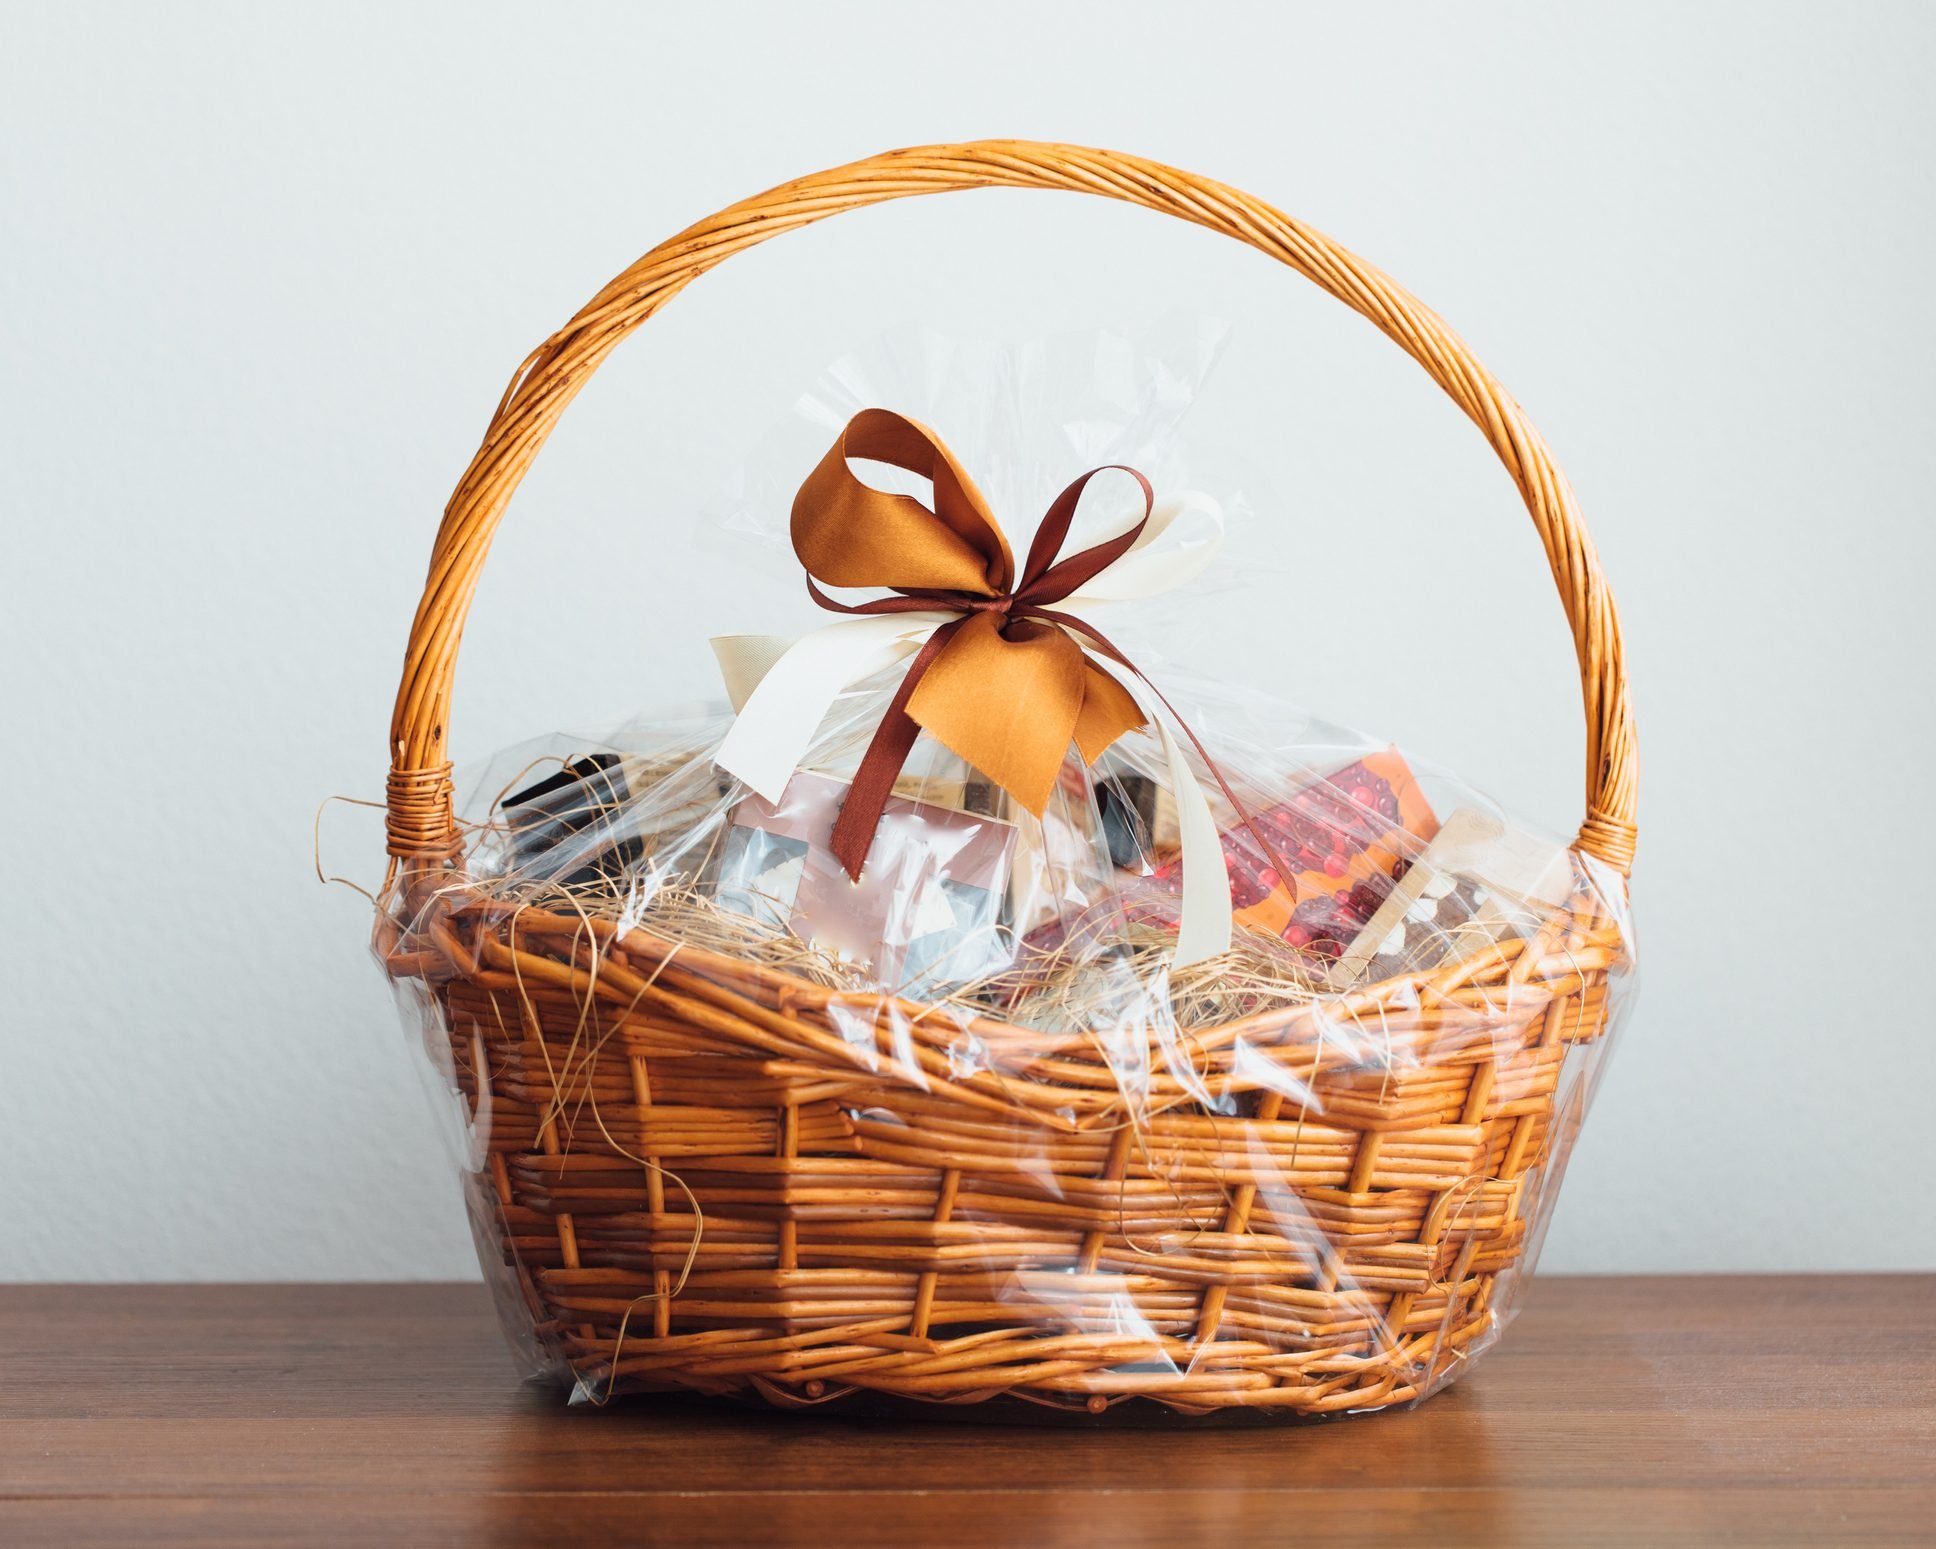
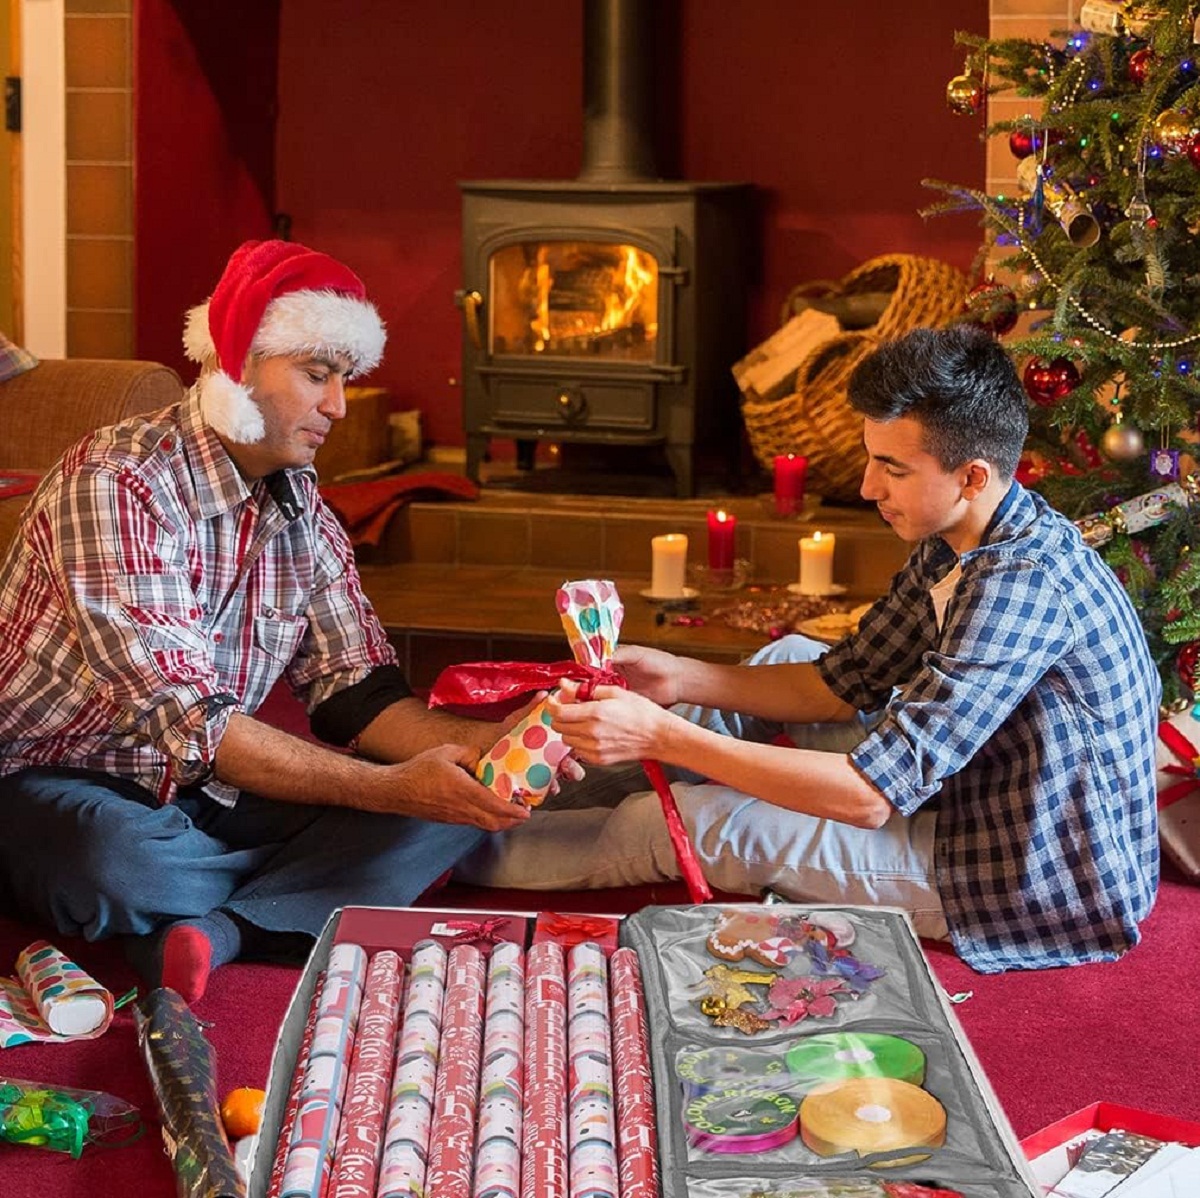
Step 3: Wrapping the Basket
Now that you have prepared the gift basket, it’s time to wrap it in a way that adds an extra touch of elegance. Follow these steps to wrap your basket beautifully:
- Cut the wrapping material – Measure out enough cellophane or wrapping paper to completely cover the basket with some extra for overlapping. Cut the material to the appropriate size.
- Place the basket – Position the basket in the center of the wrapping material, ensuring that all sides are covered evenly.
- Gather the material – Gently gather the excess material at the top, just above the handle or rim of the basket.
- Tie the top – Use a ribbon or twine to secure the gathered material at the top. Tie it tightly in a bow or knot, leaving enough length for decorative flair.
- Adjust the sides – Carefully adjust the material on the sides, smoothing out any wrinkles or creases to create a neat and tidy appearance.
- Trim the excess – Trim any excess wrapping material, leaving a small amount for a clean and finished look.
Remember to be gentle as you handle the basket to avoid disturbing the arrangement of the gifts inside. The wrapping material should be tight enough to hold everything together, but not too tight that it squishes the gifts or damages the basket.
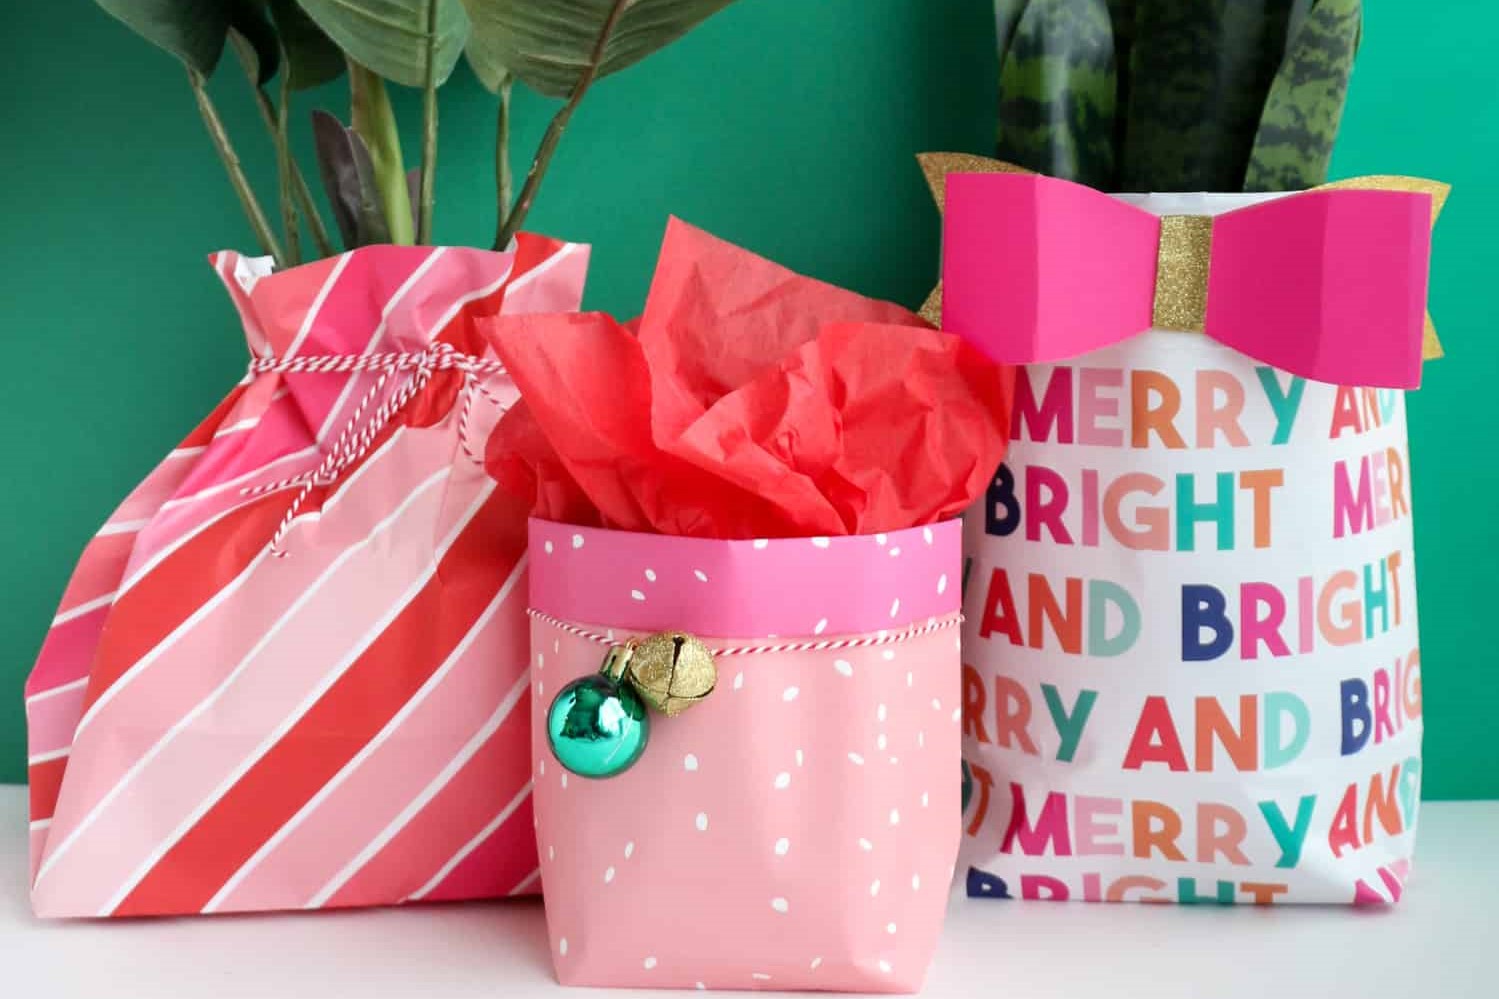
If you prefer a more decorative look, you can also opt for a basket bag or a decorative box that fits your basket. These options eliminate the need for cutting and gathering wrapping material, providing a more streamlined and professional appearance.
Wrapping your gift basket will not only protect its contents but also add an element of surprise and anticipation to the gift. With the basket wrapped, it’s time to move on to the next step: Adding Decorations.
When wrapping a gift basket, start by placing a layer of tissue paper or shredded paper at the bottom to provide cushioning and create a decorative base for the items. Then, carefully arrange the items in the basket, making sure to vary the heights and angles for visual interest. Finally, use cellophane or clear wrapping paper to encase the entire basket, securing it with a ribbon or bow for a polished finish.
Step 4: Adding Decorations
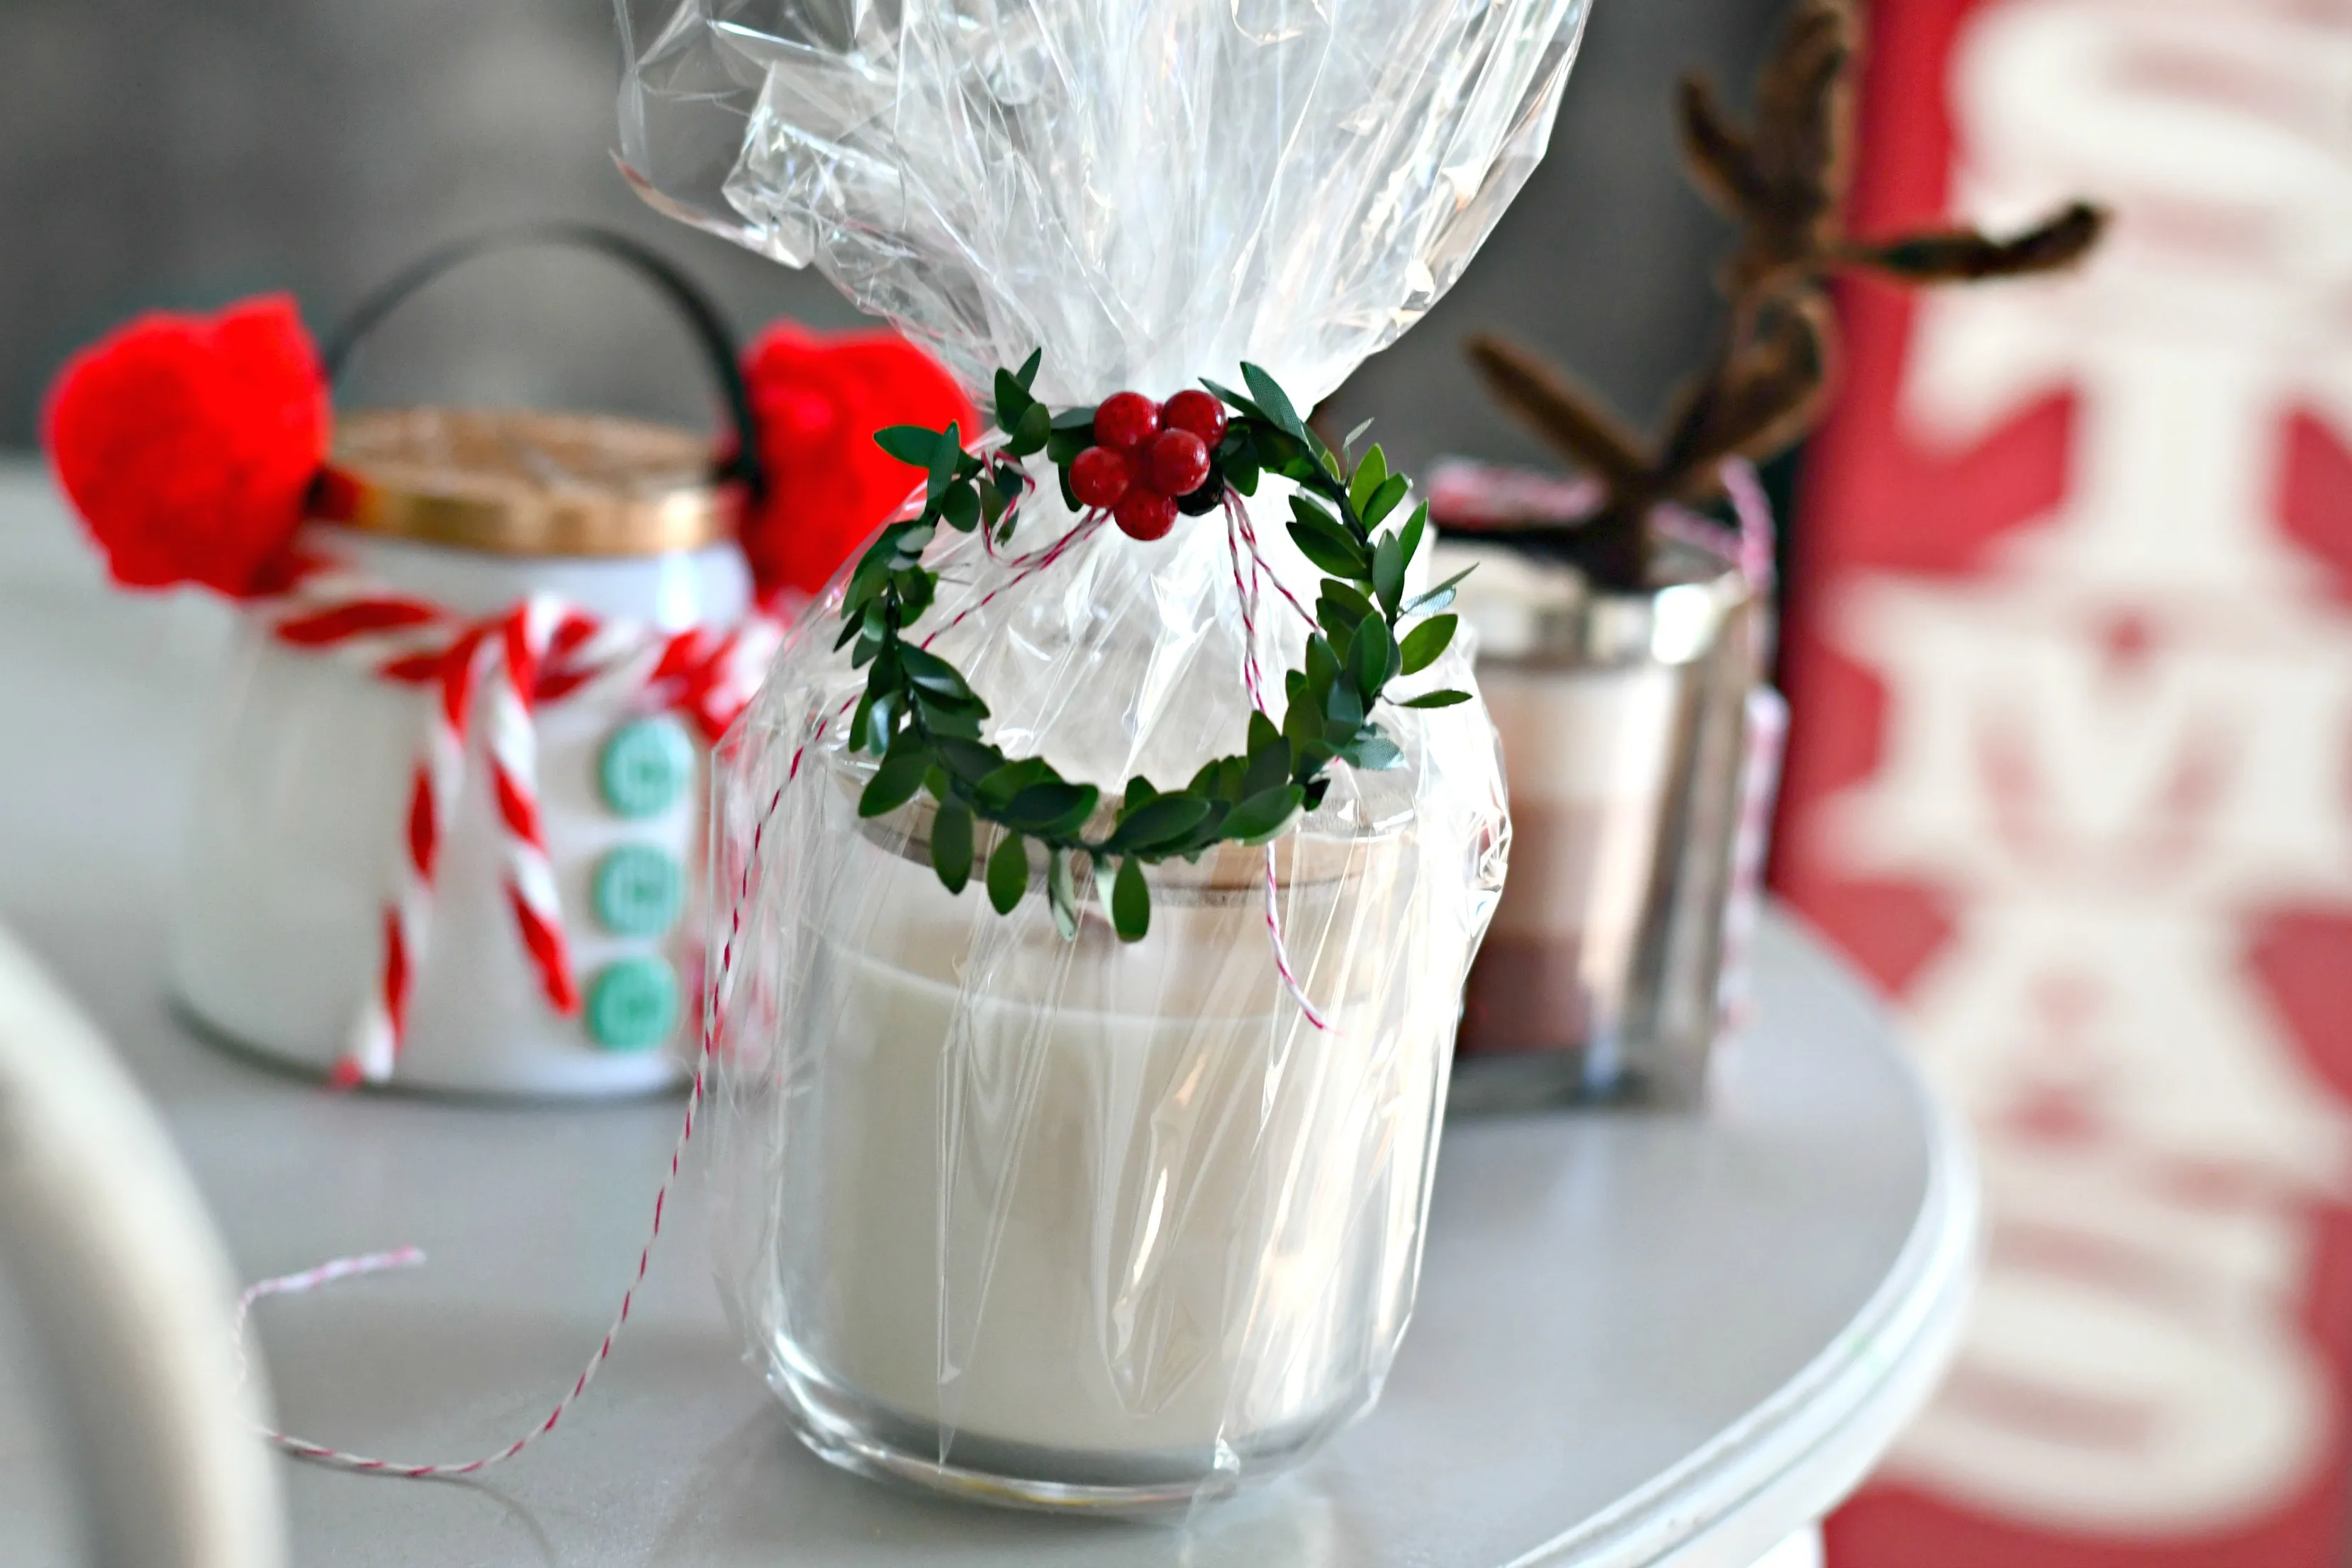
To take your gift basket to the next level, it’s time to add some decorative elements. Here are a few ideas to enhance the visual appeal of your wrapped gift basket:
- Ribbon or bows – Attach a ribbon or bow to the handle of the basket or tie it around the entire basket. Opt for a color that complements the wrapping material and adds a festive touch.
- Gift tags or labels – Add a personalized touch by attaching a gift tag or label to the basket. You can write a heartfelt message or simply label the contents of the basket.
- Embellishments and ornaments – Consider adding some decorative elements like small ornaments, artificial flowers, or charms. These can be attached to the handle or strategically placed on the wrapping material for added visual interest.
- Gift wrap accessories – Explore other gift wrap accessories, such as stickers, felt shapes, or decorative tape, to add a unique touch to your gift basket.
When adding decorations, make sure they are secure but also easily removable. You want the recipient to be able to enjoy the decorations without damaging the basket or the gifts inside.
If you’re crafting a themed gift basket, you can also incorporate items related to the theme as decorations. For example, for a spa-themed gift basket, you can include a bath loofah or a scented candle as a decorative element.
Remember that the goal with decorations is to enhance the overall presentation of the gift basket. Keep it tasteful and balanced, ensuring that the decorations do not overpower the gifts or the wrapping. With the decorations added, it’s time to move on to the next step: Finishing Touches.
Read more: How To Wrap A Quilt For A Gift
Step 5: Finishing Touches
Now that your gift basket is beautifully wrapped and adorned with decorations, it’s time to add the finishing touches that will make it truly special. Here are a few ideas to complete the presentation:
- Attach a heartfelt note – Include a handwritten note or a printed card expressing your thoughts and well-wishes for the recipient. This personal touch adds a warm and thoughtful element to the gift.
- Include a gift tag – Attach a gift tag with the recipient’s name or a short message to further personalize the gift.
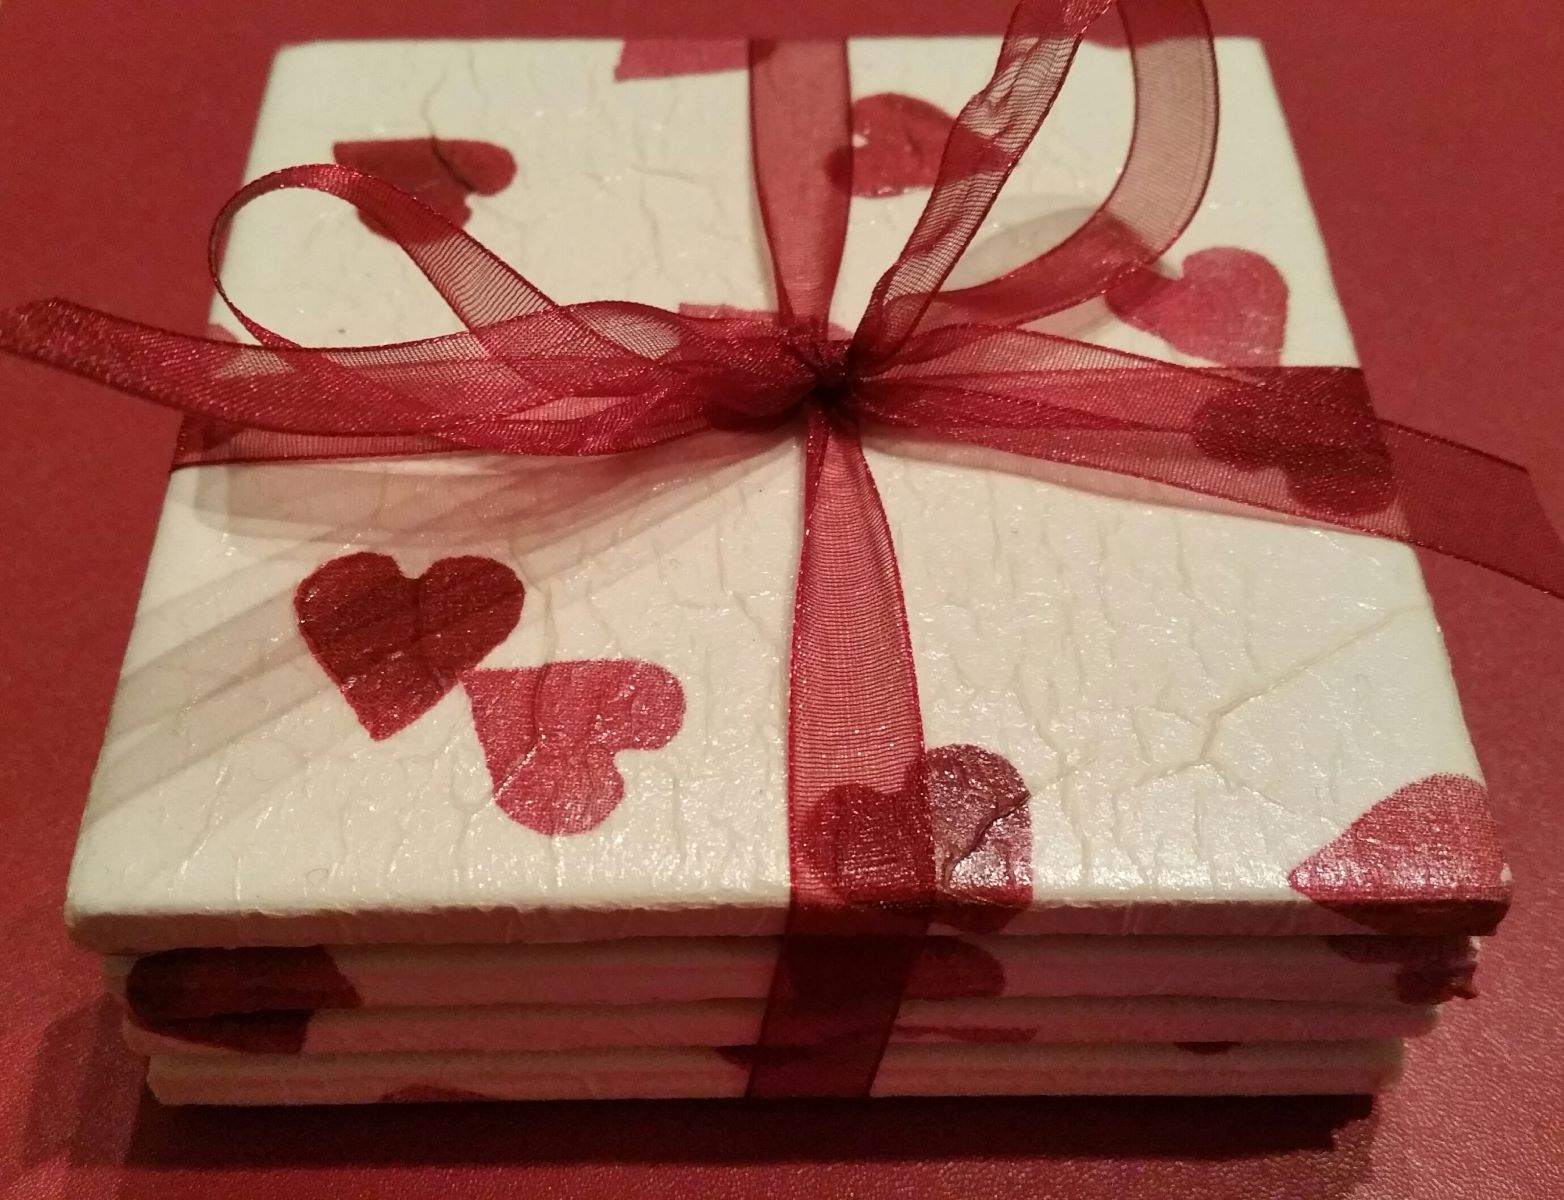
- Add a finishing bow – Tie a final bow at the top of the gift basket for an elegant and polished look. Use a complementary ribbon that coordinates with the overall color scheme.
- Wrap the entire basket – If desired, you can wrap the entire gift basket again with a larger sheet of cellophane or wrapping paper for an extra layer of protection and an added element of surprise.
Remember to take a step back and admire your finished gift basket before giving it to the recipient. Make sure everything is secure and nicely arranged, with no loose ends or wrinkled wrapping paper. The extra attention to detail will make the gift even more impressive.
Additionally, consider the presentation of the gift. If it’s a surprise, you can place the gift basket in a discreet location until it’s time to give it. If you’re presenting it in person, hold the basket with both hands and present it with a smile and genuine excitement. The enthusiasm you show will make the gift even more special.
With the finishing touches completed, your gift basket is now ready to be given and appreciated. Remember, it’s the thought and effort behind the gift that truly matters. Enjoy the joy of giving and the delight of watching someone open a beautifully wrapped gift basket!
Step 6: Gift Basket Tips and Ideas
Creating and wrapping gift baskets can be a fun and creative process. Here are some helpful tips and ideas to inspire you and make your gift baskets stand out:
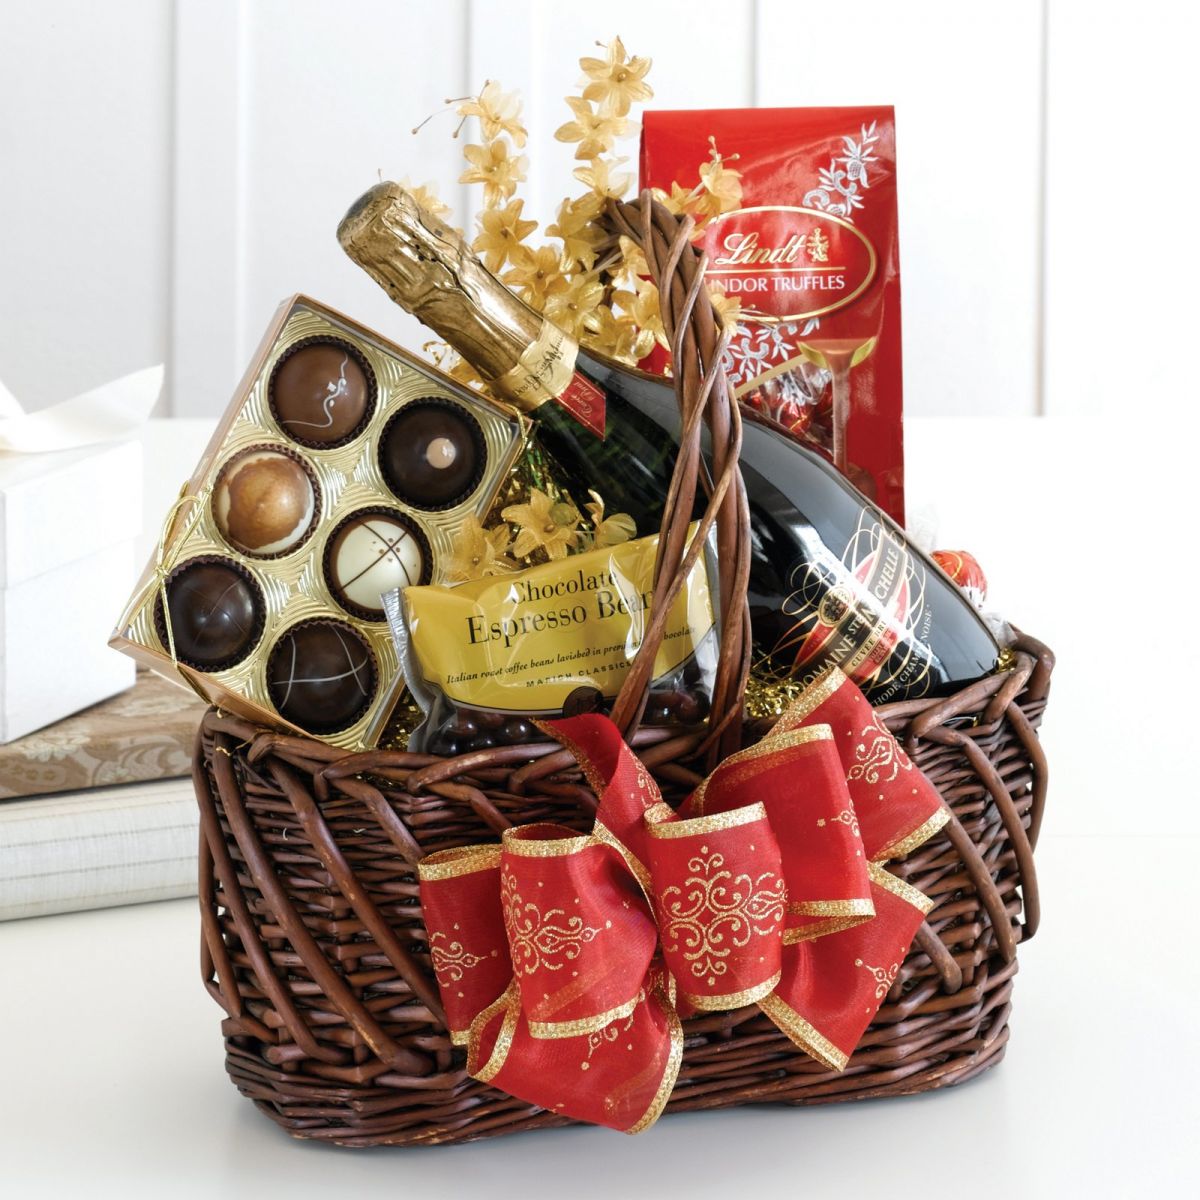
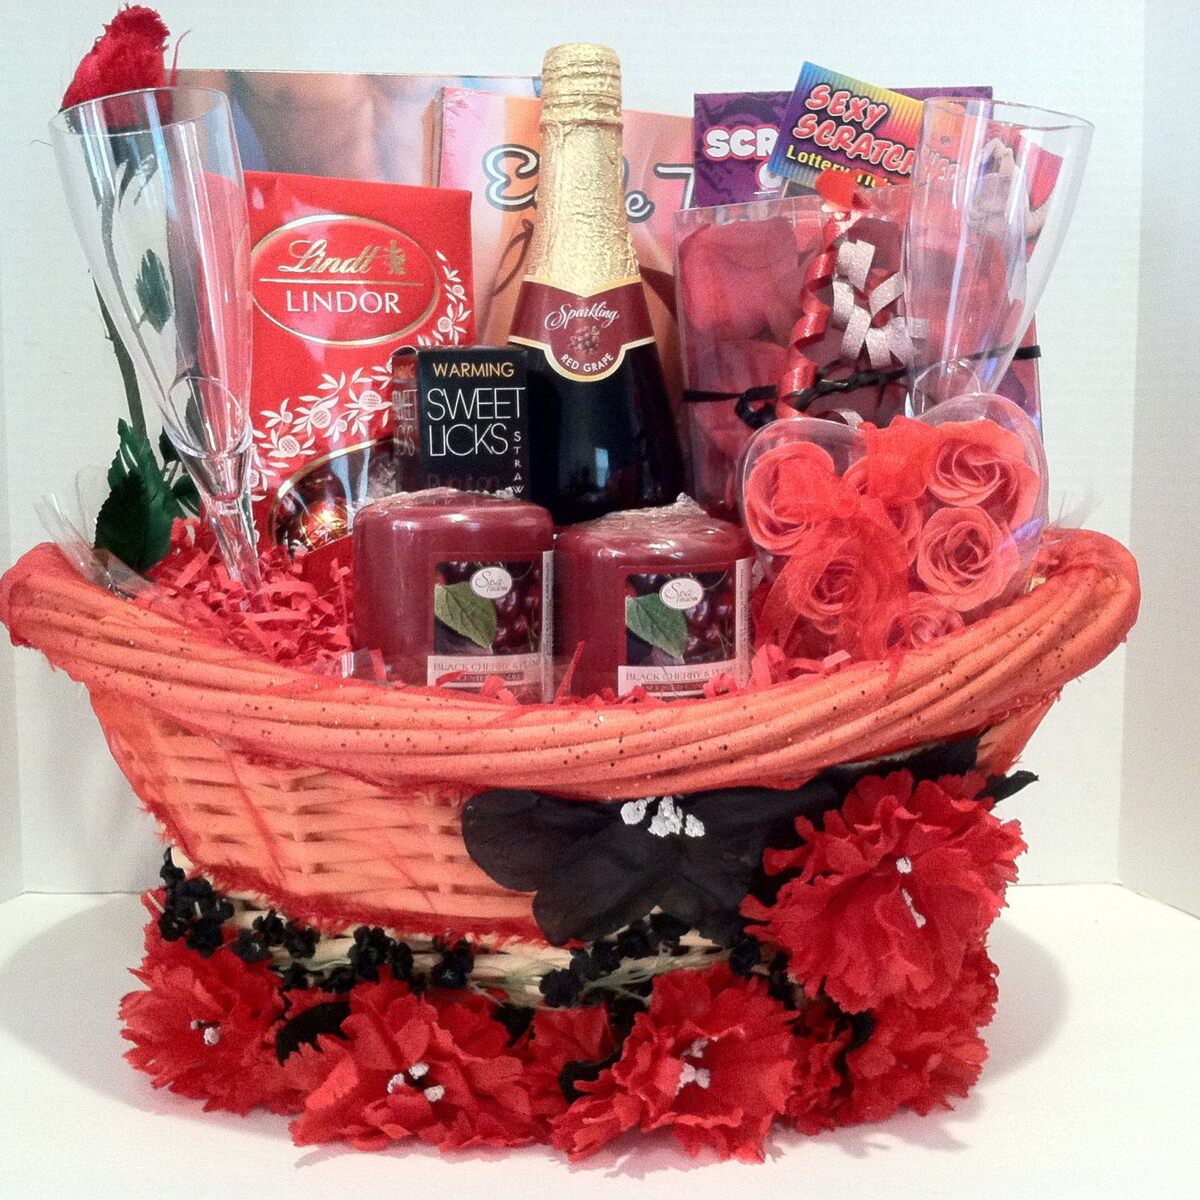
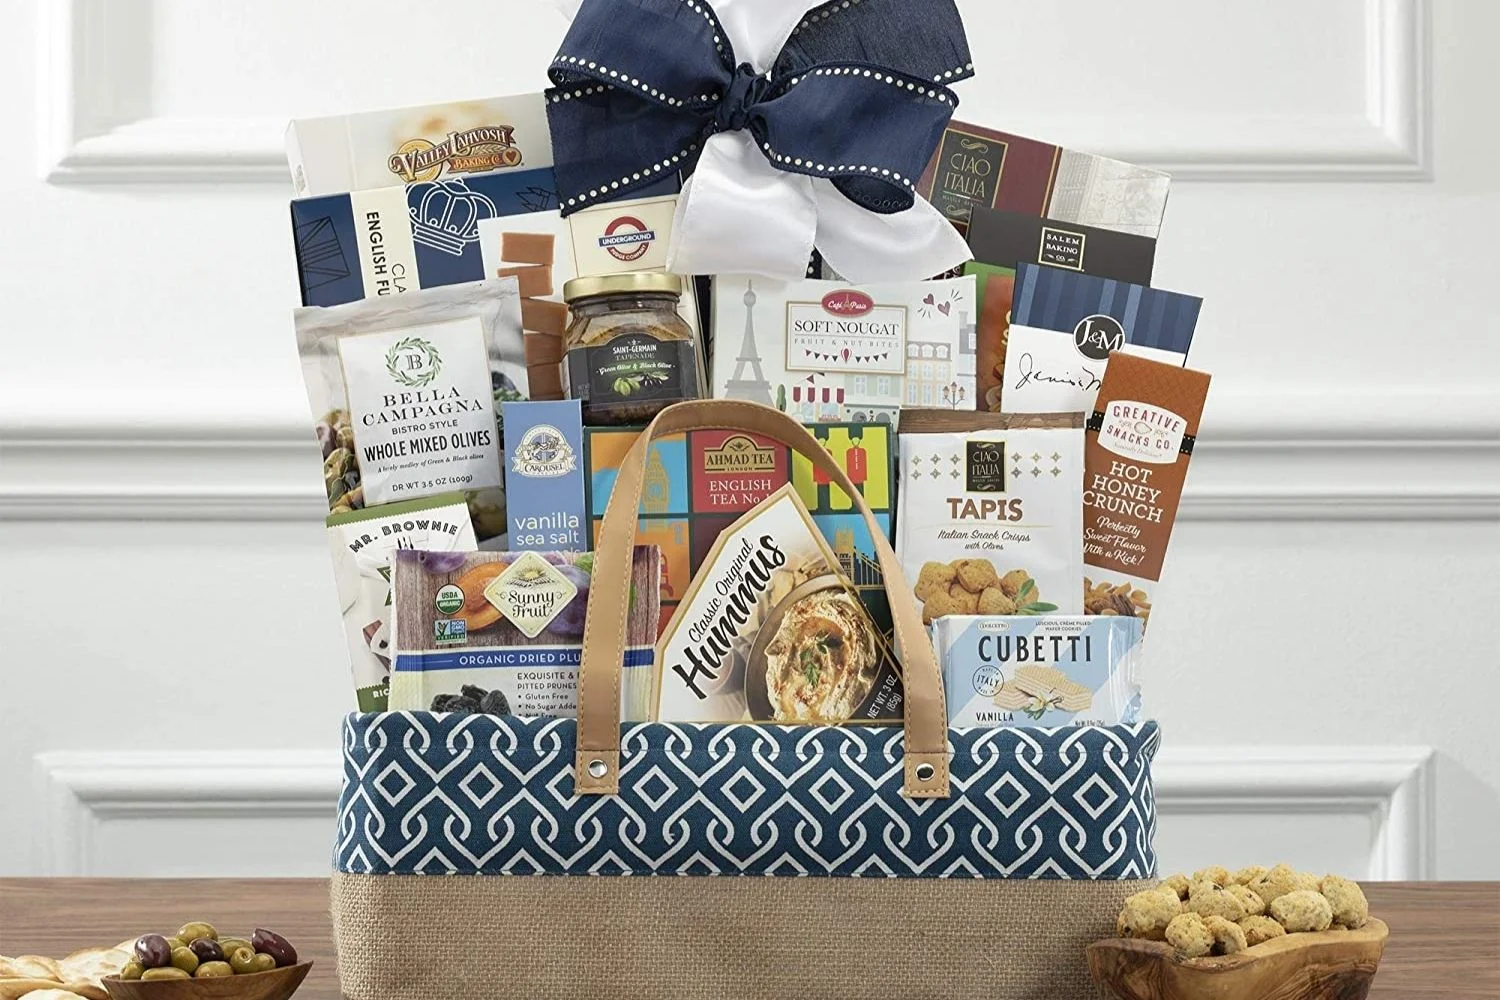
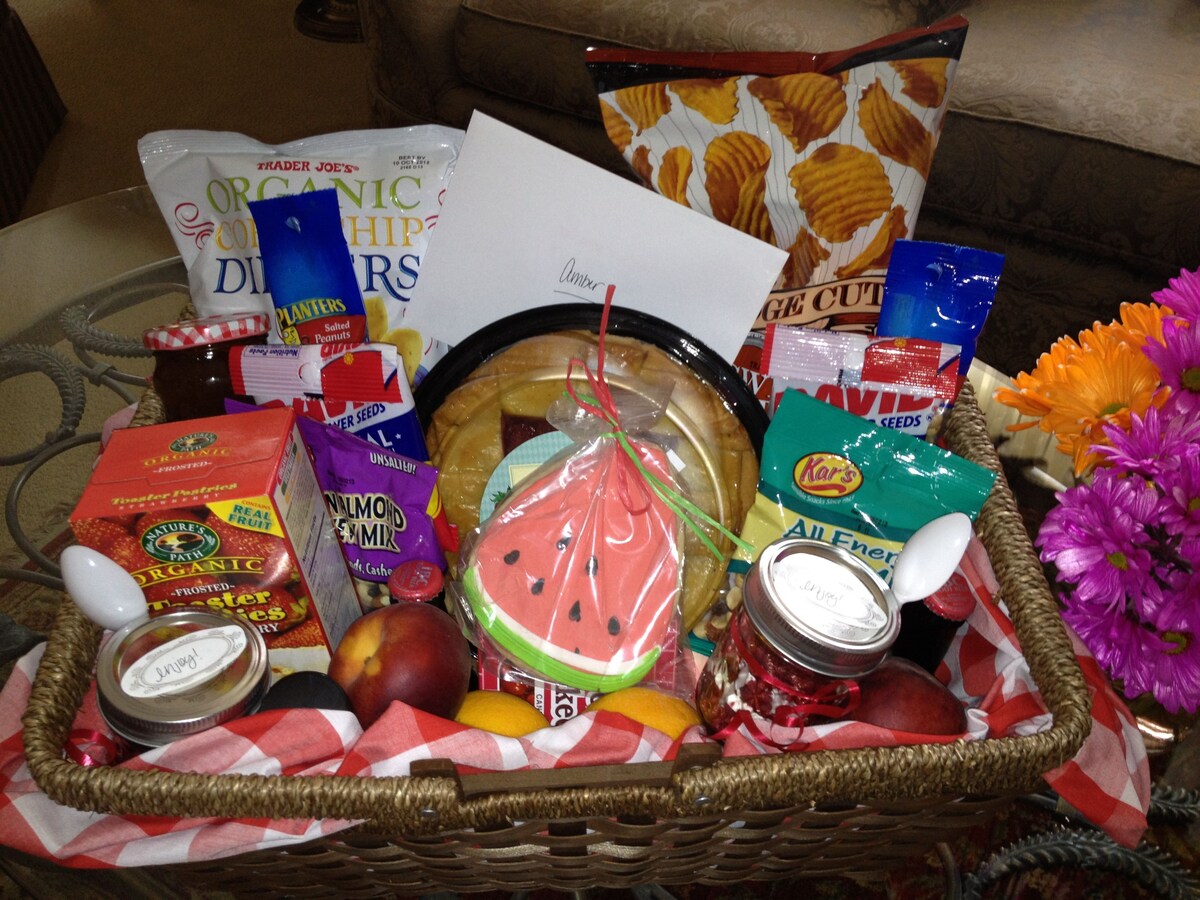
- Choose a theme – Gift baskets with a specific theme are often more memorable. Consider themes like gourmet food, spa relaxation, movie night, gardening, or self-care. Tailor the items in the basket to the chosen theme.
- Personalize the basket – Add a personal touch by incorporating items that reflect the recipient’s interests, hobbies, or preferences. This will make the gift basket feel truly special and unique.
- Consider color coordination – Choose a color scheme that ties all the elements of the basket together. Coordinated colors create a visually pleasing and cohesive presentation.
- Be mindful of allergies or dietary restrictions – If you are including food items in the gift basket, make sure to consider any allergies or dietary restrictions the recipient may have. Be mindful of including gluten-free, nut-free, or vegan options as needed.
- Add a surprise element – Consider hiding a small surprise or unexpected gift within the gift basket. This adds an element of excitement for the recipient as they discover an extra treat.
- Include a handmade item – If you’re crafty, consider adding a handmade item to the gift basket. It could be a knitted scarf, a homemade candle, or a personalized photo frame. Handmade items add a touch of love and uniqueness to the gift.
- Experiment with different container options – Don’t limit yourself to traditional baskets. Get creative with alternative containers like gift boxes, jars, or even reusable tote bags. These containers can be reused by the recipient, adding additional value to the gift.
- Consider the occasion – Tailor the gift basket to the occasion. Whether it’s a birthday, holiday, anniversary, or congratulations gift, make sure the items and overall presentation align with the event.
Remember, the key to creating memorable gift baskets is to put thought into the selection of items, the presentation, and personalization. Let your creativity shine through, and the recipient will appreciate the effort and care you put into their special gift.
With these tips and ideas, you’re well-equipped to create stunning gift baskets that will delight your loved ones. Enjoy the process of creating and wrapping unique gifts, and spread joy through your thoughtfully crafted gift baskets!
Conclusion
Wrapping gift baskets is a wonderful way to elevate your gifts and make them even more special. By following the steps outlined in this guide and incorporating your own creative touches, you can create beautiful and personalized gift baskets that will truly wow the recipients.
From choosing the right basket and preparing it to adding decorations and finishing touches, each step plays a crucial role in crafting a visually stunning gift. The materials and techniques you use can make all the difference in the final presentation.
Remember to consider the recipient’s preferences, interests, and any dietary restrictions when selecting the items for the gift basket. Adding a personal touch and tailoring the gift to their tastes will show that you went the extra mile to make the gift truly meaningful.
Whether it’s for a birthday, anniversary, holiday, or any other occasion, a well-wrapped gift basket is sure to leave a lasting impression. The thought and effort that you put into creating the gift basket will make it stand out and make the recipient feel truly special.
So, have fun with the process, let your creativity soar, and enjoy the joy of giving. Gift baskets are not only a delight for the recipient but also a gratifying experience for the giver. Spread happiness and create memorable moments with beautifully wrapped gift baskets!
Frequently Asked Questions about How To Wrap Gift Baskets
Was this page helpful?
At Storables.com, we guarantee accurate and reliable information. Our content, validated by Expert Board Contributors, is crafted following stringent Editorial Policies. We're committed to providing you with well-researched, expert-backed insights for all your informational needs.

0 thoughts on “How To Wrap Gift Baskets”