Articles
How To Gift Wrap Blanket
Modified: December 7, 2023
Learn how to gift wrap a blanket with these helpful articles. Make your presents extra cozy and beautiful with our step-by-step guides.
(Many of the links in this article redirect to a specific reviewed product. Your purchase of these products through affiliate links helps to generate commission for Storables.com, at no extra cost. Learn more)
Introduction
When it comes to gift-giving, sometimes the most thoughtful and practical presents are the ones that provide warmth, comfort, and coziness. A blanket is a perfect gift for any occasion, whether it’s a birthday, holiday, or special milestone. However, presenting a blanket as a gift requires a bit of finesse and creativity to make it truly special.
In this article, we will guide you through the process of gift-wrapping a blanket, transforming it into a beautifully packaged present that will not only surprise and delight the recipient, but also showcase your attention to detail and thoughtfulness. Let’s dive into the materials you will need and the step-by-step process to create a stunningly wrapped blanket.
Key Takeaways:
- Gift-wrapping a blanket involves choosing the right paper, preparing the blanket, and adding decorative elements to create a visually appealing and thoughtful presentation.
- The process of gift-wrapping is an opportunity to showcase love and care for the recipient, making the presentation itself a memorable experience.
Read more: How To Wrap A Quilt For A Gift
Materials Needed
Before we begin, let’s gather all the materials you’ll need to successfully wrap a blanket:
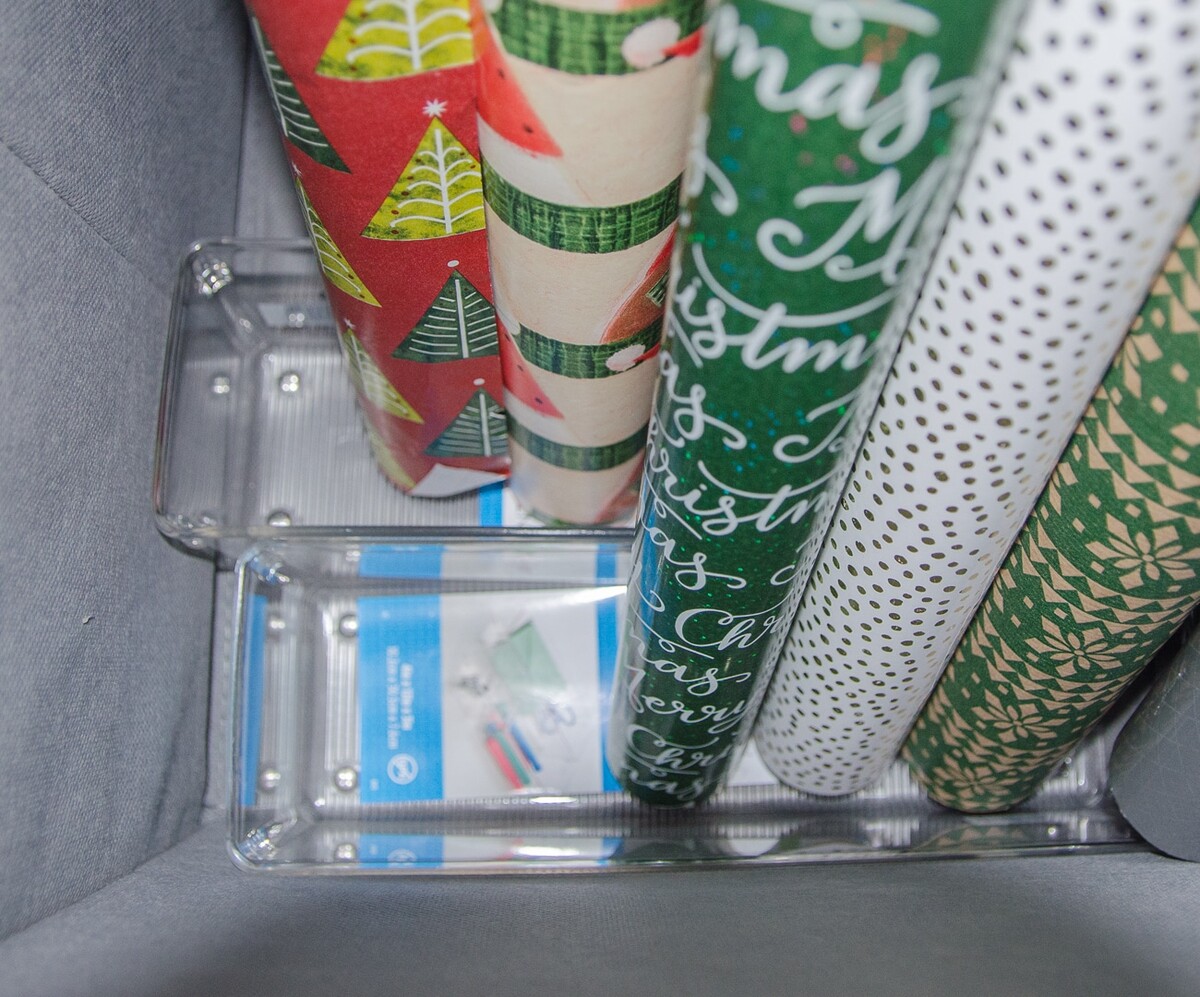
- High-quality wrapping paper: Choose a durable and festive wrapping paper that complements the colors and patterns of the blanket.
- Scissors: A sharp pair of scissors will be essential for cutting the wrapping paper to the right size.
- Tape: Opt for double-sided tape or transparent tape to secure the wrapping paper and give the package a polished look.
- Ribbon or bow: Adding a decorative ribbon or bow to the wrapped blanket will add an extra touch of elegance and visual appeal.
- Gift tag: Don’t forget to include a gift tag with a heartfelt message to personalize the gift.
Once you have gathered these materials, you’re ready to move on to the next step—choosing the right wrapping paper.
Step 1: Choosing the Right Wrapping Paper
The first step in gift-wrapping a blanket is to select the perfect wrapping paper. Consider the following factors when choosing your wrapping paper:
- Design and Theme: Look for wrapping paper that complements the occasion or reflects the recipient’s personality. For example, if you’re gifting a blanket for a baby shower, you may choose wrapping paper with cute animal prints or pastel colors.
- Quality and Durability: Make sure the wrapping paper is sturdy enough to protect the blanket during transit and handling.
- Size: Measure the dimensions of your blanket and ensure that the wrapping paper is large enough to fully cover it.
Once you have selected the perfect wrapping paper, move on to the next step—preparing the blanket.
Step 2: Preparing the Blanket
Before you can wrap the blanket, it’s important to ensure that it is clean, neatly folded, and free from any wrinkles or creases. Follow these steps to prepare the blanket:
- Clean the Blanket: If the blanket is machine washable, run it through a gentle wash cycle to remove any dirt or odors. If it is dry clean only, consider getting it professionally cleaned before wrapping.
- Fold the Blanket: Take the time to fold the blanket neatly, ensuring that it is symmetrical and well-aligned. This will make it easier to wrap and create a polished final presentation.
- Smooth Out Any Wrinkles: Iron or steam the blanket to eliminate any wrinkles or creases. A smooth and wrinkle-free blanket will give your gift a more professional and elegant look.
Once the blanket is clean, folded, and wrinkle-free, you’re ready to move on to the next step—measuring and cutting the wrapping paper.
Step 3: Measuring and Cutting the Wrapping Paper
Now that your blanket is ready, it’s time to measure and cut the wrapping paper. Follow these steps to ensure a perfect fit:
- Lay the Blanket on the Wrapping Paper: Unroll the wrapping paper on a flat surface and place the folded blanket in the center. Make sure there is enough paper on each side to fully cover the blanket.
- Measure the Wrapping Paper: Use a ruler or measuring tape to determine the appropriate width and length of the wrapping paper. You want to ensure that there is ample paper to completely envelop the blanket.
- Cut the Wrapping Paper: Using sharp scissors, carefully cut along the measured lines to create the desired size of wrapping paper. Take your time to ensure clean and straight edges.
By measuring and cutting the wrapping paper accurately, you will create a neat and professional-looking wrapped blanket. With the wrapping paper ready, let’s move on to the next step—wrapping the blanket.
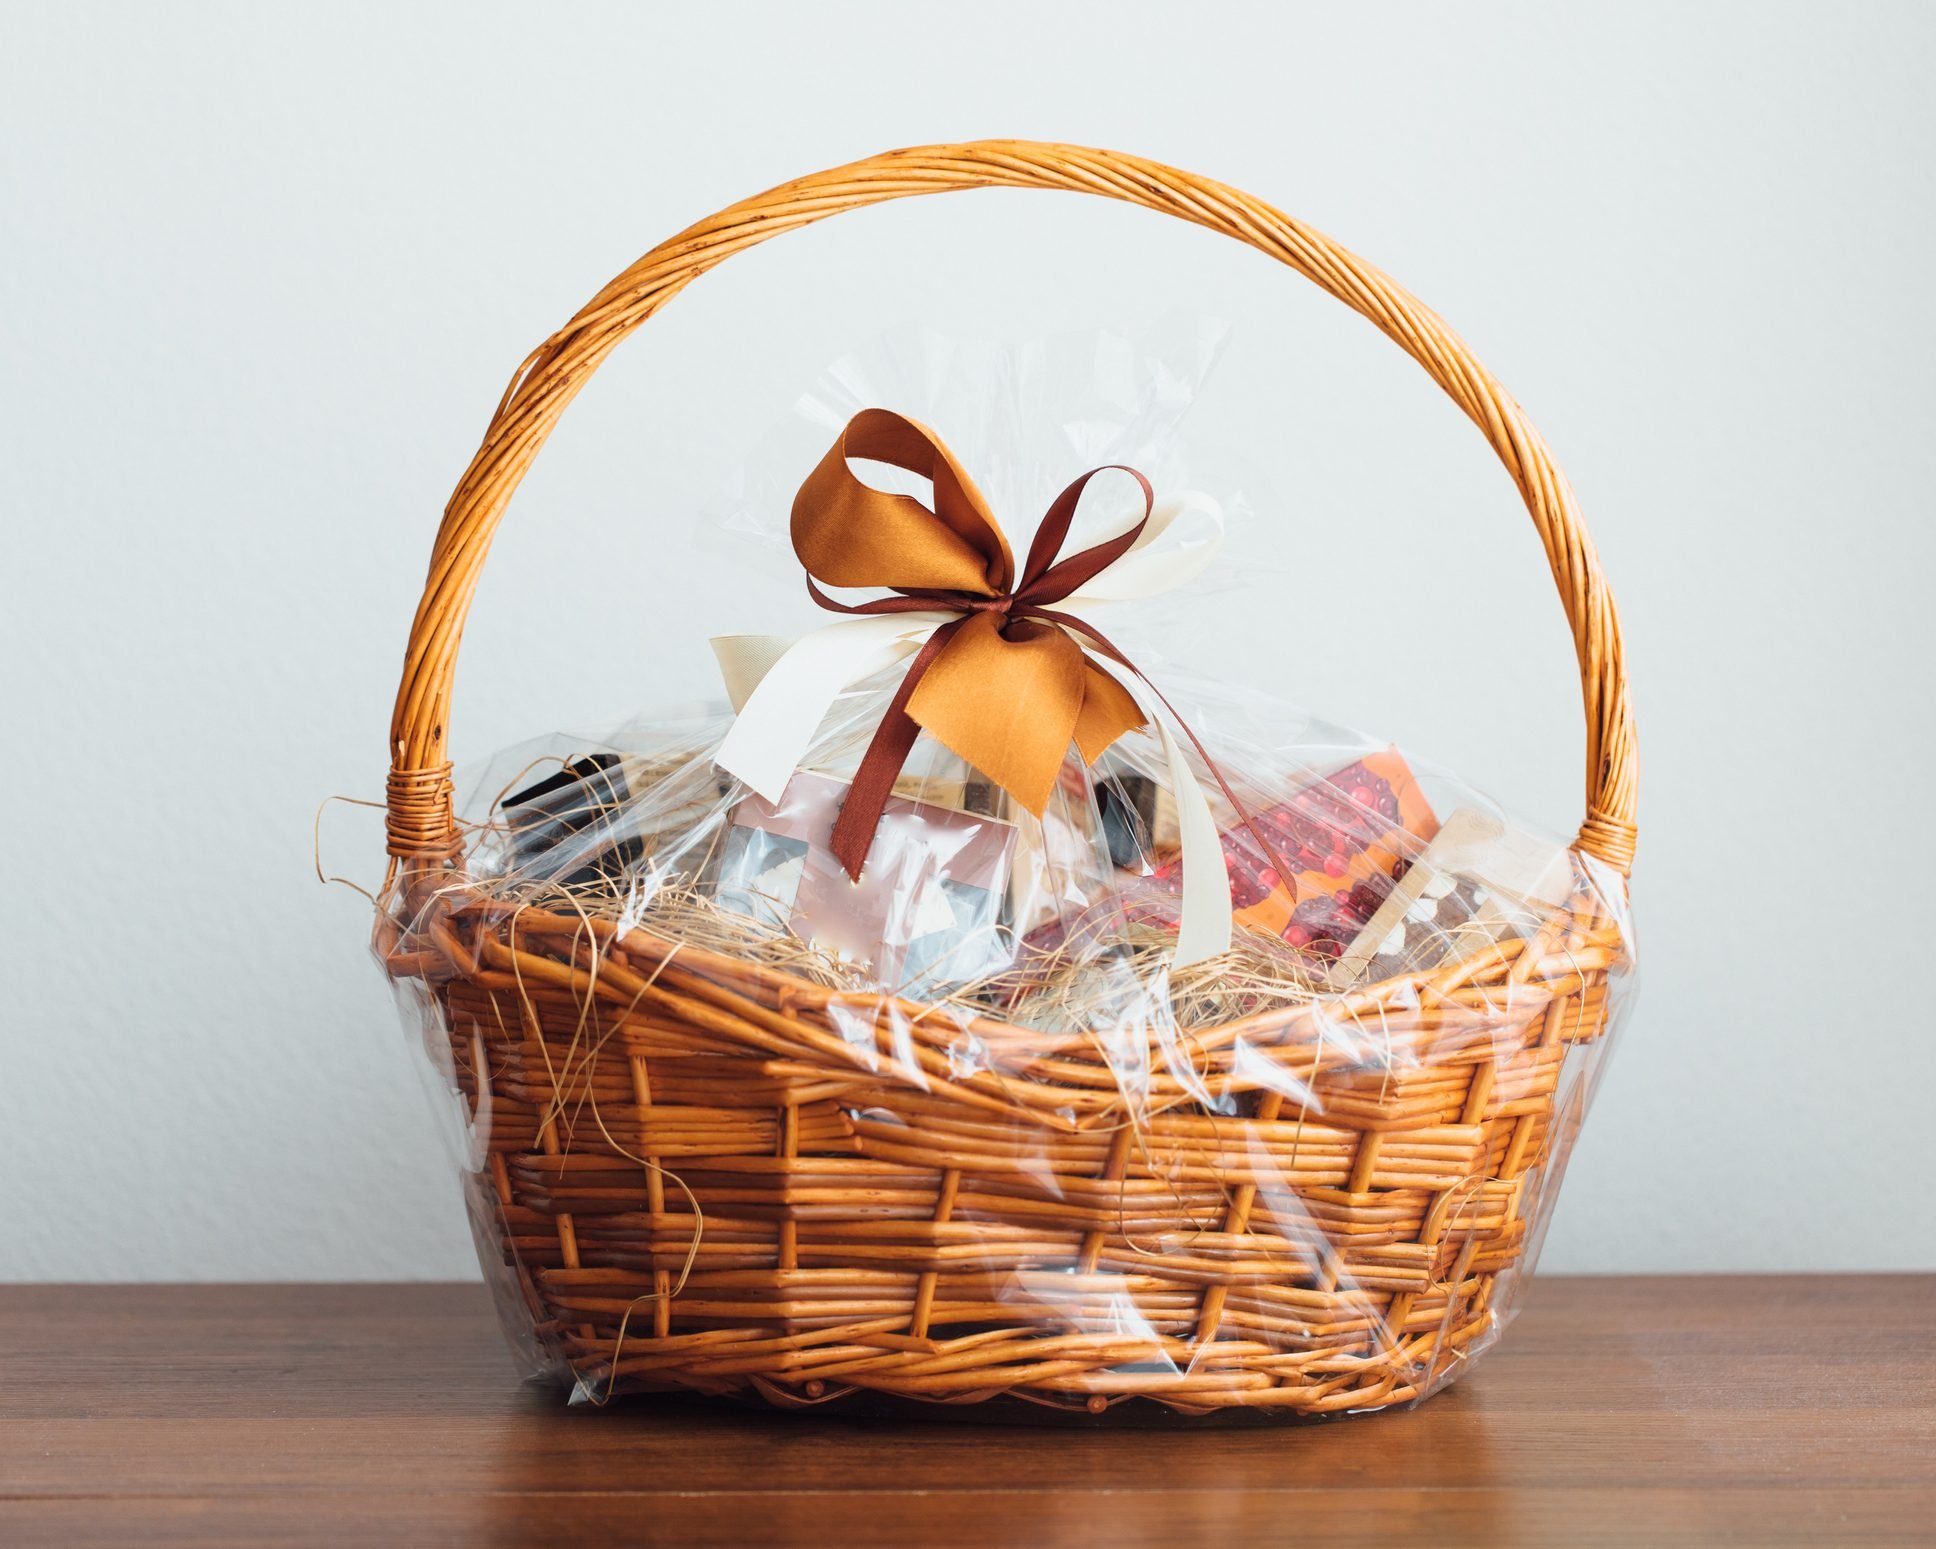
When gift wrapping a blanket, consider using a large gift bag or a decorative box to make the process easier. You can also add a ribbon or bow for a finishing touch.
Read more: How To Wrap Candles For Gifts
Step 4: Wrapping the Blanket
Now that you have the wrapping paper cut to the appropriate size, it’s time to wrap the blanket. Follow these steps for a seamless and polished wrap:
- Position the Blanket: Place the folded blanket in the center of the wrapping paper, ensuring it is aligned and centered.
- Bring the Sides of the Wrapping Paper Together: Take one side of the wrapping paper and fold it over the blanket, tucking it underneath the blanket. Repeat this with the other side, so that the two sides overlap in the middle.
- Fold the Excess Paper: Fold the excess wrapping paper at the top and bottom of the blanket neatly. You can create crisp folds by using your fingers to crease the paper.
- Tape the Edges: Use double-sided tape or transparent tape to secure the overlapping sides of the wrapping paper. Make sure to place the tape on the inside of the wrap to maintain a clean and seamless appearance on the outside.
At this point, the blanket should be snugly wrapped in the chosen wrapping paper. Next, we will move on to securing the wrapping paper in step 5.
Step 5: Securing the Wrapping Paper
With the blanket neatly wrapped, it’s important to secure the wrapping paper to ensure that it stays in place during transportation and handling. Follow these steps to securely fasten the wrapping paper:
- Inspect the Edges: Check the edges of the wrapped blanket to ensure that the wrapping paper is securely folded and in place.
- Apply Double-Sided Tape: Place small strips of double-sided tape on the inside of the wrap where the edges meet. This will help keep the wrapping paper securely in place.
- Smooth and Tuck: Gently smooth out any wrinkles or creases on the wrapping paper, making sure it is snug against the blanket. Tuck in any loose paper to create a clean and seamless finish.
By properly securing the wrapping paper, you can ensure that your beautifully wrapped blanket stays intact until it’s time for the recipient to open the gift. Now, let’s move on to step 6, where we’ll add decorative elements to enhance the presentation!
Step 6: Adding Decorative Elements
Now that the wrapping paper is securely in place, it’s time to add some decorative elements to elevate the presentation of the wrapped blanket. Follow these steps to add a personal touch:
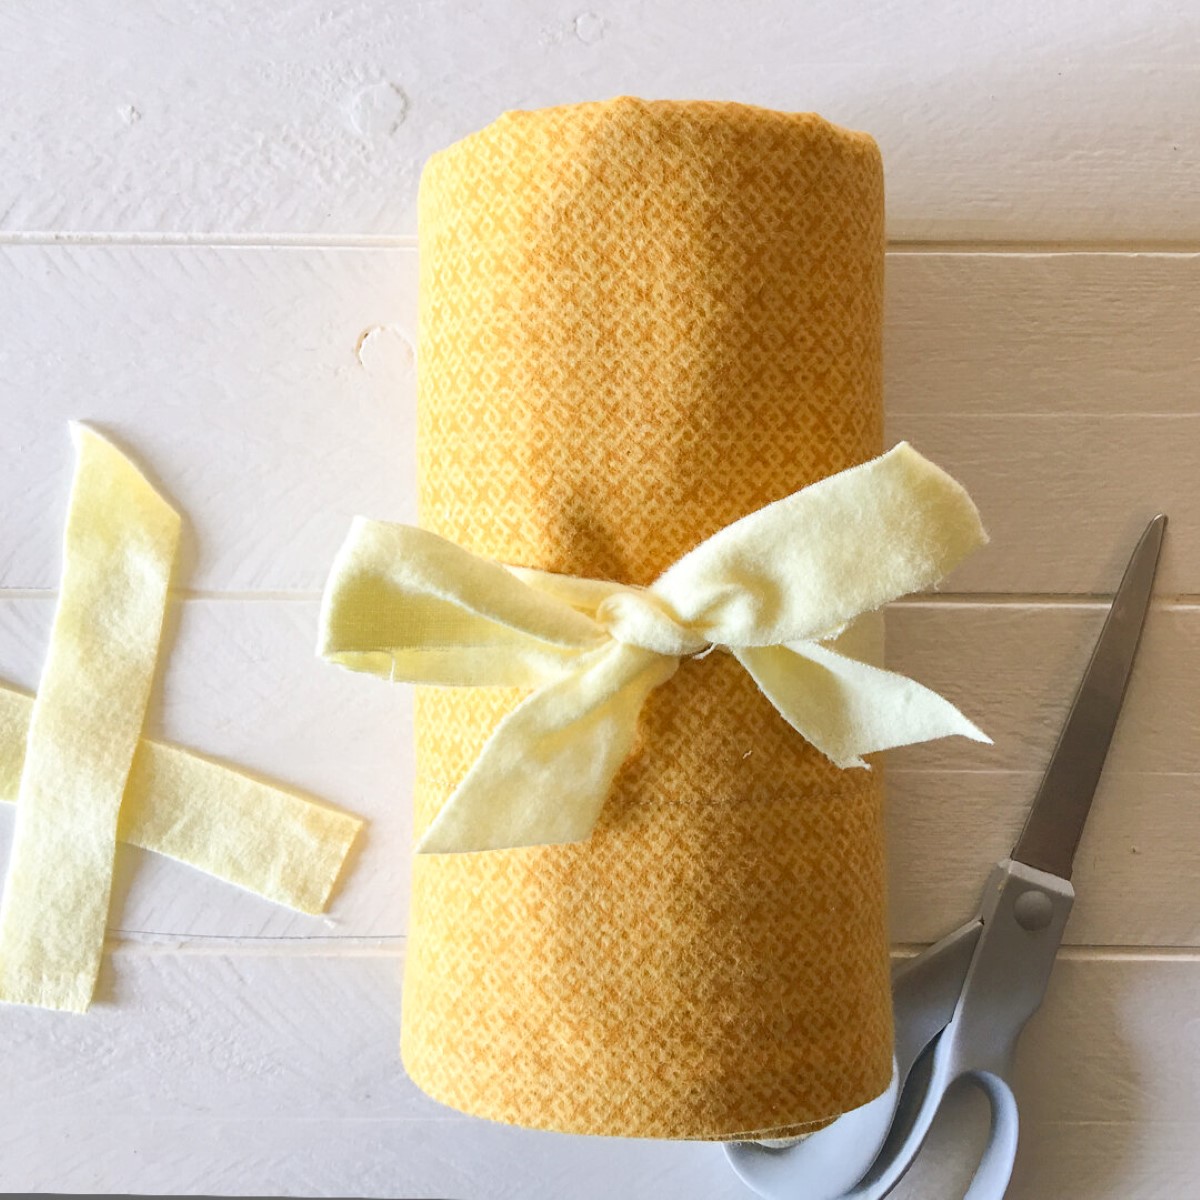
- Ribbon or Bow: Take a beautiful ribbon or bow and wrap it around the wrapped blanket. You can tie it in a classic bow or get creative with different ribbon tying techniques. Make sure the ribbon is tight enough to hold the wrapping paper in place, but not too tight to strain the paper or deform the blanket.
- Gift Tag: Attach a thoughtful gift tag to the ribbon or place it strategically on the wrapped blanket. Write a heartfelt message or the recipient’s name to personalize the gift.
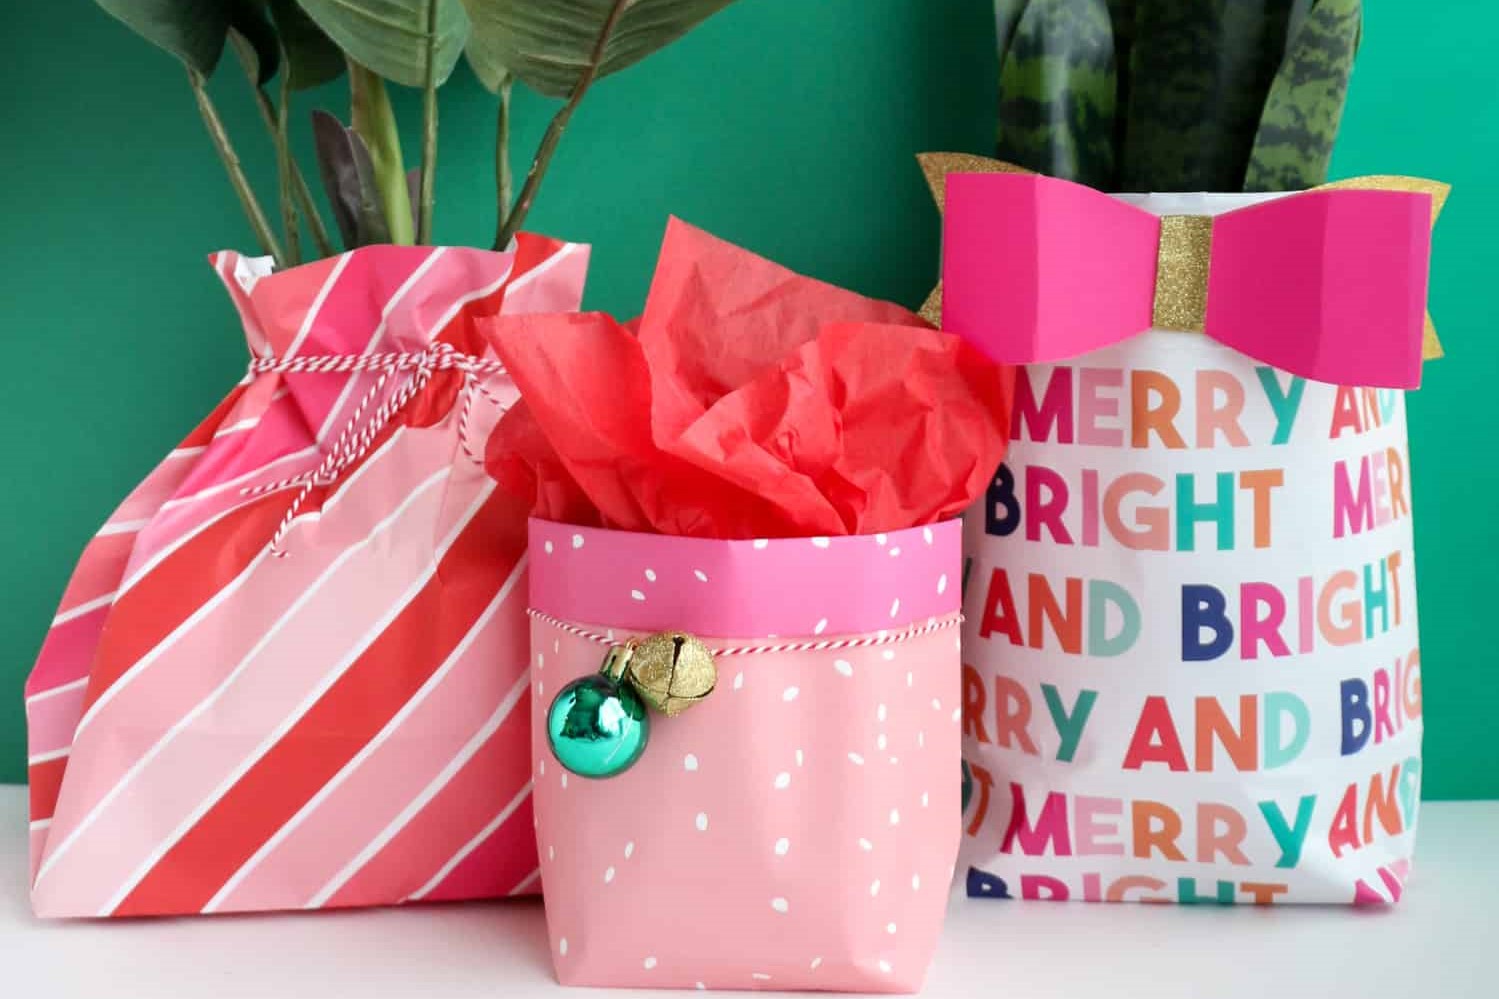
- Additional Embellishments: Consider adding extra embellishments such as a small ornament, a sprig of greenery, or a personalized trinket to make the wrapped blanket even more special.
These decorative elements will not only enhance the visual appeal of the wrapped blanket but also demonstrate the time and effort you put into creating a personalized gift. Now, let’s move on to the final step for those finishing touches.
Step 7: Finishing Touches
As you near the final step of gift-wrapping your blanket, it’s time to add those finishing touches that will truly make it stand out. Follow these steps to complete the presentation:
- Inspect the Wrapped Blanket: Take a moment to carefully examine the wrapped blanket from all angles. Smooth out any wrinkles or imperfections and make sure all edges and corners are properly secured.
- General Clean-Up: Give the wrapped blanket a final touch-up by removing any loose threads or excess tape. Use scissors to trim any overhanging wrapping paper, creating clean and neat edges.
By paying attention to these small details, you’ll ensure that your wrapped blanket looks flawless and professional. Step back and admire your beautifully wrapped gift before presenting it to the lucky recipient.
With the finishing touches complete, your gift-wrapped blanket is now ready to be shared and celebrated. Whether it’s a birthday, holiday, or special occasion, the recipient will be delighted to receive such a thoughtful and beautifully presented gift.
Remember, the process of gift-wrapping is not only about the final outcome but also about the love and care put into the presentation. Enjoy the process of creating a stunningly wrapped blanket and make it a memorable experience for both you and the recipient.
Now that you’ve learned the step-by-step process of gift-wrapping a blanket, it’s time to put it into practice and create a truly remarkable gift. Happy wrapping!
Read more: How To Wrap Coasters As A Gift
Conclusion
Wrapping a blanket may seem like a simple task, but with a little effort and creativity, you can turn it into a beautifully presented gift that will leave a lasting impression. By following the steps outlined in this article, you can gift-wrap a blanket with style and precision.
From choosing the right wrapping paper to adding decorative elements, each step plays a crucial role in creating a visually appealing and thoughtfully presented gift. Taking the time to prepare the blanket, measure and cut the wrapping paper, secure it properly, and add those finishing touches will make your gift truly stand out.
Remember, gift-wrapping is not just a formality. It is an opportunity to showcase your love and care for the recipient. The presentation itself can heighten the anticipation and excitement of receiving the gift. So, get creative, personalize the wrapping, and make it a memorable experience for the person who receives your gift.
Now that you are equipped with the knowledge and steps to gift-wrap a blanket, go ahead and put it into practice. Create a stunningly wrapped gift that will not only keep the recipient warm and cozy but also make them feel special and appreciated.
Happy gift-wrapping!
Frequently Asked Questions about How To Gift Wrap Blanket
Was this page helpful?
At Storables.com, we guarantee accurate and reliable information. Our content, validated by Expert Board Contributors, is crafted following stringent Editorial Policies. We're committed to providing you with well-researched, expert-backed insights for all your informational needs.

0 thoughts on “How To Gift Wrap Blanket”