Articles
How To Wrap A Quilt For A Gift
Modified: December 7, 2023
Learn how to expertly wrap a quilt for a gift with our informative articles. Discover creative tips and techniques to ensure a beautifully presented present.
(Many of the links in this article redirect to a specific reviewed product. Your purchase of these products through affiliate links helps to generate commission for Storables.com, at no extra cost. Learn more)
Introduction
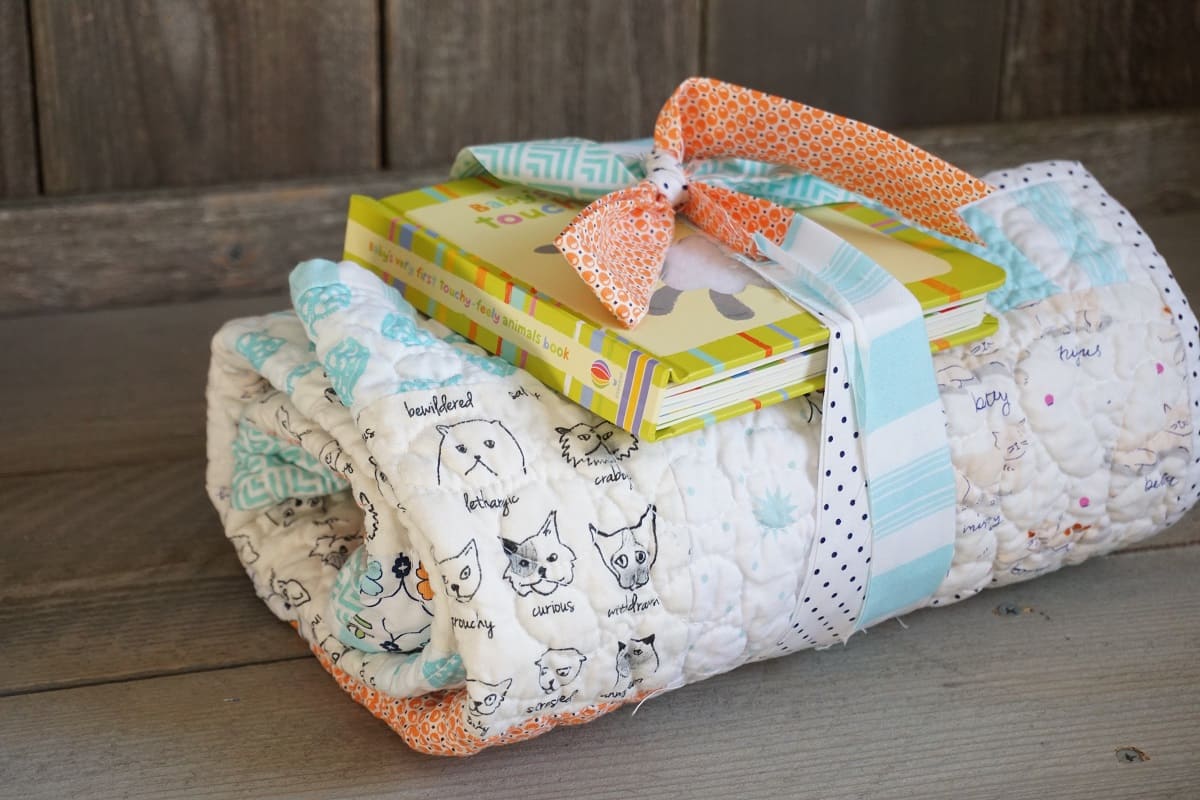
When it comes to giving a thoughtful and cherished gift, few things compare to a handmade quilt. A labor of love, quilts represent warmth, comfort, and the personal touch of the creator. Whether you’ve made the quilt yourself or purchased one from a talented artisan, presenting it as a gift requires careful consideration and attention to detail.
In this article, we will dive into the art of wrapping a quilt for a gift. We will explore the necessary materials, step-by-step instructions to prepare the quilt, different methods to wrap it, and finishing touches to add that extra special touch. So, let’s get started on creating a beautiful and memorable presentation for your beloved quilt.
Key Takeaways:
- Wrapping a quilt for a gift involves gathering the right materials, preparing the quilt with care, choosing a suitable wrapping method, and adding personalized finishing touches for a truly memorable presentation.
- The art of wrapping a quilt goes beyond aesthetics; it’s about creating a meaningful experience for the recipient, showcasing the love and effort put into the gift, and ensuring it’s presented in a thoughtful and cherished manner.
Read more: How To Wrap Candles For Gifts
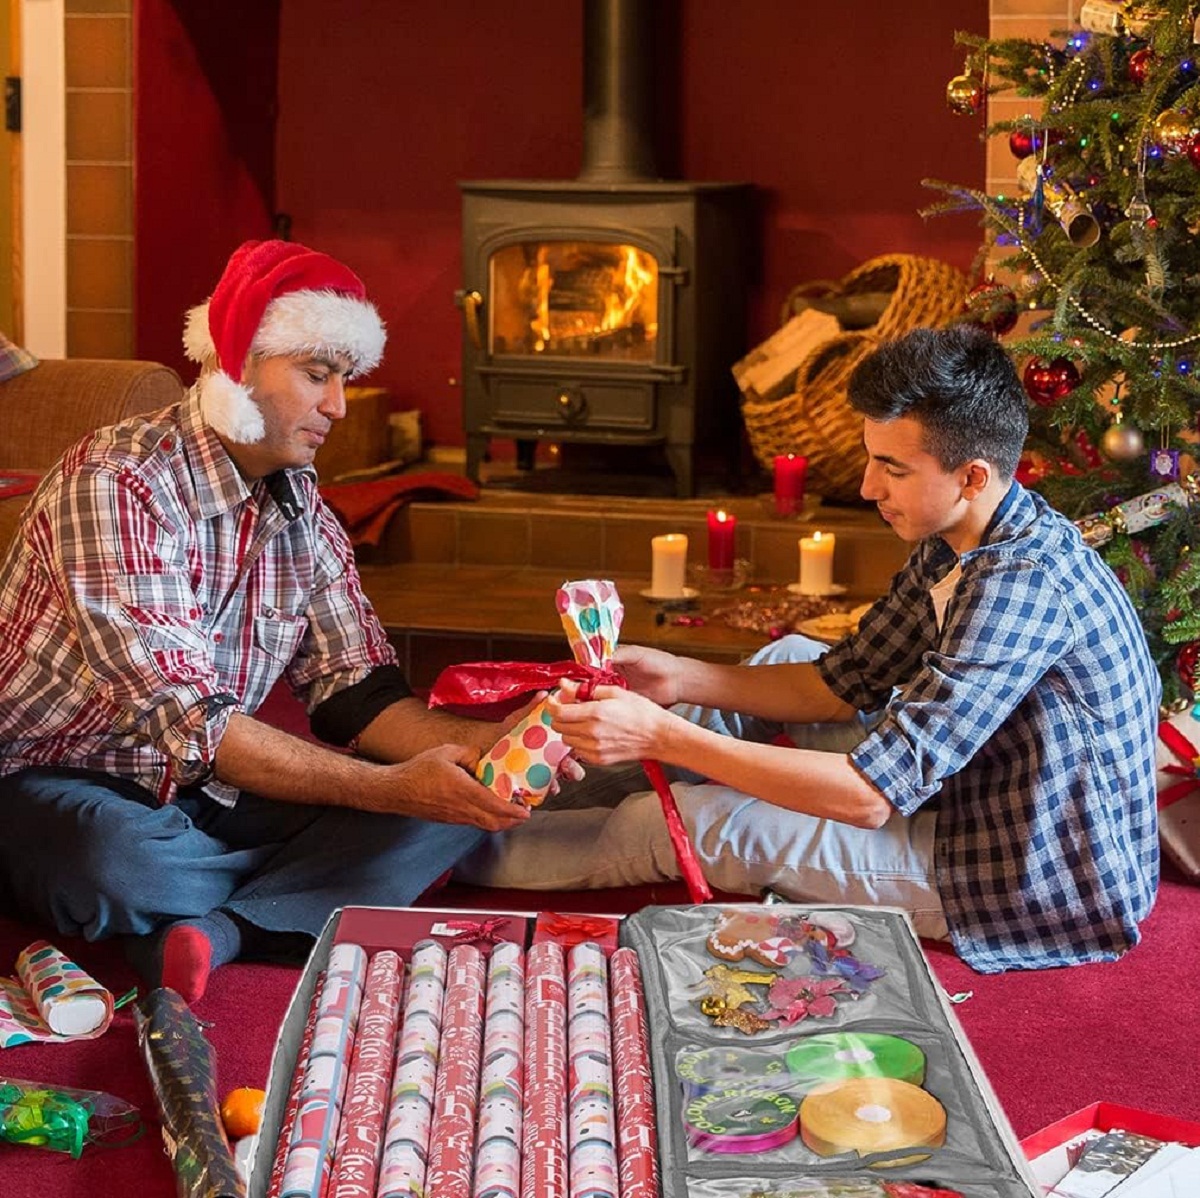
Step 1: Gather the necessary materials
Before you begin the wrapping process, it’s essential to gather all the materials you’ll need. Having everything prepared ahead of time will make the process smoother and more efficient. Here are the materials you should have on hand:
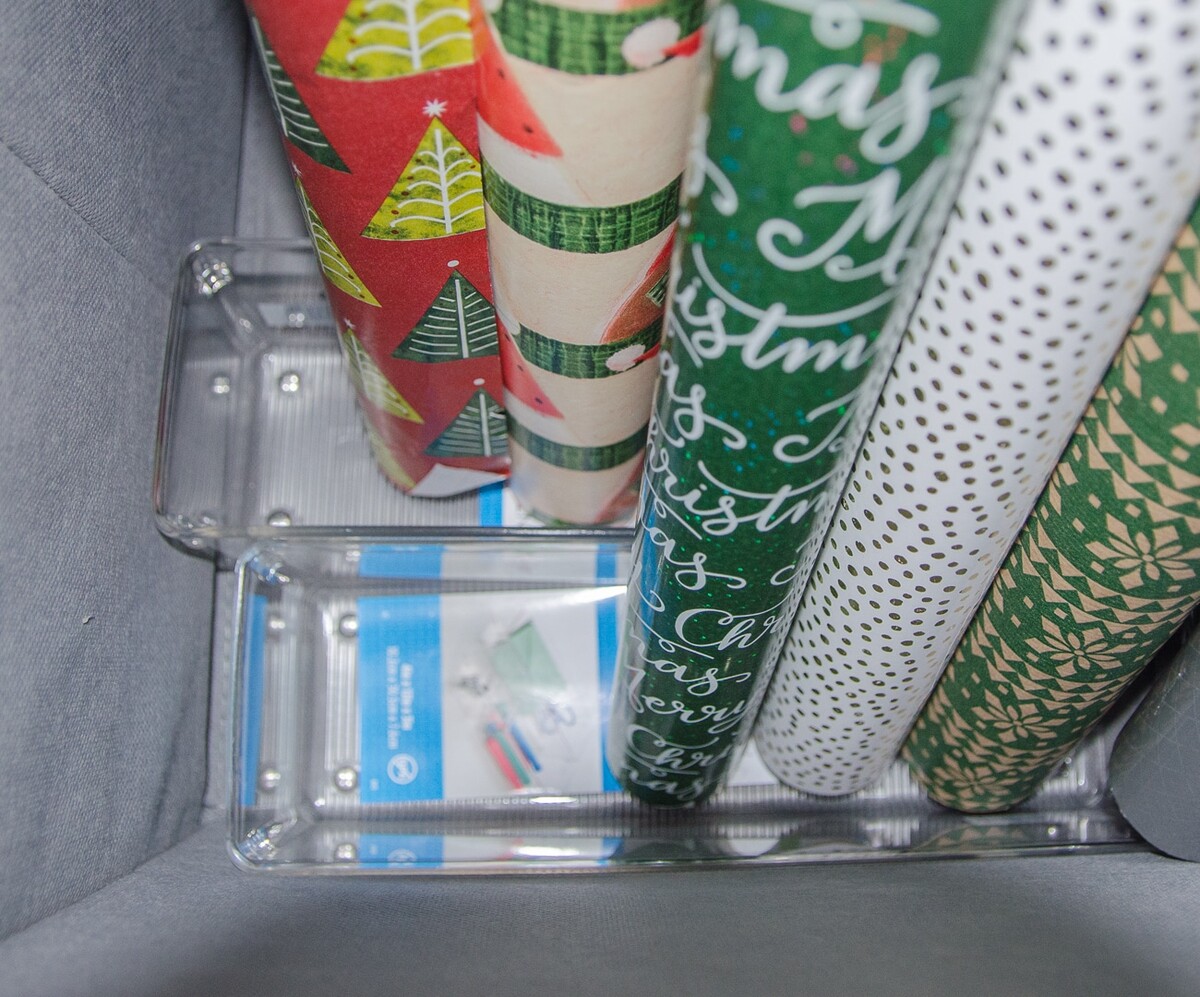
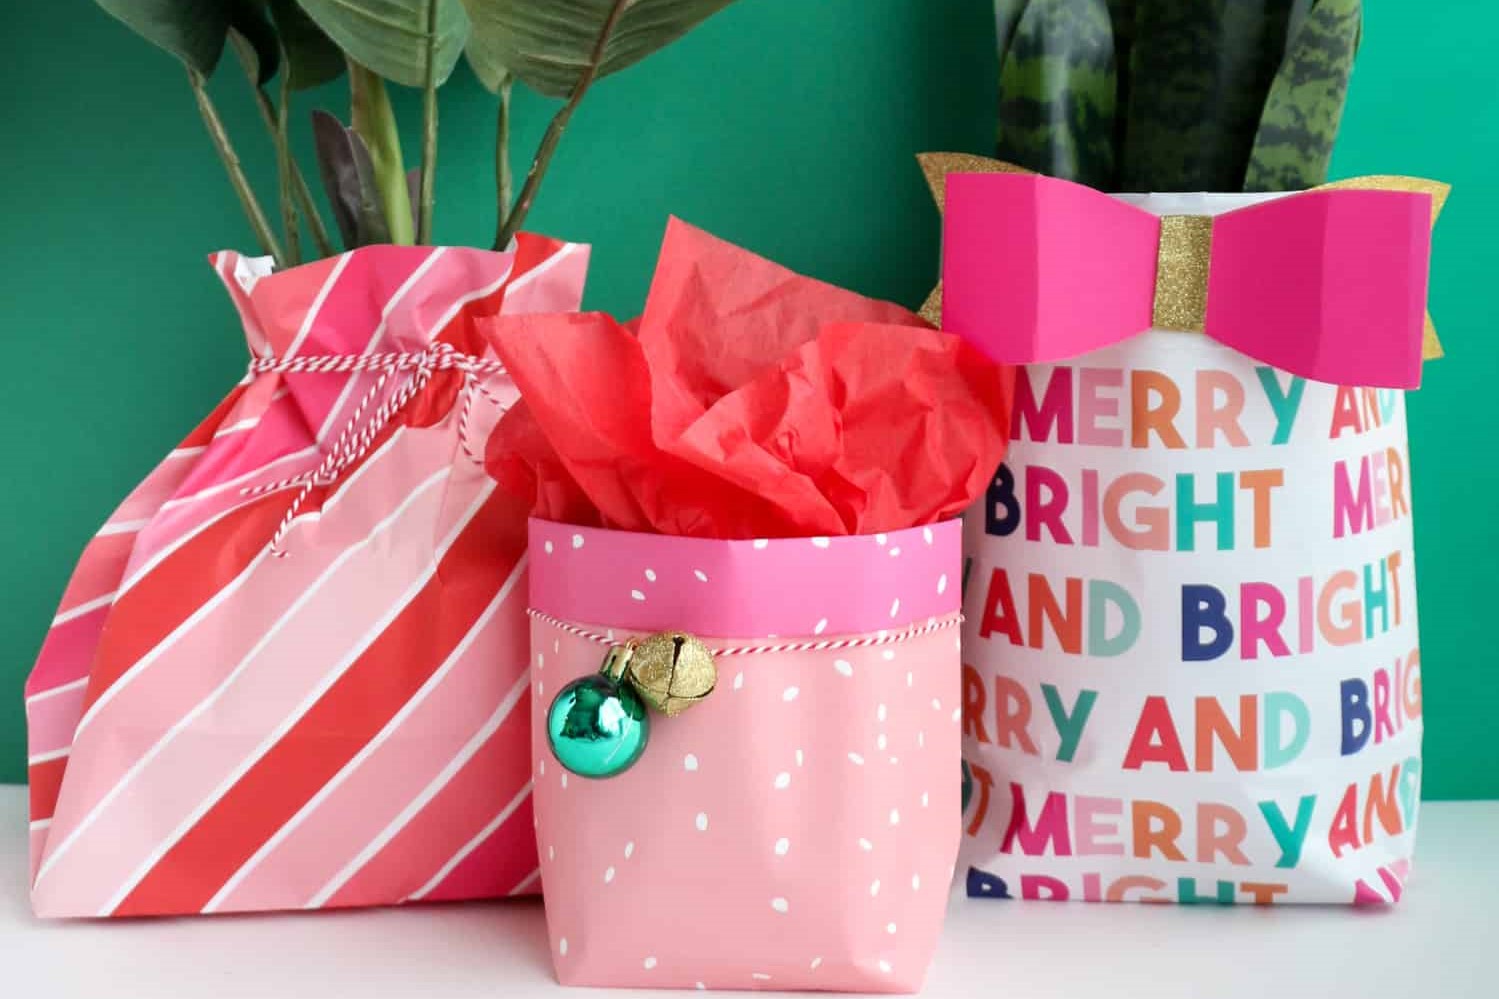
- Wrapping paper or fabric: Choose a wrapping material that complements the quilt and reflects the recipient’s style and preferences. You can opt for traditional wrapping paper or get creative with a fabric that can be reused and appreciated.
- Tape or ribbon: Select a tape or ribbon that is sturdy enough to secure the wrapping and add a decorative touch. Satin ribbons or patterned tapes can elevate the overall presentation.
- Scissors: Make sure to have a pair of sharp scissors for cutting the wrapping paper or fabric with precision.
- Gift tag or card: When wrapping a quilt, it’s thoughtful to include a personalized message to the recipient. Have a gift tag or card ready to express your sentiments.
- Optional extras: Depending on your preference, you can also consider adding embellishments like bows, fabric flowers, or even a small quilt-themed trinket to further enhance the presentation.
Ensure that you have enough of each material to cover the entire quilt, allowing for any necessary adjustments or overlaps. With these materials gathered, you’re ready to move on to the next step of preparing the quilt for wrapping.
Step 2: Prepare the quilt
Before you begin wrapping the quilt, it’s important to ensure that it is clean, neatly folded, and free from any loose threads or debris. Follow these steps to prepare the quilt:
- Inspect and spot-clean: Carefully examine the quilt for any stains or spots. If you notice any, gently spot-clean them using a mild detergent or fabric cleaner. Allow the quilt to dry completely before proceeding to the next steps.
- Iron if needed: If the quilt is wrinkled or creased, iron it on a low heat setting. Pay attention to the fabric type and use a pressing cloth if necessary to protect delicate fabrics.
- Fold the quilt: Neatly fold the quilt into a size that is manageable for the wrapping process. Consider the dimensions of the wrapping paper or fabric you’re using and adjust the fold accordingly. Aim for a compact, even fold to ensure a tidy presentation.
- Secure loose threads: Check for any loose threads or dangling embellishments on the quilt and secure them with a needle and thread or fabric glue. This will prevent any accidental damage during the wrapping process.
By taking the time to prepare the quilt properly, you’ll present it in its best possible condition. Now, with the quilt ready, let’s move on to the next step: choosing the wrapping method.
Step 3: Choose the wrapping method
When it comes to wrapping a quilt for a gift, there are various methods you can choose from. The method you select will depend on your personal preference, the size and shape of the quilt, and the materials you have available. Let’s explore a few popular wrapping methods:
- Traditional wrapping paper: This method involves using regular wrapping paper to encase the quilt. It works well for smaller quilts or quilts with a consistent rectangular shape. Simply lay out the wrapping paper and place the folded quilt in the center. Fold the sides of the paper over the quilt and secure with tape or ribbon.
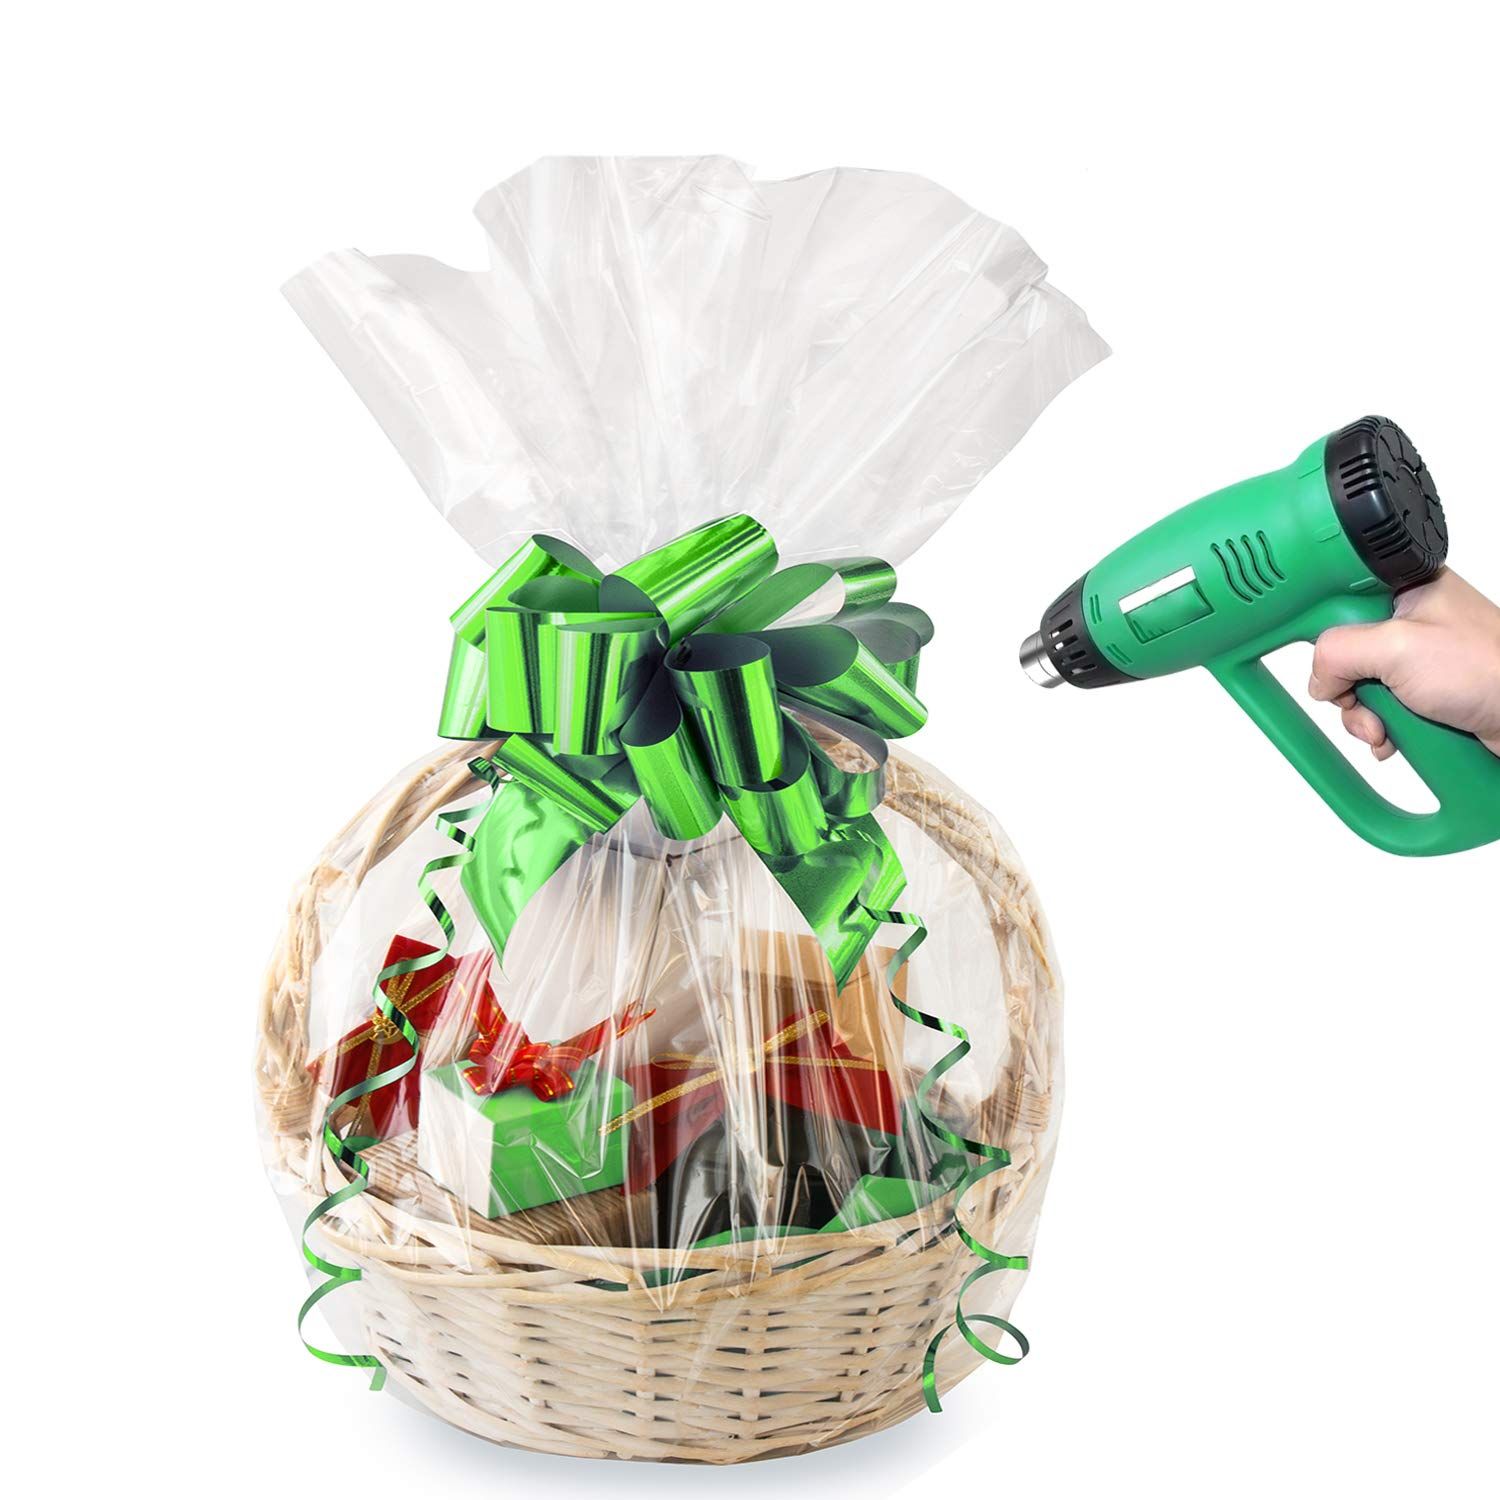
- Fabric wrap: For a more environmentally-friendly and reusable option, consider using fabric to wrap the quilt. Place the folded quilt in the middle of the fabric and wrap it like a present, securing the ends with tape, ribbon, or fabric ties. This method works particularly well for larger quilts or those with unique shapes.
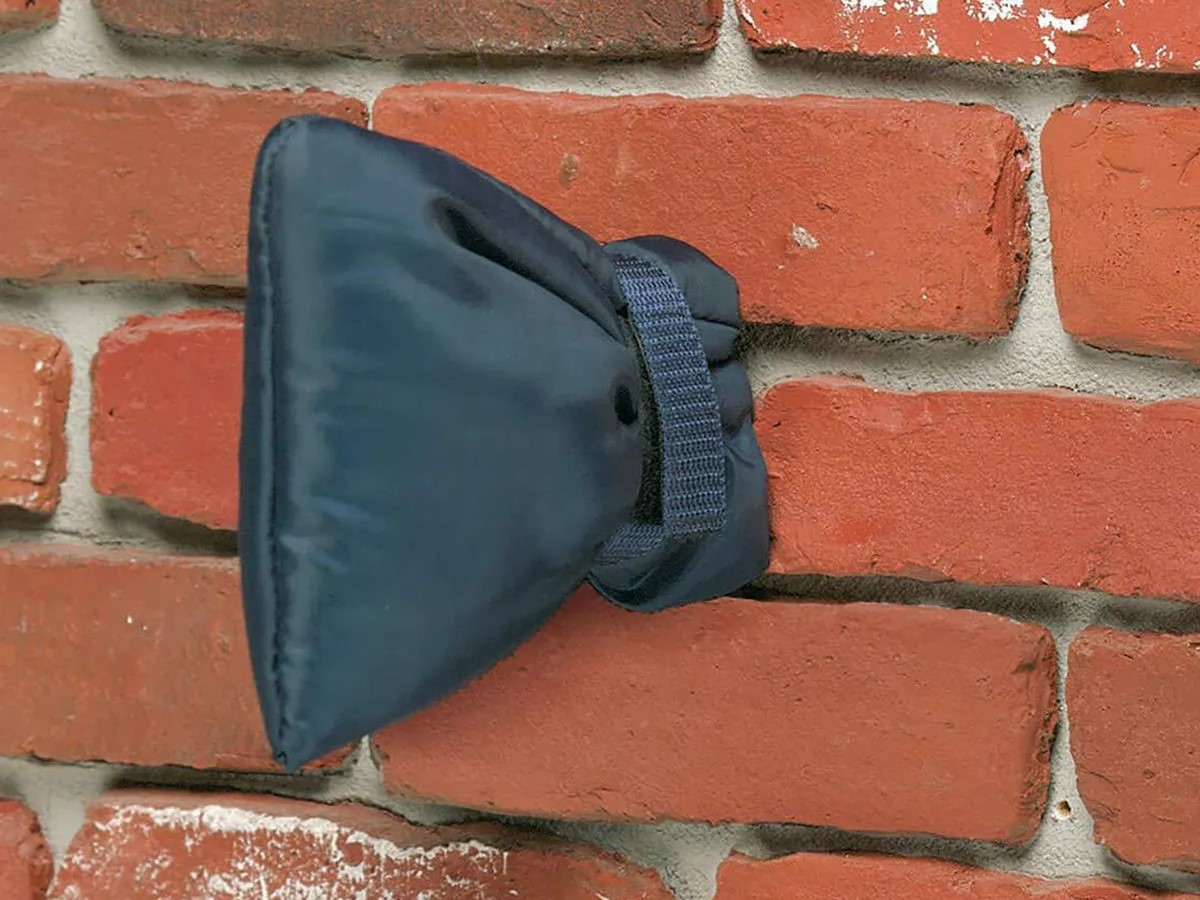
- Quilt sleeve: If you want to showcase the quilt while still protecting it, a quilt sleeve is a great option. A quilt sleeve is a fabric tube or pocket that the quilt can slide into. This method works well for displaying quilts on a wall or hanging them in a safe place. You can easily make a quilt sleeve using a piece of fabric and a sewing machine.
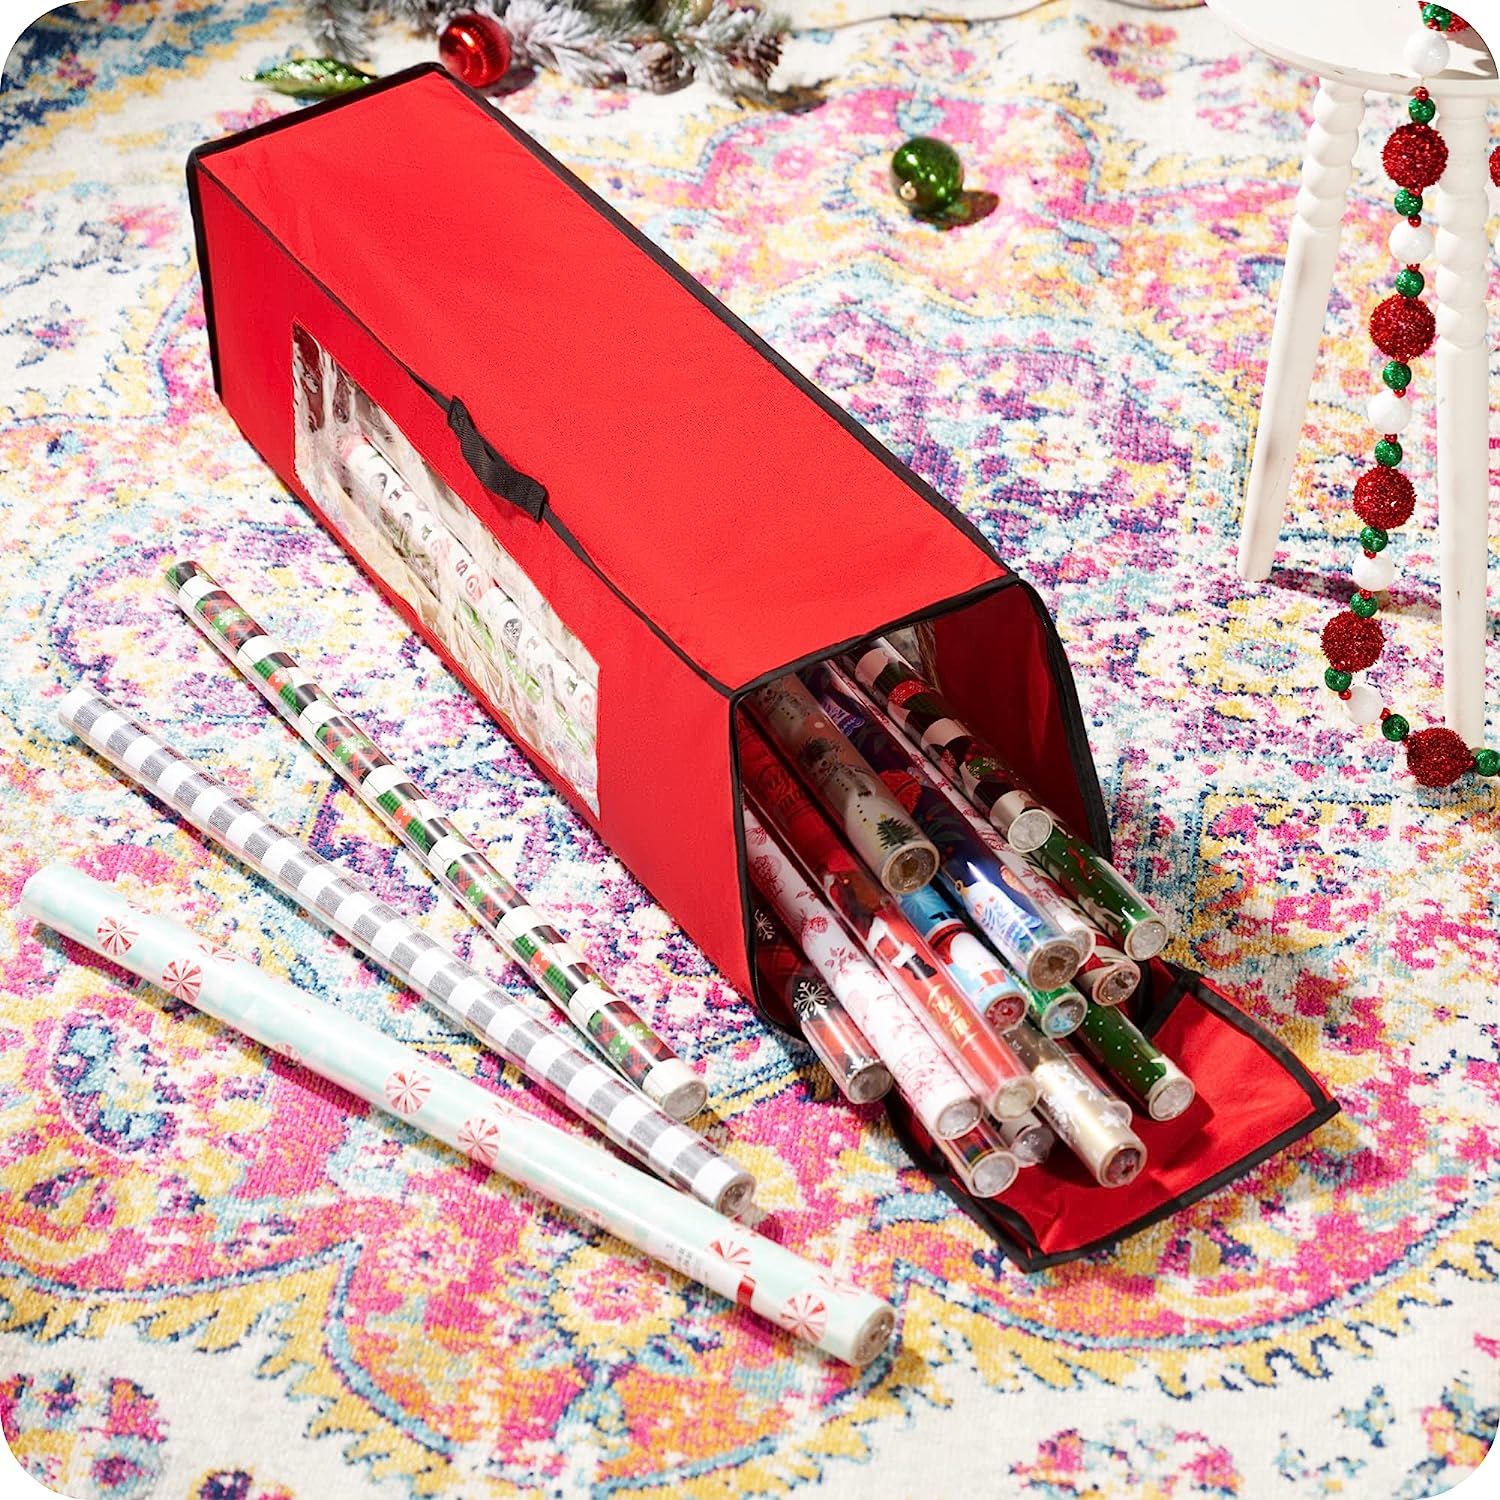
- Quilt bag: Another option is to place the quilt in a dedicated quilt bag. Quilt bags are typically made of fabric, providing protection for the quilt while also allowing for easy storage and transportation. You can find quilt bags in various sizes and designs, or you can opt to make one yourself.
Consider the recipient’s preferences, the occasion, and the overall aesthetic you want to achieve when choosing the wrapping method. Whichever method you choose, it’s time to move on to the next step: wrapping the quilt.
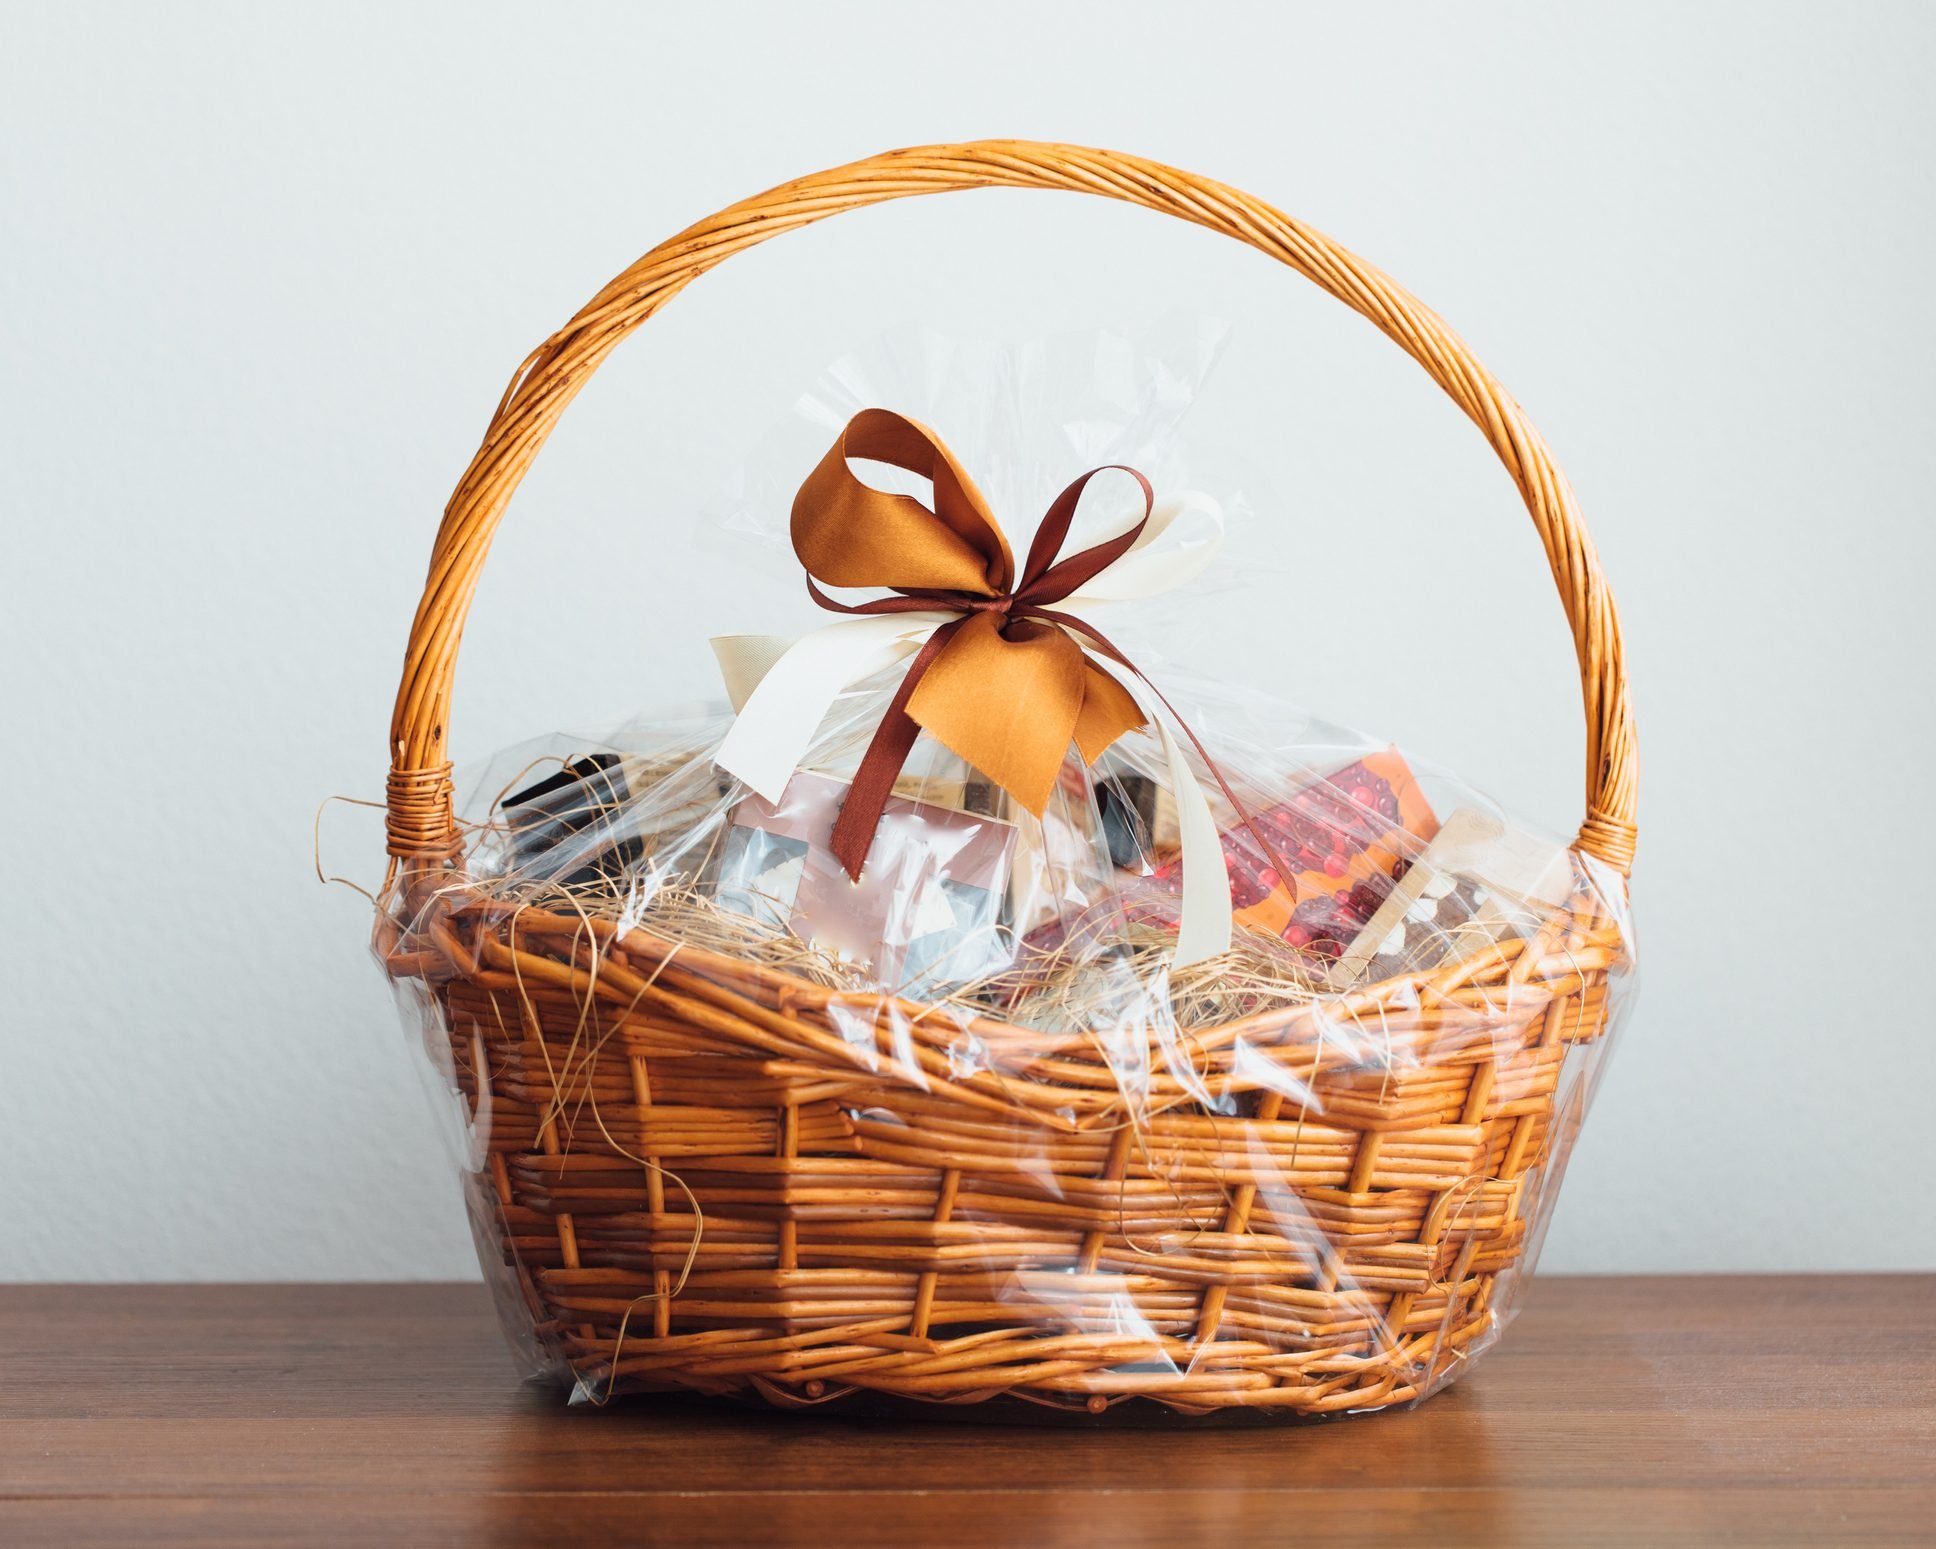
When wrapping a quilt for a gift, consider using a large gift bag or a fabric gift wrap to protect the quilt and make it easier to transport. This will also add a special touch to the presentation of the gift.
Step 4: Wrap the quilt using the chosen method
Now that you’ve selected the wrapping method for your quilt, it’s time to put it into action. Follow these steps to wrap the quilt using the chosen method:
- Traditional wrapping paper or fabric wrap: For these methods, place the folded quilt in the center of the wrapping paper or fabric. If using wrapping paper, fold the sides over the quilt like a traditional gift. Use tape or ribbon to secure the edges. If using fabric, wrap it around the quilt like a present and tie the ends with ribbon or fabric ties.
- Quilt sleeve: If you’ve chosen the quilt sleeve method, slide the folded quilt into the fabric tube or pocket. Ensure the quilt is positioned securely and adjust the sleeve’s length if needed. If desired, add a ribbon or tie to secure the ends of the sleeve.
- Quilt bag: If you’re using a dedicated quilt bag, place the folded quilt inside. Ensure the quilt is centered and adjust the bag’s opening if needed. Fasten the bag’s closure, whether it’s a zipper, Velcro, or ties.
As you wrap the quilt, take care to ensure that the fabric is smooth and neat, avoiding any wrinkles or creases. Pay attention to the corners and edges to create a polished presentation. If you’re using wrapping paper or fabric, consider adding a decorative bow or ribbon for an extra touch of elegance.
Once the quilt is securely wrapped, take a moment to admire your handiwork. It’s now time to move on to the final step: adding those finishing touches to make the gift truly memorable.
Read more: How To Wrap Coasters As A Gift
Step 5: Adding finishing touches
Now that you’ve successfully wrapped the quilt, it’s time to add those final touches to make the gift even more special. These little details can elevate the presentation and show the recipient how much thought and care you’ve put into the gift. Here are some ideas for adding those finishing touches:
- Gift tag or card: Attach a personalized gift tag or slip a heartfelt card into the wrapping. Include a meaningful message or a note about the significance of the quilt. This personal touch will make the gift even more memorable.
- Embellishments: Consider adding decorative embellishments to the wrapping, such as fabric flowers, bows, or even a small quilt-themed trinket. These additions can add a touch of charm and whimsy to the gift.
- Ribbon accents: Tie a beautiful satin ribbon or a rustic twine around the wrapped quilt. You can create a simple bow or secure it with a decorative knot, depending on the style you’re going for.
- Gift wrapping accessories: If you want to go the extra mile, consider using accessories like tissue paper or shredded paper as filler inside the wrapping to create a professional and luxurious look.
- Presentation: Pay attention to the overall presentation of the wrapped quilt. Ensure that the fabric is smooth and wrinkle-free, and the edges are neatly secured. Place the gift on a clean and visually appealing surface, ready to be presented to the recipient.
By adding these finishing touches, you’ll transform the wrapped quilt into a truly stunning and thoughtful gift. Remember, it’s the little details that can make all the difference.
With the finishing touches complete, your beautifully wrapped quilt is ready to be presented to the lucky recipient. The time, effort, and love you’ve put into both the quilt and its presentation will undoubtedly be appreciated. Now, sit back and enjoy the joy and gratitude that your heartfelt gift will bring.
Conclusion
Wrapping a quilt for a gift is a wonderful way to showcase the love and effort that went into creating or selecting such a special item. By following the steps outlined in this guide, you can ensure that your quilt is presented in a beautiful and thoughtful way.
Remember, gathering the necessary materials and preparing the quilt beforehand are essential for a smooth wrapping process. Choosing the right wrapping method allows you to showcase the quilt’s beauty while protecting it at the same time.
Adding those finishing touches, such as personalized gift tags, decorative embellishments, and ribbon accents, takes your gift presentation to the next level. Pay attention to details and make sure the overall presentation is visually appealing and well-thought-out.
Wrapping a quilt for a gift is not just about the aesthetics. It’s about creating a memorable experience for the recipient, showing them how much you cherish them and the gift you’re giving. The time and effort you put into wrapping the quilt will not go unnoticed.
So, the next time you have a quilt to gift, remember the steps outlined in this article. By following these guidelines, you can enhance the joy and appreciation of the quilt, making it a truly unforgettable present.
Happy wrapping!
Frequently Asked Questions about How To Wrap A Quilt For A Gift
Was this page helpful?
At Storables.com, we guarantee accurate and reliable information. Our content, validated by Expert Board Contributors, is crafted following stringent Editorial Policies. We're committed to providing you with well-researched, expert-backed insights for all your informational needs.

0 thoughts on “How To Wrap A Quilt For A Gift”