Home>Seasonal Storage>How To Make Shredded Paper For Gift Baskets
Seasonal Storage
How To Make Shredded Paper For Gift Baskets
Modified: August 17, 2024
Learn how to make shredded paper for gift baskets with our simple step-by-step guide. Get creative with seasonal-storage and add a personal touch to your gifts.
(Many of the links in this article redirect to a specific reviewed product. Your purchase of these products through affiliate links helps to generate commission for Storables.com, at no extra cost. Learn more)
Introduction
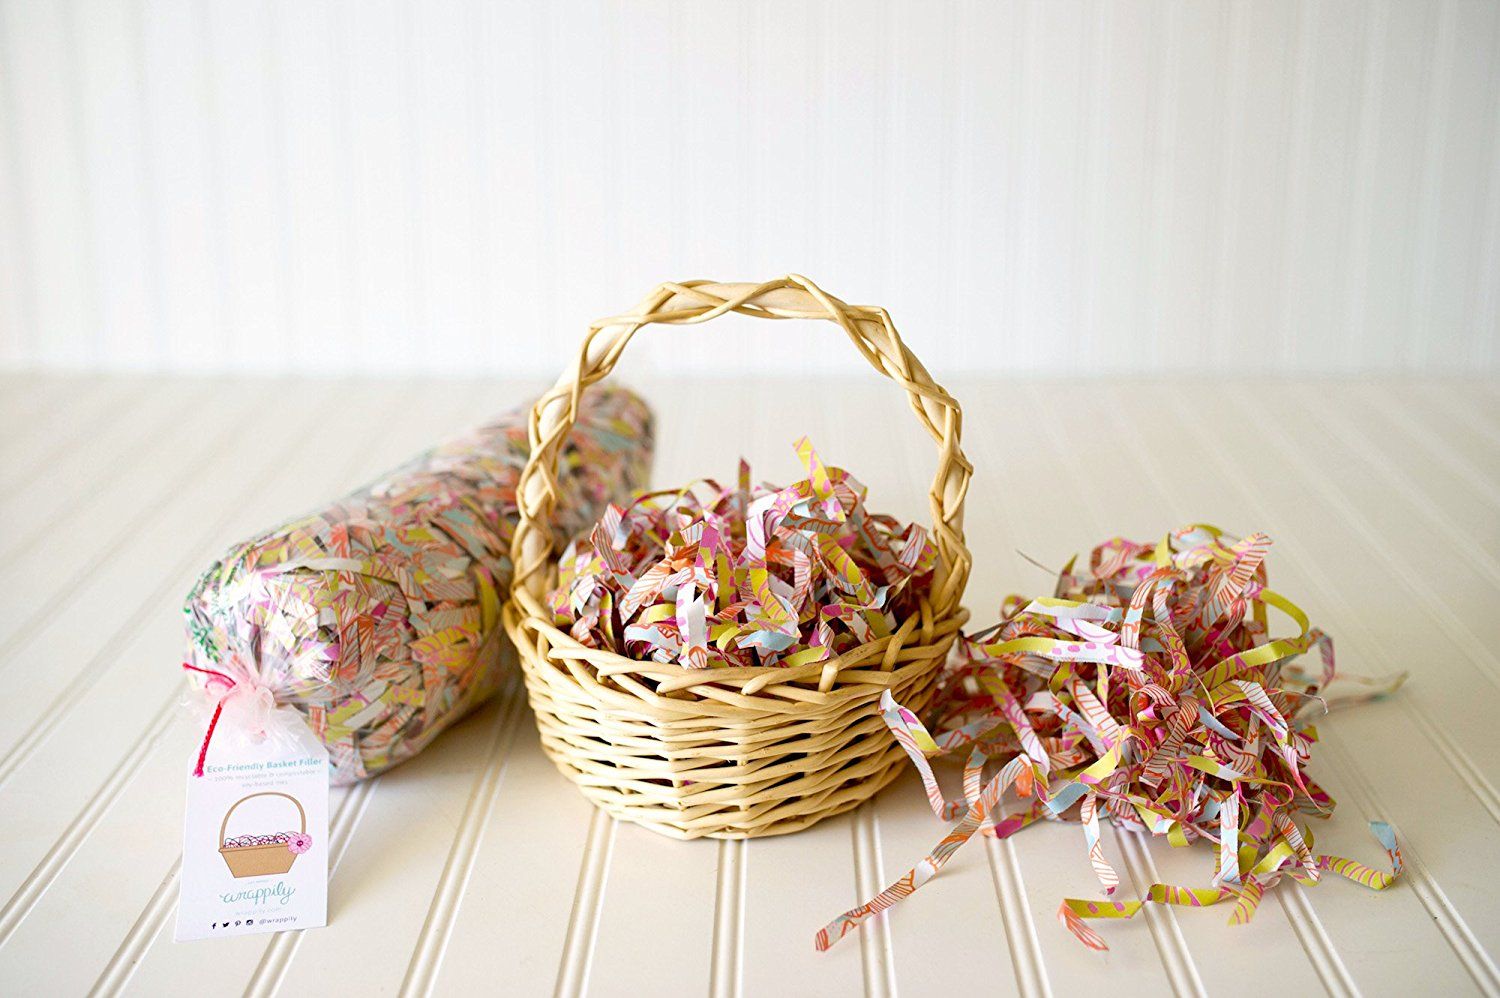
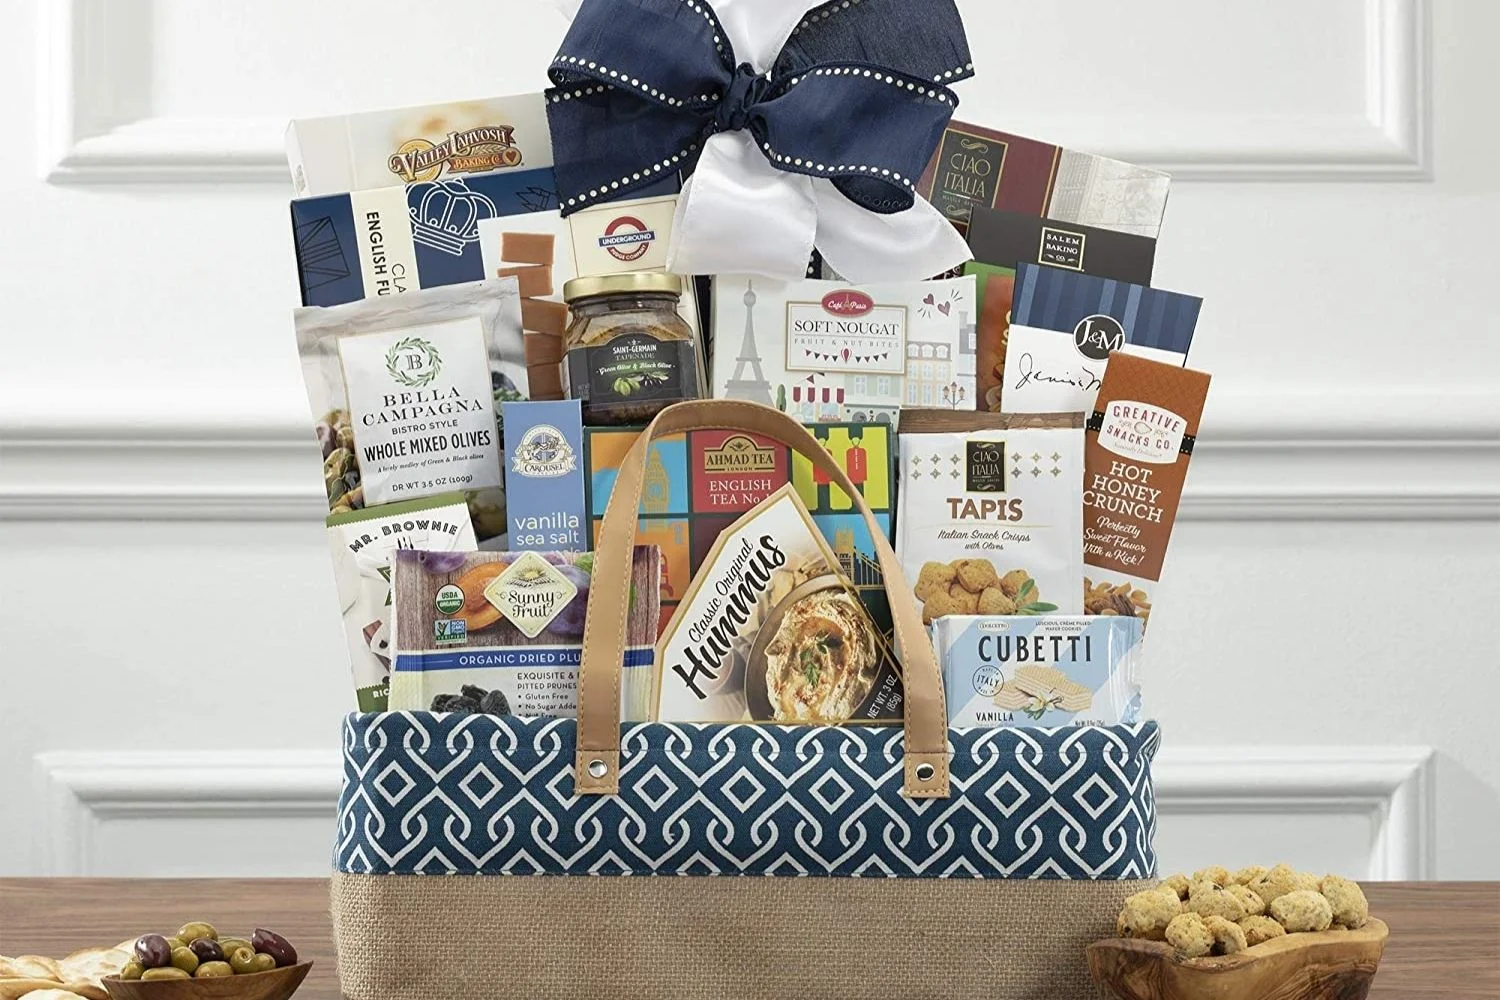
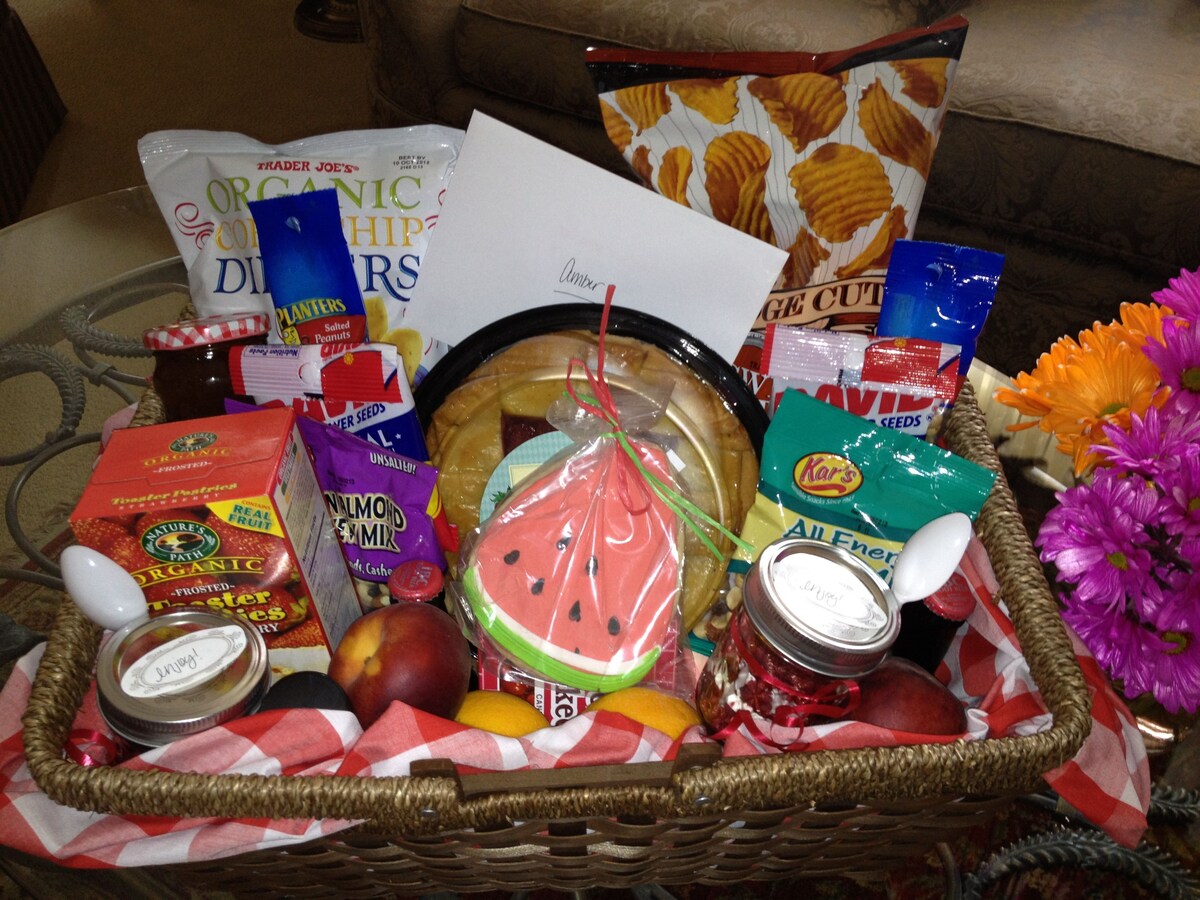
Welcome to our guide on how to make shredded paper for gift baskets. If you’re someone who loves putting together beautiful and thoughtful gift baskets, then you know how important the presentation is. Adding shredded paper to your gift baskets not only provides an attractive and professional look, but it also helps to protect the items inside. Plus, it’s a great way to recycle old newspapers or unwanted documents.
In this article, we will walk you through the step-by-step process of making shredded paper for your gift baskets. We’ll cover everything from gathering the necessary materials to storing the shredded paper until you’re ready to use it. So let’s get started!
Key Takeaways:
- Create beautiful and protective shredded paper for gift baskets using old newspapers and a few simple materials. It’s an eco-friendly, cost-effective, and personalized way to enhance your gift presentations.
- Transform old newspapers into professional-looking shredded paper with just scissors or a paper shredder. Store it in a cool, dry place for convenient use in creating stunning gift baskets.
Materials Needed
Before we dive into the process of making shredded paper, let’s gather all the materials you will need:
- Newspapers or unwanted documents: These will serve as the base material for your shredded paper. You can use old newspapers, magazines, or any unwanted documents that you have lying around.
- Scissors or paper shredder: You will need either a pair of scissors or a paper shredder to cut or shred the paper into strips. If you have a large volume of paper to shred, a paper shredder will make the process much easier and faster.
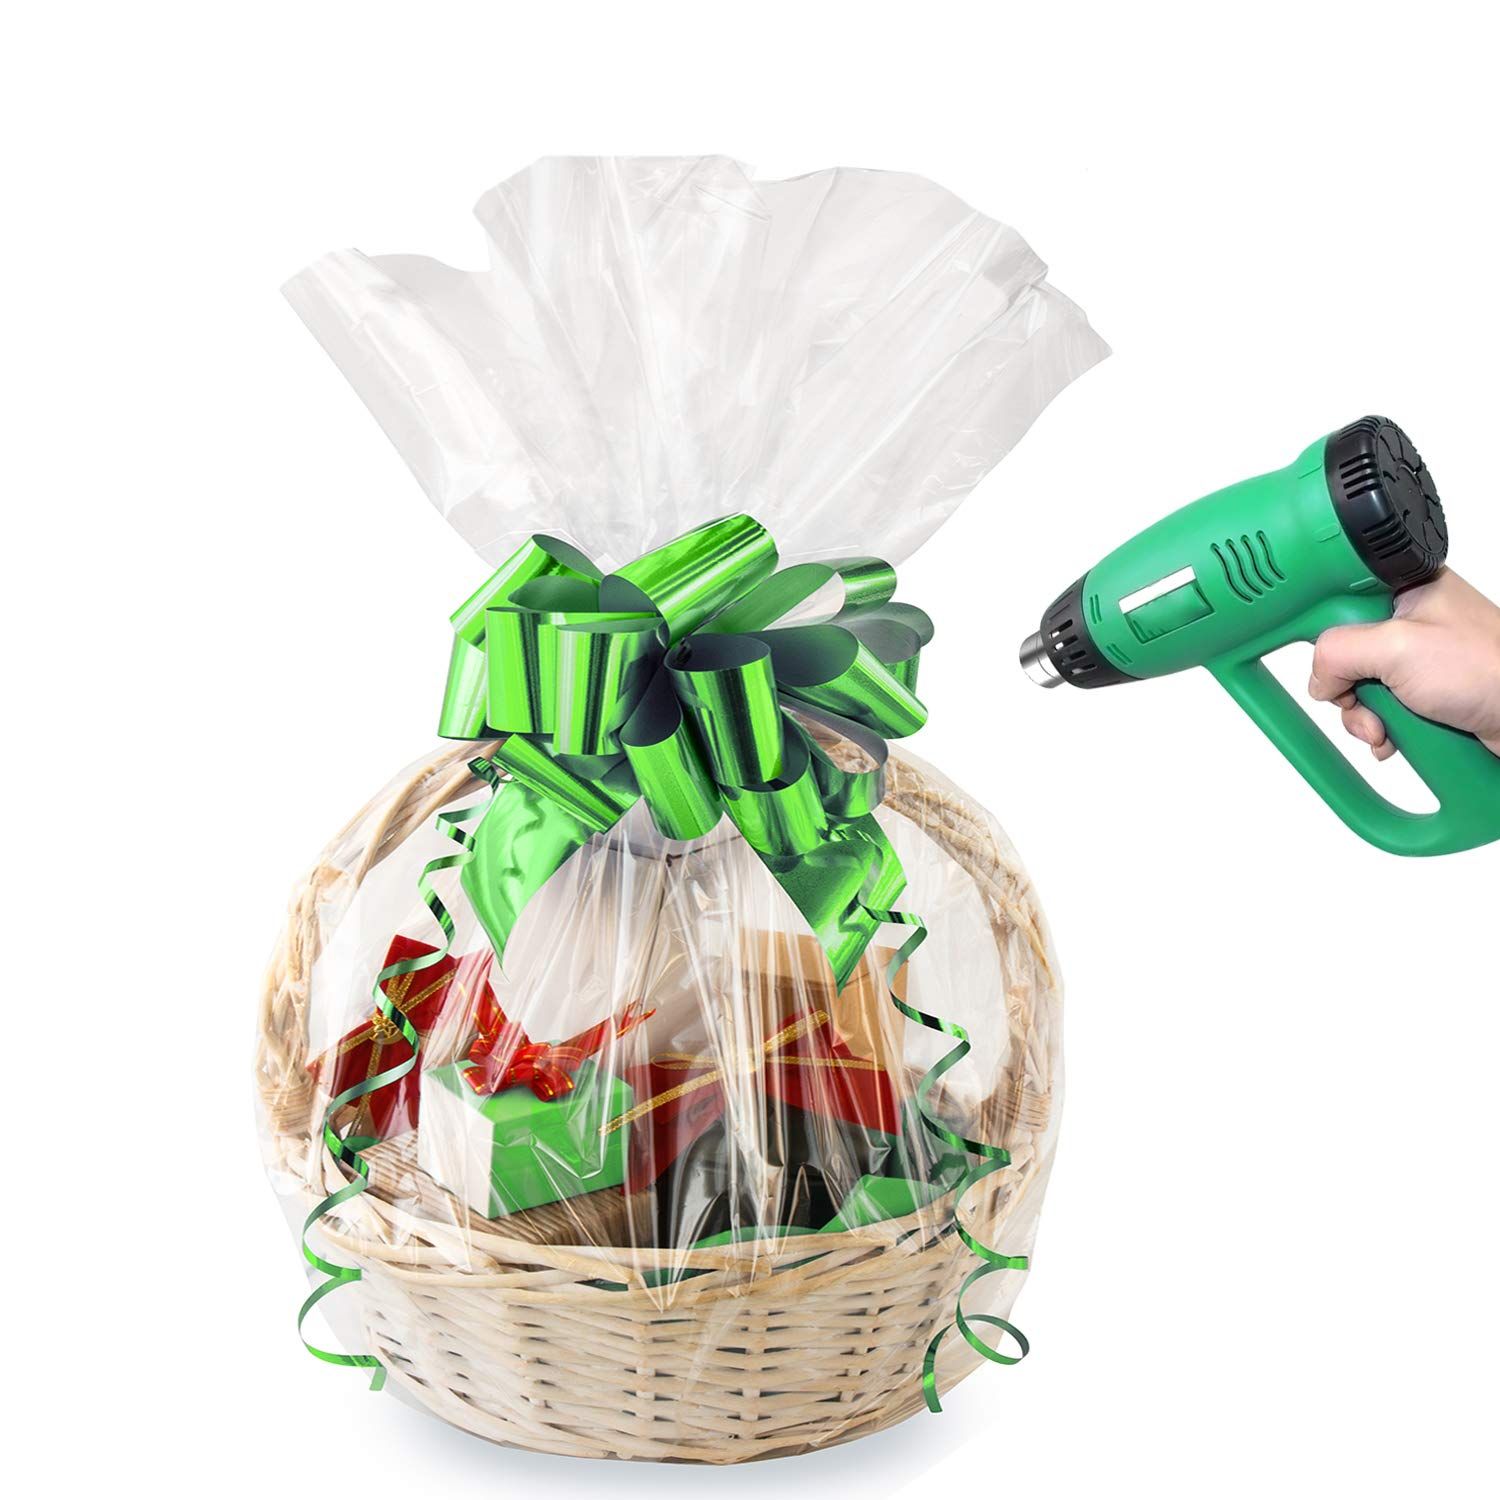
- Basket or container: You will need a basket or a container to store the shredded paper until you’re ready to use it. Make sure it’s large enough to hold the amount of shredded paper you plan to make.
That’s it! With just these few materials, you’ll be well on your way to creating beautiful shredded paper for your gift baskets. Now, let’s move on to the step-by-step process of making the shredded paper.
Step 1: Gather Newspaper or Unwanted Documents
The first step in making shredded paper for your gift baskets is to gather the newspaper or unwanted documents that you will be using as the base material. Look around your house for old newspapers, magazines, or any documents that you no longer need. This is a great way to recycle paper and give it a second life.
If you don’t have any old newspapers or documents at home, you can also ask friends or neighbors if they have any to spare. Many people are happy to get rid of old papers, so it’s worth reaching out and seeing if you can collect them.
Once you have gathered enough materials, make sure to remove any staples or paperclips from the paper. These can be harmful to your shredder or can damage the scissors if you’re cutting the paper by hand.
If you’re using newspapers, you might want to pick out sections that don’t have any colored ink or large images. This will help you achieve a more uniform look when the paper is shredded. However, if you’re going for a more eclectic or artsy look, feel free to include colored pages or even pages from magazines.
Remember, the goal is to repurpose and recycle paper that you no longer need. So don’t worry too much about the condition or aesthetics of the paper, as it will be shredded and transformed into a beautiful and functional material for your gift baskets.
Once you have gathered all the newspaper or unwanted documents, it’s time to move on to the next step: tearing the paper into strips.
Step 2: Tear the Paper into Strips
Now that you have gathered the newspaper or unwanted documents, it’s time to tear them into strips. Tearing the paper by hand is a simple and effective way to create the shredded effect.
Start by folding a single sheet of paper horizontally. This will make it easier to tear the paper into strips. Hold the folded paper firmly with one hand, and use your other hand to tear the paper into long, thin strips. The width of the strips will depend on your preference, but aim for strips that are around 1/4 to 1/2 inch wide.
Continue folding and tearing the paper until you have torn all of the sheets into strips. If you’re working with a large volume of paper, you can tear a few sheets at a time and then repeat the process until you have shredded all of the paper.
Make sure to vary the length and width of the strips to create a more natural and textured look. This will add depth and volume to your shredded paper and make it more visually appealing.
If you prefer a more uniform look, you can also use a paper shredder to cut the paper into strips. Simply feed the folded paper into the shredder, and it will do the work for you. Just be mindful of the shredder’s capacity and follow the manufacturer’s instructions to avoid any jams or damage.
Once you have torn or shredded all of the paper into strips, you’re ready to move on to the next step: choosing the shredding method.
To make shredded paper for gift baskets, use a paper shredder to shred old newspapers, magazines, or colored paper. You can also use scissors to cut paper into thin strips for a more personalized touch.
Step 3: Choose the Shredding Method
When it comes to shredding the paper, you have a couple of options to choose from. The method you choose will depend on the volume of paper you have and the tools available to you.
If you have a large amount of paper to shred, using a paper shredder is the most efficient option. Paper shredders are designed specifically for this purpose and can handle a significant volume of paper in a short amount of time. Simply follow the manufacturer’s instructions to shred the paper into strips.
On the other hand, if you have a smaller amount of paper or do not have access to a paper shredder, you can opt for the manual method of cutting the paper with scissors. This method is more time-consuming, but it can still produce great results. Just make sure to use sharp scissors for clean and even cuts.
Whatever method you choose, ensure that you are taking necessary safety precautions. If you’re using a paper shredder, follow the safety guidelines provided by the manufacturer and keep your hands away from the shredding blades. If you’re cutting the paper with scissors, be mindful of your fingers and work in a well-lit and well-ventilated area.
Once you have selected the shredding method that suits your needs, you can move on to the next step: actually shredding the paper.
Read more: How To Make Christmas Gift Baskets
Step 4: Shred the Paper
Now that you have chosen the shredding method, it’s time to start shredding the paper. Follow the steps below based on whether you’re using a paper shredder or cutting the paper with scissors:
Using a Paper Shredder:
- Make sure your paper shredder is plugged in and ready to use.
- Feed the strips of paper into the shredder one at a time. Avoid overloading the shredder as it can lead to jams.
- Continue feeding the paper until you have shredded all of the strips.
- If the paper shredder produces long strips instead of shorter ones, you can manually cut them into smaller pieces for a more shredded appearance.
Using Scissors:
- Take a handful of paper strips and hold them firmly in one hand.
- With the other hand, use sharp scissors to cut through the strips. Cut them into smaller pieces ranging from 1/4 inch to 1/2 inch in length.
- Repeat the process with the remaining paper strips until you have shredded all of them.
Remember to take breaks if you’re shredding a large volume of paper to avoid strain or fatigue. It’s important to work at a pace that is comfortable for you.
As you shred the paper, you’ll start to see the beautiful, fluffy texture of the shredded paper forming. Take a moment to appreciate the transformation and the recycled nature of this material.
Once you have finished shredding the paper, it’s time to move on to the next step: collecting and storing the shredded paper.
Step 5: Collect and Store the Shredded Paper
After you have completed the shredding process, it’s time to collect and store the shredded paper. Follow these steps to ensure that your shredded paper is organized and ready for use:
- Use a scoop or your hands to gather the shredded paper from the shredder or work surface. Be careful not to scatter it around.
- Transfer the shredded paper into a basket or container that you have prepared. Make sure the container is large enough to hold the amount of shredded paper you have produced.
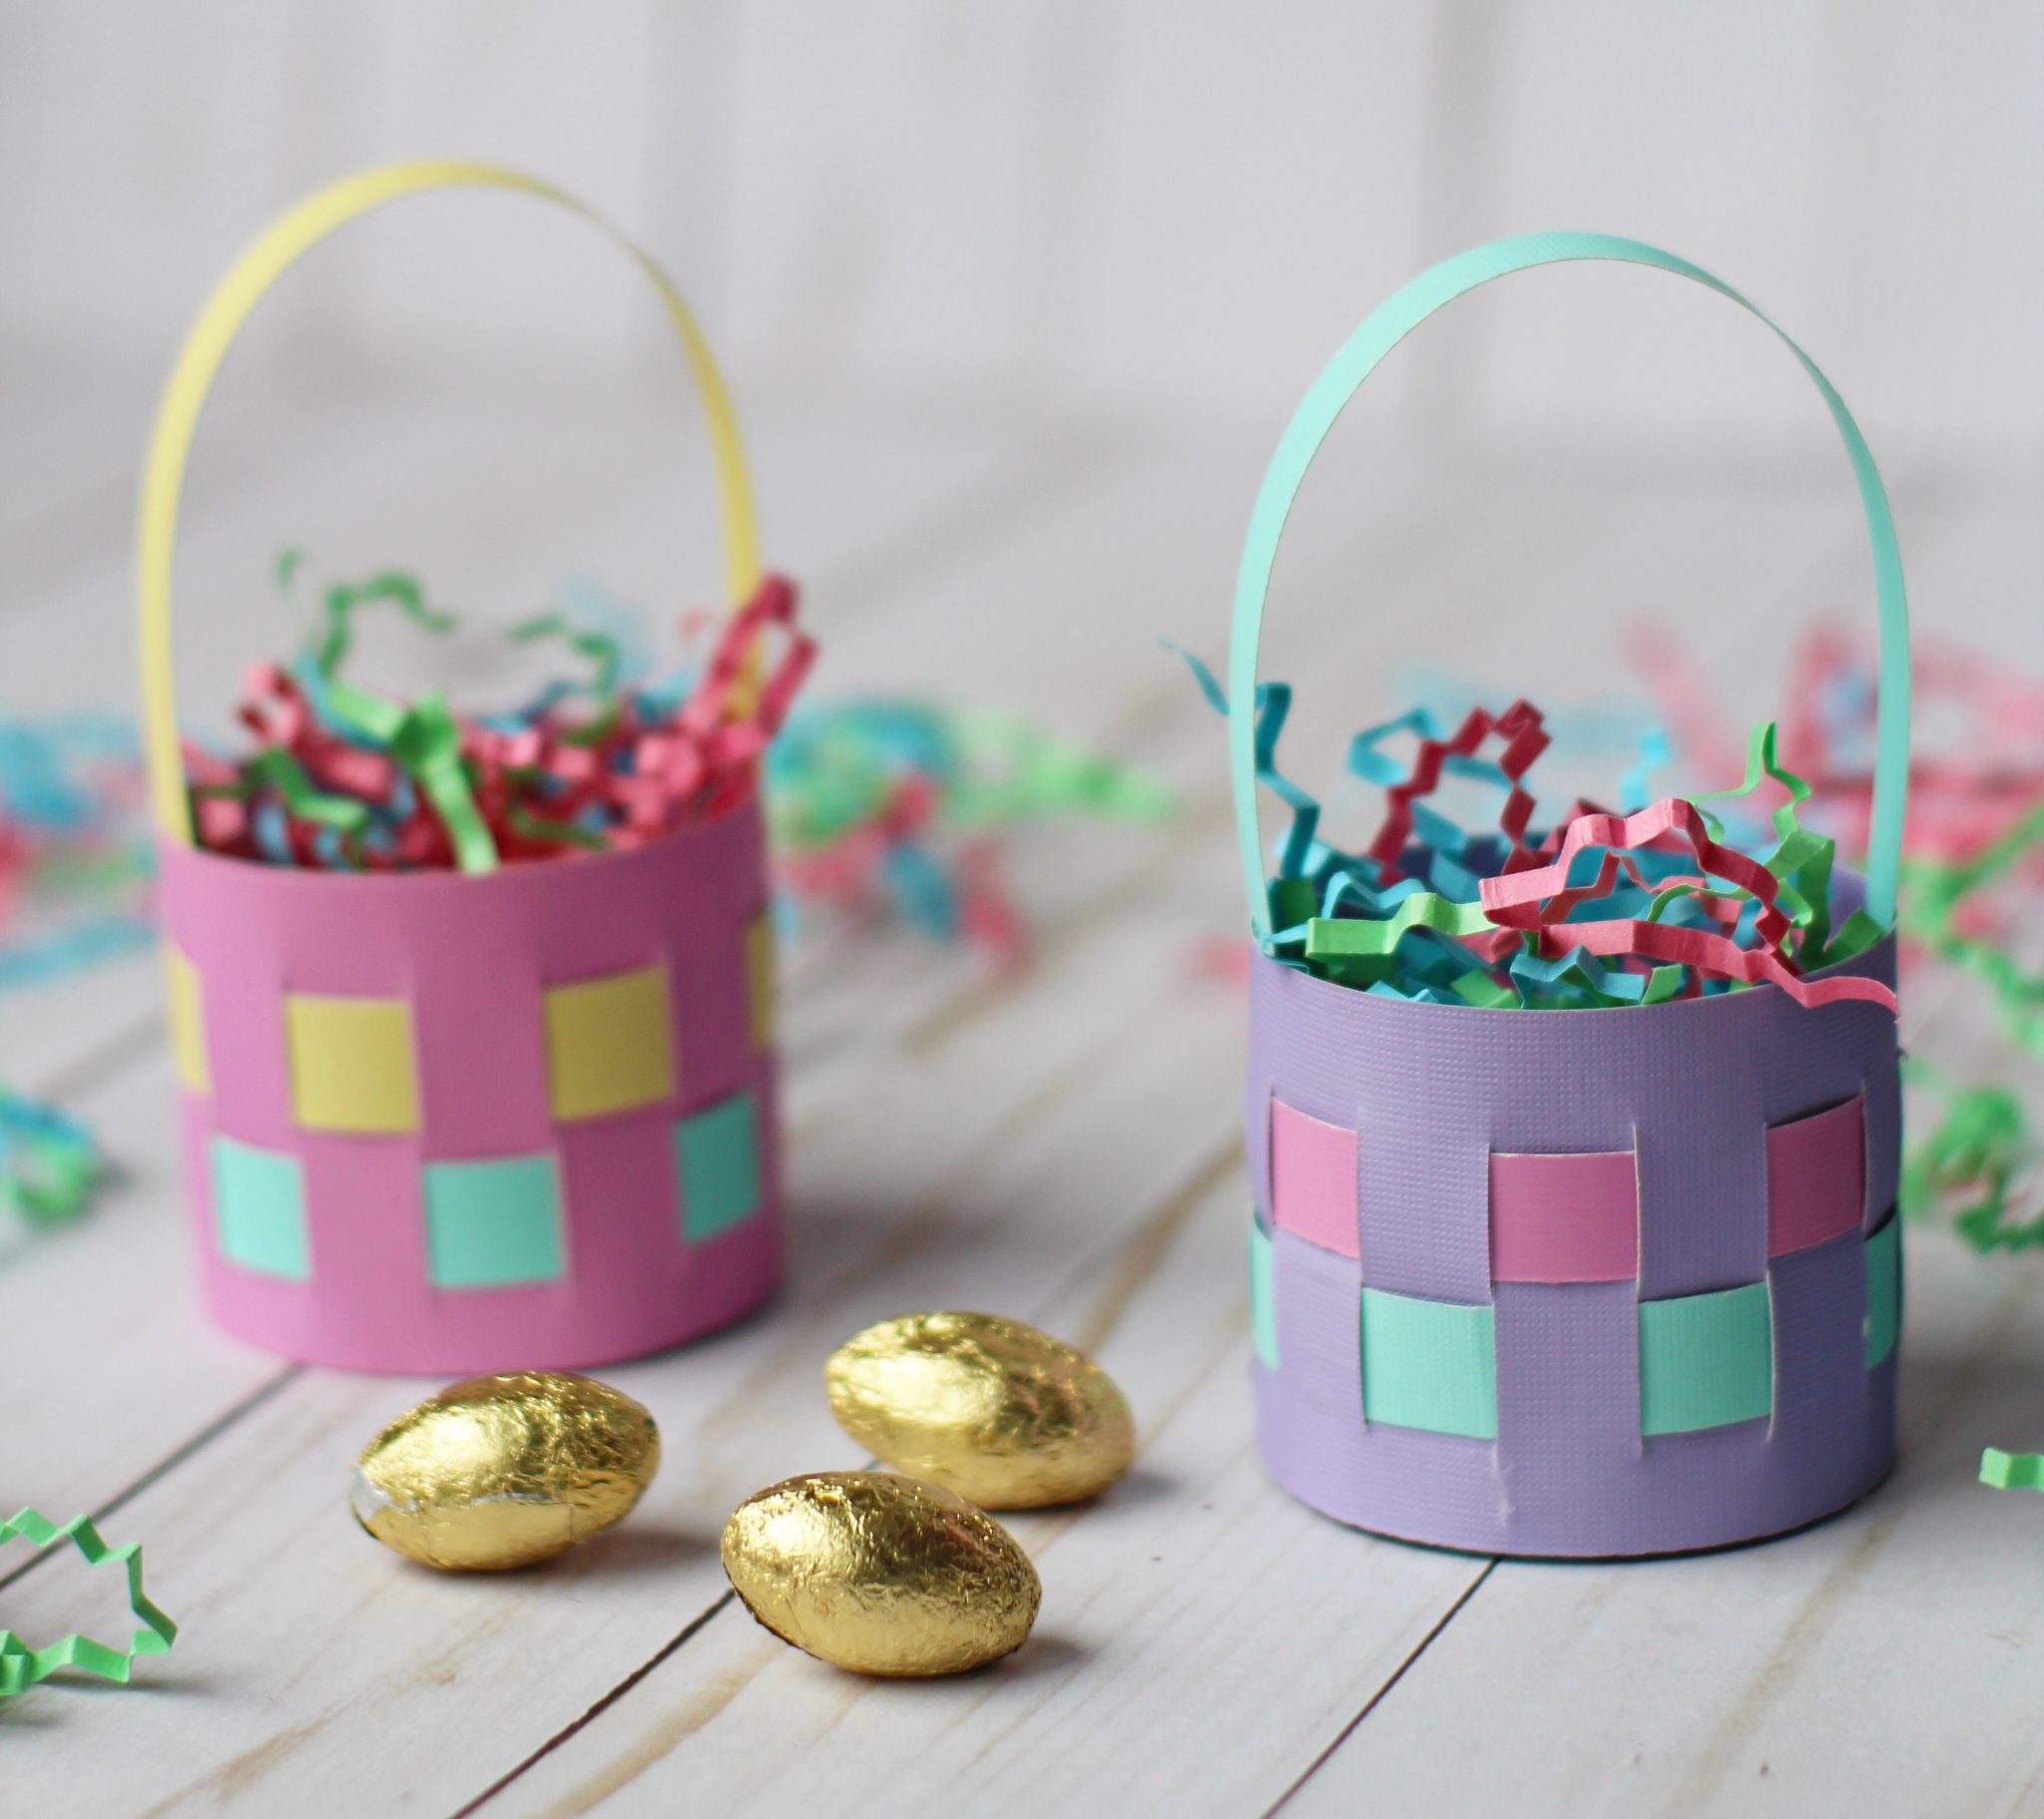
- Fluff the shredded paper with your fingers to separate the strands and create a more voluminous look. This will give your gift baskets a fuller appearance.
- Store the container in a cool, dry place away from direct sunlight. Moisture and sunlight can cause the paper to become brittle over time.
- To keep the shredded paper fresh and clean, consider placing a sheet of tissue paper or a cloth over the top of the container.
Having a well-organized and easily accessible storage space for your shredded paper will make it convenient to create gift baskets whenever the occasion arises.
Remember to periodically check on the stored shredded paper to ensure its quality. If you notice any signs of moisture or damage, it’s best to discard that batch and make fresh shredded paper for use.
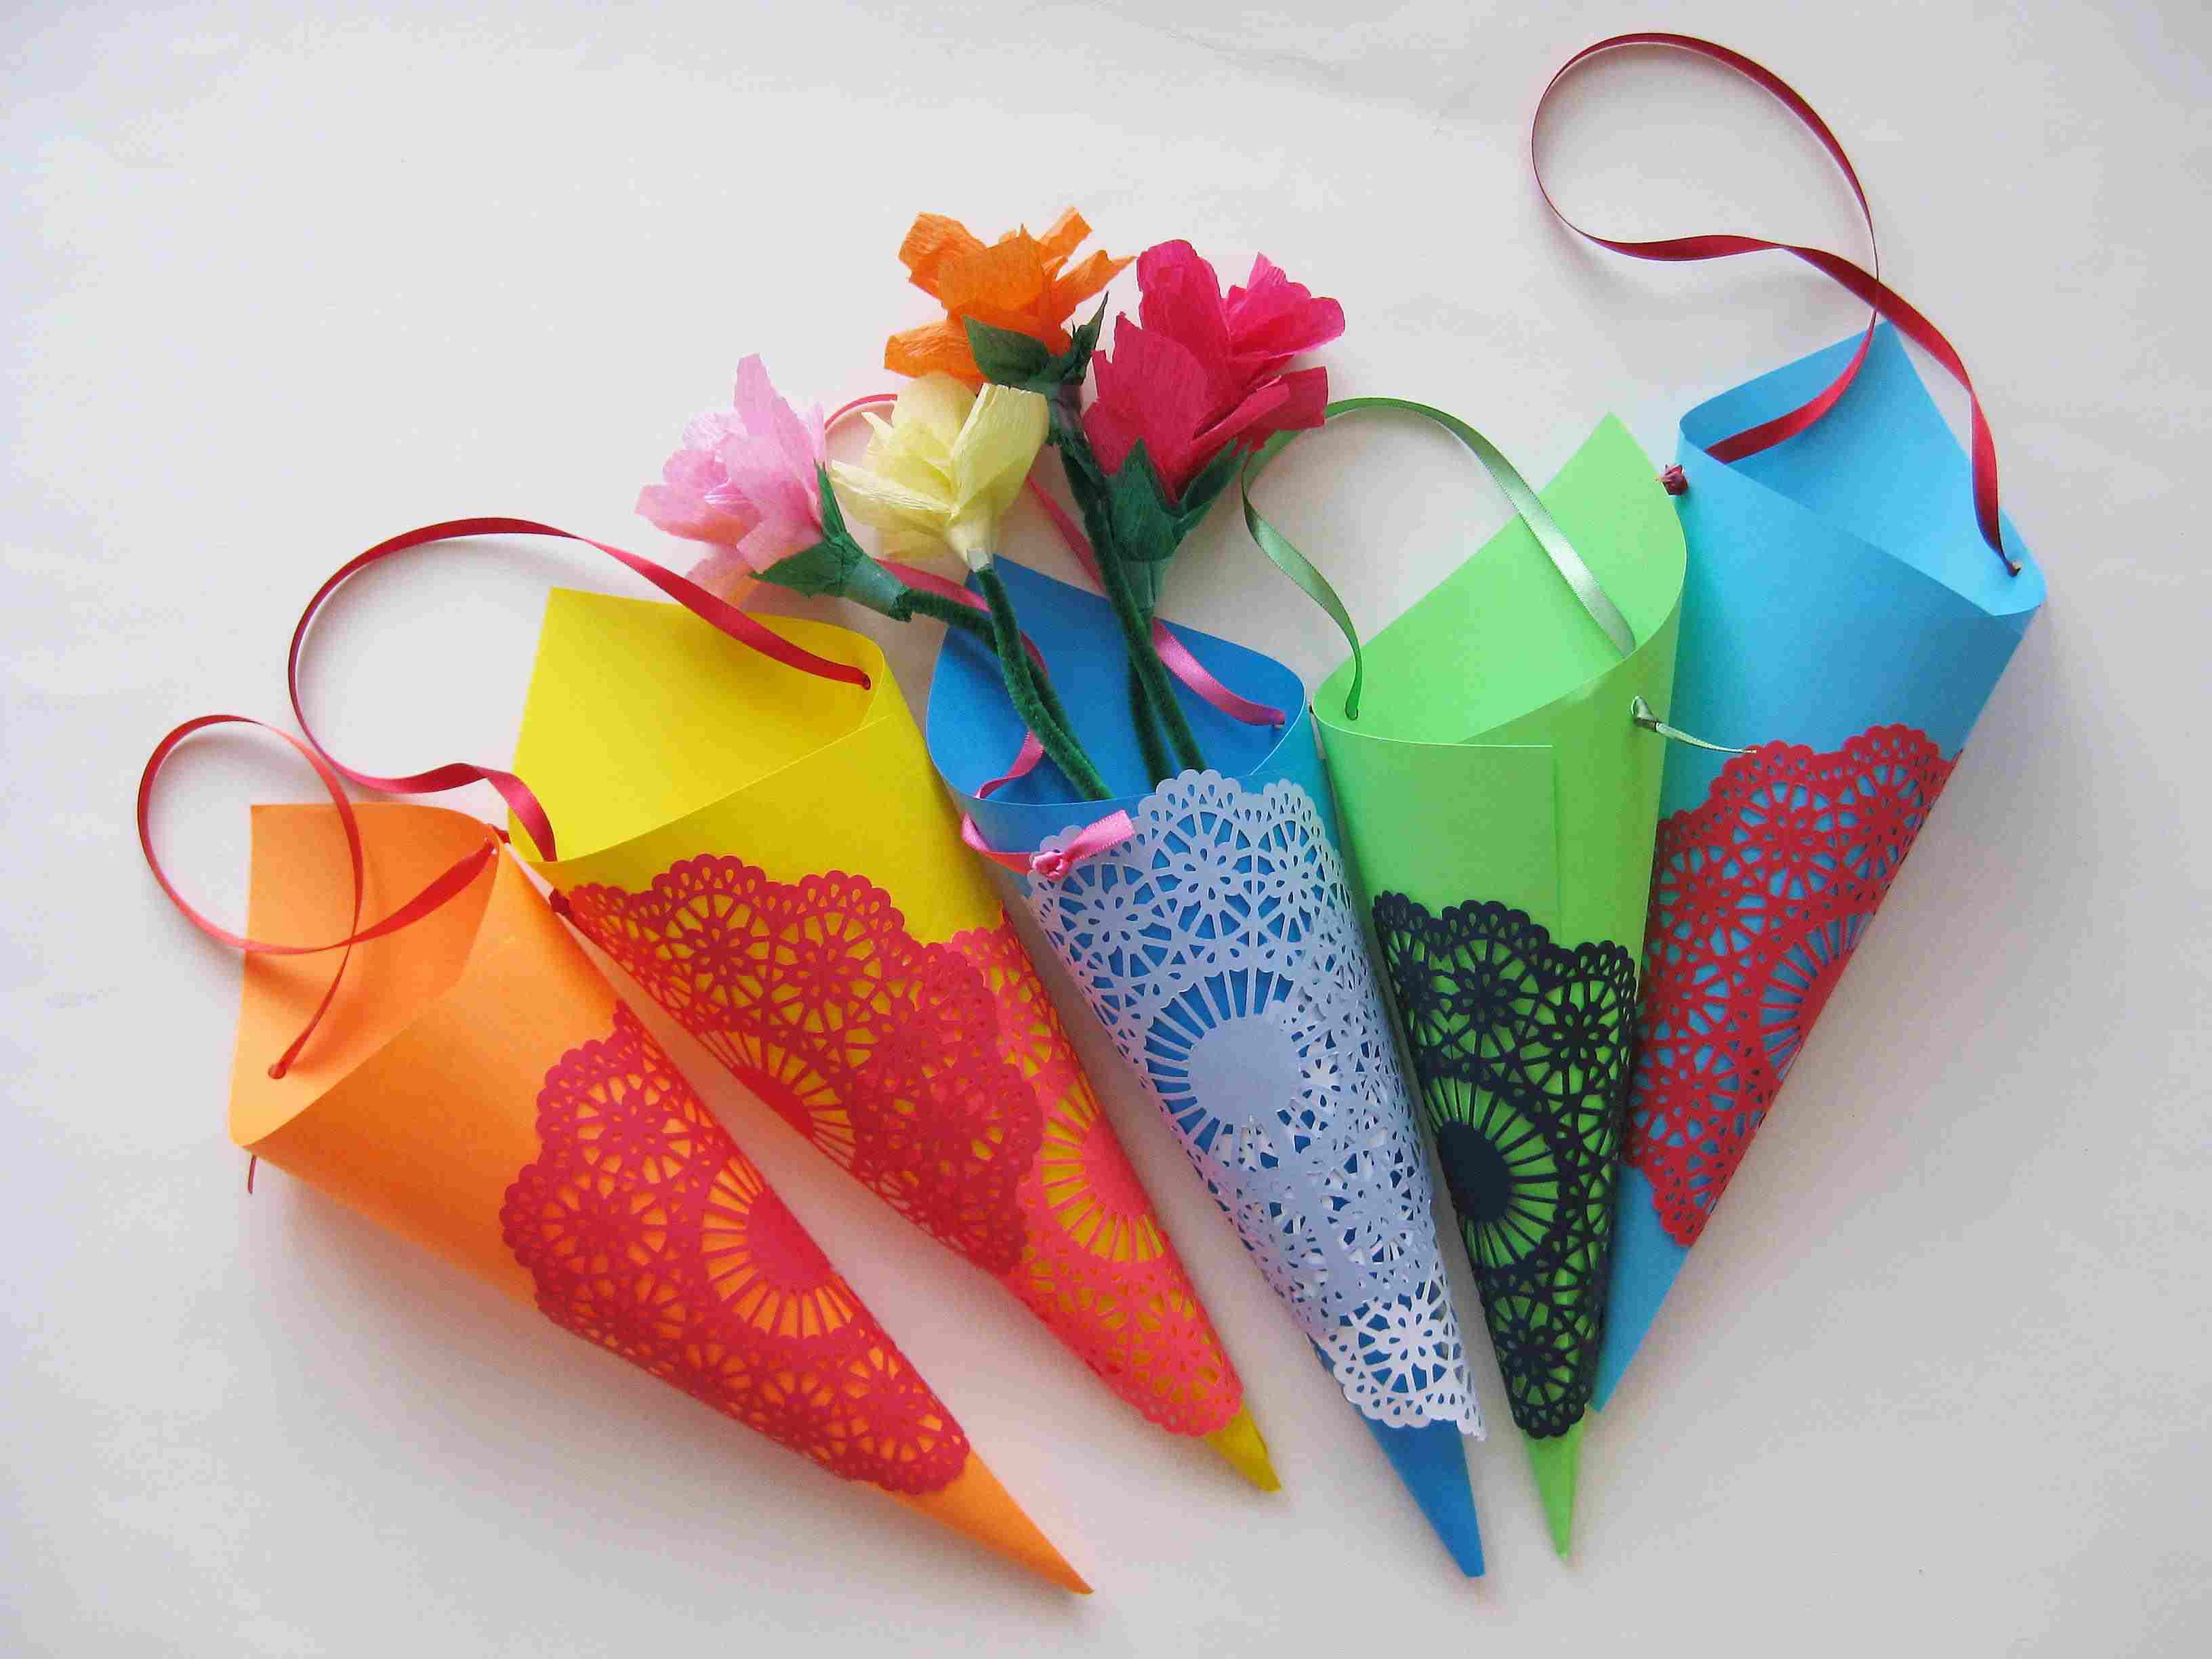
Now that you have successfully shredded and stored your paper, you’re ready to start incorporating it into your gift baskets. Get creative and have fun with colors and textures to enhance the overall presentation of your thoughtful gifts.
With these simple steps, you can make your own shredded paper for beautiful and professional-looking gift baskets. Not only will you have an eco-friendly and cost-effective solution, but you’ll also add a personal touch to your gift-giving experience.
So next time you’re preparing a gift basket, take the time to make your own shredded paper—it’s a small detail that can make a big difference.
Happy shredding!
Conclusion
Congratulations! You have now learned how to make shredded paper for gift baskets. By following the simple steps outlined in this guide, you can create beautiful and professional-looking shredded paper using just a few materials.
Not only is making your own shredded paper a cost-effective solution, but it is also an eco-friendly way to repurpose old newspapers or unwanted documents. You are contributing to reducing waste while adding a personal touch to your gift-giving.
Remember to gather the necessary materials, tear the paper into strips, choose your preferred shredding method, shred the paper with either a paper shredder or scissors, and collect and store the shredded paper in a cool, dry place.
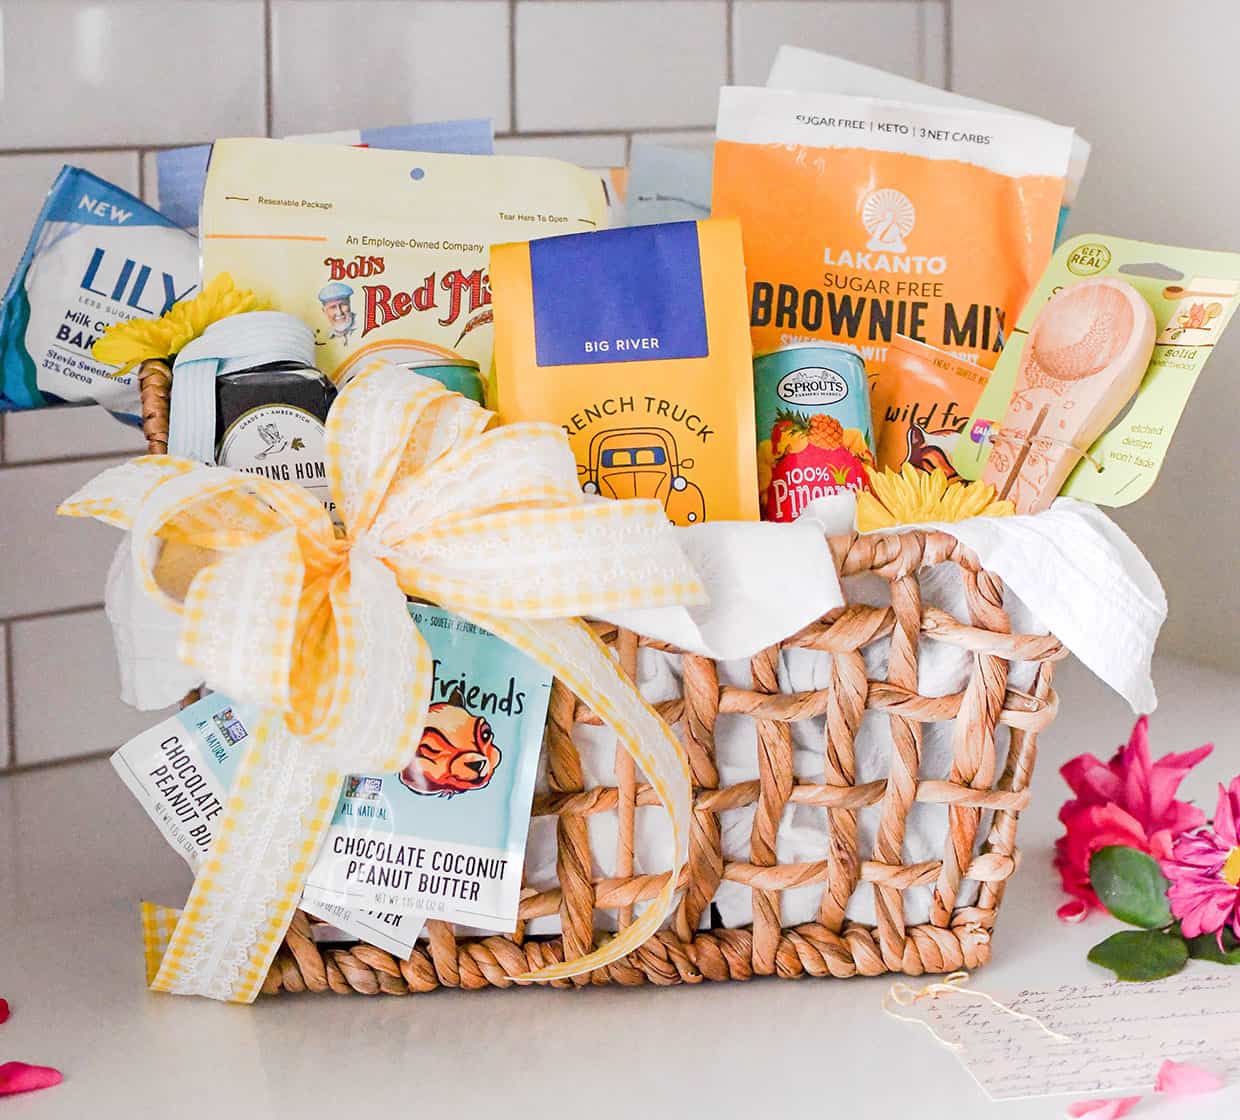
With your shredded paper ready, you can now add it to your gift baskets, providing an attractive and protective layer for your thoughtful gifts. The shredded paper adds texture, volume, and a professional touch to your gift presentations.
So, the next time you prepare a gift basket, take the time to make your own shredded paper—it’s a small detail that can make a big difference. Your recipients will appreciate the effort and attention to detail that you put into your gift-giving.
Thank you for reading our guide on how to make shredded paper for gift baskets. We hope you found it informative and helpful. Now go ahead and start creating stunning gift baskets with your very own homemade shredded paper!
Frequently Asked Questions about How To Make Shredded Paper For Gift Baskets
Was this page helpful?
At Storables.com, we guarantee accurate and reliable information. Our content, validated by Expert Board Contributors, is crafted following stringent Editorial Policies. We're committed to providing you with well-researched, expert-backed insights for all your informational needs.


0 thoughts on “How To Make Shredded Paper For Gift Baskets”