Home>Storage Ideas>Kitchen Storage>How To Clean A Cast-Iron Skillet So It Lasts Forever
Kitchen Storage
How To Clean A Cast-Iron Skillet So It Lasts Forever
Modified: February 22, 2024
Learn how to clean and maintain your cast-iron skillet with these easy kitchen storage ideas, ensuring it lasts for a lifetime.
(Many of the links in this article redirect to a specific reviewed product. Your purchase of these products through affiliate links helps to generate commission for Storables.com, at no extra cost. Learn more)
Introduction
Welcome to the ultimate guide on how to clean a cast-iron skillet and keep it in top-notch condition for a lifetime! Cast-iron skillets are beloved by many home cooks and professional chefs alike for their excellent heat distribution and unmatched durability. However, to ensure their longevity and optimum performance, proper cleaning and maintenance are crucial.
In this article, we will walk you through the step-by-step process of cleaning a cast-iron skillet, from washing away food residues to seasoning and storing it correctly. By following these techniques, you can maintain the seasoned surface, prevent rust, and enjoy the benefits of your cast-iron skillet for years to come.
Before we dive into the cleaning process, it is important to understand why cleaning a cast-iron skillet is important. Cast iron is susceptible to rust and can easily absorb flavors and odors from previous dishes. Cleaning the skillet after each use helps remove any food particles and prevents the buildup of grease and residue, ensuring your next meal is not tainted with off-flavors.
To get started, let’s gather the supplies you’ll need:
- Warm water
- Mild dish soap
- Sponge or soft-bristle brush
- Paper towels or clean cloth
- Vegetable oil or cast iron conditioner
With these supplies at hand, we can move on to the first step of washing the skillet. So, let’s get started!
Key Takeaways:
- Properly cleaning and seasoning your cast-iron skillet is essential to prevent rust, remove food residues, and maintain its nonstick properties, ensuring a lifetime of delicious and well-cooked meals.
- By following the step-by-step cleaning process and proper storage guidelines, you can preserve your cast-iron skillet for generations, turning it into a cherished heirloom in your kitchen.
Read more: How To Store A Cast Iron Skillet
Why Cleaning a Cast-Iron Skillet is Important
Properly cleaning a cast-iron skillet is essential for maintaining its integrity and ensuring its longevity. There are several reasons why cleaning is important:
- Preventing Rust: Cast iron is prone to rust if not properly cared for. When food particles and moisture are left on the skillet’s surface, they can oxidize and cause rust to form. Regular cleaning ensures that any moisture and food residues are removed, preventing rust from developing.
- Removing Food Residues: Cleaning a cast-iron skillet after each use is necessary to remove any leftover food particles. These residues can not only create an unappetizing environment for cooking but can also impact the taste and quality of future dishes. By thoroughly cleaning the skillet, you eliminate the risk of cross-contamination and ensure that each meal prepared in it is fresh and delicious.
- Preventing Flavor Transfer: Cast iron has a porous surface that can absorb flavors and odors. Failure to clean the skillet properly can result in the transfer of unwanted flavors from a previous dish to the next. This is especially problematic when cooking sweet or delicate dishes, as they can end up with a savory or off-putting taste. By cleaning the skillet thoroughly, you maintain its neutral flavor and avoid any flavor transfer.
- Preserving the Seasoning: Seasoning is a crucial step in maintaining a cast-iron skillet’s nonstick properties and preventing rust. Seasoning forms a protective layer on the skillet’s surface, enhancing its natural nonstick properties and making it easier to cook with. However, improper cleaning techniques can strip away this seasoning layer. By cleaning the skillet correctly, you can preserve and even enhance the seasoning, ensuring a smooth cooking surface.
- Ensuring Optimal Performance: A clean cast-iron skillet performs better in terms of heat distribution and retention. Food is less likely to stick to a clean surface, making cooking and cleaning up a breeze. By keeping your skillet clean, you can enjoy consistent cooking results and a more enjoyable cooking experience overall.
Now that you understand the importance of cleaning a cast-iron skillet, let’s move on to the step-by-step cleaning process to ensure your skillet remains in excellent condition!
Supplies Needed
Before we start cleaning the cast-iron skillet, let’s gather all the necessary supplies. Here’s what you’ll need:
- Warm water: You’ll need warm water for cleaning the skillet. Avoid using hot water, as it can cause the skillet to warp or crack.
- Mild dish soap: Choose a gentle dish soap that is free from harsh chemicals and fragrances. This will help remove any stubborn food particles without damaging the skillet’s seasoning.
- Sponge or soft-bristle brush: Use a non-abrasive sponge or a soft-bristle brush to scrub the skillet. Avoid using steel wool or metal scrubbers, as they can scratch the surface of the cast iron.
- Paper towels or clean cloth: Keep some paper towels or a clean cloth nearby for drying the skillet after cleaning.
- Vegetable oil or cast iron conditioner: After cleaning, the skillet needs to be seasoned to maintain its nonstick properties and prevent rust. You can use vegetable oil or a cast iron conditioner specifically designed for this purpose.
Having these supplies ready will ensure a smooth and effective cleaning process for your cast-iron skillet.
Now that we have everything we need, let’s move on to the step-by-step process of cleaning and maintaining your cast-iron skillet!
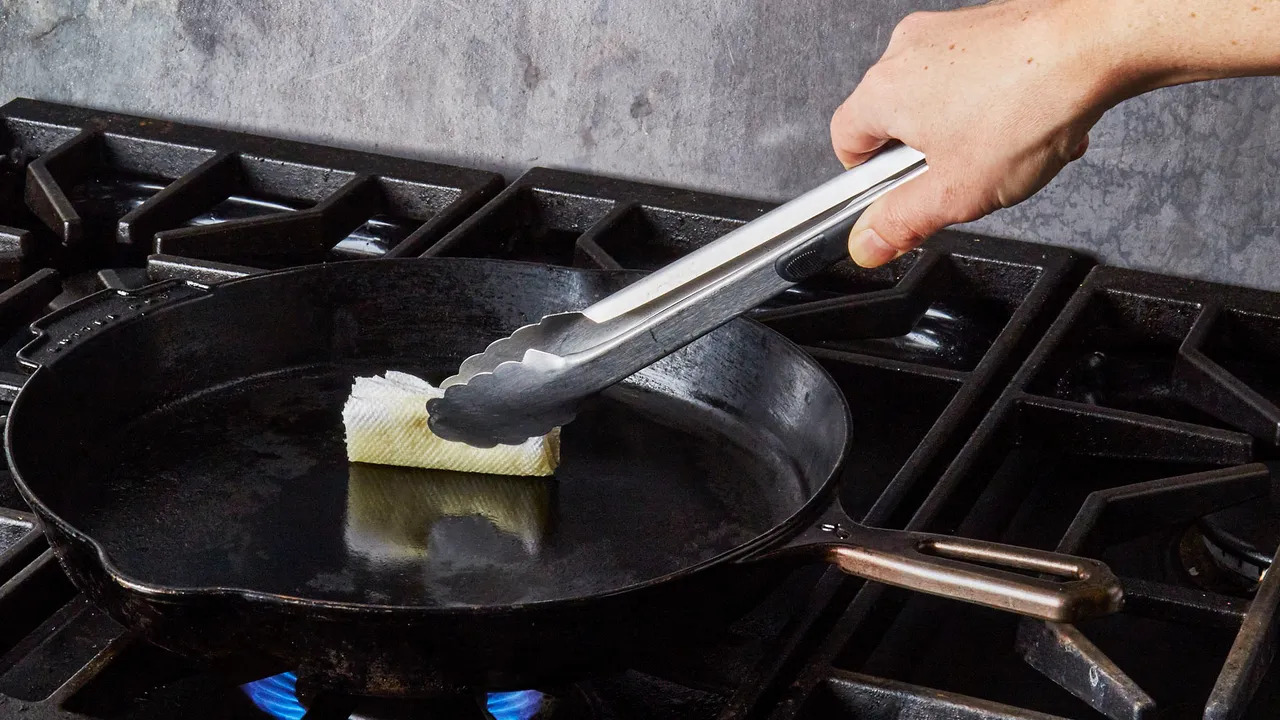
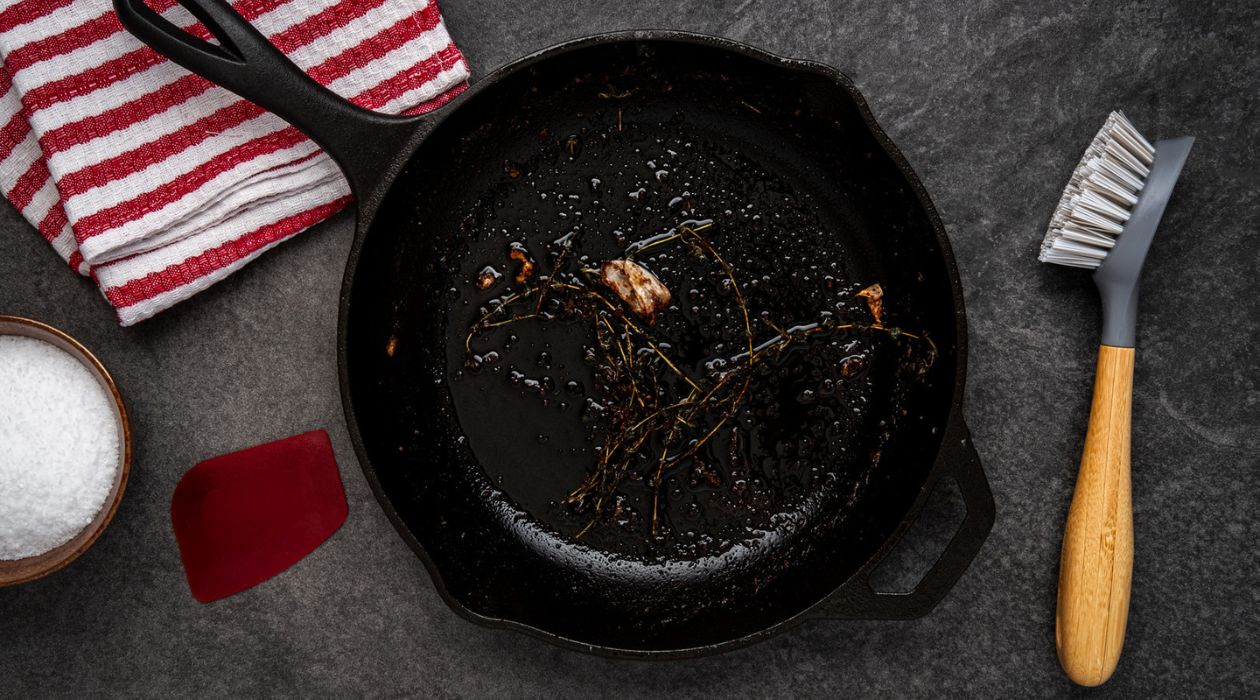
Step 1: Washing the Skillet
The first step in cleaning your cast-iron skillet is to wash away any food residues and debris. Follow these simple instructions:
- Start by rinsing the skillet under warm water. Avoid using hot water, as it can damage the skillet’s surface.
- If there are any stubborn food particles stuck to the skillet, use a soft-bristle brush or sponge to gently scrub them away. Make sure to be thorough but gentle to avoid damaging the seasoning.
- If the food residues are particularly stubborn, you can add a small amount of mild dish soap to the brush or sponge. However, be cautious not to use too much soap, as it can strip away the skillet’s seasoning.
- Continue scrubbing the skillet, paying special attention to any areas with stubborn residue. If necessary, you can let the skillet soak in warm, soapy water for a few minutes to loosen tough food particles.
- Once you’ve thoroughly cleaned the skillet, rinse it under warm water to remove any soap residue.
Remember, the goal of this step is to remove any food residues and debris, so take your time and ensure that the skillet is completely clean.
Now that the skillet is clean, it’s time to move on to the next step: removing stubborn stains and build-up.
Step 2: Removing Stubborn Stains
In this step, we’ll focus on removing any stubborn stains or build-up that may be lingering on your cast-iron skillet. Here’s how you can effectively tackle these tough spots:
- If there are any stubborn stains or residues on the skillet’s surface, sprinkle a generous amount of coarse salt or baking soda onto the affected area.
- Using a damp sponge or soft-bristle brush, gently scrub the salt or baking soda into the stains. The abrasive action of the salt or baking soda helps to lift and remove the stubborn residue.
- If needed, you can add a few drops of water to the salt or baking soda to form a paste, which can be more effective in removing tough stains.
- Continue scrubbing until the stains or build-up are loosened and no longer visible. Be patient and thorough during this process.
- Once the stains are removed, rinse the skillet under warm water, ensuring that all the salt or baking soda residue is completely washed away.
By following these steps, you can effectively remove stubborn stains and build-up from your cast-iron skillet, restoring its clean and pristine appearance.
Now that your skillet is free from any stains or residues, it’s time to move on to drying and seasoning it in the next steps!
After cooking, use a paper towel to wipe out excess oil and food particles. Then, use a stiff brush and hot water to scrub the skillet, avoiding soap. Dry thoroughly and rub with a thin layer of oil to prevent rust.
Read more: How To Store Cast Iron Skillet
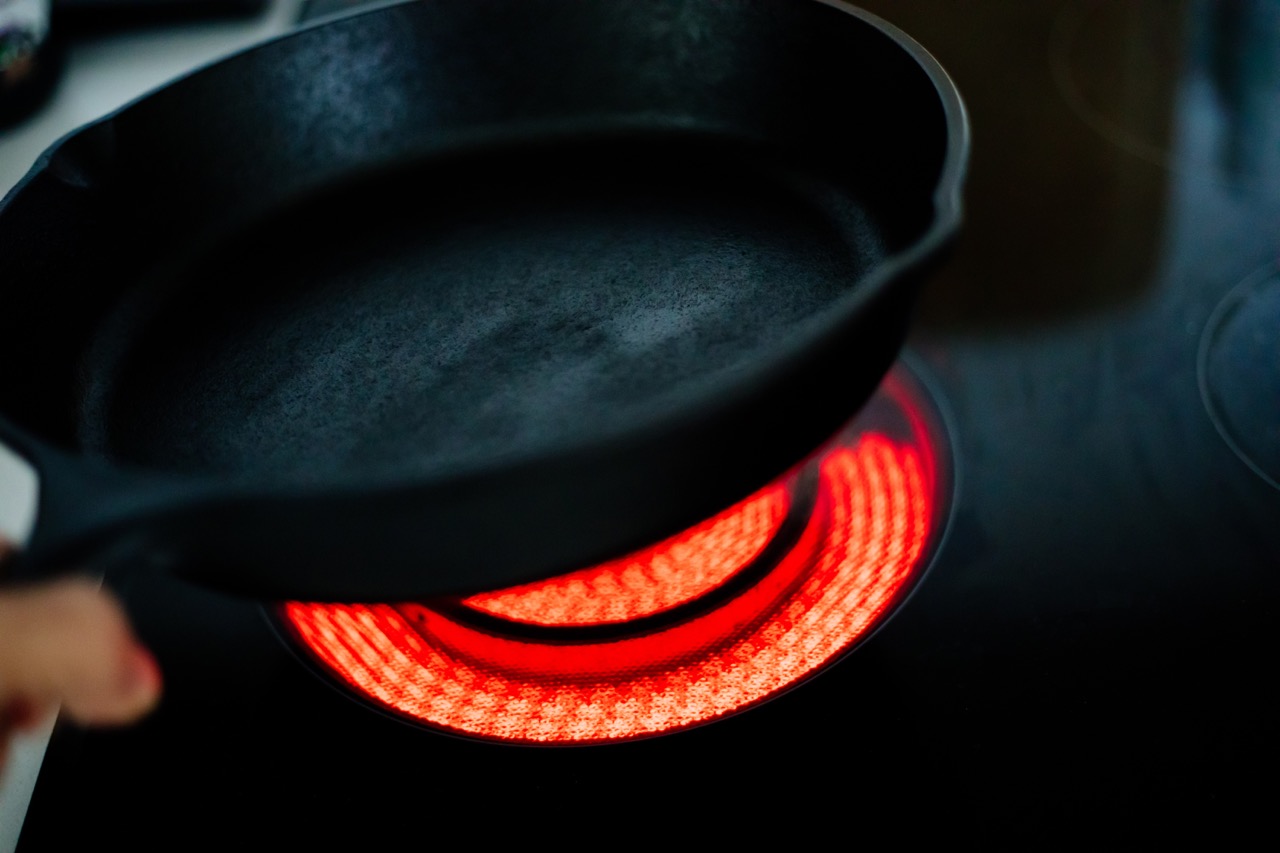
Step 3: Drying the Skillet
Properly drying your cast-iron skillet is crucial to prevent any moisture from causing rust. Follow these steps to ensure that your skillet is thoroughly dried:
- Using a clean cloth or paper towels, gently pat the skillet dry. Make sure to remove any excess water from the surface.
- Place the skillet on a stovetop burner and turn the heat to low. This will help evaporate any remaining moisture from the skillet.
- Allow the skillet to heat up for a few minutes, ensuring that all the water has evaporated. You can tilt the skillet to check for any signs of moisture. If you notice any water droplets, continue heating until they evaporate completely.
- Once the skillet is completely dry, turn off the heat and carefully remove it from the burner. Be cautious as the handle may still be hot.
- Let the skillet cool down completely before moving on to the next step. It’s important to ensure that the skillet is at room temperature before proceeding to avoid any potential damage to the skillet or seasoning.
By properly drying your cast-iron skillet, you eliminate the risk of rust and ensure that it stays in pristine condition.
Now that your skillet is dry, it’s time to move on to the critical step of seasoning it in order to maintain its nonstick properties and protect it from rust.
Step 4: Seasoning the Skillet
Seasoning is a vital step in maintaining the nonstick surface of your cast-iron skillet and protecting it from rust. Here’s how you can properly season your skillet:
- Preheat your oven to 400°F (200°C) to prepare for seasoning.
- Using a clean cloth or a paper towel, apply a small amount of vegetable oil or a cast iron conditioner to the entire surface of the skillet, including the handle.
- Make sure to coat the skillet evenly with a thin layer of oil, as excessive oil may result in a sticky residue.
- Wipe off any excess oil from the skillet. You want a thin, even layer of oil on the surface.
- Place the skillet upside down on the middle rack of the preheated oven. Placing it upside down allows any excess oil to drip off and prevents pooling inside the skillet.
- Let the skillet bake in the oven for about an hour. This process allows the oil to polymerize and form a protective layer on the skillet’s surface.
- After an hour, turn off the oven and let the skillet cool down slowly inside the oven. This gradual cooling helps to further strengthen the seasoning.
- Once the skillet has cooled completely, it is now properly seasoned and ready to use. The more you cook with your cast-iron skillet, the better the seasoning will become.
Remember to periodically repeat the seasoning process to maintain the nonstick surface and protect your skillet from rust. The more you use and season your cast-iron skillet, the more seasoned and durable it will become.
Congratulations! Your cast-iron skillet is now seasoned and ready to be stored properly.
Step 5: Storing the Skillet
Properly storing your cast-iron skillet is essential to protect it and maintain its seasoned surface. Follow these guidelines to ensure the longevity of your skillet:
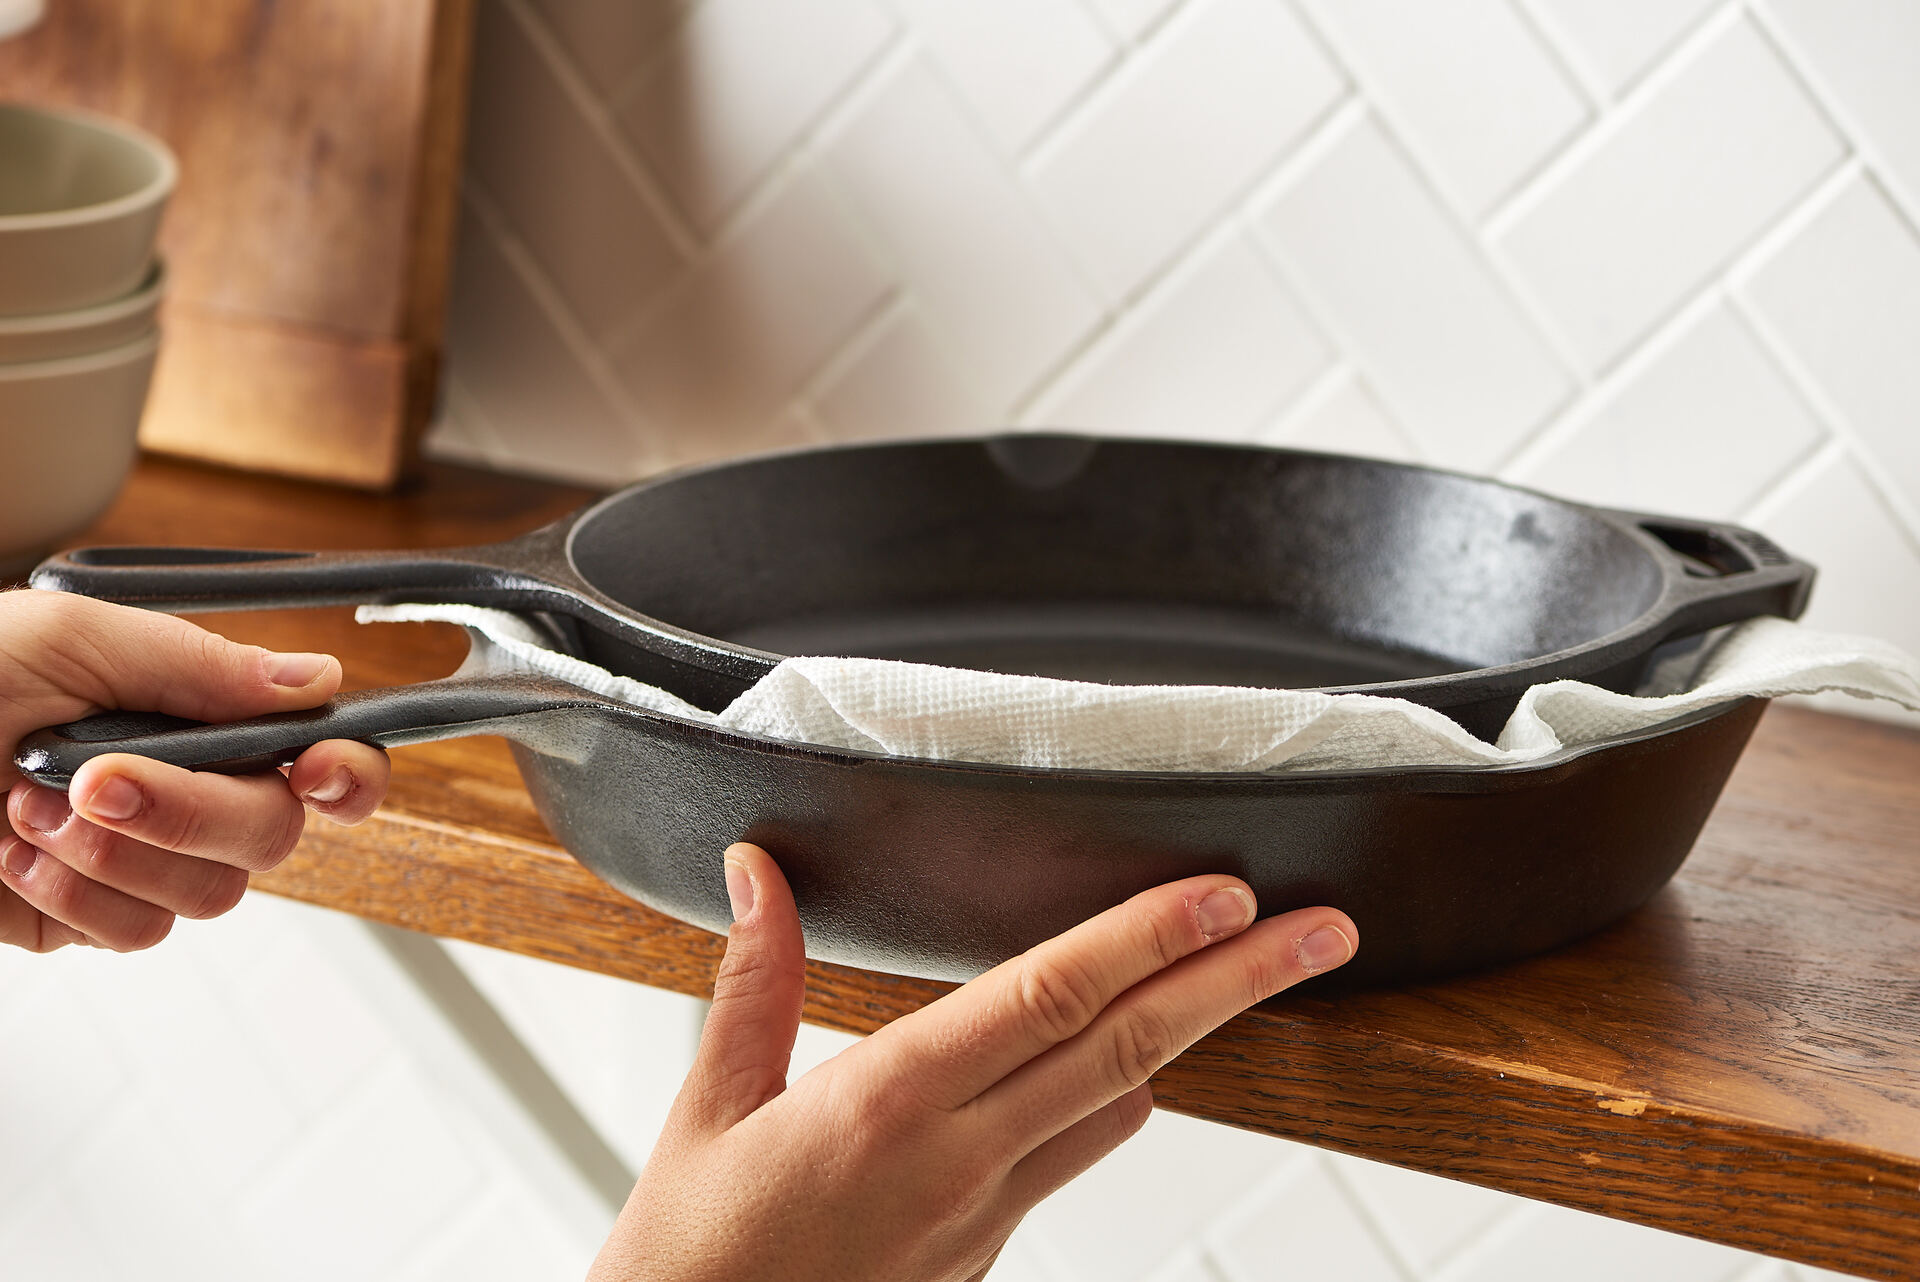
- Make sure the skillet is completely cool before storing it. Placing a hot skillet in a cool or damp environment can encourage the formation of rust.
- To prevent moisture build-up, place a paper towel or clean cloth inside the skillet. This will absorb any excess moisture and help prevent the formation of rust.
- Store the skillet in a dry and well-ventilated area. Avoid storing it in a humid environment, such as under the sink or in a basement, as the moisture can lead to rust formation.
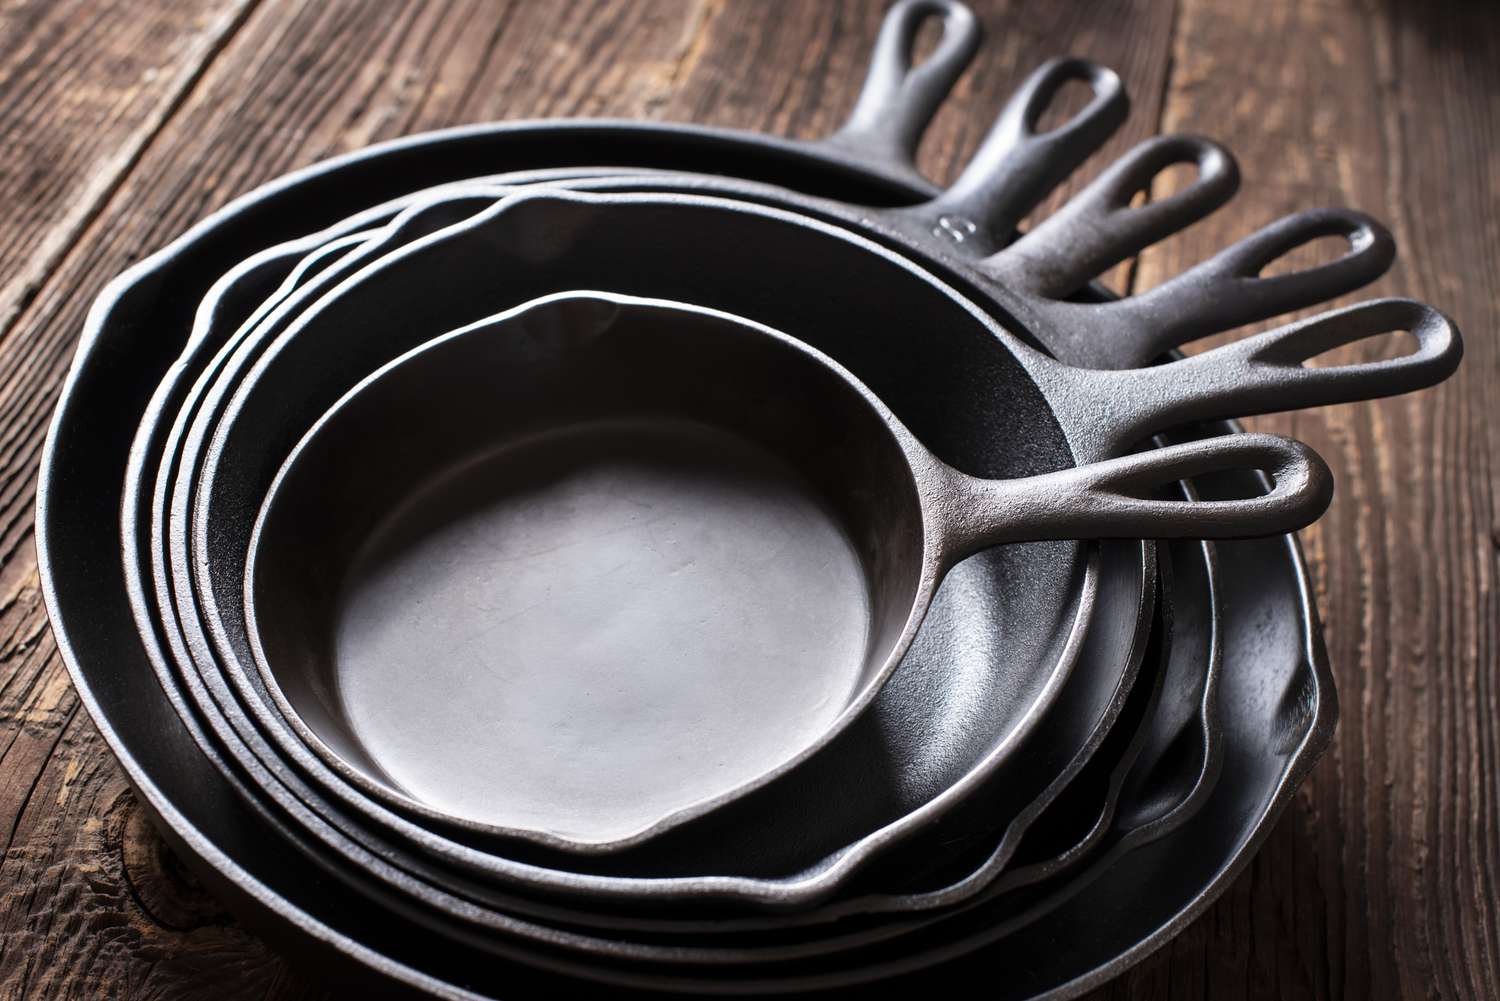
- If stacking multiple skillets or pans, place a paper towel or a piece of parchment paper between each piece to prevent scratching or damaging the seasoning.
- Avoid nesting skillets with their lids or other cookware directly on top. This can create pressure points and potentially damage the seasoning or cause the skillets to stick together.
- If your skillet has a lid, store it separately or place a layer of paper towel between the lid and the skillet to prevent moisture from getting trapped.
- Regularly inspect your stored skillet for any signs of rust or seasoning deterioration. If you notice any issues, re-season the skillet before using it again.
By following these storage practices, you can keep your cast-iron skillet in optimal condition and ready for your next cooking adventure.
With proper cleaning, seasoning, and storage, your cast-iron skillet can last for generations, becoming a cherished heirloom in your kitchen.
Now that you’ve mastered the art of cleaning and maintaining a cast-iron skillet, you can enjoy the benefits of this versatile cookware for many delicious meals to come!
Conclusion
Congratulations! You have now learned how to clean, maintain, and store your cast-iron skillet, ensuring its longevity and optimal performance. By following these steps, you can enjoy the benefits of cooking with a well-seasoned cast-iron skillet for years to come.
Remember, cleaning your cast-iron skillet after each use is crucial to remove food residues, prevent rust, and maintain the skillet’s neutral flavor. Use warm water, mild dish soap if necessary, and a sponge or soft-bristle brush to gently scrub the skillet. Dry the skillet thoroughly by patting it with a clean cloth or paper towels and then heat it on the stove to evaporate any remaining moisture.
Don’t forget the importance of seasoning your cast-iron skillet to maintain its nonstick properties and protect it from rust. Apply a thin layer of vegetable oil or cast iron conditioner to the skillet’s surface, then bake it in the oven to create a protective seasoning layer.
When it comes to storing your skillet, make sure it is completely cool before placing it in a dry and well-ventilated area. Prevent moisture build-up by placing a paper towel or cloth inside the skillet, and avoid stacking skillets or nesting them with lids or other cookware.
Regularly inspect your stored skillet for any signs of rust or seasoning deterioration, and re-season it if necessary before use.
By implementing these cleaning and maintenance practices, you will ensure that your cast-iron skillet remains in excellent condition, providing you with a reliable and versatile cooking tool for countless delicious meals.
Now it’s time to put your newly acquired knowledge into practice and start cooking up a storm with your perfectly cleaned and seasoned cast-iron skillet! Happy cooking!
Frequently Asked Questions about How To Clean A Cast-Iron Skillet So It Lasts Forever
Was this page helpful?
At Storables.com, we guarantee accurate and reliable information. Our content, validated by Expert Board Contributors, is crafted following stringent Editorial Policies. We're committed to providing you with well-researched, expert-backed insights for all your informational needs.


0 thoughts on “How To Clean A Cast-Iron Skillet So It Lasts Forever”