Home>Storage Ideas>Kitchen Storage>How To Clean A Water Bottle To Prevent Germs, Mold, And Buildup
Kitchen Storage
How To Clean A Water Bottle To Prevent Germs, Mold, And Buildup
Modified: December 7, 2023
Discover effective kitchen storage ideas
(Many of the links in this article redirect to a specific reviewed product. Your purchase of these products through affiliate links helps to generate commission for Storables.com, at no extra cost. Learn more)
Introduction
Welcome to our comprehensive guide on how to clean a water bottle effectively to prevent germs, mold, and buildup. Keeping your water bottle clean and hygienic is essential for your health and wellness. Drinking water from a dirty or contaminated bottle can lead to various health issues, including stomach infections and bacterial growth.
Regularly cleaning your water bottle not only helps to maintain its longevity but also ensures that you have a fresh and safe drinking experience every time. In this article, we will provide you with expert tips and step-by-step instructions on how to clean your water bottle properly.
We will discuss the importance of cleaning a water bottle and the potential risks associated with neglecting this simple yet crucial task. We will also provide you with a list of items you need to effectively clean your water bottle. From there, we will dive into the steps of cleaning your water bottle thoroughly to eliminate any germs, mold, and unpleasant buildup.
In addition to the basic cleaning process, we will also share some additional tips for maintaining your water bottle’s cleanliness on a daily basis. These tips will help you keep your bottle fresh between deep cleaning sessions.
So, if you’re ready to learn how to make your water bottle sparkling clean and germ-free, let’s dive in and discover the best practices for cleaning and maintaining your water bottle!
Key Takeaways:
- Regularly cleaning your water bottle is crucial to prevent germs, mold, and buildup, ensuring a fresh and safe drinking experience while extending the bottle’s lifespan.
- Gather mild dish soap, hot water, a bottle brush, vinegar or baking soda, and a microfiber cloth for effective water bottle cleaning and maintenance.
Importance of Cleaning a Water Bottle
Regularly cleaning your water bottle is crucial for several reasons. Let’s explore the importance of keeping your water bottle clean:
1. Prevents Germs and Bacteria: Water bottles can quickly become a breeding ground for bacteria, especially if not cleaned regularly. When you drink from a contaminated bottle, harmful bacteria can enter your body, leading to potential health issues such as gastrointestinal infections. Cleaning your water bottle eliminates bacteria and helps prevent the risk of illness.
2. Controls Mold Growth: If your water bottle is not properly cleaned and dried after each use, it can become a moist environment ideal for mold growth. Mold can cause respiratory problems and allergic reactions. Regular cleaning and thorough drying of your bottle prevent the growth of mold.
3. Eliminates Odors and Unpleasant Taste: Over time, bacteria and buildup can cause your water bottle to develop an unpleasant odor and taste. Nobody wants to drink from a smelly or foul-tasting bottle. By cleaning your water bottle regularly, you can get rid of any lingering odors and maintain a fresh taste every time you take a sip.
4. Extends Lifespan of Your Bottle: Regular cleaning and maintenance can help extend the lifespan of your water bottle. Proper care prevents discoloration, stains, and deterioration of the materials, keeping your bottle looking and performing its best for a longer time.
5. Hygiene and Peace of Mind: Knowing that your water bottle is clean and free from germs can provide you with peace of mind. Whether you’re hiking, going to the gym, or simply carrying your bottle around town, you can drink confidently, knowing that you’re not putting your health at risk.
In summary, cleaning your water bottle is vital for your health, preventing the growth of germs, mold, and unpleasant buildup. It also ensures that you enjoy fresh-tasting water and extends the lifespan of your bottle. Now that we understand the importance of cleaning, let’s move on to the items you’ll need to effectively clean your water bottle.
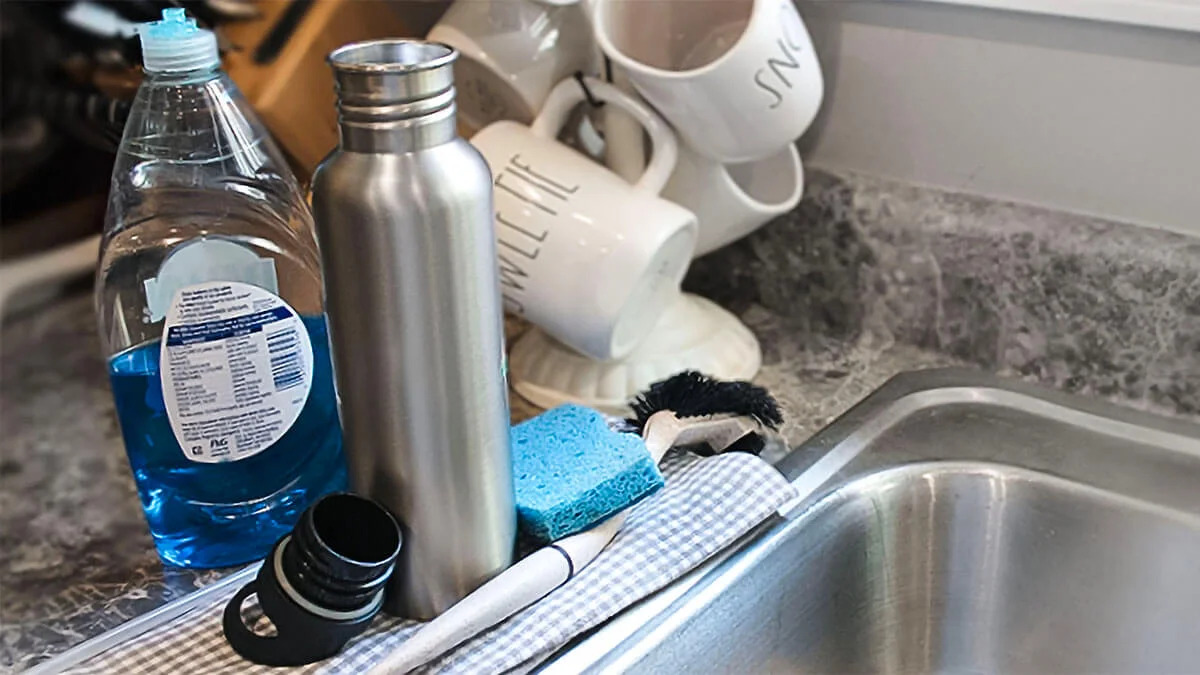
Items Needed for Cleaning
Before you dive into cleaning your water bottle, gather the following items to ensure an effective and thorough cleaning process:
- Mild Dish Soap: Choose a gentle dish soap that is free from harsh chemicals and fragrances. This will help remove dirt, bacteria, and odors without leaving any residues or affecting the taste of your water.
- Hot Water: Hot water is essential for cleaning your water bottle effectively. It helps to loosen dirt and kill bacteria. However, check the manufacturer’s guidelines to ensure your bottle can handle hot water.
- Bottle Brush: Invest in a long-handled bottle brush with soft bristles. This will allow you to reach all the nooks and crannies of your water bottle, ensuring a thorough cleaning.
- Vinegar or Baking Soda: For tough stains or odors, vinegar or baking soda can be useful. These natural ingredients have antimicrobial properties and can help eliminate stubborn buildup in your water bottle.
- Microfiber Cloth or Towel: A microfiber cloth or towel is ideal for drying your water bottle after cleaning. It is absorbent and gentle, preventing scratches or damages to the bottle’s surface.
- Optional: Bottle Sterilizing Tablets: If you want an extra level of cleanliness, you may consider using bottle sterilizing tablets. These tablets dissolve in water and effectively kill bacteria and germs.
Having these items ready will make the cleaning process efficient and ensure that you have everything you need to properly sanitize your water bottle. Now that you’ve gathered the necessary tools, let’s move on to the step-by-step process of cleaning your water bottle.
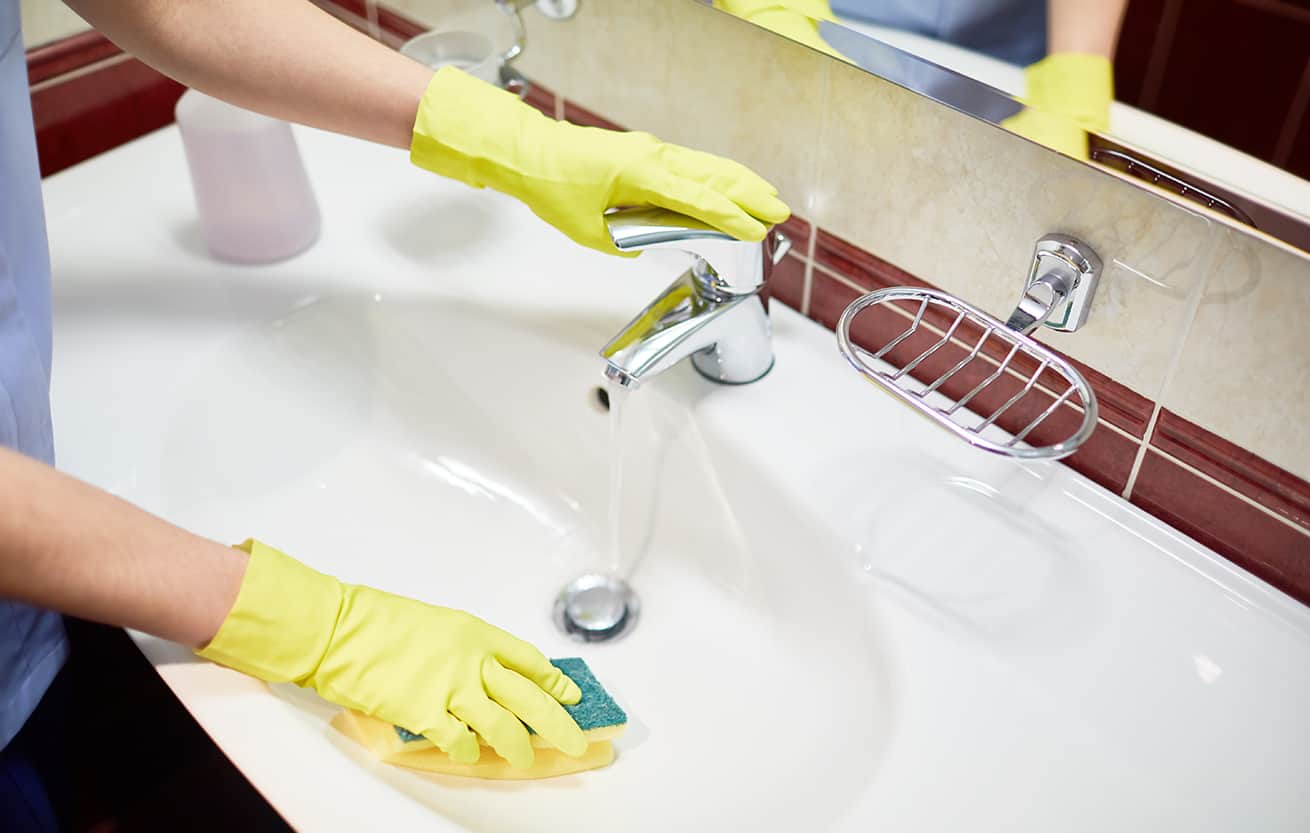
After each use, wash your water bottle with hot, soapy water and a bottle brush. Allow it to air dry completely before sealing it to prevent mold and bacteria growth.
Steps to Clean a Water Bottle
Follow these step-by-step instructions to clean your water bottle effectively and maintain its hygiene:
- Empty and Rinse: Empty any remaining water or liquid from your water bottle and give it a quick rinse with warm water.
- Add Dish Soap: Squirt a small amount of mild dish soap into the bottle. The amount will depend on the size of your bottle. Use enough to create a soapy solution.
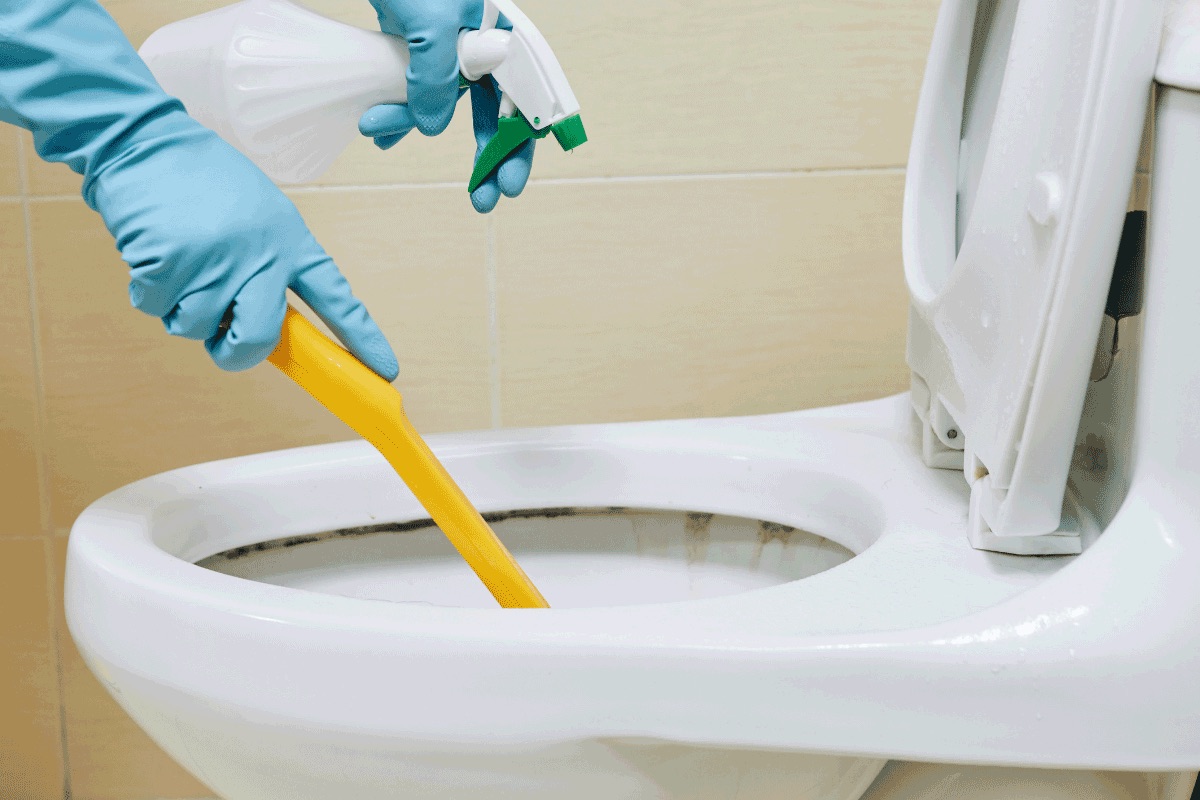
- Scrub the Inside: Use a long-handled bottle brush to scrub the inside of your water bottle. Pay attention to the bottom, sides, and mouthpiece. Focus on areas that may have buildup or residue. Ensure that you reach every corner and crevice.
- Pay Attention to the Mouthpiece: If your water bottle has a mouthpiece or straw, make sure to clean it thoroughly. Use the bottle brush to scrub these areas. Alternatively, you can use a pipe cleaner or a small brush specifically designed for cleaning straws.
- Don’t Forget the Exterior: Clean the exterior of your water bottle by wiping it with a soapy sponge or cloth. Pay attention to areas that come into contact with your hands, such as the cap or lid. Rinse the exterior afterward to remove any soap residue.
- Rinse Thoroughly: Rinse your water bottle thoroughly with hot water to remove any traces of soap. Ensure that you rinse both the inside and outside of the bottle. Running water through the mouthpiece or straw will help remove any soap residue from those areas as well.
- Optional: Use Vinegar or Baking Soda: For tough stains, odors, or stubborn buildup, you can create a cleaning solution with vinegar or baking soda. Fill your bottle a quarter of the way with hot water, then add a tablespoon of vinegar or baking soda. Let it sit for a few hours or overnight, then scrub and rinse as usual.
- Dry Thoroughly: After rinsing, use a microfiber cloth or towel to dry your water bottle completely. Ensure that no moisture is left behind, as it can promote the growth of bacteria or mold.
By following these steps, you can effectively clean your water bottle and eliminate any germs, mold, and buildup that may be present. Cleaning your water bottle regularly, ideally after each use, will help maintain its cleanliness and prolong its lifespan. But the cleaning process doesn’t end here — let’s explore some additional tips for proper maintenance.
Additional Tips for Maintenance
Proper maintenance of your water bottle goes beyond just cleaning it. Here are some additional tips to help you maintain the cleanliness and longevity of your water bottle:
- Regularly Clean the Cap and Lid: The cap and lid of your water bottle can harbor bacteria and odors. Make sure to clean them thoroughly during the cleaning process. If your bottle has a removable cap or lid, disassemble it and clean each part separately.
- Avoid Harsh Chemicals: While cleaning your water bottle, refrain from using harsh chemicals or bleach. These substances can leave residues and may be harmful if ingested. Stick to mild dish soap and natural cleaning agents like vinegar or baking soda.
- Avoid Submerging Insulated Bottles: If you have an insulated water bottle, avoid fully submerging it in water. Instead, focus on cleaning the inside and outside of the bottle without immersing it completely. Submerging insulated bottles may damage their insulation properties.
- Store Your Bottle Properly: When not in use, store your water bottle in a clean and dry place. Avoid storing it in places with excessive heat or moisture, as it can promote bacterial growth or mold formation.
- Avoid Freezing or Microwaving: Unless specified by the manufacturer, avoid freezing or microwaving your water bottle. Extreme temperatures can cause damage to the bottle and affect its performance.
- Inspect Regularly: Periodically inspect your water bottle for any signs of wear and tear, such as cracks, leaks, or discoloration. If you notice any damage, it may be time to replace your bottle to ensure your safety and hygiene.
- Replace Parts When Necessary: If your water bottle has replaceable parts, such as lids or straws, make sure to replace them as needed. Over time, these components can wear out or accumulate bacteria, compromising the cleanliness of your bottle.
- Stay Hydrated: Lastly, don’t forget to stay hydrated by regularly drinking from your clean water bottle. Hydration is essential for overall health and well-being.
By following these maintenance tips, you can ensure that your water bottle remains clean, safe, and in optimal condition for a long time.
Now that you have a thorough understanding of how to clean and maintain your water bottle, you can enjoy fresh and safe drinking water anytime, anywhere. Remember, regular cleaning and proper maintenance are key to keeping your water bottle germ-free and your hydrating experience enjoyable. Cheers to a clean and refreshing water bottle!
Read more: How To Prevent Mold In Closet
Conclusion
Cleaning your water bottle should never be overlooked. Regular cleaning and maintenance are critical for preventing the growth of bacteria, mold, and unpleasant buildup. By following the steps outlined in this guide, you can effectively clean your water bottle and ensure that it remains hygienic and safe to use.
We discussed the importance of keeping your water bottle clean, highlighting the risks associated with neglecting this simple task. From preventing germs and controlling mold growth to eliminating odors and extending the lifespan of your bottle, proper cleaning practices are essential for your health and wellness.
Remember to gather the necessary items such as mild dish soap, hot water, a bottle brush, vinegar or baking soda (for tough stains), and a microfiber cloth to facilitate a thorough cleaning process. These tools will help you effectively remove dirt, bacteria, and odors from both the inside and outside of your water bottle.
In addition to the cleaning process, we provided you with additional tips for proper maintenance. This includes regular inspection for damages, avoiding harsh chemicals, storing your bottle properly, and replacing parts as needed.
By implementing these cleaning and maintenance practices, you can enjoy a fresh-tasting, germ-free, and long-lasting water bottle. Stay hydrated, stay healthy!
Thank you for reading our comprehensive guide on how to clean a water bottle. We hope you found this information helpful and practical. Remember, a clean water bottle leads to a refreshing and safe drinking experience. So, take the time to clean your water bottle regularly, and enjoy the benefits of a clean and hygienic hydration companion.
Frequently Asked Questions about How To Clean A Water Bottle To Prevent Germs, Mold, And Buildup
Was this page helpful?
At Storables.com, we guarantee accurate and reliable information. Our content, validated by Expert Board Contributors, is crafted following stringent Editorial Policies. We're committed to providing you with well-researched, expert-backed insights for all your informational needs.

0 thoughts on “How To Clean A Water Bottle To Prevent Germs, Mold, And Buildup”