Home>Storage Ideas>Living Room Storage>How To Clean A Faucet Head To Remove Buildup And Hard Water Spots
Living Room Storage
How To Clean A Faucet Head To Remove Buildup And Hard Water Spots
Modified: January 6, 2024
Learn how to clean a faucet head and get rid of buildup and hard water spots. Discover effective methods and products for maintaining the cleanliness of your living room storage.
(Many of the links in this article redirect to a specific reviewed product. Your purchase of these products through affiliate links helps to generate commission for Storables.com, at no extra cost. Learn more)
Introduction
Welcome to our comprehensive guide on how to clean a faucet head to remove buildup and hard water spots. Your faucet is an essential part of your kitchen or bathroom, providing you with a steady stream of water at your convenience. However, over time, your faucet head can accumulate mineral deposits, limescale, and other buildup from hard water, resulting in reduced water flow and unappealing stains.
Cleaning your faucet head regularly not only ensures optimal water flow but also helps maintain its appearance. In this article, we will provide you with a step-by-step guide on how to effectively clean your faucet head and eliminate stubborn hard water spots. So let’s dive in!
Key Takeaways:
- Regularly cleaning your faucet head with white vinegar and lemon juice can restore water flow, prevent bacterial growth, and maintain a sparkling appearance, ensuring a pleasant and efficient user experience.
- Prevent future buildup on your faucet head by wiping it after each use, using water softeners or filters, and incorporating regular maintenance practices, ensuring a clean and functional faucet for years to come.
Read more: How To Remove Hard Water From Faucet
Why it’s Important to Clean Your Faucet Head
Keeping your faucet head clean is crucial for several reasons. First and foremost, regular cleaning ensures optimal water flow. Over time, mineral deposits and sediment can build up inside the faucet head, leading to reduced water pressure and a restricted flow. By cleaning the faucet head, you can remove any buildup and restore the water flow to its original strength.
Furthermore, cleaning your faucet head helps maintain the overall appearance of your kitchen or bathroom. Hard water spots, limescale, and soap scum can accumulate on the surface of the faucet head, making it look dull and dirty. Regular cleaning can help remove these unsightly stains and keep your faucet looking sparkling clean.
Another important reason to clean your faucet head is to prevent bacterial growth. Moisture and leftover soap residue can create a favorable environment for bacteria to thrive. By regularly cleaning and disinfecting your faucet head, you can eliminate potential health hazards and ensure the water you use for cooking and hygiene is as clean and safe as possible.
Additionally, maintaining a clean faucet head can prolong its lifespan. The accumulation of mineral deposits and sediment can cause internal damage to the faucet, leading to leaks or other malfunctions. By keeping your faucet head clean, you can prevent these issues and extend the overall longevity of your faucet.
Lastly, a clean faucet head can contribute to a more pleasant and enjoyable user experience. There’s nothing more frustrating than dealing with a faucet that has reduced water flow or leaves stains on your dishes or sink. By regularly cleaning the faucet head, you can ensure a smooth and efficient water flow, making your daily tasks in the kitchen or bathroom much more convenient.
Now that we understand the importance of cleaning your faucet head, let’s move on to the tools and materials you’ll need to get the job done.
Tools and Materials Needed
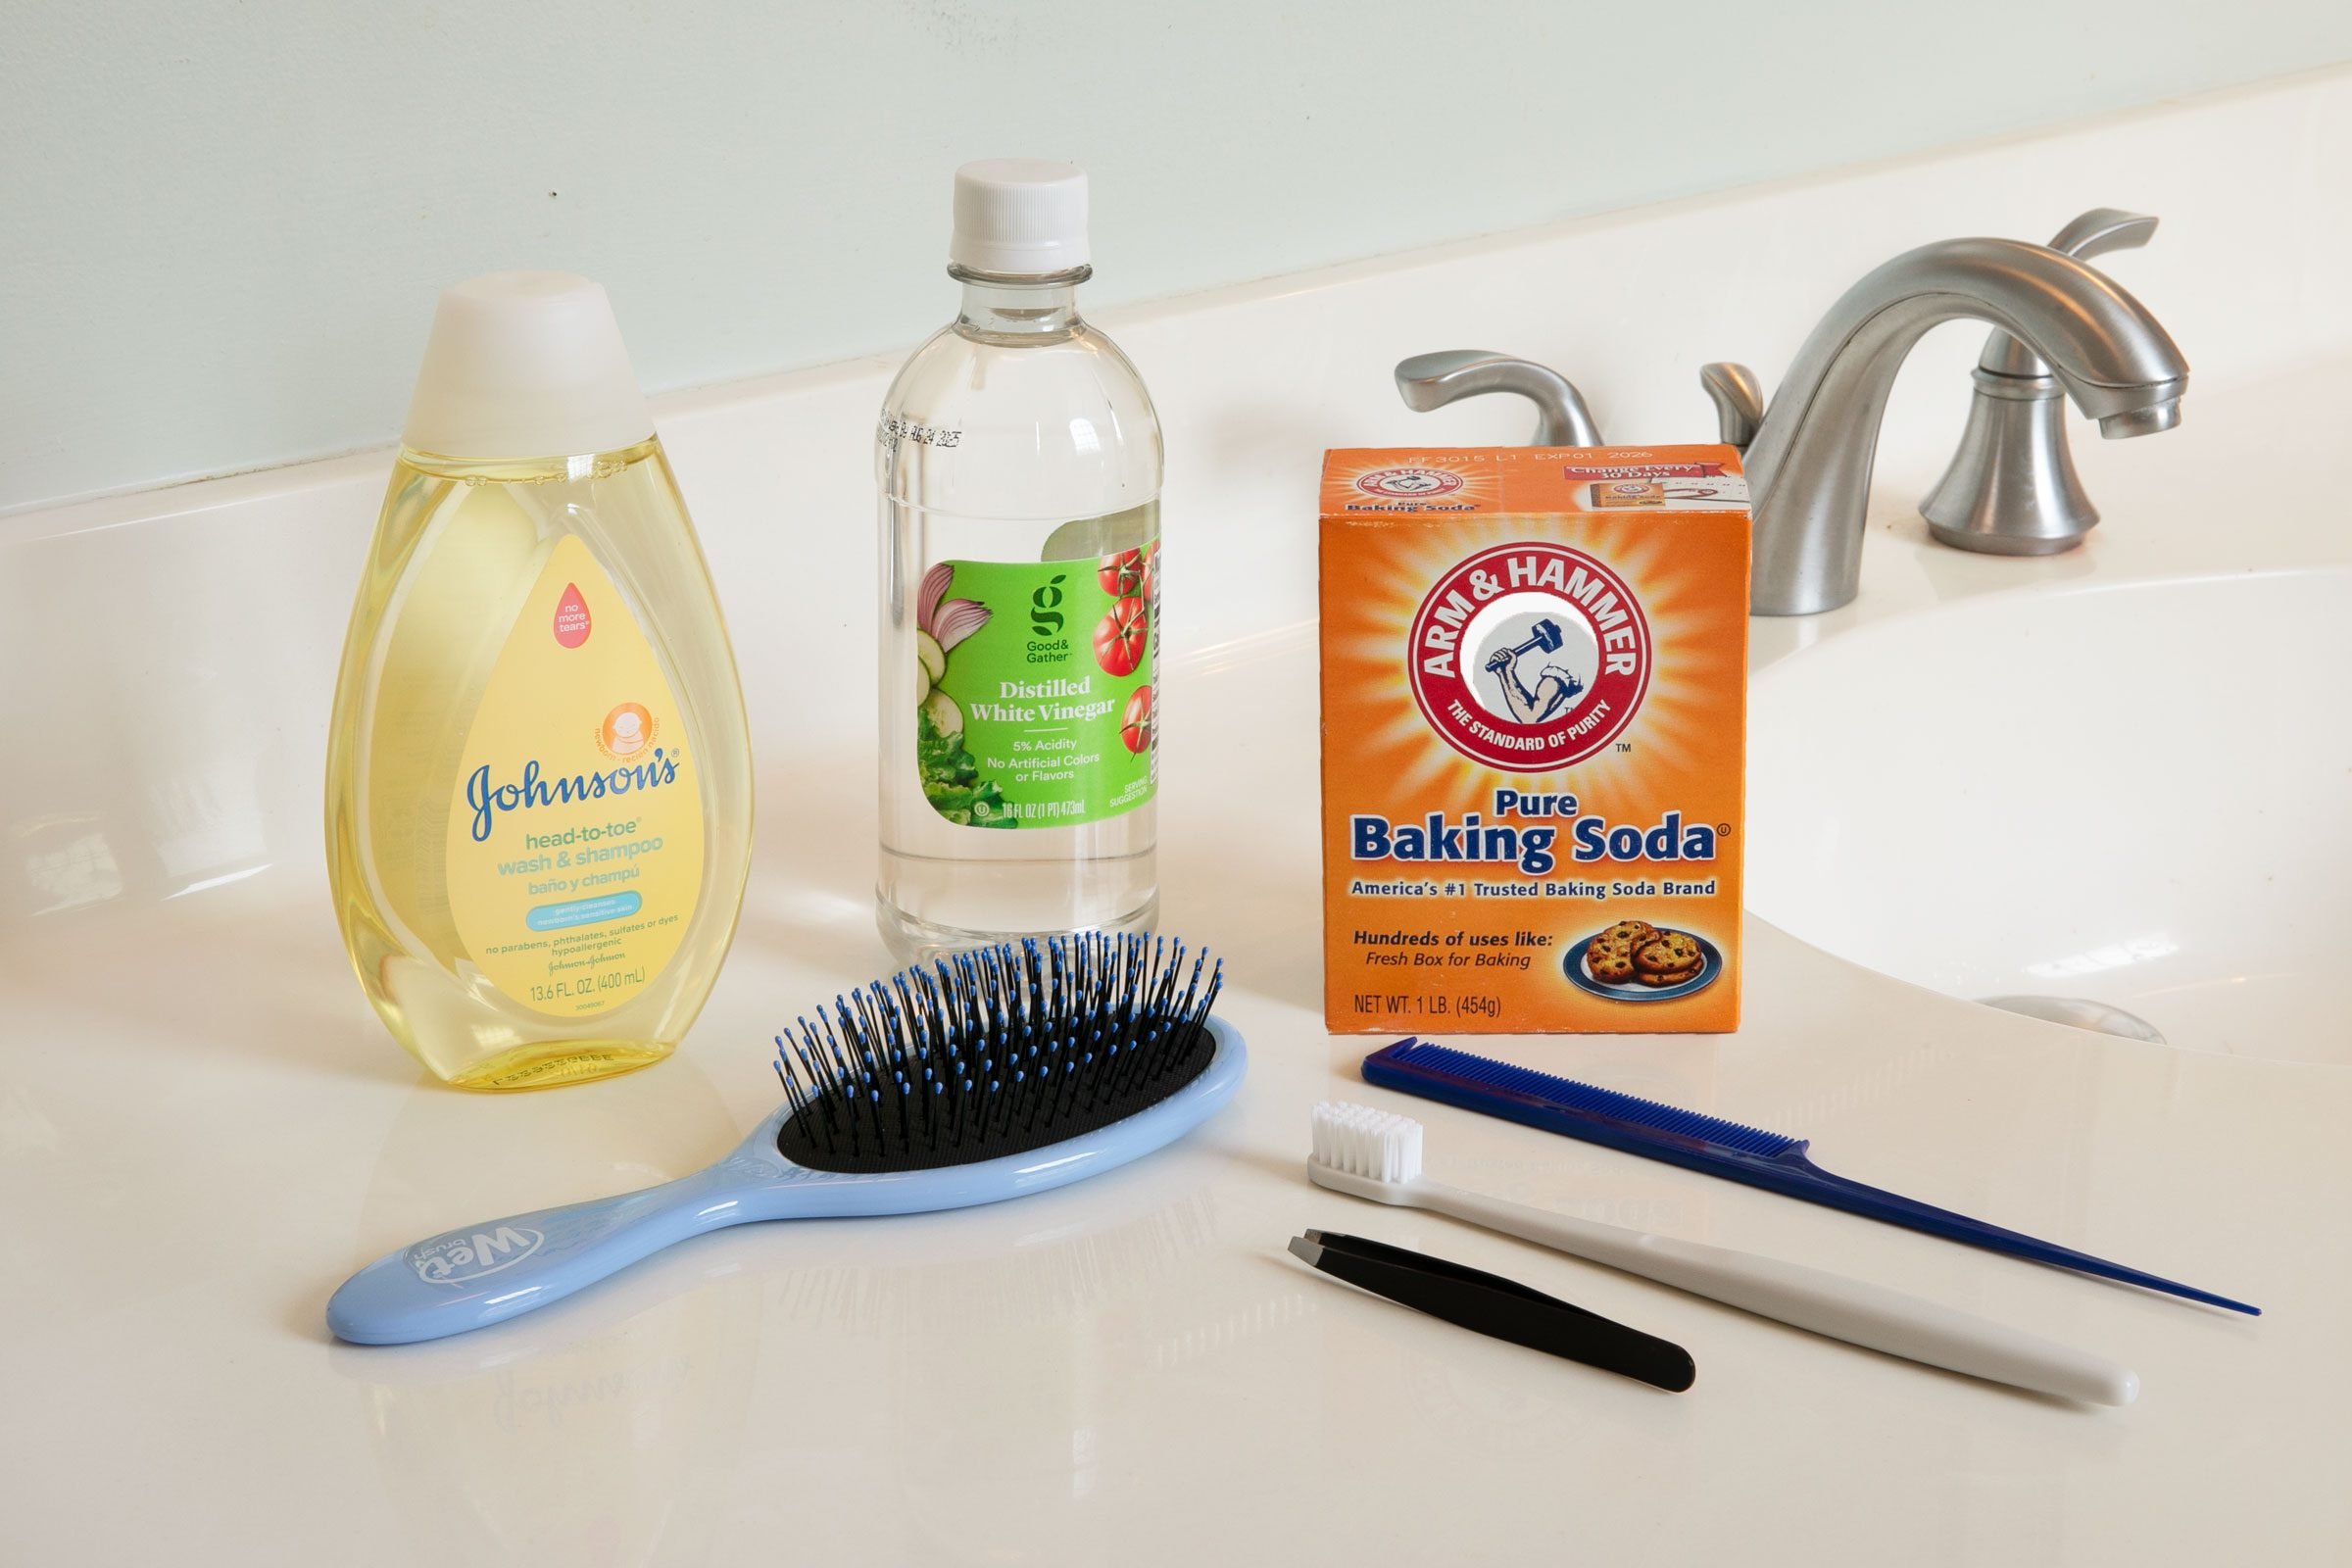
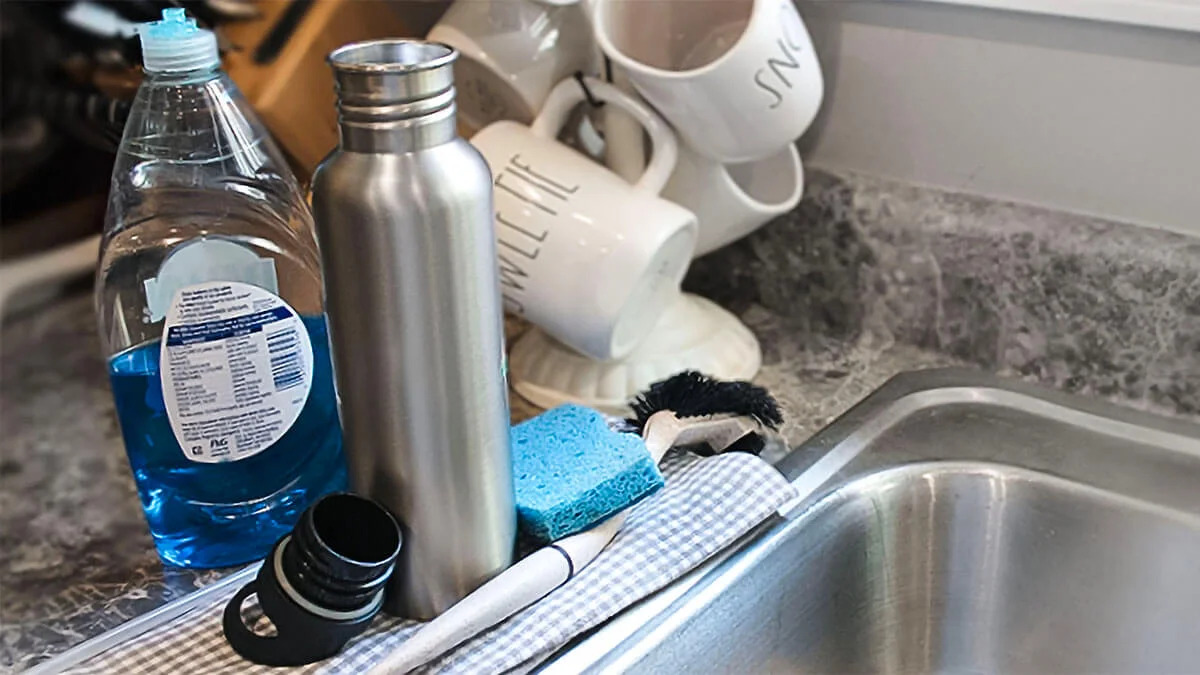
Before you begin cleaning your faucet head, gather the following tools and materials:
- Clean cloth or sponge
- White vinegar
- Lemon juice (optional)
- Toothbrush or small cleaning brush
- Adjustable wrench or pliers (if necessary)
- Bowl or bucket
- Tape or rubber band (optional)
The clean cloth or sponge will be used to wipe down the exterior of the faucet head and remove any surface grime. Make sure it’s a soft cloth or sponge to avoid scratching the faucet’s finish.
White vinegar is an effective and natural cleaning agent that helps dissolve mineral deposits and limescale. You’ll be using it to soak the faucet head and remove any stubborn buildup. If you prefer a more pleasant scent, you can substitute some or all of the vinegar with lemon juice.
A toothbrush or small cleaning brush will come in handy for scrubbing the hard-to-reach areas of the faucet head. Look for a brush with soft bristles to avoid damaging the faucet’s delicate parts.
If you encounter resistance while removing the faucet head, you may need an adjustable wrench or pliers to loosen it. This will depend on your faucet’s design, so check beforehand to see if any extra tools are necessary.
A bowl or bucket will be used to catch any water that may drip during the cleaning process. This will help prevent a mess on your countertop or floor.
Lastly, you may want to use tape or a rubber band to secure the plastic bag or towel mentioned in the upcoming steps. This can help create a more effective soaking solution by immersing the faucet head completely.
Now that you have your tools and materials ready, let’s move on to the step-by-step guide for cleaning your faucet head.
Step-by-Step Guide to Cleaning a Faucet Head
Follow these simple steps to effectively clean your faucet head:
- Start by preparing the cleaning solution. In a bowl or bucket, mix equal parts white vinegar and water. If desired, you can add some lemon juice for a pleasant scent.
- If your faucet head has a removable aerator, gently unscrew it using your hand or an adjustable wrench. Place it in the cleaning solution and let it soak for 30 minutes to an hour. If your aerator is not removable, proceed to the next step.
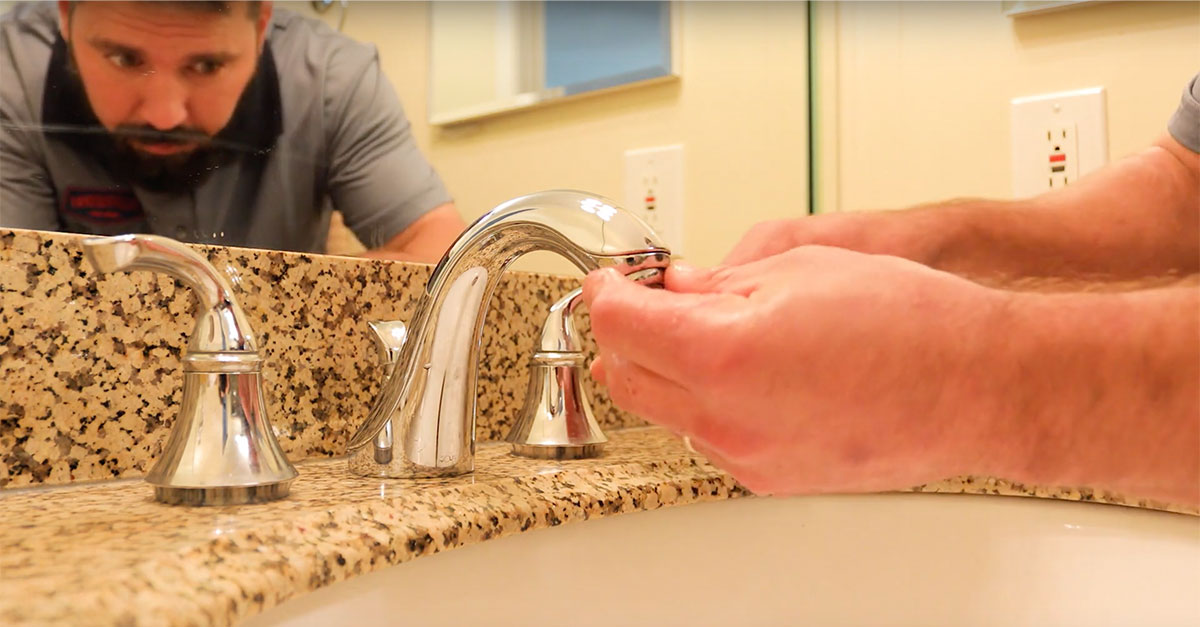
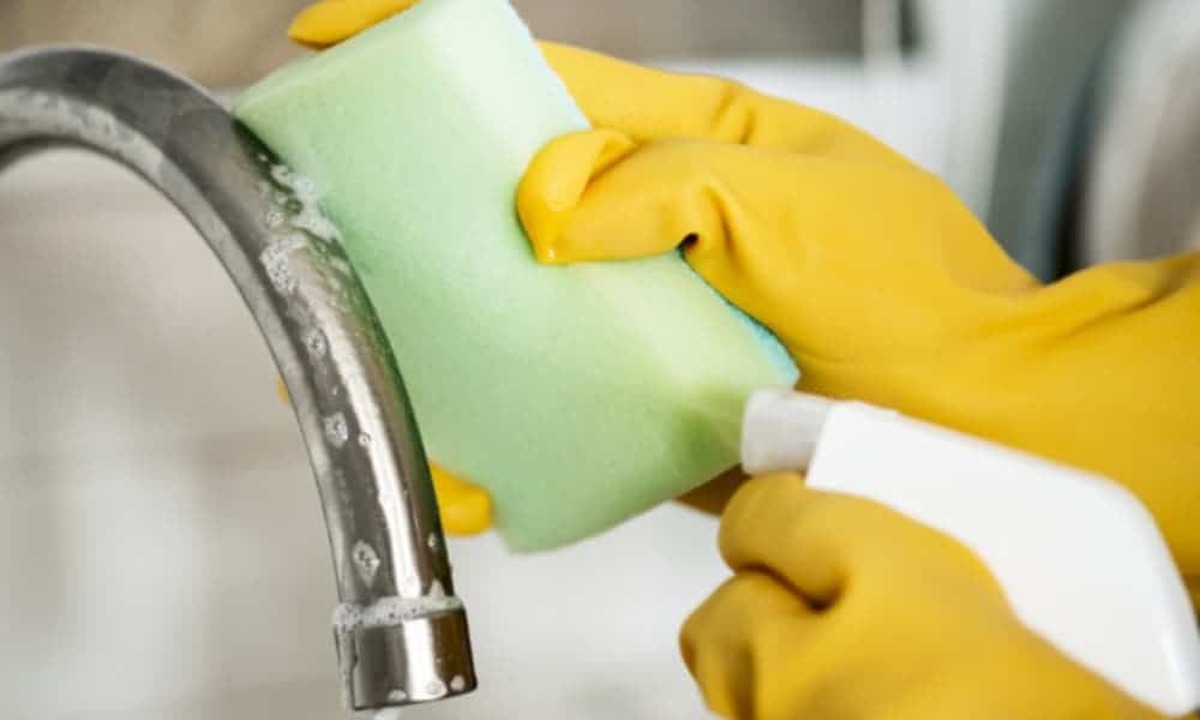
- While the aerator is soaking, dampen a clean cloth or sponge with the cleaning solution. Use it to wipe down the exterior of the faucet head, removing any dirt or grime.
- If your faucet head has any buttons or levers, pay extra attention to those areas. Use a toothbrush or small cleaning brush dipped in the cleaning solution to scrub away any buildup or residue.
- Now, it’s time to tackle the interior of the faucet head. Take the toothbrush or small cleaning brush and dip it into the cleaning solution. Gently scrub the inside of the faucet head, focusing on any areas with visible deposits or clogs.
- If your faucet head has multiple spray settings or removable nozzles, make sure to clean those as well. Use the toothbrush or small cleaning brush to remove any buildup from the nozzles and rinse them thoroughly with water.
- After the aerator has soaked for the recommended time, remove it from the cleaning solution. Rinse it under running water to remove any remaining vinegar or lemon juice. Inspect it to ensure all debris and buildup have been removed.
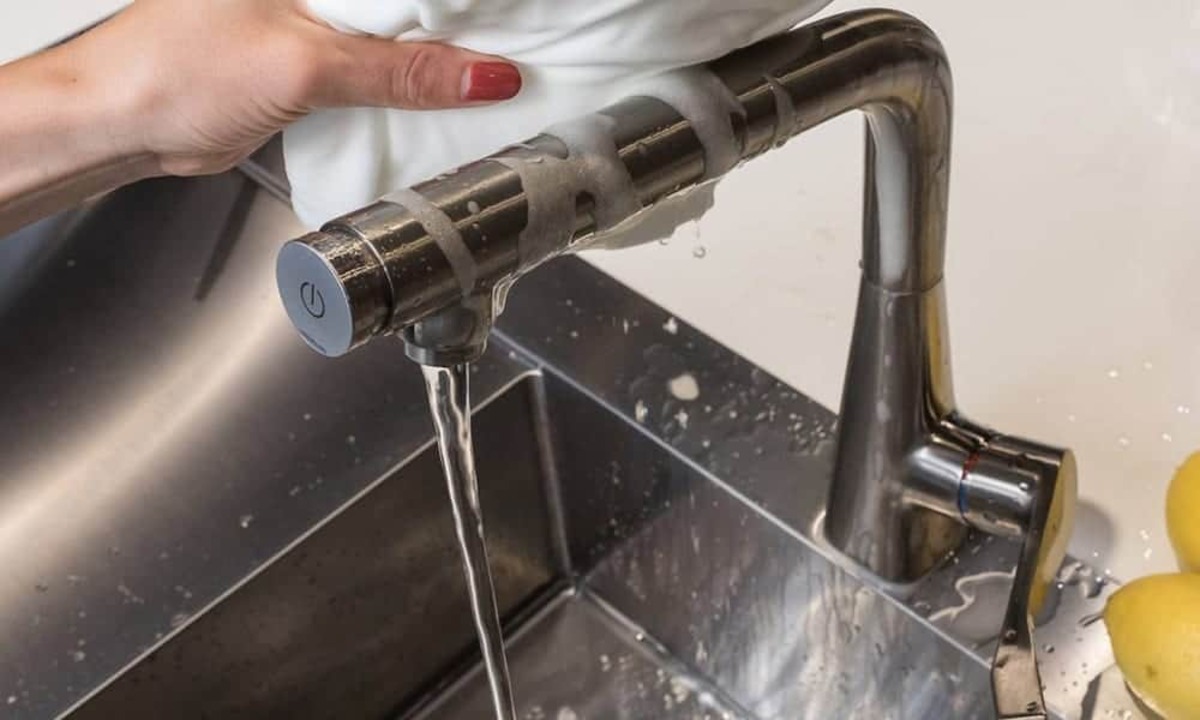
- If your aerator is not removable, you can use a plastic bag or towel soaked in the cleaning solution. Place the bag or towel over the faucet head and secure it with tape or a rubber band. Let it sit for 30 minutes to an hour to allow the cleaning solution to dissolve any buildup.
- Once the soaking period is over, remove the bag or towel and rinse the faucet head with water. Use your fingers or a toothbrush to remove any loosened deposits.
- Finally, reinstall the aerator if you removed it earlier. Screw it back onto the faucet head tightly, ensuring a proper seal.
Congratulations! You have successfully cleaned your faucet head, removing any buildup and restoring its functionality. However, if you still notice stubborn hard water spots or residue, don’t worry. In the next section, we will share some tips for removing those tough stains.
Soak the faucet head in a mixture of equal parts water and vinegar for 1 hour to remove buildup and hard water spots. Then scrub with a toothbrush and rinse thoroughly.
Removing Hard Water Spots and Buildup
Hard water spots and stubborn buildup can be challenging to remove, especially if they have been sitting on your faucet head for a long time. However, with a little extra effort and the right techniques, you can restore your faucet head to its original shine. Here are some methods you can try:
- White Vinegar Soak: Prepare a solution of pure white vinegar and soak a clean cloth or sponge in it. Wrap the vinegar-soaked cloth or sponge around the faucet head and secure it with a rubber band or tape. Leave it on for several hours or overnight to allow the vinegar’s acidity to break down the hard water spots. After soaking, remove the cloth or sponge and rinse the faucet head with water.
- Lemon Juice and Baking Soda Paste: Create a paste by mixing equal parts lemon juice and baking soda. Apply the paste to the faucet head, focusing on the areas with hard water spots and buildup. Let it sit for 15 to 20 minutes, then scrub the faucet head using a toothbrush or small cleaning brush. Rinse thoroughly with water.
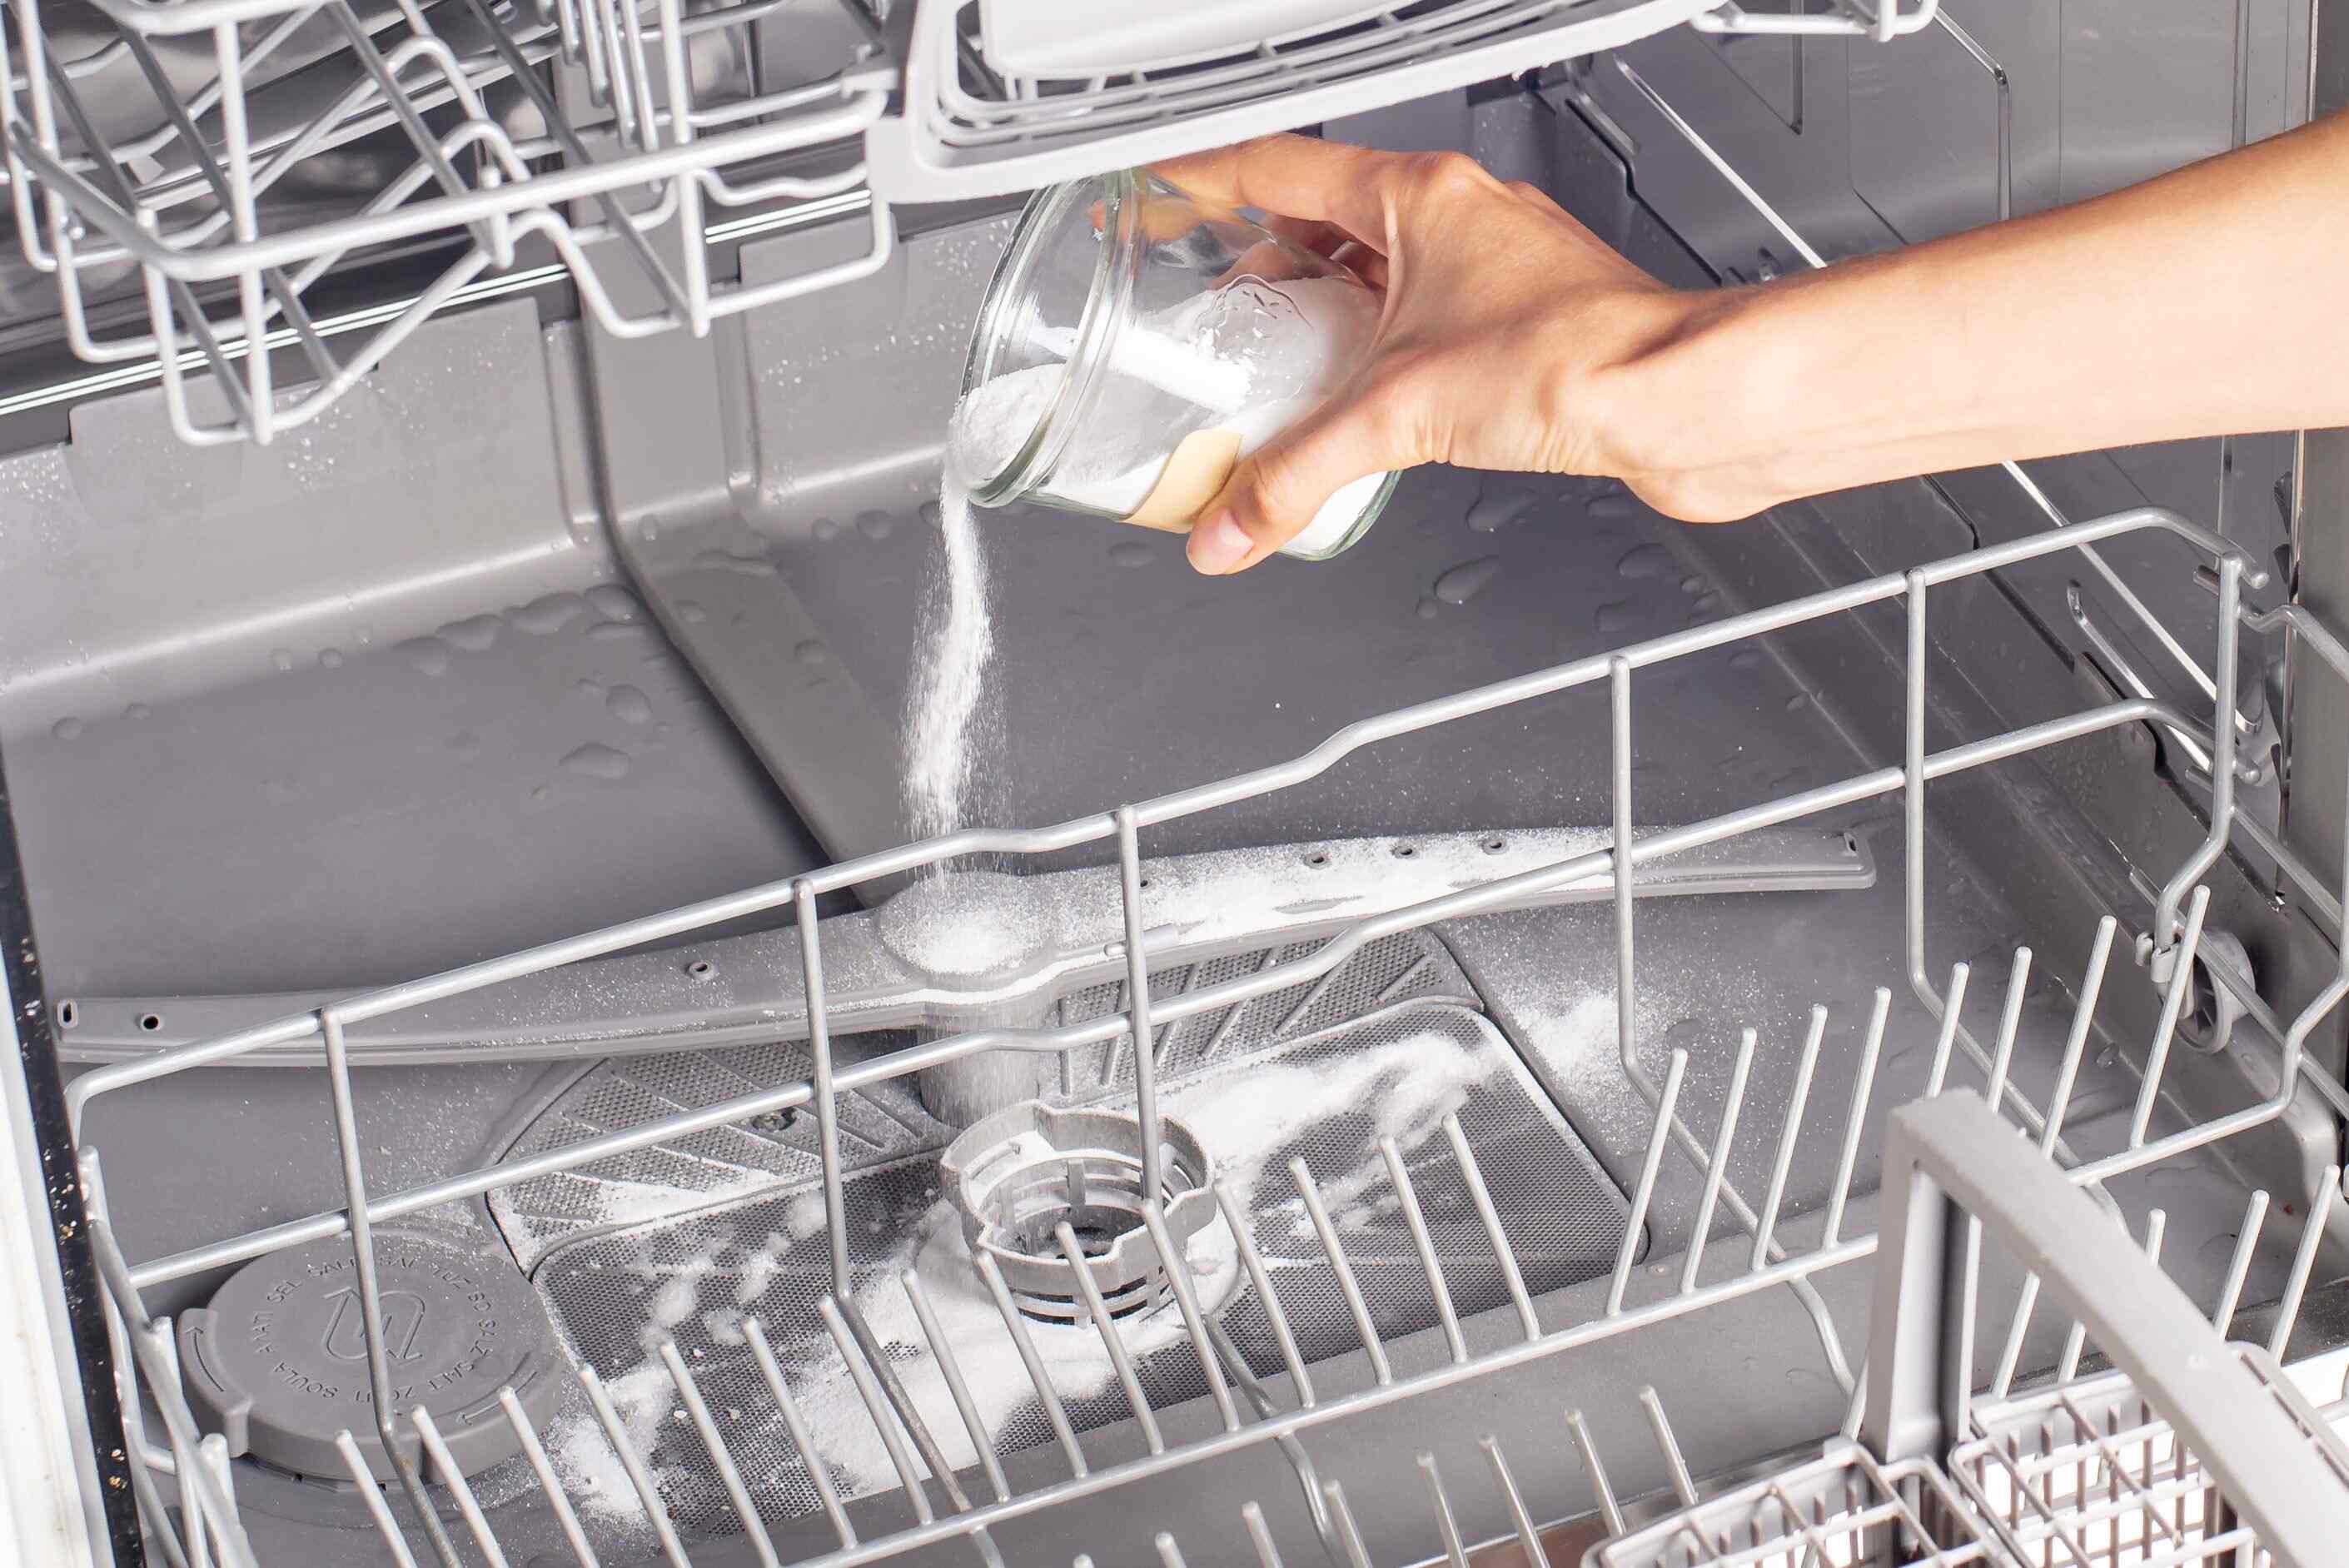
- Commercial Descaling Solutions: If the above methods do not yield satisfactory results, you can try using a commercial descaling solution specifically designed for removing hard water spots. Follow the manufacturer’s instructions for the best results.
- Soaking Overnight in Vinegar: For severely stubborn buildup, you can try removing the aerator (if possible) and letting it soak overnight in pure white vinegar. Place the aerator in a bowl filled with vinegar, ensuring it is fully submerged. The vinegar’s acidic properties will help dissolve the mineral deposits. Rinse the aerator thoroughly with water the next day.
- Using Lime or Calcium Dissolvers: If you are dealing with extreme limescale or calcium buildup, there are specialized lime or calcium dissolvers available in the market. These products are formulated to break down tough mineral deposits. Follow the instructions on the product for safe and effective use.
It’s important to note that different types of faucet finishes may react differently to certain cleaning agents. Before using any cleaning method, always check the manufacturer’s guidelines to ensure compatibility and prevent potential damage to your faucet’s finish.
Remember to test any cleaning solution or method on a small, inconspicuous area of your faucet head before applying it to the entire surface. This will help you determine if the solution is effective and safe for your particular faucet.
By utilizing these methods, you can successfully remove hard water spots and buildup, restoring your faucet head to its original shine and functionality. But how can you prevent future buildup on your faucet head? We’ll discuss that in the next section.
Read more: How To Clean Calcium Buildup On Faucet
Preventing Future Buildup on Your Faucet Head
After investing time and effort into cleaning your faucet head, you’ll want to take preventive measures to minimize the accumulation of hard water spots and buildup in the future. Here are some tips to help you maintain a clean and functioning faucet head:
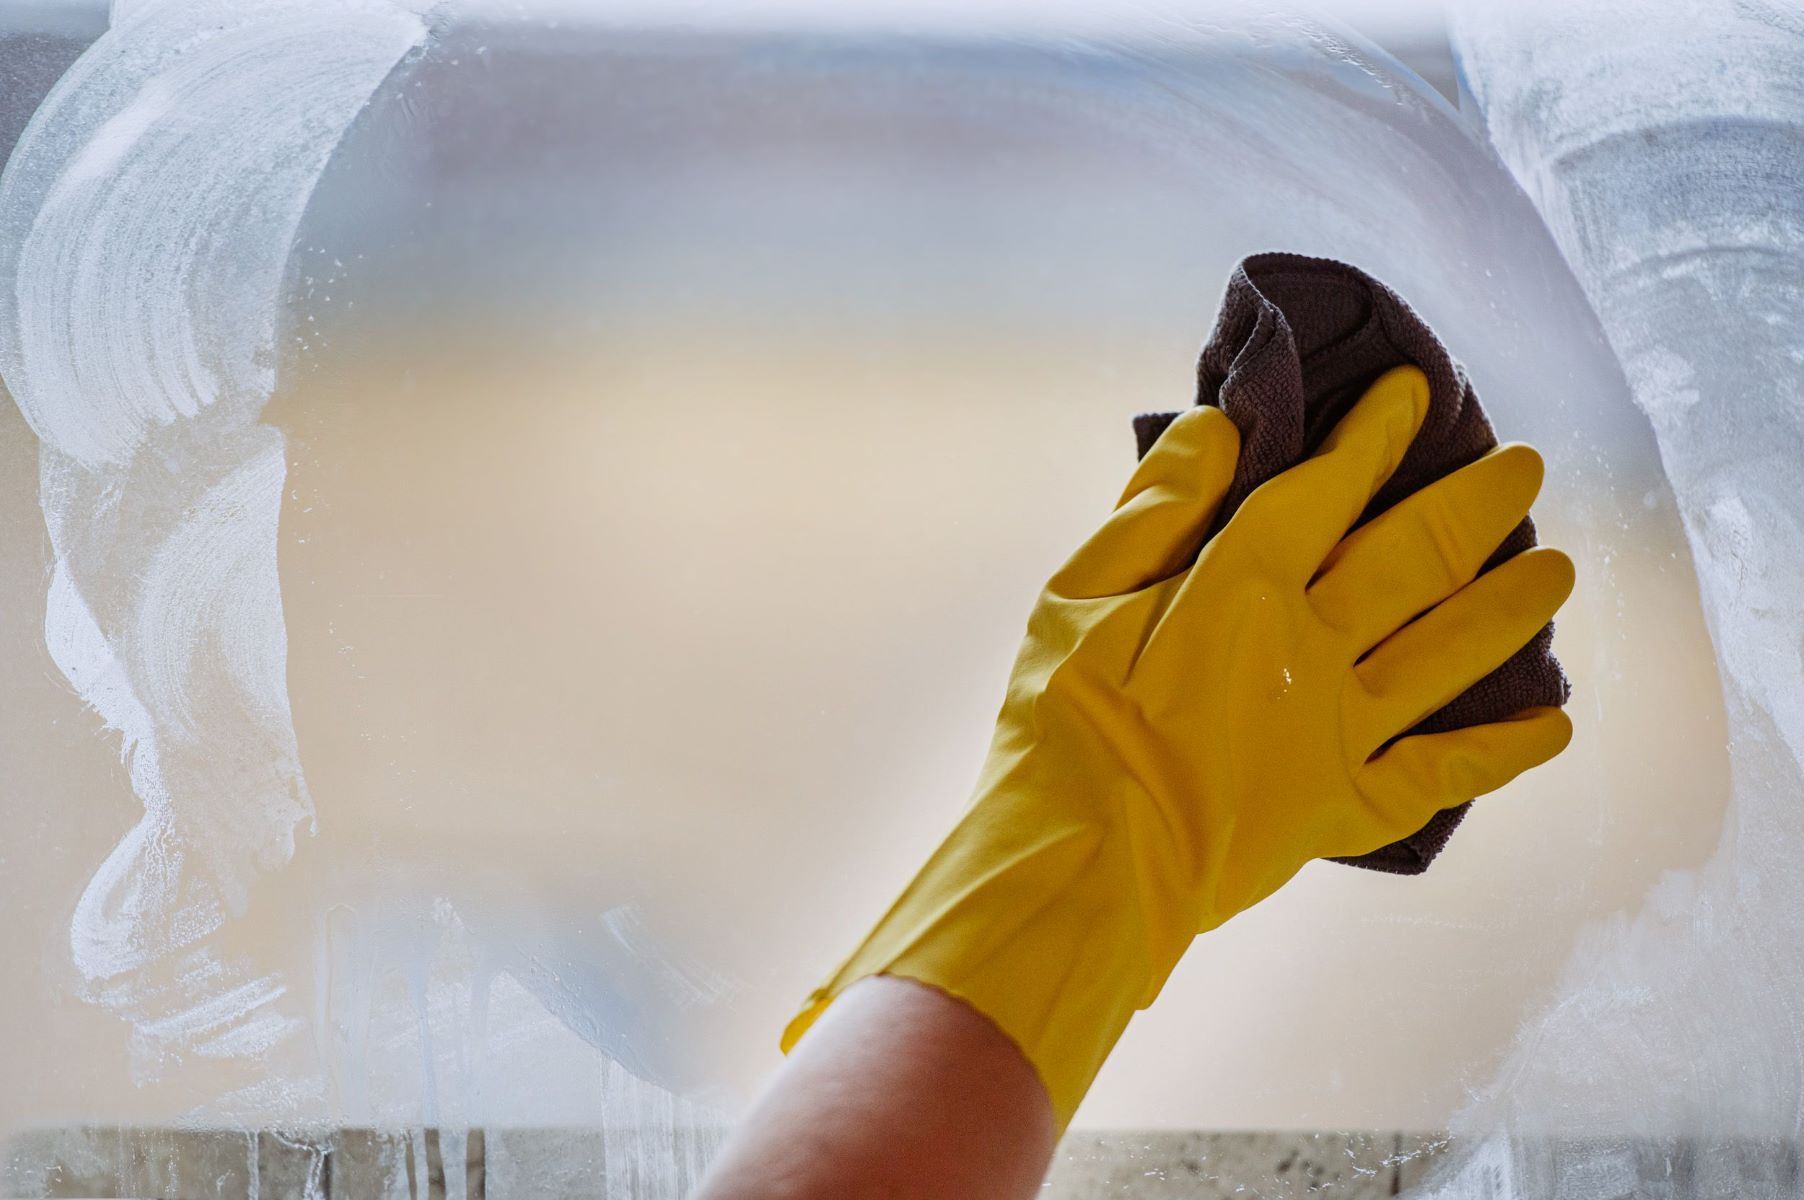
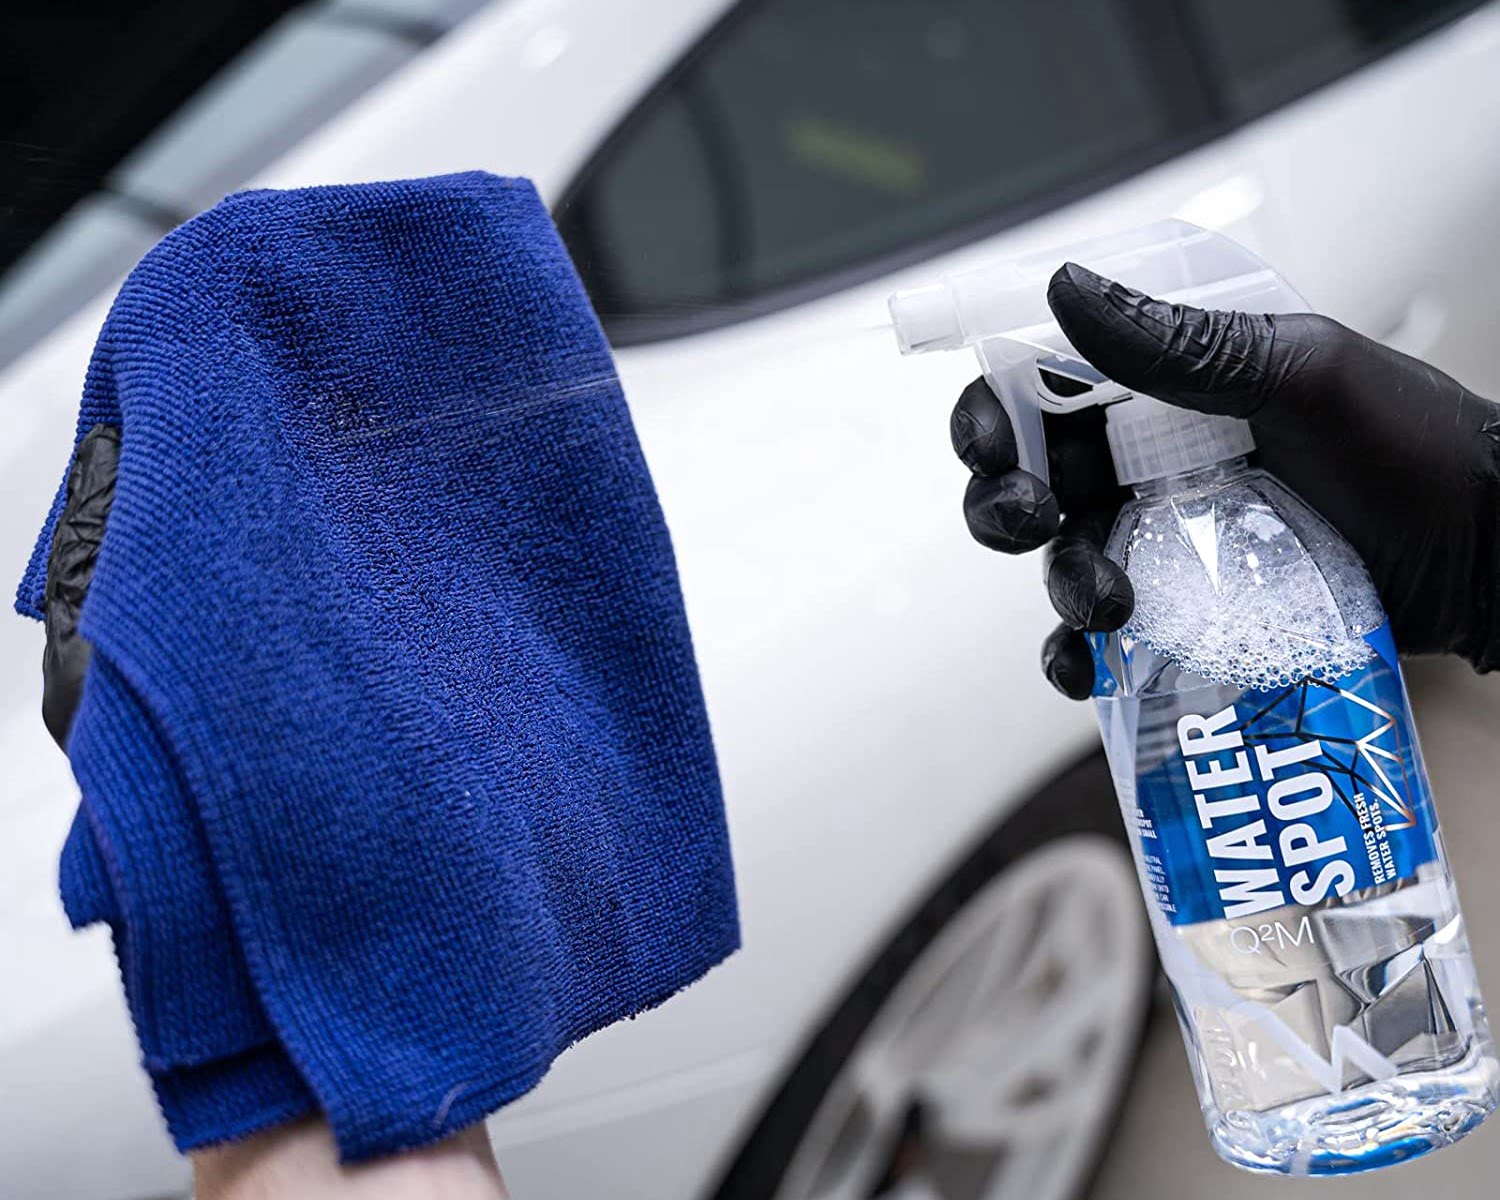
- Wipe the Faucet Head Regularly: Make it a habit to wipe down your faucet head with a clean cloth or sponge after each use. This will help remove any water droplets or residue that can lead to mineral deposits and stains.
- Use a Water Softener: Installing a water softener can significantly reduce the hardness of your water supply. This, in turn, will reduce the amount of mineral deposits and limescale that form on your faucet head. Consult a professional plumber to determine the best water softener system for your needs.
- Invest in a Faucet Filter: A faucet filter can help filter out impurities and minerals from your water supply, preventing them from accumulating on your faucet head. There are various types of faucet filters available, so choose one that suits your specific water quality.
- Avoid Harsh Cleaning Agents: When cleaning your faucet head, avoid using harsh chemicals or abrasive cleaners. These can damage the faucet’s finish and potentially lead to more buildup in the long run. Stick to mild, non-abrasive cleaning solutions like vinegar and lemon juice.
- Clean Other Components: Don’t forget to clean other components of your faucet regularly, such as the handles, spout, and aerator. Keeping these parts clean will help maintain overall faucet performance and prevent buildup from affecting the water flow.
- Soak Removable Components: If your faucet head has removable components, such as nozzles or aerators, periodically soak them in a vinegar-water solution to dissolve any potential buildup. Rinse thoroughly before reattaching them.
- Consider a Water Filter System: Installing a whole-house or under-sink water filter system can not only protect your faucet head but also improve the overall water quality in your home. This can reduce the presence of minerals and other impurities that lead to buildup.
By incorporating these preventive measures into your routine, you can help keep your faucet head clean and functioning optimally for a longer period. Regular maintenance and care will save you time and effort in the long run, while also ensuring a pleasant and efficient water flow.
With these tips in mind, you are now well-equipped to clean and maintain your faucet head, removing buildup and preventing future problems. Remember, a clean faucet head not only improves water flow but also enhances the overall appearance and hygiene of your kitchen or bathroom. Happy cleaning!
Now that you have learned the importance of cleaning your faucet head, how to clean it effectively, and how to prevent future buildup, you can enjoy a sparkling and functional faucet head for years to come.
Conclusion
Keeping your faucet head clean and free from buildup is crucial for maintaining optimal water flow and preserving the aesthetic appeal of your kitchen or bathroom. By following the comprehensive steps outlined in this guide, you can effectively clean your faucet head and remove stubborn hard water spots.
Regular cleaning, along with preventive measures like wiping the faucet head after each use and using water softeners or filters, can help prevent future buildup. By incorporating these practices into your routine, you’ll ensure a clean and functional faucet head for years to come.
Remember to use gentle cleaning agents like vinegar and lemon juice to avoid damaging the faucet’s finish. If necessary, consult the manufacturer’s guidelines for specific cleaning instructions related to your faucet type and finish.
Taking care of your faucet head not only enhances its longevity but also provides you with a pleasant and efficient water flow. Clean faucets contribute to a more hygienic living environment, and the visual appeal of a sparkling faucet adds a touch of elegance to your space.
With the knowledge and tips shared in this article, you are now equipped with the information needed to keep your faucet head clean, remove tough buildup, and prevent future problems. Remember, regular maintenance is key to enjoying the full benefits of a properly functioning faucet head.
So go ahead – give your faucet head the attention it deserves. Take the time to clean and maintain it, and you’ll be rewarded with a beautiful, pristine faucet that continues to serve you for years to come.
Frequently Asked Questions about How To Clean A Faucet Head To Remove Buildup And Hard Water Spots
Was this page helpful?
At Storables.com, we guarantee accurate and reliable information. Our content, validated by Expert Board Contributors, is crafted following stringent Editorial Policies. We're committed to providing you with well-researched, expert-backed insights for all your informational needs.


0 thoughts on “How To Clean A Faucet Head To Remove Buildup And Hard Water Spots”