Home>Storage Ideas>Living Room Storage>11 Disgusting Home Objects You’re Forgetting To Clean

Living Room Storage
11 Disgusting Home Objects You’re Forgetting To Clean
Modified: August 31, 2024
Don't overlook these revolting home items! Discover the 11 disgusting objects in your living room storage that you've been forgetting to clean.
(Many of the links in this article redirect to a specific reviewed product. Your purchase of these products through affiliate links helps to generate commission for Storables.com, at no extra cost. Learn more)
Introduction
Keeping a clean and organized home is a top priority for many of us. We diligently clean our floors, wipe down our countertops, and dust our furniture. However, there are some often-overlooked items in our homes that tend to accumulate dirt, grime, and even bacteria over time. These objects may not be at the top of our cleaning checklist, but they play a crucial role in our daily lives and deserve some attention.
In this article, we will shed light on 11 disgusting home objects that you may be forgetting to clean. From the seemingly innocuous toothbrush holder to the frequently used TV remote control, we will explore how these items can harbor hidden germs and how to effectively clean and maintain them. So, let’s dive in and discover these overlooked culprits that might be compromising the cleanliness and hygiene of your living space.
Key Takeaways:
- Regularly cleaning and replacing often-overlooked items like kitchen sponges and toothbrush holders is crucial for maintaining a clean and hygienic living space.
- Practicing good hygiene habits with frequently used objects such as remote controls, cell phones, and shower curtains helps reduce the spread of germs and bacteria, promoting a healthy home environment.
Kitchen Sponge
The kitchen sponge, a common tool for cleaning dishes and countertops, is often overlooked when it comes to regular cleaning. However, it is also one of the most germ-ridden objects in your home. As you use the sponge to scrub off food residues and wipe down surfaces, it becomes a breeding ground for bacteria.
To clean your kitchen sponge, start by rinsing it thoroughly with hot water after each use. This will help remove any loose food particles and reduce bacterial growth. Additionally, you can soak the sponge in a mixture of hot water and vinegar or bleach for about 5-10 minutes. This will help kill the bacteria and eliminate any lingering odors.
It is important to replace your kitchen sponge regularly, as even with proper cleaning, it can still accumulate bacteria over time. Aim to replace your sponge every 2-4 weeks to ensure proper hygiene in your kitchen.
To keep your sponge in good condition, make sure it’s completely dry before storing it. Moisture can foster bacterial growth, so it’s best to store it in an upright position or in a well-ventilated area. You can also consider microwaving a wet sponge for 1-2 minutes to kill any remaining bacteria, but be cautious as this method can be a fire hazard if not done correctly.
By regularly cleaning and replacing your kitchen sponge, you can maintain a clean and hygienic environment in your kitchen, ensuring that the tool you use to clean your dishes doesn’t unwittingly spread germs instead.
Toothbrush Holder
The toothbrush holder is a seemingly innocuous item in our bathrooms that we often forget to clean. However, it collects residual toothpaste, saliva, and water, creating an ideal environment for bacteria and mold growth. This can potentially contaminate the bristles of our toothbrushes, compromising our dental hygiene.
To properly clean your toothbrush holder, start by emptying out any leftover water and toothpaste residue. Then, wash it with warm, soapy water using a brush or sponge to scrub away any stubborn buildup. Alternatively, you can soak the toothbrush holder in a mixture of water and vinegar to help break down the grime. Be sure to rinse it thoroughly afterwards.
If you notice mold or mildew in your toothbrush holder, use a solution of bleach and water to disinfect it. Mix one part bleach with ten parts water and let the holder sit in this solution for about 10-15 minutes. After disinfecting, rinse it thoroughly with water to remove any traces of bleach.
It’s recommended to clean your toothbrush holder at least once a week or more often if you notice any visible signs of dirt or grime. Additionally, consider using a toothbrush holder with drainage holes or a removable insert that is easier to clean and allows for proper airflow, preventing water from accumulating.
While cleaning the toothbrush holder is essential, it’s equally important to replace your toothbrushes regularly. Dentists recommend changing toothbrushes every three to four months or sooner if the bristles become frayed or worn. By practicing good hygiene habits and regularly cleaning your toothbrush holder, you can ensure that your oral care routine remains fresh and free from potential contamination.
Cutting Boards
Cutting boards are a staple in every kitchen, used for preparing fruits, vegetables, meats, and more. However, they can easily become a breeding ground for bacteria if not cleaned and maintained properly.
To clean your cutting board, start by rinsing it with hot water to remove any loose food particles. Then, apply a mild dish soap and use a scrub brush or sponge to thoroughly clean the surface, paying extra attention to any grooves or knife marks. Rinse the board again with hot water to remove any soap residue.
For cutting boards used to prepare raw meat, it’s essential to sanitize them to avoid cross-contamination. You can use a solution of one tablespoon of bleach mixed with one gallon of water to disinfect the board. Apply the solution, let it sit for a few minutes, and then rinse thoroughly.
It’s recommended to have separate cutting boards designated for different food groups. For example, one cutting board for raw meats and another for fruits and vegetables. This helps to prevent cross-contamination and reduces the risk of foodborne illnesses.
Wooden cutting boards require extra care to prevent them from absorbing moisture and developing cracks. After cleaning, it’s important to dry the board thoroughly with a clean cloth and allow it to air dry completely before storing it. You can also apply a food-grade mineral oil or cutting board conditioner periodically to keep the wood moisturized and prevent it from drying out or developing odors.
Plastic cutting boards are generally easier to clean and maintain. However, if they become heavily scratched or worn, it’s best to replace them as bacteria can reside in those crevices.
By regularly cleaning and disinfecting your cutting boards and following proper food handling practices, you can ensure a safe and hygienic kitchen environment for preparing your meals.
Dish Rack
The dish rack is an essential item in our kitchens, helping to air dry our dishes and utensils after washing. However, it can easily become a breeding ground for bacteria, mold, and mildew if not properly cleaned and maintained.
To clean your dish rack, start by removing all dishes, utensils, and other items from the rack. Empty out any standing water or moisture that may have collected in the tray or underneath the rack. This will help prevent the growth of bacteria and mold.
Next, mix warm water with a small amount of dish soap and use a sponge or brush to scrub the dish rack thoroughly. Pay attention to any crevices or grooves where dirt and debris may accumulate. Rinse the dish rack with clean water to remove any soap residue.
If you notice stubborn stains or mineral deposits on your dish rack, you can use a solution of equal parts vinegar and water to help break them down. Apply the solution and let it sit for a few minutes before scrubbing and rinsing again.
It’s important to regularly inspect your dish rack for any signs of mold or mildew. If you spot any, use a mixture of bleach and water (one part bleach to ten parts water) to disinfect the rack. Apply the solution, let it sit for a few minutes, and then rinse thoroughly to remove any traces of bleach.
When it comes to maintaining your dish rack, it’s crucial to keep it dry between uses. After washing and emptying the rack, wipe it down with a clean cloth or towel to remove any excess moisture. Proper airflow is essential to prevent the growth of mold and bacteria, so consider placing the dish rack in a well-ventilated area or using a rack with separate compartments that allow for better air circulation.
By regularly cleaning and drying your dish rack and ensuring proper airflow, you can keep your dishes clean, hygienic, and free from potential contaminants.
Read more: How To Fix E2 Error In A Washing Machine
Remote Control
The remote control is undoubtedly one of the most frequently used objects in our living rooms. It’s the tool we rely on to change channels, adjust the volume, and control our entertainment devices. However, it’s also a breeding ground for germs and bacteria that we often overlook when it comes to cleaning.
To clean your remote control, start by removing the batteries. This will ensure your safety and prevent any accidental activation while cleaning. Use a microfiber cloth or a soft, lint-free cloth to wipe down the exterior of the remote, including the buttons and crevices.
Avoid using harsh chemicals or excessive moisture, as these can damage the remote. Instead, lightly dampen the cloth with a mixture of water and mild dish soap or a disinfecting solution specifically designed for electronics. Gently wipe the remote to remove any grime, dirt, or fingerprints.
To sanitize the remote control, you can use an alcohol-based wipe or a cotton ball soaked in rubbing alcohol. Make sure to squeeze out any excess liquid before wiping down the remote. Pay extra attention to the buttons and areas that are frequently touched.
In addition to regular cleaning, it’s a good practice to encourage proper hand hygiene before using the remote control. Remind family members or guests to wash their hands thoroughly or use hand sanitizer before handling the remote, especially after eating or engaging in activities that may leave residue on their hands.
If you have multiple remotes in your living room, it’s helpful to label each one for specific devices or purposes. This will prevent cross-contamination and make it easier to identify and clean individual remotes.
Remember, a clean remote control not only promotes a hygienic living environment but also helps in maintaining the functionality and longevity of the device. So, don’t forget to give your remote control some much-needed attention during your regular cleaning routine.
Don’t forget to clean your kitchen sponge regularly by soaking it in a solution of water and vinegar, then microwaving it for 1-2 minutes to kill bacteria.
Computer Keyboard
The computer keyboard is an essential tool for many of us, whether it’s for work, gaming, or leisure. However, it’s also a prime breeding ground for dirt, dust, crumbs, and more importantly, bacteria.
To clean your computer keyboard, start by unplugging it or turning off your computer to prevent any accidental inputs. Then, turn the keyboard upside down and gently tap it to dislodge any loose debris. You can use a can of compressed air to blow out any stubborn dust particles from between the keys.
For a deeper clean, use a soft, lint-free cloth slightly dampened with a mixture of water and mild dish soap. Wipe down the keys and the surface of the keyboard, using gentle motions to avoid applying excessive pressure. Be careful not to let any liquid seep into the keyboard, as this can damage the electronics.
If you’re dealing with sticky residue or stubborn stains on the keys, you can use a cotton swab dipped in isopropyl alcohol. Rub the keys gently to remove the residue, ensuring not to soak the cotton swab with too much alcohol.
To sanitize your keyboard and kill bacteria, you can use disinfectant wipes or a solution of isopropyl alcohol and water. Make sure to wring out any excess liquid from the wipes before use. Lightly wipe down the keys and surface of the keyboard, paying extra attention to commonly touched areas.
It’s important to clean your keyboard regularly to prevent the accumulation of dirt and bacteria. Aim for at least once a month, or more often if you notice visible signs of dirt or if you share your keyboard with others.
In addition to regular cleaning, it’s a good idea to practice good hand hygiene before using your computer keyboard. Wash your hands thoroughly or use hand sanitizer to reduce the transfer of germs and oils to the keys.
By keeping your computer keyboard clean and properly maintained, you can ensure a hygienic and pleasant typing experience while extending the lifespan of your keyboard.
Cell Phone
In today’s digital age, our cell phones have become an extension of ourselves. They are with us wherever we go, and we rely on them for communication, entertainment, and more. However, our cell phones are often forgotten when it comes to regular cleaning, making them a potential harbor for bacteria and germs.
To clean your cell phone, start by powering it off and unplugging any accessories. Remove the phone case if you have one and use a soft, lint-free cloth slightly dampened with water or a mild cleaning solution specifically designed for electronics.
Gently wipe down the front and back of your phone, paying attention to the screen, buttons, and edges. Avoid getting moisture into any of the openings, such as the charging port or speaker grill, as this can damage the device.
If you notice stubborn fingerprints or smudges on the screen, you can use a microfiber cloth or an electronics-safe screen cleaner. Apply the cleaner to the cloth, not directly to the screen, and gently wipe the screen in a circular motion until clean. Be sure to follow the manufacturer’s instructions for any cleaning products you use.
To sanitize your cell phone and kill bacteria, you can use alcohol-based disinfectant wipes or a solution of 70% isopropyl alcohol and 30% water. Make sure to wring out any excess liquid from the wipes before wiping down your phone. Pay extra attention to frequently touched areas, such as the power button, volume buttons, and fingerprint sensor.
In addition to regular cleaning, it’s important to practice good phone hygiene. Avoid using your phone in environments with excessive dirt or moisture, as this can make it even more difficult to clean. Additionally, consider using a screen protector and a phone case that can be easily removed and cleaned to help maintain the cleanliness of your device.
Remember, keeping your cell phone clean not only promotes good hygiene but can also help extend its lifespan and maintain its functionality. So, incorporate regular cleaning into your routine to keep your trusty companion germ-free and ready for anything.
Shower Curtain
The shower curtain is an essential component of our bathroom decor, but it’s often overlooked when it comes to regular cleaning. Over time, it can accumulate soap scum, mold, mildew, and even bacteria. To keep your shower curtain fresh and hygienic, regular cleaning is necessary.
Start by removing the shower curtain from the hooks or rings. If the curtain is machine washable, check the care instructions and launder it accordingly. Use a mild detergent and set the machine to a gentle cycle. Adding a few towels can help scrub away any dirt and prevent the curtain from wrinkling.
If your shower curtain is not machine washable, you can clean it while it’s still hanging. Mix equal parts water and vinegar in a spray bottle and spray the solution onto the curtain, focusing on areas with visible stains or mold. For tough stains, you can scrub the curtain gently with a soft brush or sponge. After cleaning, rinse the curtain thoroughly with water.
To prevent mold and mildew from growing on your shower curtain, ensure that it fully dries after each use. Leave the curtain extended or open the shower curtain hooks to allow for proper air circulation. Consider using a fan or opening a window to expedite the drying process.
If you notice mold or mildew on your shower curtain, you can use a solution of bleach and water to remove it. Mix one part bleach with four parts water and apply the solution to the affected areas. Let it sit for a few minutes, then rinse thoroughly with water to remove any traces of bleach. Take caution not to use bleach on colored curtains, as it may cause fading or discoloration.
It’s a good practice to regularly inspect your shower curtain for any signs of wear or damage. If you notice tears or holes, it’s best to replace the curtain to maintain hygiene and prevent water leakage.
By incorporating regular cleaning and proper maintenance into your bathroom routine, you can keep your shower curtain clean, fresh, and free from unsightly stains or mold. Enjoy a revitalizing and hygienic shower experience every time.
Trash Can
The trash can is an integral part of keeping our homes clean and organized. However, it’s easy to forget about cleaning the very item that holds our waste. Over time, trash cans can accumulate odors, bacteria, and even attract pests. Regular cleaning is crucial to maintain a hygienic and odor-free environment.
To clean your trash can, start by emptying it completely, removing any trash bags or liners. Take the trash can outdoors or to a well-ventilated area where you can easily clean it without causing a mess indoors.
Using a garden hose or a bucket of warm soapy water, rinse the inside and outside of the trash can thoroughly. You can also add a small amount of vinegar or baking soda to the water to help eliminate odors. Use a brush or sponge to scrub all surfaces, including the lid and handle, to remove any residue or dirt. Pay extra attention to any stubborn stains or buildup.
After scrubbing, rinse the trash can thoroughly with clean water to remove any soap or cleaning agents. For an extra level of sanitation, you can wipe down the interior and exterior of the trash can with a disinfectant wipe or a solution of bleach and water. Remember to follow the appropriate mixing ratio for bleach and water (usually 1 part bleach to 10 parts water) and rinse thoroughly afterwards.
Allow the trash can to air dry completely before placing a new trash bag or liner inside. Proper drying is essential to prevent the growth of mold or mildew. Consider leaving the lid open or propping it slightly ajar to facilitate airflow.
In addition to regular cleaning, it’s essential to routinely change the trash bags or liners to prevent the accumulation of waste and odor. Dispose of trash promptly and make sure the bag is securely tied to minimize the risk of spills or leaks.
If you notice persistent odors despite regular cleaning, you can sprinkle baking soda or place a fabric softener sheet at the bottom of the trash can to help absorb odors.
By incorporating regular cleaning and maintenance into your trash can routine, you can ensure a hygienic and odor-free environment, keeping your home clean and fresh.
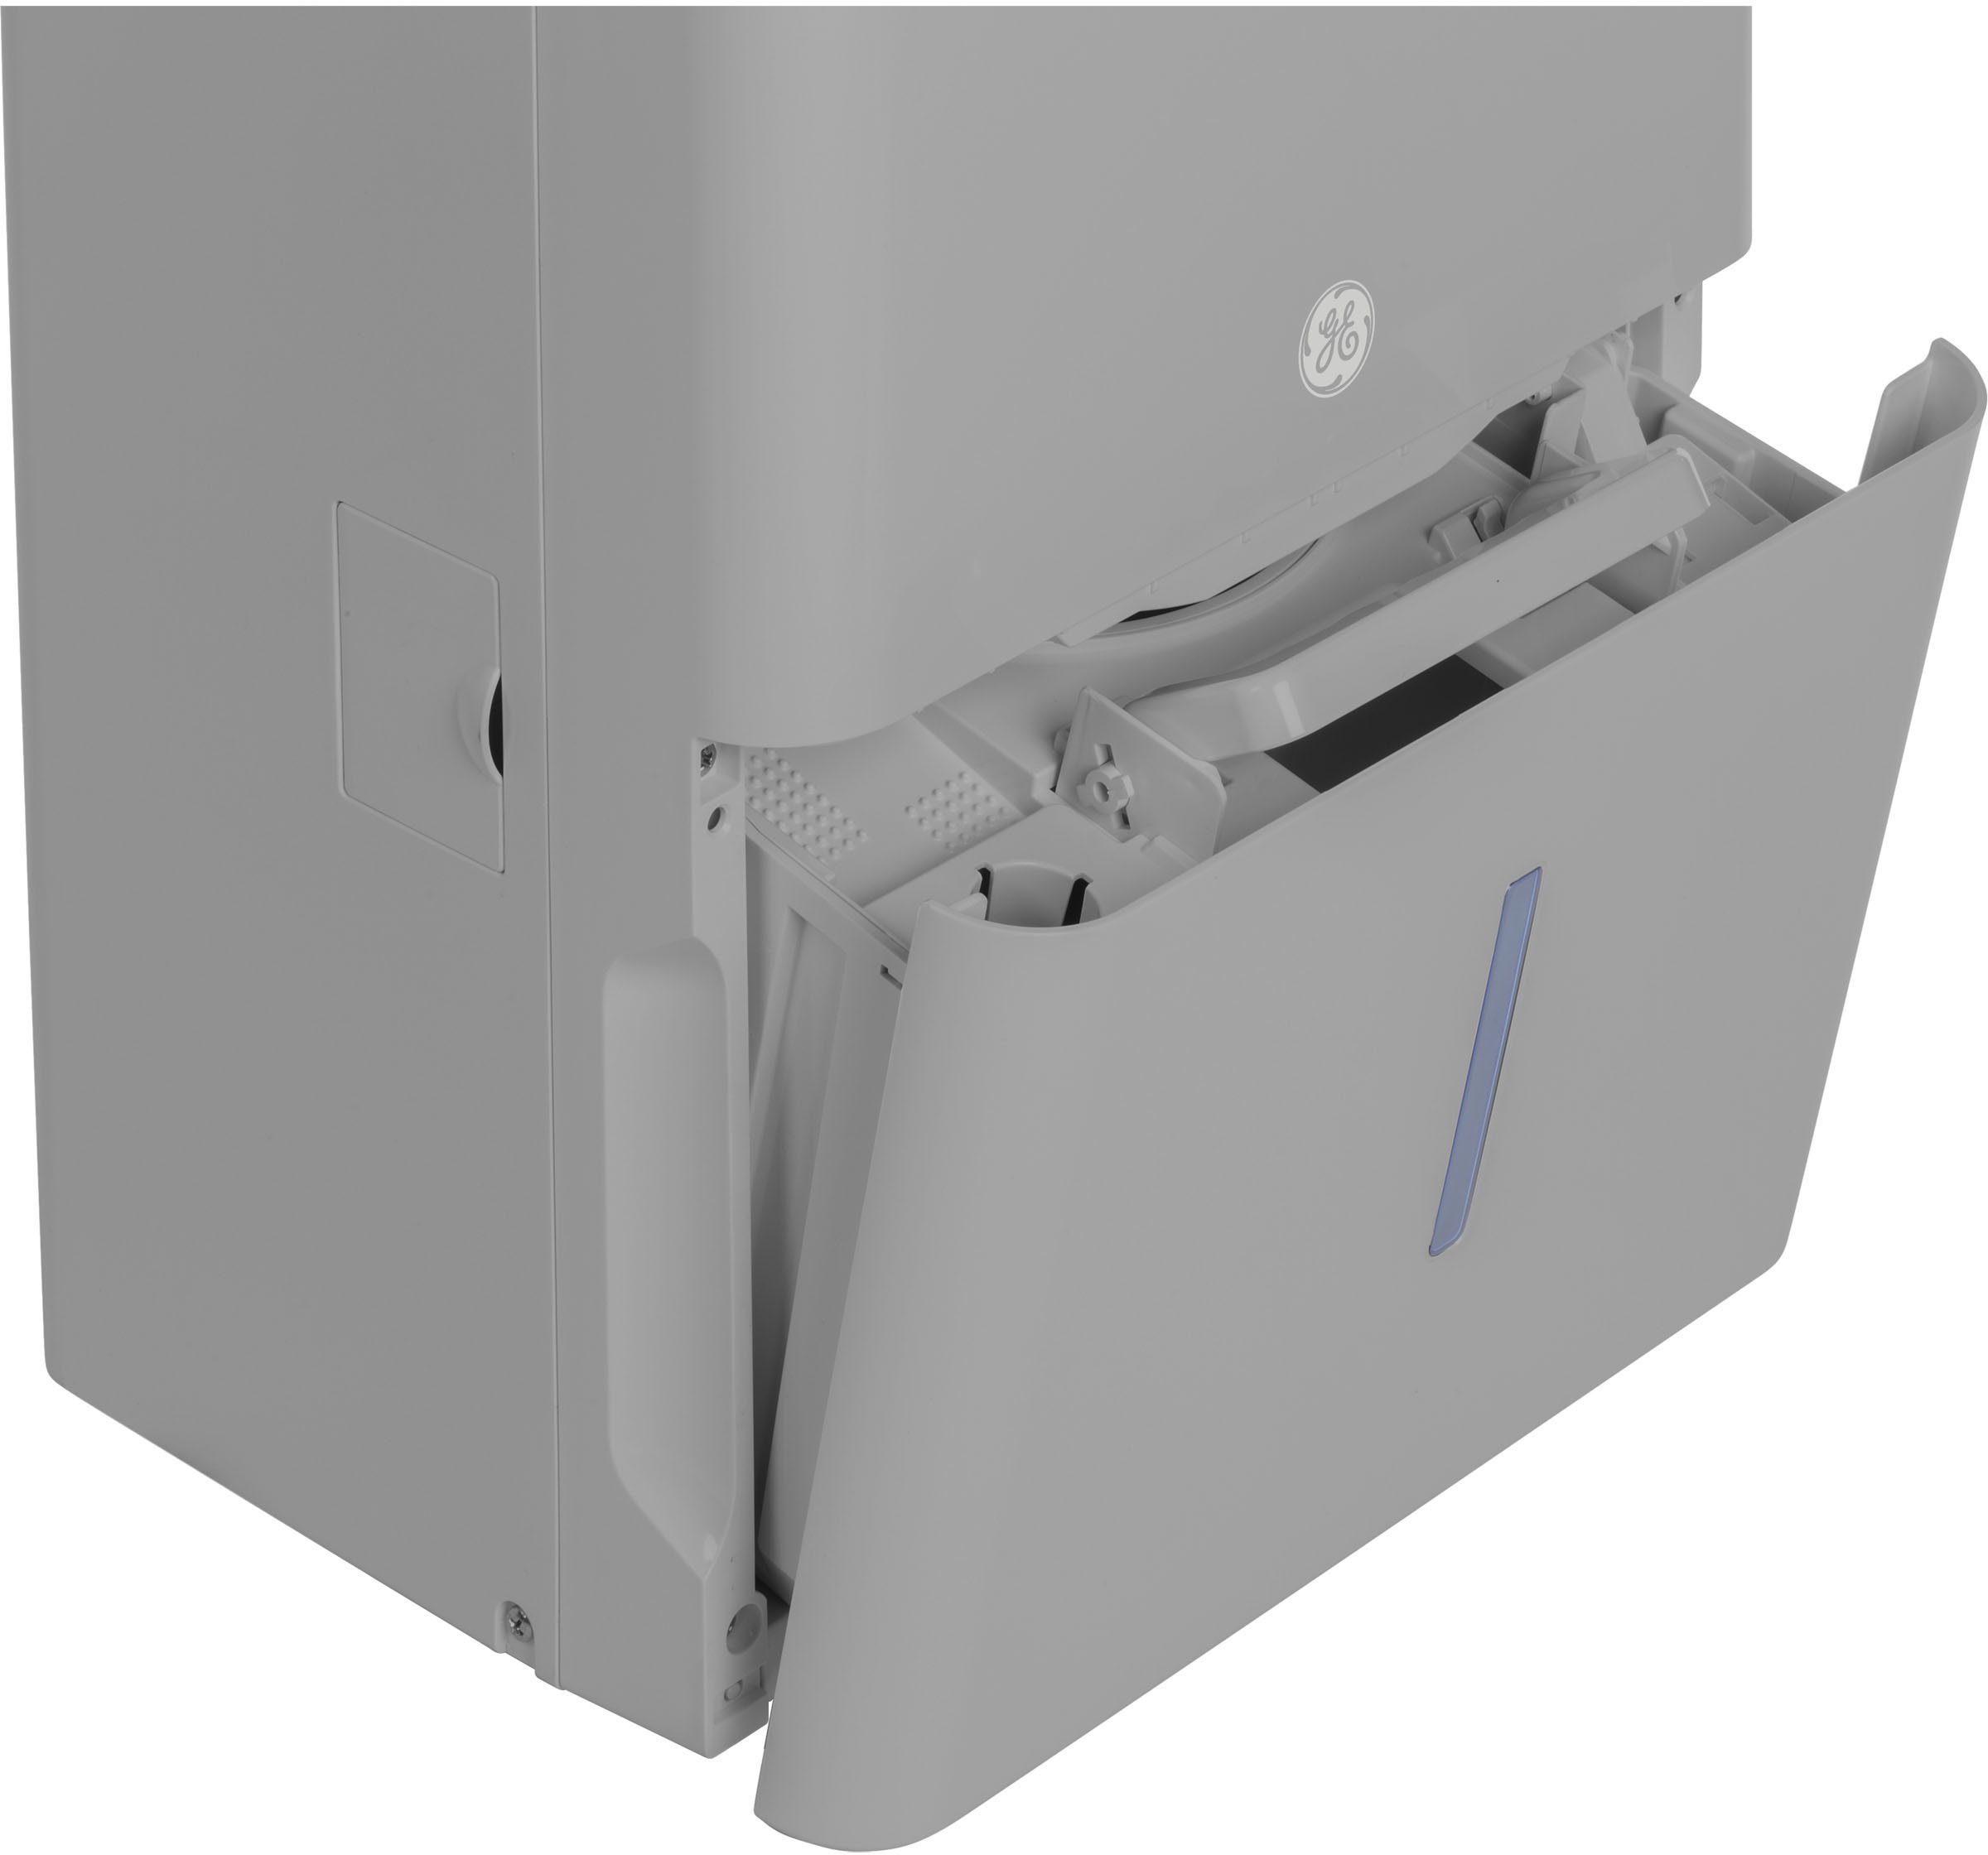
Washing Machine
The washing machine is a workhorse in our homes, helping us keep our clothes clean and fresh. However, over time, it can accumulate dirt, grime, and even harbor mold and bacteria if not properly cleaned and maintained. Regular cleaning is essential to ensure the longevity and efficiency of your washing machine.
To clean the inside of your washing machine, start by running an empty wash cycle with hot water. Add either a cup of white vinegar or a washing machine cleaner specifically designed for this purpose. The vinegar or cleaning agent will help break down any buildup, remove odors, and sanitize the machine. If your machine has a self-cleaning cycle, you can follow the manufacturer’s instructions to initiate the process.
To clean the exterior of your washing machine, use a damp cloth or sponge with a mild detergent to wipe down the surface. Pay attention to handles, knobs, and buttons, as these areas can accumulate dirt and grime. Rinse the cloth or sponge regularly to avoid spreading dirt around.
It’s also important to keep the washing machine drum and door seal clean and free from mold or mildew. After each wash cycle, take a few moments to wipe down the inside of the door seal with a damp cloth to remove any residue or moisture. Leave the door slightly ajar to allow air to circulate and prevent the growth of mold or mildew.
In areas with hard water, mineral deposits can accumulate in the washing machine. To combat this, you can periodically run a wash cycle with citric acid or lime juice to help break down the deposits. Be sure to follow the recommended amounts and the manufacturer’s instructions.
It’s also crucial to clean the detergent dispenser regularly. Remove the dispenser from the washing machine and wash it with warm soapy water. Use a brush or Q-tip to clean any hard-to-reach areas. Rinse thoroughly and allow it to dry completely before reattaching it to the machine.
In between washes, it’s a good practice to leave the washing machine door open to allow ventilation and prevent the growth of mold or mildew. Additionally, you can periodically clean the drain pump filter to prevent clogs and ensure the machine’s efficient operation.
By incorporating regular cleaning and maintenance into your washing machine routine, you can enjoy clean and fresh laundry while prolonging the lifespan of your appliance. A clean washing machine ensures that your clothes are free from dirt, bacteria, and unpleasant odors, helping you maintain a hygienic home environment.
Conclusion
In our quest to keep our homes clean and organized, it’s important not to overlook certain objects that often go unnoticed when it comes to regular cleaning. From the kitchen sponge to the remote control, these items can harbor dirt, grime, and bacteria if left unattended. By incorporating regular cleaning and maintenance into our routines, we can ensure a hygienic and pleasant living environment.
It’s crucial to pay attention to the objects we use daily, such as the kitchen sponge and toothbrush holder. These often-overlooked items can harbor bacteria and compromise our hygiene if not properly cleaned. Regularly washing and replacing the kitchen sponge, as well as cleaning and sanitizing the toothbrush holder, are key to maintaining a clean and hygienic kitchen and bathroom.
Other objects, like cutting boards and dish racks, also deserve our attention. Keeping cutting boards clean and separate for different food groups helps prevent cross-contamination and reduces the risk of foodborne illnesses. Regularly cleaning and drying dish racks can prevent the growth of bacteria and mold, ensuring our dishes remain clean and safe for use.
The remote control, computer keyboard, and cell phone are frequently used objects that can collect dirt and bacteria. Regularly cleaning and sanitizing these devices not only promotes good hygiene but also helps extend their lifespan. By practicing good phone hygiene and proper hand hygiene, we can reduce the transfer of germs to our cell phones and keep them clean and free from potential contaminants.
The shower curtain and trash can, although often forgotten, can accumulate odors, bacteria, and mold if not properly maintained. Regularly cleaning and drying the shower curtain prevents the growth of mold and keeps your bathroom fresh and hygienic. Cleaning and deodorizing the trash can eliminate odors and prevent the buildup of bacteria, maintaining a clean and odor-free home environment.
Lastly, the washing machine, an essential appliance in our homes, requires regular cleaning to remove dirt, grime, and mold. By following cleaning guidelines, cleaning the drum and door seal, and keeping the detergent dispenser clean, we can preserve the efficiency of our washing machines and enjoy fresh and clean laundry.
In conclusion, by paying attention to these often-forgotten objects and incorporating regular cleaning and maintenance into our routines, we can create a clean, hygienic, and pleasant living environment. Let’s not overlook these small details that can make a big difference in our overall cleanliness and well-being.
Frequently Asked Questions about 11 Disgusting Home Objects You’re Forgetting To Clean
Was this page helpful?
At Storables.com, we guarantee accurate and reliable information. Our content, validated by Expert Board Contributors, is crafted following stringent Editorial Policies. We're committed to providing you with well-researched, expert-backed insights for all your informational needs.


0 thoughts on “11 Disgusting Home Objects You’re Forgetting To Clean”