Home>Storage Ideas>Living Room Storage>How To Remove Stubborn Pet Stains And Odors Once And For All
Living Room Storage
How To Remove Stubborn Pet Stains And Odors Once And For All
Modified: August 17, 2024
Learn how to permanently eliminate stubborn pet stains and odors in your living room with our effective and affordable storage solutions. Say goodbye to unpleasant smells for good!
(Many of the links in this article redirect to a specific reviewed product. Your purchase of these products through affiliate links helps to generate commission for Storables.com, at no extra cost. Learn more)
Introduction
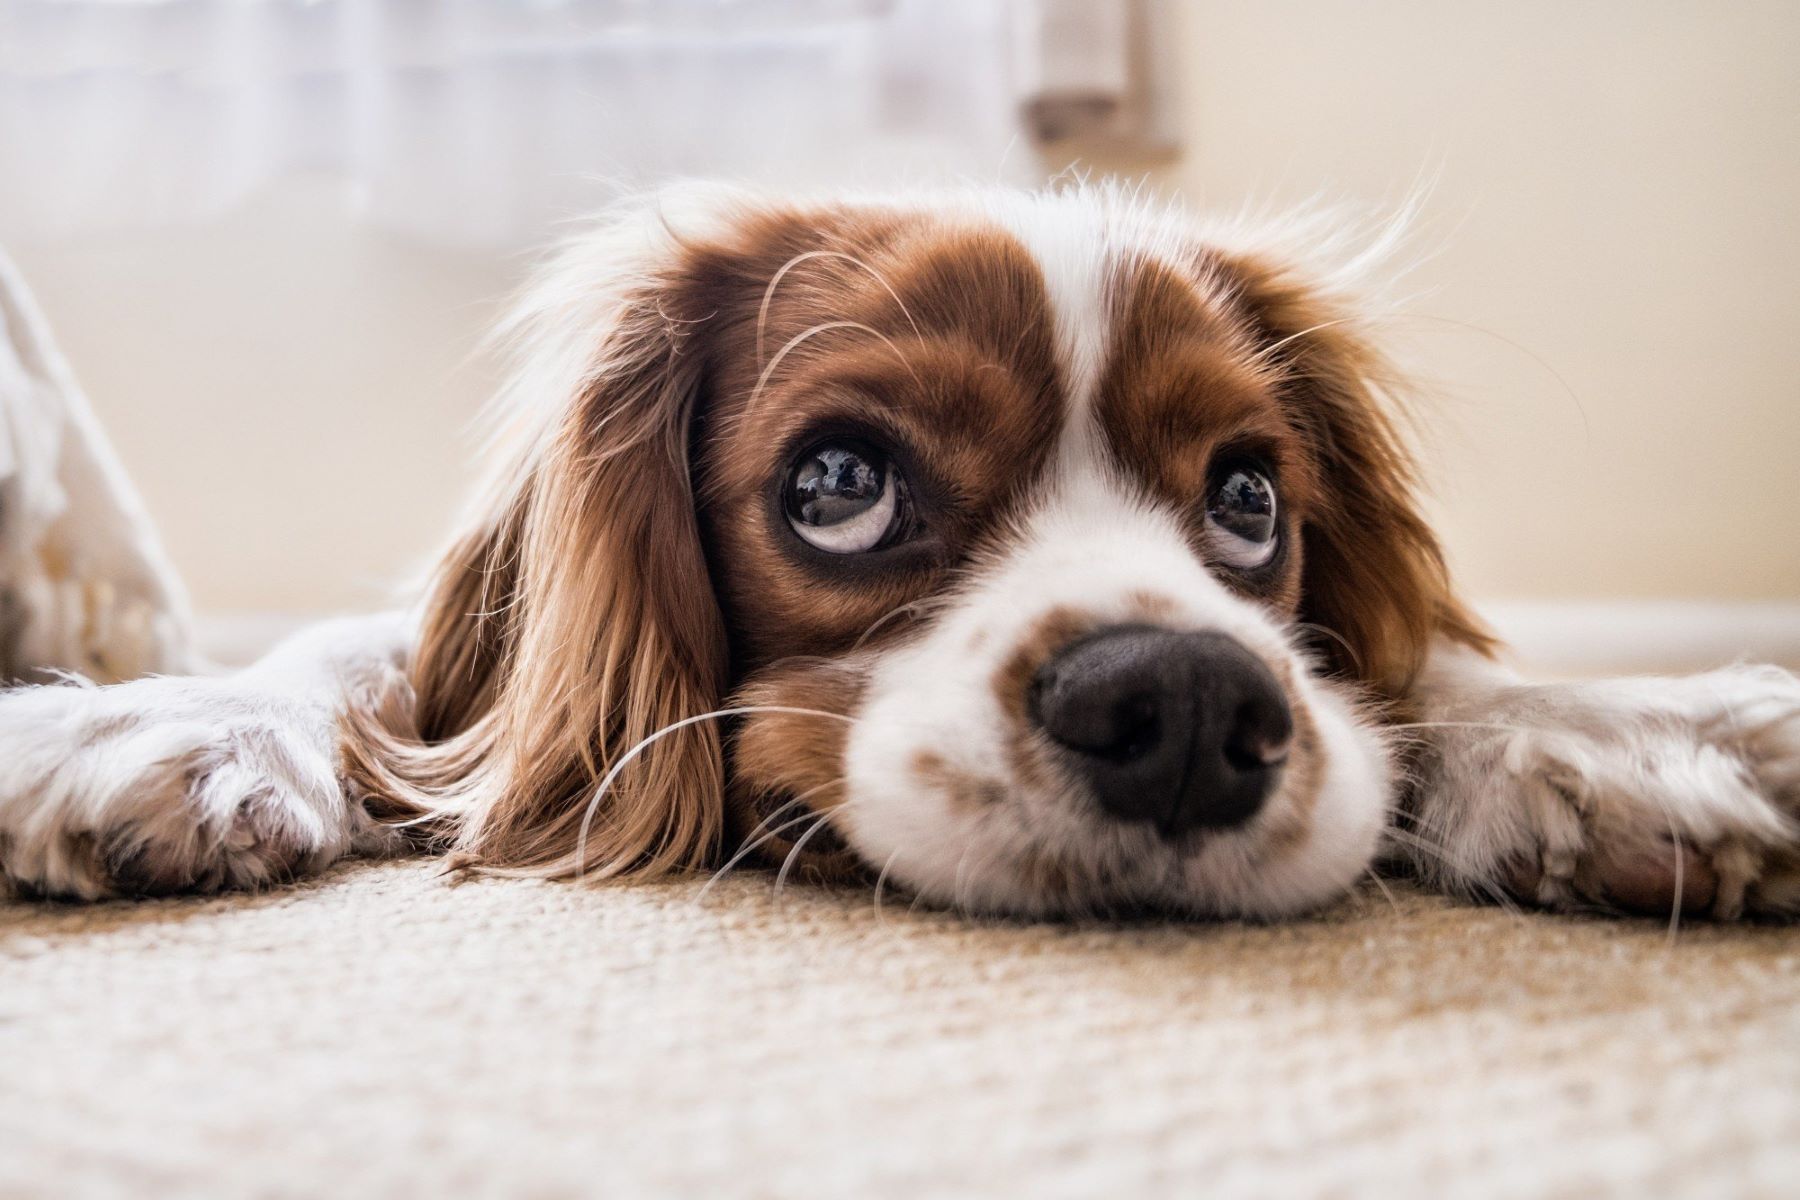
Welcome to the ultimate guide on how to remove stubborn pet stains and odors once and for all! We understand that as pet owners, accidents happen – whether it’s a urine stain from your mischievous puppy or a lingering odor from your beloved cat. It can be frustrating and overwhelming to deal with these stubborn stains and odors, but fear not! With the right knowledge and techniques, you can effectively eliminate them and create a clean and fresh living environment for you and your furry friends.
In this comprehensive guide, we will walk you through the process of understanding pet stains and odors, preparing for the cleaning process, removing fresh stains, treating set-in stains, dealing with lingering odors, and preventing future stains and odors. With our step-by-step instructions and expert tips, you’ll be equipped with the tools to tackle even the toughest pet stains and odors.
Before we dive into the cleaning methods, let’s take a moment to understand why pet stains and odors can be so challenging to eliminate. When pets have accidents, the stains and odors can penetrate deep into the surfaces. Urine, for example, contains ammonia and uric acid, which can create a pungent odor and discoloration if not properly treated. Additionally, if stains are left untreated or not thoroughly cleaned, pets may continue to mark the same spot, exacerbating the problem.
Now that we know the challenges we’re up against, it’s time to prepare for the cleaning process. By gathering the necessary supplies and taking the appropriate precautions, we can ensure a successful cleaning experience. From enzymatic cleaners to absorbent materials, we’ll cover all the essential tools you’ll need to have on hand.
So, whether you’re a new pet owner dealing with your first stain or an experienced pet parent looking for more effective methods, this guide is for you. Let’s embark on this journey together and say goodbye to those stubborn pet stains and odors once and for all!
Key Takeaways:
- Say goodbye to stubborn pet stains and odors by understanding their nature, preparing with the right supplies, and using effective cleaning methods. Keep your living space fresh for you and your furry friends!
- Act quickly to remove fresh pet stains, treat set-in stains with enzymatic cleaners, and combat lingering odors with natural deodorizers. Prevent future stains and odors by implementing proactive measures and maintaining a clean environment for your pets.
Understanding Pet Stains and Odors
Before we dive into the cleaning process, it’s important to understand the nature of pet stains and odors. By having a clear understanding of what we’re dealing with, we can develop a targeted approach to effectively remove them.
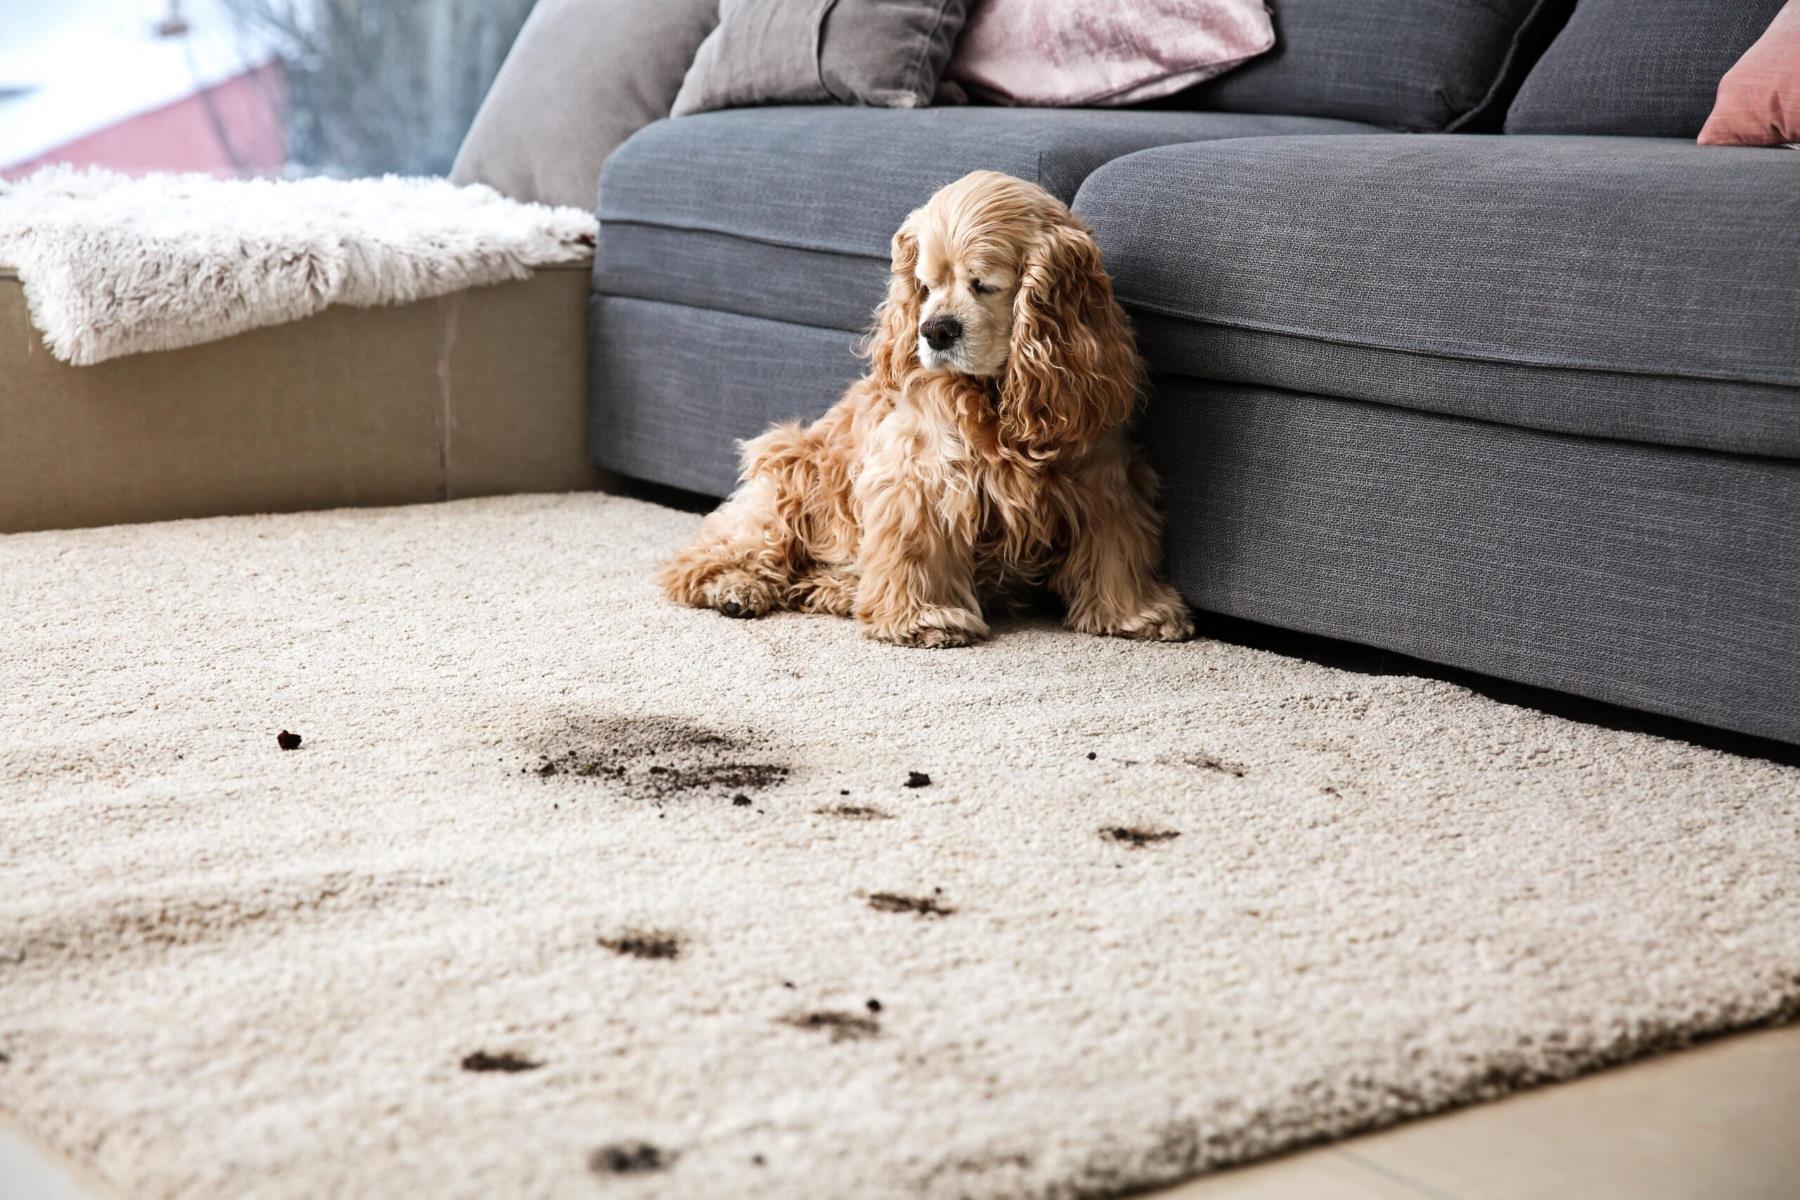
Pet stains can occur due to various reasons, including accidents, marking territory, or illness. Regardless of the cause, it’s crucial to address stains promptly to prevent them from penetrating deeper into surfaces and becoming more difficult to remove.
When it comes to pet stains, urine is one of the most common culprits. Pet urine contains ammonia and uric acid, which can create a strong and unpleasant odor if not properly treated. In addition to the odor, urine stains can also discolor carpets, upholstery, and other surfaces if left untreated.
Another common issue is pet vomit stains. The stomach acids in pet vomit can stain and damage carpets and fabrics, leaving behind an unpleasant odor. It’s important to treat these stains promptly to avoid permanent damage to your belongings.
Aside from stains, pet odors can also be a persistent problem. The strong, lingering smell of pet odors can make your home feel unclean and unwelcoming. This can be particularly challenging because odors can permeate fabrics, carpets, and even penetrate into the subflooring.
The key to effectively eliminating pet stains and odors is to address them as soon as possible. The longer stains are left untreated, the more difficult they become to remove. As for odors, it’s essential to get to the source of the problem and neutralize them at the root.
In the following sections, we will provide you with step-by-step instructions and expert tips for removing fresh stains, treating set-in stains, and dealing with lingering odors. By following these methods, you’ll be able to tackle pet stains and odors head-on, ensuring a clean and fresh home environment for both you and your furry companions.
Preparing for the Cleaning Process
Before you start tackling those stubborn pet stains and odors, it’s important to properly prepare for the cleaning process. By taking the time to gather the necessary supplies and taking the appropriate precautions, you’ll set yourself up for success.
Here are a few key steps to follow when preparing for the cleaning process:
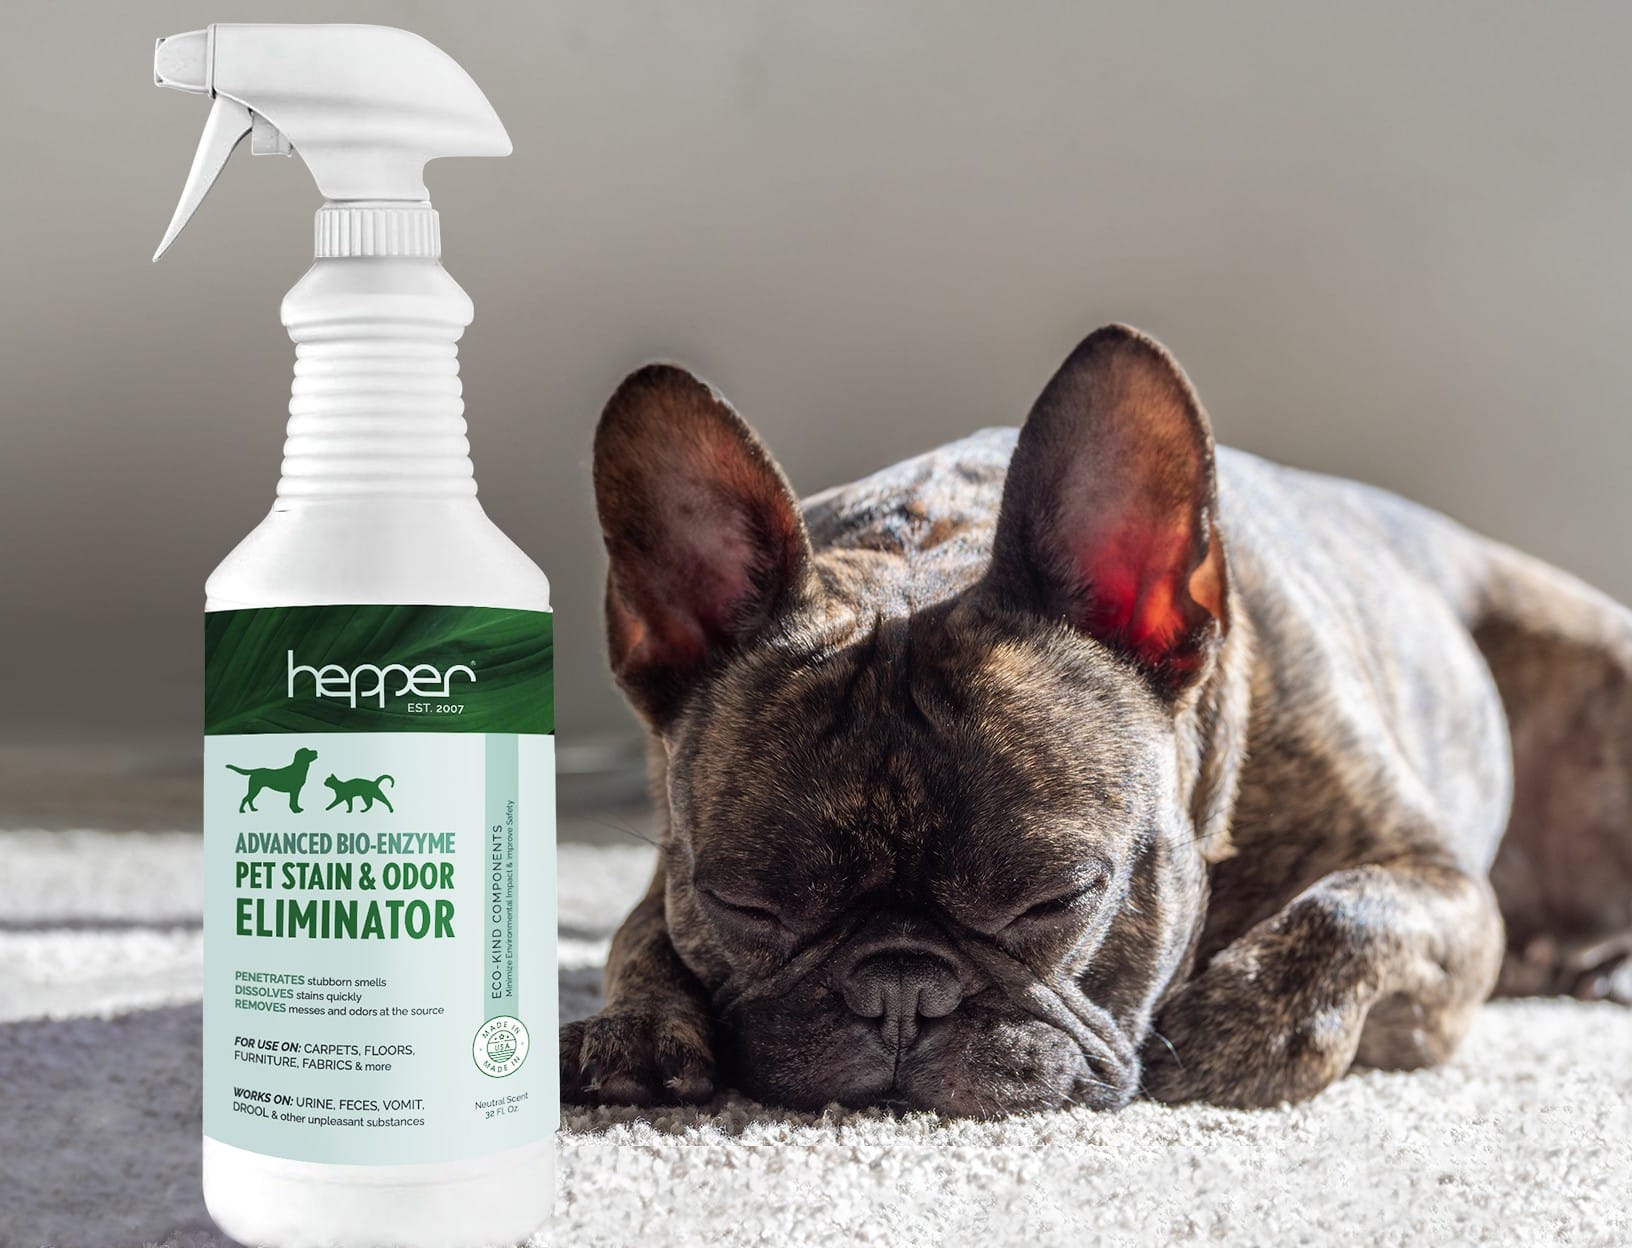
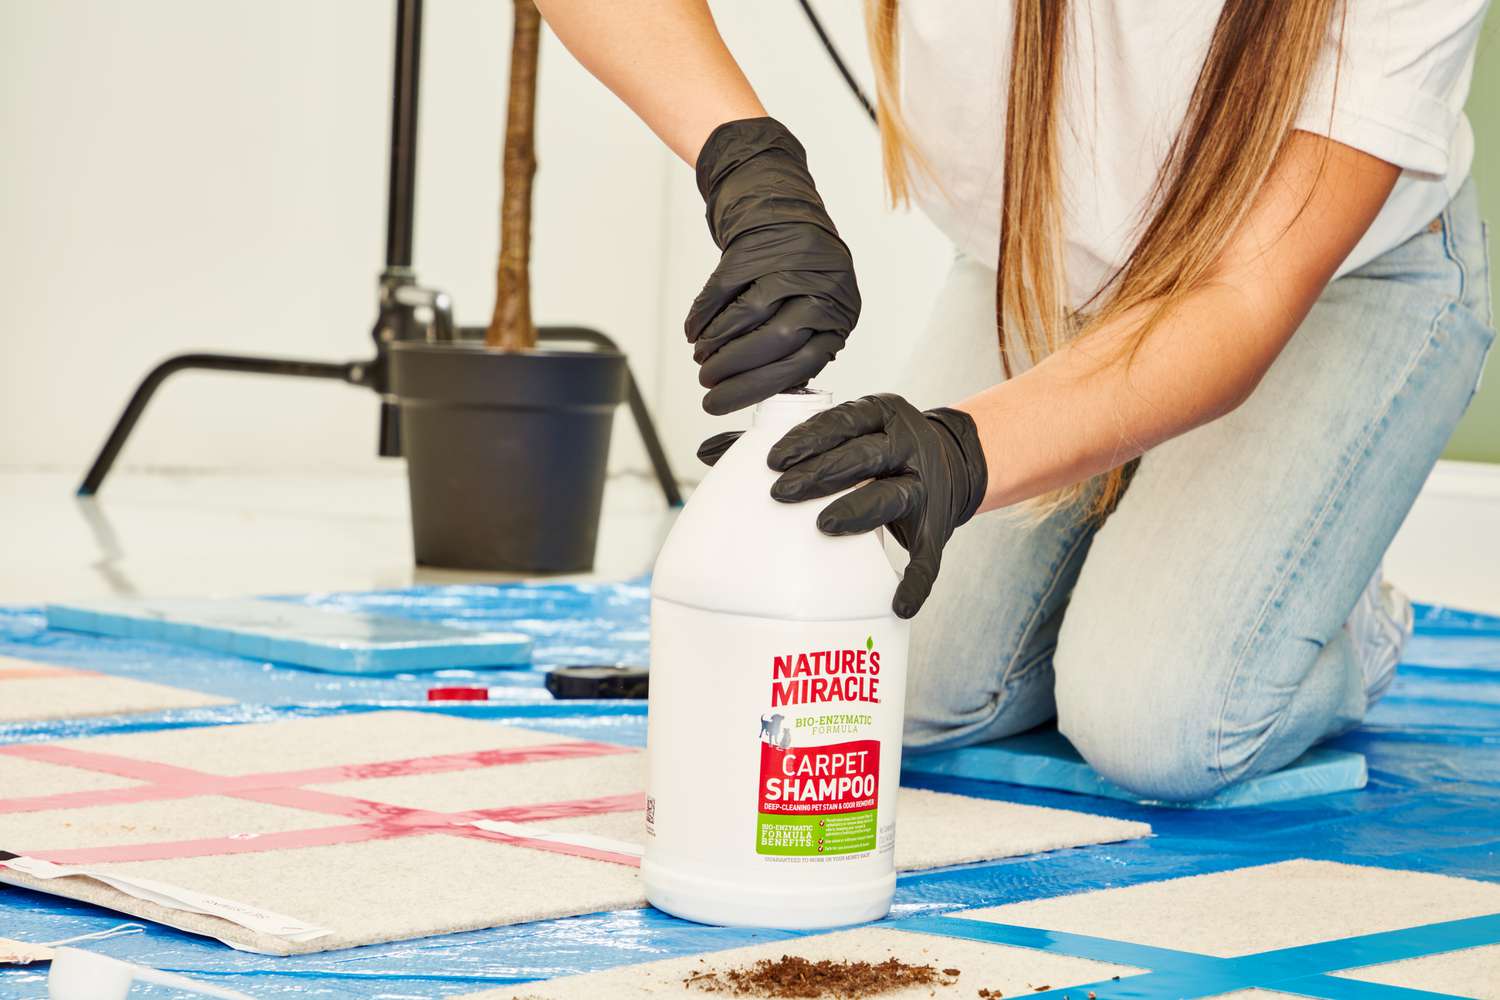
- Gather Cleaning Supplies: Make sure you have all the necessary cleaning supplies on hand. This may include enzymatic cleaners specifically designed for pet stains, absorbent materials such as paper towels or clean cloths, a spray bottle filled with water, a vacuum cleaner, and a stiff brush or scrubbing tool.
- Test Surfaces: Before applying any cleaning solutions, it’s important to test them on an inconspicuous area of the surface to ensure they don’t cause any damage or discoloration. This is especially important for delicate fabrics or materials.
- Remove Excess Stain or Odor: If dealing with a fresh stain or odor, start by removing as much of the excess as possible. Blot the stain gently with a paper towel or clean cloth to absorb any liquid. Avoid rubbing the stain, as it can spread it further or push it deeper into the surface.
- Protect Yourself: While cleaning, it’s important to protect yourself. Wear gloves to avoid direct contact with cleaning solutions or pet waste. Additionally, ensure that the area you’re working in is well-ventilated to minimize exposure to any fumes.
- Follow Instructions: When using cleaning products, it’s important to carefully read and follow the instructions provided. Different products may have specific dilution rates or application methods, so ensure you’re using them correctly to achieve the best results.
By following these preparation steps, you’ll be ready to tackle even the toughest pet stains and odors. With the right supplies and precautions, you’ll set yourself up for success in the cleaning process. Now, let’s move on to the next section, where we’ll dive into removing fresh stains and accidents.
Removing Fresh Stains
When it comes to removing fresh pet stains, acting quickly is key. The sooner you address the stain, the higher the chances of successfully eliminating it. Here’s a step-by-step process to follow when dealing with fresh stains:
- Blot and Absorb: Start by gently blotting the stain with a clean cloth or paper towel. Avoid rubbing the stain, as it can spread it further. The goal is to absorb as much of the liquid as possible.
- Rinse with Water: After blotting, rinse the affected area with water. This will help dilute the stain and prevent it from setting in. You can use a spray bottle filled with water to evenly distribute the water over the stain.
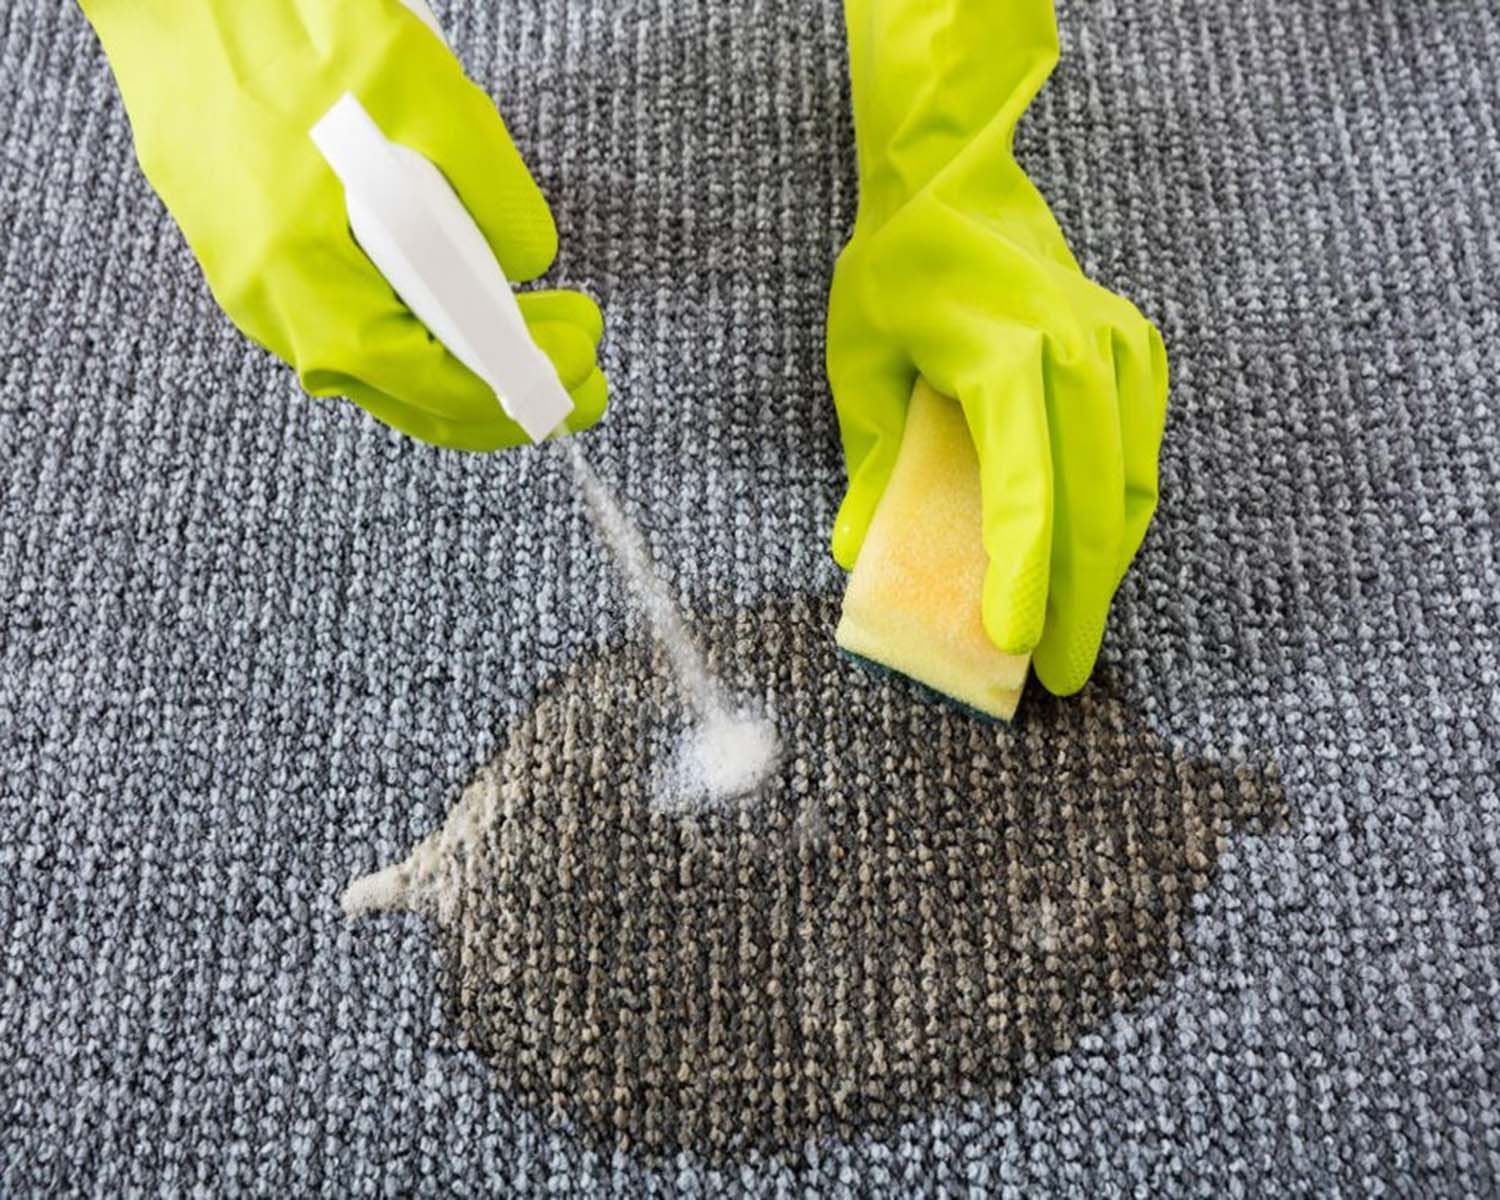
- Apply Enzymatic Cleaner: Enzymatic cleaners are specifically designed to break down the organic components of pet stains, such as urine or feces. Follow the instructions on the cleaner and apply it generously to the stained area. Allow the cleaner to sit for the recommended amount of time to give it a chance to break down the stain.
- Blot and Rinse Again: After the enzymatic cleaner has had time to work, blot the area again with a clean cloth or paper towel. This will help remove any remaining moisture and residues. Then, rinse the area with water once more to ensure all cleaning solutions are removed.
- Dry Thoroughly: It’s essential to allow the area to dry completely. You can use a fan or open windows to increase airflow and aid in the drying process. If necessary, you can also use a clean cloth or paper towels to blot any excess moisture.
By following these steps, you’ll effectively remove fresh pet stains and minimize the chances of any lingering odors. However, it’s important to note that for older or set-in stains, you may need to take additional steps to eliminate them, which we’ll cover in the next section.
Now that you know how to tackle fresh stains, let’s move on to discussing the methods for treating set-in stains and accidents.
Use a mixture of white vinegar and water to clean pet stains and odors. Blot the area with a paper towel, then apply the vinegar solution and let it sit for 5-10 minutes before blotting again. Repeat as needed.
Treating Set-In Stains
Set-in pet stains can be more challenging to remove compared to fresh stains. The key is to break down the stain and odor at a deeper level. Follow these steps to effectively treat set-in stains:
- Prepare the Area: Start by removing any loose debris or residue from the stained area. If the stain is on a fabric or carpet, gently scrape off any dried material using a dull knife or spoon.
- Apply Enzymatic Cleaner: Enzymatic cleaners are particularly effective in breaking down set-in pet stains. Apply the cleaner generously to the stained area, ensuring it saturates the stain thoroughly. Follow the instructions on the cleaner for the recommended amount of time to allow it to work.
- Agitate the Stain: For tough or stubborn stains, agitate the area using a stiff brush or scrubbing tool. This will help loosen the stain and allow the cleaner to penetrate deeper. Be cautious when using brushes or scrubbing tools on delicate fabrics or surfaces to avoid any damage.
- Let the Cleaner Sit: Once you’ve applied the cleaner and agitated the stain, allow it to sit for the recommended amount of time. This gives the enzymes in the cleaner a chance to break down the organic components of the stain.
- Blot and Rinse: After the cleaner has had time to work, blot the area with a clean cloth or paper towels to remove any excess moisture, cleaning solution, or loosened stain particles. Then, rinse the area thoroughly with clean water to remove any remaining residue or cleaner.
- Dry Completely: Ensure the area is completely dry before allowing pets or people to access it. Use fans, open windows, or dehumidifiers to speed up the drying process. This will help prevent any new stains from forming due to damp conditions.
Set-in stains may require multiple treatments to fully remove. Be patient and persistent, repeating the steps as necessary until the stain is no longer visible and the odor is eliminated. In some cases, professional cleaning services may be necessary to fully restore heavily soiled or stained surfaces.
Now that you’re equipped with the knowledge to handle set-in stains, it’s time to move on to the next section, where we’ll discuss how to deal with lingering pet odors.
Read more: How To Eliminate Pet Odor In A Carpet
Dealing with Lingering Odors
Lingering pet odors can make your home feel less inviting, even if you’ve effectively removed the stains. To effectively eliminate these persistent odors, follow these steps:
- Determine the Source: Start by identifying the source of the odor. Does it come from a specific area or object? By pinpointing the source, you can target your efforts more effectively.
- Ventilate the Area: Open windows and doors to allow fresh air to circulate and help dissipate the odor. Use fans or air purifiers to further improve ventilation and speed up the process.
- Use Baking Soda: Baking soda is a powerful natural deodorizer. Sprinkle it over the affected area and allow it to sit for a few hours or overnight. The baking soda will absorb and neutralize the odors. Vacuum the area thoroughly to remove the baking soda residue.
- Try Vinegar: White vinegar is another effective ingredient for neutralizing pet odors. Mix equal parts vinegar and water in a spray bottle, then spray the affected area. Let it sit for a few minutes before blotting with a clean cloth or paper towels.
- Apply Odor-Neutralizing Sprays: There are commercial pet odor-neutralizing sprays available that can help eliminate lingering smells. Follow the instructions on the product and apply as directed.
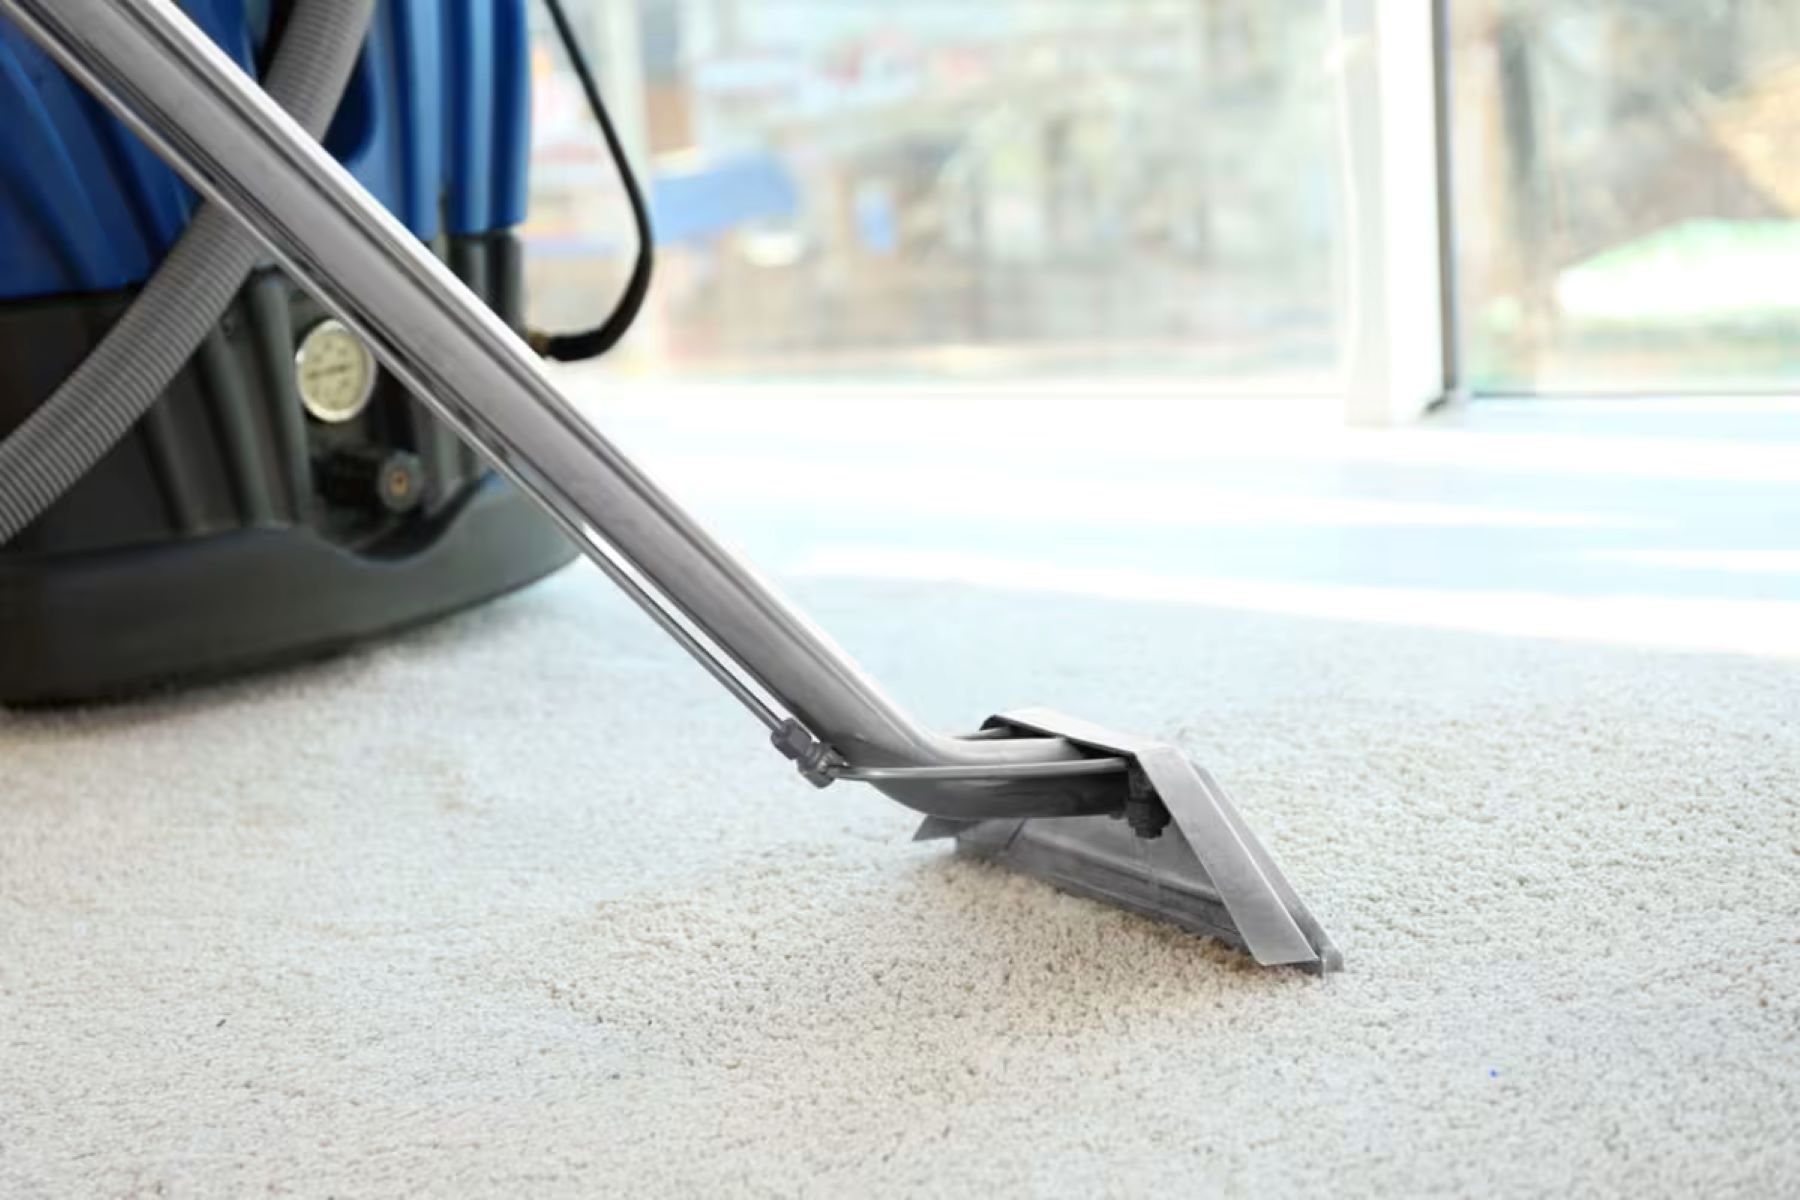
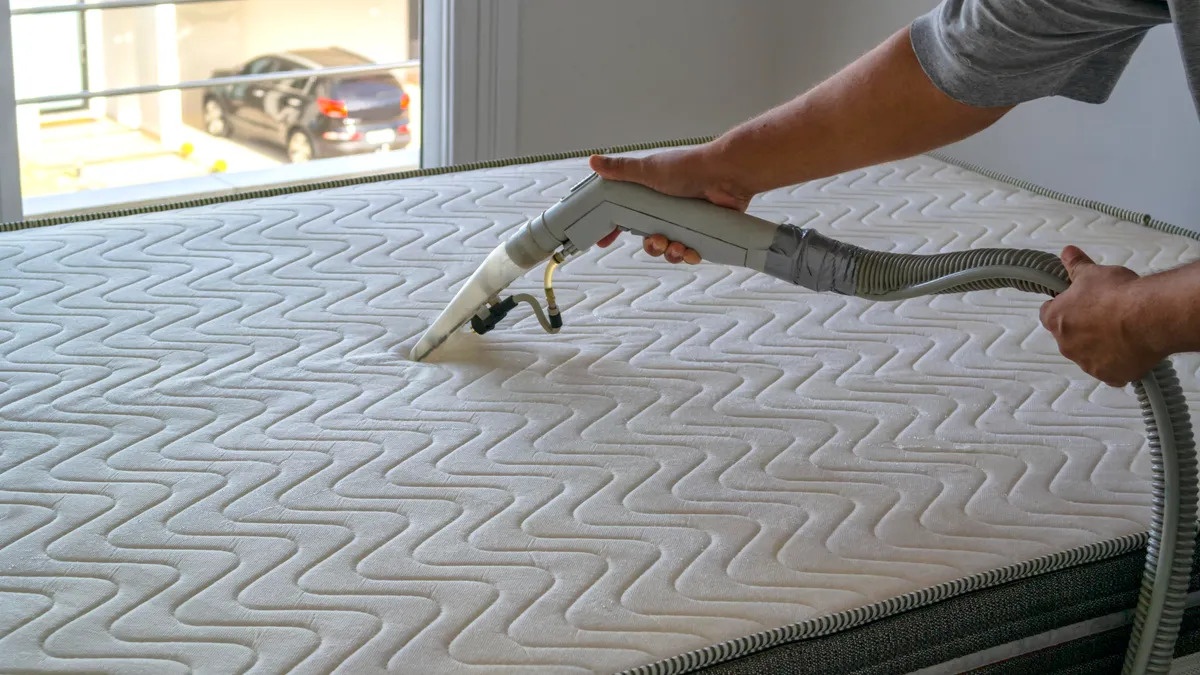
- Steam Clean Carpets and Upholstery: Deep cleaning with a steam cleaner can help remove trapped odors from carpets, upholstery, and other fabrics. Steam cleaning can effectively reach deep into the fibers and eliminate odor-causing bacteria.
- Replace or Clean Pet Bedding: If pet bedding has absorbed strong odors, consider replacing it with a fresh one. If the bedding is washable, follow the care instructions and wash it thoroughly to remove any lingering smells.
- Avoid Masking with Strong Fragrances: While it may be tempting to mask pet odors with air fresheners or strong fragrances, it’s best to avoid this approach. Strong scents can be overwhelming and may cause respiratory irritation for both you and your pets. Focus on eliminating the odor rather than covering it up.
Remember, persistence is key when it comes to eliminating lingering pet odors. If the odor persists despite your efforts, it may be worth consulting a professional cleaner who specializes in pet odor removal.
Now that you have the tools to combat lingering odors, let’s move on to the final section, where we’ll discuss ways to prevent future pet stains and odors.
Preventing Future Stains and Odors
Once you’ve successfully removed pet stains and odors, it’s important to take proactive steps to prevent them from happening again in the future. By implementing these preventative measures, you can maintain a clean and odor-free living environment for both you and your pets:
- Potty Train Your Pets: Properly potty training your pets is one of the most effective ways to prevent accidents and stains. Establish a consistent routine and reward your pets for going in designated areas.
- Provide Adequate Outdoor Access: Ensure that your pets have regular access to the outdoors for bathroom breaks. This helps prevent accidents inside the house.
- Use Pet-Friendly Cleaning Products: When cleaning up after your pets, choose cleaning products that are specifically formulated for removing pet stains and odors. Avoid using harsh chemicals that may be harmful to your pets or cause damage to surfaces.
- Regularly Clean Pet Bedding and Accessories: Wash your pet’s bedding, toys, and other accessories regularly to prevent odors from building up. Follow the manufacturer’s instructions for cleaning and ensure that everything is thoroughly dried before putting them back in use.
- Implement Litter Box Maintenance: If you have cats, make sure to regularly clean and maintain their litter boxes. Scoop daily, change the litter frequently, and clean the litter box itself periodically to keep odors at bay.
- Keep Claws Trimmed: Trim your pets’ claws regularly to prevent them from scratching or damaging surfaces, which can lead to stains or odors.
- Discourage Marking Behavior: If your pet is marking territory inside the house, consult with a veterinarian or a professional trainer to address and discourage this behavior. Neutering or spaying can also help reduce marking behavior in pets.
- Provide Plenty of Mental and Physical Stimulation: Boredom can sometimes lead to destructive behavior in pets. Make sure your pets receive plenty of exercise, mental stimulation, and attention to prevent them from engaging in activities that may result in stains or odors.
- Address Behavioral Issues: If your pets are exhibiting unusual behavior or experiencing anxiety that may contribute to accidents or marking, consult with a veterinarian or a professional behaviorist for guidance and support.
By following these preventative measures, you can minimize the likelihood of future pet stains and odors. Remember, consistency and positive reinforcement are key when it comes to preventing accidents and establishing good habits for your pets. Enjoy a clean and fresh living environment that you and your furry friends can both appreciate.
With the knowledge and techniques provided in this guide, you’re now equipped to confidently tackle stubborn pet stains and odors. By understanding the nature of pet stains, preparing properly for the cleaning process, and implementing preventive measures, you can maintain a clean and odor-free living space for you and your beloved pets. Happy cleaning!
Conclusion
Congratulations! You’ve reached the end of our comprehensive guide to removing stubborn pet stains and odors. By now, you should have a solid understanding of how to effectively tackle these challenges and create a clean and fresh living environment for you and your furry companions.
We started by understanding the nature of pet stains and odors, recognizing the importance of acting quickly and addressing them promptly. We then explored the process of preparing for the cleaning process, gathering the necessary supplies, and taking the appropriate precautions.
From there, we delved into the step-by-step methods for removing fresh stains and treating set-in stains, using enzymatic cleaners, blotting techniques, and rinsing to eliminate both the visual evidence and the underlying odor.
We also provided valuable insights on dealing with lingering odors, using natural deodorizers like baking soda and vinegar, as well as steam cleaning and proper ventilation to ensure that pet odors are completely eliminated.
To wrap it up, we discussed the importance of preventing future pet stains and odors through proper potty training, regular cleaning of pet bedding and accessories, and addressing any behavioral issues that may contribute to accidents or marking behavior.
Remember, persistence and consistency are key when it comes to maintaining a clean and odor-free living environment. With the knowledge and techniques provided in this guide, you are now equipped to handle even the toughest pet stains and odors.
So, roll up your sleeves, gather your cleaning supplies, and confidently tackle any pet stains or odors that come your way. Your home will be fresh and clean, creating a comfortable and welcoming space for both you and your beloved pets.
Thank you for joining us on this journey to remove stubborn pet stains and odors once and for all. Happy cleaning!
Frequently Asked Questions about How To Remove Stubborn Pet Stains And Odors Once And For All
Was this page helpful?
At Storables.com, we guarantee accurate and reliable information. Our content, validated by Expert Board Contributors, is crafted following stringent Editorial Policies. We're committed to providing you with well-researched, expert-backed insights for all your informational needs.


0 thoughts on “How To Remove Stubborn Pet Stains And Odors Once And For All”