Articles
How To Remove Odor From Ice Maker
Modified: September 2, 2024
Learn effective methods to remove odor from your ice maker with these informative articles. Say goodbye to unpleasant smells and enjoy fresh ice every time.
(Many of the links in this article redirect to a specific reviewed product. Your purchase of these products through affiliate links helps to generate commission for Storables.com, at no extra cost. Learn more)
Introduction
Ice makers are an indispensable appliance in many households, providing a convenient and continuous supply of ice for drinks and other cooling needs. However, over time, ice makers can develop an unpleasant odor that can affect the taste and quality of the ice. This can be caused by a variety of factors, including buildup of bacteria, mold, or food particles.
If you’ve noticed a strange smell coming from your ice maker, don’t worry! In this article, we’ll guide you through the process of removing odor from your ice maker and restoring its freshness. With some simple cleaning techniques and a few precautions, you can eliminate the unpleasant odor and enjoy clean and odor-free ice again.
But before we dive into the cleaning process, it’s essential to understand the causes of odor in ice makers. By addressing the root cause, you can take preventive measures to ensure that the odor doesn’t return after cleaning.
Key Takeaways:
- Regular cleaning, proper ventilation, and using filtered water can eliminate odors from ice makers. Following safety precautions and using natural deodorizers can ensure fresh and hygienic ice for your drinks.
- Thorough cleaning of the ice bin, tray, and interior surfaces, along with reassembling and restarting the ice maker, is essential for removing odors and maintaining optimal ice production. Always refer to the manufacturer’s instructions for specific guidance.
Read more: How To Remove Ice Maker From Fridge?
Understanding the Cause of Odor in Ice Makers
There are several reasons why an ice maker can develop an unpleasant odor. One common cause is the buildup of bacteria and mold. Ice makers create the perfect environment for these microorganisms to thrive – a combination of moisture, warmth, and food particles can lead to their rapid growth.
Another culprit of odor in ice makers is leftover food particles. When small pieces of food get trapped in the ice tray or the ice bin, they can decompose over time, releasing foul odors. Additionally, if the ice maker is not cleaned regularly, bacteria and mold can grow on these food particles, exacerbating the odor problem.
Furthermore, if the water supply to your ice maker contains impurities or minerals, it can contribute to odor formation. The impurities can react with the water, creating unpleasant smells that transfer to the ice.
Lastly, a lack of proper ventilation can also contribute to odor in ice makers. If the ice maker is installed in an enclosed space or in an area with limited airflow, it can trap moisture, resulting in the growth of bacteria and mold.
By identifying the cause of the odor in your ice maker, you can take targeted steps to eliminate it and prevent future occurrences. In the next sections, we’ll walk you through the cleaning process and provide tips to ensure that your ice maker remains fresh and odor-free.
Safety Precautions
Before you begin the process of cleaning your ice maker, it’s important to take some safety precautions to ensure your well-being and the proper functioning of the appliance.
1. Read the manufacturer’s instructions: Familiarize yourself with the specific cleaning and maintenance instructions provided by the manufacturer of your ice maker. Different models may have different requirements, and following their guidelines will help avoid any potential damage or voiding of warranties.
2. Wear protective gear: To protect yourself from any chemicals or residues, it’s advisable to wear rubber gloves and safety goggles during the cleaning process.
3. Disconnect power supply: Ensure that your ice maker is unplugged or the power supply is turned off before you begin cleaning. This will prevent any accidents or electric shocks.
4. Work in a well-ventilated area: Cleaning solutions and chemicals can produce fumes that may be harmful when inhaled. Therefore, it’s recommended to clean your ice maker in a well-ventilated area to allow proper airflow.
5. Use appropriate cleaning supplies: Use cleaning supplies that are safe for use on ice makers and are recommended by the manufacturer. Avoid using harsh chemicals or abrasive materials that could damage the appliance.
6. Allow for proper drying time: After cleaning, make sure to thoroughly dry all the components of the ice maker before reassembling and restarting it. Moisture left behind can promote the growth of bacteria or mold.
By following these safety precautions, you can clean your ice maker effectively while ensuring your personal safety and maintaining the optimal functioning of the appliance. Now let’s move on to the necessary cleaning supplies you’ll need for the task.
Cleaning Supplies Needed
Before you start cleaning your ice maker, gather the necessary cleaning supplies. Having these items on hand will ensure a thorough and efficient cleaning process. Here’s a list of the supplies you’ll need:
1. Warm water: Warm water will help in the removal of residue and stains from the ice maker components.
2. Mild detergent: Choose a mild detergent that is safe for use on food contact surfaces. Avoid using harsh chemicals or abrasive cleaners, as they can damage the ice maker.
3. Vinegar: Vinegar is a natural cleaning agent that can help remove stubborn stains and odors from the ice maker. White vinegar is preferred due to its neutralizing properties.
4. Baking soda: Baking soda is another effective natural cleaner that can absorb and eliminate odors.
5. Soft-bristle brush or toothbrush: A soft-bristle brush or toothbrush will come in handy for scrubbing hard-to-reach areas, such as the ice tray and corners of the ice bin.
6. Microfiber cloth or sponge: These are ideal for wiping down and drying the interior and exterior surfaces of the ice maker.
7. Rubber gloves: Rubber gloves will protect your hands from coming into direct contact with cleaning solutions and potential contaminants.
8. Safety goggles: Safety goggles will shield your eyes from splashes or sprays during the cleaning process.
Ensure that you have all these supplies readily available before you start cleaning your ice maker. Now that you’re prepared, let’s move on to the step-by-step cleaning process to remove the odor from your ice maker.
Step 1: Unplugging the Ice Maker
Before you begin the cleaning process, it’s essential to unplug the ice maker from the power source. This step is crucial for your safety and to avoid any mishaps during the cleaning process.
Here’s how to safely unplug your ice maker:
1. Locate the power cord: Look for the power cord at the back or bottom of the ice maker. It’s usually connected to an electrical outlet or a power supply.
2. Gently pull out the plug: Firmly grab the plug and gently pull it out of the outlet. Make sure to pull the plug and not the cord itself to avoid damaging the cord.
3. Confirm the power is disconnected: Double-check that the ice maker is not receiving any power by testing the control panel or switches. If the ice maker no longer operates or shows any signs of power, you can proceed to the next cleaning steps.
By unplugging the ice maker, you eliminate the risk of electrical shock and ensure that the appliance is powered off before you start cleaning. It is crucial to follow this step for your safety and the proper maintenance of the ice maker. With the first step complete, we can now move on to draining the water from the ice maker in step 2.
Read more: How To Remove Mold From Ice Maker
Step 2: Draining the Water
Once you have unplugged the ice maker, the next step is to drain any remaining water from the appliance. This is important to ensure an effective and thorough cleaning process. Here’s how you can drain the water from your ice maker:
1. Locate the water supply valve: Look for the water supply valve connected to the ice maker. It is typically located at the back of the appliance or under the sink.
2. Turn off the water supply valve: Rotate the valve in a clockwise direction to shut off the water supply to the ice maker. This will prevent any water from flowing into the appliance during the cleaning process.
3. Empty the ice maker: Remove any ice cubes or ice cubes from the ice bin or tray. Discard them or use them immediately.
4. Allow the ice maker to thaw: Leave the ice maker unplugged and let it thaw for a few minutes. This will help in melting any remaining ice or frost within the appliance.
5. Collect the drained water: Place a shallow container or towel beneath the ice maker to collect any water that may trickle out during the thawing process.
6. Drain the water reservoir: Some ice makers have a small water reservoir that needs to be emptied. If your ice maker has a visible water reservoir, tilt it gently to drain the water into the sink or a container.
Once you have successfully drained the water from your ice maker, you can move on to the next steps of cleaning the ice bin and tray, as well as the interior and exterior of the ice maker. This will help eliminate any residue or buildup that may be causing the unpleasant odor.
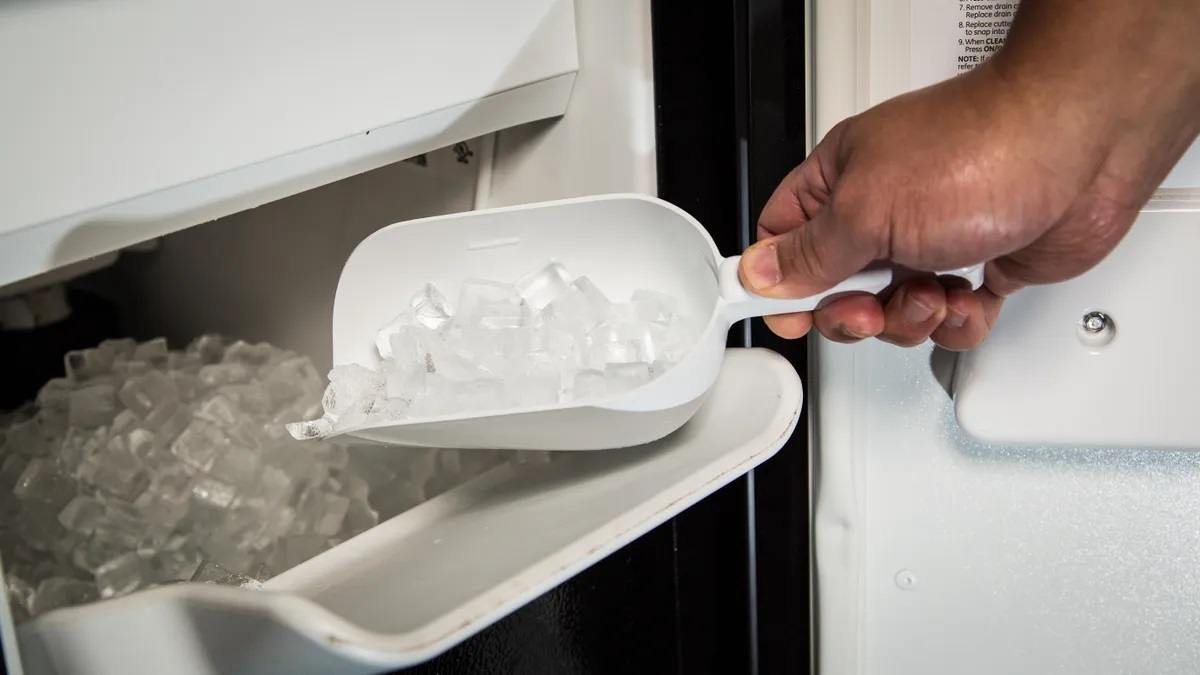
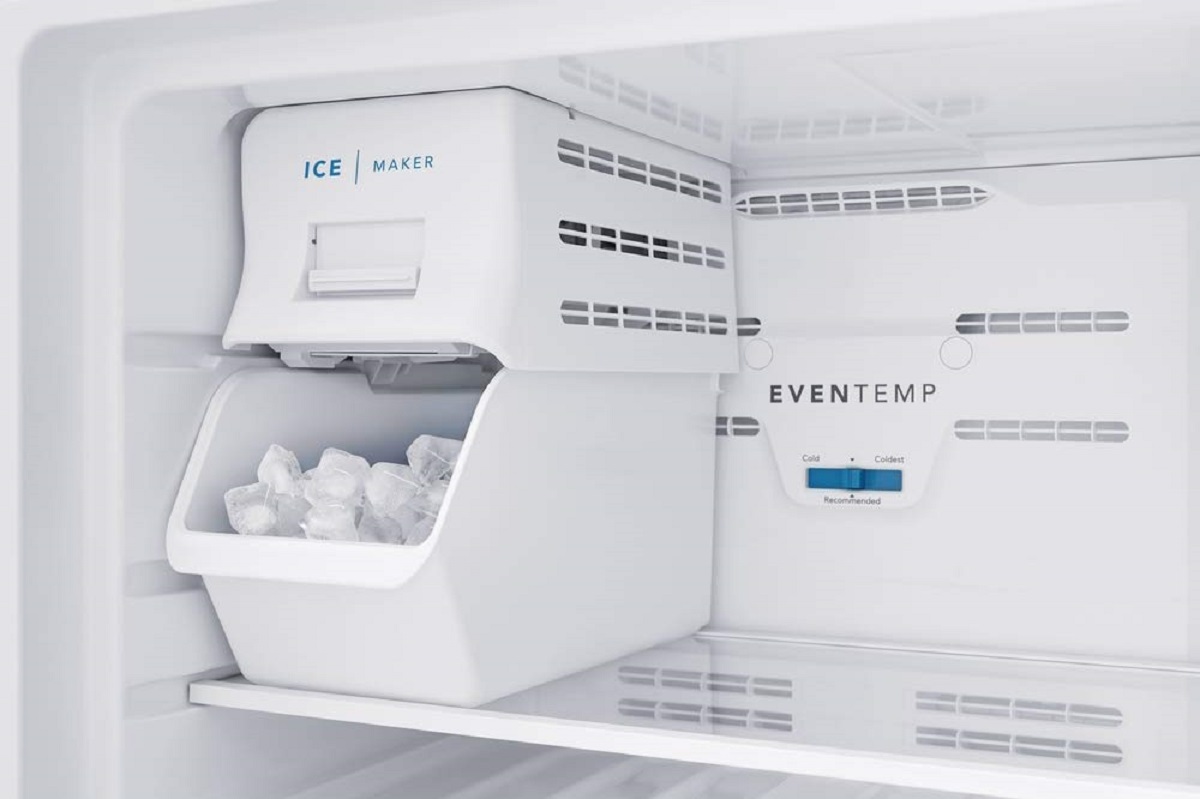
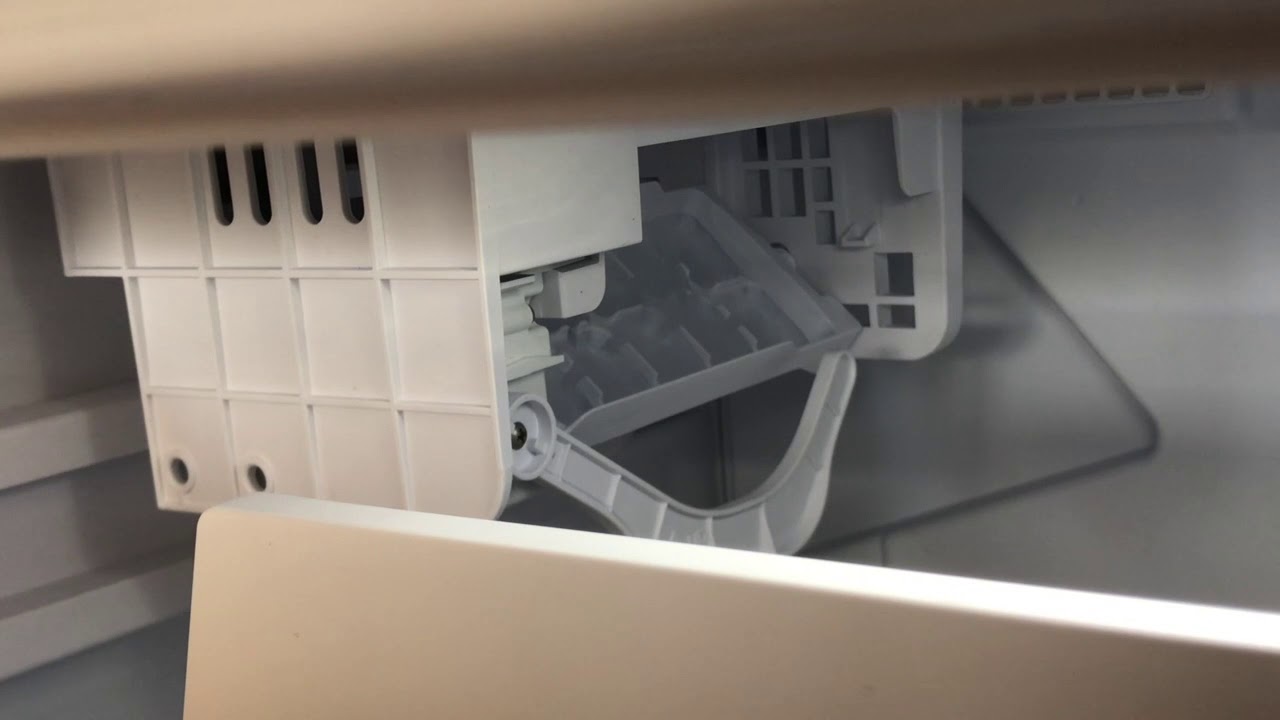
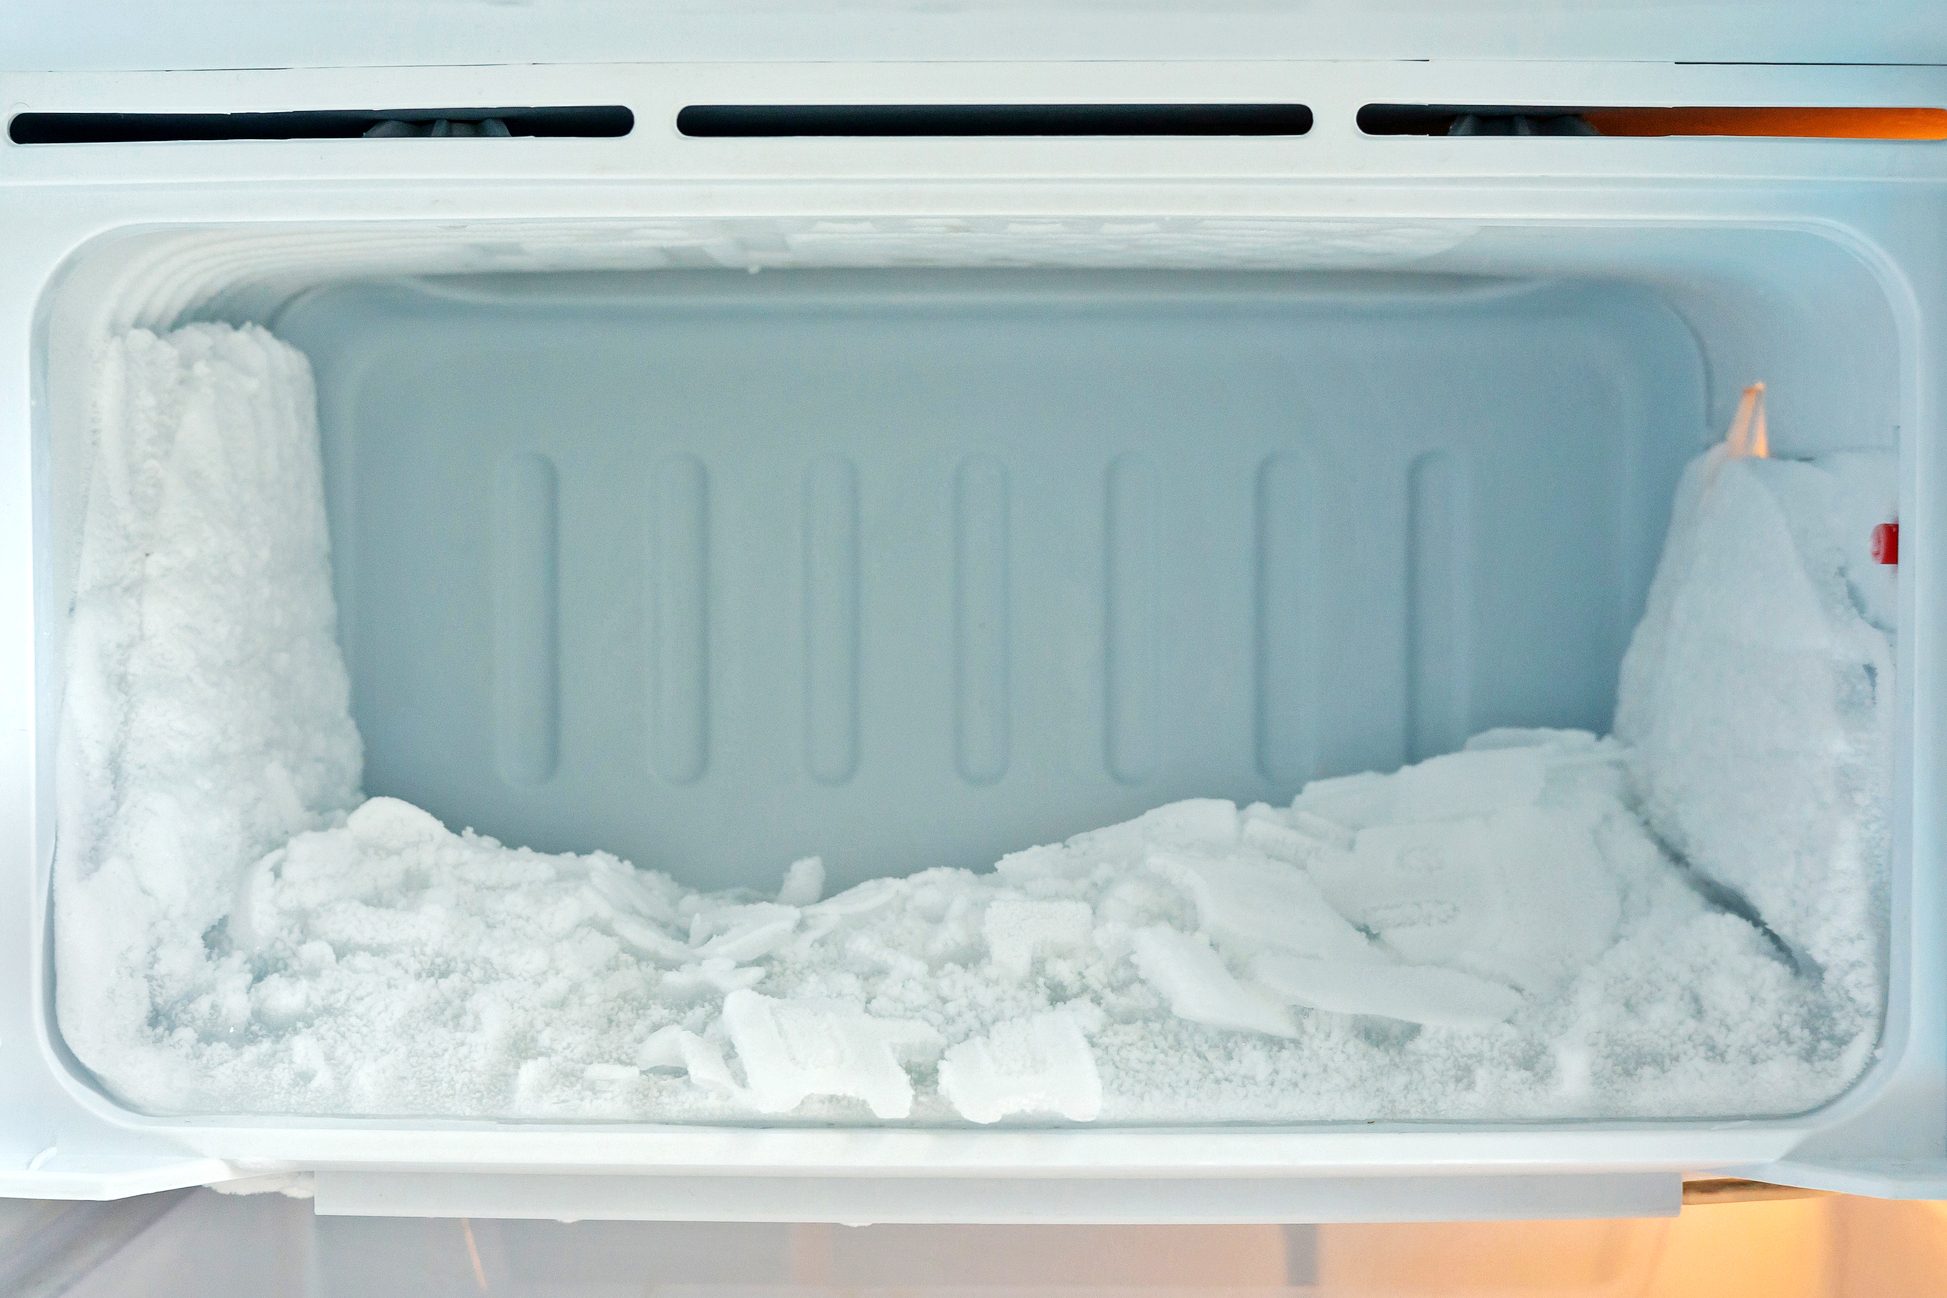
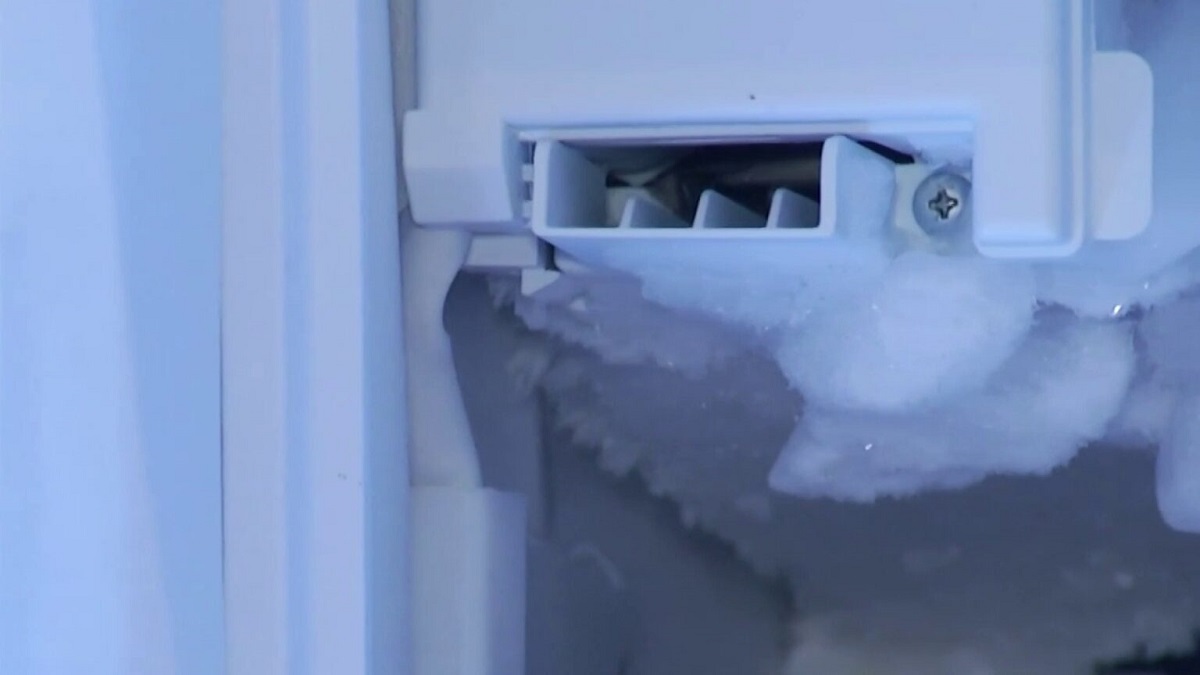
Step 3: Removing Ice and Ice Bin
With the water drained from your ice maker, it’s time to remove the ice and the ice bin. This step is crucial to access and clean these components thoroughly. Follow these steps to remove the ice and ice bin:
1. Open the ice maker door: If your ice maker has a separate door for the ice bin, open it to access the ice bin. Some ice makers may require you to lift or push a lever to release the ice bin.
2. Empty the ice bin: If there is any remaining ice in the bin, carefully scoop it out and discard it. Avoid using your hands directly to avoid any potential injury.
3. Inspect the ice bin and tray: Take a close look at the ice bin and tray for any signs of residue, mold, or food particles. If you notice any visible buildup, make a mental note of it as you will address it in the next cleaning steps.
4. Remove the ice bin: Depending on the model of your ice maker, the ice bin may be removable or attached. If it’s removable, lift it straight up and out of the ice maker. If it’s attached, follow the manufacturer’s instructions for detaching it.
5. Empty the ice bin: If the ice bin is removable, empty it completely and rinse it with warm water to remove any remaining ice or residue. For attached ice bins, use a damp cloth or sponge to clean the interior thoroughly.
During this step, ensure that you handle the ice and ice bin with care to avoid any accidents or injuries. Removing the ice and ice bin will provide you with unobstructed access to the components that require cleaning. In the next step, we will focus on cleaning the ice bin and tray to eliminate any potential sources of odor.
To remove odor from an ice maker, mix equal parts of water and white vinegar, then wipe down the interior of the ice maker with the solution. Run a few cycles of ice making and discarding to help eliminate the odor.
Step 4: Cleaning the Ice Bin and Tray
Now that you’ve removed the ice and the ice bin, it’s time to focus on cleaning these components to eliminate any residue, mold, or food particles that may be causing the odor. Follow these steps to effectively clean the ice bin and tray:
1. Prepare a cleaning solution: Mix a mild detergent or dish soap with warm water in a sink or basin. Follow the detergent’s instructions for the appropriate ratio of soap to water.
2. Dip a sponge or cloth into the cleaning solution: Wet a soft sponge or cloth with the cleaning solution, ensuring it is well saturated but not dripping.
3. Clean the ice bin: Gently scrub the interior and exterior surfaces of the ice bin using the sponge or cloth. Pay extra attention to any areas with visible residue or mold. Rinse the ice bin thoroughly with warm water to remove any soap residue.
4. Clean the ice tray: If your ice maker has a separate ice tray, remove it and clean it separately. Scrub the tray with the sponge or cloth, paying attention to all the crevices and corners. Rinse it thoroughly with warm water.
5. Dry the ice bin and tray: Use a clean, dry cloth or towel to wipe away any excess moisture from the ice bin and tray. Ensure that they are completely dry before reassembling them into the ice maker.
By cleaning the ice bin and tray, you are removing any potential sources of odor and ensuring a clean environment for the production of fresh ice. In the next step, we will shift our focus to cleaning the interior and exterior of the ice maker to further eliminate any remaining odors.
Step 5: Cleaning the Interior and Exterior of the Ice Maker
With the ice bin and tray clean and dry, it’s time to turn our attention to the interior and exterior of the ice maker. This step will help ensure that all surfaces of the appliance are thoroughly cleaned and free from any potential sources of odor. Follow these steps to clean the interior and exterior of the ice maker:
1. Interior cleaning:
– Dampen a soft cloth or sponge with the cleaning solution (mild detergent mixed with warm water).
– Gently wipe down the interior walls and surfaces of the ice maker, paying attention to any visible residue or mold.
– Use a soft-bristle brush or toothbrush to scrub any hard-to-reach areas, such as crevices or corners.
– Rinse the interior with warm water to remove any soap residue.
– Dry the interior thoroughly with a clean, dry cloth or towel.
2. Exterior cleaning:
– Dampen a separate cloth or sponge with the cleaning solution.
– Wipe down the exterior surfaces of the ice maker, including the control panel, door, and sides.
– Pay extra attention to any areas that may have accumulated dirt or grime.
– Rinse the exterior with warm water to remove any soap residue.
– Dry the exterior surfaces thoroughly.
3. Deodorizing:
– To further eliminate any remaining odors, you can use a mixture of equal parts water and white vinegar.
– Dampen a cloth with the vinegar solution and wipe down the interior and exterior surfaces of the ice maker.
– Let the vinegar solution sit for a few minutes to neutralize any remaining odors.
– Rinse the ice maker with warm water to remove any vinegar residue.
– Dry the ice maker completely before proceeding to the next step.
By thoroughly cleaning the interior and exterior of the ice maker, you are ensuring that all surfaces are clean and free from any potential odor-causing elements. In the next step, we will reassemble the ice maker to prepare it for restarting.
Read more: How To Remove Odor From Curtains
Step 6: Reassembling the Ice Maker
Now that you have cleaned the interior and exterior of the ice maker, it’s time to reassemble the components to restore the ice maker to its proper functioning state. Follow these steps to reassemble the ice maker:
1. Ensure all components are dry: Before proceeding with reassembly, double-check that all the components, including the ice bin, ice tray, and interior surfaces, are completely dry. This will prevent the growth of mold or bacteria and ensure optimal ice production.
2. Place the ice tray back in position: If you removed the ice tray during the cleaning process, carefully place it back in its original position. Ensure it is aligned correctly and securely seated.
3. Insert the ice bin: If you removed the ice bin, slide it back into the ice maker, aligning it properly. Make sure it is fully inserted and securely locked in place according to the manufacturer’s instructions.
4. Reattach any accessories: If your ice maker has any additional accessories that were removed during cleaning, such as a water filter or ice scoop holder, reattach them as per the manufacturer’s instructions.
5. Double-check for any loose or disconnected parts: Before moving on to the next step, inspect the ice maker to ensure that all parts are properly reassembled and that nothing is loose or disconnected.
By correctly reassembling the ice maker, you are ensuring that all components are in their proper positions to facilitate the smooth functioning and production of fresh and odor-free ice. In the final step, we will restart the ice maker and make sure that it is functioning properly.
Step 7: Restarting the Ice Maker
After reassembling the ice maker, it’s time to restart it and ensure that it is functioning properly. Follow these steps to restart the ice maker:
1. Plug in the ice maker: Locate the power cord and plug it back into the electrical outlet. Ensure that the ice maker is securely connected to a power source.
2. Turn on the ice maker: Depending on the model, you may need to press a power button or flip a switch to turn on the ice maker. Refer to the manufacturer’s instructions to determine the proper procedure for starting your specific ice maker.
3. Reset the ice maker settings: If necessary, reset any settings that were changed or reset during the cleaning process. This could include adjusting the ice cube size or resetting the ice making cycle.
4. Allow the ice maker to run a full cycle: Give the ice maker some time to run a full ice making cycle. This will help flush out any remaining cleaning solution and ensure that the ice being produced is clean and fresh.
5. Discard the initial batch of ice: As the ice maker starts producing ice, discard the first few batches. This will help remove any residual cleaning solution or impurities that may be present in the initial ice production.
6. Monitor the ice production: Pay attention to the ice production over the next few hours or days. Ensure that the ice is coming out clean, clear, and free from any odor. If you notice any lingering odors or other issues, repeat the cleaning process or consult the manufacturer for further guidance.
By restarting the ice maker, you can verify that it is functioning properly and that the cleaning process has been successful in eliminating any odor-causing elements. Remember to follow any specific instructions provided by the manufacturer for your ice maker model.
Additional Tips and Tricks
Here are some additional tips and tricks to help you maintain a clean and odor-free ice maker:
1. Regular cleaning schedule: Establish a regular cleaning schedule for your ice maker to prevent the buildup of residue, mold, and bacteria. Cleaning it every 3-6 months is usually sufficient, but you can adjust the frequency based on your usage and the water quality in your area.
2. Use filtered water: Consider using filtered water in your ice maker to ensure that the ice is free from impurities and odors. This can help prolong the freshness and quality of the ice.
3. Rinse the ice bin regularly: Even if you clean your ice maker regularly, it’s a good idea to give the ice bin a quick rinse every couple of weeks to prevent any buildup of residue or odors.
4. Keep the ice maker well-ventilated: Ensure that the area around the ice maker is well-ventilated to prevent the accumulation of moisture and the growth of mold or bacteria. If necessary, use a fan or open a nearby window to improve airflow.
5. Clean the exterior regularly: Wipe down the exterior surfaces of the ice maker regularly to remove any dirt, dust, or fingerprints. This will help keep your ice maker looking clean and well-maintained.
6. Consider using natural deodorizers: If you notice any persistent odors in your ice maker, you can try using natural deodorizers like lemon slices, baking soda, or activated charcoal. Place them in the ice bin or near the ice maker to absorb any remaining odors.
7. Follow manufacturer’s instructions: Always refer to the manufacturer’s instructions for your specific ice maker model when cleaning and maintenance. They may provide specific tips or guidelines to ensure optimal performance and longevity of your appliance.
By incorporating these additional tips and tricks into your ice maker maintenance routine, you can enjoy fresh and odor-free ice for a longer period. Remember, a clean ice maker not only enhances the taste of your drinks but also ensures the health and safety of you and your family.
Conclusion
Maintaining a clean and odor-free ice maker is essential for enjoying fresh and hygienic ice. By following the steps outlined in this guide, you can effectively remove any unpleasant odors from your ice maker and restore it to optimal performance.
Understanding the causes of odor in ice makers, taking necessary safety precautions, and gathering the proper cleaning supplies are crucial first steps. By unplugging the ice maker and draining the water, you create a safe and clean environment for the cleaning process.
Removing the ice and ice bin allows for thorough cleaning to eliminate any residue or mold that may be causing the odor. Cleaning the interior and exterior of the ice maker further removes any remaining odors and promotes cleanliness.
Reassembling the ice maker correctly and restarting it ensures that it functions properly and produces fresh, odor-free ice. Following a regular cleaning schedule, using filtered water, and keeping the ice maker well-ventilated are additional measures to maintain the freshness of your ice.
By incorporating these tips and tricks into your ice maker maintenance routine, you can prevent future odor issues and enjoy clean ice for refreshing drinks and cooling needs.
Remember, always refer to the manufacturer’s instructions for your specific ice maker model, as they may provide additional guidance or specifications for cleaning and maintenance.
With a clean and odor-free ice maker, you can confidently serve ice to your family and guests, knowing that it is both refreshing and hygienic. So go ahead and get started on cleaning your ice maker today to ensure a continuous supply of fresh and odor-free ice for all your cooling needs.
Frequently Asked Questions about How To Remove Odor From Ice Maker
Was this page helpful?
At Storables.com, we guarantee accurate and reliable information. Our content, validated by Expert Board Contributors, is crafted following stringent Editorial Policies. We're committed to providing you with well-researched, expert-backed insights for all your informational needs.

0 thoughts on “How To Remove Odor From Ice Maker”