Home>Technology>Home Entertainment Systems>How To Disconnect A Universal Remote

Home Entertainment Systems
How To Disconnect A Universal Remote
Modified: August 28, 2024
Learn how to disconnect a universal remote from your home entertainment system with our step-by-step guide. Find out the easy way to remove your remote and start fresh.
(Many of the links in this article redirect to a specific reviewed product. Your purchase of these products through affiliate links helps to generate commission for Storables.com, at no extra cost. Learn more)
Introduction
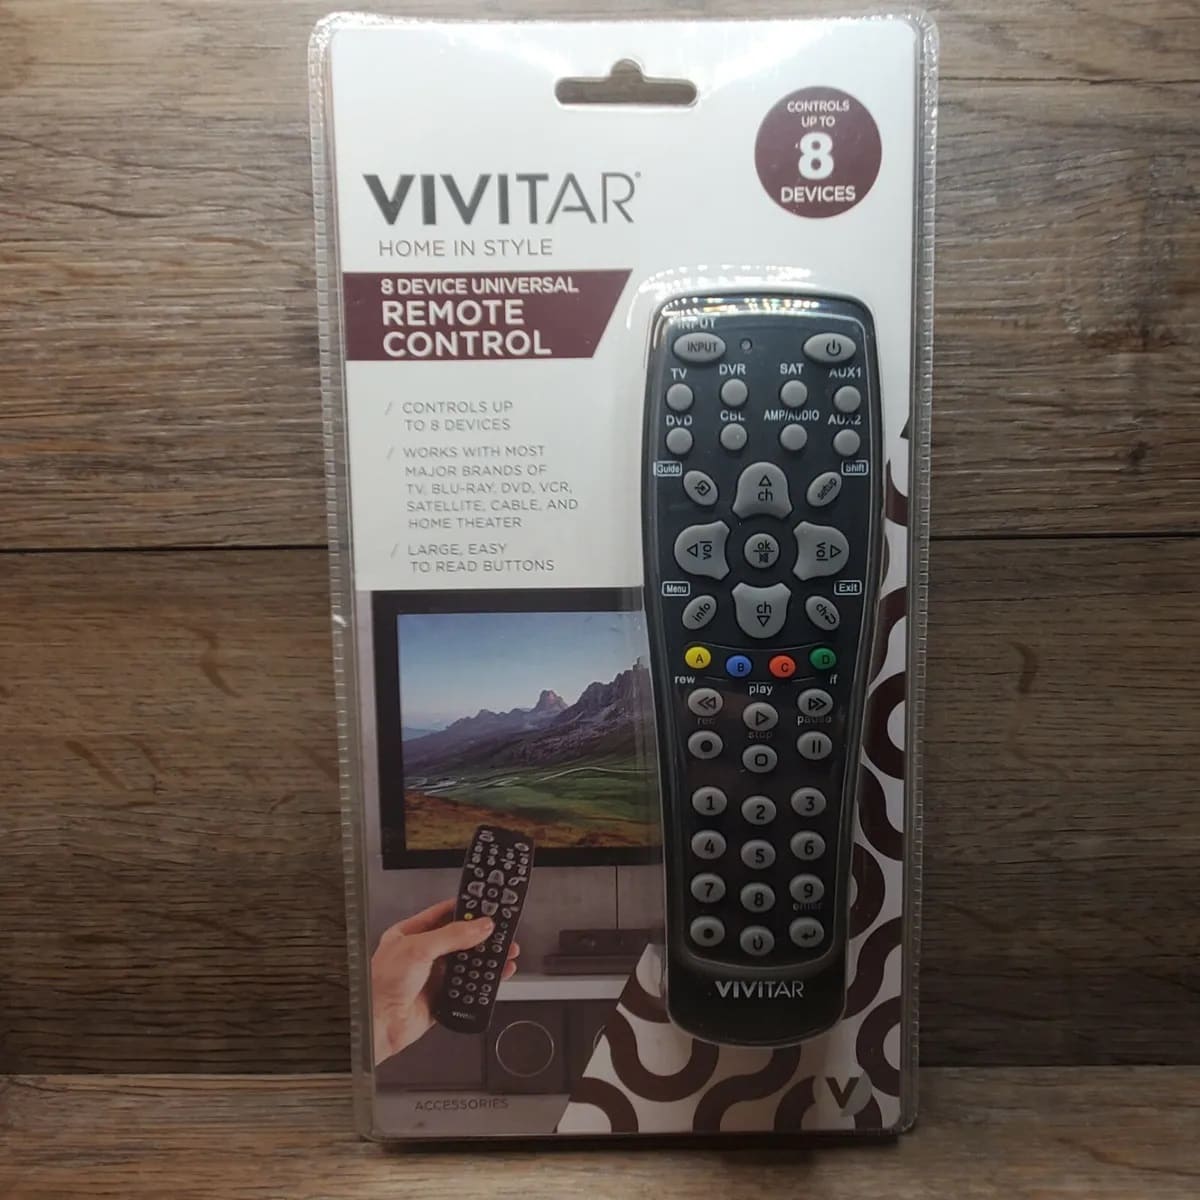
So, you've got a universal remote control, and for some reason, you need to disconnect it. Whether you're troubleshooting an issue, replacing the remote, or simply storing it away, knowing how to properly disconnect a universal remote is essential. This guide will walk you through the steps to disconnect your universal remote in a way that ensures it's ready for future use or storage. By following these steps, you'll be able to safely and effectively disconnect your universal remote without any hassle. Let's dive in and get started!
Key Takeaways:
- Safely disconnect a universal remote by removing the batteries, resetting it, and unpairing it from devices. Proper storage ensures it remains in good condition and ready for future use.
- Follow specific steps to disconnect and store a universal remote, including cleaning it, choosing a safe storage location, and keeping it accessible for future use.
Read more: How To Program A TWC Universal Remote
Step 1: Locate the Battery Cover
The first step in disconnecting a universal remote is to locate the battery cover. Most universal remotes are powered by batteries, so removing them is a crucial part of the disconnecting process. The battery cover is typically located on the back of the remote. It may have a small indentation or a latch that needs to be slid or pressed to open the cover.
Once you've located the battery cover, carefully open it to reveal the batteries inside. Some remotes may use standard AA or AAA batteries, while others might have a built-in rechargeable battery. Regardless of the type of batteries your remote uses, it's important to handle them with care during the disconnecting process.
If your remote has a built-in rechargeable battery, consult the user manual or manufacturer's instructions for specific guidance on disconnecting it. In the case of standard replaceable batteries, proceed to the next step to learn how to remove them safely.
Step 2: Remove the Batteries
After locating the battery cover, the next step is to remove the batteries from the universal remote. This is a crucial step in disconnecting the remote, as it effectively cuts off its power source. If your remote uses standard replaceable batteries, carefully take them out one by one. It's important to handle the batteries with care and dispose of them properly if they are no longer usable.
When removing the batteries, pay attention to their orientation. Most remotes have markings or diagrams inside the battery compartment that indicate the correct polarity for inserting the batteries. Take note of the correct orientation to ensure that you can easily reinstall the batteries if needed in the future.
If your remote has a built-in rechargeable battery, the process may be different. Refer to the user manual or manufacturer's instructions for specific guidance on removing the rechargeable battery. Some remotes may have a release button or a specific procedure for disconnecting the internal battery safely.
Once the batteries are removed, the remote will no longer be powered, effectively disconnecting it from any devices it controls. With the power source removed, you can proceed to the next steps to ensure a complete disconnection of the universal remote.
Step 3: Reset the Remote
Resetting the universal remote is an important step in the disconnection process, especially if you plan to store it for an extended period or if you are troubleshooting issues. Resetting the remote will clear any stored settings and ensure that it’s ready for future use. Here’s how to reset the remote:
- Find the Reset Button: Many universal remotes have a reset button, typically located inside the battery compartment or on the back of the remote. If your remote has a reset button, use a small tool, such as a paperclip, to press and hold the button for a few seconds.
- Perform a Manual Reset: If your remote doesn’t have a dedicated reset button, you can perform a manual reset by removing the batteries and holding down any button on the remote for 15-20 seconds. This action will discharge any stored power and reset the remote’s internal memory.
- Refer to the User Manual: If you’re unsure about how to reset your specific remote model, consult the user manual or visit the manufacturer’s website for detailed instructions. Different remotes may have varying reset procedures, so it’s essential to follow the recommended method for your remote.
Resetting the remote will clear any programmed settings, such as device codes and custom functions, effectively disconnecting it from any previously paired devices. This step is crucial if you’re preparing the remote for storage or if you want to start fresh with a clean slate for reprogramming it later.
To disconnect a universal remote, locate the “reset” button on the remote and hold it down for 5-10 seconds. This will reset the remote to its factory settings and disconnect it from any devices.
Step 4: Disconnect from Devices
Once the batteries are removed and the remote has been reset, it’s time to ensure that it’s fully disconnected from any devices it was previously controlling. This step is especially important if you’re replacing the remote or troubleshooting issues with the devices it operates. Here’s how to disconnect the remote from devices:
- Unpairing Devices: If your universal remote was paired or programmed to control specific devices, such as a TV, DVD player, or sound system, you’ll need to unpair or erase these settings. Refer to the user manual or online resources for your specific remote model to find instructions on unpairing devices. This process may involve entering specific codes or performing a sequence of button presses to clear the remote’s memory of paired devices.
- Power Cycling Devices: In some cases, it may be necessary to power cycle the devices themselves to fully disconnect the remote. This involves unplugging the devices from power sources, waiting for a few minutes, and then plugging them back in. Power cycling can help clear any residual connections between the devices and the remote, ensuring a complete disconnection.
- Testing the Disconnection: After unpairing devices and power cycling, test the remote to ensure that it no longer controls the devices. Try pressing various buttons on the remote to verify that it does not elicit any responses from the devices. This confirmation indicates that the remote has been successfully disconnected from the previously paired devices.
By following these steps, you can effectively disconnect the universal remote from any devices it was previously linked to, ensuring that it’s ready for reprogramming or storage without inadvertently controlling other devices.
Read more: How To Program Terk Universal Remote
Step 5: Store the Remote
Once the universal remote has been disconnected from its power source and any previously paired devices, it’s time to prepare it for storage. Whether you’re storing the remote temporarily or for an extended period, proper storage ensures that it remains in good condition and is ready for future use. Here’s how to store the remote:
- Clean the Remote: Before storing the remote, wipe it down with a soft, dry cloth to remove any dust, fingerprints, or residue. Pay attention to the buttons, crevices, and the infrared (IR) transmitter area to ensure that the remote is clean and free of any obstructions that could affect its performance.
- Protective Case or Container: Consider storing the remote in a protective case or container to shield it from dust, moisture, and physical damage. If the remote came with a dedicated case or if you have a suitable container available, place the remote inside to provide an extra layer of protection during storage.
- Safe and Dry Location: Choose a safe and dry location for storing the remote. Avoid areas with extreme temperatures, direct sunlight, or high humidity, as these conditions can potentially damage the remote’s components. A drawer, cabinet, or storage box in a climate-controlled environment is ideal for remote storage.
- Keep it Accessible: If you anticipate needing the remote in the near future, store it in a location that is easily accessible and memorable. Labeling the storage container or designating a specific spot for the remote helps ensure that it can be retrieved when needed without any hassle.
By following these storage guidelines, you can maintain the condition of the universal remote and have it readily available for future use. Proper storage also minimizes the risk of damage and ensures that the remote remains functional when it’s time to reconnect and use it again.
Conclusion
Disconnecting a universal remote may seem like a simple task, but it’s important to follow the proper steps to ensure that the remote is effectively disconnected from its power source and any previously paired devices. By carefully removing the batteries, resetting the remote, and unpairing it from devices, you can guarantee that it’s ready for storage or any future reprogramming needs.
Proper storage of the remote, including cleaning it and choosing an appropriate storage location, ensures that it remains in good condition and is readily accessible when needed. Whether you’re troubleshooting issues, replacing the remote, or simply preparing it for temporary storage, these steps will help you disconnect and store the universal remote with ease.
Remember, consulting the user manual or manufacturer’s instructions for your specific remote model is always a good practice, as different remotes may have unique features and disconnecting procedures. By following the guidelines outlined in this guide, you can confidently disconnect your universal remote and have it ready for future use whenever the need arises.
Now that you've mastered disconnecting your universal remote, why not consider upgrading your home's airflow and style with the latest in ceiling fan technology? Our detailed guide on remote control options for ceiling fans will help you choose the perfect fit for your decor and comfort needs. You'll find a variety of designs and functionalities that could transform your living space.
Frequently Asked Questions about How To Disconnect A Universal Remote
Was this page helpful?
At Storables.com, we guarantee accurate and reliable information. Our content, validated by Expert Board Contributors, is crafted following stringent Editorial Policies. We're committed to providing you with well-researched, expert-backed insights for all your informational needs.
0 thoughts on “How To Disconnect A Universal Remote”