Home>Technology>Home Entertainment Systems>How To Hook Up A Universal Remote
Home Entertainment Systems
How To Hook Up A Universal Remote
Modified: August 28, 2024
Learn how to easily hook up a universal remote to your home entertainment system and streamline your control of all your devices.
(Many of the links in this article redirect to a specific reviewed product. Your purchase of these products through affiliate links helps to generate commission for Storables.com, at no extra cost. Learn more)
Introduction
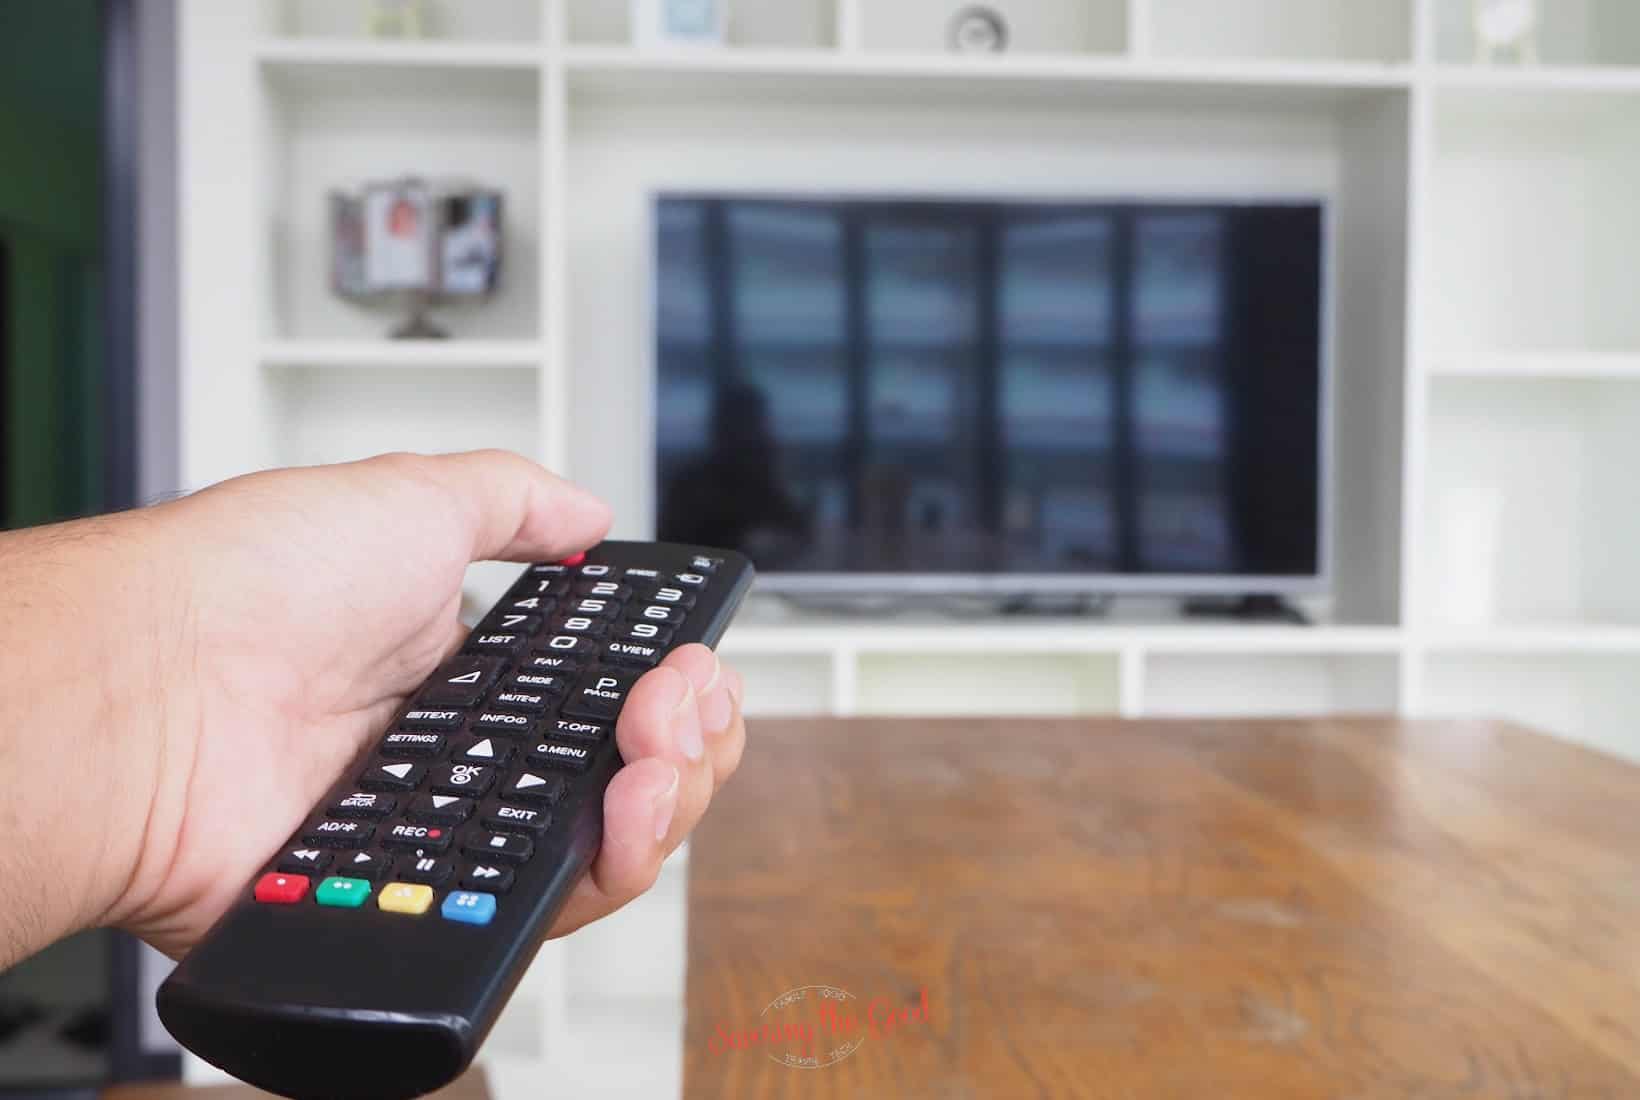
Welcome to the exciting world of home entertainment systems! Nothing beats lounging in the comfort of your own home and immersing yourself in a cinematic experience or grooving to your favorite tunes. However, with multiple devices and remote controls to manage, things can quickly become overwhelming. That’s where a universal remote control comes in handy.
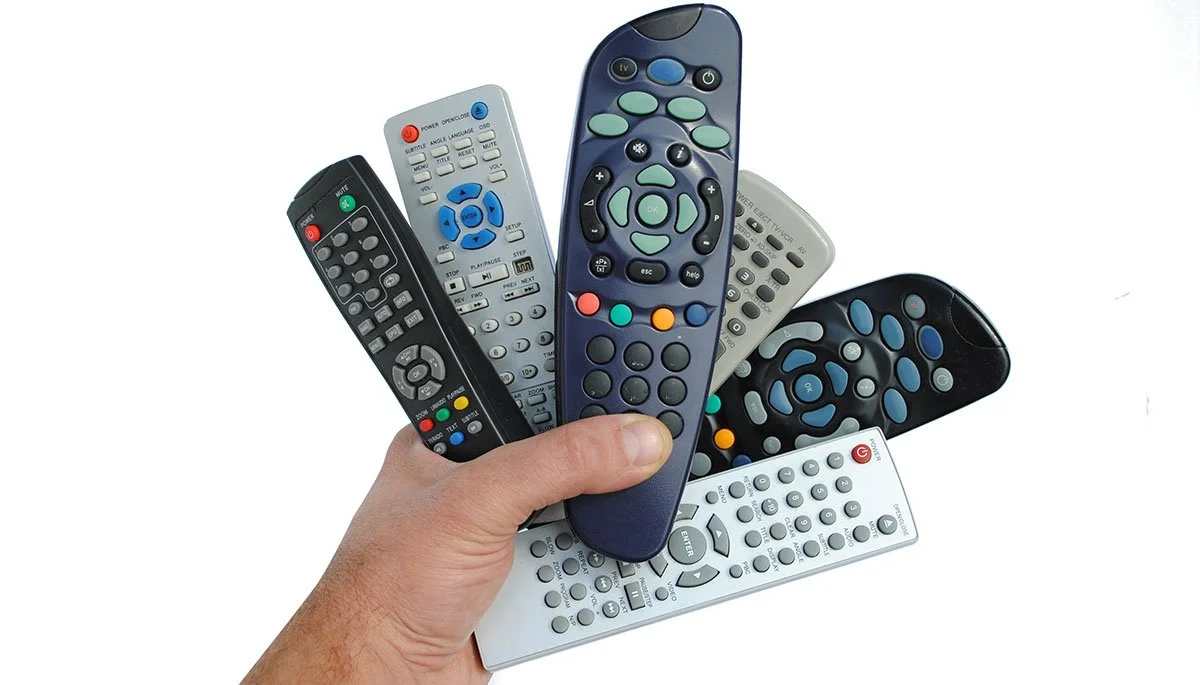
A universal remote control is a versatile device that allows you to consolidate the control of multiple devices, such as your TV, audio receiver, DVD player, and cable box, into one convenient remote. No more fumbling around for different remotes or struggling to remember which button does what. With a universal remote, you can streamline your entertainment experience and regain control of your home theater setup.
In this guide, we will walk you through the process of hooking up a universal remote control to your home entertainment system. We’ll cover everything you need to know, from gathering the necessary equipment to troubleshooting common issues. So, let’s dive in, and before you know it, you’ll be enjoying the convenience and simplicity of a single remote control for all your devices!
Key Takeaways:
- Simplify your home entertainment setup by using a universal remote control to consolidate the control of multiple devices into one convenient remote, eliminating the hassle of managing multiple remotes.
- Enjoy the convenience and ease of controlling all your home entertainment devices with a single remote, following a simple setup process that includes gathering equipment, finding device codes, and troubleshooting common issues.
Read more: How To Set Up Bose Universal Remote
Step 1: Gather the necessary equipment
Before you can start setting up your universal remote control, you’ll need to make sure you have all the required equipment on hand. Here’s a checklist of what you’ll need:
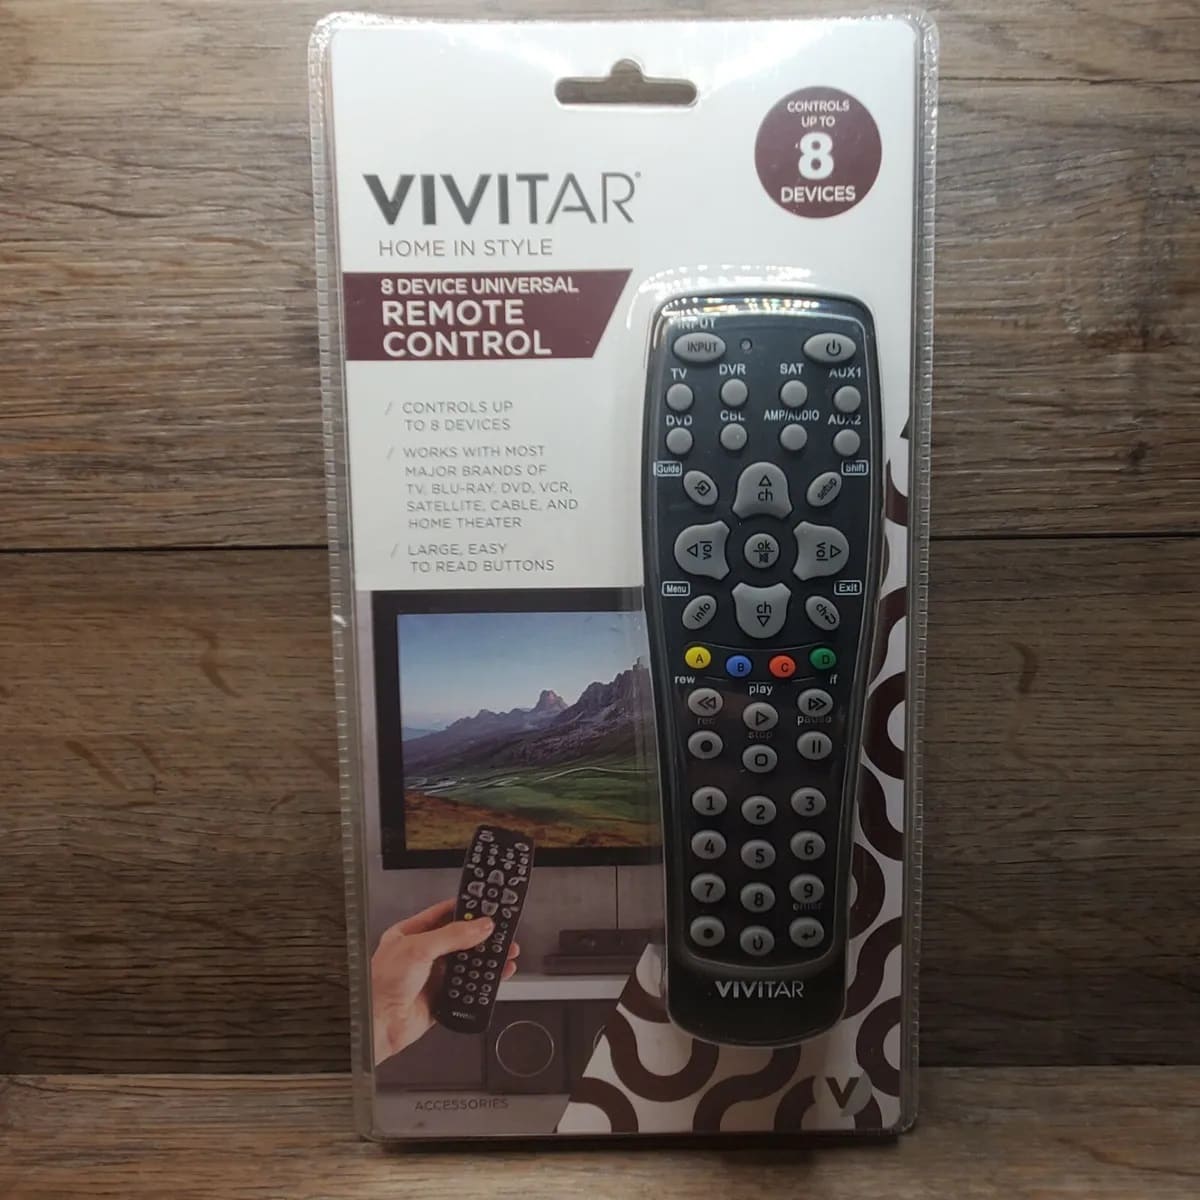
- A universal remote control: There are various brands and models available, so choose one that suits your needs and budget. Make sure it is compatible with the devices you want to control.
- Device manuals: These provide valuable information about the specific setup requirements and codes for each device. If you don’t have the manuals, you can usually find them online by searching for the make and model of your devices.
- Batteries: Check your remote control to see what type of batteries it requires. Typically, universal remotes use AA or AAA batteries.
- Pen and paper: You’ll need these to jot down codes and notes as you proceed with the setup.
Once you have gathered all the necessary equipment, you’re ready to move on to the next step.
Step 2: Identify the type of universal remote you have
Now that you have everything you need, it’s time to identify the type of universal remote control you have. There are generally two types:
- Pre-programmed remote: This type of remote comes with pre-set codes for popular brands and models of devices. The codes are already stored in the remote’s database, making the setup process relatively straightforward.
- Learning remote: A learning remote allows you to program it by “learning” the infrared signals from your existing remotes. It can mimic the functions of your original remotes, making it compatible with various devices.
Identifying the type of remote you have is essential because the setup process can vary depending on the type. Consult the manual or packaging of your remote to determine its type. If you’re unsure, you can usually find this information on the manufacturer’s website or by contacting customer support.
Once you know the type of remote you have, you’re ready to move on to the next step.
Step 3: Find the codes for your devices
Now that you have identified the type of universal remote control you have, it’s time to find the codes for your devices. These codes are necessary for programming the remote to control each device. Here’s how you can find the codes:
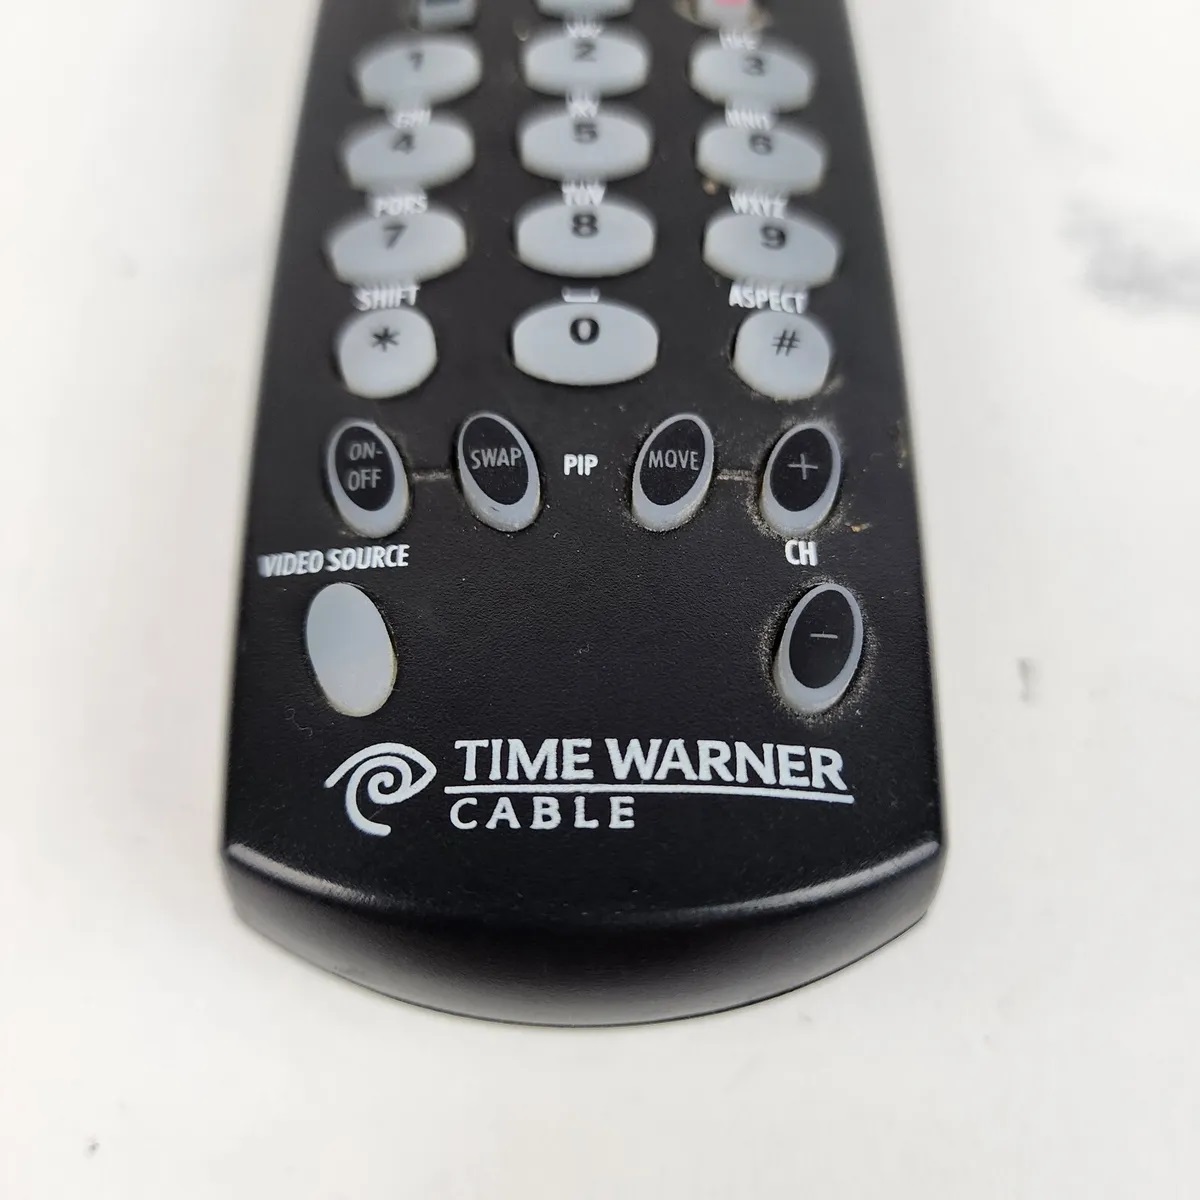
- Using pre-programmed remote: If you have a pre-programmed remote, it usually comes with a code list or booklet. Look for your device’s brand and model in the list and find the corresponding code. Note down the code for each device you want to control.
- Using a learning remote: If you have a learning remote, you’ll need to use your existing remote controls to teach the universal remote the necessary codes. Point your existing remote at the learning remote and press the button you want to program. The learning remote will capture the infrared signal and store it. Repeat this process for each button/function you want to program.
If you’re unable to find the codes for your devices in the provided materials or through the learning process, don’t worry. Many universal remote manufacturers have online databases where you can search for codes using your device’s make and model.
Once you have obtained the codes for your devices, it’s time to move on to the next step.
When setting up a universal remote, make sure to have the model number of your TV, DVD player, or other devices on hand. This will make it easier to find the correct programming codes for your specific devices.
Step 4: Program the universal remote
Now that you have gathered the necessary equipment and found the codes for your devices, it’s time to program your universal remote. Follow these steps to get your remote up and running:
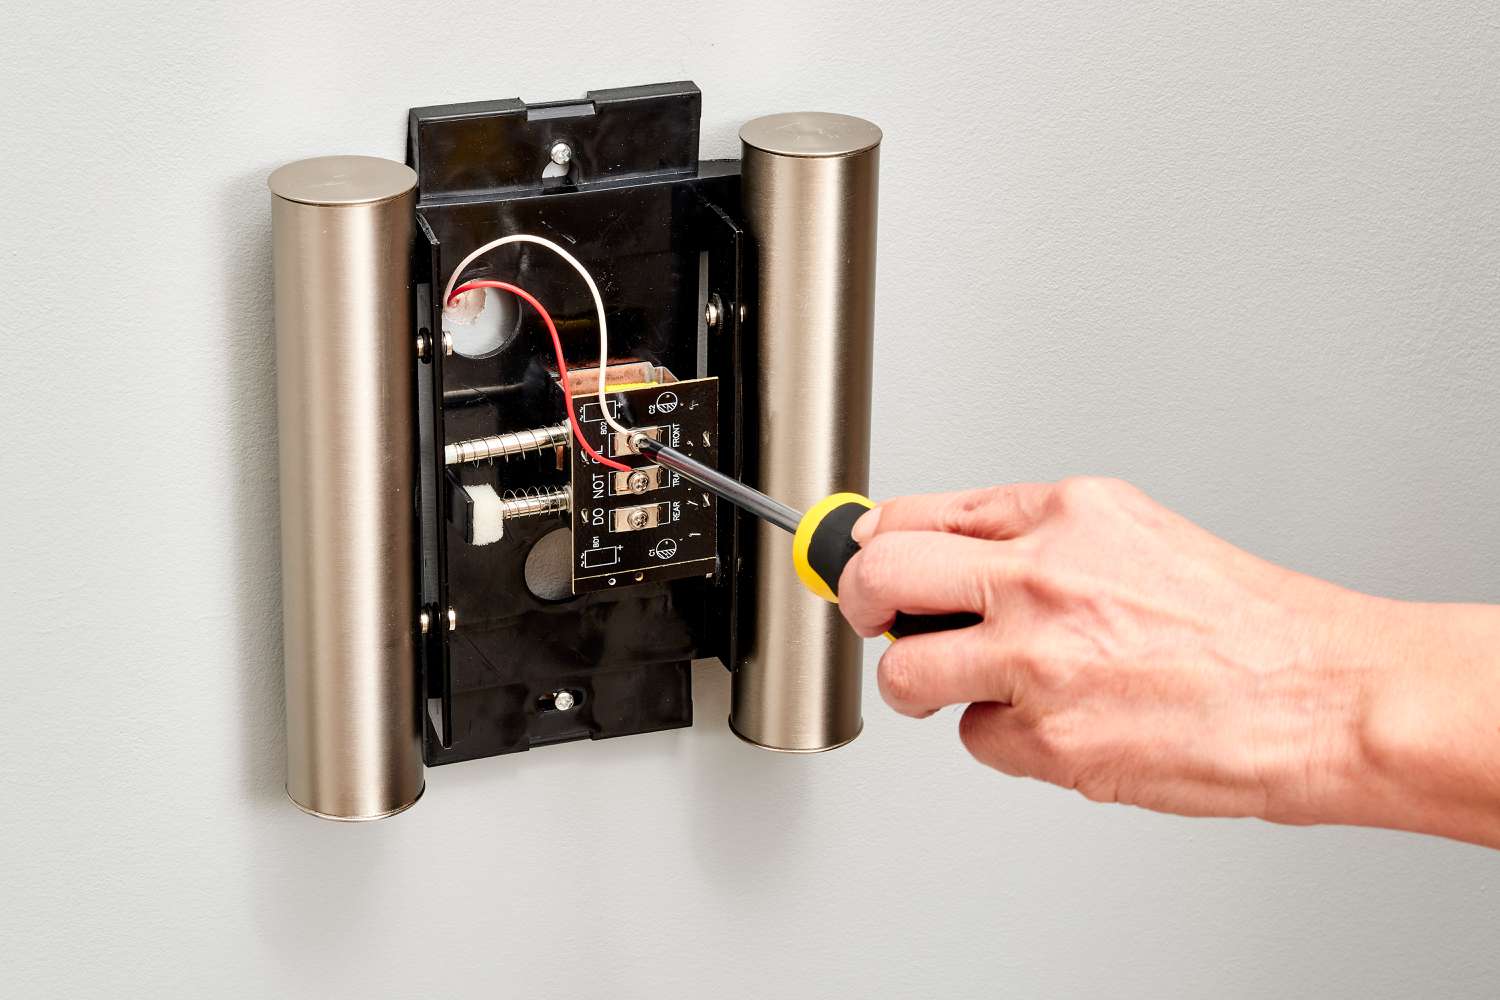
- Insert batteries: Open the battery compartment on the back of the remote and insert the appropriate batteries as indicated in the remote’s manual.
- Power on the remote: Turn on the universal remote by pressing the power button. Some remotes may have a dedicated setup button instead.
- Enter programming mode: Consult your remote’s manual to enter the programming mode. This typically involves pressing a specific combination of buttons or following a set of instructions provided by the manufacturer.
- Enter device codes: Using the number pad on the remote, enter the code for the first device you want to program. Follow the instructions in your remote’s manual on how to enter the codes correctly.
- Test the functionality: After entering the code, aim the remote at the device and test the functionality. Try pressing different buttons to ensure that the remote can control various functions of the device, such as changing channels or adjusting the volume.
- Repeat for other devices: Repeat the process by entering the codes for each additional device you want to program. Remember to test the functionality after programming each device.
If the remote doesn’t work with the provided codes, you may have to try alternative codes or use the learning function (if available) to teach the remote the infrared signals from your existing remotes. Refer to your remote’s manual for instructions on how to do this.
Once you have successfully programmed all your devices, you’re ready to move on to the next step.
Read more: How To Set Up Universal Remote To Samsung TV
Step 5: Test the remote control
Now that you have programmed your universal remote, it’s time to test its functionality and ensure that it can control all your devices seamlessly. Follow these steps to test your remote control:
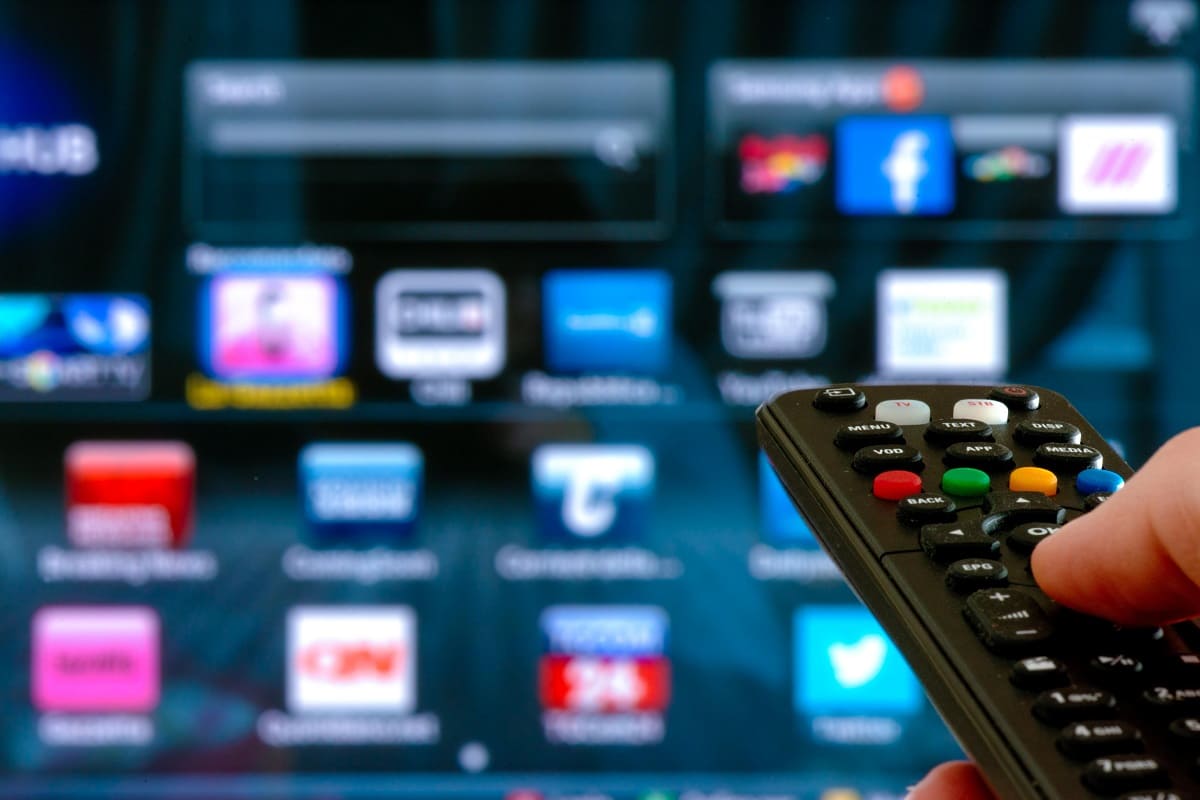
- Gather your devices: Make sure all the devices you want to control are turned on and within range of the remote.
- Select a device: Choose one of your devices, such as the TV or audio receiver, to start testing with.
- Aim the remote: Point the universal remote directly at the device you want to control. It’s important to have a clear line of sight between the remote and the device.
- Test basic functions: Press the corresponding buttons on the remote to test basic functions like power, volume control, channel selection, and input/source selection. Ensure that the device responds to each command.
- Test advanced functions: If your remote control has specific buttons for advanced functions, such as DVD playback or surround sound options, test those as well. Ensure that the device responds accordingly.
- Repeat for other devices: Once you have tested the remote control with one device, repeat the process for each additional device you have programmed.
During the testing phase, pay attention to any issues or inconsistencies you may encounter. If certain functions are not working as expected, double-check the programming and codes to ensure accuracy. Also, make sure that the remote control batteries are properly inserted and have sufficient power.
Once you have successfully tested all your devices and confirmed that the universal remote control is working correctly, you’re ready to move on to the final step.
Step 6: Troubleshooting common issues
While setting up and programming your universal remote, you may encounter some common issues. Here are a few troubleshooting tips to help you resolve them:
- Unresponsive device: If a programmed device does not respond to the remote, double-check the code you entered. Make sure it is the correct code for your specific device. You can also try repositioning the remote or moving closer to the device.
- Inconsistent performance: If the remote control’s performance is inconsistent, ensure that the batteries are fully charged and inserted correctly. Weak batteries can cause unreliable operation.
- Wrong device functions: If a specific button on the remote control operates the wrong function on the device, check if you have selected the correct device mode on the remote. You may need to reprogram the remote with the correct code for that specific device.
- Missing device codes: If you are unable to find the code for a particular device, search online for updated code databases. You can also refer to the manufacturer’s website for any available code updates or contact their customer support for assistance.
- Interference issues: If other infrared devices in the room are interfering with your remote control, try adjusting the positioning of your devices or covering any unused sensors on those devices.
If you have tried these troubleshooting tips and still cannot resolve the issue, consult your universal remote’s manual for more detailed troubleshooting instructions. Additionally, you can reach out to the manufacturer’s customer support for further assistance.
Remember, troubleshooting is a normal part of the setup process, and with a little patience and persistence, you can overcome any issues that may arise.
Congratulations! You have successfully programmed and tested your universal remote control, and your home entertainment system is now under your command with the convenience of a single remote control. Enjoy the simplicity and ease of controlling all your devices without the fuss of multiple remotes!
Conclusion
In conclusion, setting up a universal remote control for your home entertainment system can greatly simplify your entertainment experience. With the ability to control multiple devices using a single remote, you can eliminate the hassle of managing multiple remotes and streamline your entertainment setup.
Throughout this guide, we have covered the steps to successfully hook up a universal remote control. From gathering the necessary equipment to programming the remote and troubleshooting common issues, you now have the knowledge and tools to take full control of your home theater system.
Remember to gather all the required equipment, identify the type of universal remote you have, and find the codes for your devices. Then, proceed to program the remote, test its functionality, and troubleshoot any issues that may arise.
By following these steps, you can enjoy the convenience and simplicity of operating all your devices with a single remote control. Say goodbye to the confusion of multiple remotes and hello to a seamless home entertainment experience.
Now, sit back, relax, and immerse yourself in the world of movies, music, and more, all at the touch of a button on your universal remote control.
Frequently Asked Questions about How To Hook Up A Universal Remote
Was this page helpful?
At Storables.com, we guarantee accurate and reliable information. Our content, validated by Expert Board Contributors, is crafted following stringent Editorial Policies. We're committed to providing you with well-researched, expert-backed insights for all your informational needs.

0 thoughts on “How To Hook Up A Universal Remote”