Home>Technology>Home Entertainment Systems>How To Connect A Philips Universal Remote To A Roku TV
Home Entertainment Systems
How To Connect A Philips Universal Remote To A Roku TV
Modified: December 21, 2023
Learn how to easily connect a Philips Universal Remote to your Roku TV for seamless control of your home entertainment system. Simplify your viewing experience now!
(Many of the links in this article redirect to a specific reviewed product. Your purchase of these products through affiliate links helps to generate commission for Storables.com, at no extra cost. Learn more)
**
Introduction
**
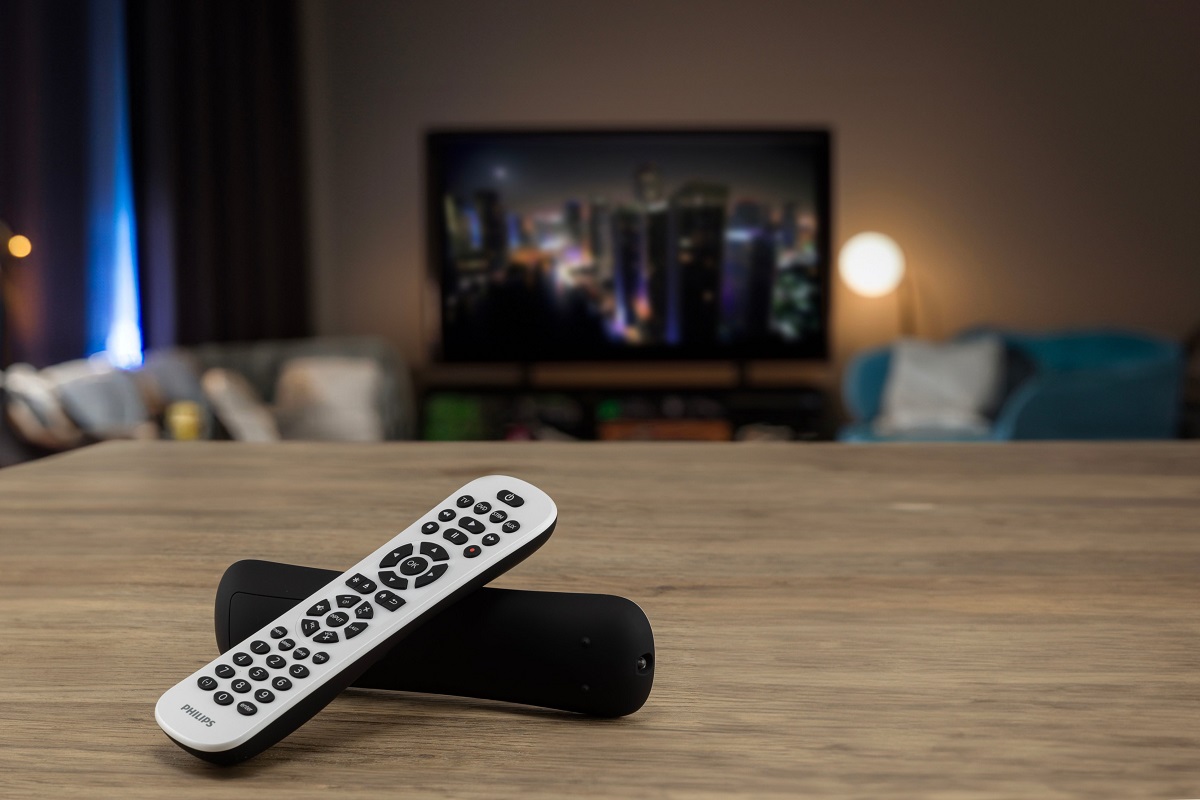
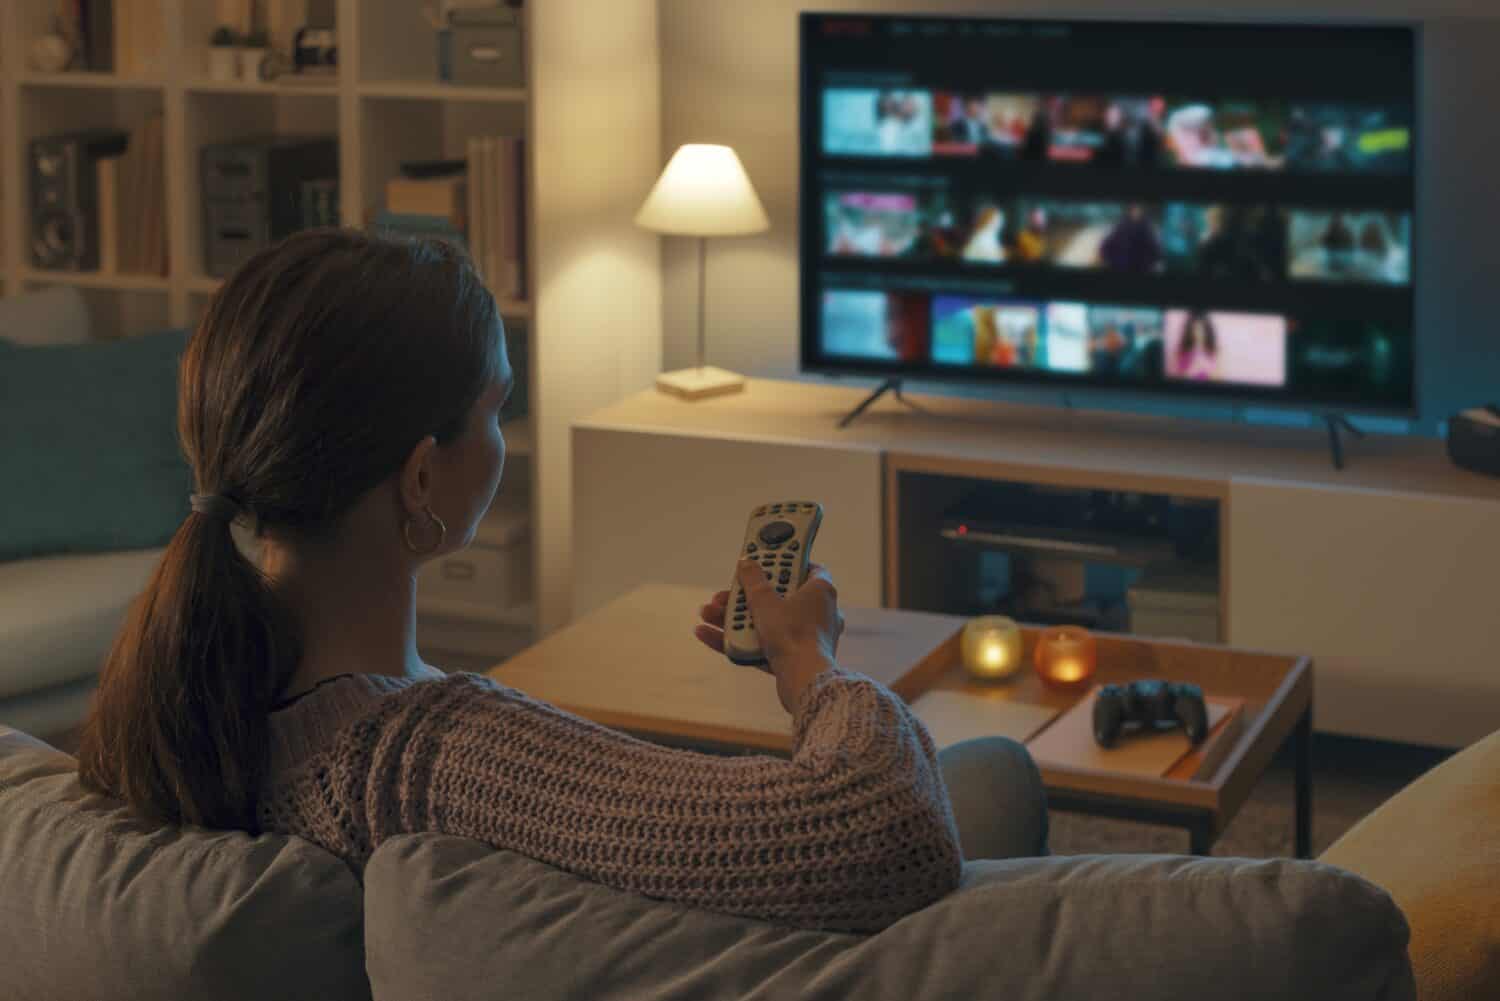
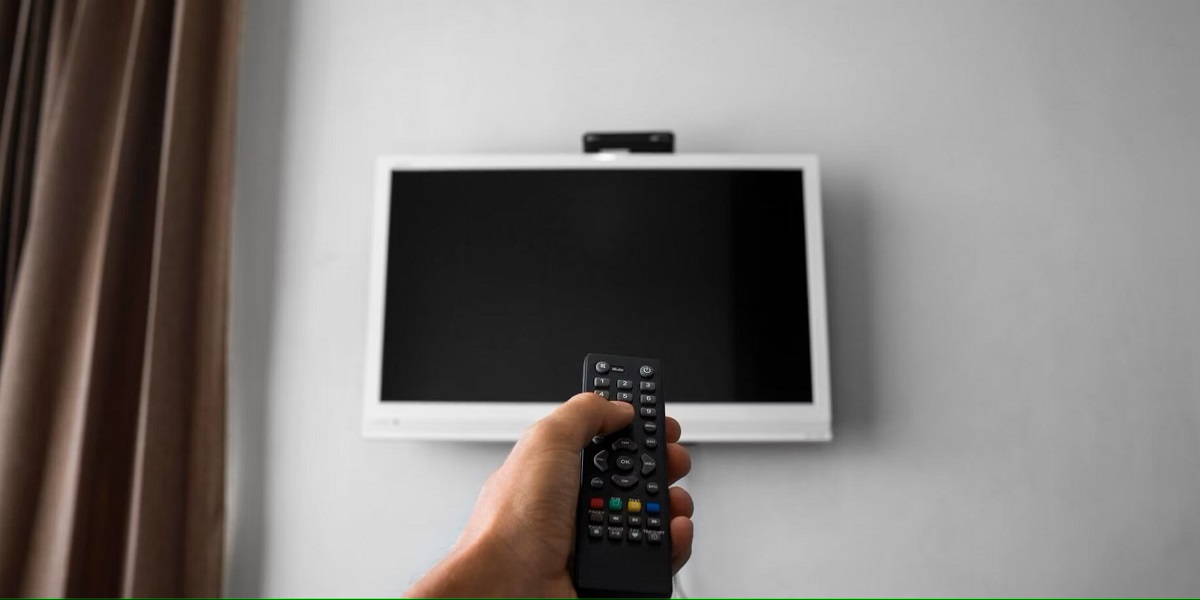
Are you tired of juggling multiple remotes to control your home entertainment system? Say goodbye to the confusion and frustration because, in this comprehensive guide, we will explore the seamless integration of a Philips Universal Remote with a Roku TV. This powerful combination not only simplifies your viewing experience but also enhances your control over your entertainment setup.
Imagine the convenience of operating your Roku TV, cable box, sound system, and other devices with a single, user-friendly remote. With the Philips Universal Remote, this vision becomes a reality. Whether you're a tech enthusiast or simply seeking a more streamlined approach to managing your home entertainment, this guide is designed to empower you with the knowledge and confidence to set up and connect these devices effortlessly.
We'll delve into understanding the capabilities of the Philips Universal Remote, the step-by-step process of setting it up, and the seamless integration with your Roku TV. Additionally, we'll address common troubleshooting scenarios and provide expert tips to ensure a smooth and enjoyable viewing experience. By the end of this journey, you'll be equipped with the expertise to harness the full potential of your home entertainment system.
So, grab your favorite seat on the couch and get ready to embark on a journey towards simplifying and enhancing your home entertainment experience with the Philips Universal Remote and Roku TV. Let's dive in!
Key Takeaways:
- Simplify your home entertainment setup by connecting a Philips Universal Remote to your Roku TV. Enjoy seamless control over multiple devices with just one user-friendly remote, enhancing your viewing experience.
- Unleash the full potential of your home entertainment system by seamlessly integrating a Philips Universal Remote with a Roku TV. Consolidate control into a single, user-friendly interface, simplifying tasks and enhancing convenience.
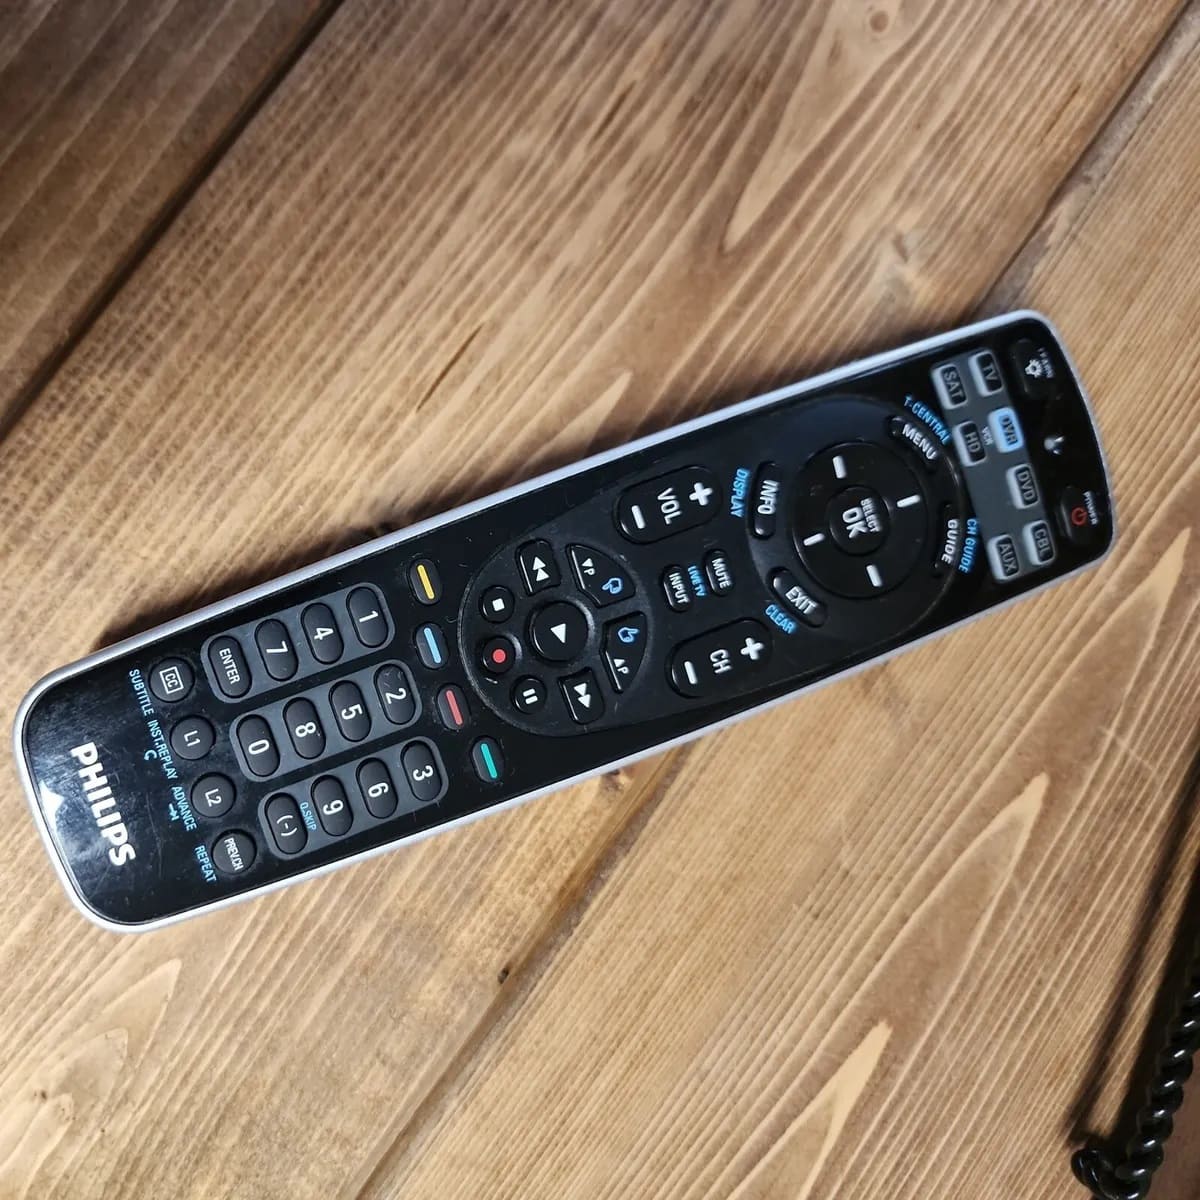
Understanding the Philips Universal Remote
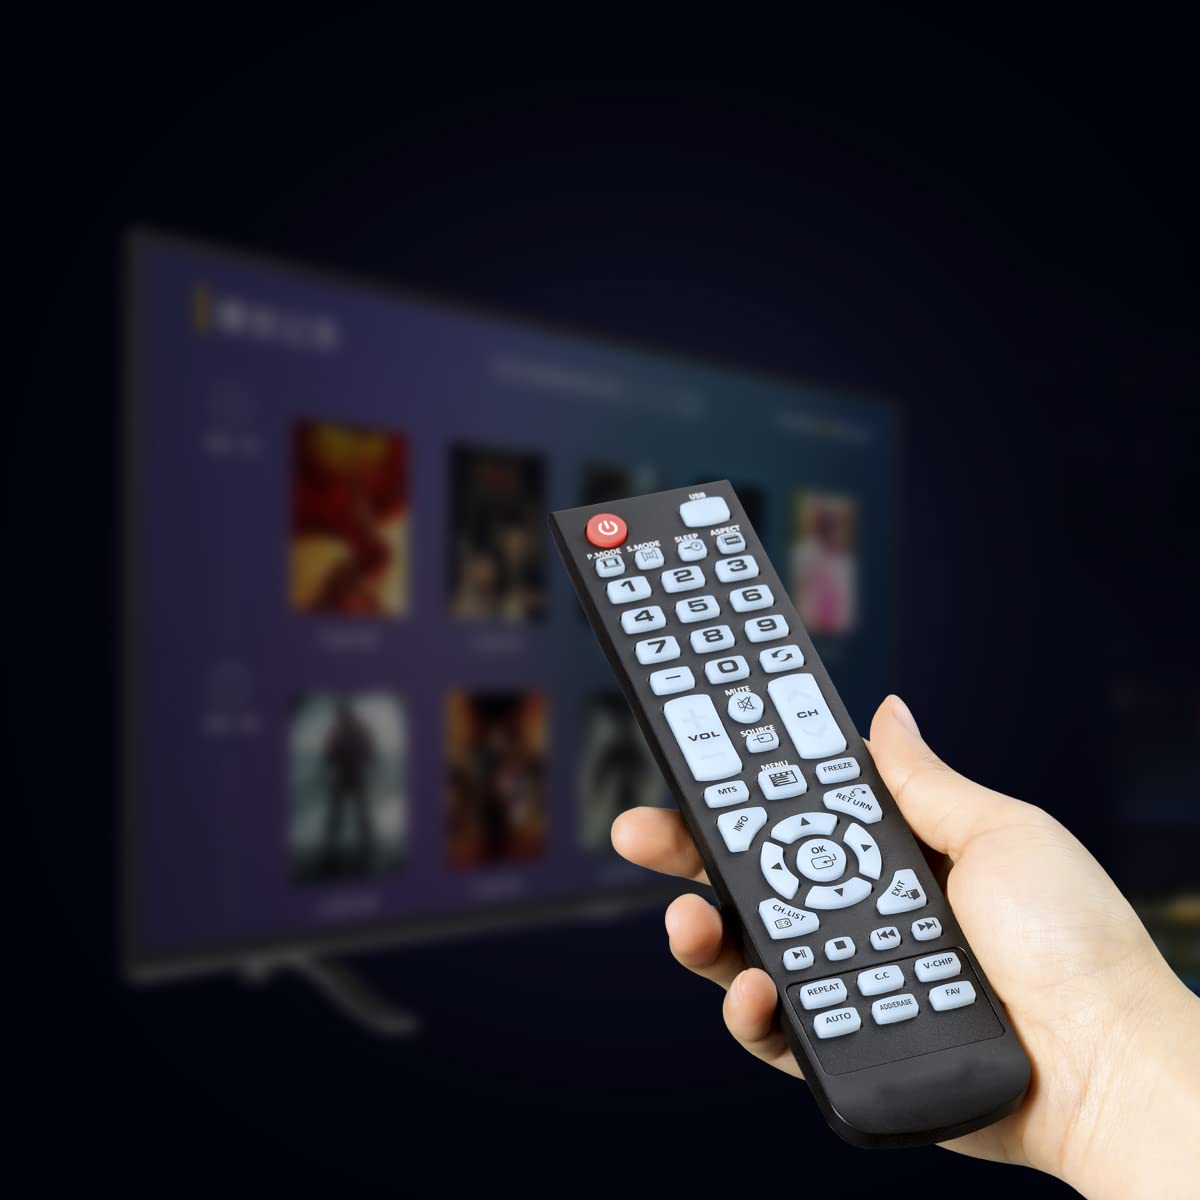
Before delving into the setup process, it’s essential to grasp the capabilities and features of the Philips Universal Remote. This versatile device serves as a centralized control hub for a wide array of home entertainment components, offering convenience and efficiency to users.
The Philips Universal Remote is designed to seamlessly integrate with numerous devices, including TVs, cable boxes, sound systems, and streaming media players such as Roku. Its intuitive interface and ergonomic design make it user-friendly for individuals of all technical proficiencies.
One of the standout features of the Philips Universal Remote is its extensive code library, which encompasses an extensive range of brands and models. This breadth of compatibility ensures that users can consolidate control of various devices into a single remote, eliminating the need for multiple controllers cluttering the living room.
Furthermore, the remote’s programmable capabilities enable users to customize and streamline their entertainment experience. By assigning specific functions to individual buttons, users can tailor the remote to their preferences, simplifying complex tasks into single-button commands.
Additionally, the Philips Universal Remote often incorporates advanced features such as backlit buttons, voice control, and ergonomic design elements to enhance user experience. These attributes contribute to its appeal as a comprehensive solution for managing home entertainment systems.
Whether you’re a tech enthusiast seeking a streamlined control solution or a casual user aiming to simplify your entertainment setup, the Philips Universal Remote offers a versatile and user-friendly option. Its robust feature set and compatibility make it an ideal companion for integrating and controlling various devices, including the popular Roku TV.
Now that we’ve gained insight into the capabilities of the Philips Universal Remote, let’s proceed to the next step: setting up this powerful device to unleash its full potential.
Setting Up the Philips Universal Remote
Embarking on the journey to streamline your home entertainment experience begins with the setup of the Philips Universal Remote. This process involves a few straightforward steps that pave the way for seamless integration with your Roku TV and other devices.
First and foremost, it’s crucial to ensure that the Philips Universal Remote is equipped with fresh batteries to guarantee uninterrupted functionality. Once the batteries are in place, the next step is to power on the remote and initiate the setup process. This typically involves navigating to the settings or setup menu on the remote and selecting the option to program or pair a new device.
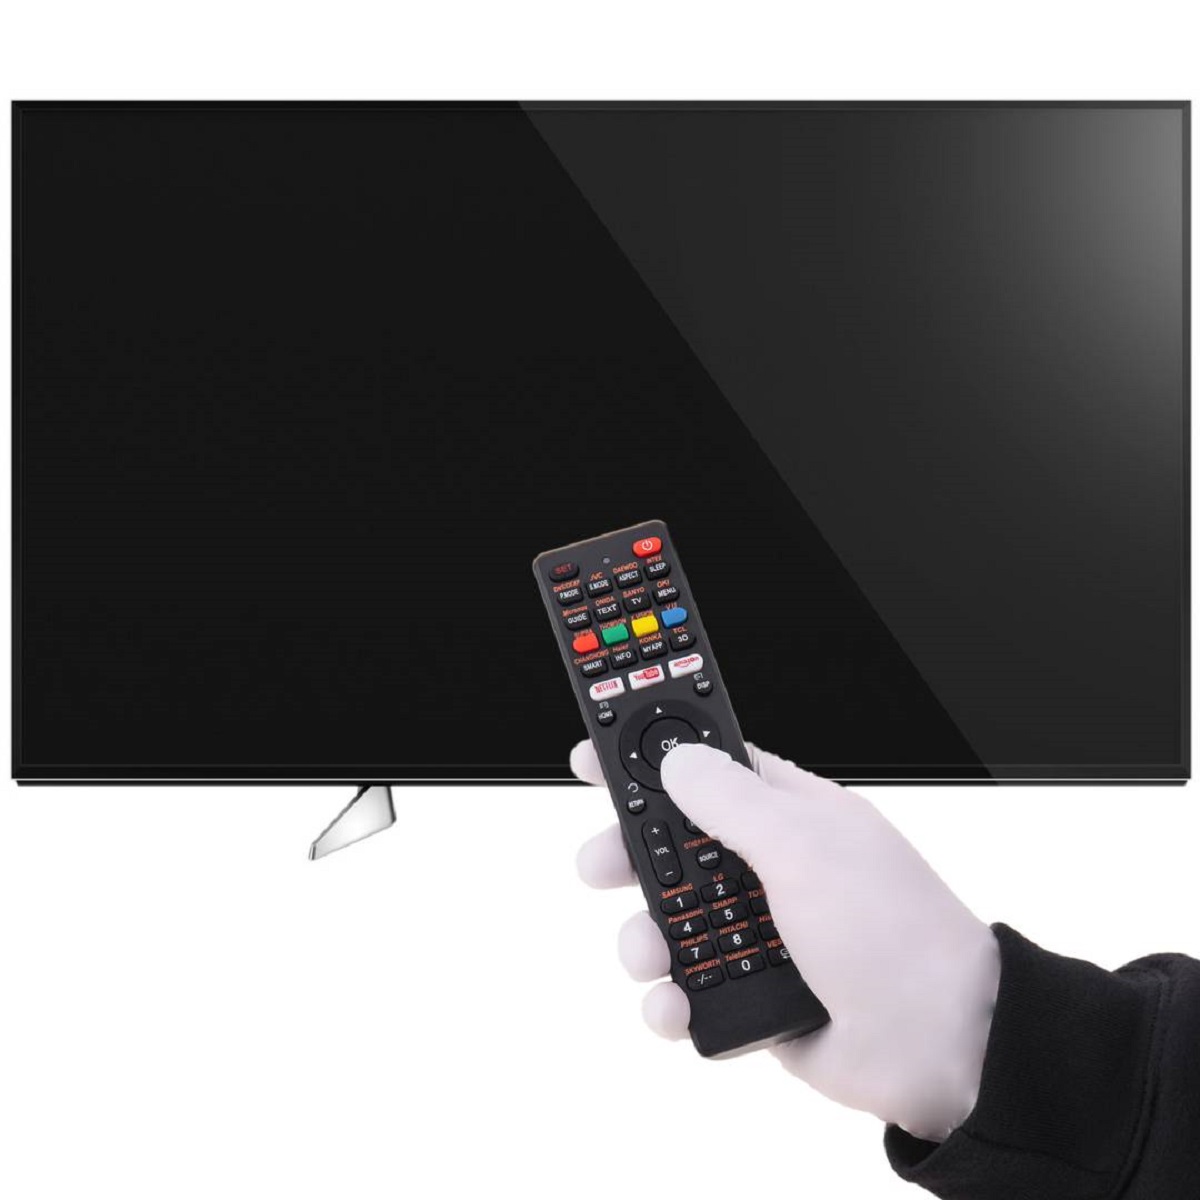
As you progress through the setup menu, you may be prompted to input a specific code corresponding to your TV brand and model. The Philips Universal Remote boasts an extensive code library, enabling compatibility with a wide range of devices. By entering the correct code for your TV, you establish the initial connection between the remote and the television, laying the foundation for seamless control.
In the event that your TV’s brand or model is not listed in the standard code library, fear not. The Philips Universal Remote often includes a manual code search feature, allowing you to systematically cycle through available codes until the optimal match is found. This flexibility ensures that even lesser-known or older TV models can be integrated with the remote.
Once the remote successfully recognizes and syncs with your TV, you can proceed to test its functionality. This entails verifying that the remote can power the TV on and off, adjust volume and channels, and access other essential functions. Taking the time to confirm these basic operations ensures that the setup is thorough and comprehensive.
With the Philips Universal Remote now successfully set up and synced with your TV, you’re one step closer to harnessing the full potential of this versatile device. The next phase of our journey involves seamlessly connecting the Philips Universal Remote to your Roku TV, consolidating control into a single, user-friendly interface.
As we transition to the integration process, you can look forward to the enhanced convenience and efficiency that stem from consolidating control of your entertainment ecosystem. Let’s proceed to the exciting phase of connecting the Philips Universal Remote to your Roku TV, unlocking a new level of control and enjoyment.
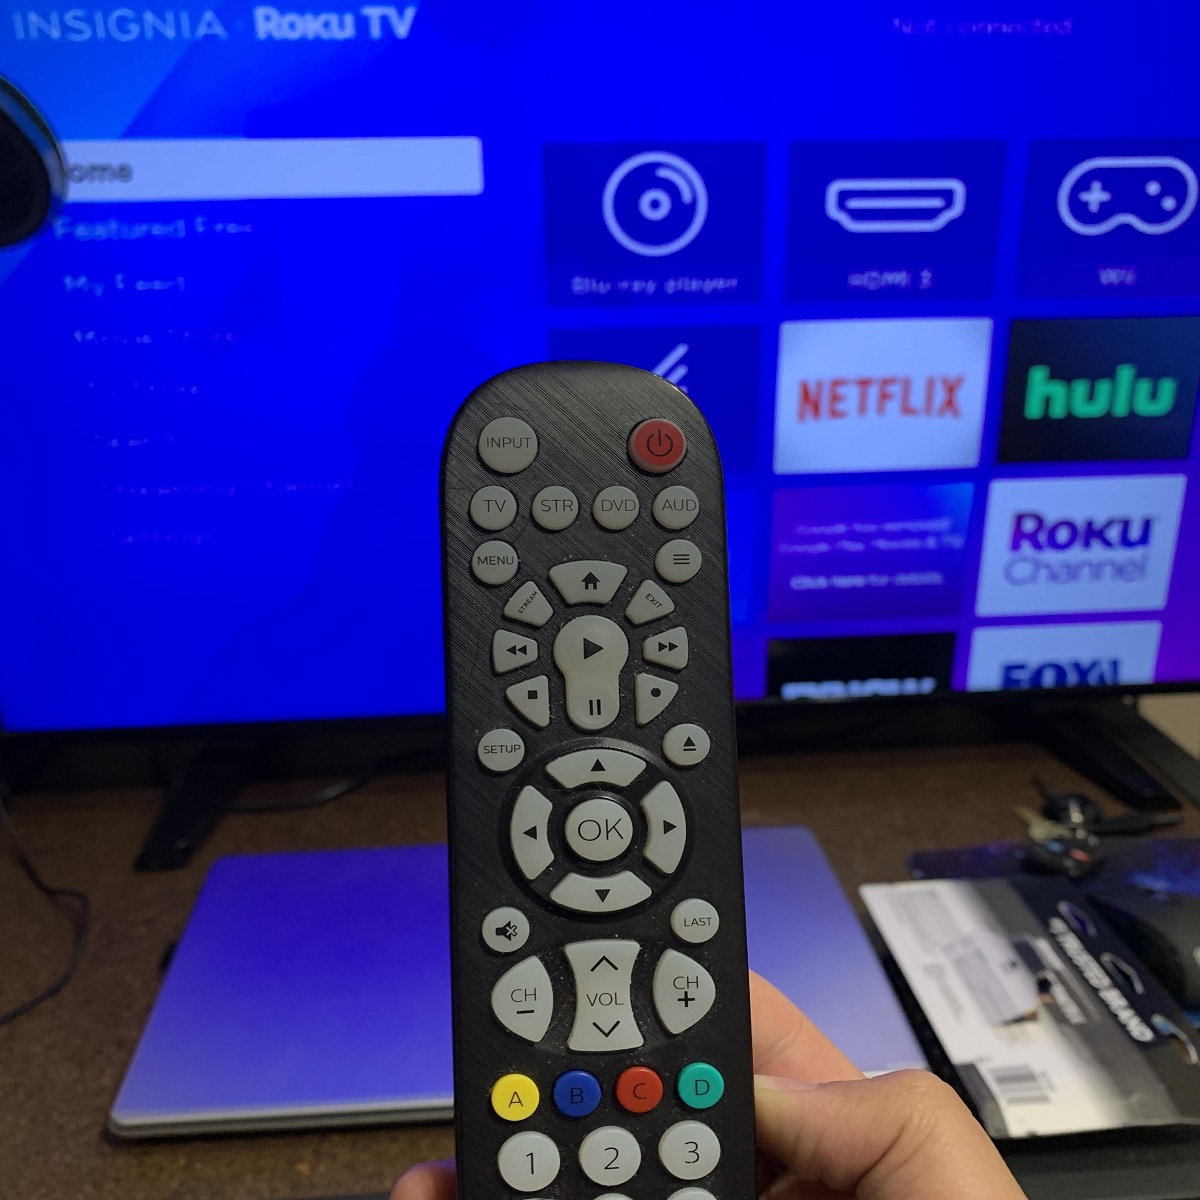
To connect a Philips Universal Remote to a Roku TV, first, ensure the remote has fresh batteries. Then, press and hold the “Code Search” button until the indicator light comes on. Next, press the “TV” button and enter the code for your Roku TV. Finally, test the remote to ensure it’s working properly.
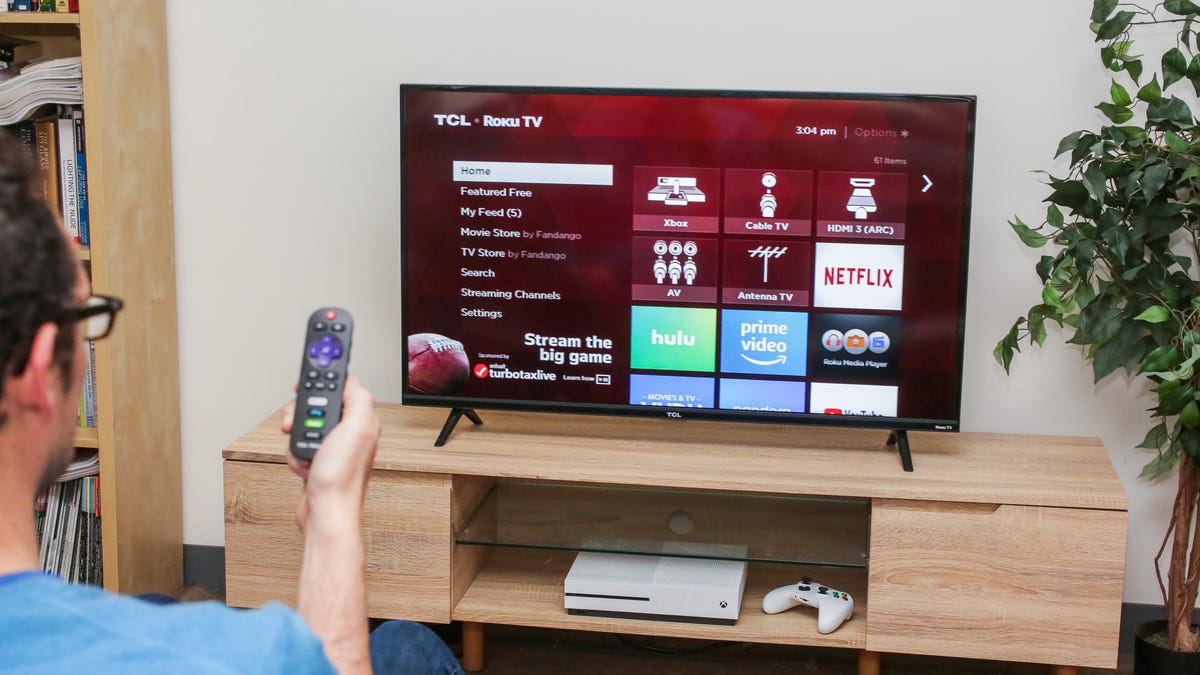
Connecting the Philips Universal Remote to a Roku TV
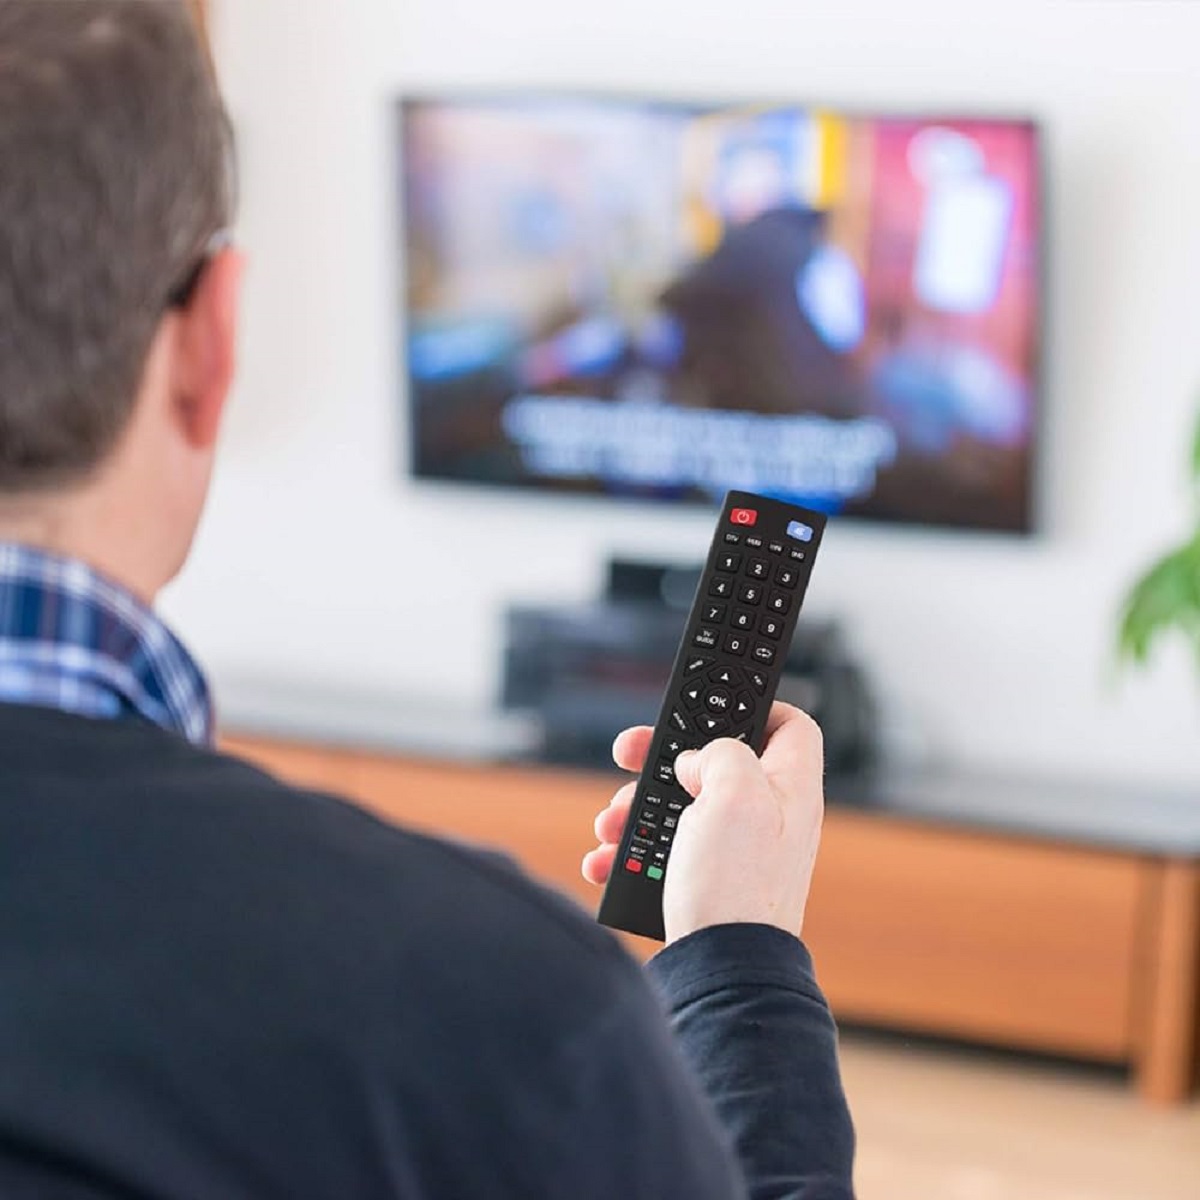
As you embark on the exciting endeavor of connecting the Philips Universal Remote to your Roku TV, you’re poised to unlock a seamless and unified control experience for your home entertainment system. This integration not only simplifies your viewing experience but also empowers you to effortlessly navigate through your favorite content with the touch of a button.
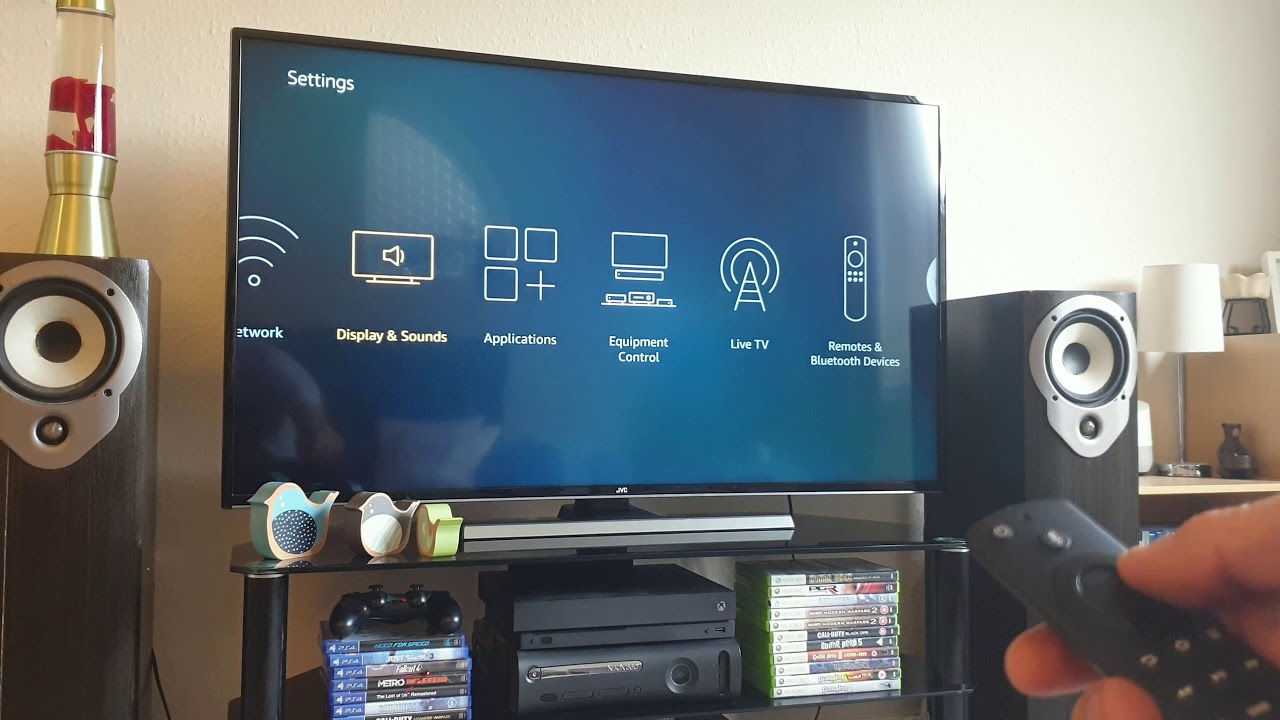
The process of connecting the Philips Universal Remote to your Roku TV begins with ensuring that both devices are powered on and ready for setup. With the remote and TV at the ready, you can proceed to initiate the pairing process, which typically involves accessing the settings or setup menu on the remote and selecting the option to add a new device.
Once you’ve initiated the pairing process, the remote will prompt you to select the device type you wish to connect. In this case, you’ll designate the Roku TV as the target device, signaling to the remote that it should establish a connection with this specific component of your entertainment system.
With the device type selected, the next step involves identifying the appropriate code for your Roku TV within the remote’s extensive code library. By inputting the corresponding code, you facilitate the synchronization between the remote and the Roku TV, enabling seamless control and interaction.
If your Roku TV model is not listed in the standard code library, you can leverage the manual code search feature to systematically cycle through available codes until the optimal match is identified. This flexibility ensures that the Philips Universal Remote can seamlessly integrate with a diverse range of Roku TV models, regardless of their age or specific configurations.
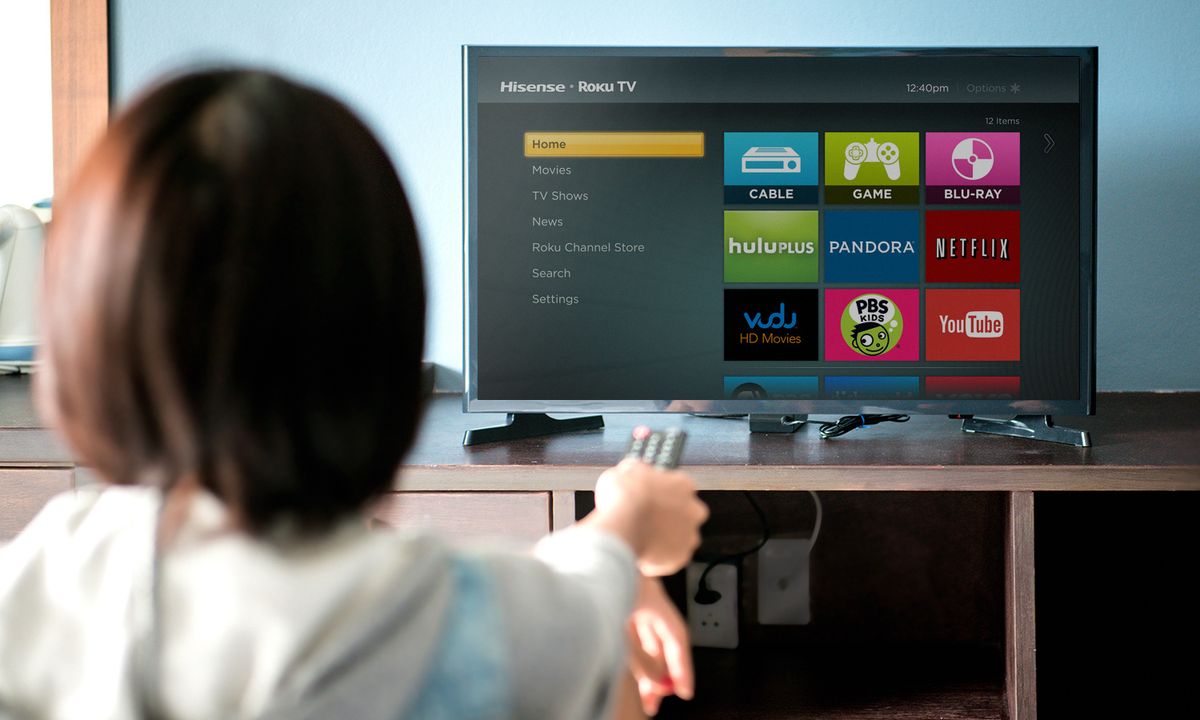
Once the remote successfully recognizes and syncs with your Roku TV, you can proceed to test its functionality. This entails verifying that the remote can navigate through the Roku interface, control playback, and access essential functions such as volume adjustment and input selection. Confirming these operations ensures that the integration is thorough and comprehensive, setting the stage for a seamless viewing experience.
With the Philips Universal Remote now seamlessly connected to your Roku TV, you’ve achieved a significant milestone in streamlining and enhancing your home entertainment setup. The consolidation of control into a single, user-friendly interface empowers you to effortlessly manage your viewing experience, simplifying tasks that were once fragmented across multiple remotes.
As you revel in the newfound convenience and efficiency of this unified control experience, you’re ready to explore the next phase of our journey: troubleshooting and expert tips to ensure a smooth and enjoyable viewing experience. Let’s navigate through potential challenges and glean valuable insights to optimize your home entertainment system.
Troubleshooting and Tips
While the integration of the Philips Universal Remote with your Roku TV promises a seamless and efficient control experience, occasional challenges may arise. By familiarizing yourself with common troubleshooting techniques and expert tips, you can swiftly address any issues that may impede your viewing enjoyment, ensuring a smooth and uninterrupted entertainment experience.
If you encounter difficulties during the setup or operation of the Philips Universal Remote with your Roku TV, consider the following troubleshooting steps:
- Ensure that the batteries in the remote are fresh and properly installed. Weak or depleted batteries can hinder the functionality of the remote, leading to intermittent connectivity and unresponsive commands.
- Verify that the remote is within the recommended range of the Roku TV. Signal interference or distance beyond the effective range can impact the remote’s performance, leading to inconsistent operation.
- Double-check the programming and code synchronization between the remote and the Roku TV. Revisiting the setup process and confirming the accuracy of the inputted codes can rectify connectivity issues and restore seamless control.
- If the remote exhibits erratic behavior or unresponsiveness, consider resetting it to its default settings. This can resolve software glitches and restore the remote to optimal functionality.
By methodically addressing these potential issues, you can swiftly troubleshoot and resolve common challenges, ensuring that the Philips Universal Remote operates seamlessly with your Roku TV, enhancing your viewing experience.
As you navigate through the integration and operation of the Philips Universal Remote with your Roku TV, consider the following expert tips to optimize your control experience:
- Explore the remote’s advanced features, such as voice control or programmable buttons, to customize and streamline your interaction with the Roku TV. Leveraging these capabilities can enhance your convenience and efficiency, elevating your viewing experience.
- Regularly update the remote’s firmware to access the latest features and optimizations. Staying current with firmware updates ensures that you benefit from enhanced functionality and performance.
- Experiment with different placement options for the remote to maximize its signal reception and responsiveness. Strategic positioning can mitigate signal interference and optimize the remote’s performance.
- Engage with user communities and support resources to glean insights and best practices for maximizing the potential of the Philips Universal Remote. Sharing experiences and learning from fellow users can uncover valuable tips and solutions to enhance your control experience.
By leveraging these expert tips and troubleshooting techniques, you can navigate through potential challenges and optimize your interaction with the Philips Universal Remote and Roku TV. Armed with these insights, you’re poised to enjoy a seamless and rewarding home entertainment experience, empowered by the convenience and efficiency of unified control.
Conclusion
Congratulations on embarking on a journey towards simplifying and enhancing your home entertainment experience with the seamless integration of the Philips Universal Remote and Roku TV. By delving into the capabilities, setup, and connectivity of these devices, you’ve gained valuable insights into consolidating control and optimizing your viewing experience.
Through the process of understanding the Philips Universal Remote, you’ve uncovered its versatility and user-friendly design, setting the stage for a comprehensive control solution for your home entertainment system. The extensive code library, programmable features, and ergonomic design elements position the remote as a powerful ally in streamlining your interaction with various devices, including the Roku TV.
As you navigated through the setup of the Philips Universal Remote, you established the foundation for seamless integration with your Roku TV. The systematic approach to pairing and syncing the remote with your TV ensured a thorough and comprehensive setup, setting the stage for a unified control experience.
The seamless connection of the Philips Universal Remote to your Roku TV represents a significant milestone in simplifying and enhancing your home entertainment setup. The consolidation of control into a single, user-friendly interface empowers you to effortlessly manage your viewing experience, unlocking newfound convenience and efficiency.
By familiarizing yourself with troubleshooting techniques and expert tips, you’ve equipped yourself with the knowledge and insights to swiftly address potential challenges and optimize your interaction with the Philips Universal Remote and Roku TV. These valuable resources ensure that your viewing experience remains smooth and uninterrupted, allowing you to immerse yourself in your favorite content without impediments.
As you conclude this journey towards a more streamlined and rewarding home entertainment experience, you’re poised to revel in the convenience and efficiency that stem from consolidating control into a single, user-friendly interface. The Philips Universal Remote and Roku TV stand as powerful allies in this endeavor, empowering you to navigate through your entertainment ecosystem with ease and enjoyment.
With the knowledge and expertise gained from this guide, you’re well-equipped to harness the full potential of your home entertainment system, leveraging the seamless integration of the Philips Universal Remote and Roku TV to elevate your viewing experience. As you immerse yourself in the captivating world of entertainment, may the unified control and convenience enhance every moment, enriching your viewing journey.
So, grab your remote, settle into your favorite spot, and embark on a seamless and rewarding home entertainment experience, empowered by the Philips Universal Remote and Roku TV. Here’s to countless hours of enjoyment and effortless control as you indulge in the immersive world of entertainment.
Frequently Asked Questions about How To Connect A Philips Universal Remote To A Roku TV
Was this page helpful?
At Storables.com, we guarantee accurate and reliable information. Our content, validated by Expert Board Contributors, is crafted following stringent Editorial Policies. We're committed to providing you with well-researched, expert-backed insights for all your informational needs.

0 thoughts on “How To Connect A Philips Universal Remote To A Roku TV”