
Articles
How To Calculate Blown-In Insulation
Modified: January 9, 2024
Learn how to calculate blow in insulation with this informative article. Get step-by-step instructions and expert tips to make your insulation project a success.
(Many of the links in this article redirect to a specific reviewed product. Your purchase of these products through affiliate links helps to generate commission for Storables.com, at no extra cost. Learn more)
Introduction
Welcome to the world of blow-in insulation! Insulating your home is vital for energy efficiency and comfort, and blow-in insulation is a popular choice for both new construction and retrofitting existing homes. In this comprehensive guide, we will explore the ins and outs of calculating blow-in insulation to help you achieve optimal energy-saving results.
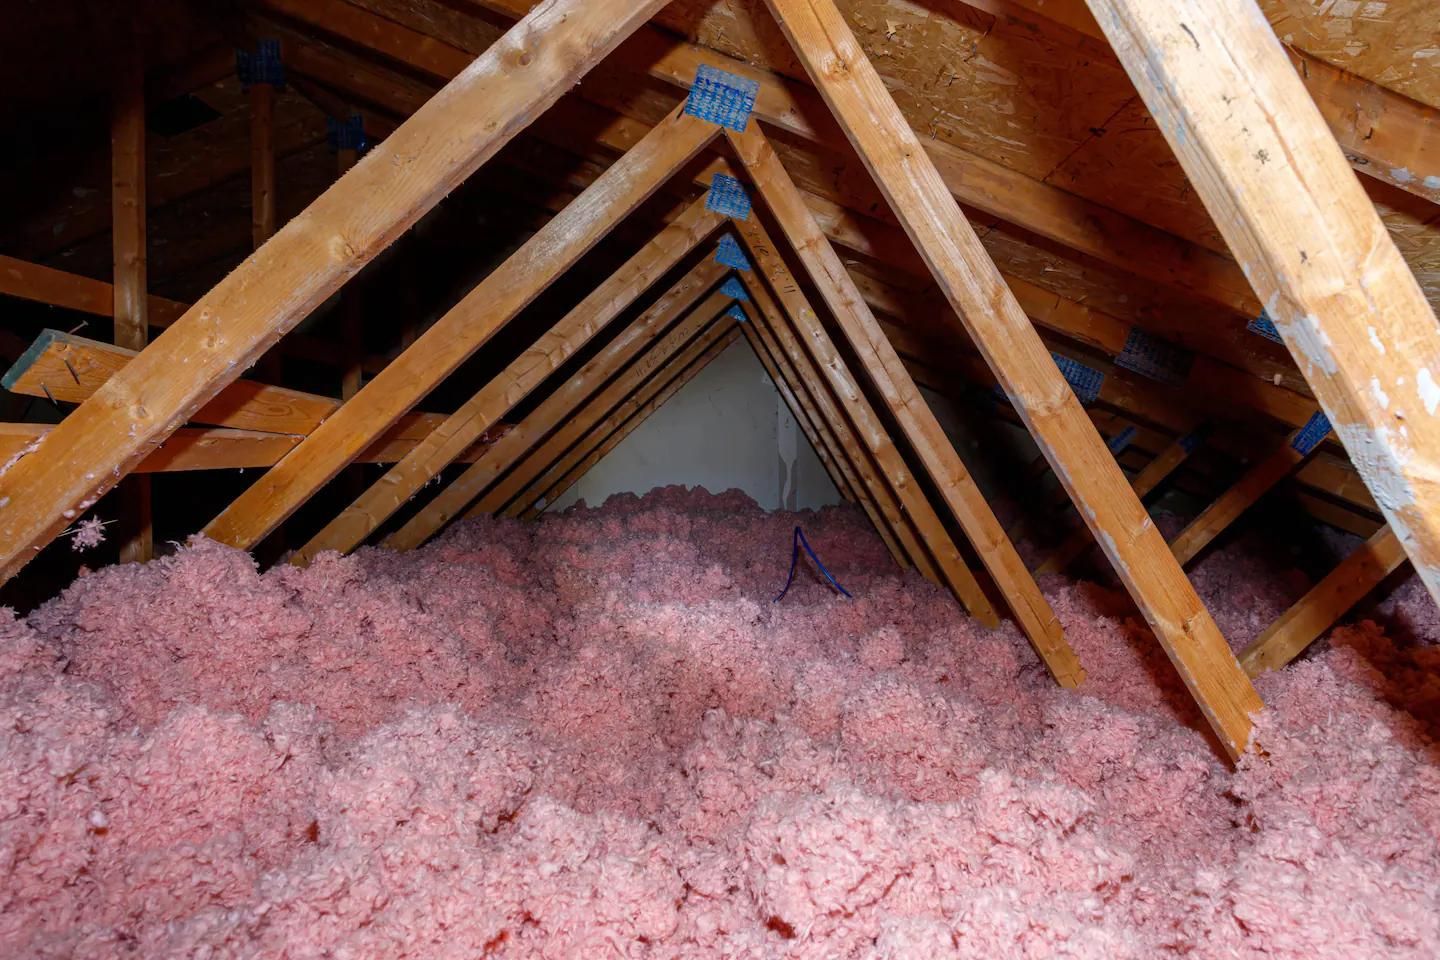
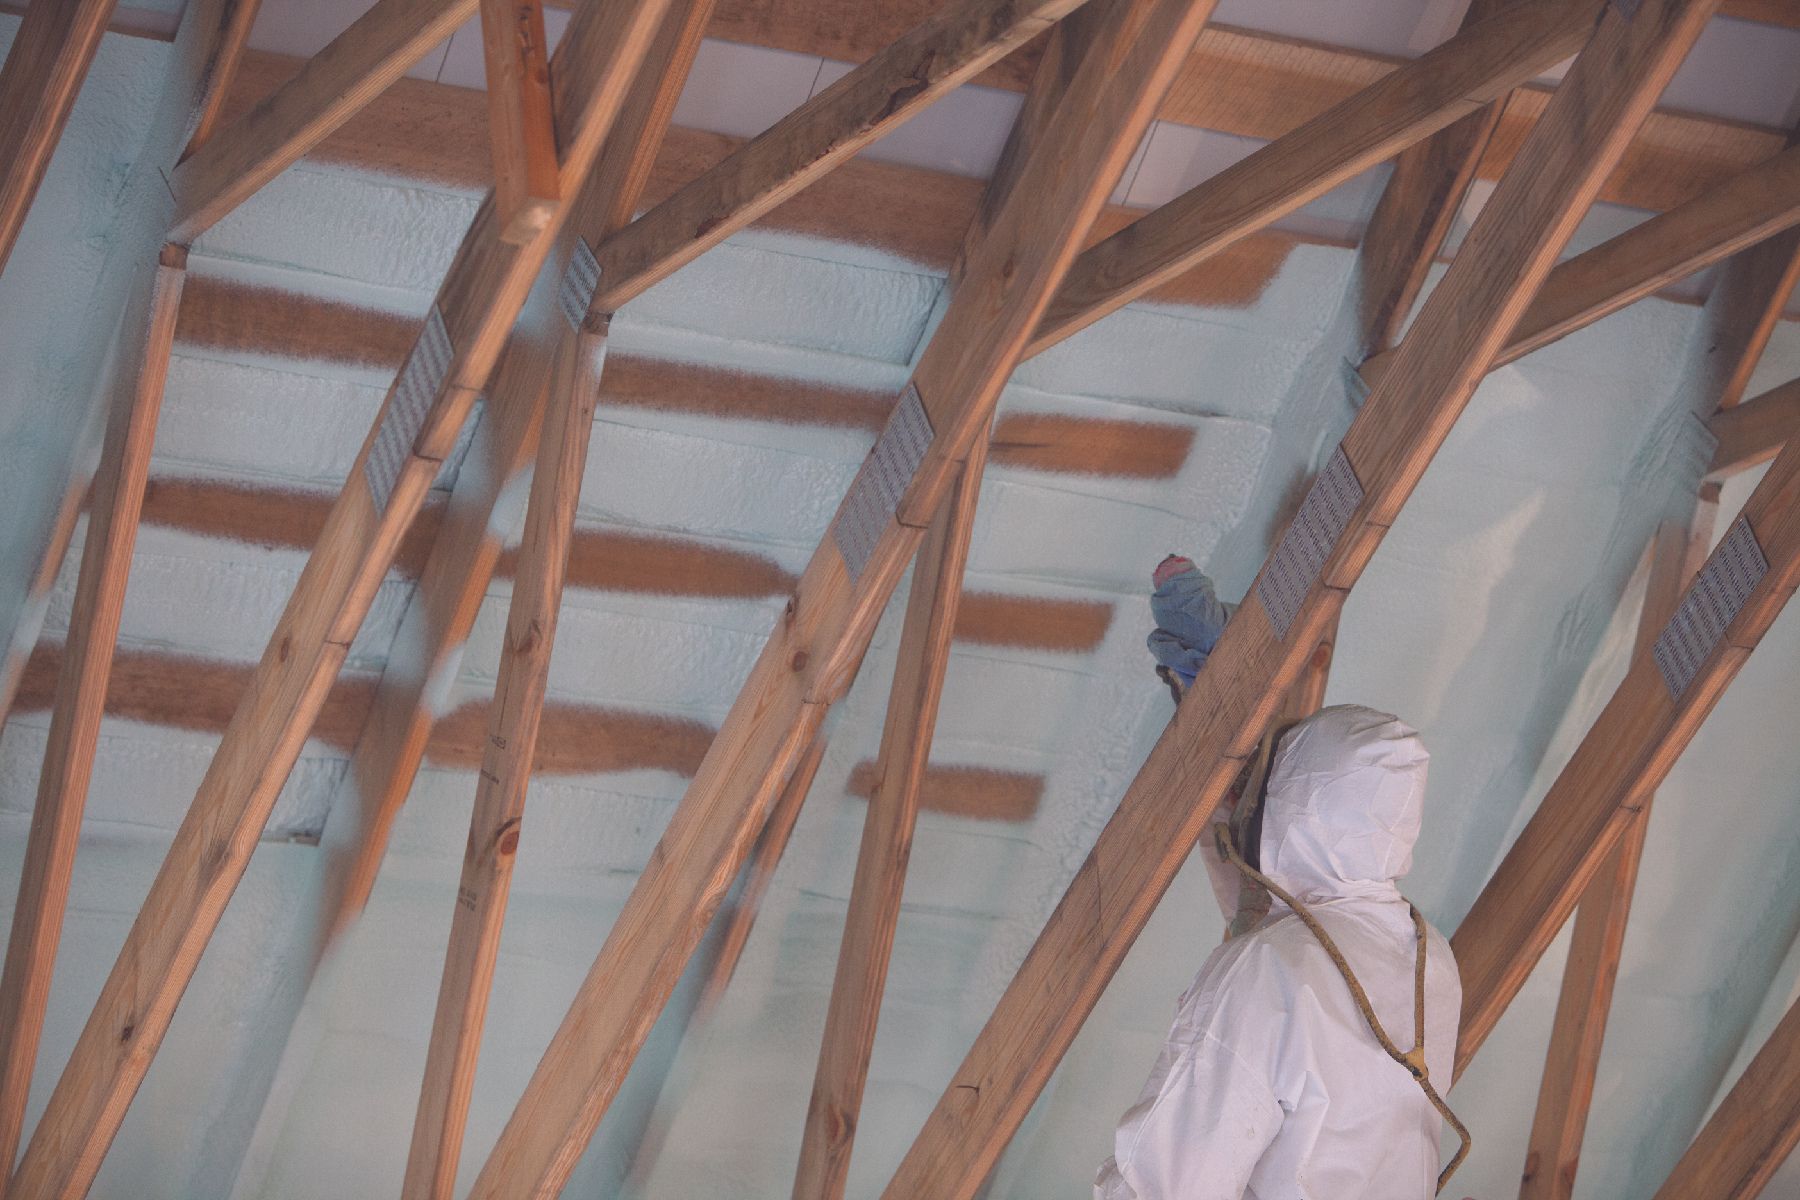
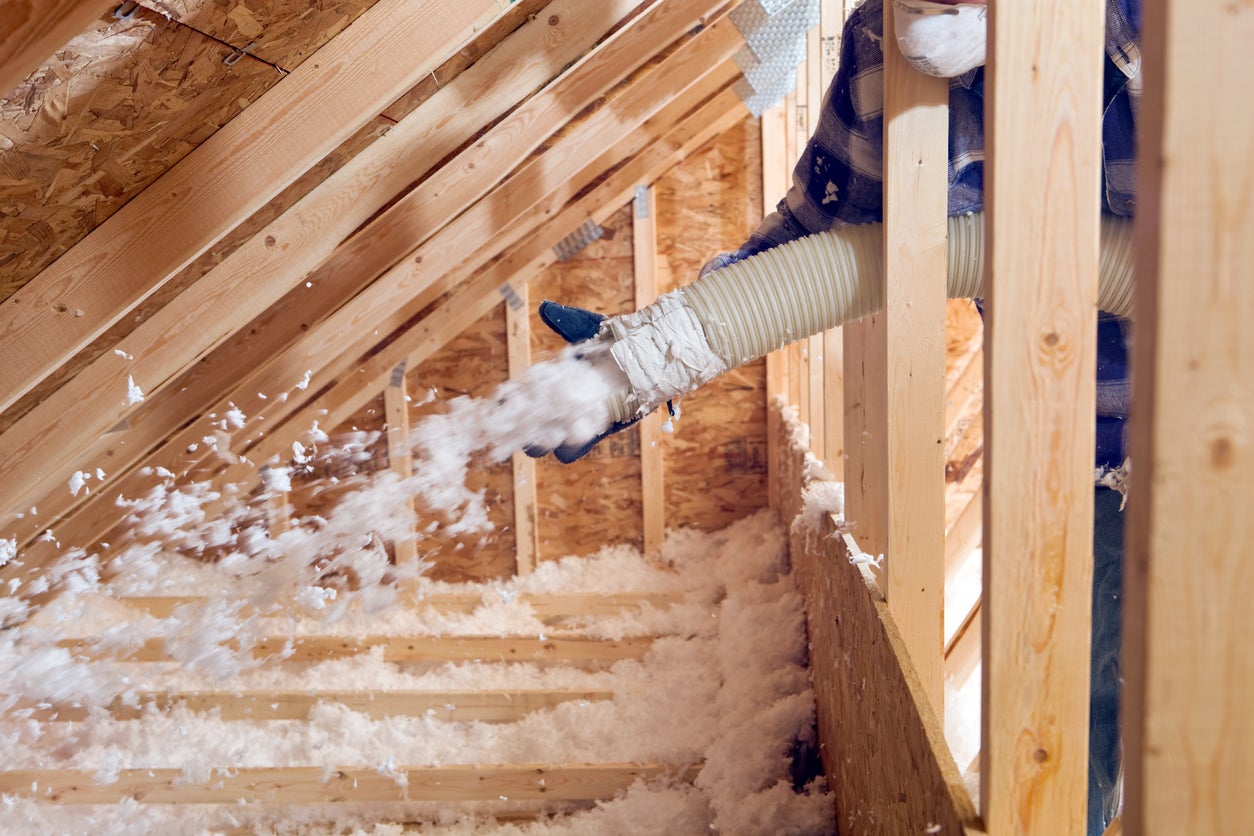
Blow-in insulation, also known as loose-fill insulation, is a type of insulation that is applied by blowing loose fibers or granules into cavities or open spaces within walls, attics, or floors. It offers several advantages over other types of insulation, including its ability to fill irregularly shaped or hard-to-reach areas, creating a more effective thermal barrier.
But before you jump into the world of blow-in insulation, it’s important to understand the factors you need to consider and the tools and materials required for the job. By properly calculating the amount of blow-in insulation you’ll need, you can ensure that you have enough to complete your project without wasting materials or compromising the overall effectiveness of the insulation.
In the following sections, we’ll provide a step-by-step guide to help you calculate blow-in insulation accurately. But first, let’s take a closer look at some key factors you need to consider before diving into the calculation process.
Key Takeaways:
- Properly calculating blow-in insulation involves considering factors like climate, energy efficiency goals, and existing insulation. Gathering the right tools and materials, and following a step-by-step guide are essential for an accurate calculation.
- Utilizing online calculators, accounting for potential settling, and seeking professional advice are crucial for an efficient blow-in insulation calculation process. Regular maintenance and inspection ensure long-lasting effectiveness.
Read more: How To Remove Blown-In Insulation
Understanding Blow In Insulation
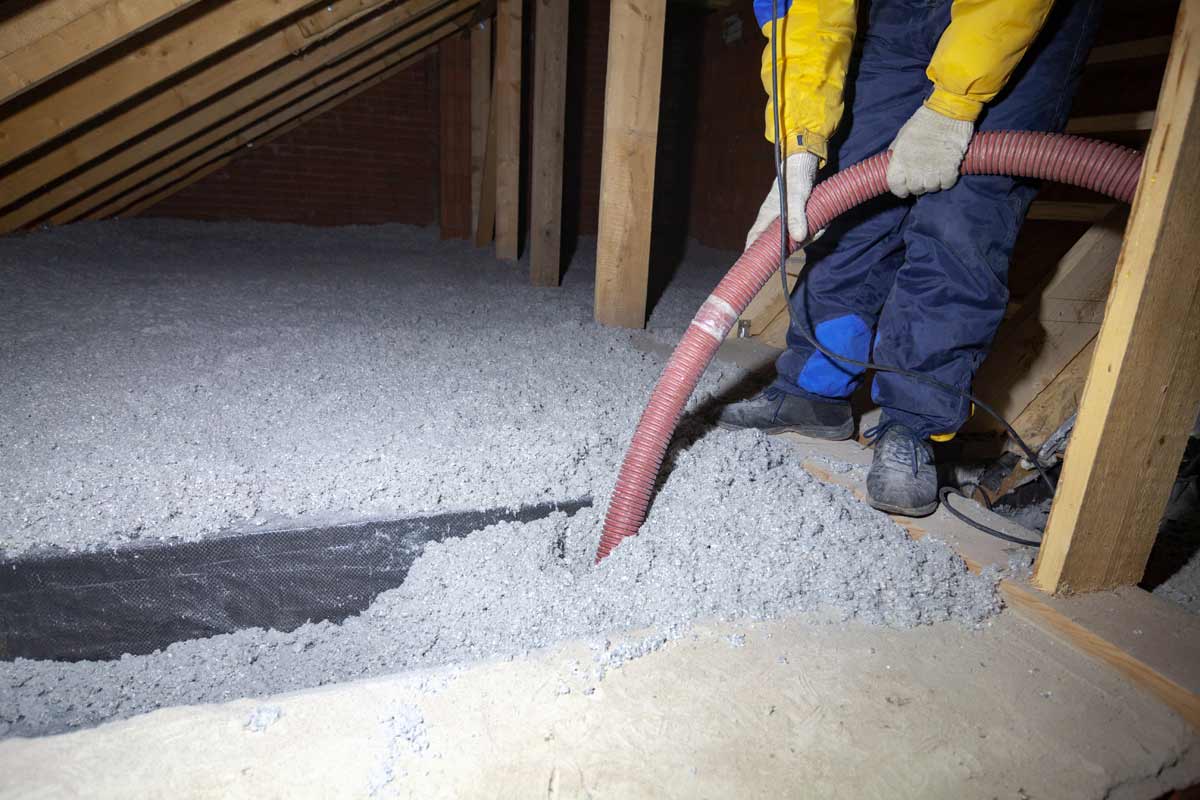
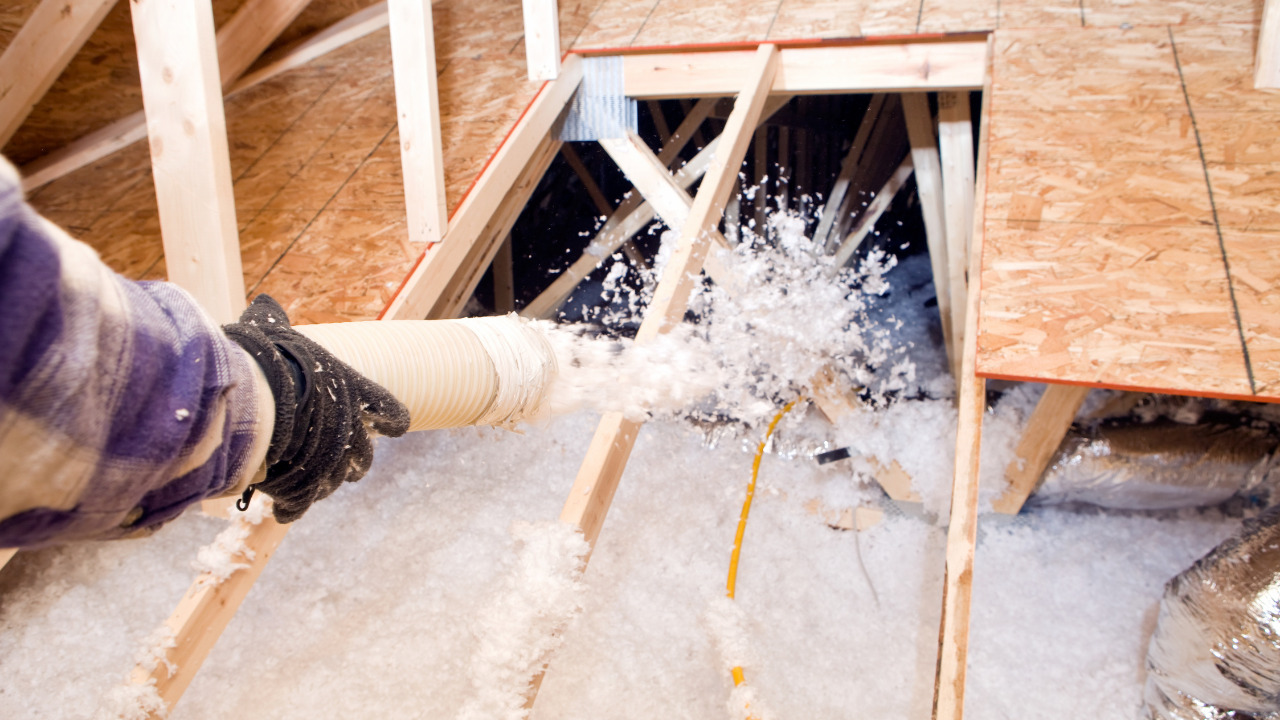
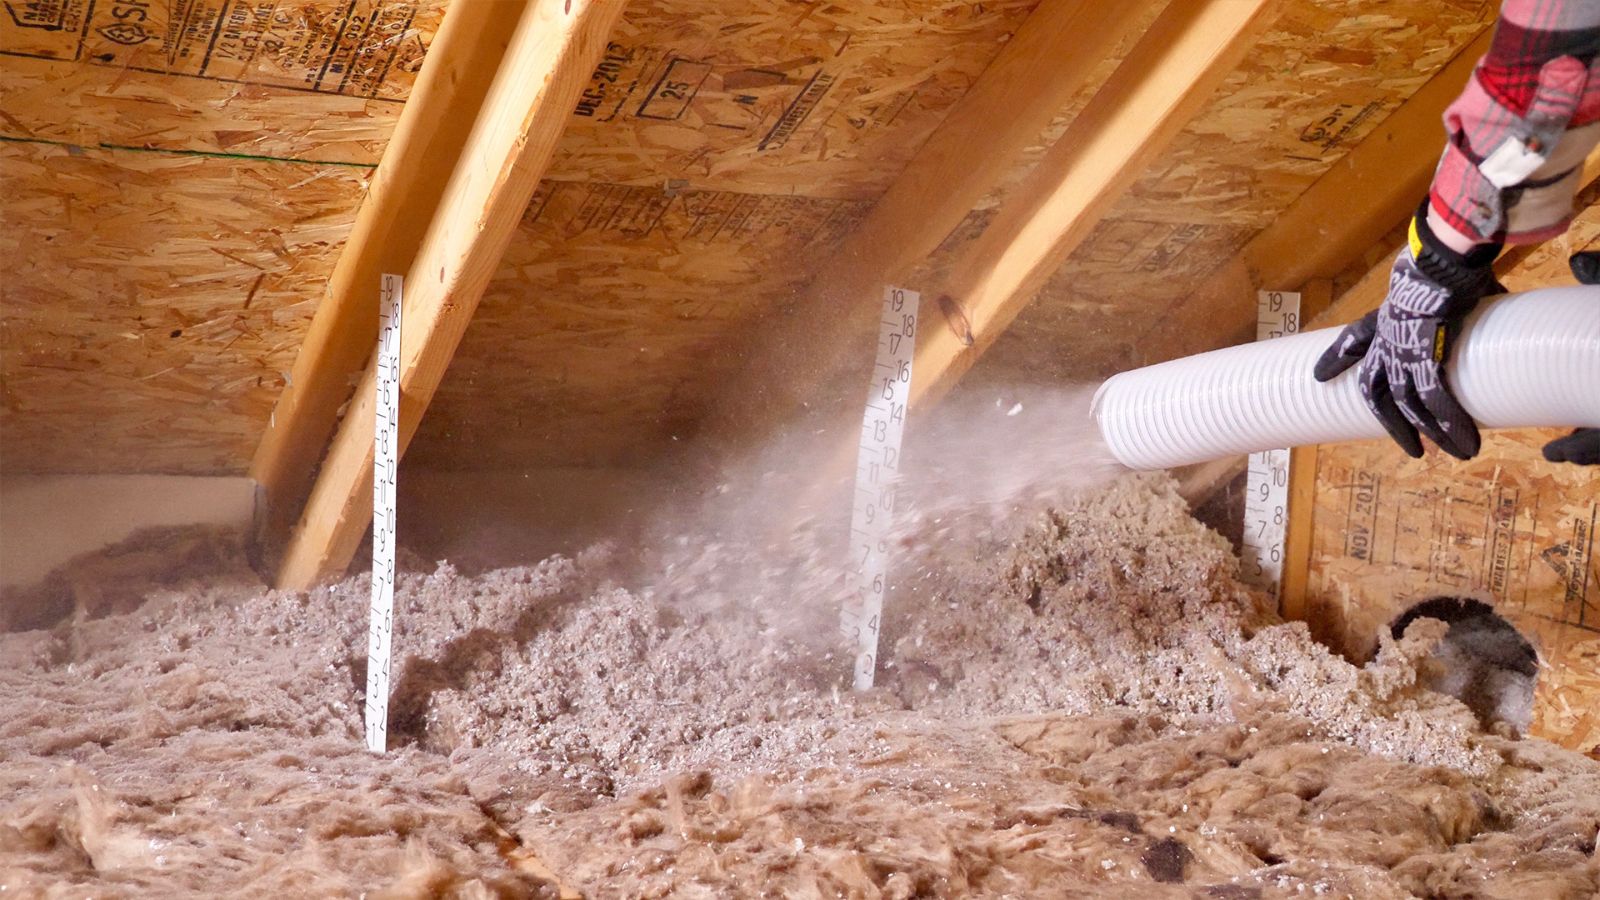
Blow-in insulation is a versatile and effective method of insulating your home. It is typically made from materials such as fiberglass, cellulose, or mineral wool that are shredded or granulated to create loose fibers or particles. These loose-fill materials are then blown into the desired areas using specialized equipment.
One of the notable advantages of blow-in insulation is its ability to fill gaps and cavities that may be difficult to reach with other types of insulation. This allows for a more thorough and efficient insulation job, reducing the likelihood of air leaks and heat loss in your home.
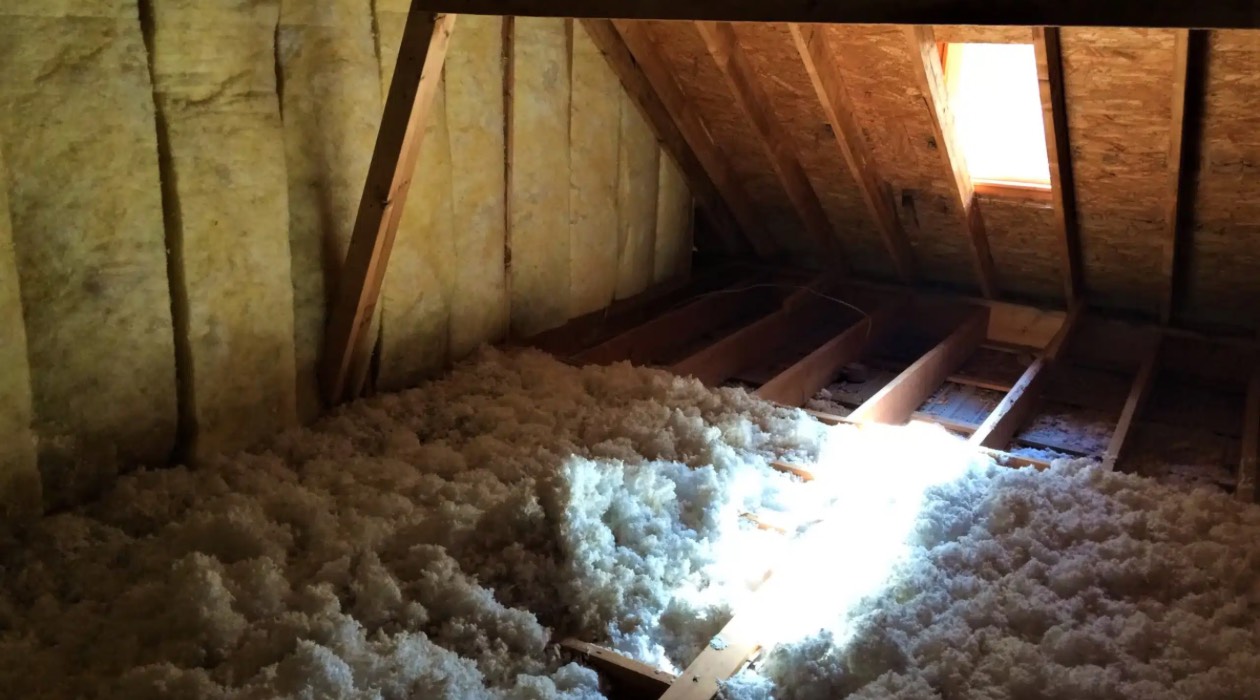
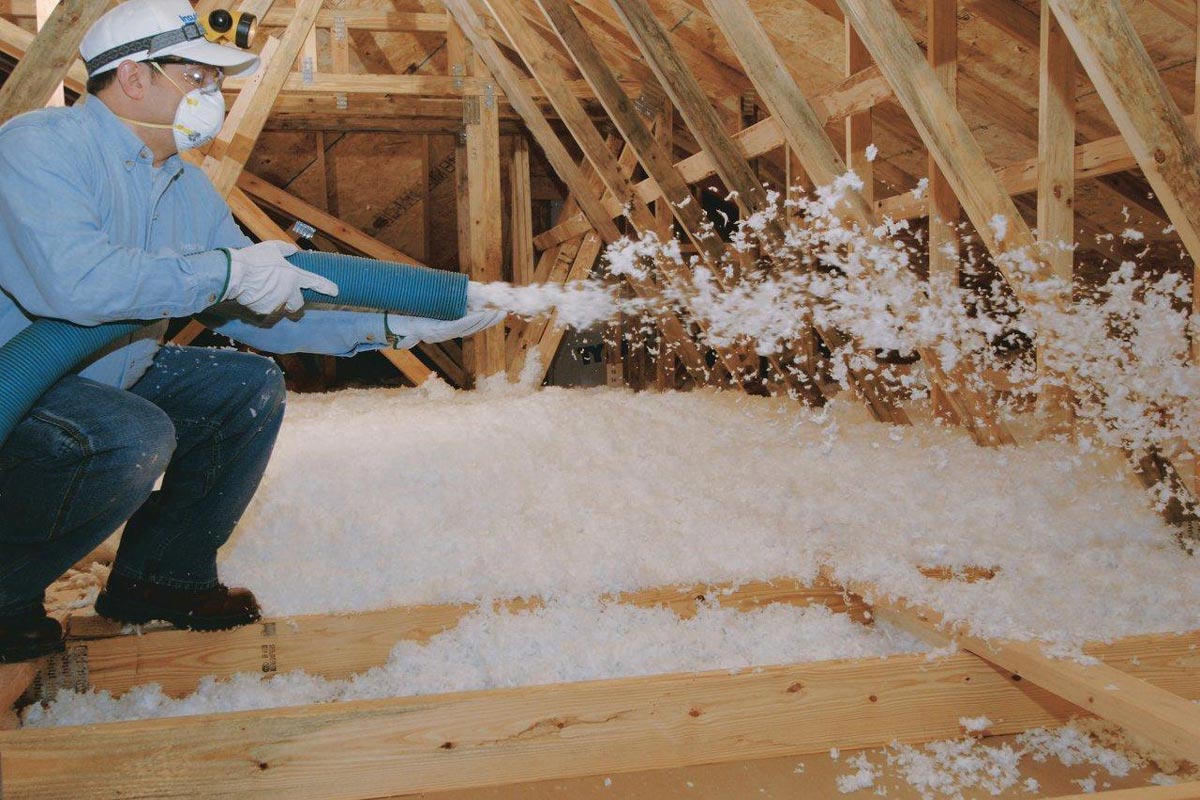
Blow-in insulation can be used in various areas of your home, including attics, walls, and floors. It is especially effective in insulating attics where there may be tight spaces, irregular shapes, or obstacles such as beams and wiring.
There are several types of blow-in insulation materials to choose from, each with its own benefits. Fiberglass blow-in insulation is made from small glass fibers and is known for its excellent thermal performance. It is non-combustible and resistant to mold and pests.
Cellulose blow-in insulation, on the other hand, is made from recycled paper and treated with flame retardants. It is environmentally friendly and provides excellent soundproofing as well as thermal insulation. Mineral wool blow-in insulation is made from natural rock or slag and offers superior fire resistance and sound absorption.
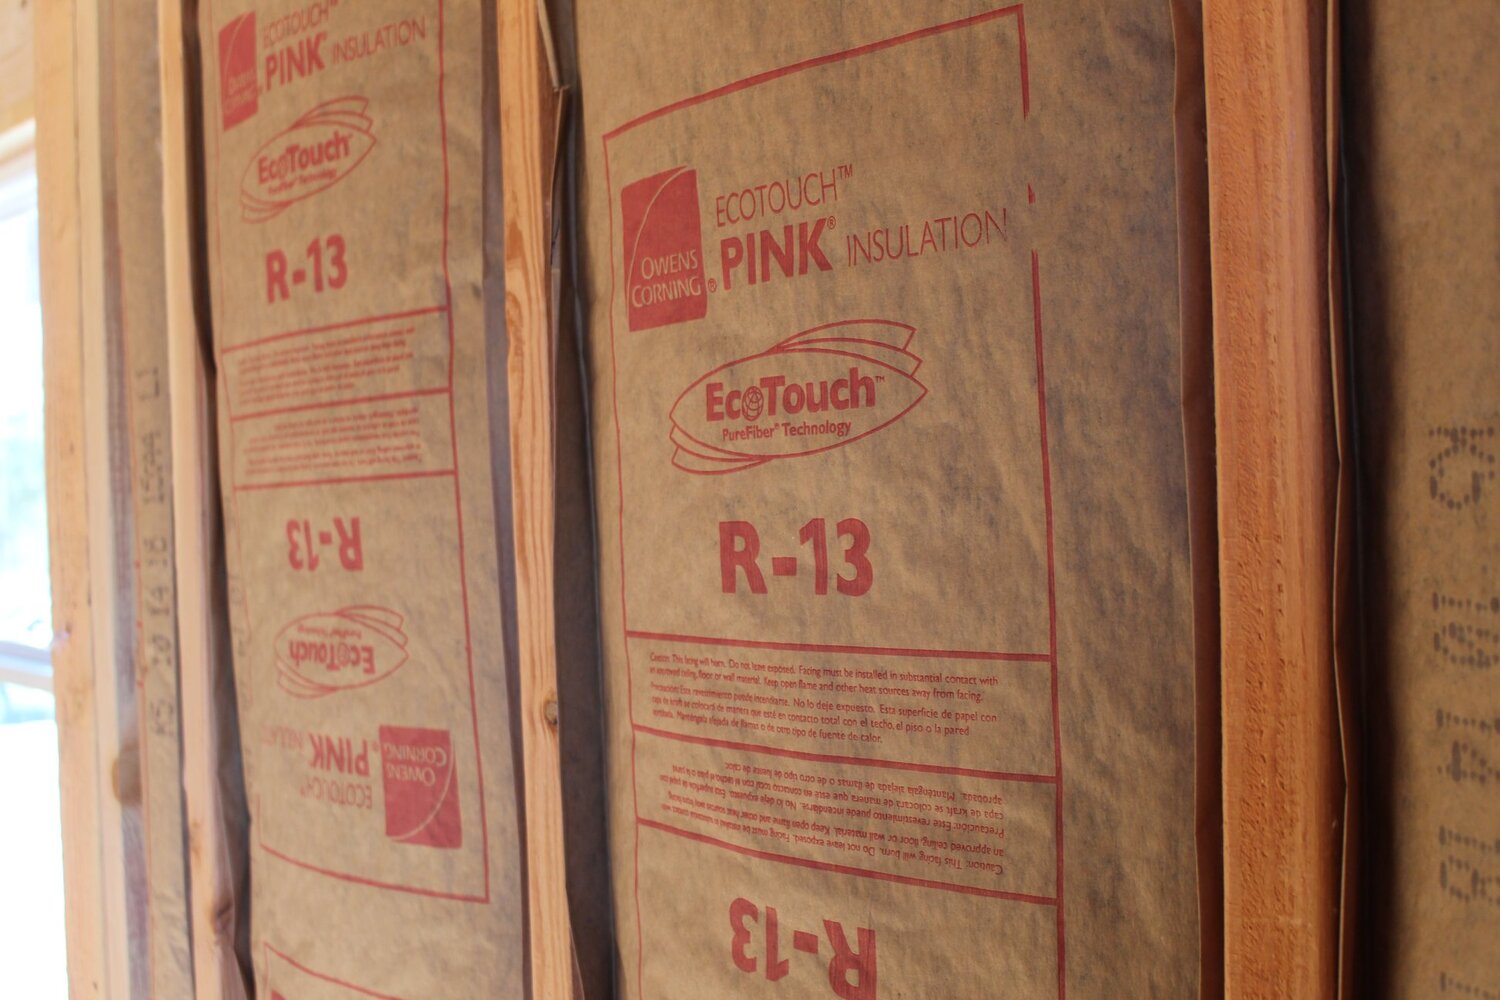
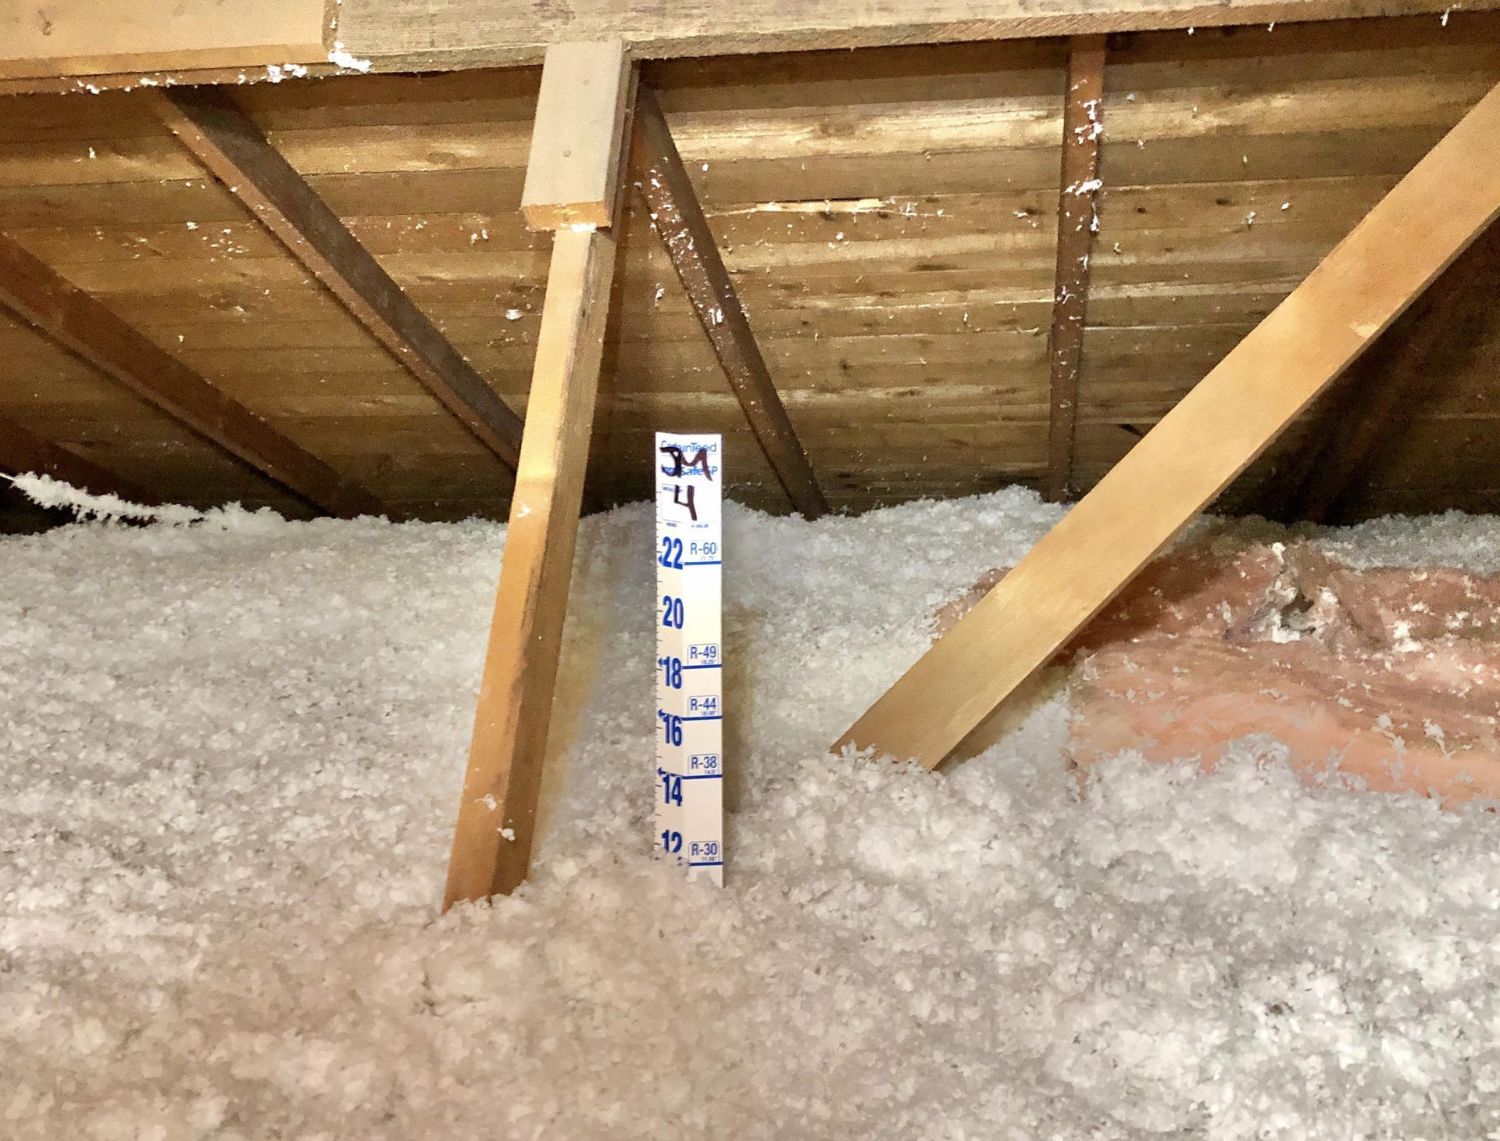
Before calculating blow-in insulation, it’s essential to determine the desired R-value for your home. The R-value is a measure of the insulation’s thermal resistance, indicating how well it can resist heat transfer. The higher the R-value, the better the insulation’s performance.
Factors such as the climate in your area, the size and layout of your home, and your energy efficiency goals will help determine the ideal R-value for your blow-in insulation. Consulting with a professional or using online calculators can help you determine the recommended R-value for your specific circumstances.
Now that we have a better understanding of blow-in insulation, let’s explore the factors you need to consider before calculating the amount of blow-in insulation you’ll need.
Factors to Consider Before Calculating Blow In Insulation
Before diving into the calculation process, there are several important factors to consider to ensure that you accurately determine the amount of blow-in insulation needed for your project. These factors include:
- Climate and Location: The climate and location of your home play a significant role in determining the insulation requirements. Areas with colder climates will require higher R-values to provide adequate thermal resistance, while areas with milder climates may have lower insulation requirements.
- Building Codes and Regulations: It’s crucial to check your local building codes and regulations to ensure compliance. Building codes often specify the minimum R-value required for insulation in different areas of your home, so make sure to factor this into your calculation.
- Desired Energy Efficiency: Consider your energy efficiency goals when calculating blow-in insulation. If you aim to create a highly energy-efficient home, you may opt for a higher R-value to maximize thermal performance and reduce energy consumption.
- Existing Insulation: Take into account any existing insulation in your home. If there are already layers of insulation present, you may need to adjust the amount of blow-in insulation needed. It’s important to achieve the desired R-value while preventing over-insulation, as this can lead to moisture issues or diminished performance.
- Structure and Layout: The structure and layout of your home will influence the amount of blow-in insulation required. Consider the size of your home, the number of levels, and any unique architectural features that may affect the insulation needs, such as sloped ceilings or vaulted areas.
- Access Points: Determine the access points for the blow-in insulation installation. Consider whether you will be insulating the walls, attic, or floors. The accessibility of these areas will impact the ease of installation and the type of equipment required.
- Budget: Finally, factor in your budget when calculating blow-in insulation. Different insulation materials and installation methods have varying costs. Consider the cost-effectiveness and long-term benefits of the insulation options available to you.
By taking these factors into account, you will be able to make a more informed decision when calculating the amount of blow-in insulation required for your project. Keep in mind that it’s always beneficial to seek professional advice or consult insulation experts to ensure the accuracy of your calculations.
Now that you have considered these important factors, let’s move on to the tools and materials you’ll need for the blow-in insulation calculation process.
Tools and Materials Required
Before you begin calculating blow-in insulation, it’s important to gather the necessary tools and materials to ensure a smooth and efficient process. Here are some essential items you’ll need:
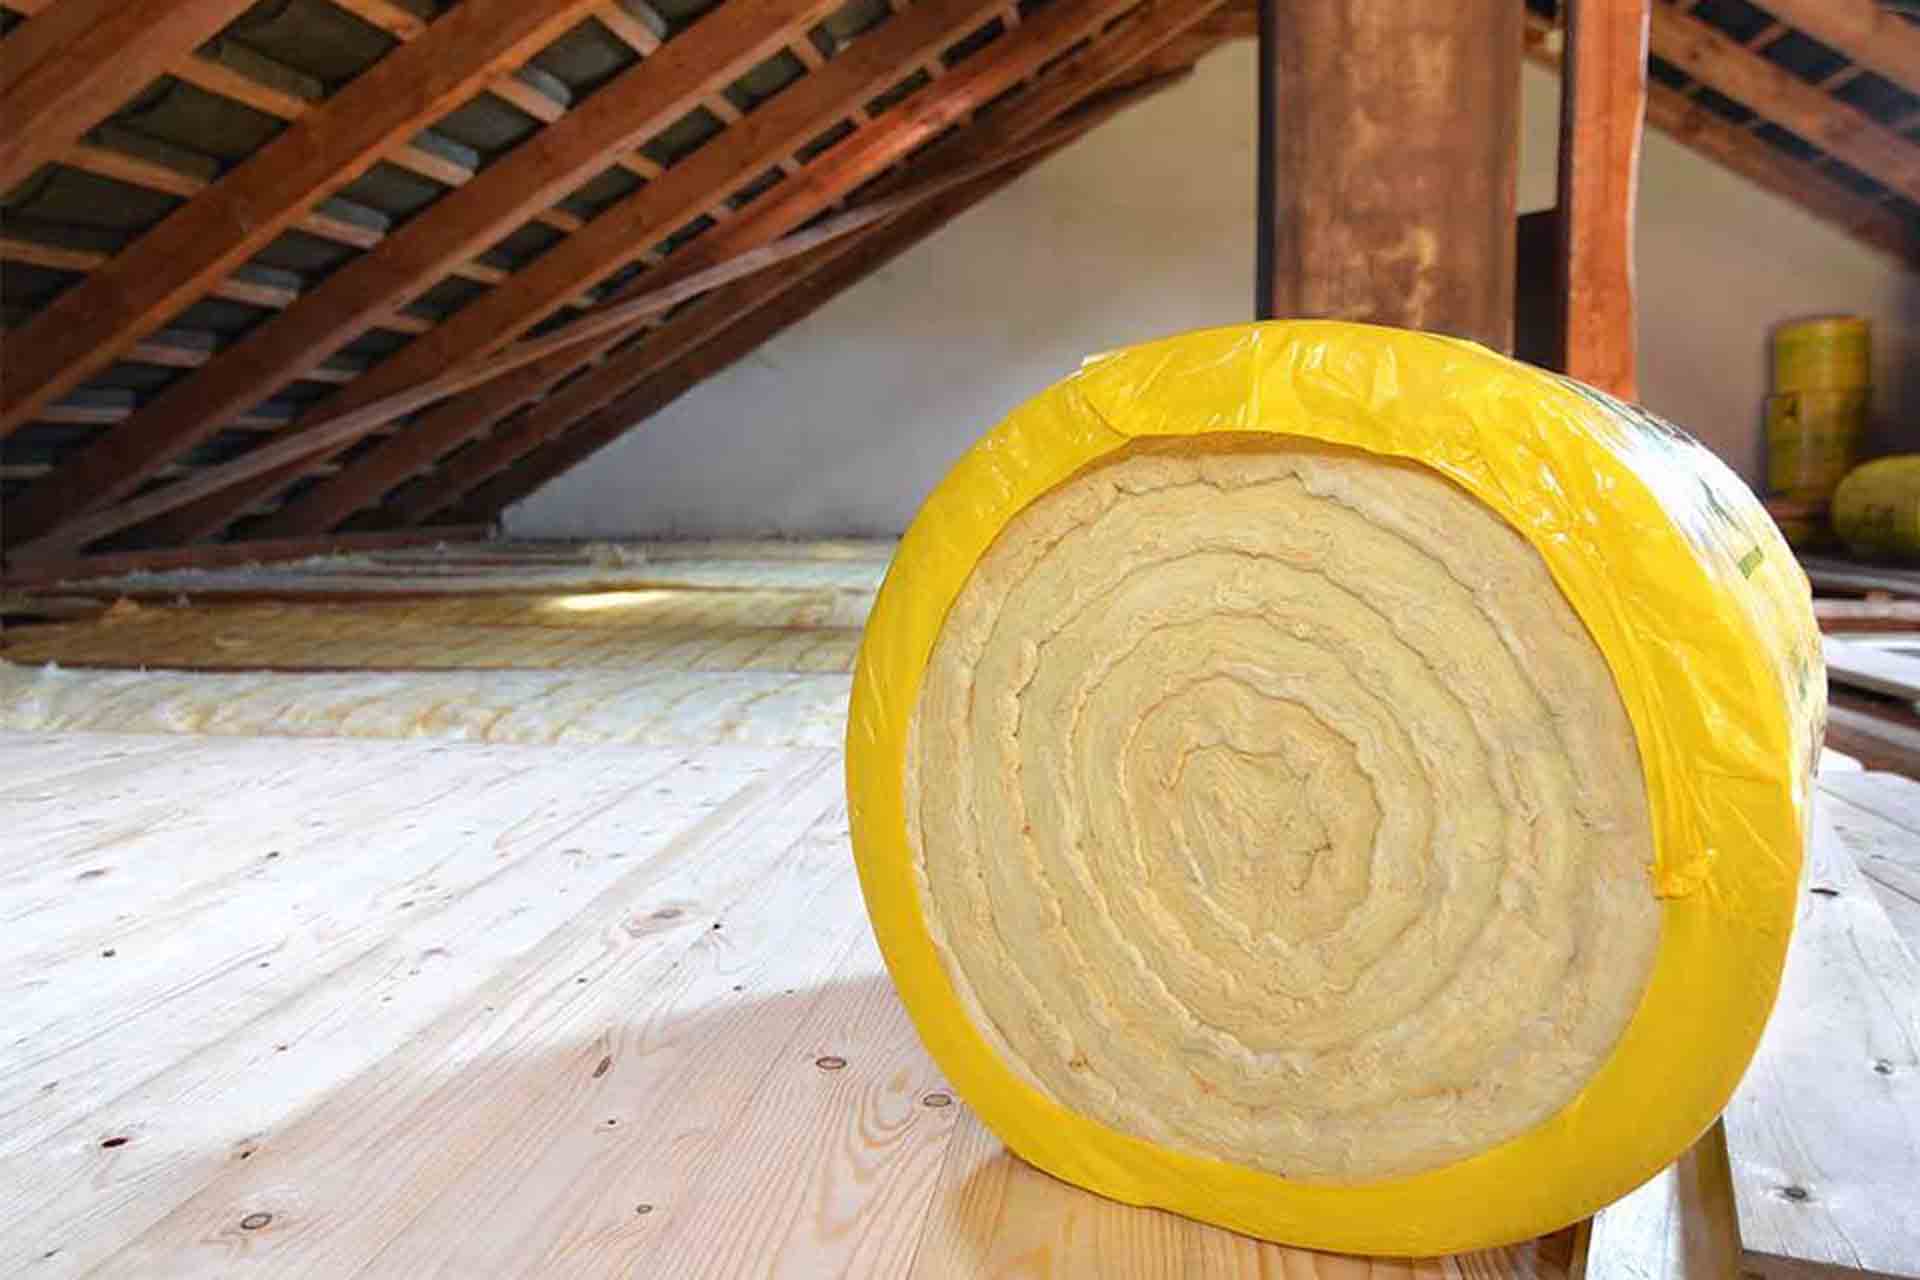
- Insulation Material: Choose the appropriate blow-in insulation material based on factors such as R-value requirements, budget, and personal preferences. Fiberglass, cellulose, and mineral wool are among the most commonly used options. Purchase enough insulation material to cover the desired area with the recommended thickness.
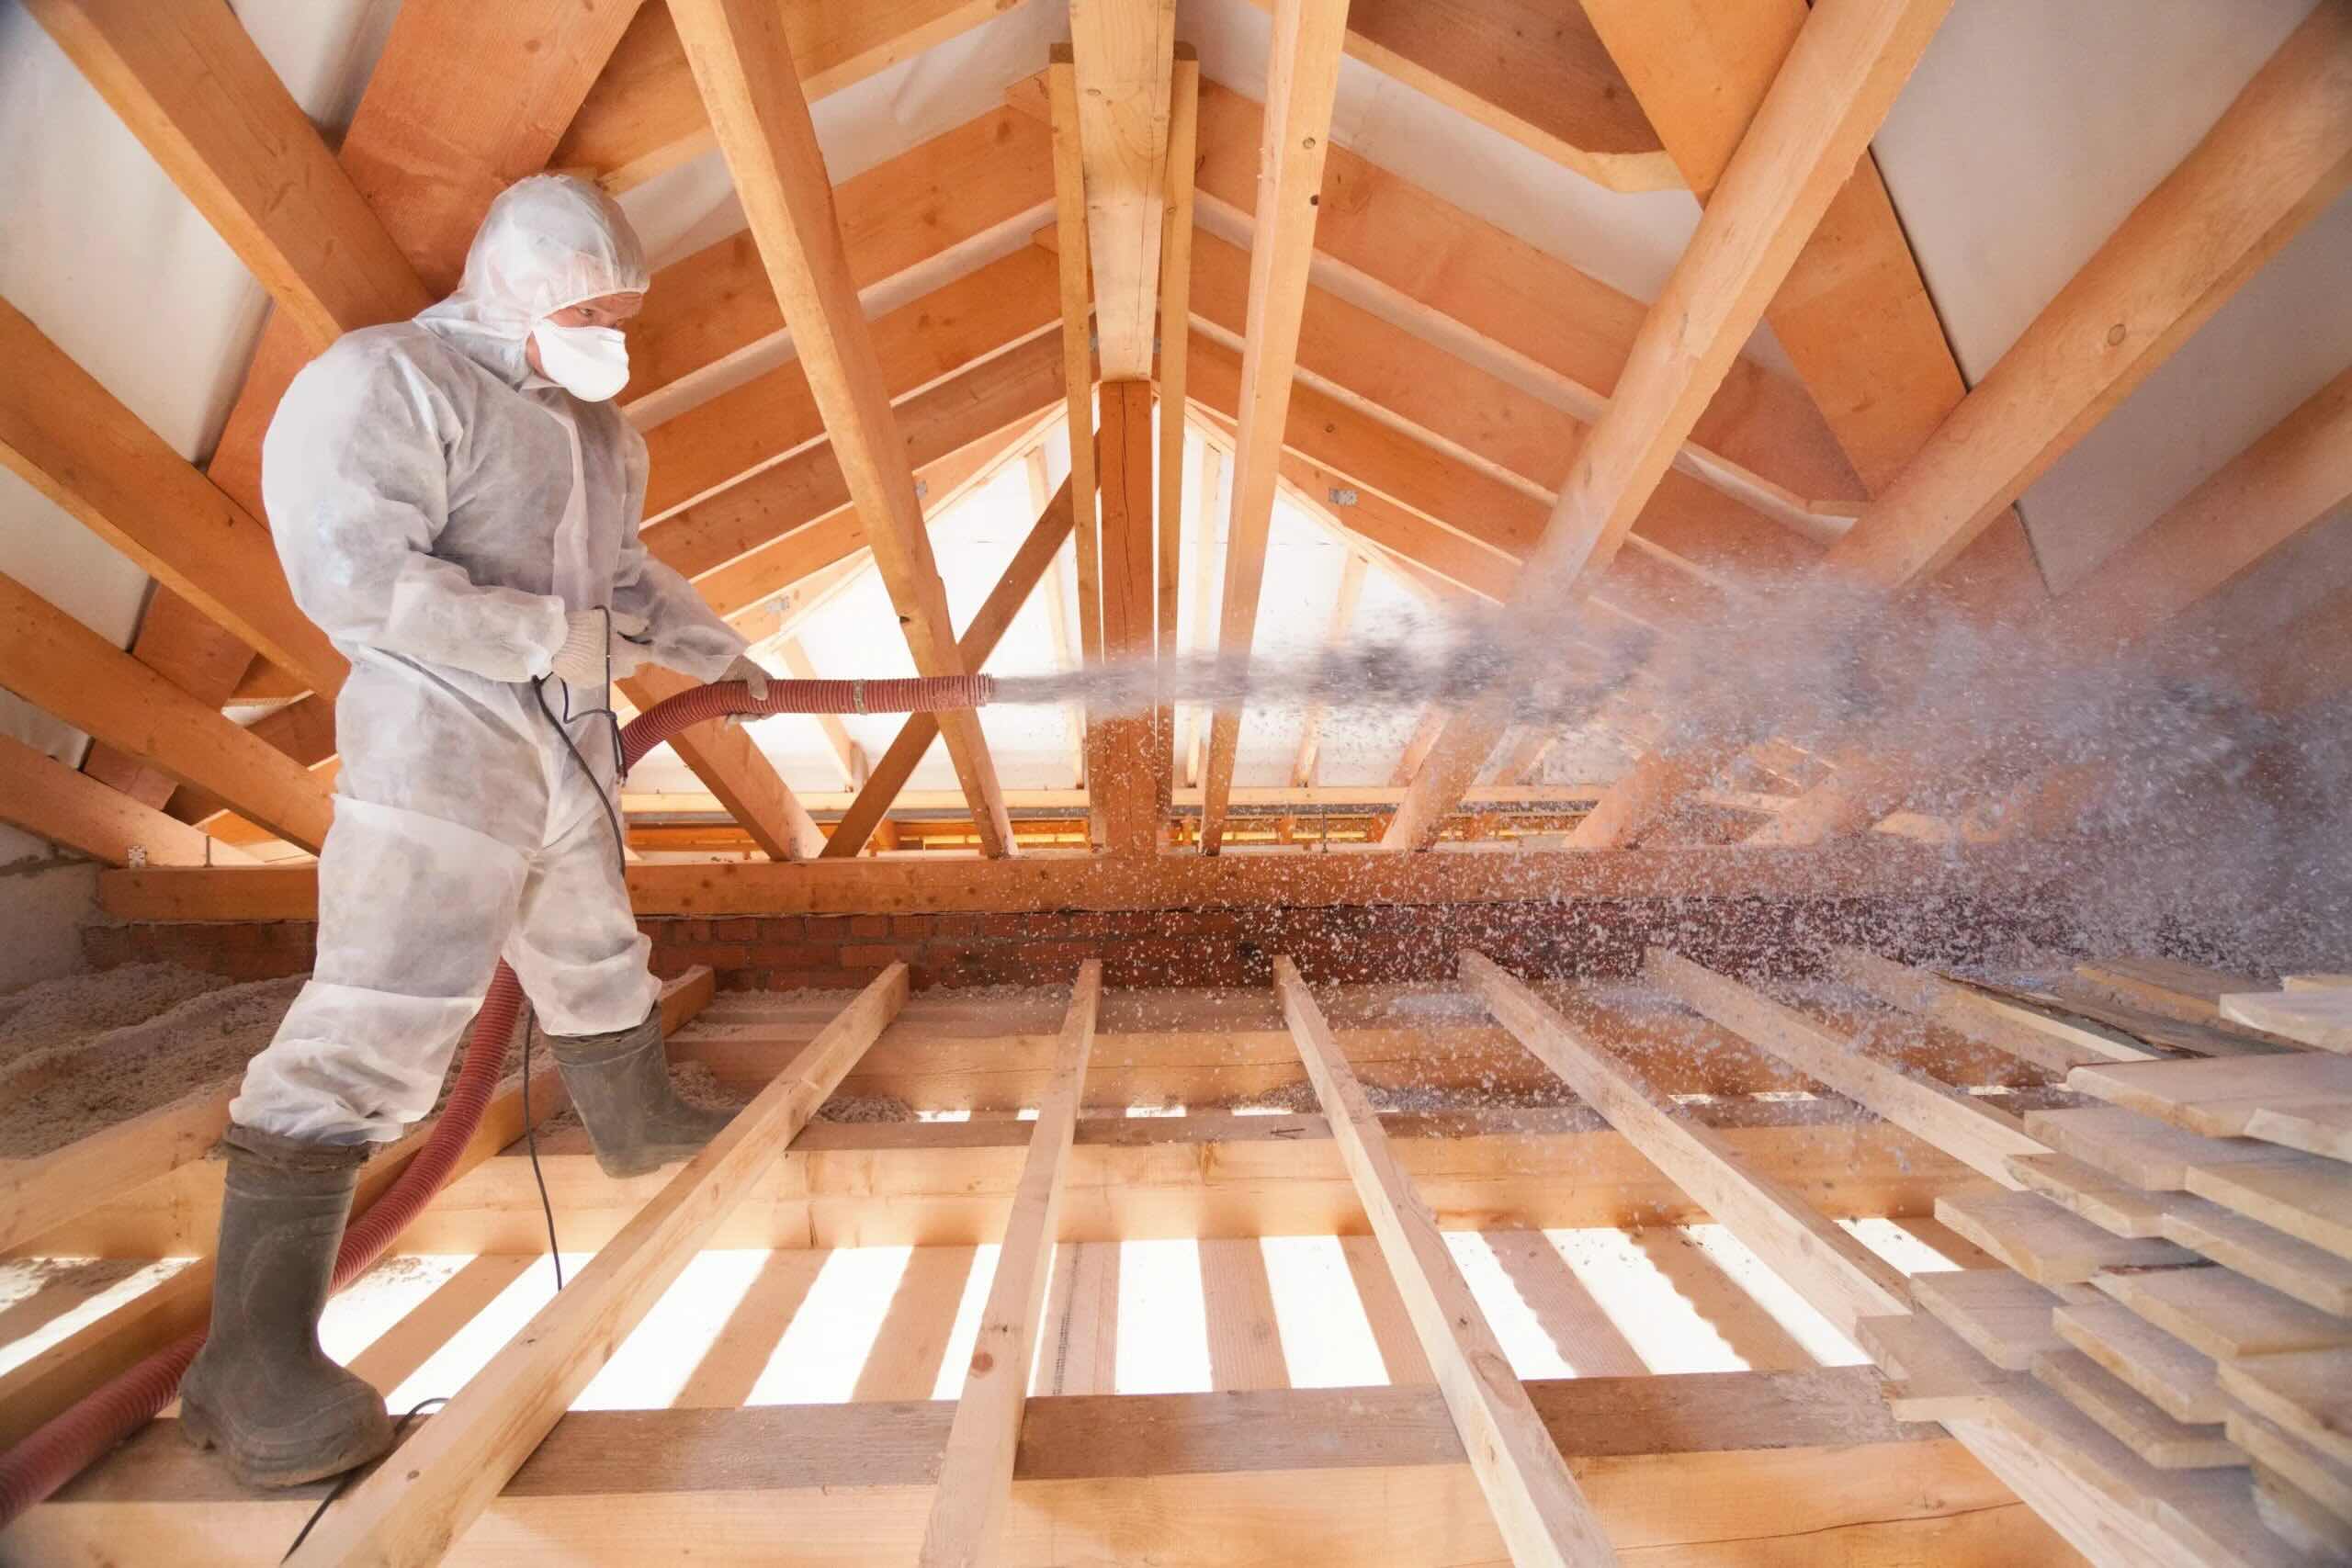
- Blowing Equipment: To properly install blow-in insulation, you’ll need specialized blowing equipment. This typically includes a blowing machine or blower designed specifically for the insulation material you’ve chosen. Make sure to rent or purchase the appropriate equipment based on the type and quantity of insulation you’re installing.
- Protective Gear: Insulation materials can cause skin irritation or respiratory issues, so it’s crucial to wear protective gear. This may include safety goggles, a dust mask or respirator, gloves, and appropriate clothing to cover your body.
- Measuring Tools: Accurate measurements are essential when calculating blow-in insulation. Ensure you have a tape measure or laser measure to measure the dimensions and areas that need to be insulated. Additionally, a stud finder or thermal imaging camera can be helpful for locating obstructions or gaps in the existing insulation.
- Access Tools: Depending on where you’re installing blow-in insulation, you may need access tools such as ladders, scaffolding, or crawl space access equipment. Ensure you have the necessary tools to safely reach the areas you’re insulating.
- Sealing Materials: Before installing blow-in insulation, it’s important to properly seal any air leaks or gaps in the area. This may require caulk, foam insulation, weatherstripping, or other sealing materials to ensure optimal energy efficiency and prevent air leakage.
- Insulation Calculator: While not a physical tool, an insulation calculator is a valuable resource for accurately determining the amount of insulation needed. Online insulation calculators can consider factors such as climate, location, desired R-value, and the type of insulation material to provide an estimate of the required quantity.
Being well-equipped with the necessary tools and materials will make the calculation and installation process much more efficient. It’s essential to prioritize safety by using the appropriate protective gear and following the manufacturer’s guidelines for the blowing equipment.
Now that you have gathered all the necessary tools and materials, let’s move on to the step-by-step guide for calculating blow-in insulation.
When calculating blow-in insulation, measure the square footage of the area to be insulated and determine the desired R-value. Use a calculator or online tool to determine the amount of insulation needed based on these factors.
Step-by-Step Guide for Calculating Blow In Insulation
Calculating the amount of blow-in insulation you need for your project requires careful measurements and considerations. Follow this step-by-step guide to ensure an accurate calculation:
- Measure the Area: Start by measuring the area where you plan to install blow-in insulation. This could be your attic, walls, or floors. Take precise measurements of the length, width, and height of each section. For irregularly shaped areas, divide them into smaller sections and measure them individually.
- Determine the Desired R-Value: Consult local building codes or energy efficiency guidelines to determine the recommended R-value for your area. If you’re looking for optimal energy efficiency, you might choose a higher R-value than the minimum requirement.
- Calculate the Area in Square Feet: Multiply the length and width of each measured section to find the area in square feet. If the area is irregularly shaped, divide it into smaller sections and calculate the area for each section separately. Add up all the individual areas to get the total area that needs to be insulated.
- Determine the Required Thickness: The thickness of blow-in insulation affects its performance. Most manufacturers provide guidelines for the recommended thickness based on the desired R-value. Determine the required thickness for your insulation material, taking into account factors such as climate and energy efficiency goals.
- Calculate the Volume: To calculate the volume of insulation required, multiply the total area in square feet by the desired thickness in feet. This will give you the volume of insulation needed in cubic feet.
- Convert Volume to Bags or Pounds: Depending on the insulation material, there may be specific conversion rates to determine the number of bags or pounds required. Consult the manufacturer’s instructions or check with a local supplier to convert the volume of insulation into the appropriate units.
- Consider Wastage and Overfill: It’s essential to account for some wastage and overfill when calculating blow-in insulation. Miscalculations or unexpected gaps may require additional insulation to achieve the desired R-value and coverage.
- Adjust for Existing Insulation: If there is already existing insulation in the area you’re insulating, deduct its R-value from the desired total R-value and adjust the calculation accordingly. Consider the type and thickness of the existing insulation and adjust the volume of blow-in insulation accordingly.
- Consult with an Expert: It’s always beneficial to consult with an insulation expert or professional to ensure the accuracy of your calculations. They can provide guidance based on their expertise and knowledge of local building codes and regulations.
Remember that these steps provide a general guide for calculating blow-in insulation. Each project may have unique considerations, so it’s important to adapt the steps based on your specific requirements and consult local experts when needed.
Now that you know how to calculate blow-in insulation, let’s explore some tips for efficiently completing the calculation process.
Tips for Efficient Blow In Insulation Calculation
Calculating blow-in insulation accurately is essential for a successful insulation project. To ensure efficiency and accuracy, consider the following tips:
- Measure Twice: Double-check all your measurements to ensure accuracy. Mistakes in measurements can lead to incorrect calculations and potentially waste insulation material.
- Use Online Calculators: Take advantage of online insulation calculators that consider various factors such as climate, desired R-value, and insulation material. These calculators provide a helpful estimate of the amount of blow-in insulation required.
- Consider Variation in Insulation Thickness: Keep in mind that blow-in insulation may settle or compress over time, reducing its thickness. To account for this, consider adding a slightly higher thickness to your calculation to compensate for potential settling.
- Account for Obstructions: Take into consideration any obstructions, such as plumbing pipes, electrical wiring, or recessed lighting, in the area you’re insulating. Adjust your calculation to ensure proper insulation coverage around these obstructions without compressing or damaging the insulation material.
- Factor in Safety Margins: It’s always a good idea to add an additional safety margin to your calculation. This helps account for any unforeseen gaps, uneven surfaces, or other minor issues that may require extra insulation to achieve the desired results.
- Consult Professionals: When in doubt, seek guidance from insulation professionals or experts. They can provide valuable insights, ensure compliance with local building codes, and offer tailored advice for your specific project.
- Consider DIY Kits: Some blow-in insulation manufacturers offer DIY kits that include the necessary equipment and materials for installation. These kits often come with instructions and guidance to help you calculate the amount of insulation needed.
- Keep a Record: Maintain a detailed record of your calculations, including measurements, R-values, and the amount of insulation required. This documentation can be useful for future reference or adjustments, especially if you plan to expand or renovate your home.
- Inspect and Maintain: Regularly inspect your blow-in insulation to ensure it remains properly installed and effectively insulates your home. Periodically check for any signs of settling, gaps, or damage and take necessary steps to maintain the integrity of the insulation.
By following these tips, you can improve the efficiency and accuracy of your blow-in insulation calculation process. Remember that it’s essential to prioritize safety and consult professionals when necessary.
Now that you’re equipped with the knowledge and tips for calculating blow-in insulation, you can confidently embark on your insulation project and enjoy the benefits of a well-insulated and energy-efficient home.
Conclusion
Calculating blow-in insulation is a crucial step in ensuring optimal energy efficiency and comfort in your home. By accurately determining the amount of insulation needed, you can create an effective thermal barrier, reduce heat loss, and lower your energy consumption.
In this comprehensive guide, we have explored the key aspects of blow-in insulation calculation. We started by understanding blow-in insulation and its benefits, including its ability to fill irregular spaces and provide excellent thermal performance. We then discussed the important factors to consider before calculating blow-in insulation, such as climate, building codes, and desired energy efficiency.
We also highlighted the essential tools and materials required for the calculation process, emphasizing the significance of protective gear, measuring tools, and appropriate blowing equipment. Following that, we provided a step-by-step guide to help you accurately calculate blow-in insulation, considering measurements, desired R-value, and existing insulation.
To ensure an efficient calculation process, we shared valuable tips, including measuring twice, using online calculators, accounting for settling and obstructions, and consulting professionals when needed. These tips will help you avoid mistakes, optimize insulation coverage, and achieve the desired results.
Remember, blow-in insulation is not a one-time process. Regular inspection and maintenance are crucial to ensure its long-lasting effectiveness. Keep a record of your calculations for future reference and adjustments, and be proactive in addressing any issues that may arise.
As you embark on your blow-in insulation project, seek the guidance of insulation experts and professionals when needed. They can provide valuable insights based on their knowledge and experience, ensuring that your insulation meets building codes and regulations.
By calculating blow-in insulation accurately, you can enhance the energy efficiency, comfort, and value of your home. So, take the time to consider the factors, gather the right tools, and make thorough measurements. The benefits of a well-insulated home are well worth the effort.
Now, armed with the knowledge and guidance from this guide, go ahead and embark on your blow-in insulation calculation process. Enjoy the energy savings, comfort, and peace of mind that come with a well-insulated home.
Frequently Asked Questions about How To Calculate Blown-In Insulation
Was this page helpful?
At Storables.com, we guarantee accurate and reliable information. Our content, validated by Expert Board Contributors, is crafted following stringent Editorial Policies. We're committed to providing you with well-researched, expert-backed insights for all your informational needs.

0 thoughts on “How To Calculate Blown-In Insulation”