Home>Technology>Home Entertainment Systems>How To Repair A Home Theater Amplifier
Home Entertainment Systems
How To Repair A Home Theater Amplifier
Modified: August 16, 2024
Learn how to repair your home theater amplifier and get your home entertainment system back up and running. Expert tips and techniques for fixing common issues with home entertainment systems.
(Many of the links in this article redirect to a specific reviewed product. Your purchase of these products through affiliate links helps to generate commission for Storables.com, at no extra cost. Learn more)
Introduction
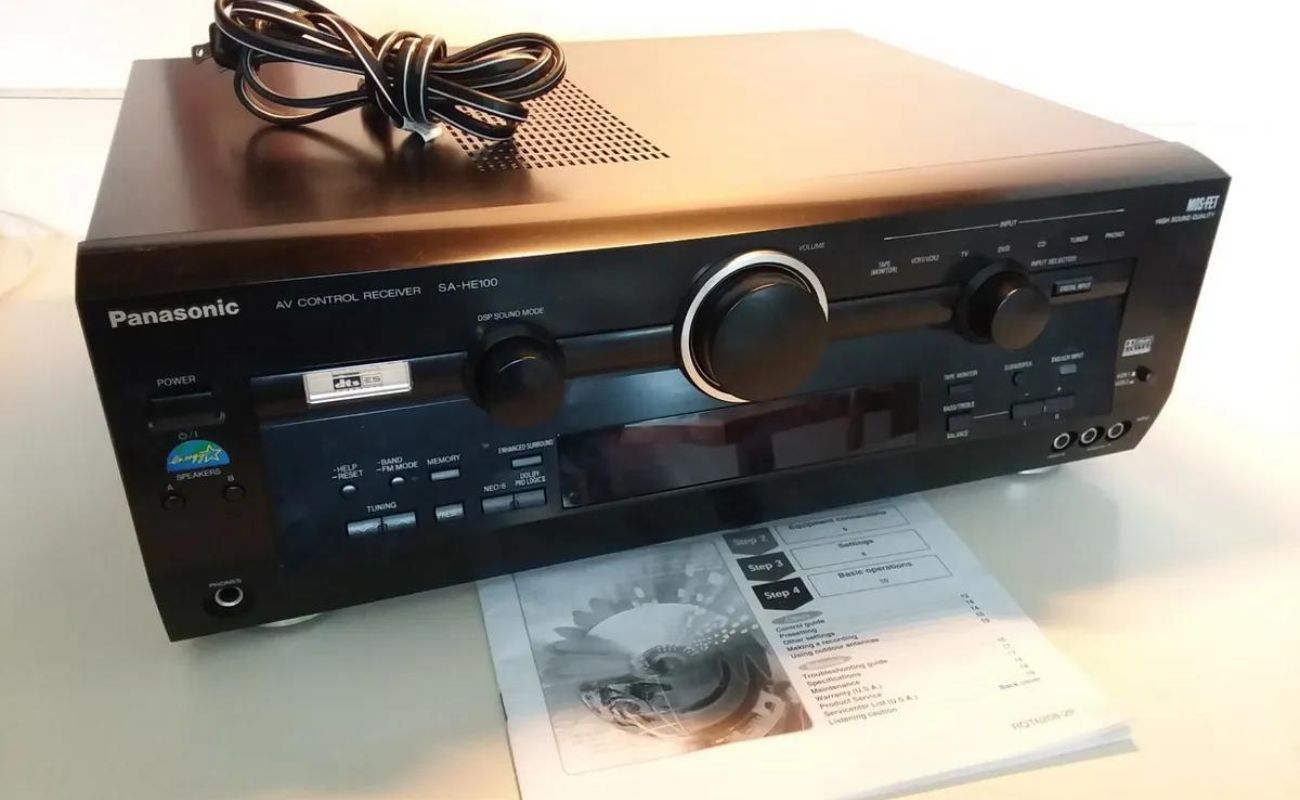
A home theater amplifier serves as the powerhouse of your entertainment system, delivering immersive sound that elevates your viewing experience to new heights. However, like any electronic device, amplifiers are susceptible to malfunctions over time. When your amplifier starts exhibiting issues such as distorted sound, power failures, or no sound output at all, it's crucial to address these issues promptly to restore your home theater system to its optimal performance.
In this comprehensive guide, we will delve into the intricacies of repairing a home theater amplifier, providing you with the knowledge and steps needed to diagnose and rectify common amplifier issues. Whether you're a seasoned DIY enthusiast or a novice looking to expand your technical skills, this guide will equip you with the essential know-how to troubleshoot and repair your amplifier effectively.
By understanding the inner workings of your amplifier and learning the troubleshooting techniques, you can save time and money by avoiding unnecessary professional repairs. Additionally, the satisfaction of reviving your amplifier to its former glory with your own hands is a rewarding experience that enhances your connection to your home entertainment system.
So, let's embark on this journey to unravel the mysteries of amplifier repair, empowering you to breathe new life into your home theater system and rediscover the joy of immersive, high-fidelity audio.
Key Takeaways:
- Troubleshooting and repairing your home theater amplifier is like solving a fascinating puzzle that empowers you to understand and fix audio issues, saving money and enhancing your connection to your entertainment system.
- By learning to identify, repair, and test your amplifier, you not only revive its performance but also gain valuable technical skills, fostering a deeper bond with your home entertainment experience.
Read more: What Does An Amplifier Do For A Home Theater
Tools and Materials Needed
Repairing a home theater amplifier requires a set of essential tools and materials to effectively diagnose and rectify issues. Before delving into the troubleshooting process, it's crucial to gather the following items to ensure a smooth and efficient repair experience:
Tools:
-
Screwdriver Set: A comprehensive screwdriver set with various head types is indispensable for accessing the internal components of the amplifier. Phillips and flathead screwdrivers of different sizes are commonly used to remove the amplifier's casing and access its circuitry.
-
Multimeter: This versatile electronic testing device is essential for measuring voltage, current, and resistance within the amplifier's circuitry. A multimeter enables you to pinpoint electrical irregularities and identify faulty components with precision.
-
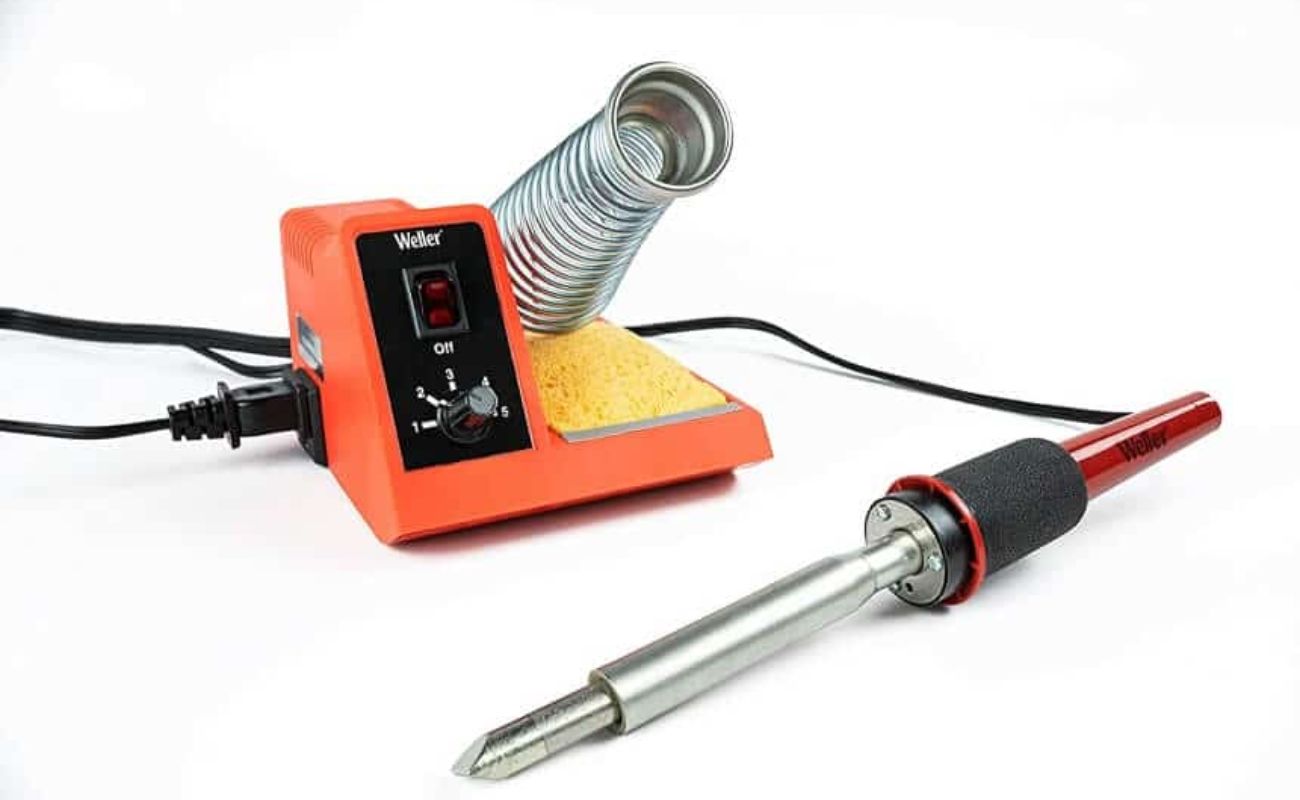
Soldering Iron and Solder: In cases where electronic components require re-soldering or replacement, a quality soldering iron and solder are indispensable. These tools facilitate the repair of damaged connections and faulty components within the amplifier.
-
Wire Cutters and Strippers: When dealing with wiring and cable connections, wire cutters and strippers are essential for precise trimming and stripping of insulation, ensuring secure and reliable electrical connections.
-
Flashlight: A reliable flashlight aids in illuminating the amplifier's internal components, especially in dimly lit areas, enabling you to inspect and troubleshoot with clarity.
-
Cleaning Supplies: Isopropyl alcohol, cotton swabs, and a soft brush are essential for cleaning dust, debris, and oxidation from the amplifier's circuit boards and connectors, promoting optimal electrical conductivity and performance.
Materials:
-
Replacement Components: It's prudent to have a stock of commonly used electronic components such as capacitors, resistors, and transistors. These components are often the culprits behind amplifier malfunctions and having replacements on hand expedites the repair process.
-
Thermal Paste: If the amplifier features heat-generating components such as power transistors or integrated circuits, thermal paste is essential for ensuring efficient heat dissipation and maintaining component longevity.
-
Cotton Swabs and Microfiber Cloth: These items are useful for gentle cleaning of delicate amplifier components and connectors, removing dust and grime without causing damage.
By assembling these tools and materials, you'll be well-equipped to embark on the journey of troubleshooting and repairing your home theater amplifier. With these essentials at your disposal, you can confidently navigate the intricacies of amplifier repair, fostering a deeper understanding of your entertainment system's inner workings and the satisfaction of restoring it to peak performance.
Troubleshooting the Amplifier
Troubleshooting a malfunctioning home theater amplifier is a systematic process that involves identifying and addressing potential issues affecting its performance. When confronted with amplifier problems such as distorted audio, intermittent power, or complete silence, a structured approach to troubleshooting is essential to isolate the root cause of the issue. Here's a detailed breakdown of the troubleshooting process:
-
Visual Inspection: Begin by conducting a visual inspection of the amplifier's exterior and interior. Check for any visible signs of damage, such as burnt components, bulging capacitors, or loose connections. Inspect the input and output connectors for signs of corrosion or physical damage.
-
Power Supply Examination: Verify the power supply's functionality by checking for proper voltage output using a multimeter. Ensure that the amplifier is receiving the correct voltage as specified by the manufacturer. Any deviations from the expected voltage levels may indicate power supply issues.
-
Signal Path Analysis: Assess the signal path within the amplifier by testing the input and output connections. Use a known working audio source to input a signal into the amplifier and monitor the output. If the output signal is distorted or absent, it may indicate issues within the signal processing circuitry.
-
Component Testing: Utilize a multimeter to test individual components such as capacitors, resistors, and transistors for proper functionality. Look for components that exhibit values significantly deviating from their specified ratings, as these could be contributing to the amplifier's malfunction.
-
Thermal Analysis: During operation, monitor the amplifier's temperature to identify potential overheating issues. Overheating can lead to thermal stress on components, causing performance degradation or outright failure. Ensure that heat-generating components are adequately cooled and that thermal management measures are functioning effectively.
-
Grounding and Shielding Inspection: Check the grounding and shielding integrity of the amplifier's circuitry. Poor grounding can lead to electrical noise and interference, affecting the audio quality. Verify that all grounding points are secure and that the amplifier's shielding is intact to prevent external interference.
By systematically addressing these troubleshooting steps, you can methodically narrow down the root cause of the amplifier's malfunction. This structured approach not only facilitates the identification of issues but also provides valuable insights into the amplifier's operational dynamics. Once the troubleshooting process has pinpointed the underlying problem, you can proceed to the next phase of repairing the amplifier and restoring it to its optimal performance.
Read more: How To Calibrate A Home Theater
Identifying the Issue
Identifying the issue plaguing your home theater amplifier is a pivotal step in the repair process, as it lays the foundation for targeted and effective remediation. When confronted with amplifier malfunctions, a systematic approach to pinpointing the root cause is essential. Here's a detailed breakdown of the process of identifying the issue:
Symptoms Analysis
Begin by meticulously documenting the symptoms exhibited by the amplifier. Common symptoms include distorted audio, intermittent power, complete silence, or abnormal heat emission. By comprehensively cataloging these symptoms, you gain valuable insights into the nature and scope of the issue, enabling a more focused diagnostic approach.
User Input and Observations
Engage with the individuals who regularly interact with the home theater system. Gather insights from users regarding any unusual occurrences or patterns preceding the amplifier malfunction. Additionally, observe the amplifier during operation to detect any abnormal behavior, such as flickering lights, unusual sounds, or erratic performance.
Diagnostic Testing
Utilize diagnostic tools such as a multimeter and oscilloscope to conduct in-depth testing of the amplifier's electrical and audio signal pathways. Measure voltage levels, current draw, and signal integrity at various points within the amplifier's circuitry. This comprehensive testing provides empirical data to identify irregularities and deviations from expected performance parameters.
Read more: How To Hide Home Theater Cables
Component Inspection
Thoroughly inspect the internal components of the amplifier for signs of damage, degradation, or anomalies. Focus on critical components such as capacitors, resistors, transistors, and integrated circuits. Look for visual cues such as bulging capacitors, discolored components, or burnt areas on the circuit board, which can offer valuable clues about the underlying issue.
Historical Analysis
Review the operational history of the amplifier, including any past repairs, modifications, or instances of environmental stress. Understanding the amplifier's maintenance and usage history can shed light on potential factors contributing to the current malfunction, such as component wear, environmental factors, or previous repair quality.
By meticulously navigating through these steps, you can effectively identify the issue plaguing your home theater amplifier. This meticulous approach not only aids in isolating the root cause but also fosters a deeper understanding of the amplifier's operational dynamics, setting the stage for targeted and successful repair efforts.
Repairing the Amplifier
Once the issue plaguing your home theater amplifier has been identified through meticulous troubleshooting and diagnostic processes, the next crucial phase involves the actual repair of the amplifier. This hands-on endeavor requires precision, technical acumen, and a methodical approach to rectify the underlying problems and restore the amplifier to its optimal functionality.
Component Replacement and Repair
Begin the repair process by focusing on the identified faulty components within the amplifier. Components such as capacitors, resistors, and transistors that exhibit signs of damage, degradation, or electrical irregularities should be targeted for replacement. Utilizing the appropriate tools, carefully desolder the defective components and replace them with new, high-quality counterparts. Pay meticulous attention to the polarity and orientation of components during replacement to ensure proper functionality and prevent potential damage to the amplifier's circuitry.
Read more: How To Soundproof A Home Theater Room
Circuit Board Inspection and Repair
Thoroughly inspect the amplifier's circuit boards for any signs of damage, such as burnt traces, solder joints, or delamination. Address any visible damage by carefully re-soldering damaged connections, repairing traces, and reinforcing weak solder joints. Additionally, clean the circuit boards using isopropyl alcohol and a soft brush to remove dust, debris, and oxidation, promoting optimal electrical conductivity and longevity of the components.
Thermal Management Enhancement
If the amplifier exhibits overheating issues or inadequate thermal dissipation, focus on enhancing its thermal management capabilities. Ensure that heat sinks are clean and free from obstruction, and consider reapplying thermal paste to critical heat-generating components such as power transistors and integrated circuits. Proper thermal management is essential for maintaining the amplifier's operational stability and preventing thermal stress on sensitive components.
Wiring and Connection Verification
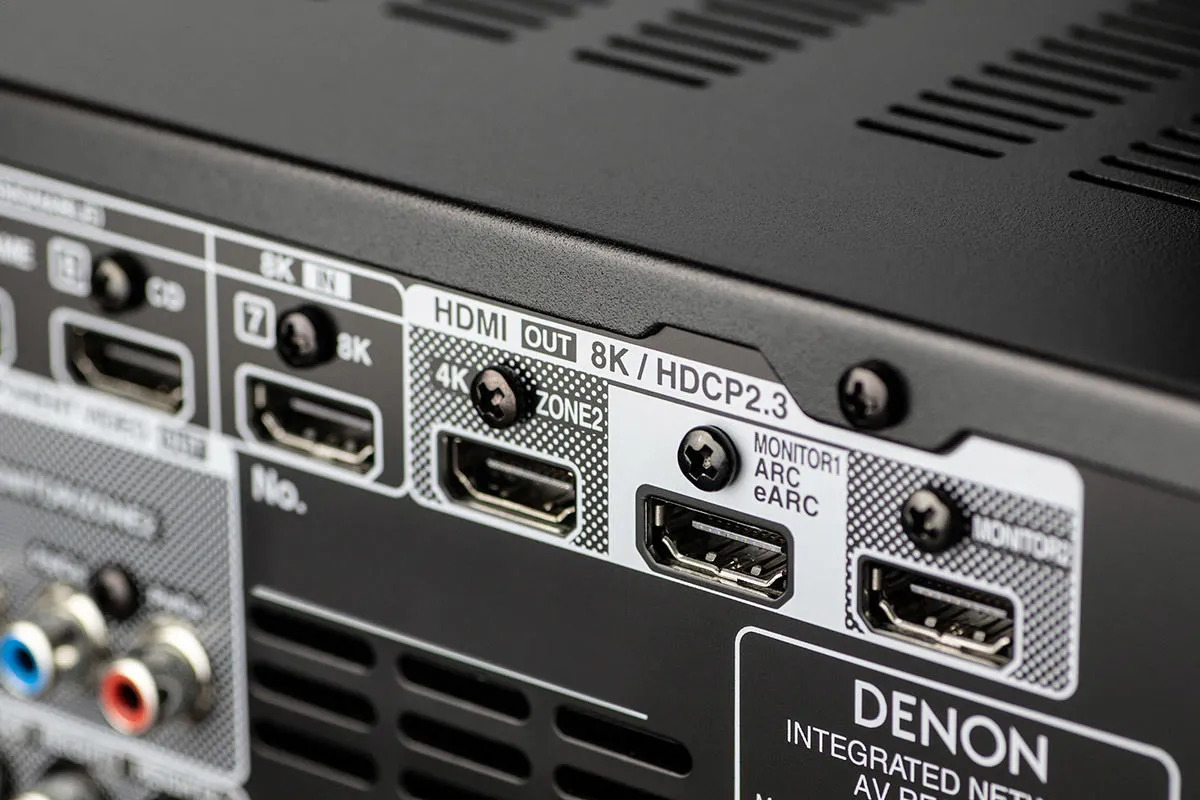
Inspect the wiring and connections within the amplifier to ensure secure and reliable electrical pathways. Verify the integrity of input and output connectors, speaker terminals, and internal wiring harnesses. Address any loose or damaged connections, and utilize wire cutters and strippers to trim and re-terminate wiring as needed. Additionally, ensure that grounding points are secure and that the amplifier's shielding is intact to prevent electrical noise and interference.
Testing and Quality Assurance
Following the repair interventions, thoroughly test the amplifier under varying load conditions to validate its functionality and performance. Utilize audio signal generators and oscilloscopes to assess the amplifier's signal processing capabilities, ensuring that audio signals are faithfully reproduced without distortion or anomalies. Additionally, conduct thermal testing to verify the amplifier's temperature management under prolonged operation, ensuring that the repair interventions have effectively mitigated overheating issues.
By meticulously executing these repair procedures, you can systematically address the identified issues within your home theater amplifier, fostering a deeper understanding of its inner workings and ensuring its sustained performance. This hands-on approach not only revitalizes the amplifier but also empowers you with valuable technical skills and a profound connection to your home entertainment system.
Read more: How To Improve Home Theater Sound
Testing the Amplifier
After completing the repair interventions, thorough testing of the home theater amplifier is essential to validate the effectiveness of the repair efforts and ensure its optimal functionality. The testing phase serves as the litmus test for the amplifier's performance, encompassing a comprehensive evaluation of its electrical, thermal, and audio processing capabilities.
Electrical Performance Evaluation
The first facet of testing involves assessing the electrical performance of the amplifier. Utilizing a multimeter, measure the voltage output of the power supply to verify that it aligns with the manufacturer's specifications. Confirm that the amplifier operates within the specified voltage range and that the power supply exhibits stability under varying load conditions. Additionally, monitor the current draw of the amplifier to ensure that it remains within safe operational limits, indicating proper power utilization and efficiency.
Signal Processing Validation
To evaluate the amplifier's signal processing capabilities, input audio signals of varying frequencies and amplitudes to assess its fidelity and linearity. Utilize an audio signal generator to input test signals into the amplifier and monitor the output using an oscilloscope. Verify that the amplifier faithfully reproduces the input signals without introducing distortion, noise, or frequency aberrations. This comprehensive signal processing validation ensures that the amplifier accurately amplifies and reproduces audio signals, delivering high-fidelity sound output to the connected speakers.
Thermal Performance Assessment
Thermal testing is crucial to assess the effectiveness of the thermal management enhancements implemented during the repair process. Monitor the amplifier's temperature under prolonged operation, ensuring that the thermal interventions have mitigated overheating issues and maintained the amplifier's operational stability. Utilize thermal imaging tools or temperature probes to identify any hotspots or thermal irregularities, ensuring that the amplifier operates within safe temperature limits even during extended usage.
Read more: What Is A Home Theater Display
Load Testing and Stability Analysis
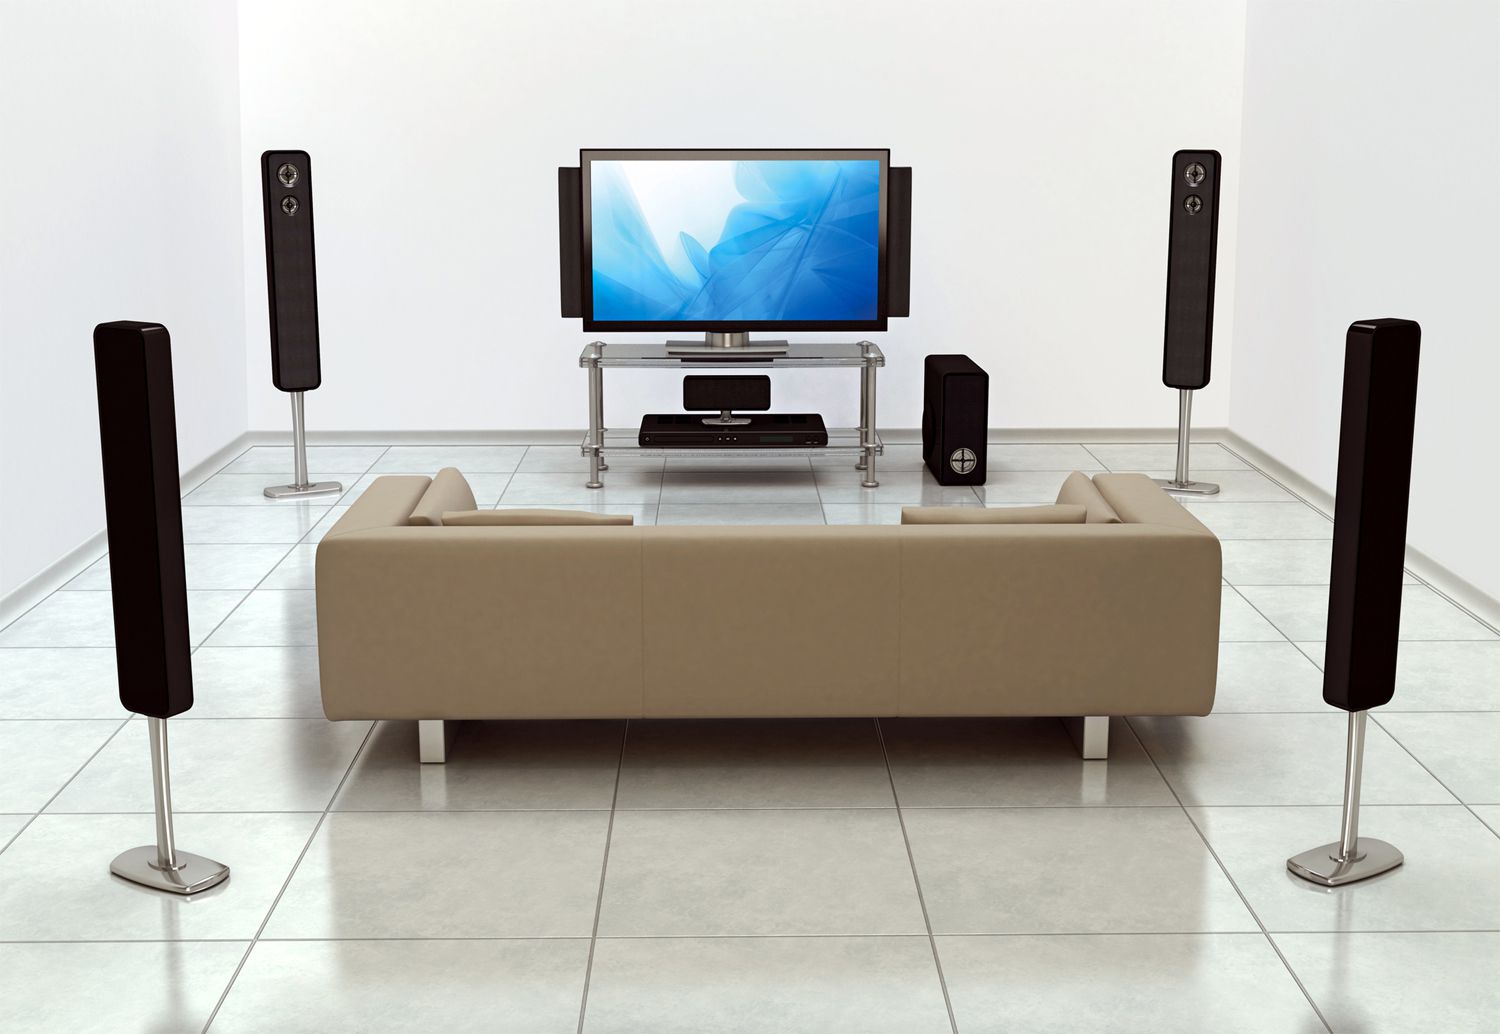
Subject the amplifier to varying load conditions by connecting it to different speaker configurations and impedance loads. Assess its stability and performance under different load scenarios, ensuring that it remains resilient and consistent across the entire frequency spectrum. Monitor the amplifier's response to dynamic audio signals and transient load changes, verifying its ability to deliver robust and controlled audio output without exhibiting instability or distortion.
Longevity and Reliability Verification
Finally, consider the longevity and reliability of the amplifier by subjecting it to prolonged operation under realistic usage conditions. Monitor its performance over an extended duration, ensuring that the repair interventions have effectively addressed any underlying issues and that the amplifier maintains its functionality and stability over time.
By meticulously conducting these comprehensive tests, you can ascertain the efficacy of the repair interventions and validate the amplifier's restored functionality. This rigorous testing phase not only ensures the amplifier's immediate performance but also instills confidence in its sustained reliability, reaffirming its pivotal role in delivering immersive and high-quality audio within your home theater system.
Conclusion
In conclusion, the process of repairing a home theater amplifier encompasses a multifaceted journey that combines technical acumen, meticulous diagnostics, and hands-on repair interventions. By embarking on this endeavor, you have delved into the inner workings of your amplifier, unraveling its complexities and addressing malfunctions with precision and expertise.
Throughout this comprehensive guide, you have gained valuable insights into the troubleshooting, identification, and repair of amplifier issues, equipping you with the knowledge and skills to breathe new life into your home entertainment system. The systematic approach to troubleshooting, coupled with the meticulous identification of underlying issues, has empowered you to address amplifier malfunctions with confidence and proficiency.
As you navigated through the repair process, focusing on component replacement, circuit board inspection, thermal management enhancements, and thorough testing, you have not only revitalized your amplifier but also cultivated a deeper understanding of its operational dynamics. The hands-on nature of the repair interventions has fostered a profound connection to your home theater system, instilling a sense of ownership and technical mastery.
Furthermore, the rigorous testing phase has validated the efficacy of the repair efforts, ensuring that your amplifier operates at its optimal performance levels, delivering immersive and high-fidelity audio to enrich your entertainment experiences. The meticulous attention to detail and the commitment to quality assurance have solidified the reliability and longevity of your amplifier, reaffirming its pivotal role within your home theater setup.
By embracing the art of amplifier repair, you have not only revitalized a crucial component of your home entertainment system but also cultivated a valuable skill set that transcends the realm of audio electronics. The satisfaction of reviving your amplifier to its former glory with your own hands is a testament to your technical prowess and dedication to maintaining a high-quality entertainment environment.
As you integrate the repaired amplifier back into your home theater setup, revel in the immersive audio experiences it facilitates, knowing that your expertise and commitment have contributed to the seamless operation of your entertainment system. This journey of amplifier repair has not only revitalized a piece of technology but has also enriched your connection to your home entertainment, underscoring the profound impact of technical proficiency and hands-on engagement.
In the realm of home entertainment, the journey of amplifier repair transcends mere technical interventions; it embodies a narrative of empowerment, mastery, and the enduring pursuit of audio excellence.
Frequently Asked Questions about How To Repair A Home Theater Amplifier
Was this page helpful?
At Storables.com, we guarantee accurate and reliable information. Our content, validated by Expert Board Contributors, is crafted following stringent Editorial Policies. We're committed to providing you with well-researched, expert-backed insights for all your informational needs.


0 thoughts on “How To Repair A Home Theater Amplifier”