Home>Technology>Security & Surveillance>How To Make A Door Lock Hole Bigger
Security & Surveillance
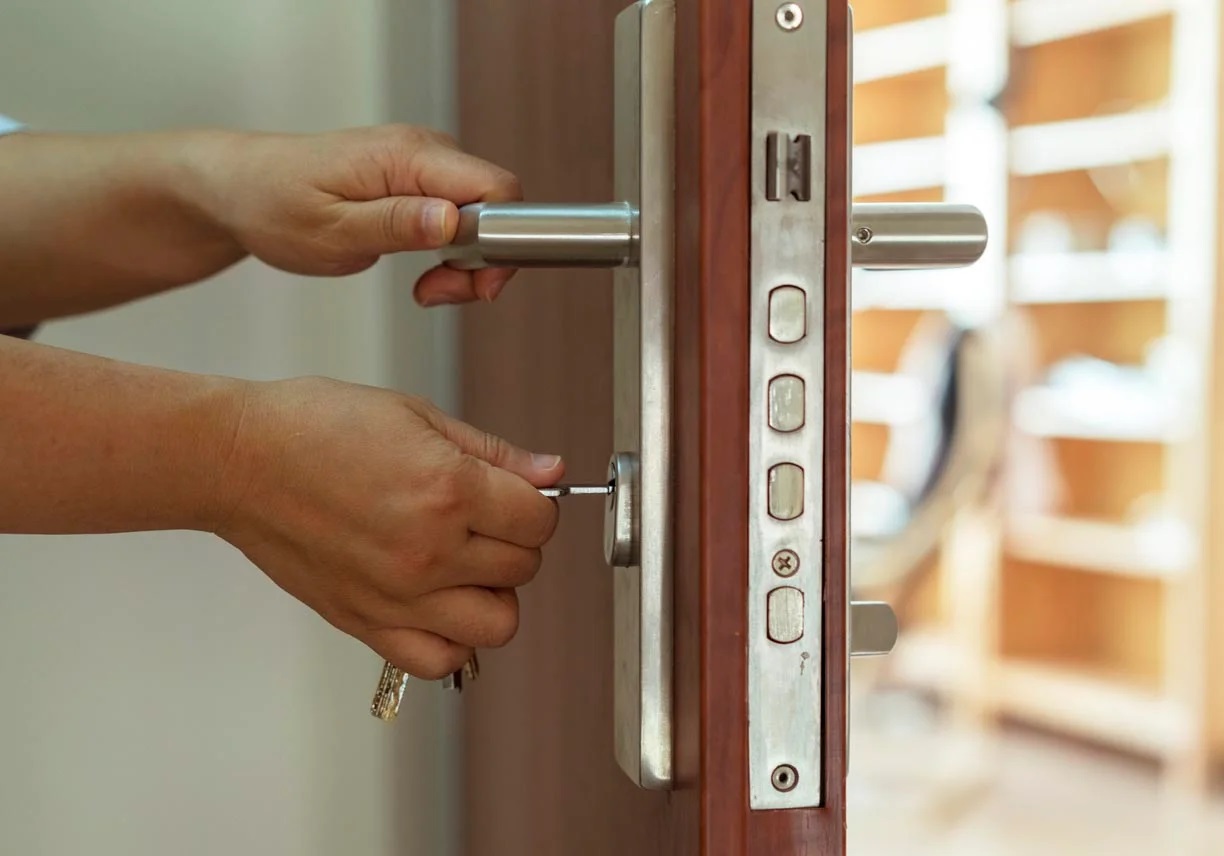
How To Make A Door Lock Hole Bigger
Modified: January 9, 2024
Learn how to safely enlarge a door lock hole for improved security and surveillance. Follow our step-by-step guide to upgrade your home's protection.
(Many of the links in this article redirect to a specific reviewed product. Your purchase of these products through affiliate links helps to generate commission for Storables.com, at no extra cost. Learn more)
Introduction
Welcome to the world of home security and DIY projects! Whether you're upgrading your door lock or installing a new one, knowing how to make a door lock hole bigger is a valuable skill. Perhaps you've purchased a new lockset, only to realize that the existing hole in your door isn't quite the right size. Don't worry – with the right tools and a bit of know-how, you can easily enlarge the hole to accommodate your new lock.
This guide will walk you through the process of making a door lock hole bigger, ensuring that your new lock fits snugly and securely in your door. Before we dive into the nitty-gritty details, it's important to emphasize the significance of proper door lock installation. A well-fitted and sturdy lock not only enhances the security of your home but also provides peace of mind for you and your loved ones.
Throughout this tutorial, we'll cover the essential tools and materials you'll need, the precise measurements and markings required, the drilling process, and the crucial testing and adjusting phase. By the end, you'll be equipped with the knowledge and confidence to tackle this project with ease.
So, grab your tools and let's get started on this empowering journey to make your door lock hole bigger!
Key Takeaways:
- Enlarging a door lock hole requires precision and the right tools. Careful measuring, drilling, and testing ensure a secure fit for a new lock, enhancing home security.
- By mastering the skill of enlarging a door lock hole, you gain confidence in DIY home improvement. Your attention to detail contributes to a safe and secure living space.
Read more: How To Make Hole In Door Frame For Lock
Tools and Materials Needed
Before embarking on the task of enlarging a door lock hole, it's essential to gather the necessary tools and materials. By having everything at your disposal, you can streamline the process and ensure a smooth and efficient execution. Here's a comprehensive list of what you'll need:
Tools:
- Electric drill: A reliable electric drill equipped with a sharp hole saw attachment is crucial for accurately enlarging the lock hole.
- Measuring tape: Precision is key, so a good quality measuring tape will aid in obtaining accurate dimensions for the new lockset.
- Masking tape: This will be used to mark the drilling spots and prevent any potential splintering on the door surface.
- Chisel: A sharp chisel will come in handy for refining the edges of the newly drilled hole to ensure a perfect fit for the lock.
- Safety goggles: Protecting your eyes during the drilling process is non-negotiable, so a pair of safety goggles is a must.
- Dust mask: To safeguard your respiratory health, a dust mask will help filter out any wood particles generated during drilling.
- Pencil or marker: This will be used for marking the precise spots where the hole will be enlarged.
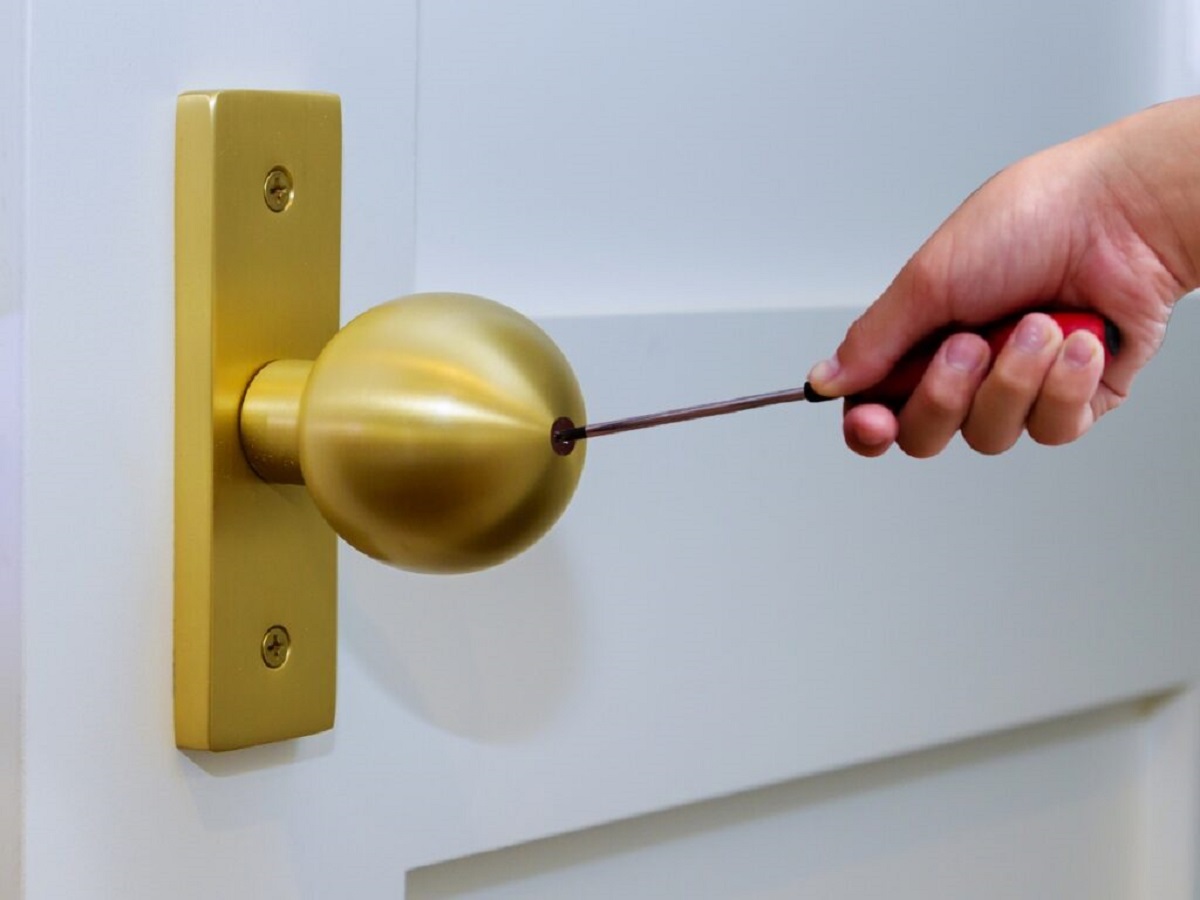
- Screwdriver: A screwdriver will be needed for removing the existing lock and handle, as well as for installing the new lockset.
Materials:
- Door lock template: If available, a door lock template can simplify the process by providing a guide for marking the new hole positions.
- Wood putty: In case there are any minor imperfections or splintering around the newly drilled hole, wood putty can be used to fill and smoothen the area.
- New lockset: Of course, the new lockset itself is a crucial component. Ensure that you have the new lockset on hand before beginning the process.
- Sanding block: A sanding block will aid in refining the edges of the enlarged hole for a seamless fit with the new lock.
- Painter's tape: This can be used to cover the door surface around the drilling area, providing an extra layer of protection against splintering.
By gathering these tools and materials, you'll be well-prepared to tackle the task of making a door lock hole bigger with confidence and precision.
Measuring and Marking
Before you begin the physical process of enlarging the door lock hole, it’s crucial to take accurate measurements and make precise markings. This preparatory phase sets the foundation for a successful outcome and ensures that the new lockset will fit seamlessly into the door.
Step 1: Assess the Existing Hole
Start by examining the current lock hole in the door. Note the diameter of the hole and compare it to the requirements of the new lockset. This assessment will determine the extent to which the hole needs to be enlarged.
Step 2: Mark the New Hole Position
Using a pencil or marker, mark the center of the new hole position based on the specifications of the new lockset. If you’re using a door lock template, align it with the door edge and follow the guidelines provided to mark the precise positions for the new holes.
Step 3: Protect the Door Surface
To prevent any potential splintering or damage to the door surface, apply masking tape or painter’s tape around the area where the drilling will take place. This extra layer of protection helps maintain the integrity of the door’s finish.
Step 4: Double-Check the Measurements
Before proceeding to the drilling phase, double-check the accuracy of your markings and measurements. Ensure that the new hole position aligns perfectly with the requirements of the new lockset, taking into account any additional space needed for a secure and precise fit.
Step 5: Prepare the Drilling Equipment
Attach the appropriate-sized hole saw to your electric drill, ensuring that it matches the diameter needed for the new lockset. Additionally, put on your safety goggles and dust mask to protect yourself during the drilling process.
By meticulously measuring and marking the new hole position, you set the stage for a smooth and accurate drilling process. This careful preparation minimizes the margin for error and ensures that the resulting hole will accommodate the new lockset perfectly.
Read more: How To Fix A Door Lock Hole
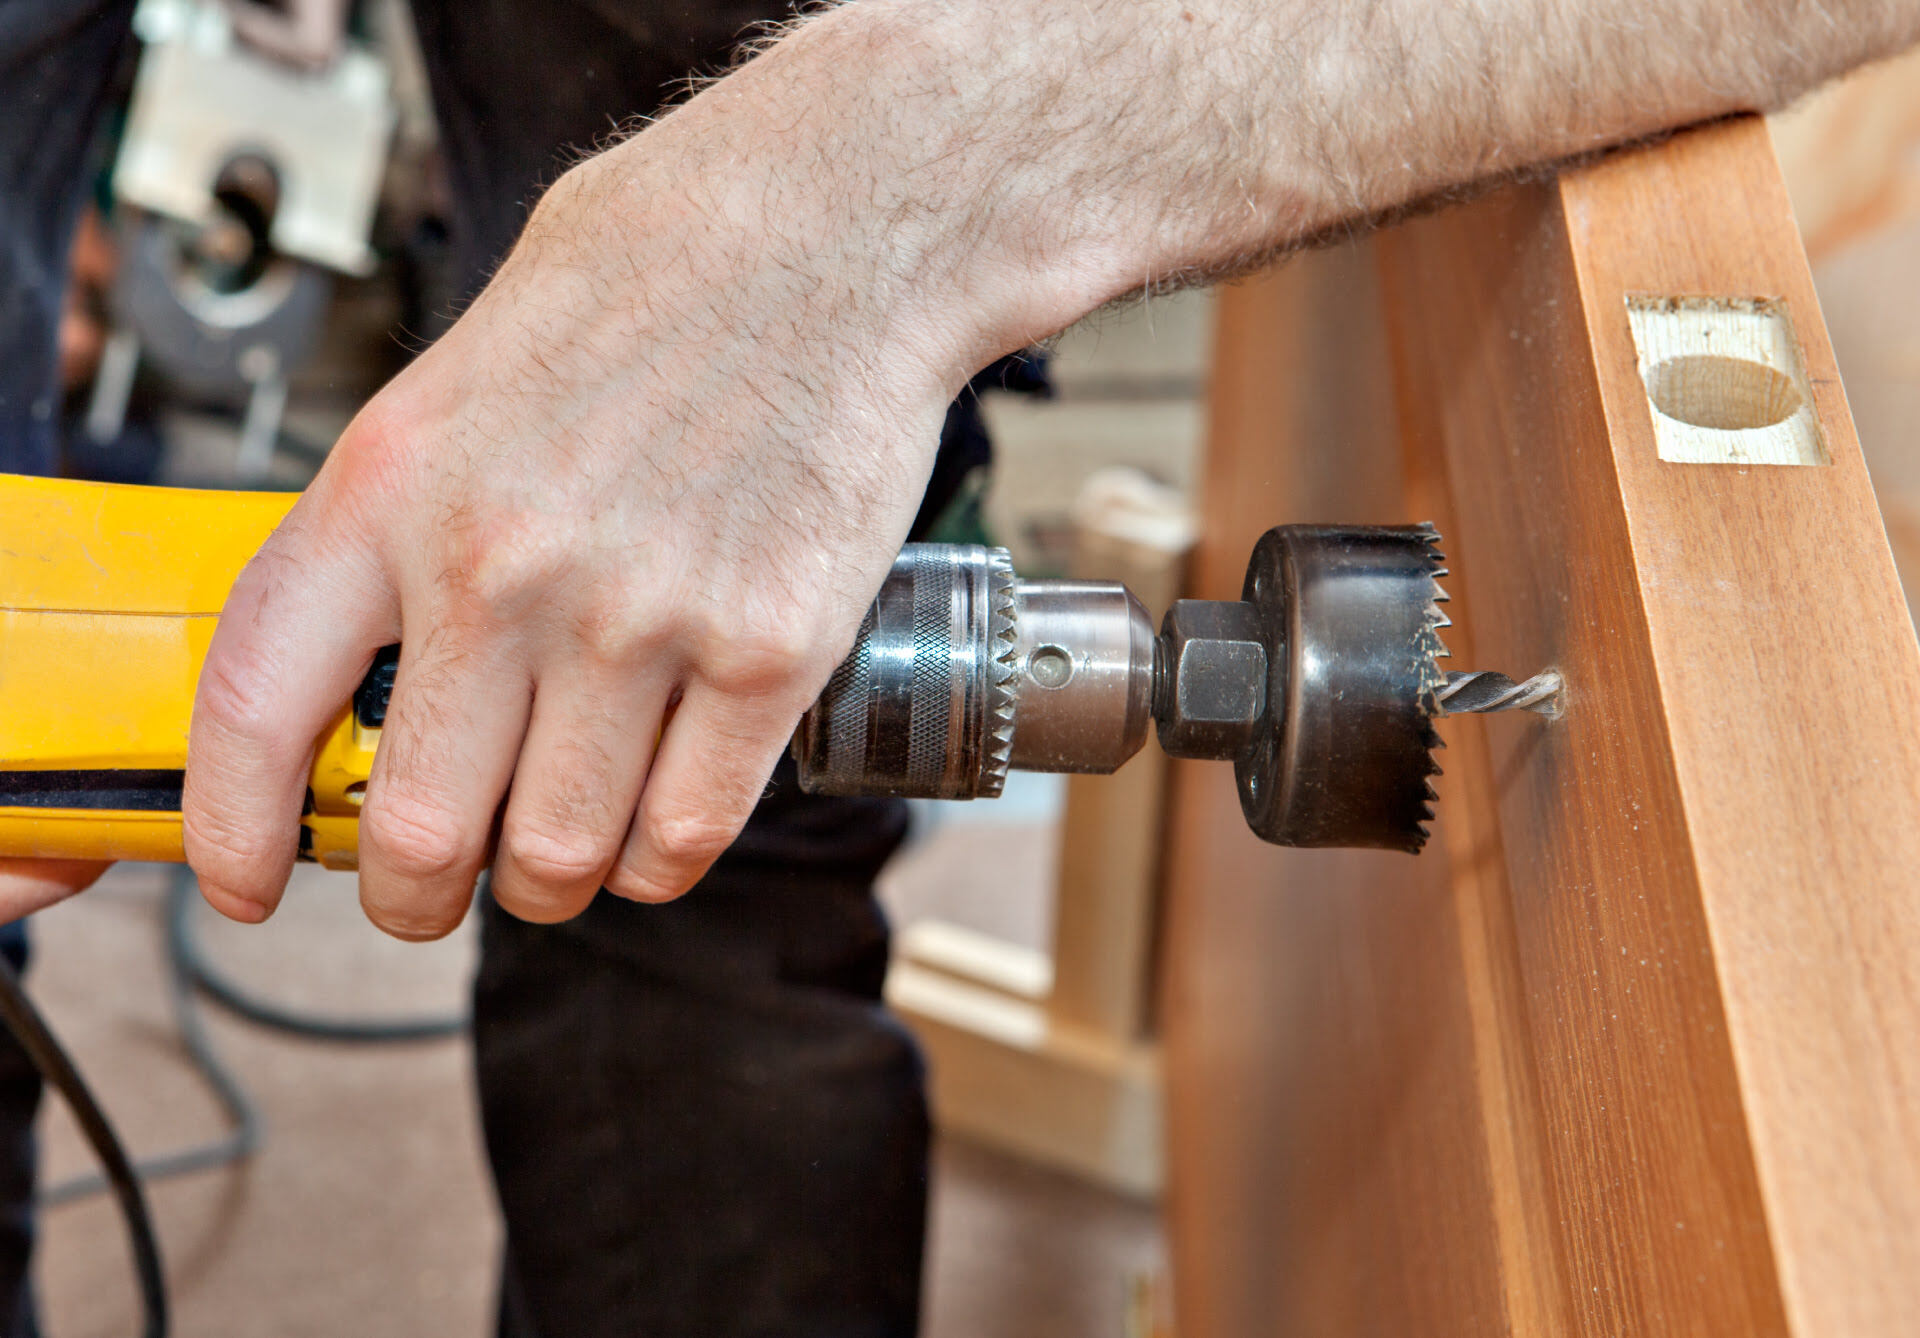
Drilling the Hole
With the precise measurements and markings in place, it’s time to move on to the pivotal phase of drilling the hole to accommodate the new lockset. This step requires focus, precision, and adherence to safety measures to achieve a clean and accurately sized hole.
Step 1: Secure the Door
Before drilling, ensure that the door is securely positioned and stable. If possible, consider clamping the door to prevent any movement during the drilling process. This stability is essential for achieving a clean and accurate hole.
Step 2: Begin the Drilling Process
Position the drill with the attached hole saw at the marked spot for the new hole. Start the drill at a slow and steady pace, allowing the teeth of the hole saw to bite into the wood. Apply gentle pressure and maintain a consistent speed to guide the drill through the door material.
Step 3: Monitor the Progress
As you drill, periodically stop to remove any wood shavings and dust that accumulate within the hole. This not only keeps the drilling area clear but also provides visibility to ensure that the hole is progressing smoothly and accurately.
Step 4: Maintain Control and Precision
Exercise caution and control throughout the drilling process to prevent any splintering or chipping of the door material. Keep the drill steady and maintain a straight angle to ensure that the resulting hole is clean and uniform in diameter.
Step 5: Check the Depth
As the hole is being drilled, periodically check the depth to ensure that it corresponds to the requirements of the new lockset. Use the markings on the drill bit or a separate depth gauge to gauge the depth of the hole accurately.
Step 6: Refine the Edges
Once the initial hole is drilled, use a chisel to carefully refine and smoothen the edges of the hole. This step is crucial for ensuring a precise and seamless fit for the new lockset without any rough or uneven edges.
By following these steps with care and precision, you can successfully drill a clean and accurately sized hole to accommodate the new lockset. The drilling phase sets the stage for the final adjustments and installation of the new lock, bringing you one step closer to completing the project with confidence.
You can use a hole saw to make the door lock hole bigger. Choose a hole saw that is slightly larger than the current hole size, and carefully drill out the hole using a drill. Be sure to measure and mark the new hole location before drilling.
Testing and Adjusting
With the hole successfully drilled to accommodate the new lockset, the next crucial phase involves testing the fit and making any necessary adjustments to ensure a seamless and secure installation. This step is essential for verifying that the new lockset aligns perfectly with the enlarged hole and functions as intended.
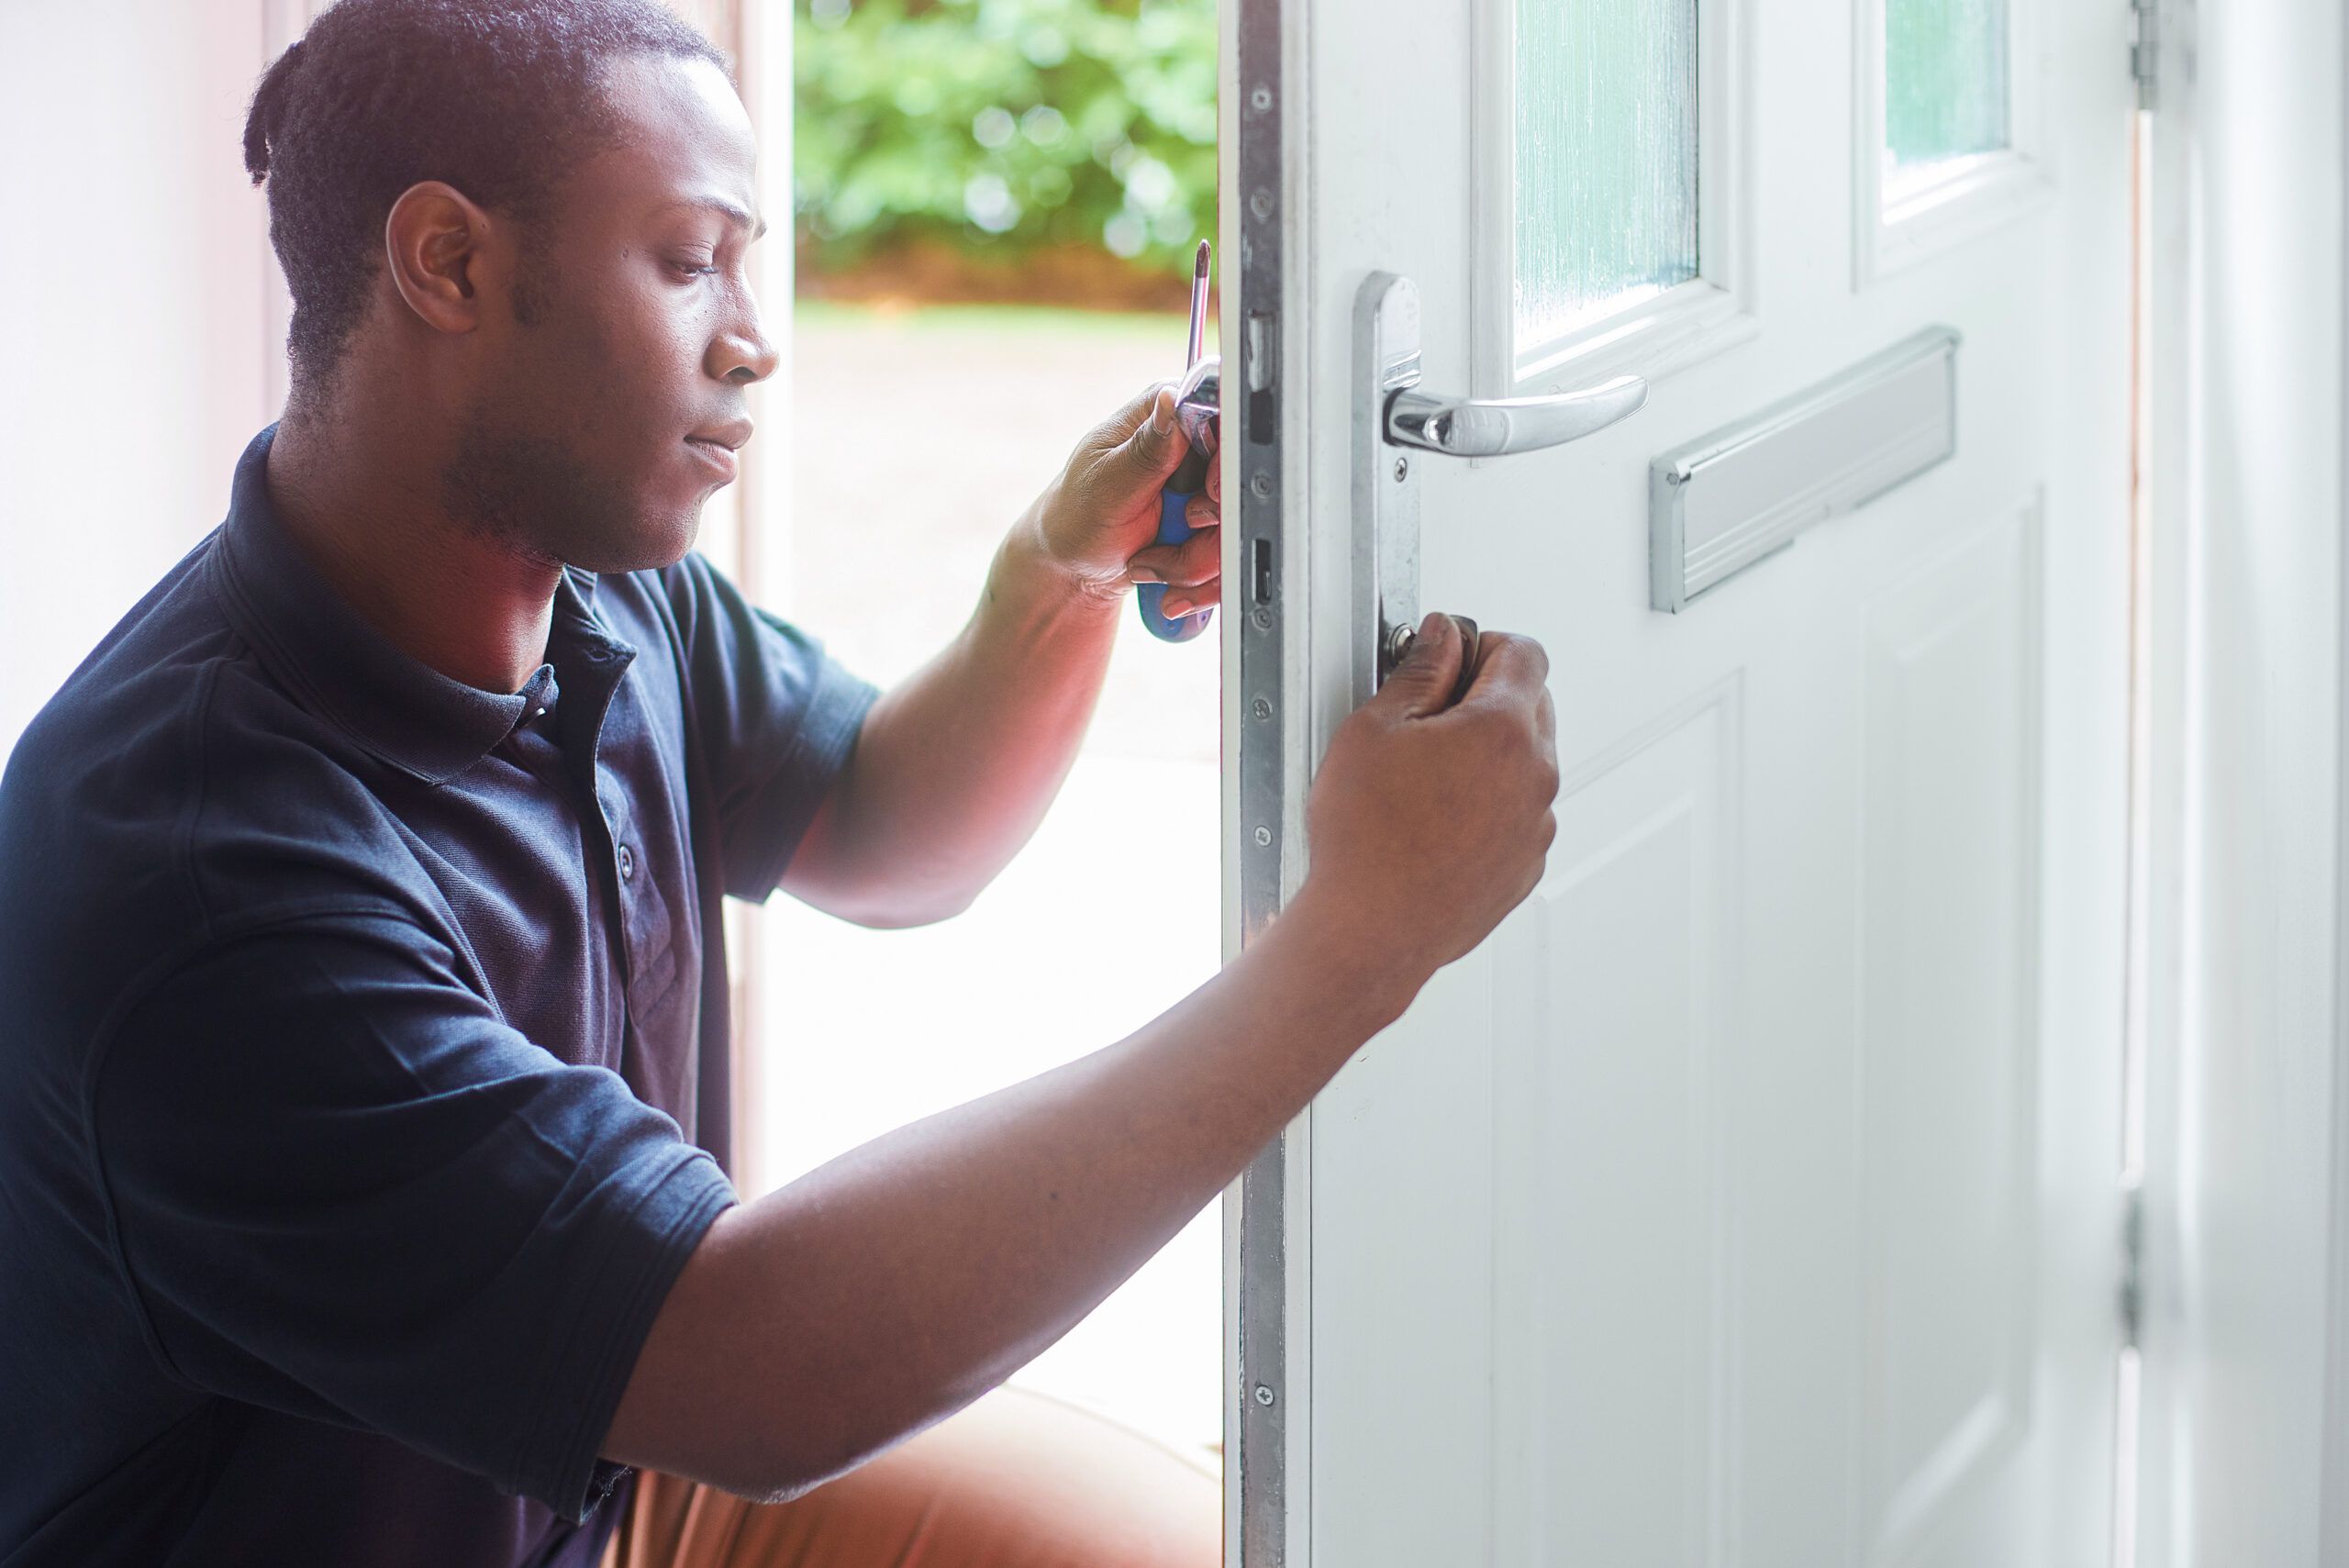
Step 1: Test the Fit
Carefully place the new lockset into the freshly drilled hole to assess the fit. Ensure that the lock aligns with the hole and that any additional components, such as the latch and strike plate, also fit properly within the door frame.
Step 2: Check for Smooth Operation
Test the functionality of the lock by operating the handle and engaging the locking mechanism. Verify that the lock moves smoothly without any resistance and that the latch extends and retracts seamlessly within the door frame.
Step 3: Assess Alignment and Clearance
Check the alignment of the lock components with the door edge and frame, ensuring that there is adequate clearance for the smooth operation of the lock. Verify that the latch aligns with the strike plate and that the door can close securely without any obstructions.
Step 4: Make Necessary Adjustments
If any discrepancies or misalignments are identified during the testing phase, make the necessary adjustments to refine the fit. This may involve enlarging the hole slightly in specific areas or refining the edges to ensure a precise and secure fit for the new lockset.
Step 5: Fine-Tune the Installation
Once the fit and functionality are verified, fine-tune the installation by securing the lockset in place with the provided screws. Ensure that the lock is firmly anchored to the door without any wobbling or instability.
Step 6: Test the Locking Mechanism
Engage the locking mechanism multiple times to verify its reliability and security. Confirm that the lock operates smoothly and that the door remains securely locked when the mechanism is engaged.
By diligently testing the fit and making any necessary adjustments, you can ensure that the new lockset is seamlessly integrated into the door, providing reliable security and peace of mind. This thorough testing and adjustment phase sets the stage for the final installation of the lock, marking the successful completion of the project.
Conclusion
Congratulations on successfully completing the process of making a door lock hole bigger! By following the steps outlined in this guide, you’ve empowered yourself to tackle a fundamental aspect of home security and DIY home improvement. The ability to confidently enlarge a door lock hole opens up a world of possibilities for upgrading and customizing your home’s security features.
Throughout this journey, you’ve learned the importance of precision, careful preparation, and meticulous testing to ensure a seamless and secure fit for the new lockset. From gathering the essential tools and materials to drilling the hole with precision and conducting thorough testing, each step has contributed to the successful completion of the project.
By mastering this skill, you’ve not only enhanced the security of your home but also gained valuable hands-on experience in home improvement. The confidence and knowledge you’ve acquired can be applied to future projects, empowering you to take on new challenges and upgrades with ease.
Remember, the security of your home is a priority, and the meticulous attention to detail you’ve demonstrated in this project reflects your commitment to safeguarding your living space. Whether you’re upgrading existing locks, installing new ones, or customizing your doors, the skills you’ve honed in making a door lock hole bigger will serve you well in your ongoing pursuit of a safe and secure home environment.
As you reflect on this accomplishment, take pride in the craftsmanship and dedication you’ve exhibited throughout the process. Your commitment to precision and excellence has resulted in a seamlessly enlarged door lock hole, setting the stage for enhanced security and peace of mind.
With this newfound expertise, you’re well-equipped to embark on future home improvement projects with confidence and skill, further enhancing the comfort and security of your living space. Embrace the satisfaction of a job well done, and carry forward the knowledge and proficiency you’ve gained into your future endeavors.
Now, as you stand back and admire your handiwork, take a moment to appreciate the impact of your efforts. You’ve not only enlarged a door lock hole – you’ve expanded your capabilities and expertise, enriching your journey as a homeowner and DIY enthusiast.
Frequently Asked Questions about How To Make A Door Lock Hole Bigger
Was this page helpful?
At Storables.com, we guarantee accurate and reliable information. Our content, validated by Expert Board Contributors, is crafted following stringent Editorial Policies. We're committed to providing you with well-researched, expert-backed insights for all your informational needs.


0 thoughts on “How To Make A Door Lock Hole Bigger”