Home>Technology>Security & Surveillance>How To Mortise A Door Lock
Security & Surveillance
How To Mortise A Door Lock
Modified: August 27, 2024
Learn how to mortise a door lock for improved security and surveillance. Follow our step-by-step guide to ensure your door is properly secured.
(Many of the links in this article redirect to a specific reviewed product. Your purchase of these products through affiliate links helps to generate commission for Storables.com, at no extra cost. Learn more)
Introduction
Installing a door lock may seem like a daunting task, especially if you're new to DIY projects. However, with the right tools, a clear understanding of the process, and a bit of patience, you can successfully mortise a door lock without the need for professional assistance. Whether you're upgrading your home security or simply replacing an old lock, this guide will walk you through the step-by-step process, empowering you to tackle this project with confidence.
Mortising a door lock involves creating a recess, or mortise, in the edge of the door to accommodate the lock mechanism. This not only ensures a secure fit for the lock but also contributes to the overall aesthetics of the door. By following the guidelines outlined in this article, you'll be equipped to complete the task efficiently and accurately.
Before diving into the intricacies of mortising a door lock, it's essential to gather the necessary tools and materials. From chisels and a hammer to a tape measure and a pencil, each item plays a crucial role in achieving a professional-looking result. Once you've assembled your toolkit, the next steps involve preparing the door, marking and measuring the mortise, creating the recess, and finally, installing and testing the lock.
By the end of this comprehensive guide, you'll not only have a newfound understanding of how to mortise a door lock but also the confidence to take on similar DIY projects in the future. So, let's roll up our sleeves and embark on this rewarding journey of enhancing your home's security and functionality.
Key Takeaways:
- DIY Empowerment: Mortising a door lock not only enhances home security but also empowers you to take on practical DIY projects with confidence and skill, opening the door to a world of home improvement opportunities.
- Precision and Security: Meticulous attention to detail in mortising a door lock ensures enhanced home security, showcasing the importance of accuracy and craftsmanship in achieving a professional result and providing peace of mind.
Tools and Materials Needed
Before you embark on the journey of mortising a door lock, it’s essential to gather the necessary tools and materials. Having the right equipment at your disposal will not only streamline the process but also ensure precision and accuracy in creating the mortise for the door lock. Here’s a comprehensive list of the tools and materials you’ll need:
Tools:
- Chisel set: A set of sharp chisels in various sizes will be essential for cutting and shaping the wood to create the mortise.
- Hammer: A sturdy hammer is required for driving the chisels and making precise cuts.
- Tape measure: Accurate measurements are crucial for marking the mortise location, ensuring the lock fits perfectly.
- Pencil: Marking the areas for the mortise and other measurements will require a reliable pencil.
- Combination square: This tool will help ensure that your cuts and markings are perfectly perpendicular to the door's edge.
- Utility knife: A sharp utility knife will be useful for scoring the outline of the mortise, preventing any wood splintering.
- Drill and wood bit: If your lock requires additional holes for screws or bolts, a drill with the appropriate wood bit will be necessary.
- Screwdriver: Depending on the lock type, you may need a screwdriver to secure the lock in place.
Materials:
- Door lock: The specific lock you intend to install, ensuring it's compatible with the door and frame.
- Door: The door itself, whether it's a new installation or you're replacing an existing lock.
- Screws: If the lock requires screws for installation, ensure you have the correct size and type.
- Wood putty: In case of any minor imperfections or gaps, wood putty can be used to fill and smooth the mortise.
- Finish: If your door requires refinishing after the installation, have the appropriate finish on hand.
By having these tools and materials ready, you’ll be well-prepared to undertake the process of mortising a door lock with confidence and efficiency. With everything in place, you’re now ready to move on to the next step: preparing the door for the mortise.
Preparing the Door
Before diving into the intricacies of mortising a door lock, it’s crucial to ensure that the door is adequately prepared for the installation process. This preparation phase sets the foundation for a seamless and successful mortising experience. Here are the key steps to prepare the door:
Read also: 15 Best Mortise Smart Lock For 2025
Assess the Door:
Begin by thoroughly examining the door to identify any existing hardware, such as the previous lock or latch. If you’re working with a new door, ensure that it’s free from any defects and is ready for the installation process.
Remove Existing Hardware:
If there’s a previous lock or latch on the door, carefully remove it, ensuring that any remaining screws or hardware are also extracted. This step is crucial for creating a clean and clear surface for the new lock installation.
Inspect the Door Edges:
Examine the edges of the door where the mortise will be created. Ensure that the wood is in good condition and free from any irregularities that could affect the installation process. If there are any rough spots or imperfections, consider sanding them down for a smooth surface.
Plan for Finishing:
Depending on the type of door and the lock being installed, you may need to plan for any necessary finishing or refinishing after the mortising process. If the door’s surface will be affected by the installation, such as when creating a new mortise for a lock, consider having the appropriate finish or paint on hand to touch up the affected area.
By thoroughly preparing the door for the mortising process, you’re laying the groundwork for a successful and professional installation. With the door ready and the necessary tools and materials at your disposal, you’re now poised to move on to the next crucial phase: marking and measuring the mortise for the door lock.
Read more: How To Lock A Digital Door Lock
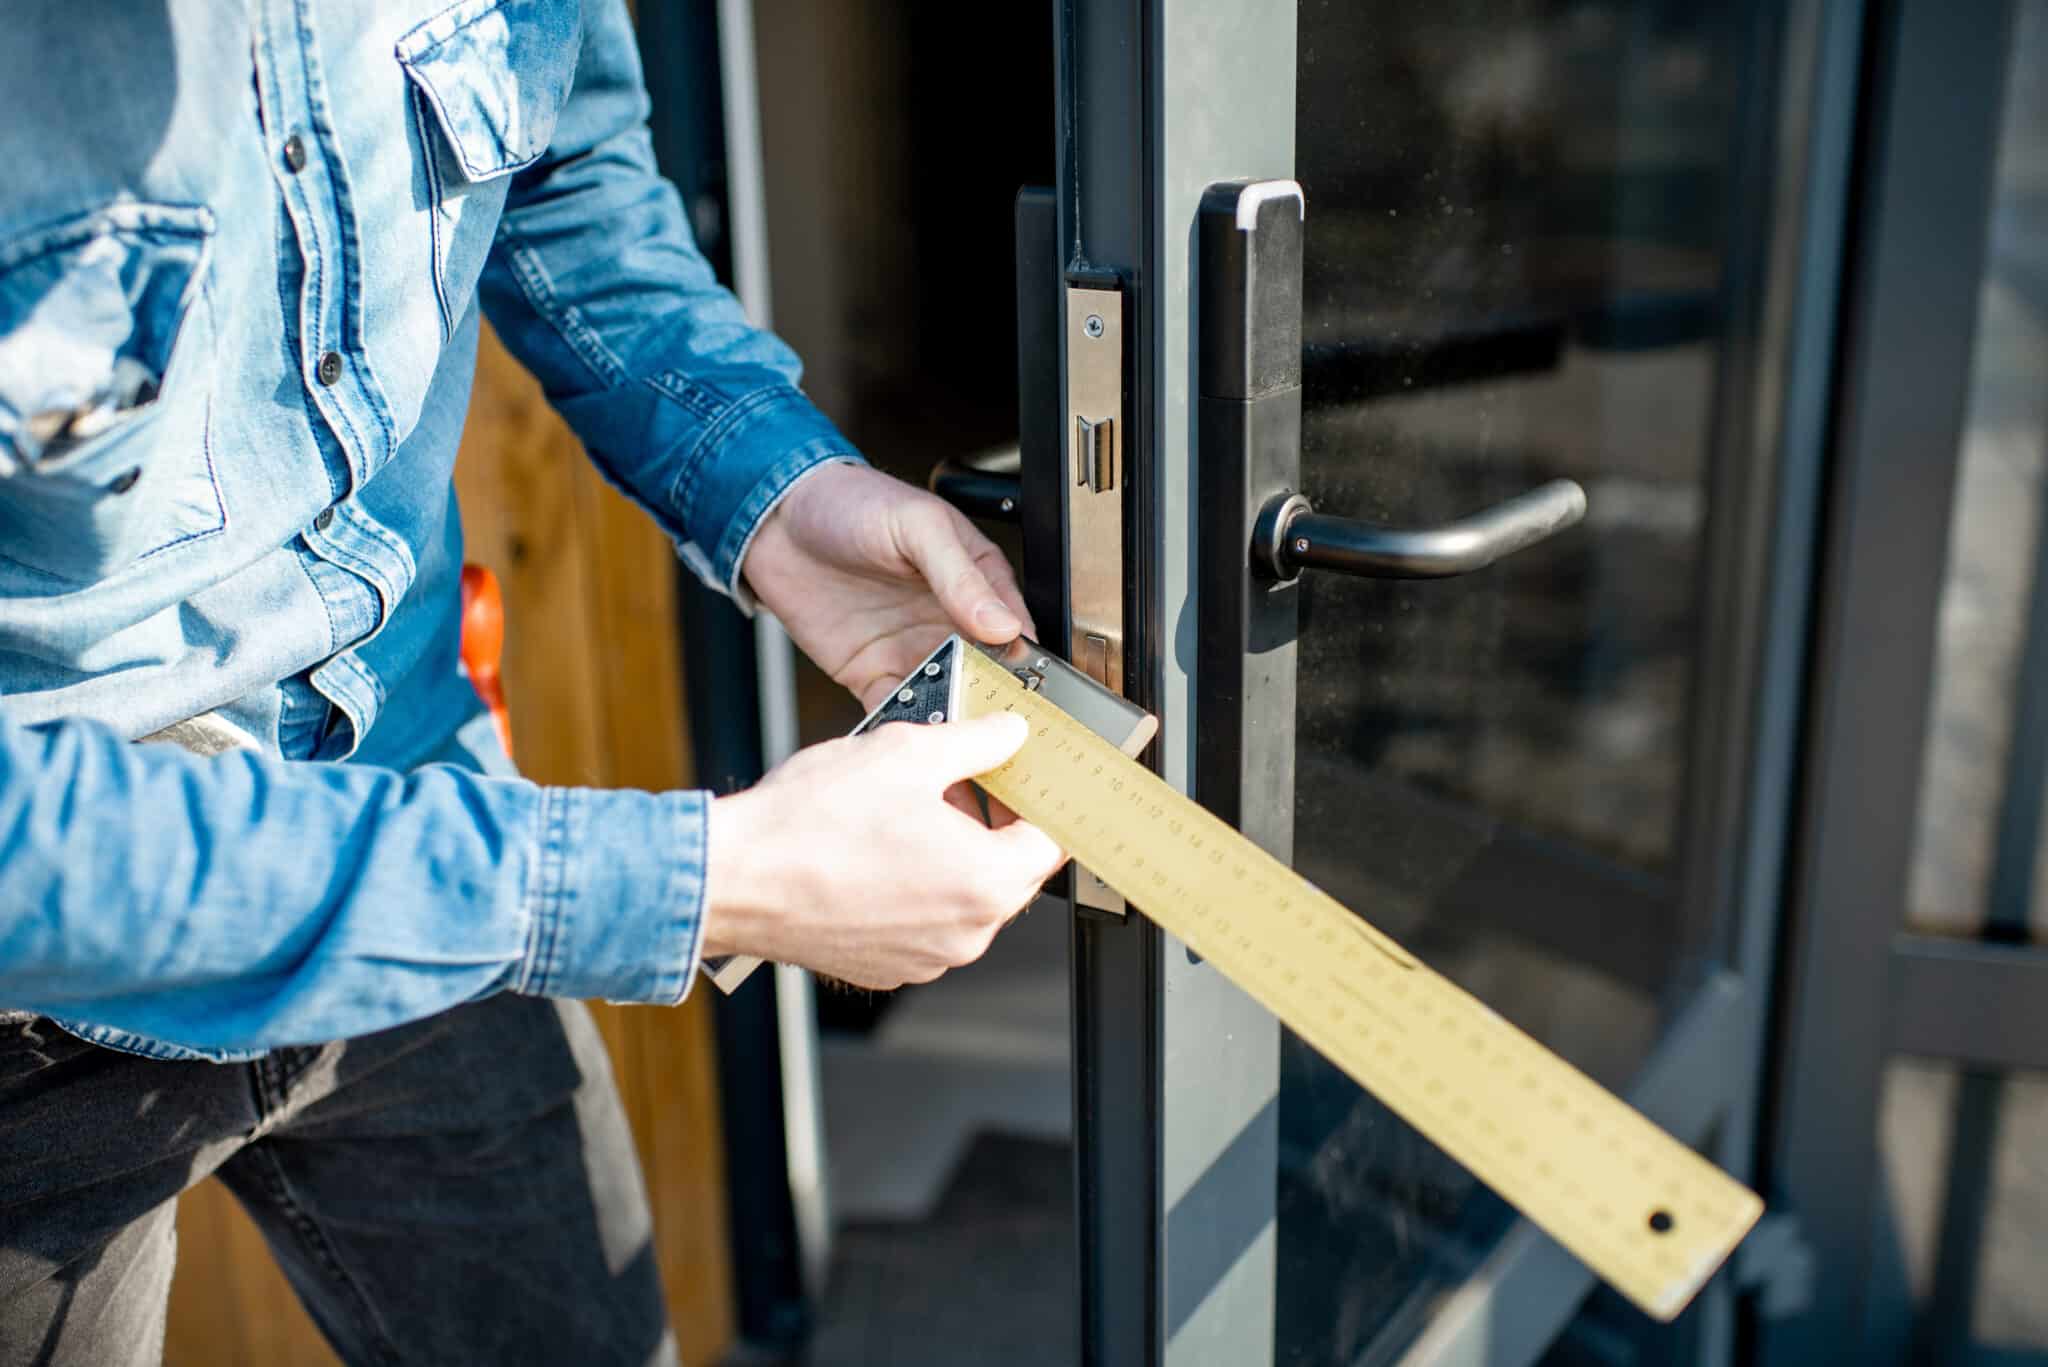
Marking and Measuring
Marking and measuring the mortise for the door lock is a critical step in ensuring a precise and secure fit for the lock mechanism. This phase requires attention to detail and accuracy to guarantee that the lock aligns perfectly with the door’s edge. Here’s a comprehensive guide to marking and measuring the mortise:
Positioning the Lock:
Begin by determining the ideal placement for the lock on the door’s edge. Refer to the lock’s instructions or template to identify the recommended height and distance from the door’s top and bottom edges. Use a pencil to mark these positions lightly.
Marking the Mortise Outline:
With the lock’s position identified, use the lock’s faceplate or strike plate as a guide to mark the outline of the mortise on the door’s edge. Ensure that the outline is accurately positioned and squared with the door’s edge, using a combination square to verify the perpendicular alignment.
Measuring the Mortise Depth:
Determine the depth of the mortise by measuring the thickness of the lock’s faceplate or strike plate. This measurement will guide the chiseling process to ensure that the mortise accommodates the entire lock mechanism securely.
Read more: What Is A Mortise In Woodworking
Scoring the Mortise Outline:
Use a sharp utility knife to score the outline of the mortise. This scoring process creates a clean and defined edge, reducing the likelihood of splintering when chiseling the wood. Ensure that the knife cuts through the wood fibers effectively.
Double-Check Measurements:
Before proceeding with the chiseling process, double-check all measurements and markings to confirm their accuracy. This step is crucial in preventing errors that could affect the fit and functionality of the lock.
By meticulously marking and measuring the mortise for the door lock, you’re setting the stage for a precise and professional installation. With the outline clearly defined and the measurements verified, you’re now ready to progress to the next phase: creating the mortise in the door’s edge.
Creating the Mortise
With the door prepared and the mortise marked and measured, it’s time to delve into the process of actually creating the recess to accommodate the door lock. This phase requires precision and careful attention to detail to ensure a snug and secure fit for the lock mechanism. Here’s a step-by-step guide to creating the mortise:
Secure the Door:
Begin by securing the door in a stable position, ensuring that it doesn’t move during the chiseling process. This can be achieved by using clamps to hold the door firmly in place on a work surface.
Read more: How To Lock Bedroom Door Without A Lock
Chisel Out the Mortise:
Using the marked outline as a guide, carefully chisel out the wood within the mortise area. Start by creating a series of shallow cuts along the outline to establish the depth of the mortise. Then, gradually deepen the cuts, working your way toward the center of the mortise.
Test Fit the Lock:
Periodically test the fit of the lock within the mortise as you chisel, ensuring that you achieve a snug fit without forcing the lock into place. This iterative process allows you to make precise adjustments to the mortise as needed.
Check for Smoothness:
Once the majority of the wood within the mortise area has been chiseled out, inspect the surface for smoothness and uniform depth. Any uneven areas or rough spots should be carefully addressed to ensure a proper fit for the lock.
Refine the Edges:
Use the chisel to refine the edges of the mortise, ensuring that they are clean, straight, and perpendicular to the door’s surface. This step contributes to a professional-looking installation and facilitates a secure fit for the lock.
Read more: How To Lock A Garage Door
Clean the Mortise:
Remove any wood shavings or debris from the mortise, ensuring that it’s clean and free from obstructions. This prepares the mortise for the next phase of the installation process.
By diligently following these steps, you’ll successfully create a precise and well-crafted mortise for the door lock, setting the stage for the final phases of the installation process. With the mortise complete, you’re now ready to proceed to the pivotal step of installing the lock within the door.
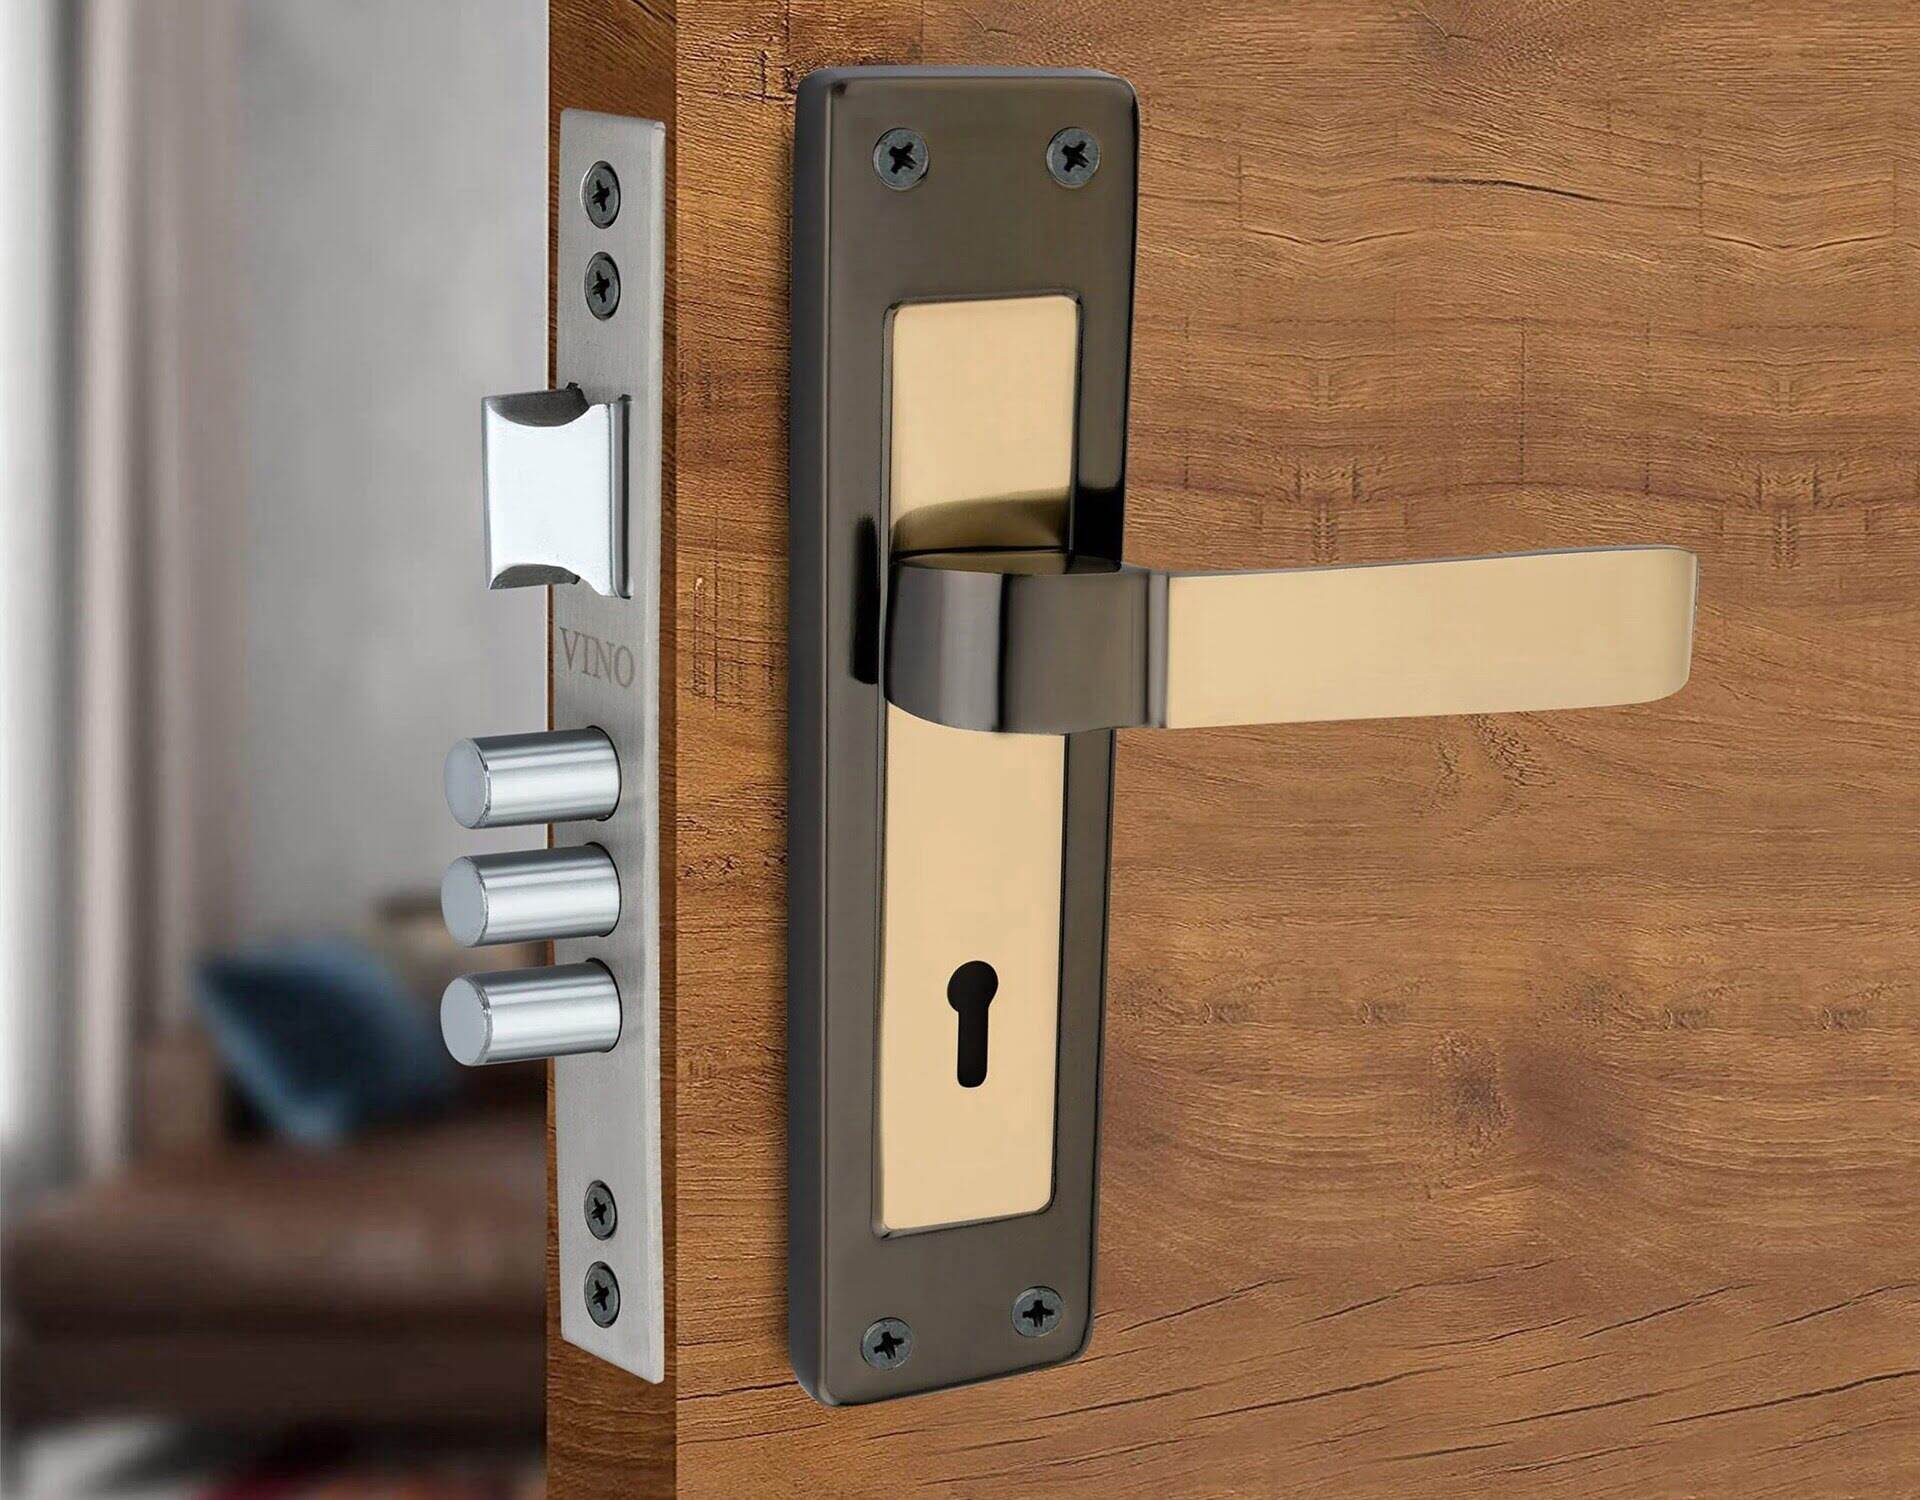
Installing the Lock
With the mortise expertly created, the focus now shifts to the pivotal phase of installing the lock within the door. This step brings together the meticulous preparation, marking, and chiseling, culminating in the integration of the lock mechanism into the door’s structure. Here’s a comprehensive guide to installing the lock:
Positioning the Lock:
Begin by carefully placing the lock mechanism into the mortise, ensuring that it aligns perfectly with the door’s edge. Pay close attention to the orientation and positioning of the lock to achieve a seamless fit.
Securing the Lock:
Once the lock is positioned correctly, secure it in place according to the manufacturer’s instructions. This may involve attaching screws or bolts to anchor the lock firmly within the mortise.
Read more: How To Put A Door Lock On
Attaching the Faceplate:
If the lock includes a faceplate, attach it to the edge of the door using the provided screws. Ensure that the faceplate sits flush against the door’s surface, contributing to a polished and professional appearance.
Testing the Mechanism:
Test the functionality of the lock by engaging and disengaging the mechanism. Ensure that the lock operates smoothly and securely, without any resistance or irregularities.
Adjustments if Necessary:
If the lock mechanism requires any adjustments to achieve optimal functionality, such as fine-tuning the alignment or tension, make the necessary modifications according to the manufacturer’s guidelines.
Finishing Touches:
Once the lock is securely installed and tested, attend to any finishing touches that may be required. This could involve applying a suitable finish to the door’s surface or addressing any minor imperfections resulting from the installation process.
By meticulously following these steps, you’ll successfully install the lock within the door, bringing the project to fruition and enhancing the door’s security and functionality. With the lock securely in place, the final phase involves testing the lock to ensure its reliability and effectiveness.
Read more: How To Lubricate Door Lock
Testing the Lock
Once the lock is installed, it’s crucial to conduct a thorough testing phase to ensure that the mechanism operates seamlessly and provides the intended security features. Testing the lock not only validates the successful installation but also offers peace of mind regarding the door’s security. Here’s a comprehensive guide to testing the lock:
Engage the Lock:
Begin by engaging the lock using the designated method, whether it’s a key, knob, or electronic interface. Verify that the lock securely fastens the door, providing resistance to external force.
Test Key Operation:
If the lock utilizes a key, test the key’s operation by inserting and turning it to lock and unlock the door. Ensure that the key operates smoothly and that the lock securely engages with each turn.
Check Latch Alignment:
Verify that the latch aligns perfectly with the strike plate, ensuring that it smoothly enters and secures within the plate’s recess when the door is closed and locked.
Read more: How To Lock A Door With A Belt
Assess Security Features:
If the lock incorporates additional security features, such as deadbolts or auxiliary locking mechanisms, thoroughly test each element to confirm its functionality and reliability.
Test from Both Sides:
Test the lock from both the interior and exterior sides of the door to ensure that it operates seamlessly and consistently from all access points.
Verify Smooth Operation:
Throughout the testing process, pay attention to the overall smoothness and responsiveness of the lock’s operation, ensuring that it doesn’t catch or exhibit any irregularities.
Address Any Issues:
If any issues or irregularities are identified during the testing phase, address them promptly to ensure that the lock operates optimally and provides the intended security and convenience.
By rigorously testing the lock and addressing any potential concerns, you can confidently affirm the successful installation and functionality of the door lock. This comprehensive testing phase not only validates the installation but also ensures that the door’s security features are operating at their best. With the lock successfully tested and verified, you can conclude the installation process with the assurance of a secure and functional door lock.
Read more: How To Put A Lock On A Door
Conclusion
Congratulations! You’ve successfully navigated the process of mortising a door lock, from meticulous preparation and marking to the precise chiseling and installation of the lock mechanism. This DIY endeavor not only enhances the security of your home but also empowers you with the satisfaction of completing a practical and rewarding project. As you reflect on this journey, it’s essential to acknowledge the skills and knowledge you’ve gained, setting the stage for future DIY triumphs. Here’s a recap of the key takeaways from this guide:
Empowerment Through DIY:
By taking on the task of mortising a door lock, you’ve demonstrated the ability to tackle practical home improvement projects with confidence and skill. This newfound empowerment opens the door to a world of DIY opportunities, allowing you to enhance your living space and security with your own hands.
Precision and Attention to Detail:
The process of mortising a door lock demands precision and meticulous attention to detail. From marking and measuring the mortise to chiseling and installing the lock, each step underscores the importance of accuracy and craftsmanship in achieving a professional result.
Enhanced Home Security:
With the lock securely installed and thoroughly tested, you’ve bolstered the security of your home, providing peace of mind and protection for you and your loved ones. The investment of time and effort in this project yields tangible benefits in the form of enhanced security and functionality.
Read more: How To Lock A Commercial Door
Future DIY Endeavors:
As you conclude this project, you’re equipped with valuable experience and skills that extend beyond the realm of door lock installation. The confidence and knowledge gained from this endeavor pave the way for future DIY endeavors, allowing you to take on new challenges and projects with assurance and enthusiasm.
As you admire the newly installed door lock, take pride in the journey you’ve embarked upon, from the initial preparations to the final testing phase. Your dedication and commitment have transformed a simple task into a meaningful achievement, leaving a lasting impact on your home and your own capabilities. With this project behind you, you’re now poised to explore new horizons in the realm of DIY and home improvement, armed with the skills and confidence to turn your visions into reality.
Frequently Asked Questions about How To Mortise A Door Lock
Was this page helpful?
At Storables.com, we guarantee accurate and reliable information. Our content, validated by Expert Board Contributors, is crafted following stringent Editorial Policies. We're committed to providing you with well-researched, expert-backed insights for all your informational needs.

0 thoughts on “How To Mortise A Door Lock”