Home>Technology>Security & Surveillance>How To Make Hole In Door Frame For Lock
Security & Surveillance
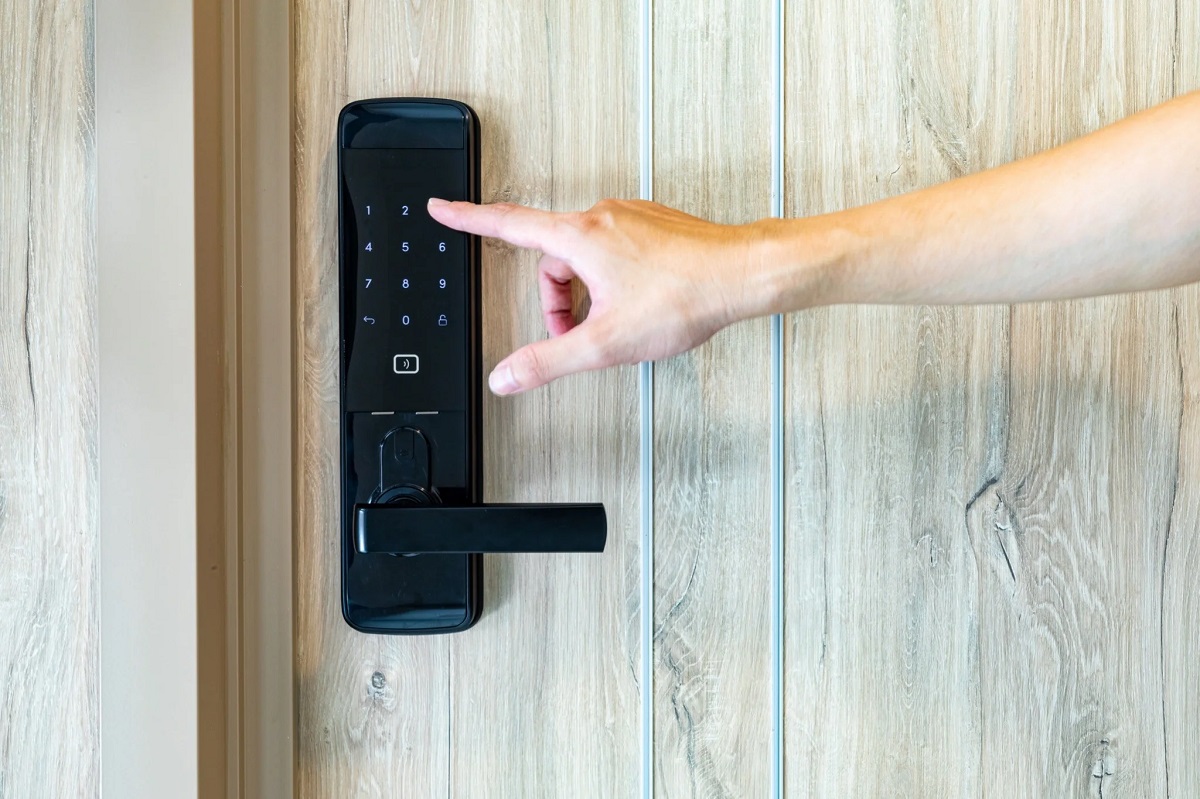
How To Make Hole In Door Frame For Lock
Modified: August 27, 2024
Learn how to make a hole in a door frame for a lock to enhance security and surveillance. Follow these steps for a secure and reliable door lock installation.
(Many of the links in this article redirect to a specific reviewed product. Your purchase of these products through affiliate links helps to generate commission for Storables.com, at no extra cost. Learn more)
**
Introduction
**
Securing your property is a top priority, and one of the fundamental steps in enhancing security is installing a reliable lock on your doors. Whether you are upgrading an existing lock or installing a new one, knowing how to make a hole in a door frame for a lock is a valuable skill. This article will guide you through the process, providing step-by-step instructions to help you achieve a professional and secure installation.
By learning how to make a hole in a door frame for a lock, you gain the ability to fortify your home or business, creating a safer environment for yourself, your family, and your assets. Understanding the nuances of this process empowers you to take control of your security needs, ensuring that your property remains protected from unauthorized access.
Throughout this article, we will explore the tools and materials needed, the crucial steps for measuring and marking the hole, the process of drilling the hole, and finally, the installation of the lock. By the end, you will have the knowledge and confidence to tackle this task with precision and expertise, ultimately bolstering the security of your property.
So, let's embark on this journey to enhance security and learn the essential skills of making a hole in a door frame for a lock. With the right guidance and a proactive mindset, you can elevate the security of your property and enjoy peace of mind knowing that your doors are fortified with a robust and reliable lock.
Key Takeaways:
- Mastering the process of making a hole in a door frame for a lock empowers you to enhance your property’s security with confidence and precision, ensuring a safe environment for your family and assets.
- By learning the essential skills of measuring, drilling, and installing a lock, you can fortify your doors with reliable security measures, providing peace of mind and a sense of accomplishment in safeguarding your property.
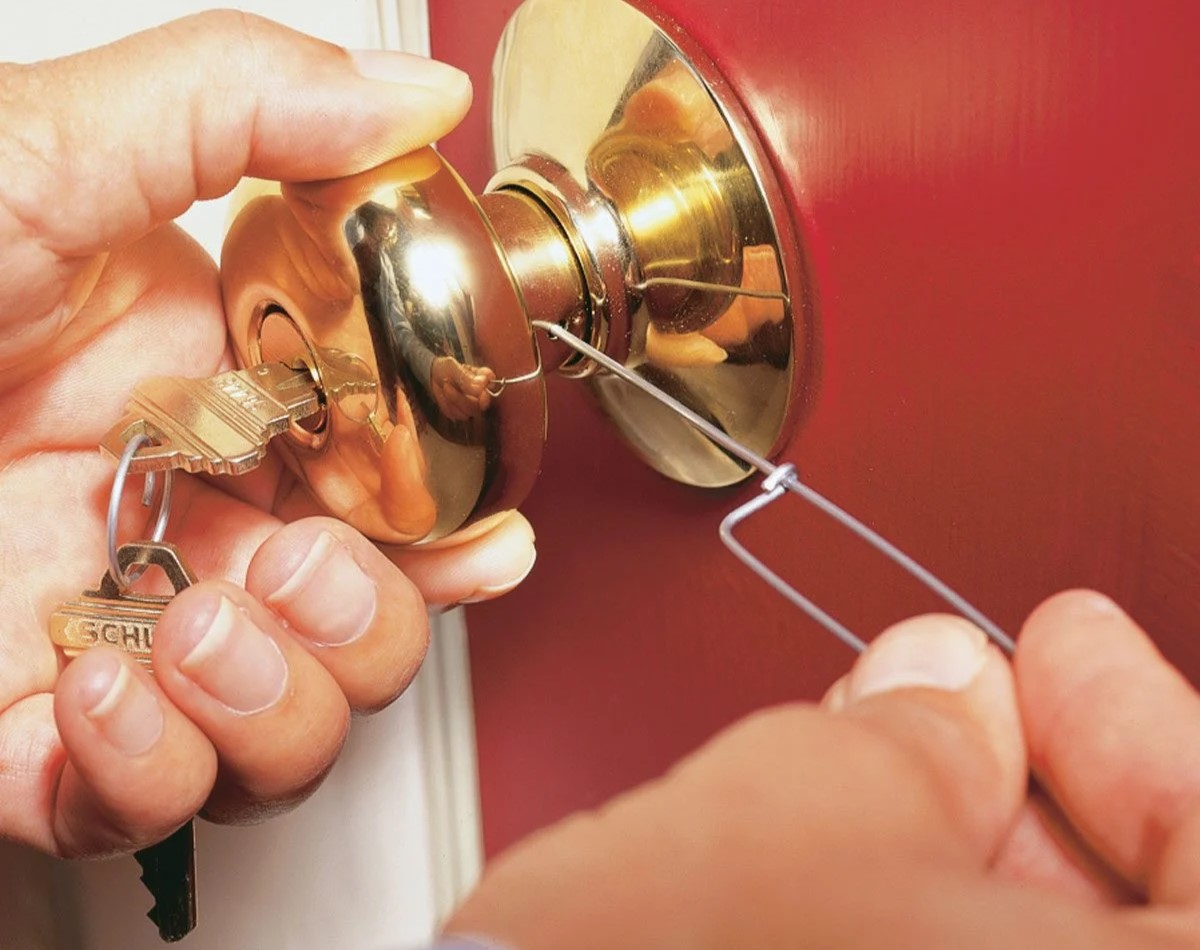
Read more: How To Open A Door Lock With A Hole
Tools and Materials Needed
Before embarking on the process of making a hole in a door frame for a lock, it is essential to gather the necessary tools and materials. Having the right equipment at your disposal ensures that the job is executed with precision and efficiency. Here’s a comprehensive list of the items you will need:
Tools:
- Measuring Tape: A reliable measuring tape is crucial for accurate measurements, ensuring that the hole is positioned correctly on the door frame.
- Pencil or Marker: Use a pencil or marker to mark the precise location for the hole, allowing for clear visibility during the drilling process.
- Drill: A drill equipped with the appropriate hole saw attachment is essential for creating a clean and precise hole in the door frame.
- Safety Glasses: Protect your eyes from debris and ensure safe drilling by wearing safety glasses throughout the process.
- Masking Tape: Using masking tape to mark the drilling depth helps prevent accidental over-drilling, maintaining the integrity of the door frame.
- Chisel and Hammer: These tools may be necessary for refining the edges of the hole and ensuring a proper fit for the lock mechanism.
Materials:
- Door Lock: Select a high-quality lock that meets your security requirements and complements the aesthetics of your door.
- Masking Tape or Painter's Tape: Applying tape to the door frame helps prevent splintering and provides a visual guide for drilling.
- Wood Filler (Optional): In the event of minor splintering or imperfections, wood filler can be used to fill and smooth the edges of the hole.
- Screwdriver: Depending on the type of lock, a screwdriver may be needed for installing the lock mechanism.
By ensuring that you have these tools and materials at your disposal, you are well-equipped to proceed with confidence, knowing that you have everything you need to complete the task effectively. With the right tools in hand, you can approach the process of making a hole in a door frame for a lock with precision and readiness.
Measuring and Marking
Before drilling the hole for the lock, precise measurements and accurate markings are crucial to ensure that the lock is positioned correctly on the door frame. This step is essential for achieving a seamless and secure installation. Here’s a detailed guide on how to measure and mark the door frame for the lock:
1. Determine the Placement: Start by deciding the ideal height for the lock on the door frame. Typically, the lock is positioned at a comfortable height for operation, allowing for easy access while maintaining security.
2. Mark the Center Point: Use a measuring tape to find the center point of the door frame’s edge where the lock will be installed. Once located, mark this point with a pencil or marker, ensuring that the mark is visible and precise.
3. Measure the Backset: The backset refers to the distance from the edge of the door to the center of the lock. Measure and mark the backset distance on the door edge, aligning it with the center point marked on the door frame. This ensures that the lock aligns perfectly with the door’s edge when installed.
4. Apply Masking Tape: To minimize splintering and provide a visual guide during drilling, apply masking tape or painter’s tape around the area where the hole will be drilled. This simple yet effective step helps maintain the integrity of the door frame and ensures a clean drilling process.
5. Mark the Drilling Depth: Using the lock mechanism as a reference, determine the appropriate depth for drilling the hole. Mark the drilling depth on the drill bit with masking tape, providing a clear indicator to prevent over-drilling and ensure that the hole is the correct depth for the lock.
By following these steps, you can effectively measure and mark the door frame, laying the groundwork for a precise and secure installation. Taking the time to ensure accurate measurements and clear markings sets the stage for a successful outcome, ensuring that the lock fits seamlessly and functions optimally within the door frame.
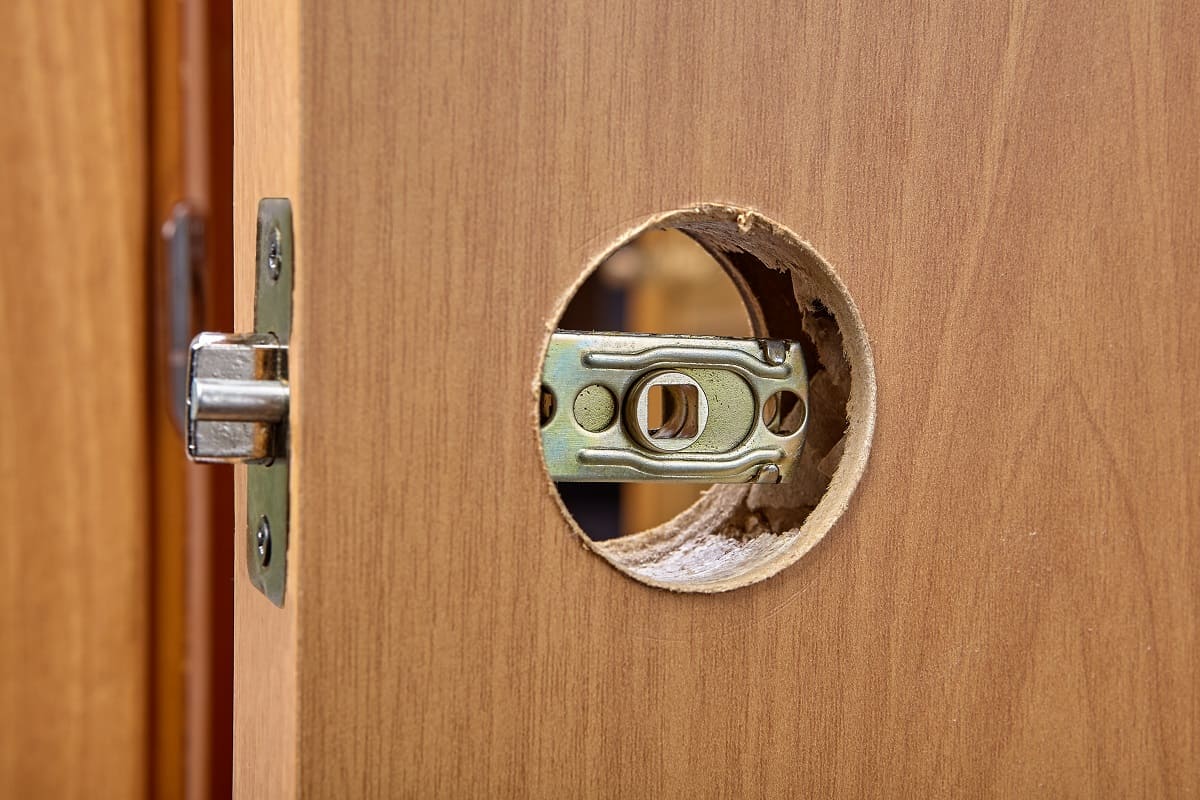
Use a hole saw attachment on a drill to make a hole in the door frame for the lock. Measure and mark the center of the frame, then carefully drill the hole at the correct depth. Be sure to wear safety goggles and work slowly to avoid splintering the wood.
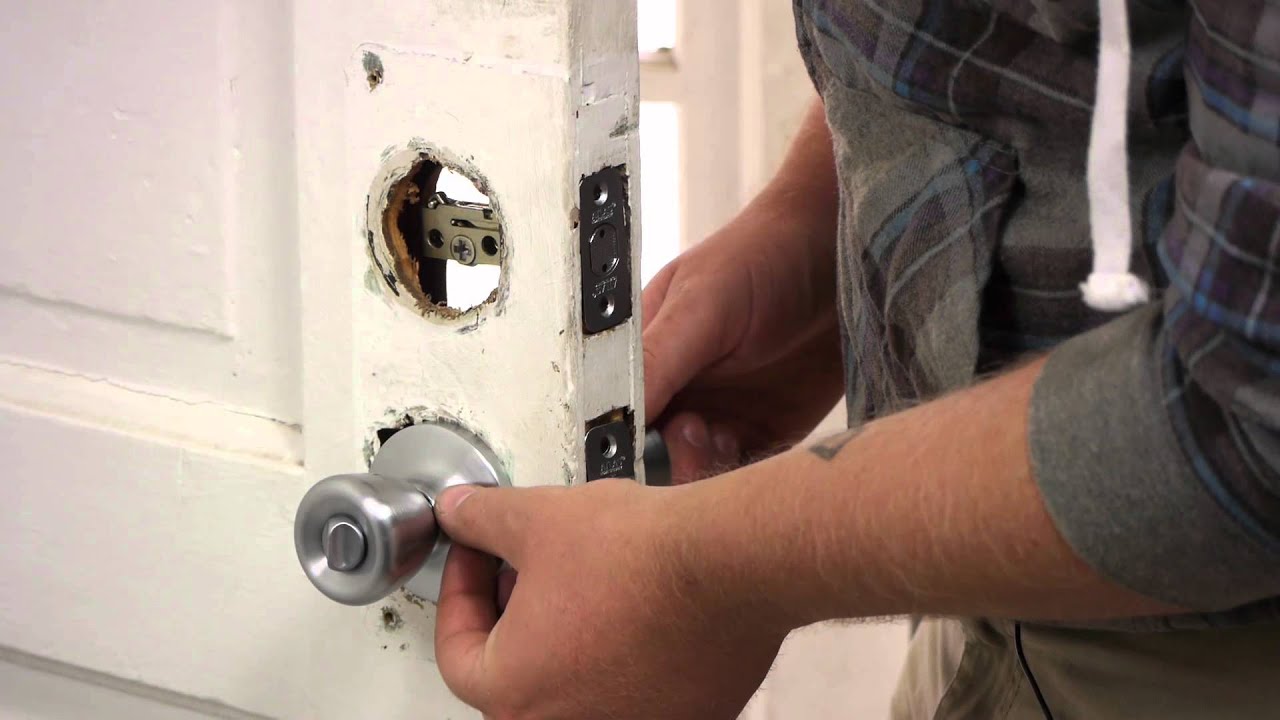
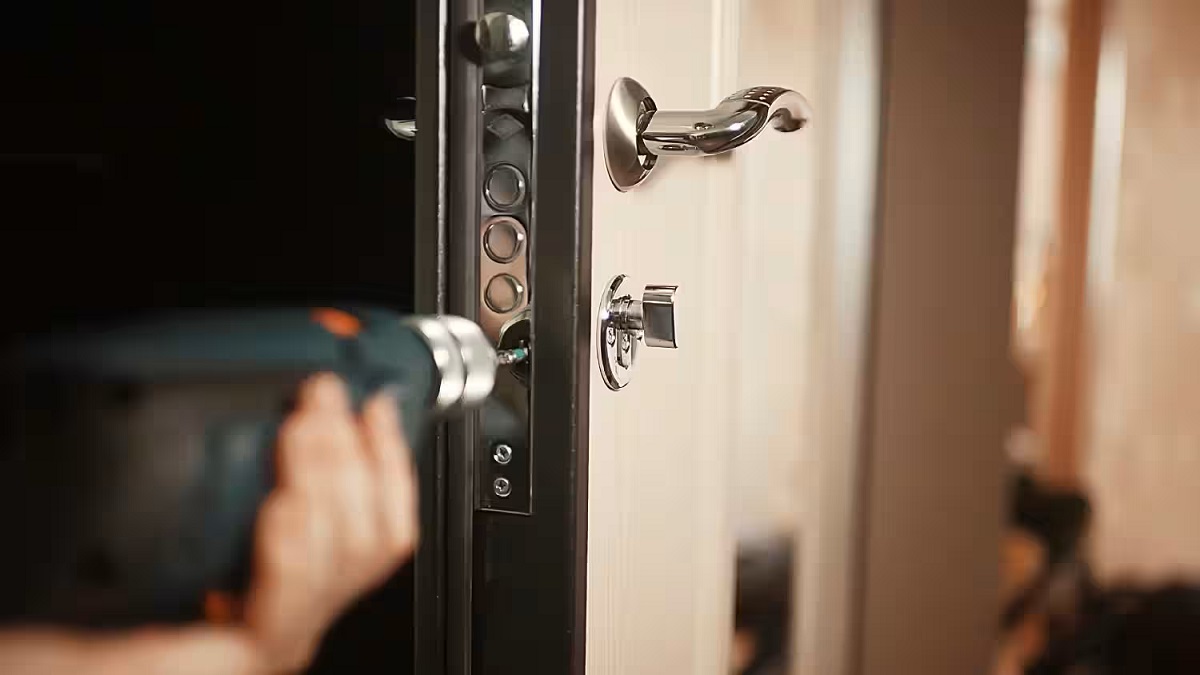
Drilling the Hole
Once the door frame is accurately measured and marked, the next crucial step is drilling the hole for the lock. This step requires precision and care to ensure that the hole is clean, accurately positioned, and the right size for the lock mechanism. Here’s a detailed guide on how to drill the hole in the door frame:
1. Prepare the Drill: Attach the appropriate hole saw to the drill, ensuring that it matches the diameter required for the lock. Additionally, confirm that the drill bit is securely fastened and ready for use.
2. Position the Drill: Place the tip of the drill bit at the center point marked on the door frame. Ensure that the drill is held perpendicular to the surface, maintaining a straight angle for an accurate and clean hole.
3. Begin Drilling: Start the drill at a slow speed to create a pilot hole at the marked center point. This initial hole serves as a guide for the hole saw and helps prevent slipping or splintering during the drilling process.
4. Use the Hole Saw: Once the pilot hole is established, increase the drill speed and carefully guide the hole saw into the wood. Apply gentle and consistent pressure, allowing the saw to cut through the door frame steadily and smoothly.
5. Monitor the Progress: As you drill, periodically pause to remove wood shavings and debris from the hole. This ensures that the cutting process remains efficient, and it provides a clear view of the hole’s depth and progress.
6. Check the Depth: As the hole is being drilled, periodically check the depth using the marked indicator on the drill bit. This helps prevent over-drilling and ensures that the hole achieves the required depth for the lock.
7. Refine the Edges: Once the hole is drilled, use a chisel and hammer to refine the edges and ensure a clean and precise fit for the lock mechanism. This step may involve smoothing any rough edges and adjusting the hole as needed to accommodate the lock.
By following these steps, you can effectively drill the hole in the door frame, setting the stage for the seamless installation of the lock. Precision, patience, and attention to detail are key during this process, ensuring that the resulting hole is tailored to accommodate the lock securely and accurately.
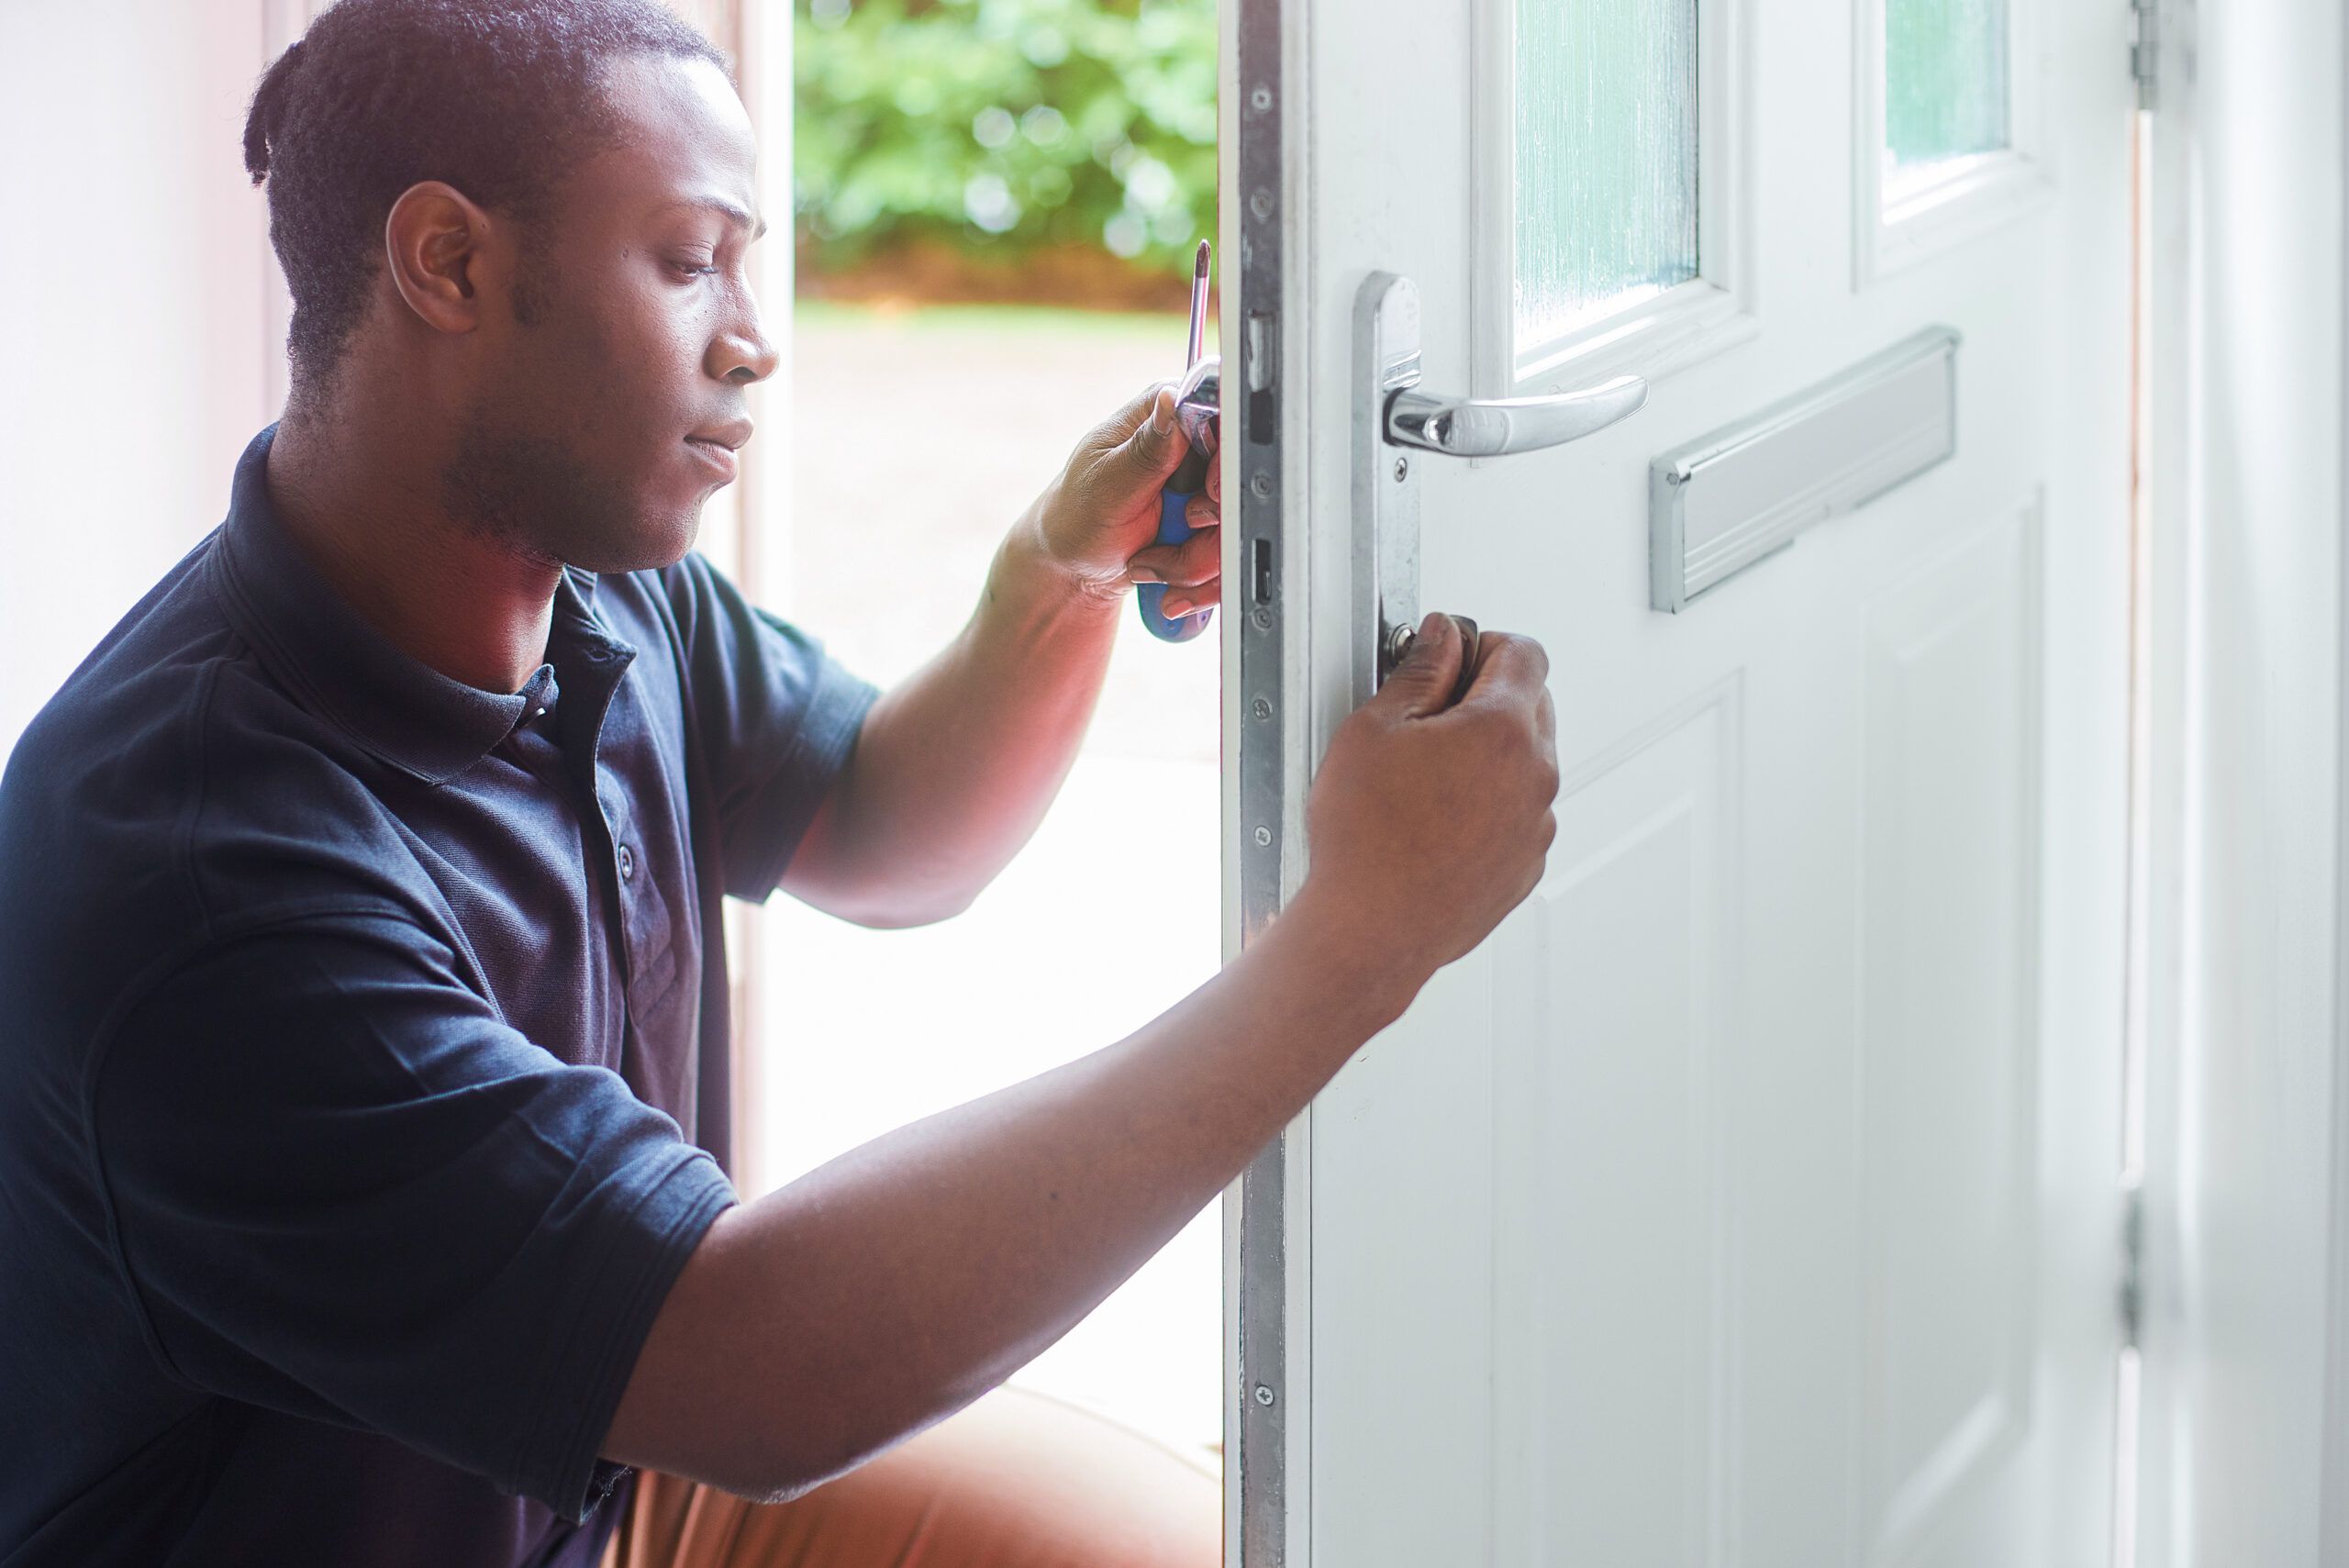
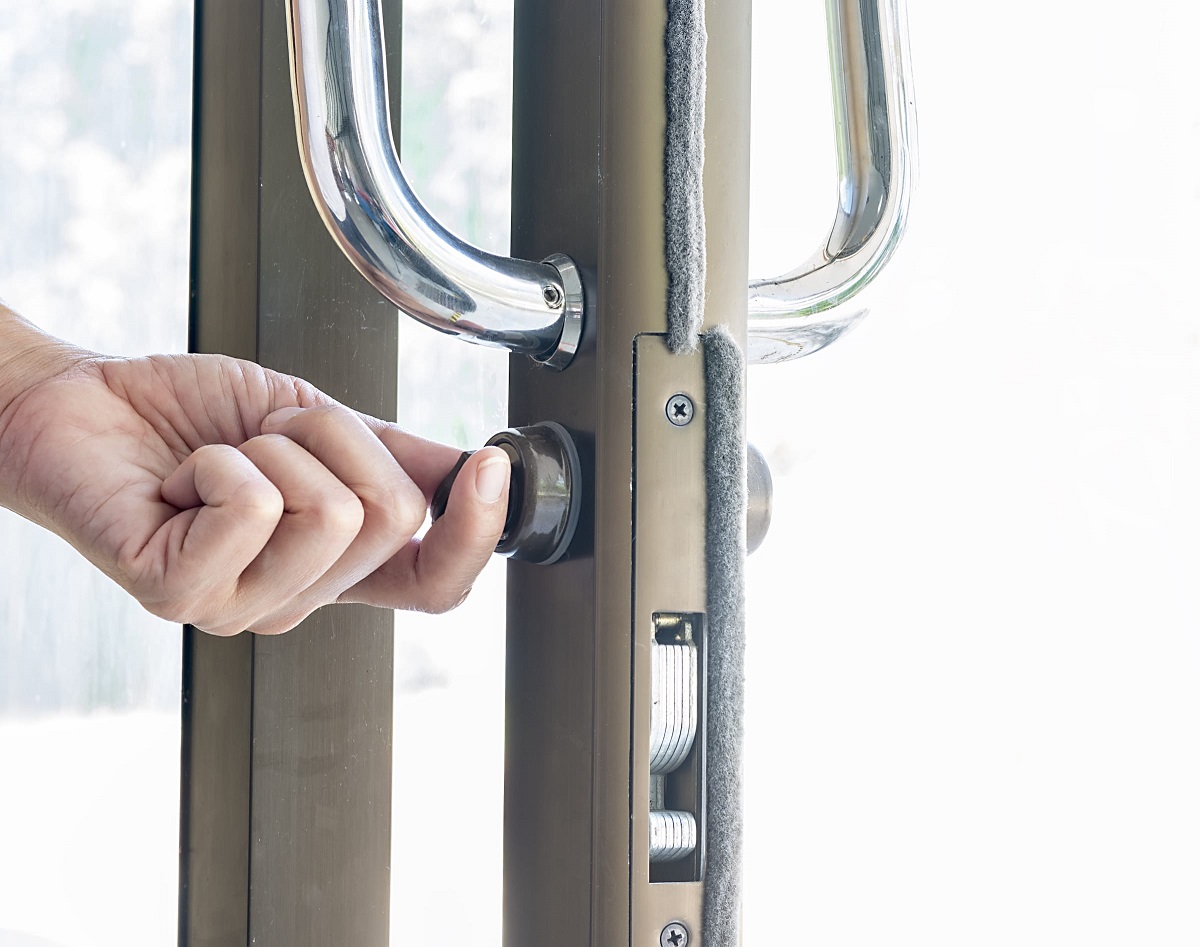
Installing the Lock
With the hole drilled in the door frame, the final step in the process of securing your property is installing the lock. This pivotal stage ensures that the lock mechanism is seamlessly integrated, providing reliable security and ease of use. Here’s a comprehensive guide on how to install the lock in the door frame:
1. Prepare the Lock: Begin by preparing the lock mechanism for installation. Depending on the type of lock, this may involve assembling the components and ensuring that the lock is ready to be fitted into the door frame.
2. Position the Lock: Carefully insert the lock mechanism into the drilled hole, ensuring that it aligns perfectly with the door frame and the backset measurement previously marked. Apply gentle pressure to fit the lock securely into place.
3. Secure the Lock: Once the lock is positioned correctly, secure it in place according to the manufacturer’s instructions. This may involve tightening screws, fastening components, or following specific guidelines to ensure that the lock is firmly anchored within the door frame.
4. Test the Operation: After securing the lock, test its operation to ensure that it functions smoothly and securely. Verify that the key turns easily, the latch engages properly, and the lock provides the intended level of security for the door.
5. Fine-Tune the Fit: If necessary, make minor adjustments to the lock’s positioning or components to achieve the optimal fit. This may involve refining the alignment of the lock within the door frame to ensure seamless operation and enhanced security.
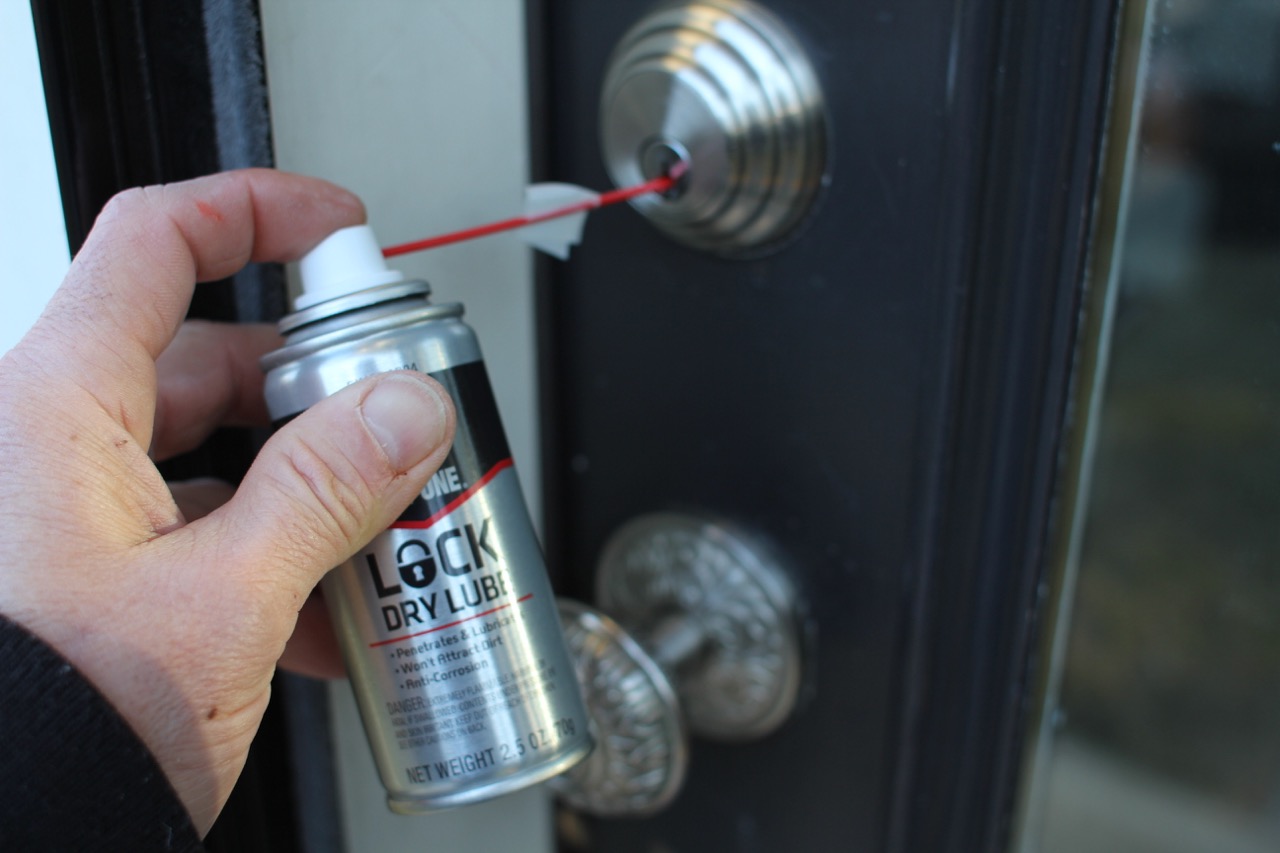
6. Apply Finishing Touches: Once the lock is installed and tested, complete any necessary finishing touches to ensure that the installation is clean and polished. This may involve removing any excess debris, adjusting the strike plate, or applying lubrication as recommended by the manufacturer.
By following these steps, you can successfully install the lock in the door frame, completing the process of fortifying your property with a reliable and secure locking mechanism. Attention to detail, adherence to manufacturer guidelines, and thorough testing are essential during this stage, ensuring that the lock functions optimally and provides the desired level of security for your property.
Read more: How To Fix A Door Lock Hole
Conclusion
Mastering the art of making a hole in a door frame for a lock is a valuable skill that empowers you to take control of your property’s security. By following the comprehensive guide provided in this article, you have gained the knowledge and expertise to undertake this essential task with confidence and precision.
Understanding the tools and materials needed, the process of measuring and marking, drilling the hole, and finally, installing the lock, equips you with the essential skills to fortify your doors with reliable security measures. Whether you are upgrading an existing lock or installing a new one, the ability to navigate this process ensures that your property remains safeguarded against unauthorized access.
By approaching the task with meticulous attention to detail and a commitment to precision, you can elevate the security of your home or business, creating a safe and protected environment for yourself, your family, and your assets. The seamless integration of a robust lock within the door frame not only enhances security but also provides peace of mind, knowing that your property is fortified with a reliable and effective locking mechanism.
As you embark on this journey to enhance security, remember that each step – from measuring and marking to drilling and installation – plays a vital role in the overall outcome. Your dedication to mastering these skills reflects a proactive approach to safeguarding what matters most, ensuring that your property remains a fortress of security and protection.
With the knowledge and expertise gained from this guide, you are well-equipped to tackle the task of making a hole in a door frame for a lock, transforming your property into a bastion of security and peace. Embrace this newfound skill and take pride in fortifying your doors with the strength and reliability of a professionally installed lock.
Now that you've mastered installing a door lock, why not tackle more projects to spruce up your living space? If you're itching for a challenge, our guide on DIY home improvement offers practical tips to transform your home with your own hands. For those with a knack for crafting, don't miss our roundup of the best woodworking projects coming up next year. Both guides are packed with insights to help you create a more comfortable and stylish home environment.
Frequently Asked Questions about How To Make Hole In Door Frame For Lock
Was this page helpful?
At Storables.com, we guarantee accurate and reliable information. Our content, validated by Expert Board Contributors, is crafted following stringent Editorial Policies. We're committed to providing you with well-researched, expert-backed insights for all your informational needs.


0 thoughts on “How To Make Hole In Door Frame For Lock”