Home>Technology>Security & Surveillance>How To Make A Lock For Your Door
Security & Surveillance
How To Make A Lock For Your Door
Modified: January 5, 2024
Learn how to enhance your home security with our step-by-step guide on making a custom lock for your door. Protect your property with our security and surveillance tips!
(Many of the links in this article redirect to a specific reviewed product. Your purchase of these products through affiliate links helps to generate commission for Storables.com, at no extra cost. Learn more)
Introduction
Welcome to the world of DIY home security! In this guide, we'll walk you through the process of creating a simple yet effective lock for your door. Whether you're looking to reinforce your existing lock or add an extra layer of security to your home, this project is a great way to achieve peace of mind without breaking the bank.
With just a few basic materials and some creative ingenuity, you can craft a sturdy lock that provides an added sense of protection for you and your loved ones. Not only will you have the satisfaction of knowing that you've taken an active role in safeguarding your home, but you'll also gain valuable insight into the principles of home security.
So, roll up your sleeves and get ready to embark on a hands-on journey that combines practicality with a dash of DIY spirit. Let's dive into the materials you'll need to bring this project to life.
Key Takeaways:
- Crafting a DIY door lock empowers you to enhance home security with creativity and resourcefulness, providing a tangible sense of accomplishment and proactive security awareness.
- By embracing hands-on engagement in safeguarding your living environment, you gain valuable insights into home security principles and cultivate a mindset of self-reliance and empowerment.
Read more: How To Lock Your Door With A Sock
Materials Needed
Before diving into the construction process, it’s essential to gather the necessary materials. Here’s what you’ll need to create your DIY door lock:
- 1. Metal bar: Opt for a sturdy metal bar that can withstand pressure and provide a reliable barrier against unauthorized entry.
- 2. Lock mechanism: Choose a high-quality lock mechanism that aligns with your security needs. Look for durability and reliability to ensure long-term effectiveness.
- 3. Drill and drill bits: Select a drill that is suitable for metalwork, along with a set of drill bits designed for creating holes in metal surfaces.
- 4. Screws and bolts: Secure the lock mechanism in place with screws and bolts that are compatible with the metal bar and provide a strong, stable hold.
- 5. Measuring tape: Accurate measurements are crucial for ensuring the proper fit and alignment of the lock components.
- 6. Pencil or marker: Marking the precise locations for drilling and installation will help maintain precision throughout the process.
- 7. Safety goggles and gloves: Protect your eyes and hands while working with metal and power tools to prevent accidents and injuries.
With these materials in hand, you’re well-equipped to commence the construction of your custom door lock. Now, let’s move on to the first step: measuring and cutting the metal bar.
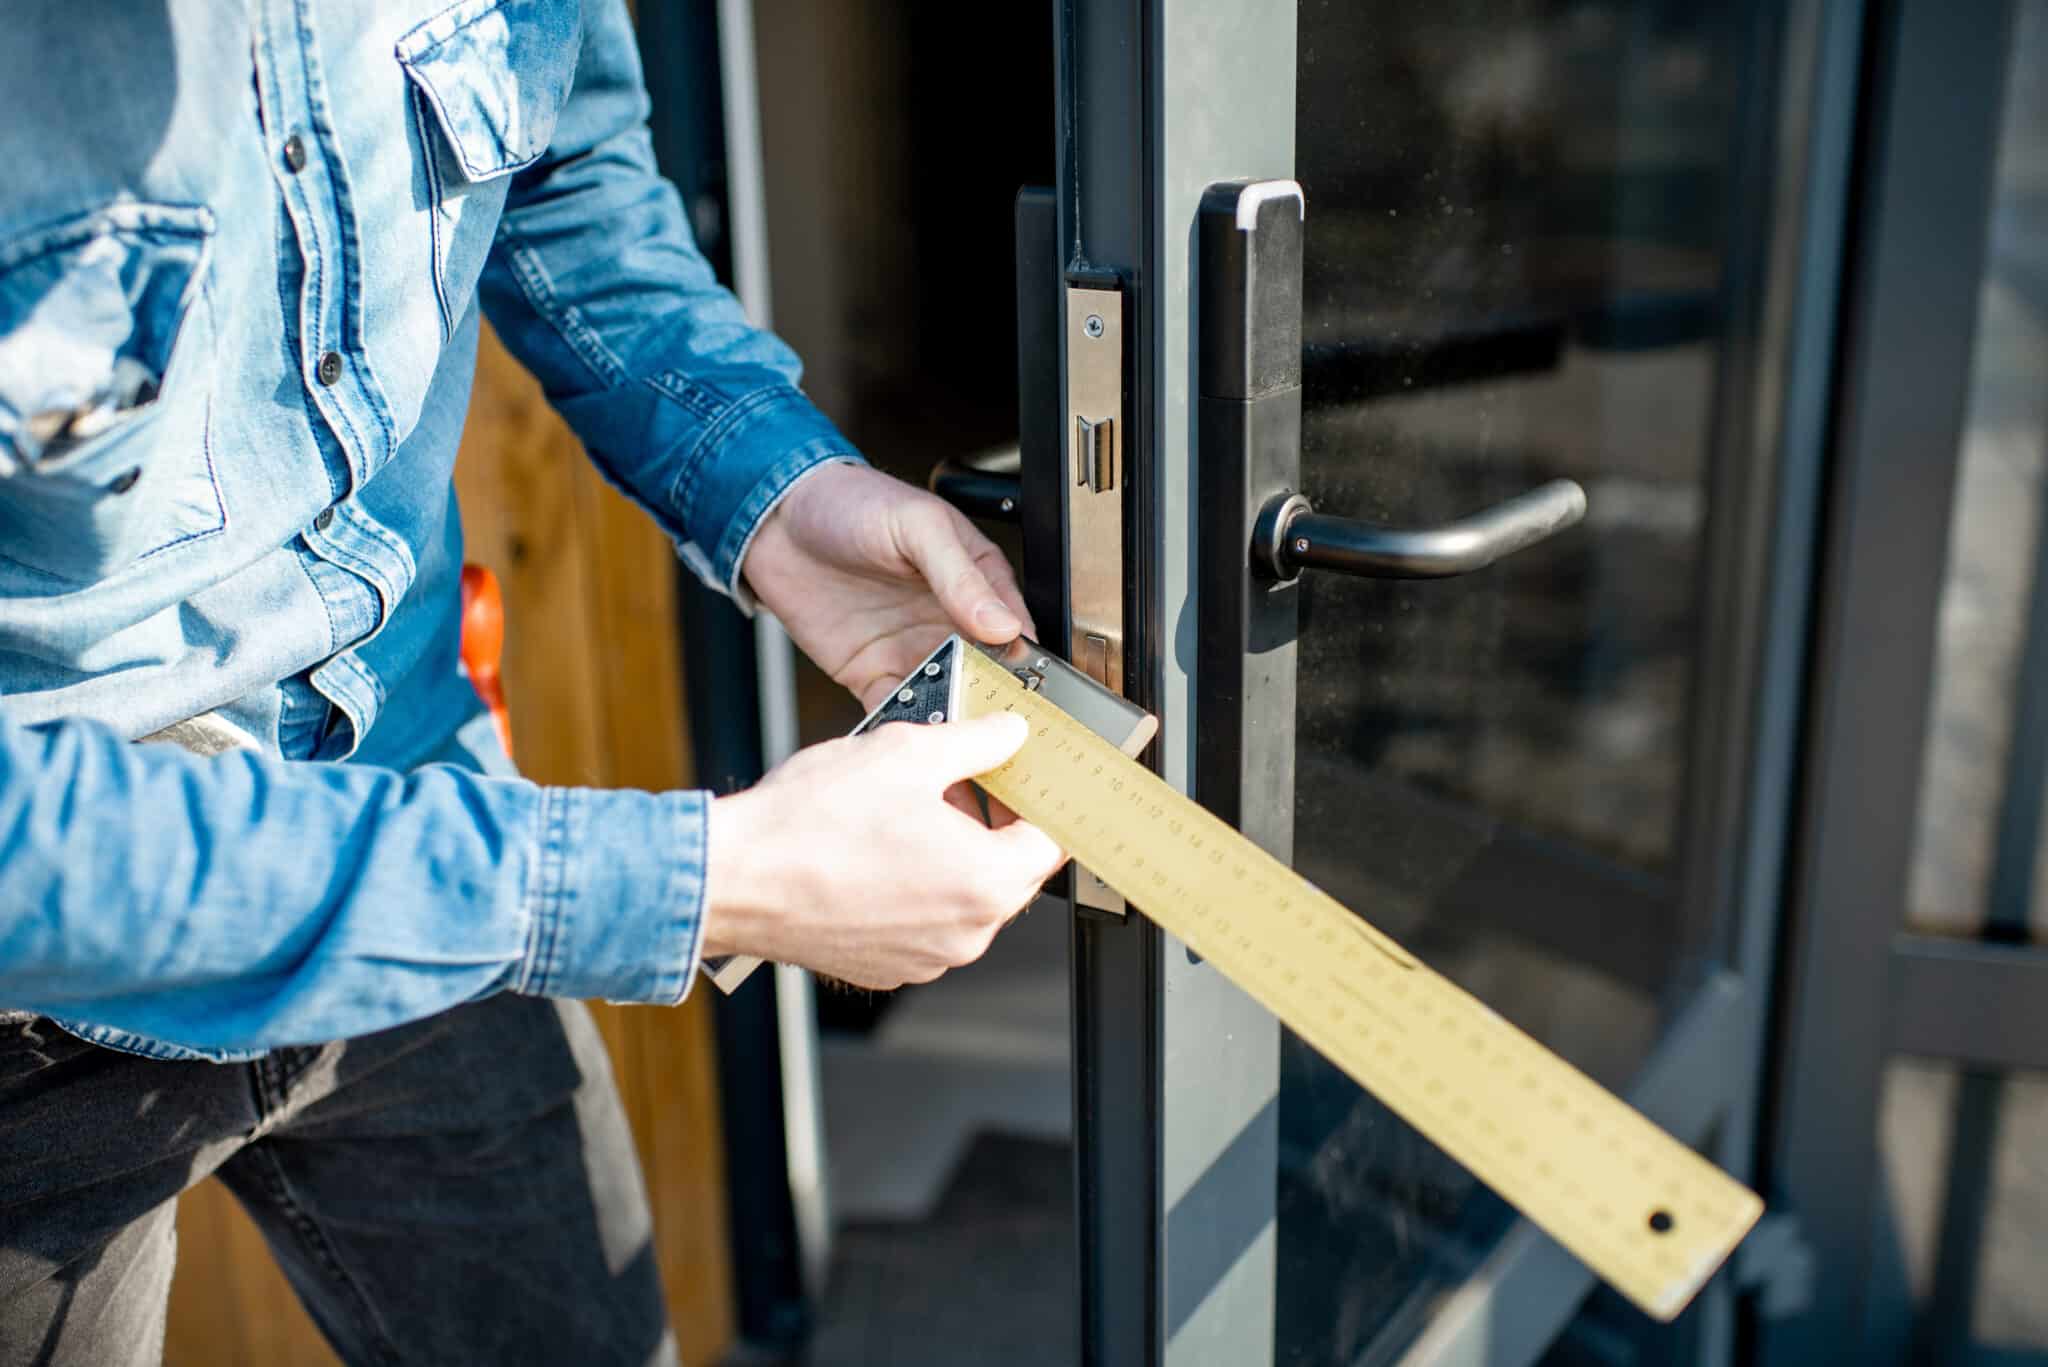
Step 1: Measure and Cut the Metal Bar
The initial phase of creating your DIY door lock involves precise measurements and accurate cutting of the metal bar. This foundational step sets the stage for a secure and functional lock assembly. Follow these guidelines to ensure a seamless process:
- Measure the door width: Begin by measuring the width of your door to determine the appropriate length for the metal bar. Use a measuring tape to obtain an exact measurement, ensuring a snug fit within the door frame.
- Mark the cutting points: Once you have the door width measurement, mark the cutting points on the metal bar using a pencil or marker. Double-check the markings to guarantee precision before proceeding.
- Cut the metal bar: Utilize a reliable cutting tool, such as a hacksaw or angle grinder, to carefully cut the metal bar according to the marked points. Exercise caution and wear appropriate safety gear during the cutting process.
- Smooth the edges: After cutting the metal bar, use a metal file or sandpaper to smooth out any rough edges or burrs. This step is essential for ensuring a clean and professional finish while handling the lock assembly.
By meticulously measuring and cutting the metal bar, you’re laying the groundwork for a well-fitted and robust door lock. With this crucial step completed, you’re ready to move on to the next phase: drilling holes for the lock mechanism.
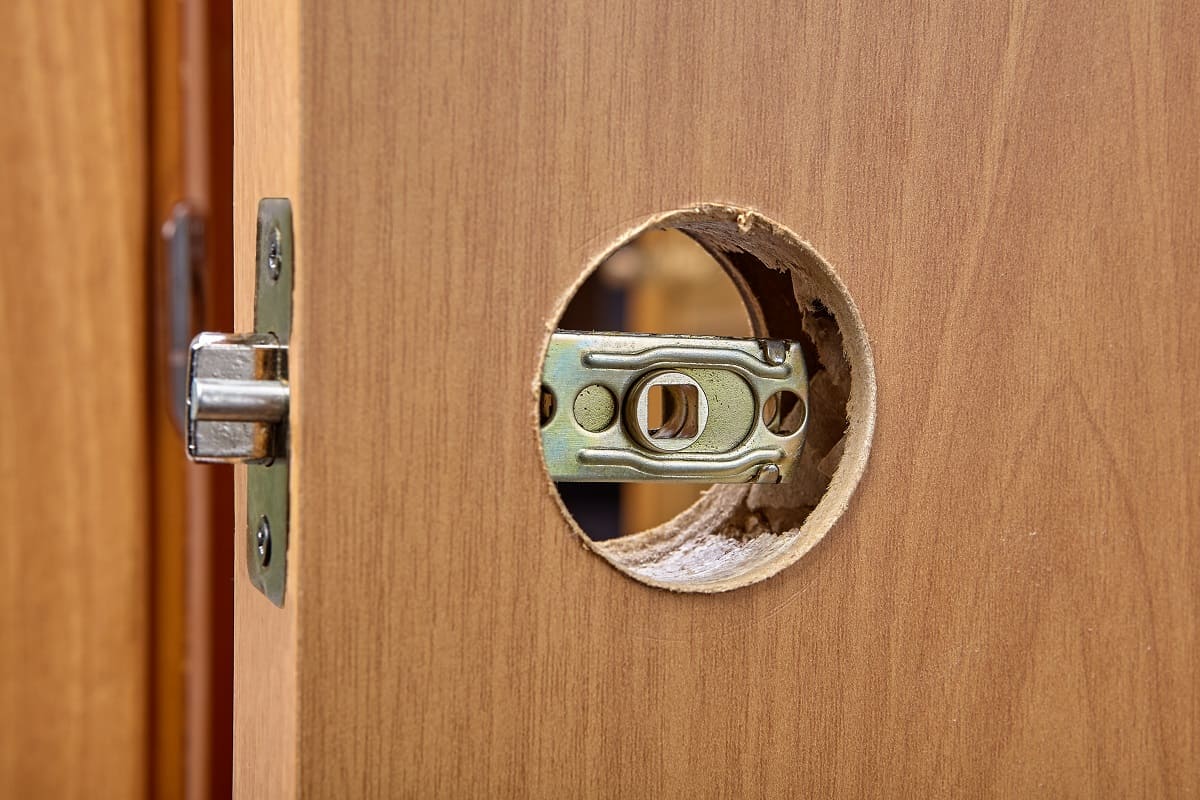
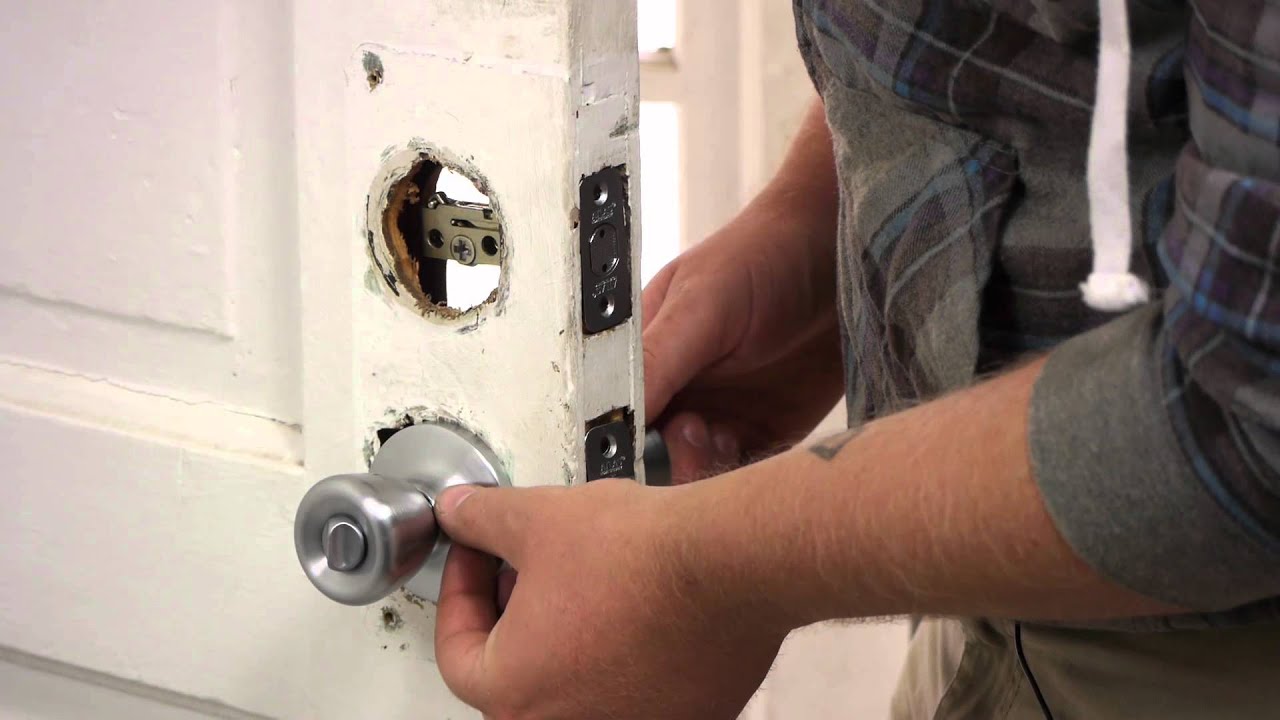
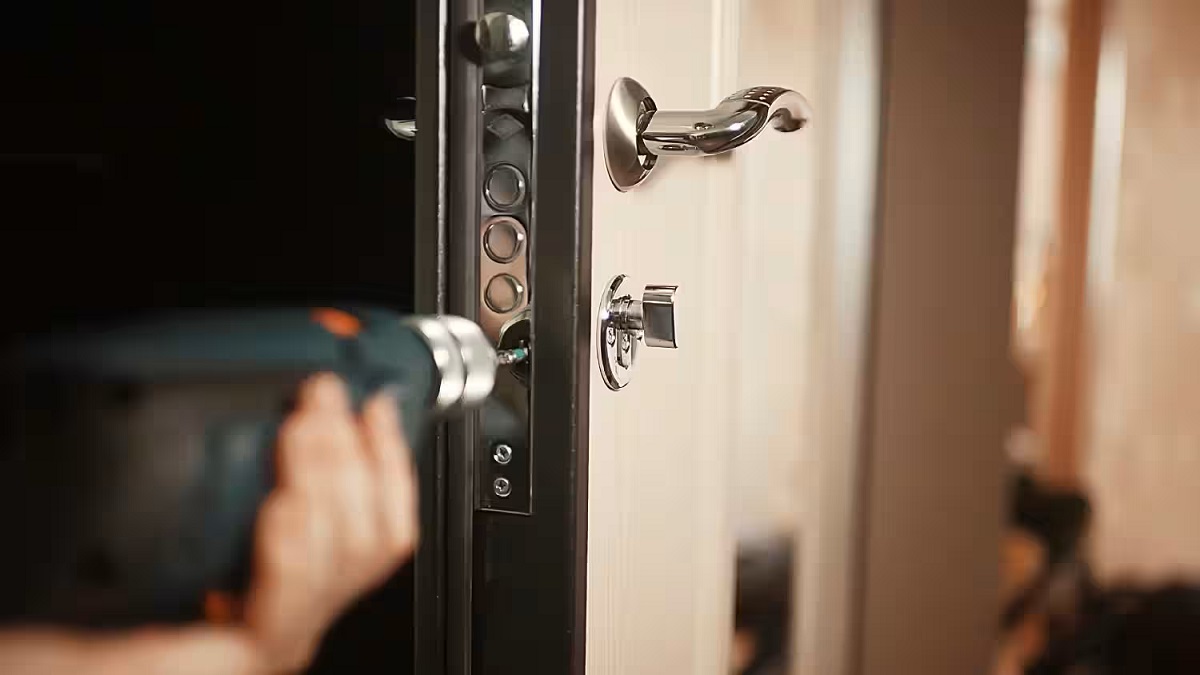
Step 2: Drill Holes for the Lock Mechanism
With the metal bar cut to the appropriate size, the next pivotal stage involves drilling precise holes to accommodate the lock mechanism. This step demands accuracy and attention to detail to ensure seamless integration of the locking components. Here’s a systematic approach to drilling the necessary holes:
- Mark hole placement: Position the lock mechanism on the metal bar and mark the locations for drilling the essential holes. Use a pencil or marker to create clear, visible markings that denote the precise points for hole placement.
- Select the drill bit: Choose a drill bit that matches the diameter of the lock mechanism’s mounting holes. Opting for the correct size is crucial for a secure and stable fit.
- Secure the metal bar: Clamp the metal bar securely in place to prevent movement during the drilling process. Stability is key to achieving accurate and clean holes.
- Drill the holes: With the metal bar firmly secured, carefully drill the marked holes using the selected drill bit. Maintain a steady hand and apply consistent pressure to create clean, precise holes without damaging the metal surface.
- Deburr the holes: After drilling, use a deburring tool or a larger drill bit to remove any sharp edges or burrs from the newly created holes. This step ensures smooth and unobstructed installation of the lock mechanism.
By meticulously following these steps, you’ll successfully prepare the metal bar to accommodate the lock mechanism, laying the groundwork for seamless integration. With the holes drilled and deburred, you’re now ready to proceed to the next phase: attaching the lock mechanism to the metal bar.
Consider using a deadbolt lock for added security. Make sure it extends at least one inch into the door frame to prevent forced entry.
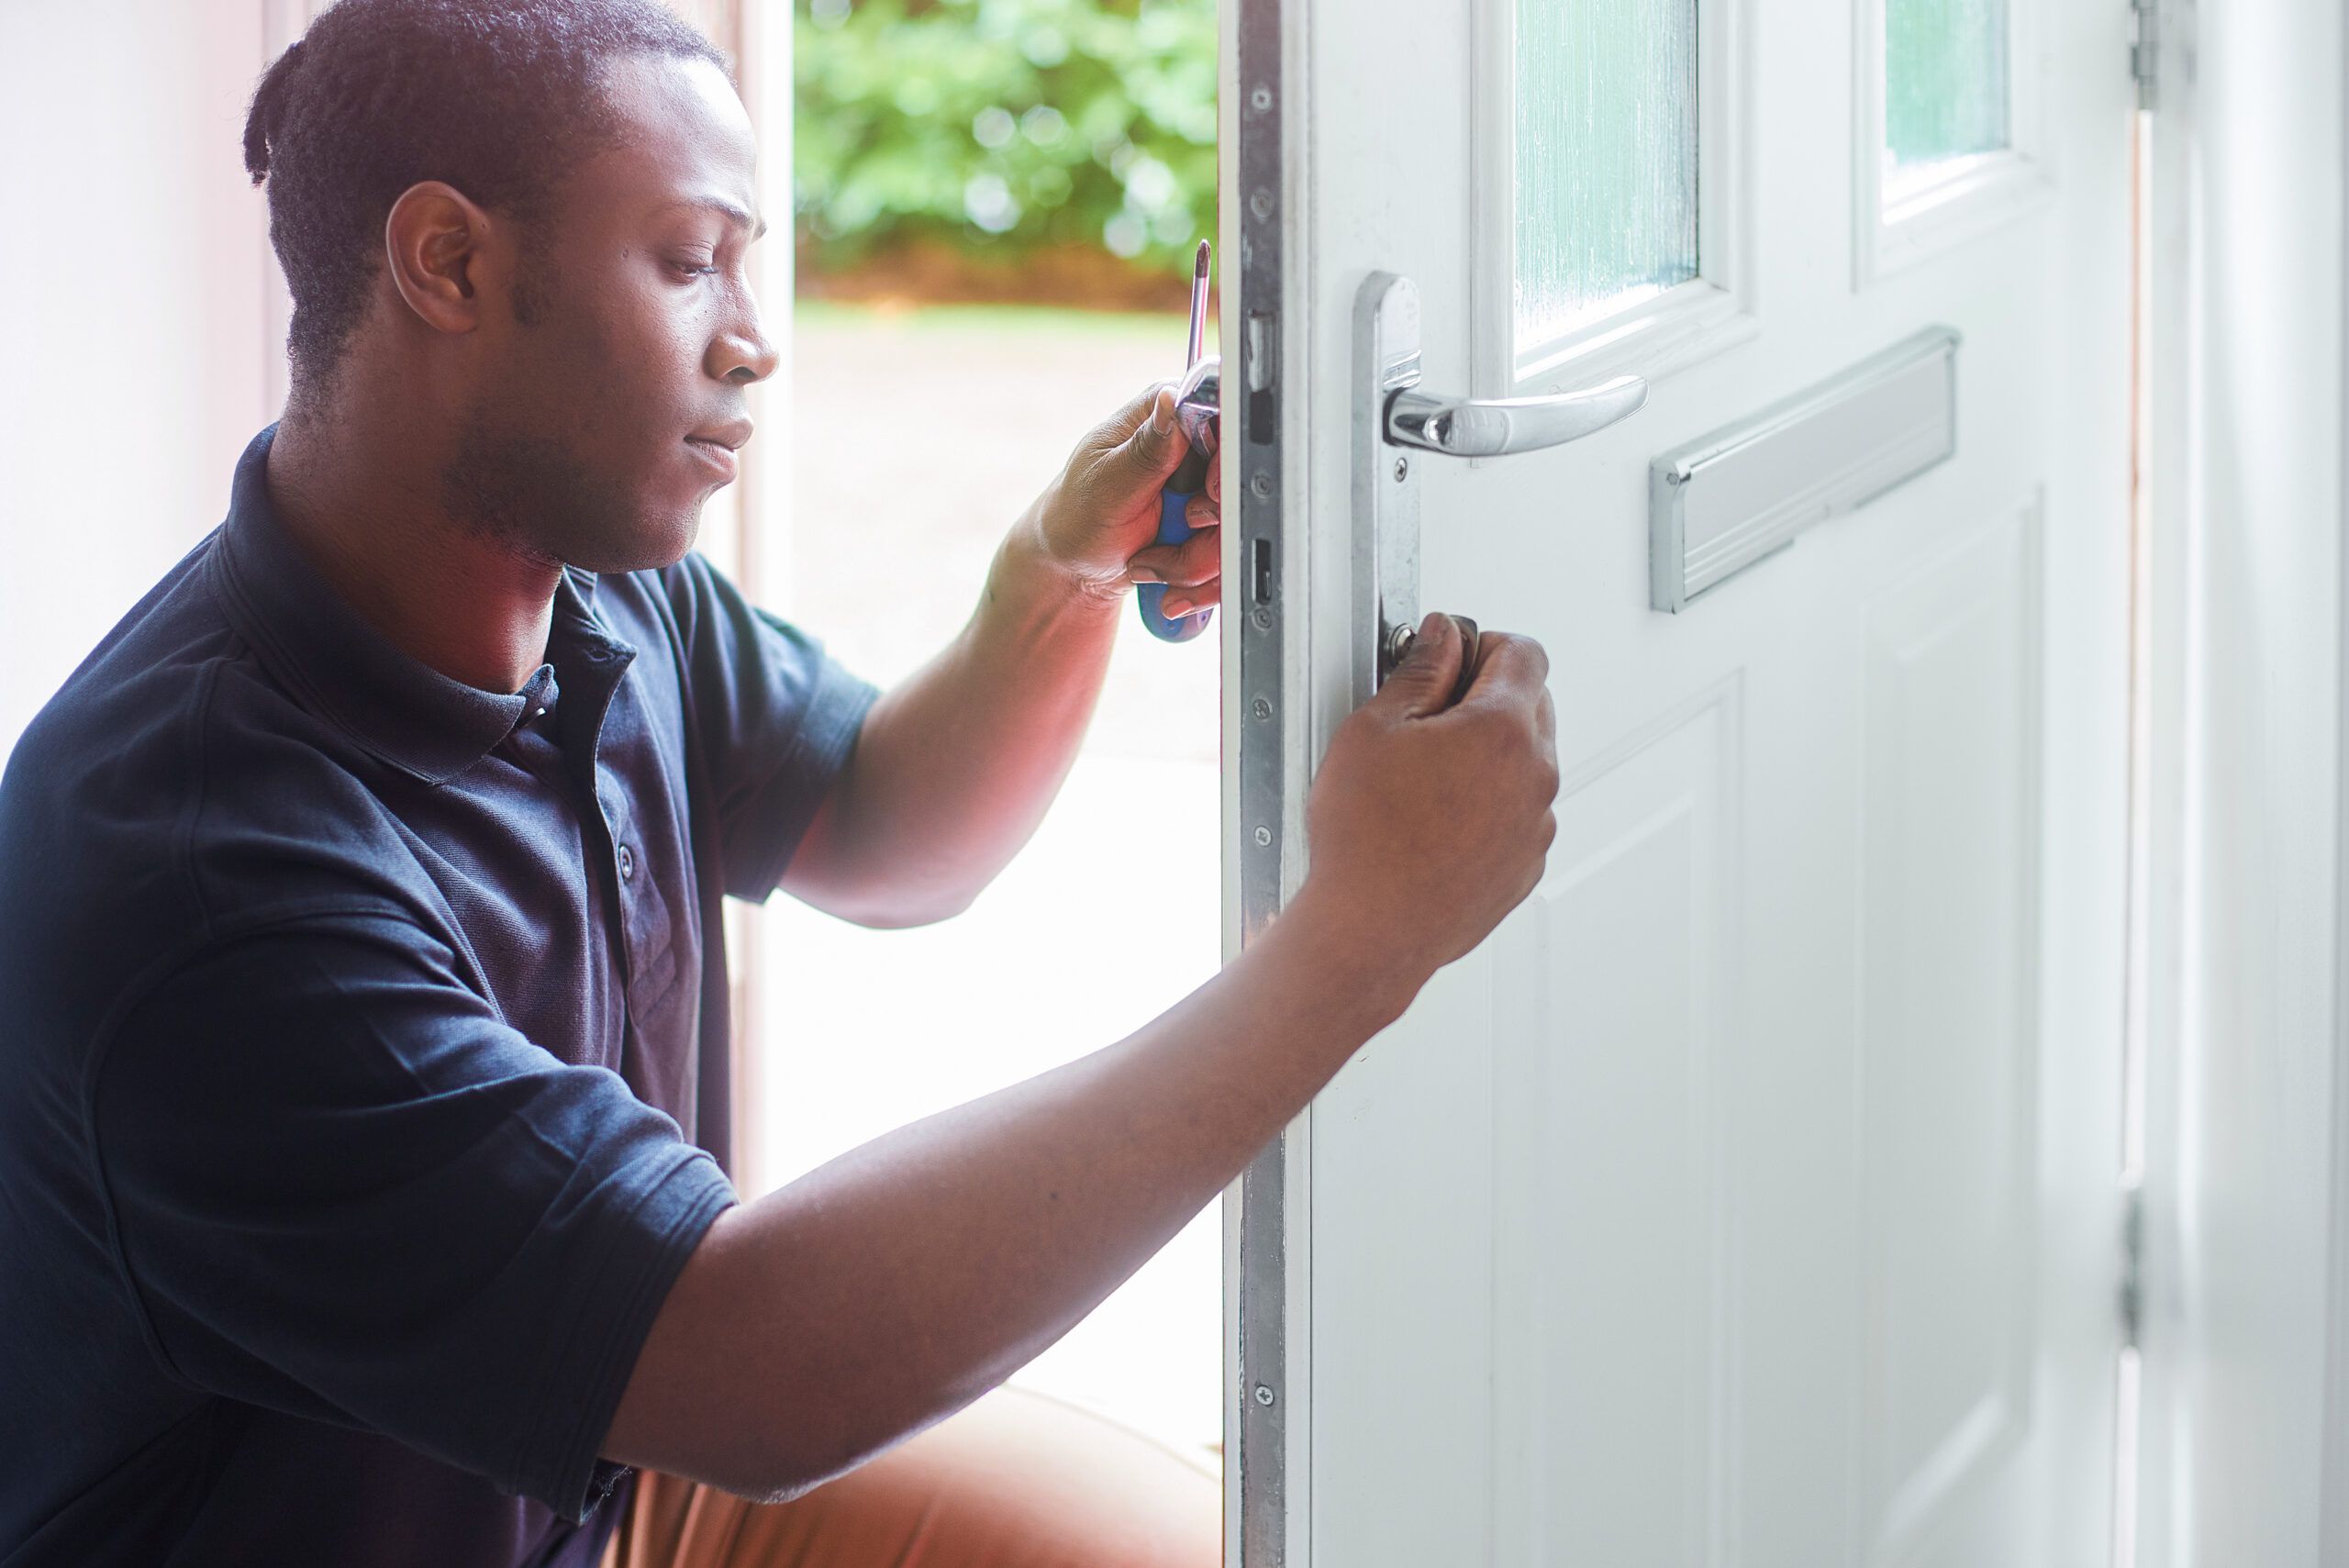
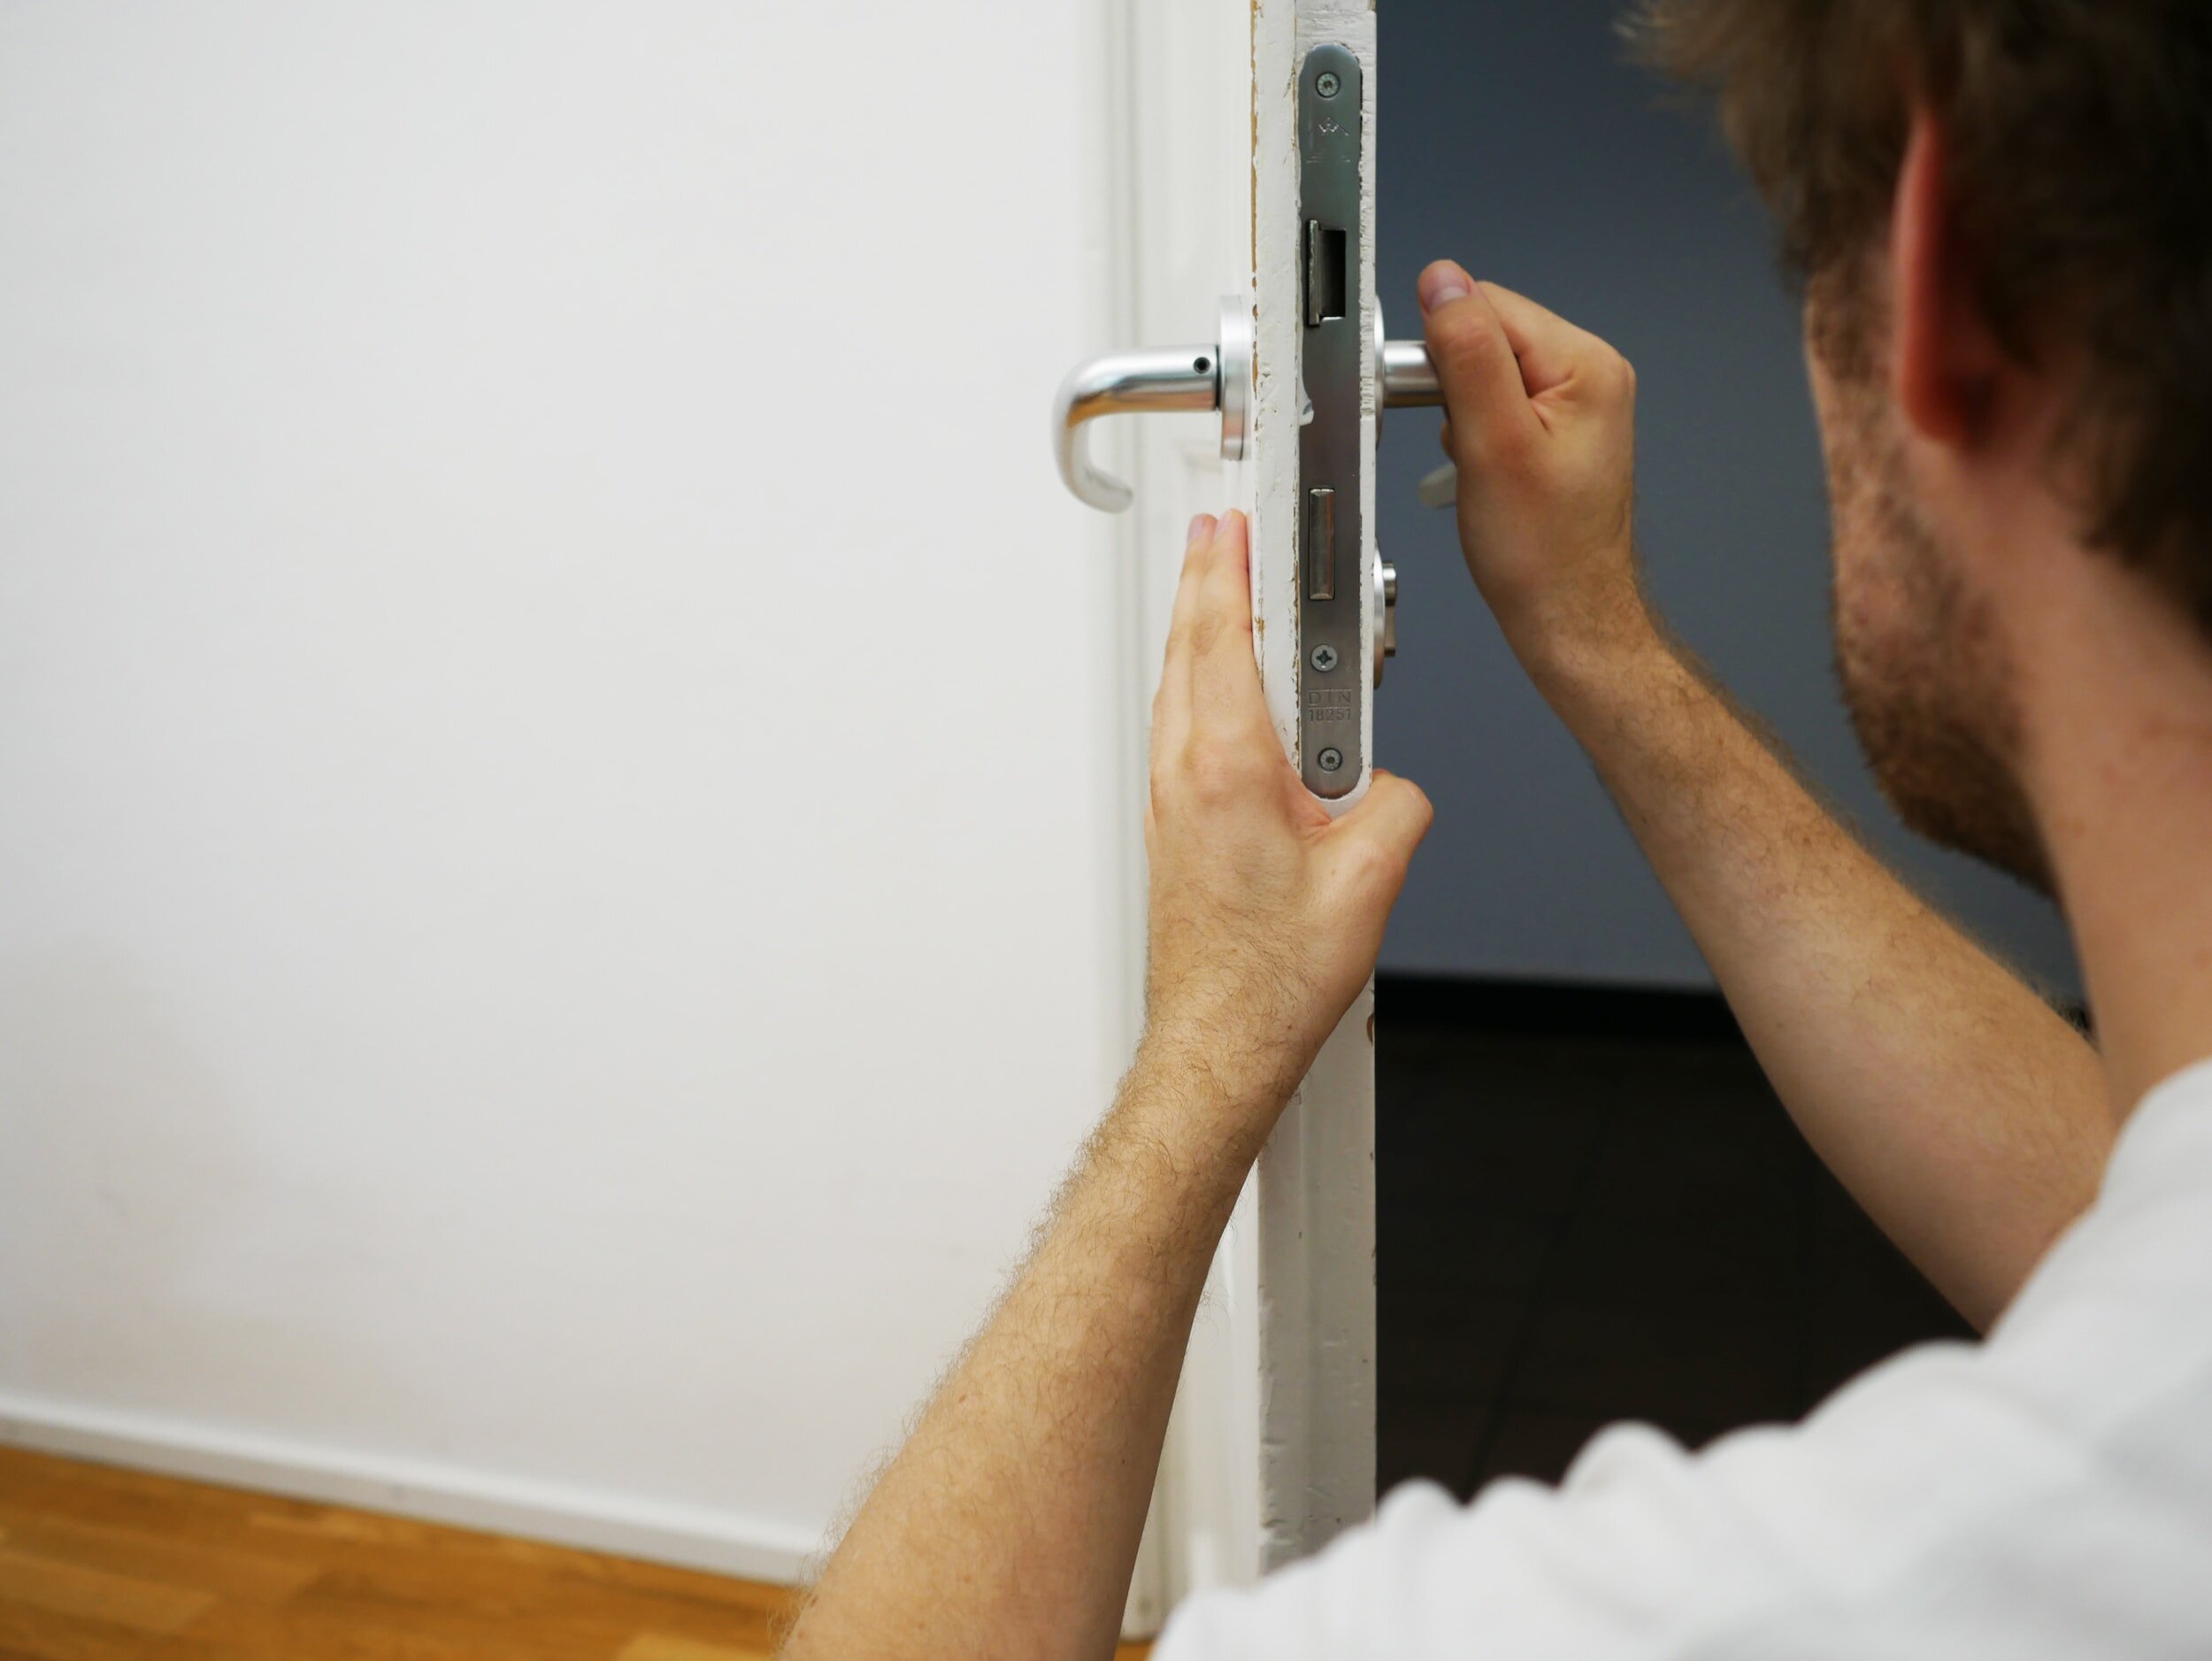
Step 3: Attach the Lock Mechanism
As you approach this stage of the DIY door lock construction, you’re on the verge of bringing together the essential components to form a functional and reliable security feature for your door. The process of attaching the lock mechanism to the metal bar requires precision and attention to detail. Follow these steps to seamlessly integrate the lock mechanism:
- Position the lock mechanism: Align the lock mechanism with the drilled holes on the metal bar, ensuring a snug and secure fit. Take time to verify the alignment and positioning before proceeding.
- Secure with screws and bolts: Utilize suitable screws and bolts to fasten the lock mechanism firmly to the metal bar. Ensure that the fasteners provide a stable and immovable connection, enhancing the overall strength and reliability of the lock assembly.
- Tighten the fasteners: Using the appropriate tools, carefully tighten the screws and bolts to secure the lock mechanism in place. Exercise caution to avoid over-tightening, which may compromise the integrity of the assembly.
- Test the functionality: After attaching the lock mechanism, perform a preliminary test to ensure smooth operation and proper alignment. Verify that the locking and unlocking actions function as intended, signaling the successful integration of the lock mechanism.
By meticulously following these steps, you’ll successfully marry the lock mechanism with the metal bar, culminating in a cohesive and robust door lock assembly. With the lock mechanism securely attached, it’s time to transition to the final phase: testing the lock to validate its effectiveness and functionality.
Read more: How To Make A Makeshift Door Lock
Step 4: Test the Lock
As you approach the culmination of this DIY door lock creation journey, the pivotal step of testing the lock holds significant importance. This phase allows you to validate the functionality, reliability, and overall effectiveness of the assembled lock. Follow these essential guidelines to conduct a thorough and insightful test:
- Engage the locking mechanism: Initiate the locking action to secure the door using the newly installed lock. Observe the smoothness and ease of the locking process, ensuring that it aligns with your expectations.
- Verify stability and alignment: Assess the stability of the lock assembly and confirm that the components are aligned correctly. A stable and properly aligned lock contributes to enhanced security and peace of mind.
- Test the unlocking process: Proceed to unlock the door using the installed lock mechanism. Pay close attention to the ease of unlocking and ensure that the mechanism operates seamlessly without any resistance or irregularities.
- Assess overall security: Consider the overall security provided by the DIY lock, taking into account its sturdiness and resistance to external forces. A well-tested lock should instill confidence in its ability to fortify your door against unauthorized access.
By diligently conducting these tests, you’ll gain valuable insights into the performance and reliability of the DIY door lock, affirming its capability to bolster the security of your home. With the lock successfully tested and validated, you’ve accomplished the mission of creating a custom door lock with your own hands, culminating in a sense of empowerment and security.
Congratulations on completing this DIY door lock construction journey. Your dedication and ingenuity have contributed to enhancing the security of your home, and the knowledge gained from this experience will serve you well in your ongoing quest for a safe and protected living environment.
Conclusion
Crafting a DIY door lock has not only fortified the security of your home but also empowered you with a hands-on understanding of home security principles. By embarking on this creative endeavor, you’ve woven together practicality, ingenuity, and a proactive approach to safeguarding your living space. The journey from gathering materials to meticulously assembling the lock has provided valuable insights and a tangible sense of accomplishment.
As you reflect on this undertaking, you’ve not only fortified the physical integrity of your door but also cultivated a mindset of proactive security awareness. Your diligence in measuring, cutting, drilling, and assembling has culminated in a tangible manifestation of your commitment to safety and protection.
Moreover, the knowledge gained from this project serves as a foundation for further exploration into the realm of home security. Your newfound understanding of lock mechanisms, metalwork, and precision assembly equips you with a valuable skill set that transcends the completion of this specific project.
By infusing your personalized touch into the creation of a custom door lock, you’ve embraced the spirit of self-reliance and resourcefulness. This endeavor stands as a testament to your ability to take proactive measures to enhance the security of your home, underscoring the value of hands-on engagement in safeguarding your living environment.
As you admire the newly installed DIY door lock, may it serve as a constant reminder of your capability to transform ideas into tangible solutions. Your dedication to fortifying your home’s security has not only yielded a functional enhancement but has also nurtured a sense of empowerment and self-sufficiency.
With this project now a part of your accomplished endeavors, you stand poised to embrace future challenges with a renewed sense of capability and readiness. The journey from concept to creation has not only bolstered your home’s security but has also enriched your understanding of the proactive steps you can take to create a safe and protected living environment.
Frequently Asked Questions about How To Make A Lock For Your Door
Was this page helpful?
At Storables.com, we guarantee accurate and reliable information. Our content, validated by Expert Board Contributors, is crafted following stringent Editorial Policies. We're committed to providing you with well-researched, expert-backed insights for all your informational needs.


0 thoughts on “How To Make A Lock For Your Door”