Home>Technology>Security & Surveillance>How To Fix A Door Lock Hole
Security & Surveillance
How To Fix A Door Lock Hole
Modified: January 5, 2024
Learn how to fix a door lock hole for improved security and surveillance. Follow our step-by-step guide to restore your peace of mind.
(Many of the links in this article redirect to a specific reviewed product. Your purchase of these products through affiliate links helps to generate commission for Storables.com, at no extra cost. Learn more)
Introduction
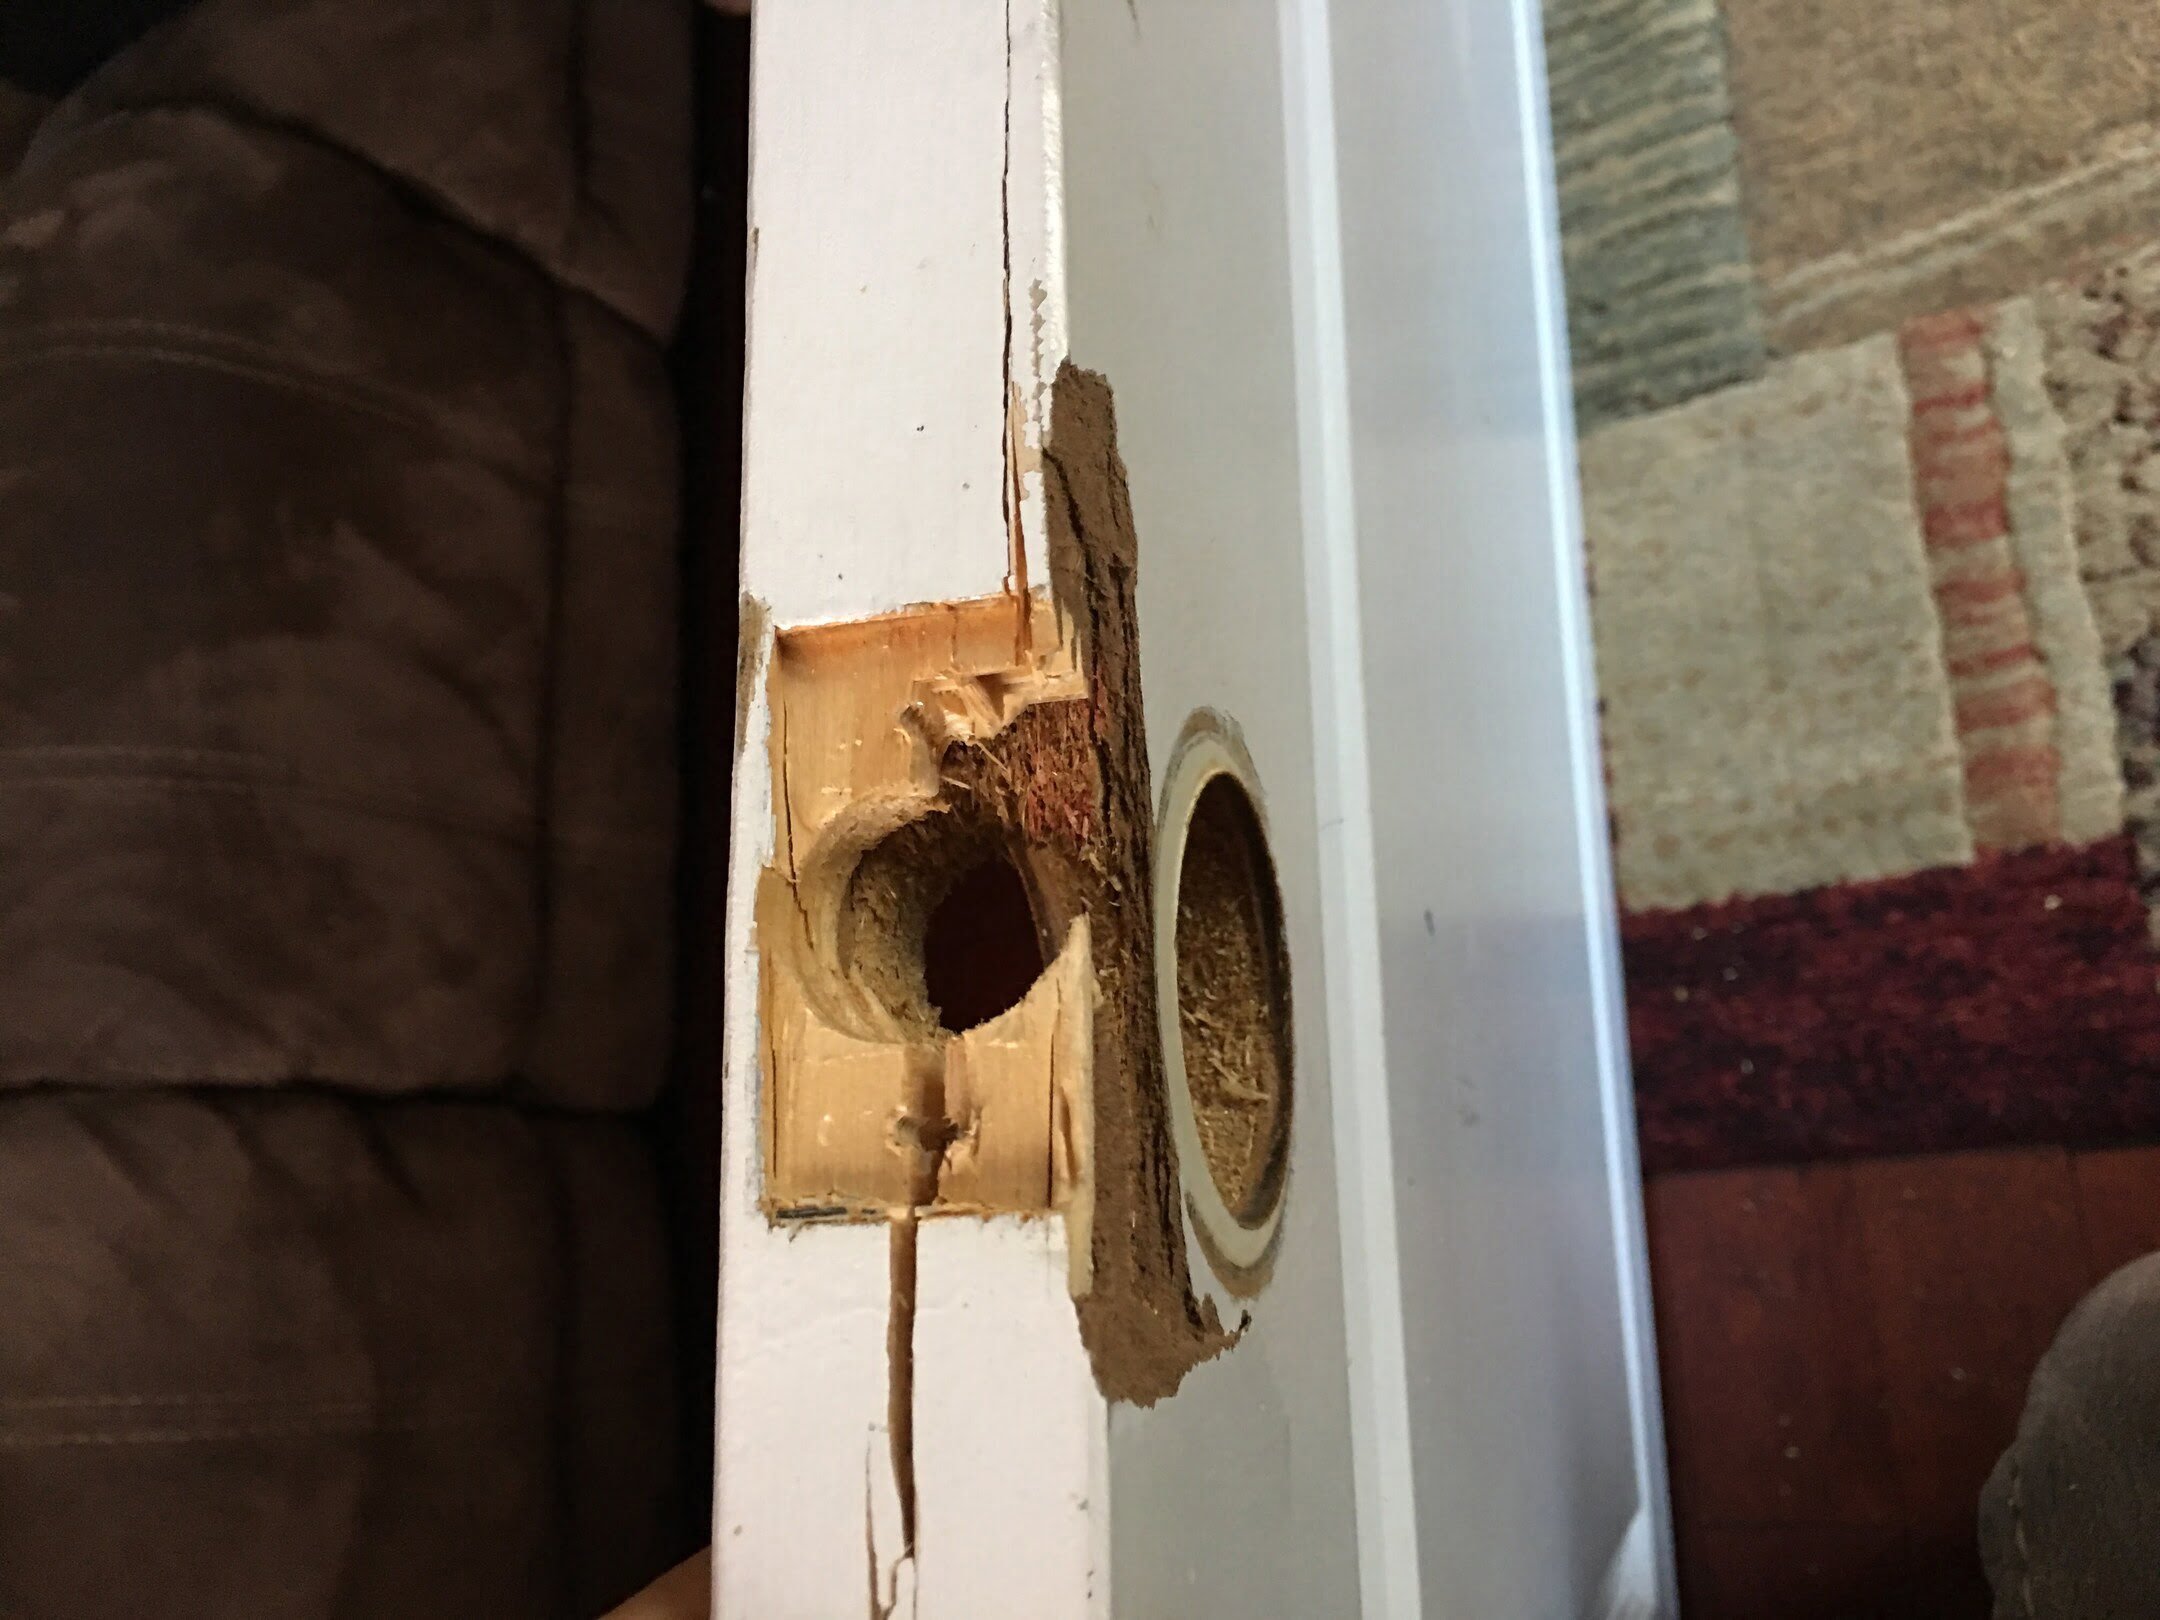
Having a damaged door lock hole can be a frustrating and concerning issue for any homeowner. Whether it’s due to wear and tear, attempted forced entry, or a previous lock installation, a damaged door lock hole can compromise the security and aesthetics of your door. However, with the right knowledge and tools, it’s possible to fix this problem without having to replace the entire door. In this guide, we will walk you through the step-by-step process of repairing a door lock hole, helping you restore both the function and appearance of your door.
Before diving into the repair process, it’s important to assess the extent of the damage to determine the most suitable solution. By identifying the specific issues and understanding the necessary repairs, you can effectively restore the security and visual appeal of your door. Let’s begin by assessing the damage and understanding the underlying causes of the problem.
Key Takeaways:
- Assess the damage and choose the right materials to fill the hole. Sand and smooth the area before refinishing or repainting the door to seamlessly conceal the repair.
- Install a new lock to complete the restoration, ensuring both security and functionality. By following this guide, you can confidently tackle similar home repair challenges.
Read more: How To Open A Door Lock With A Hole
Assessing the Damage
Before initiating the repair, it’s crucial to thoroughly assess the damage to the door lock hole. This assessment will help you determine the appropriate course of action and ensure that the repair is comprehensive and effective.
Start by closely examining the door lock hole to identify any visible signs of damage. Look for cracks, splintering, or enlargement of the hole, which may have resulted from previous installations or attempted break-ins. Additionally, check the surrounding area for any structural issues that may have contributed to the damage, such as weakened door frames or loose hinges.
It’s also essential to inspect the type of material the door is made of, as this will influence the repair method. Whether the door is constructed from wood, metal, or composite materials, understanding its composition is crucial for selecting the appropriate repair materials and techniques.
If the damage is minimal, such as minor splintering or chipping around the lock hole, a simple repair may suffice. However, if the damage is more extensive, such as a significantly enlarged or weakened hole, a more comprehensive approach may be necessary to ensure the long-term stability and security of the lock.
By thoroughly evaluating the damage and its underlying causes, you can proceed with confidence, knowing that the repair will address all aspects of the issue. With a clear understanding of the damage, you can now move on to the next step: filling the hole.
Filling the Hole
Once you have assessed the damage to the door lock hole, the next step is to fill the affected area. This process involves using suitable materials to restore the structural integrity of the hole and provide a solid foundation for the subsequent refinishing and installation of a new lock.
For minor damage, such as small cracks or shallow indentations, a wood filler or epoxy putty can be used to effectively fill the hole. Ensure that the chosen filler is compatible with the material of the door and is designed to withstand the pressures and stresses associated with a door lock.
Before applying the filler, clean the area around the hole to remove any debris, dust, or loose particles. This will facilitate better adhesion and ensure a seamless finish. Follow the manufacturer’s instructions for preparing and applying the filler, and use a putty knife or applicator to carefully fill the damaged area, ensuring that the filler is level with the surface of the door.
For more significant damage, such as enlarged or weakened lock holes, a reinforcement technique may be necessary. This can involve using wooden dowels or inserts to strengthen the area before applying the filler. By reinforcing the surrounding material, you can enhance the stability and durability of the repaired lock hole.
After filling the hole, allow the filler to dry and cure completely according to the manufacturer’s recommendations. Once the filler has hardened, it’s important to proceed with sanding and smoothing the repaired area to achieve a seamless and polished surface.
With the hole adequately filled and reinforced, you are now ready to proceed to the next stage of the repair process: sanding and smoothing the repaired area to prepare it for refinishing.
Sanding and Smoothing
After filling the door lock hole, the next crucial step in the repair process is to sand and smooth the repaired area. This step is essential for achieving a seamless and uniform surface that is ready for refinishing or repainting, ensuring a professional and polished result.
Begin by using fine-grit sandpaper to carefully sand the filled area, working in gentle, circular motions to blend the filler with the surrounding door surface. The goal is to create a level and smooth finish that seamlessly integrates with the rest of the door. Take care to avoid applying excessive pressure, as this can result in uneven surfaces or damage to the surrounding material.
As you sand the repaired area, periodically check the surface with your fingertips to assess its smoothness and consistency. This tactile approach can help you identify any remaining imperfections or rough patches that require further attention. Additionally, inspect the area under adequate lighting to ensure that the surface is free from blemishes and irregularities.
If the repair involved the use of wood filler, consider using a wood sanding block to maintain the contours and grain of the surrounding wood, creating a natural and cohesive appearance. For metal or composite doors, use sandpaper appropriate for the specific material to achieve a uniform finish.
Once the repaired area has been thoroughly sanded and smoothed, wipe the surface with a clean, damp cloth to remove any dust or debris. This will prepare the area for the next phase of the repair process, whether it involves refinishing the door or installing a new lock.
By meticulously sanding and smoothing the repaired lock hole, you can ensure that the door’s surface is flawlessly prepared for the final steps of the repair, whether that entails refinishing the door to its original appearance or installing a new lock to restore its functionality.
With the repaired area now seamlessly integrated with the door’s surface, you can proceed to the subsequent phase: refinishing or repainting the door to complete the restoration process.
Fill the hole with wood filler, let it dry, then sand it smooth. If the hole is too big, use a wood plug or dowel. Sand and repaint as needed.
Repainting or Refinishing
Once the repaired lock hole has been sanded and smoothed, the next step in the restoration process involves refinishing or repainting the door to restore its visual appeal and protective qualities. This phase is essential for achieving a cohesive and professional finish that seamlessly conceals the repaired area while enhancing the overall aesthetics of the door.
If your door features a natural wood finish, consider refinishing the entire door to ensure a uniform appearance. Begin by removing any existing finish or paint from the door using appropriate stripping agents or sanding techniques. This will prepare the surface for the application of a new finish that will seamlessly blend with the repaired lock hole.
For doors with a painted finish, carefully match the existing paint color and finish to ensure a seamless transition between the repaired area and the surrounding surface. Use high-quality paint and brushes to achieve a smooth and even application, taking care to feather the edges of the painted area to blend it with the rest of the door.
When refinishing or repainting the door, apply multiple thin coats of finish or paint, allowing each coat to dry completely before applying the next. This approach will help you achieve a durable and uniform finish while minimizing the risk of drips, runs, or uneven coverage.
After applying the final coat of finish or paint, allow the door to dry thoroughly according to the manufacturer’s recommendations before handling or reinstalling the hardware. This will ensure that the finish cures properly, providing long-lasting protection and visual appeal.
By refinishing or repainting the door, you can effectively conceal the repaired lock hole and restore the door’s appearance to its original or desired state. With the door’s visual appeal revitalized, you can now focus on the final phase of the repair process: installing a new lock to complete the restoration of both form and function.
Read more: How To Make Hole In Door Frame For Lock
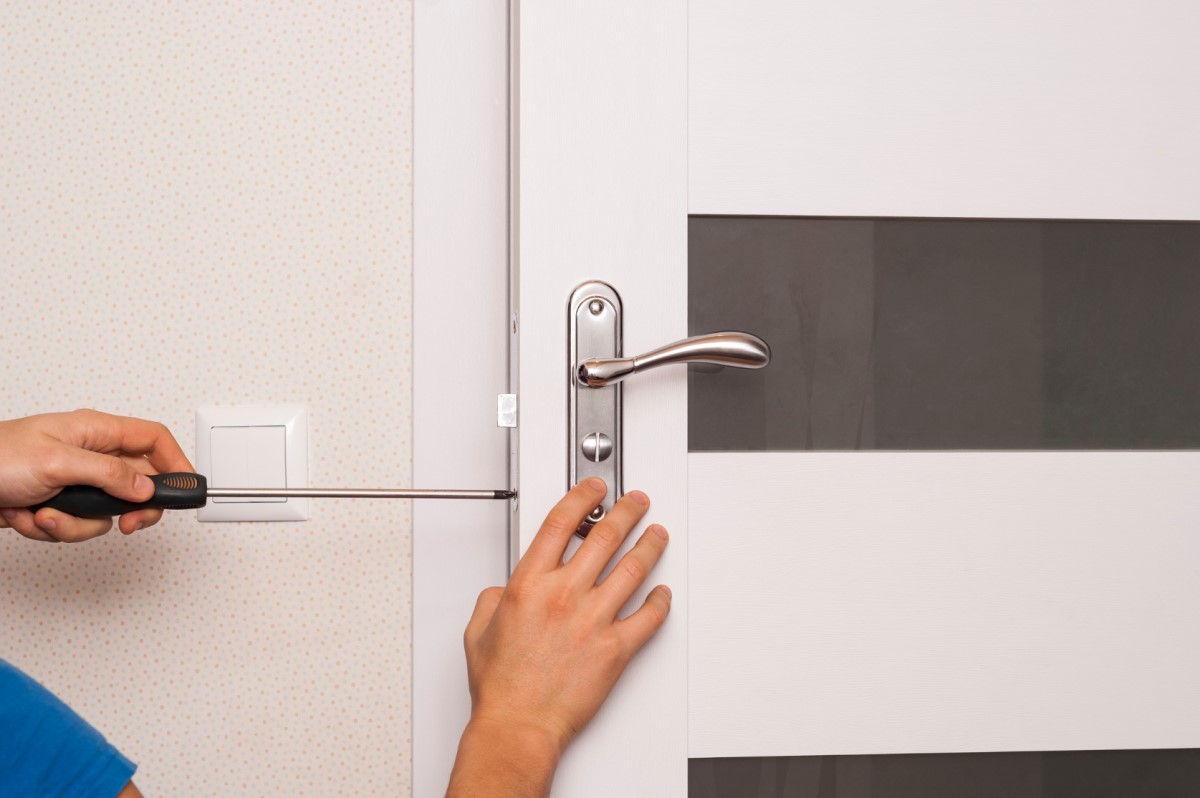
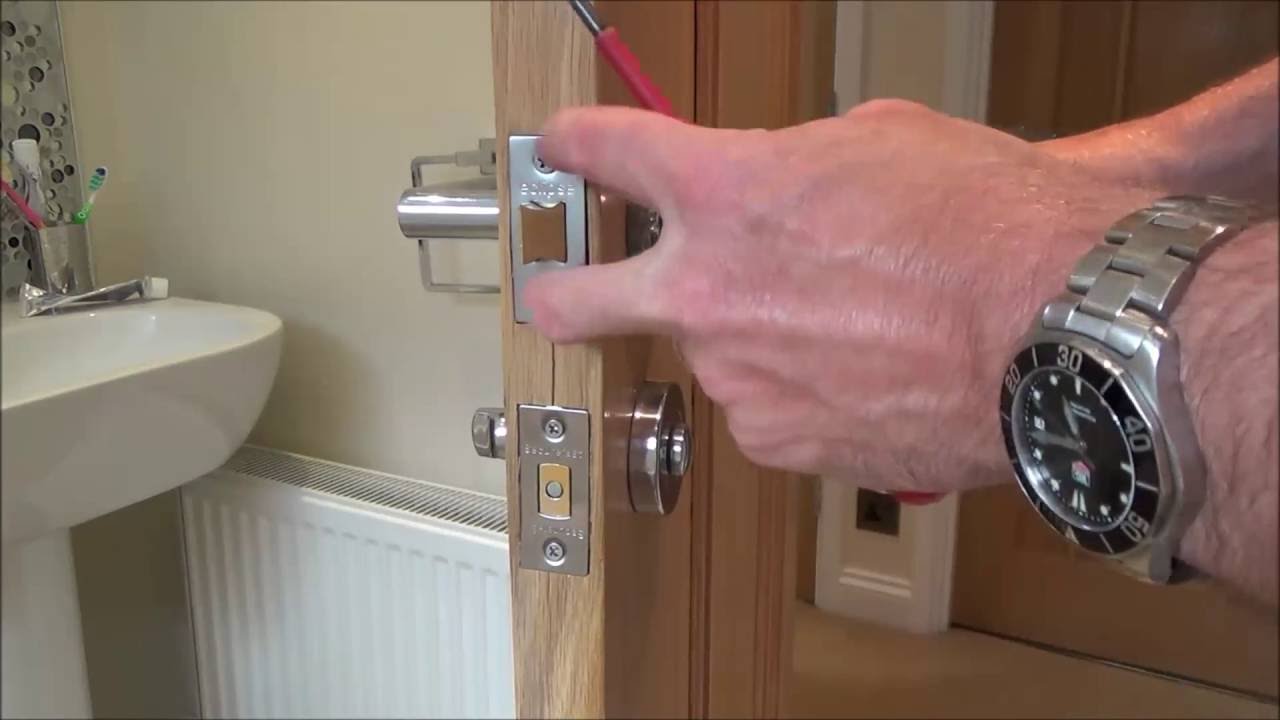
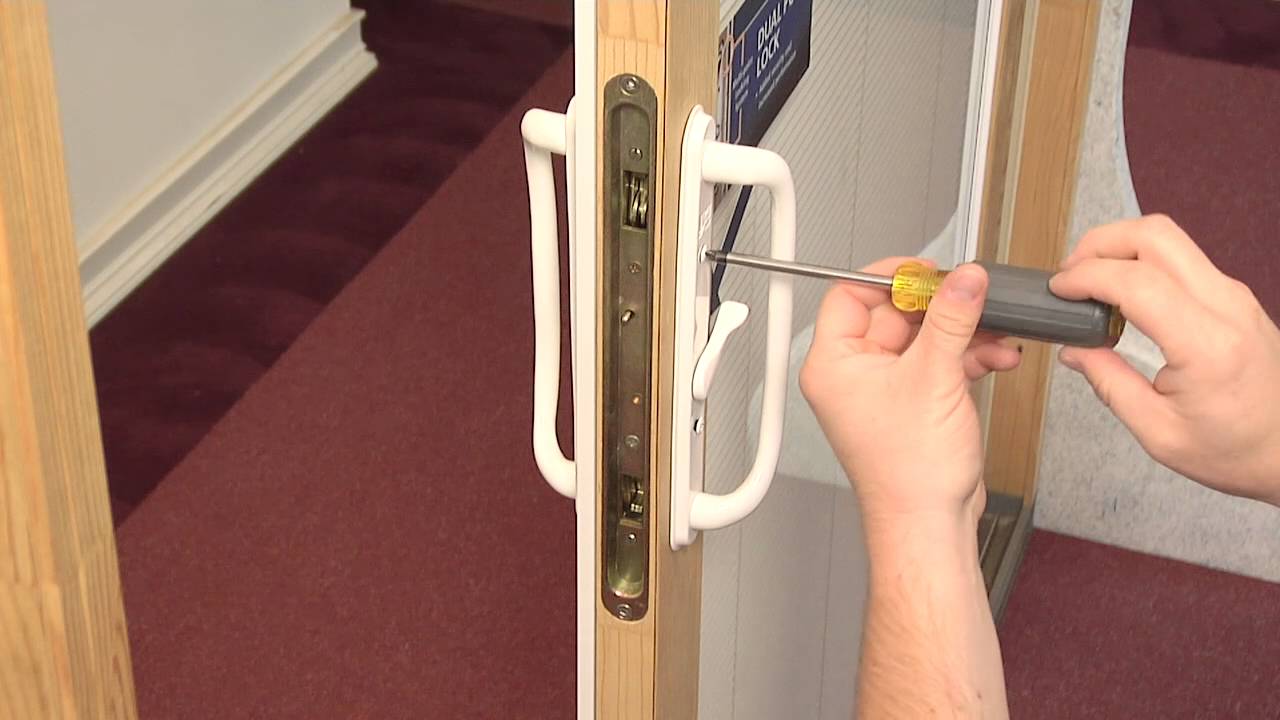
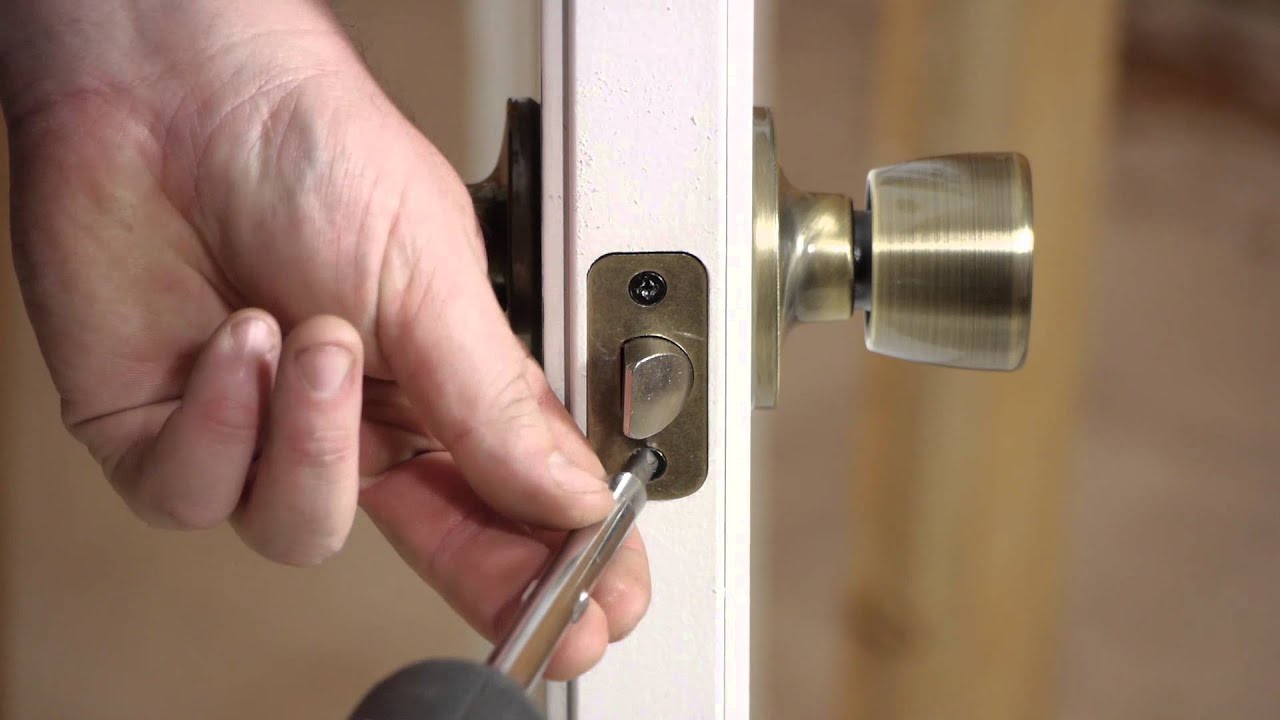
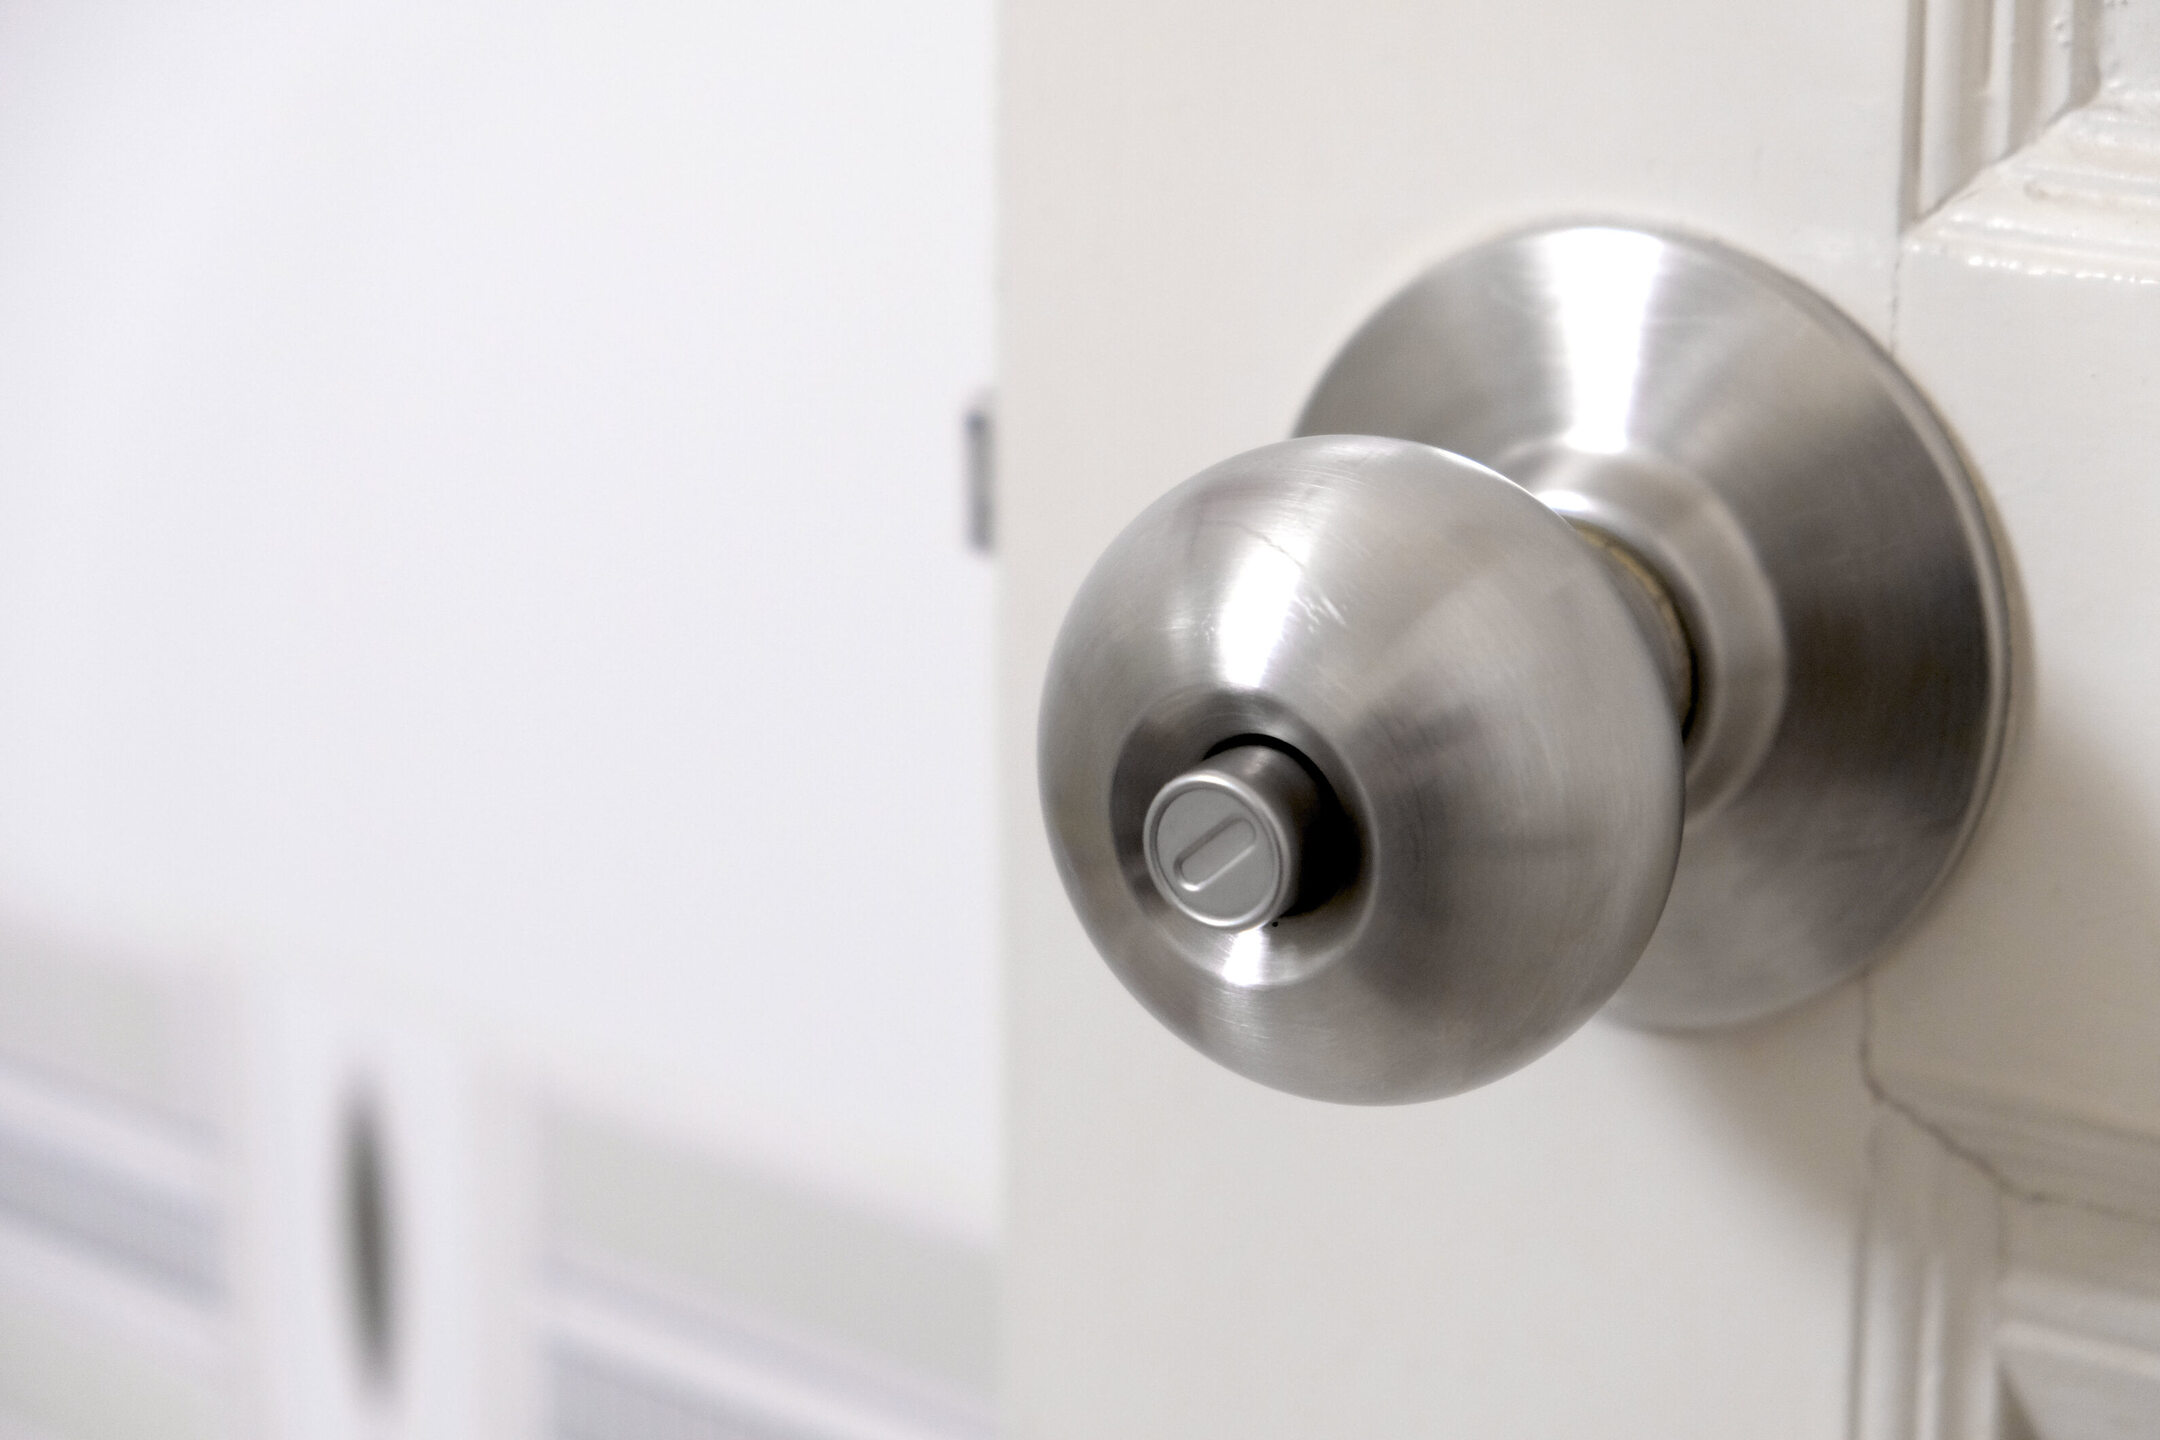
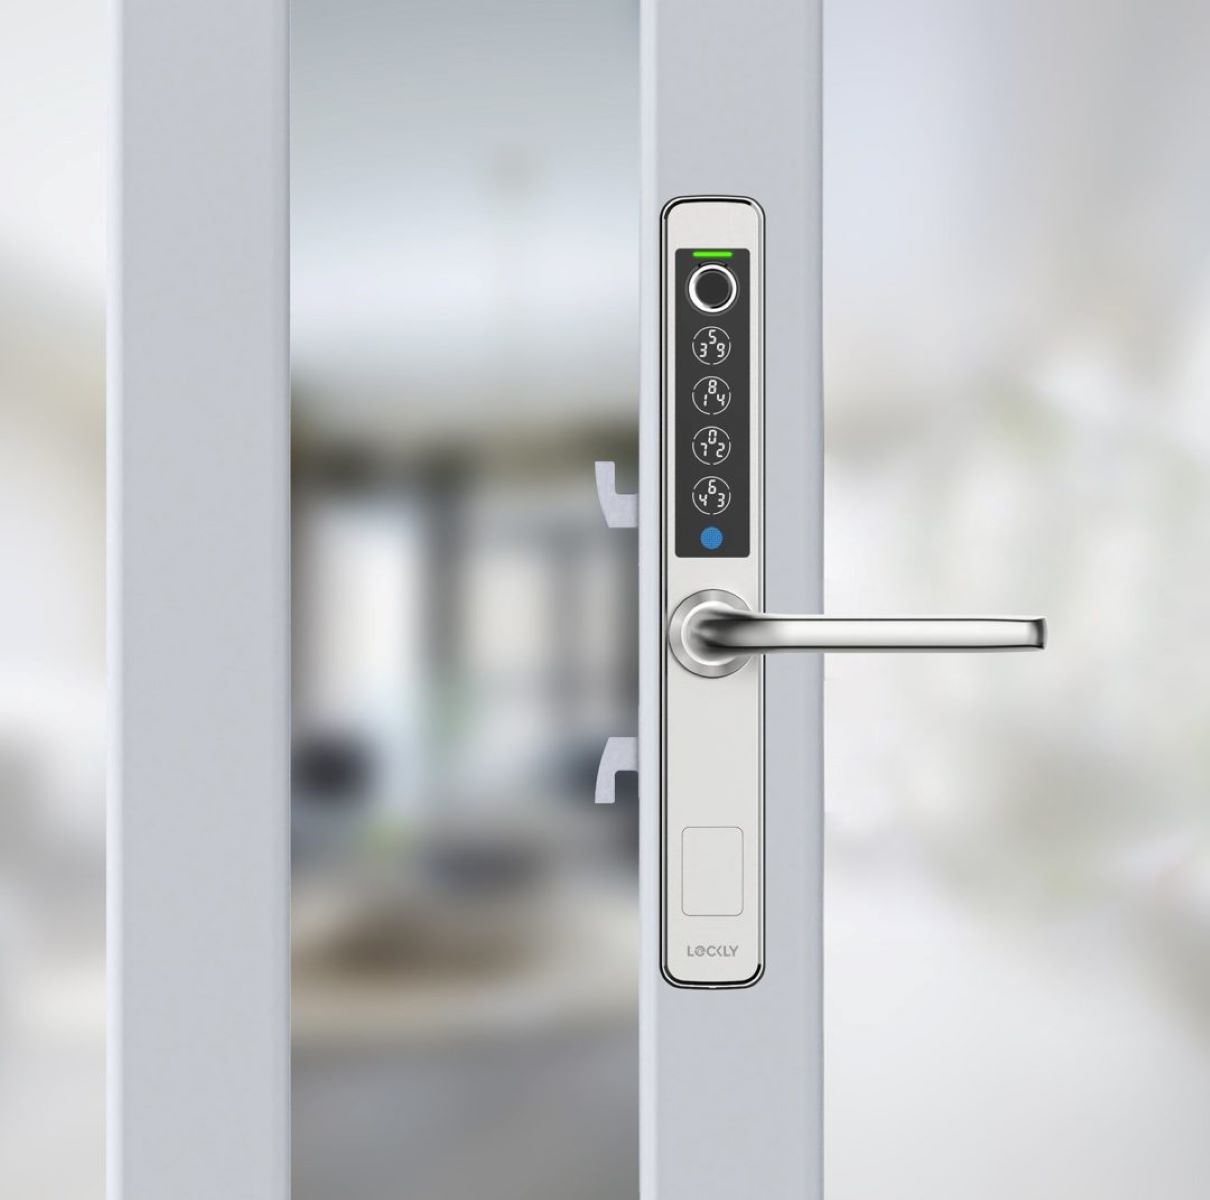
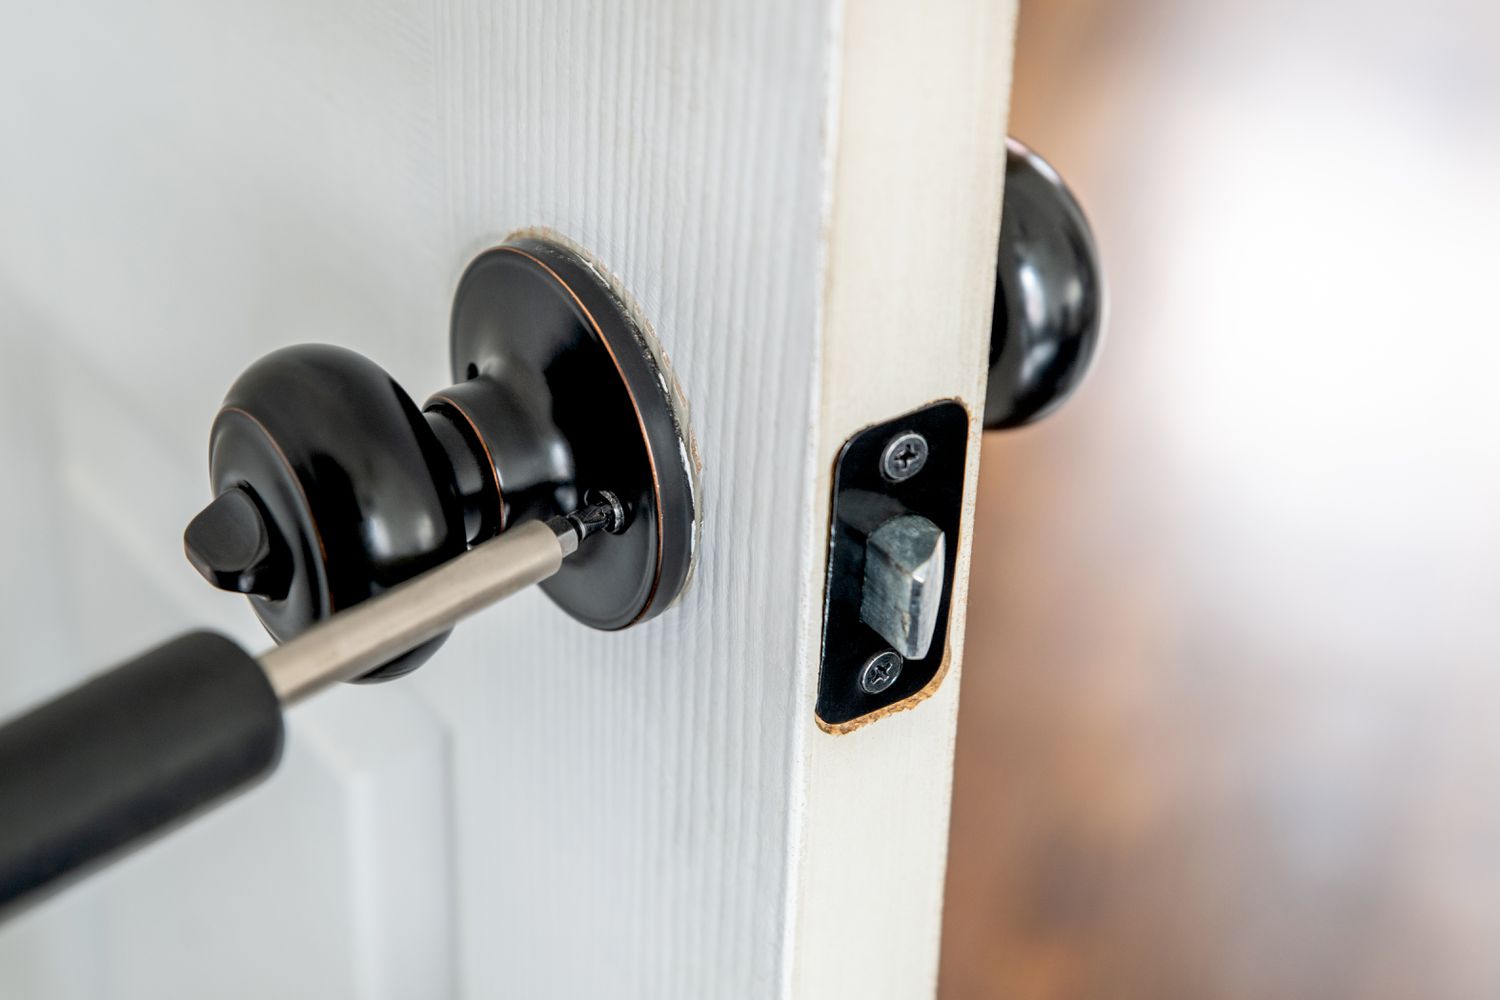
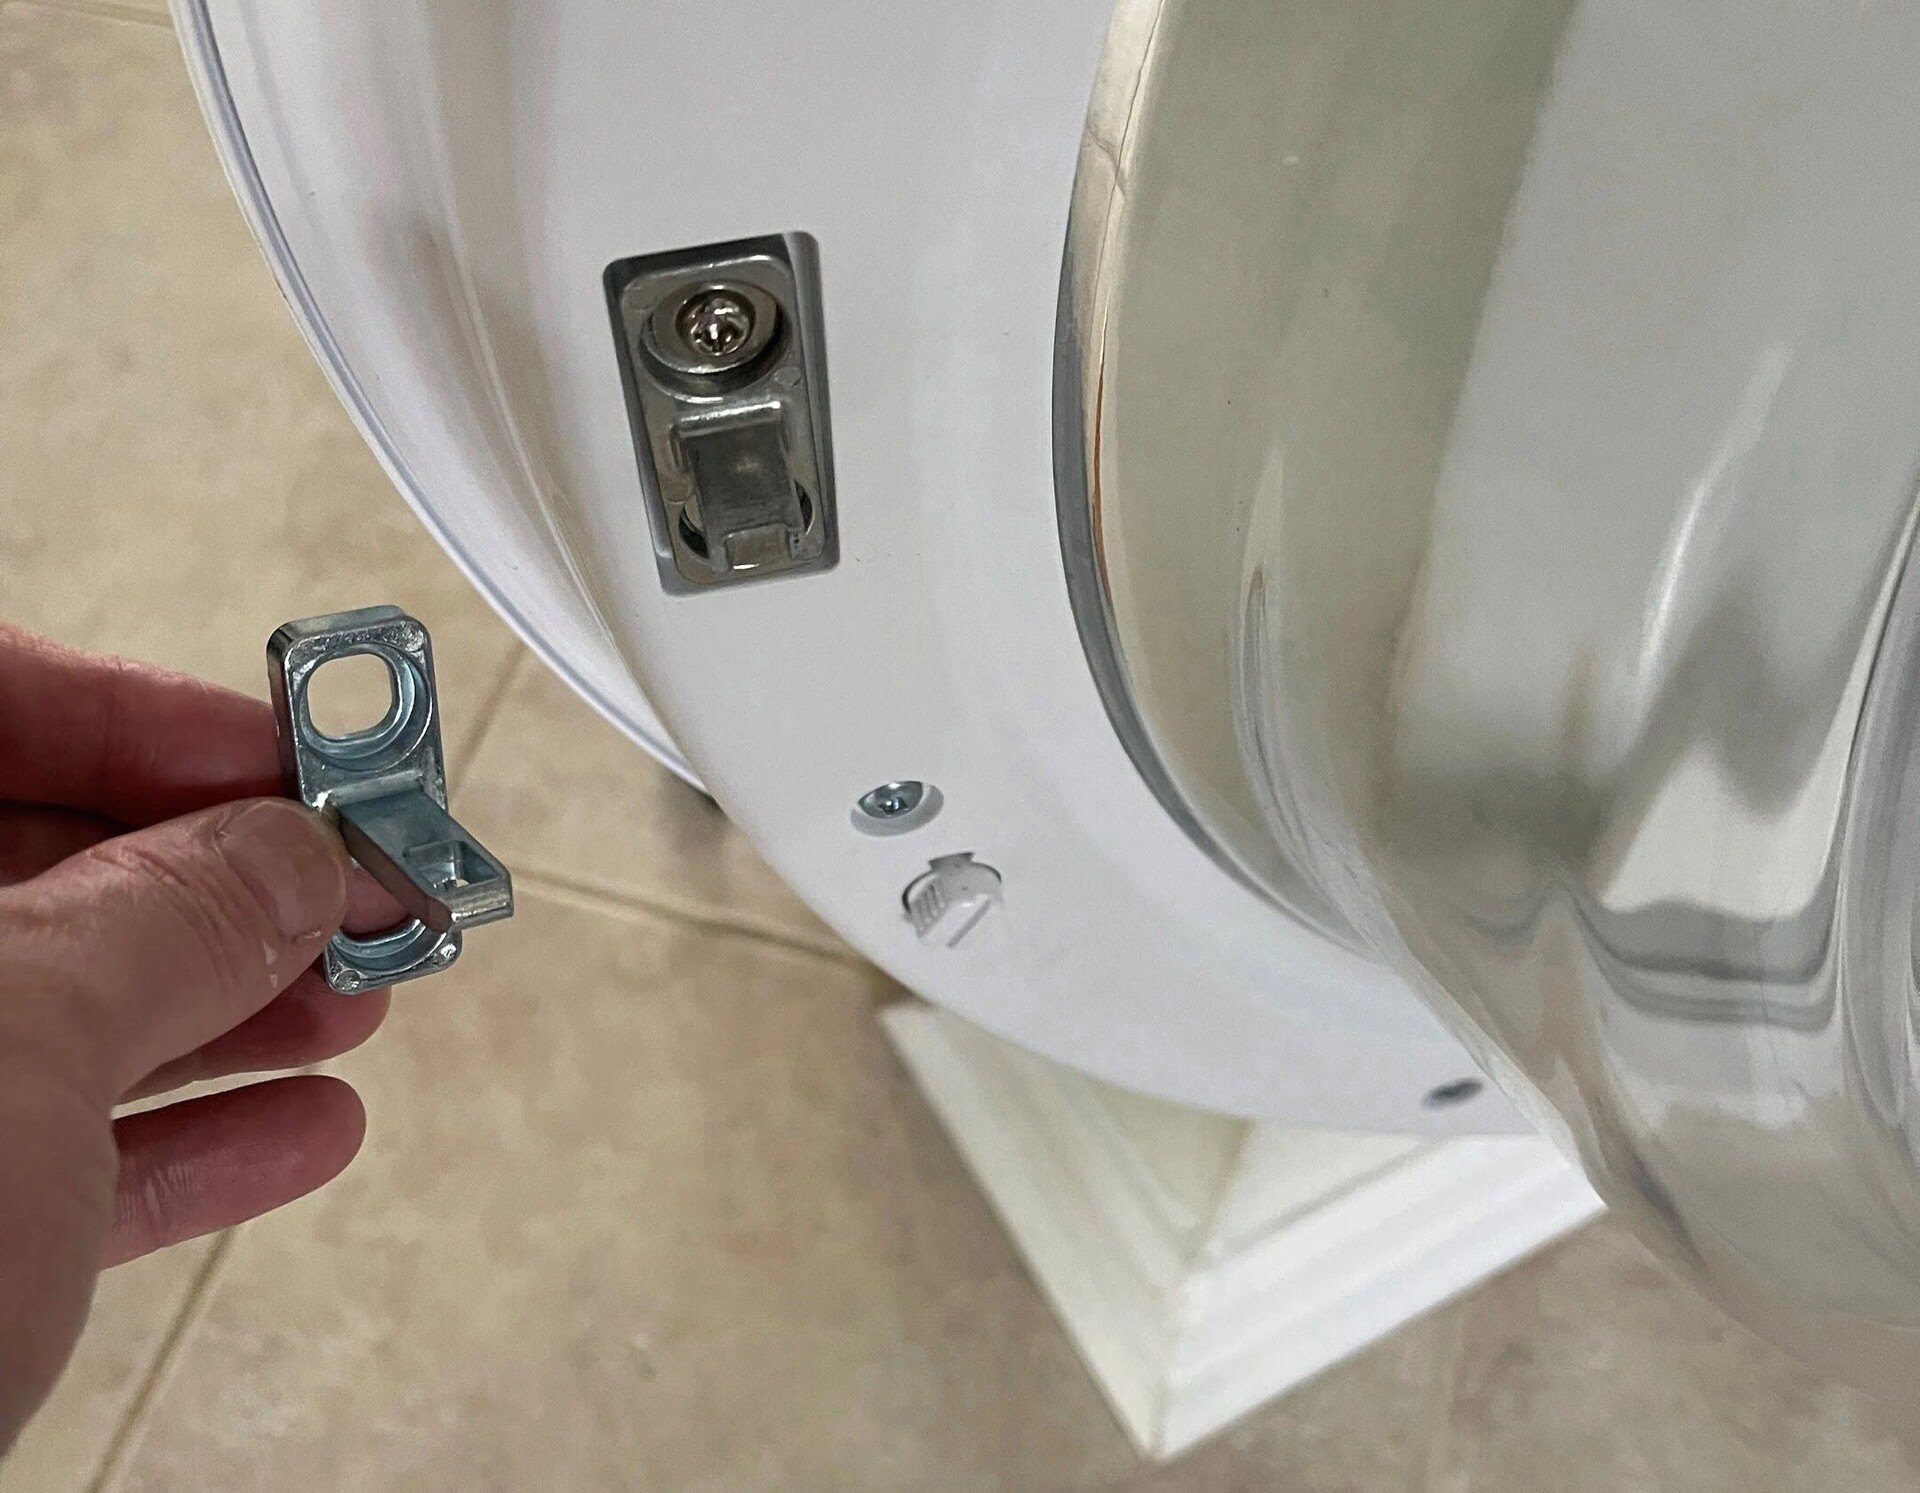
Installing a New Lock
With the repaired door lock hole now seamlessly integrated into the door’s surface and the refinishing or repainting complete, the final step in the restoration process is to install a new lock. This step is crucial for ensuring the security and functionality of the door, providing peace of mind and convenience for you and your household.
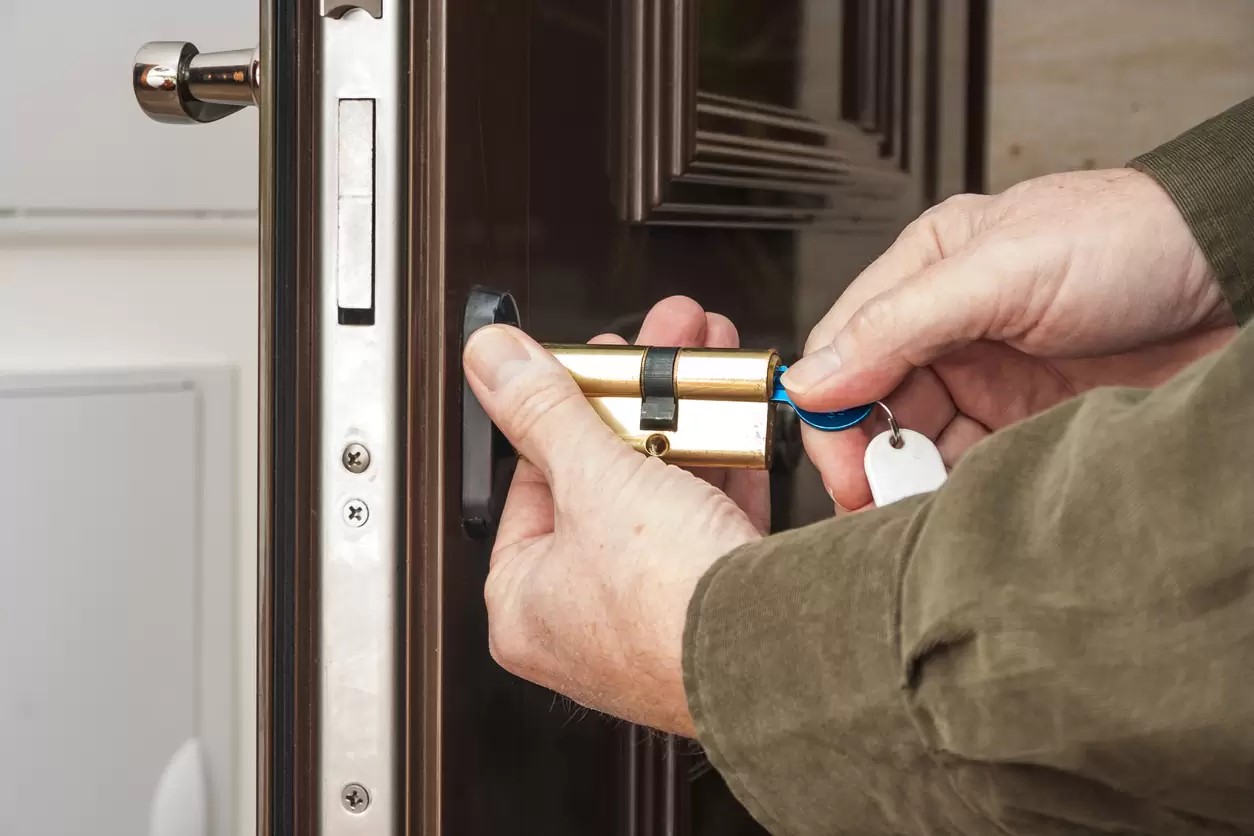
Begin by selecting a high-quality lock that meets your security needs and complements the design of your door. Whether you opt for a traditional key-operated lock or a modern electronic keypad system, ensure that the chosen lock is compatible with the door’s specifications and your personal preferences.
Before installing the new lock, carefully follow the manufacturer’s instructions to prepare the door for the installation. This may involve drilling new holes or adjusting the fit of the lock to ensure a precise and secure installation. Take accurate measurements and use appropriate tools to avoid damaging the door during the installation process.
Once the door is prepared, carefully position the new lock in the designated area, ensuring that it aligns with the repaired lock hole and operates smoothly. Secure the lock in place according to the manufacturer’s guidelines, using the provided screws and fasteners to establish a firm and stable connection with the door.
After installing the new lock, thoroughly test its operation to confirm that it functions as intended. Check the alignment of the lock’s components, test the key or keypad operation, and ensure that the locking mechanism engages and disengages smoothly. This meticulous testing will help you identify and address any potential issues before relying on the lock for daily use.
With the new lock successfully installed and functioning, take the time to familiarize yourself with its features and operation. Whether it’s understanding the keying process, programming access codes, or configuring additional security settings, ensuring that you are well-acquainted with the lock’s functionality will maximize its effectiveness and convenience.
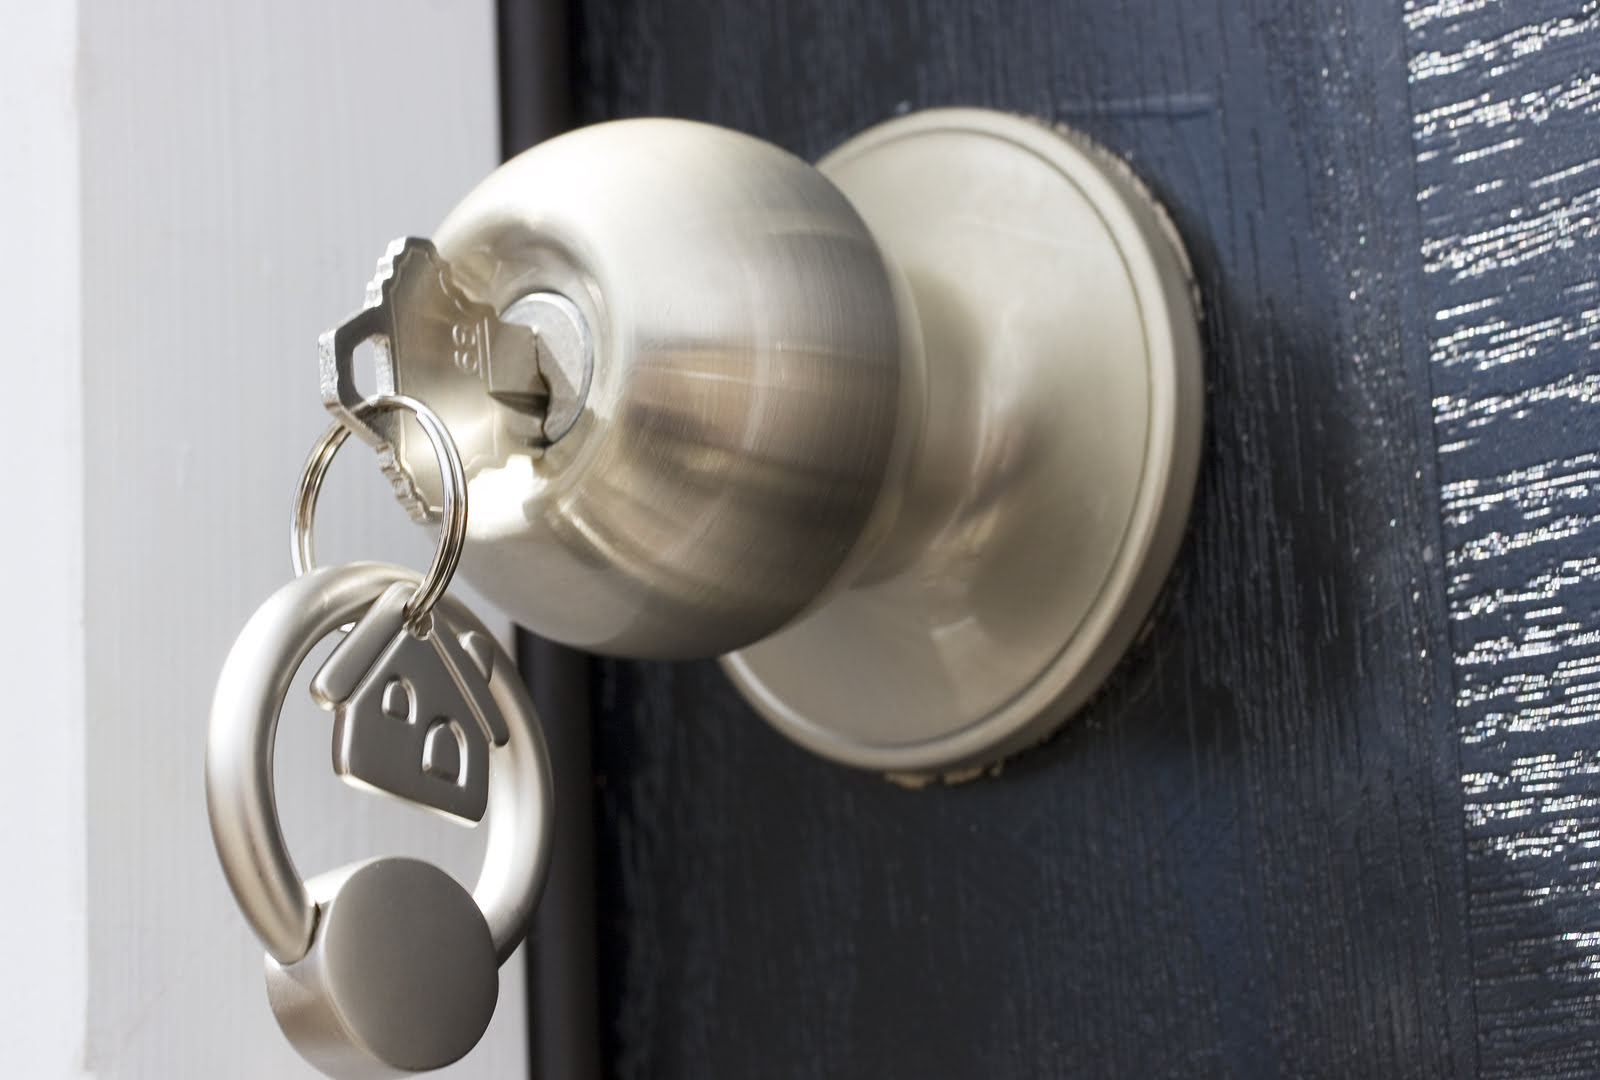
By installing a new lock, you can complete the restoration of the door’s security and functionality, effectively addressing the initial concern of a damaged lock hole while upgrading the door’s overall security measures. With the new lock in place, you can enjoy the reassurance of a fully restored and secure entryway.
Conclusion
Repairing a damaged door lock hole is a manageable task that can significantly enhance the security and visual appeal of your door. By following the step-by-step process outlined in this guide, you can effectively address the damage and restore the functionality and aesthetics of your entryway.
From assessing the extent of the damage to installing a new lock, each phase of the repair process plays a vital role in achieving a comprehensive and successful restoration. By carefully evaluating the damage, filling the hole, sanding and smoothing the repaired area, and refinishing or repainting the door, you can seamlessly integrate the repaired lock hole with the door’s surface, concealing the damage and revitalizing its appearance.
With the installation of a new lock, you can complete the restoration, ensuring that the door not only looks rejuvenated but also provides reliable security for your home. The process of installing a new lock serves as the final touch, solidifying the door’s renewed functionality and reinforcing your peace of mind.
Throughout the repair journey, attention to detail, patience, and adherence to best practices are essential. Whether it’s selecting the right materials, meticulously filling and smoothing the hole, or carefully installing the new lock, each step contributes to the overall success of the repair.
By taking the time to address a damaged door lock hole, you not only restore the door’s integrity but also demonstrate a proactive approach to home maintenance and security. The knowledge and skills gained from this experience can empower you to tackle similar challenges with confidence and proficiency, ensuring that your home remains secure and visually appealing for years to come.
With the door now fully restored, you can take pride in the accomplishment of overcoming a common household issue and transforming it into an opportunity to enhance your home’s security and aesthetics. By following this guide, you have embarked on a journey of restoration and improvement, making your home a safer and more inviting place for you and your loved ones.
Frequently Asked Questions about How To Fix A Door Lock Hole
Was this page helpful?
At Storables.com, we guarantee accurate and reliable information. Our content, validated by Expert Board Contributors, is crafted following stringent Editorial Policies. We're committed to providing you with well-researched, expert-backed insights for all your informational needs.
0 thoughts on “How To Fix A Door Lock Hole”