Home>Technology>Security & Surveillance>How To Remove Keypad Door Lock
Security & Surveillance
How To Remove Keypad Door Lock
Modified: August 24, 2024
Learn how to remove a keypad door lock for improved security and surveillance. Follow these simple steps to upgrade your home security system.
(Many of the links in this article redirect to a specific reviewed product. Your purchase of these products through affiliate links helps to generate commission for Storables.com, at no extra cost. Learn more)
Introduction
Welcome to our comprehensive guide on removing a keypad door lock. Keypad door locks are a convenient and modern security solution for homes and businesses. However, there are times when you might need to remove a keypad door lock, whether it's for maintenance, replacement, or an upgrade. In this guide, we will walk you through the step-by-step process of removing a keypad door lock, ensuring that you can complete the task with confidence and ease.
Whether you're a seasoned DIY enthusiast or a first-time homeowner, understanding how to remove a keypad door lock is a valuable skill that can save you time and money. By following the instructions provided in this guide, you'll be equipped with the knowledge to tackle this task effectively and safely.
So, let's dive in and explore the necessary steps to remove a keypad door lock, ensuring that you can maintain the security of your property while addressing any issues or upgrades that may arise.
Key Takeaways:
- Removing a keypad door lock requires essential tools, power disconnection, careful disassembly, and potential new lock installation. Following these steps ensures a safe and successful process.
- Reconnecting the power source and testing the new keypad lock’s functionality are crucial final steps for maintaining property security after removing or replacing a keypad door lock.
Read more: How To Lock Door With Keypad
Step 1: Gather Necessary Tools
Before you begin the process of removing a keypad door lock, it’s essential to gather the necessary tools to ensure a smooth and efficient removal process. Here’s a list of tools you’ll need:
- Screwdriver set: A set of screwdrivers with various head types, including Phillips and flathead, will be essential for removing screws and disassembling the lock mechanism.
- Allen wrench set: Depending on the type of keypad lock, you may require an Allen wrench to loosen or remove specific components.
- Replacement batteries (if applicable): If your keypad lock is battery-powered, it’s wise to have replacement batteries on hand to ensure uninterrupted operation after reinstallation.
- Container for screws and small parts: A small container or magnetic tray will help you keep track of screws and small components, preventing them from getting lost during the removal process.
- Flashlight: A reliable flashlight can be helpful for illuminating the work area, especially if the keypad lock is installed in a dimly lit location.
- Protective gloves: It’s always a good idea to wear protective gloves to safeguard your hands during the removal process.
- Step ladder (if needed): If the keypad lock is installed at a height that requires a step ladder for access, ensure that you have a stable and secure step ladder available.
By gathering these essential tools and supplies, you’ll be well-prepared to proceed with confidence as you navigate the process of removing the keypad door lock. With the tools in hand, you can proceed to the next steps, knowing that you have everything necessary to complete the task effectively.
Step 2: Disconnect the Power Source
Prior to removing the keypad door lock, it’s crucial to disconnect the power source to ensure safety and prevent any electrical mishaps. Depending on the type of keypad lock installed, the power source may involve batteries, electrical wiring, or a combination of both. Here’s how to disconnect the power source:
- If Battery-Powered: If your keypad door lock is battery-operated, locate the battery compartment typically located on the interior side of the door. Use the appropriate screwdriver to open the compartment and remove the batteries. Ensure that you have replacement batteries on hand if needed.
- If Hardwired: For keypad locks that are hardwired to the electrical system, it’s essential to turn off the power supply to the lock at the circuit breaker or fuse box. Locate the corresponding circuit or fuse and switch it off to cut off power to the lock.
Once the power source is disconnected, it’s important to verify that the keypad lock is no longer receiving power. Test the keypad and ensure that it is non-operational before proceeding with the removal process. By taking these precautionary steps, you’ll create a safe working environment and minimize the risk of electrical hazards during the removal of the keypad door lock.
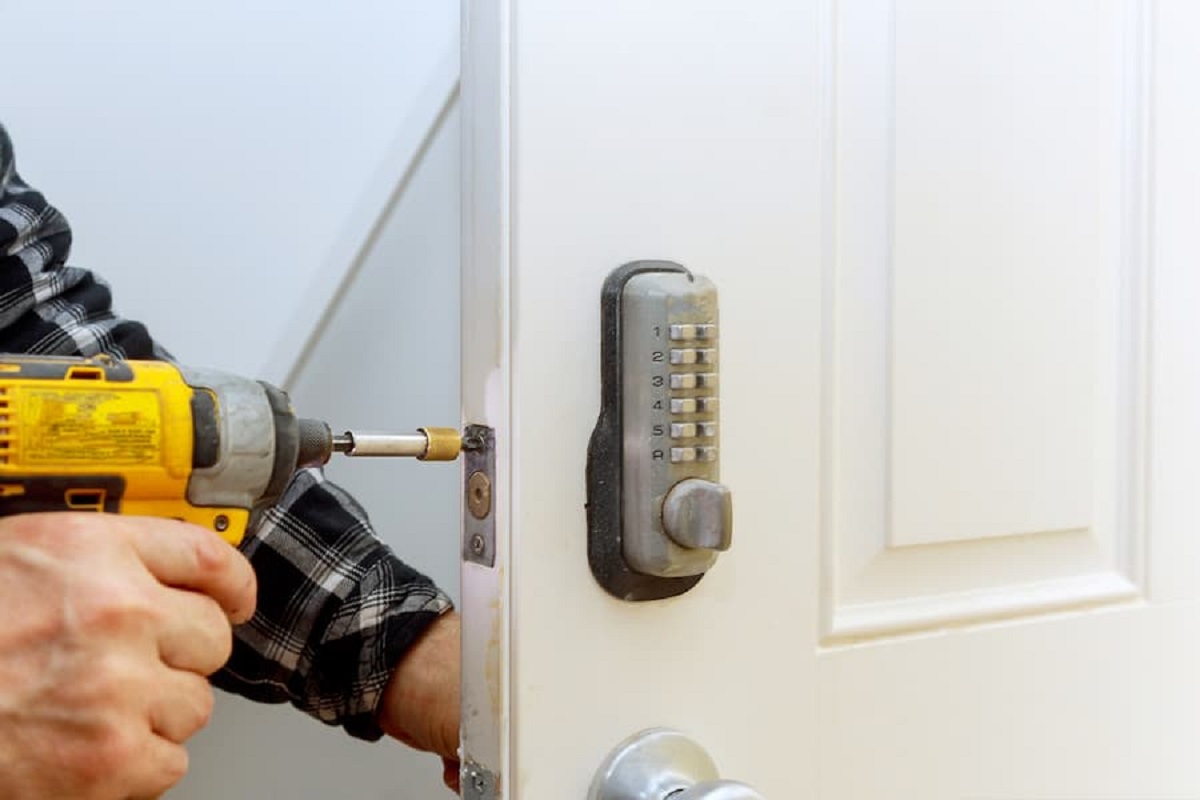
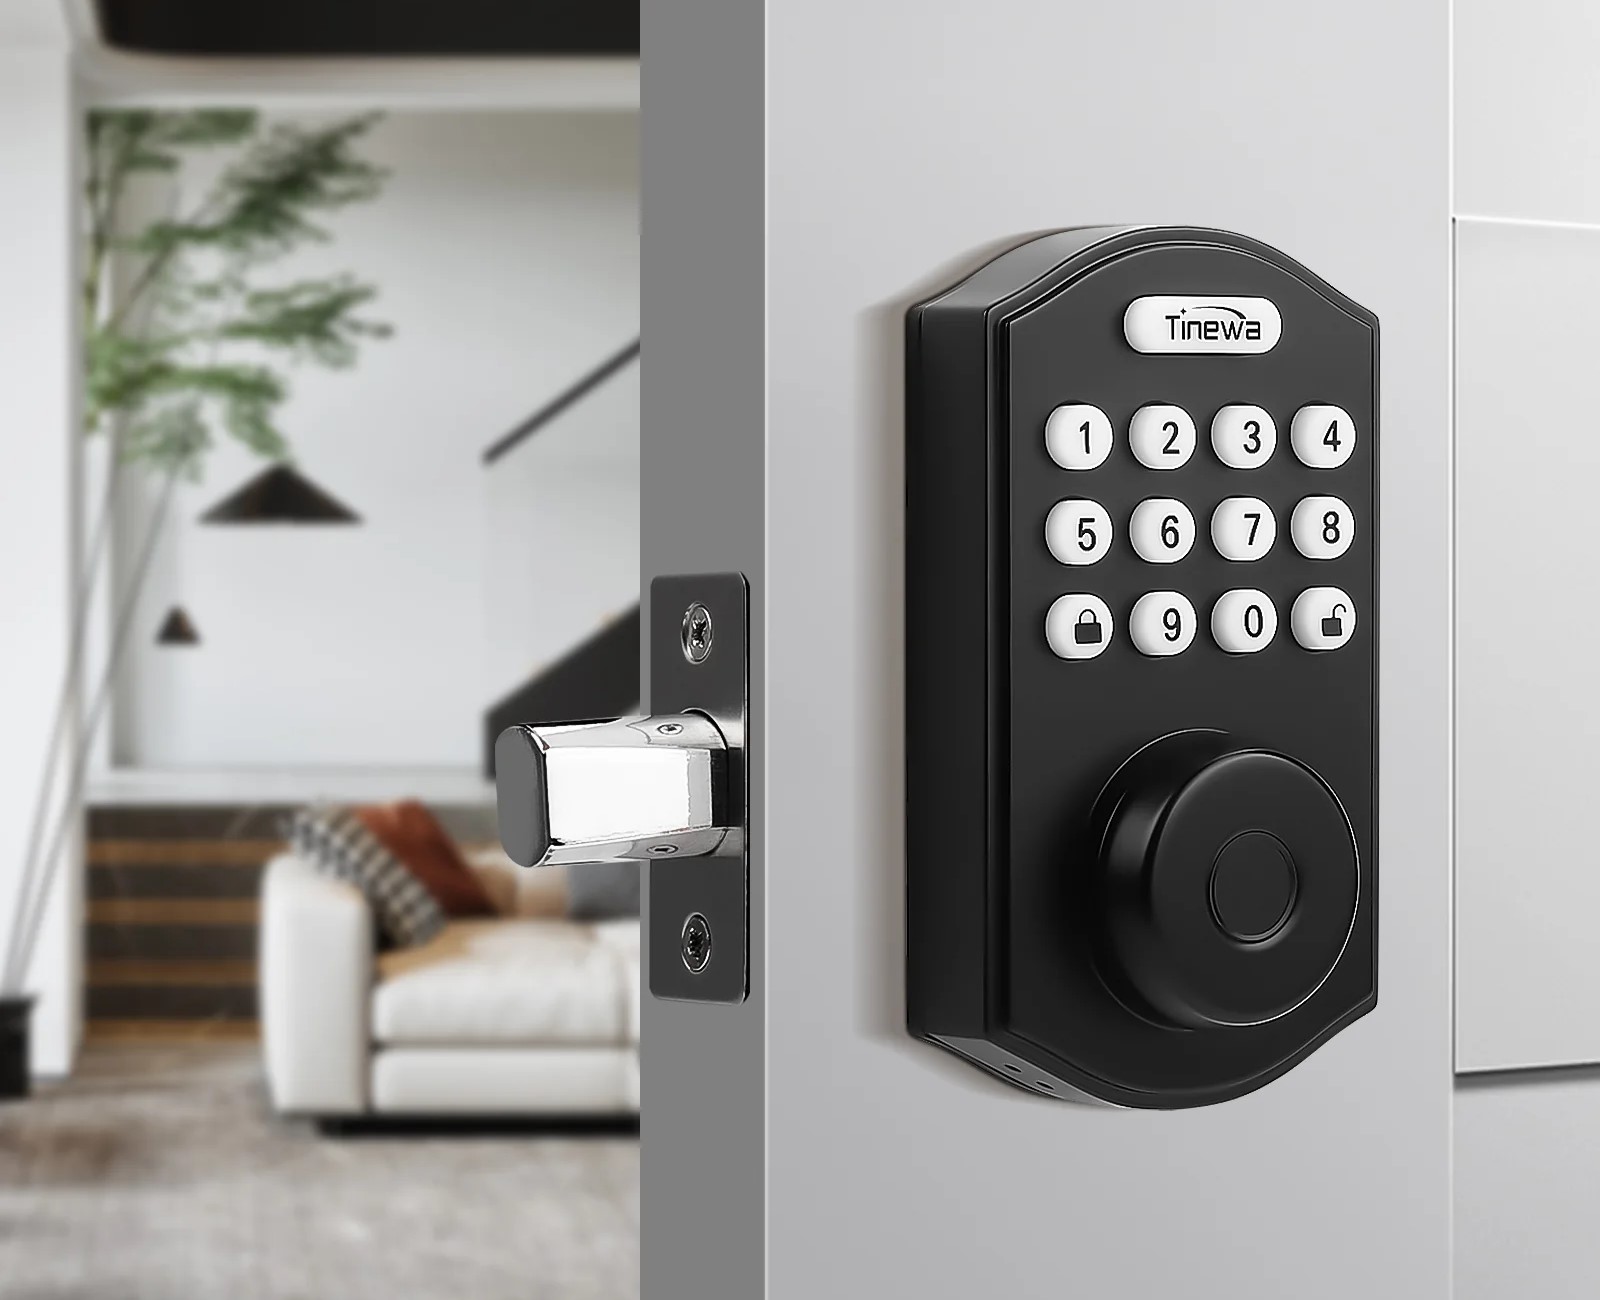
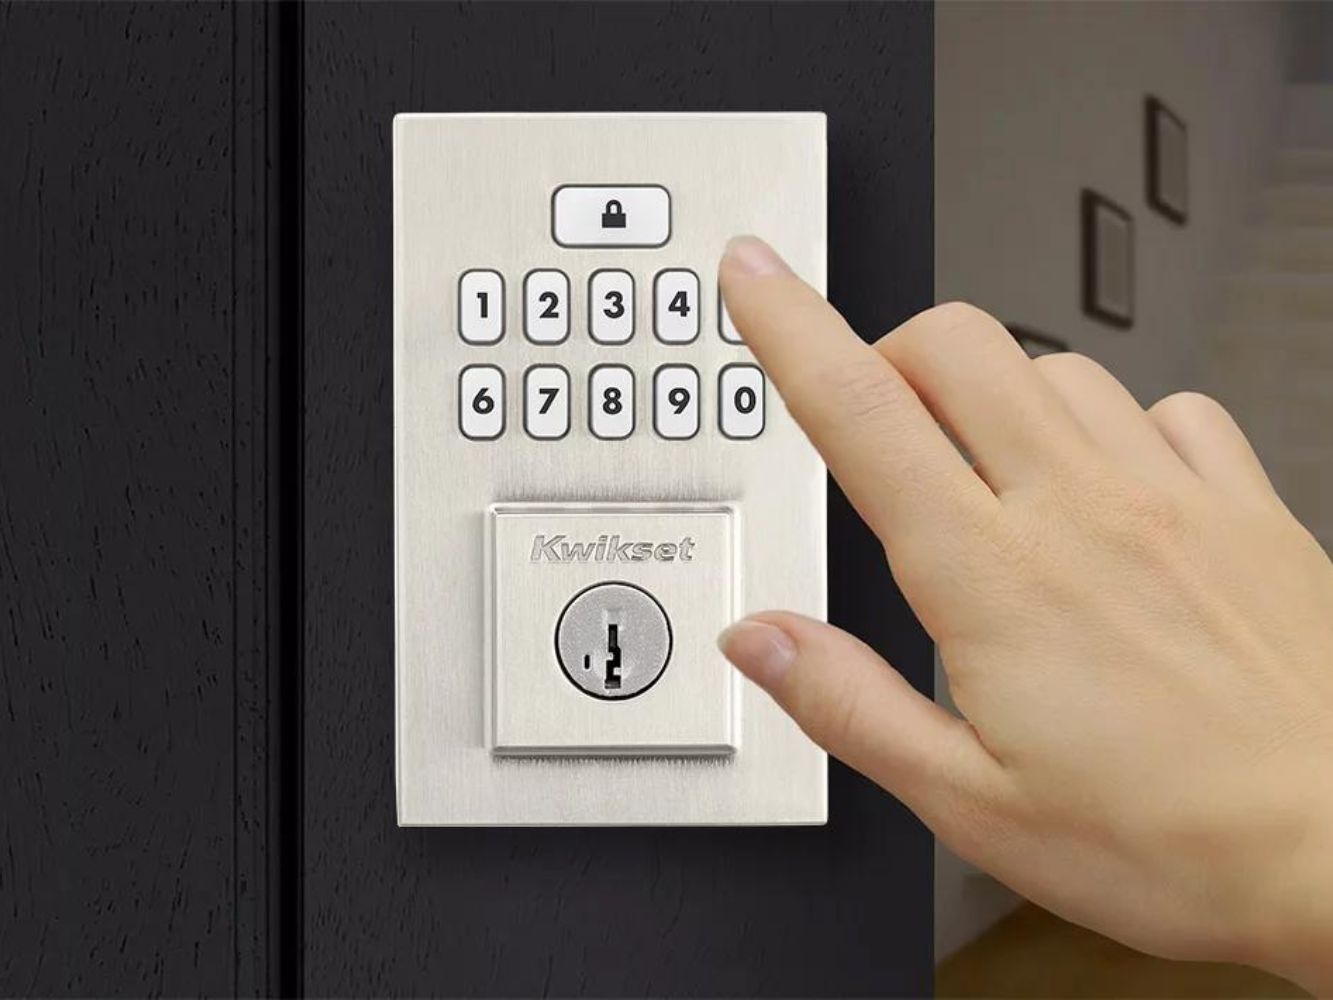
Step 3: Remove the Keypad Door Lock
With the power source disconnected and the necessary tools at hand, you’re ready to begin the process of removing the keypad door lock. Follow these step-by-step instructions to ensure a successful removal:
- Locate and Remove Mounting Screws: Using the appropriate screwdriver, locate and remove the mounting screws that secure the keypad lock to the door. These screws are typically found on the interior side of the door and may be concealed beneath a cover plate or trim. Carefully set aside the screws in a container to prevent misplacement.
- Separate the Keypad Assembly: Once the mounting screws are removed, gently separate the keypad assembly from the door. Be mindful of any wiring or connectors that may be attached to the keypad assembly. If the keypad lock is hardwired, you may need to disconnect the wiring harness to fully detach the assembly.
- Detach the Backplate and Interior Assembly: After removing the keypad assembly, you’ll likely encounter the backplate and interior assembly of the lock. Use the appropriate tools to detach these components, following the manufacturer’s guidelines if available. Keep track of any additional screws or fasteners that secure these components in place.
- Inspect and Clean the Mounting Area: With the keypad lock removed, take the opportunity to inspect and clean the mounting area on the door. Remove any debris or buildup that may have accumulated around the lock’s previous installation. This will ensure a clean surface for the installation of a new lock, if applicable.
By carefully following these steps, you can effectively remove the keypad door lock from the door, preparing the space for any necessary maintenance, replacement, or upgrades. As you proceed with the removal process, maintain a methodical approach and handle components with care to avoid damage or misplacement.
Before removing a keypad door lock, make sure to have the necessary tools such as a screwdriver and batteries. Follow the manufacturer’s instructions for disassembly and be careful not to damage the door or lock.
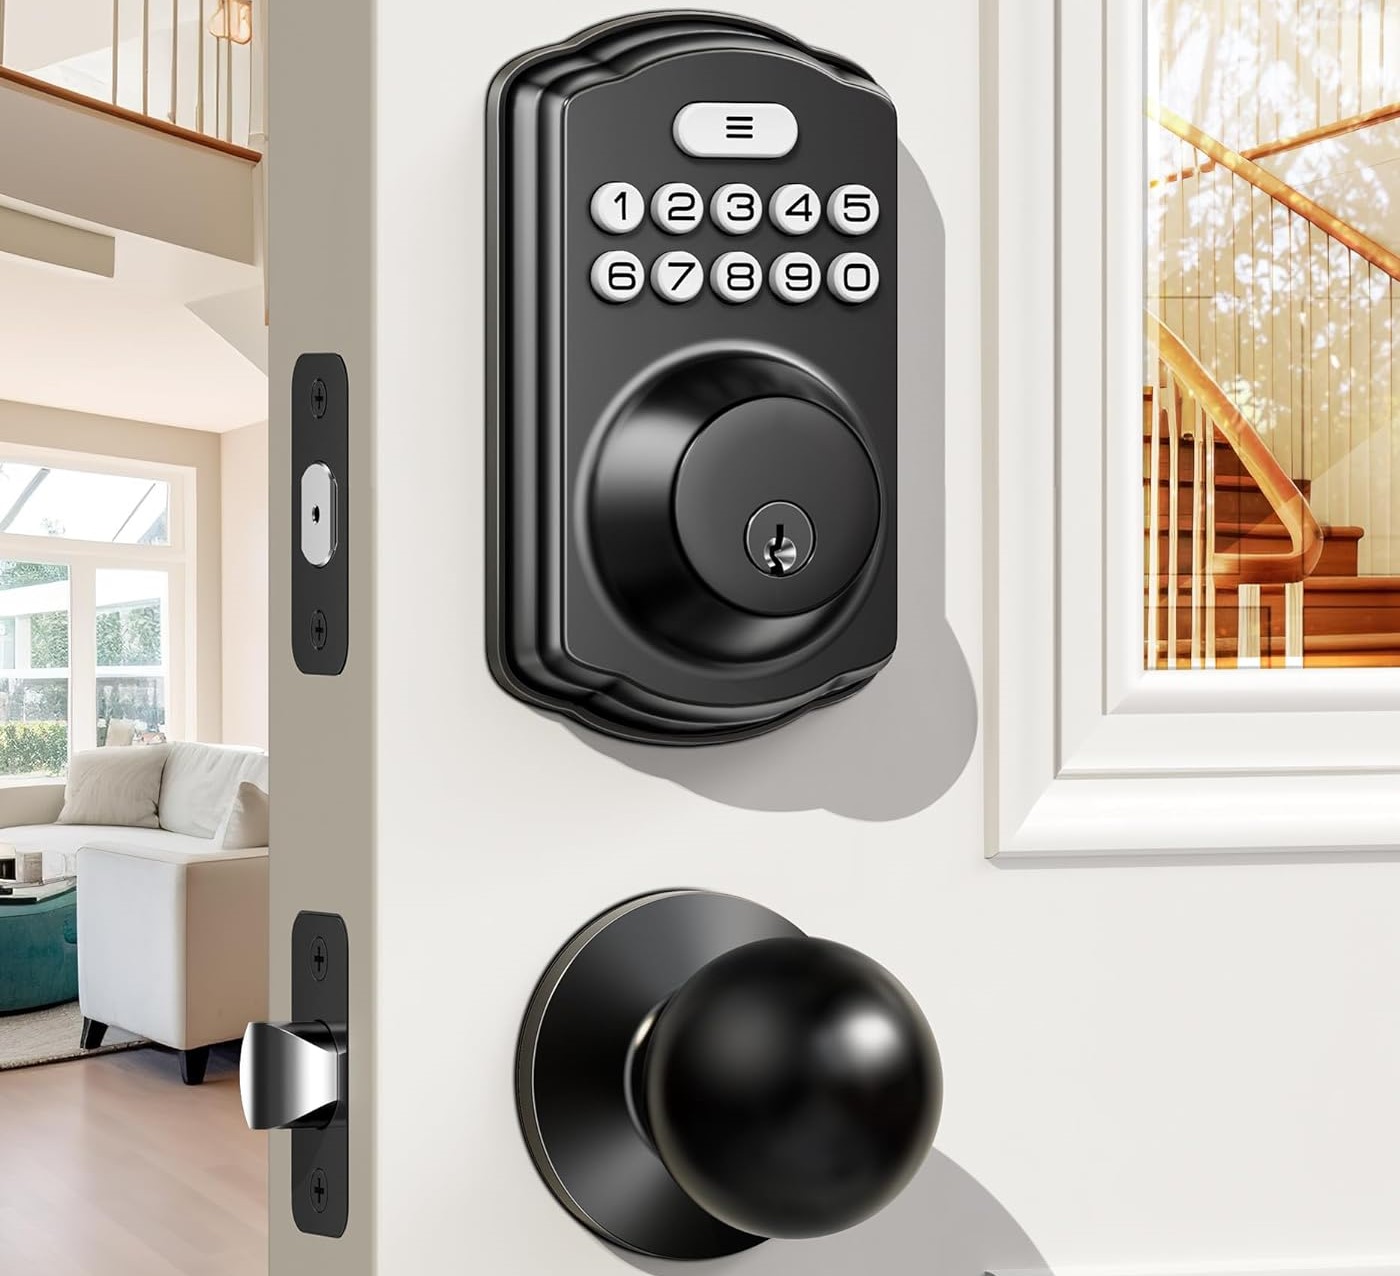
Step 4: Install the New Lock (Optional)
If you’re planning to replace the existing keypad door lock with a new one, this step will guide you through the installation process. Installing a new lock provides an opportunity to upgrade your security features or address any issues with the previous lock. Here’s a comprehensive overview of the installation process:
- Choose the New Keypad Door Lock: Select a suitable replacement keypad door lock based on your security needs, aesthetic preferences, and compatibility with your door’s specifications. Ensure that the new lock aligns with the dimensions and mounting requirements of your door.
- Prepare the Mounting Area: Before installing the new lock, inspect the mounting area on the door to ensure that it is clean and free of any obstructions. Remove any residual adhesive or debris from the previous installation to create a smooth and level surface for the new lock.
- Follow Manufacturer’s Instructions: Refer to the installation manual provided with the new keypad lock for specific guidelines and recommended procedures. Different models and brands may have unique installation requirements, so it’s essential to follow the manufacturer’s instructions diligently.
- Mount the New Keypad Lock: Position the new keypad lock on the door, aligning it with the mounting holes and ensuring a secure fit. Use the supplied screws and fasteners to affix the lock to the door, following the specified tightening torque if provided by the manufacturer.
- Connect Wiring or Battery Compartment: If the new keypad lock is hardwired, carefully connect the wiring harness according to the manufacturer’s wiring diagram. For battery-operated locks, insert fresh batteries into the compartment and secure it in place, ensuring proper polarity.
- Test the Functionality: Once the new keypad lock is installed, test its functionality to ensure that it operates as intended. Verify that the keypad, locking mechanism, and any additional features are functioning properly before completing the installation process.
By following these steps, you can effectively install a new keypad door lock, enhancing the security and accessibility of your property. Whether you’re upgrading to a more advanced lock or replacing a malfunctioning unit, a new keypad lock can provide peace of mind and improved security for your home or business.
Read more: How To Reprogram Keypad Door Lock
Step 5: Reconnect the Power Source
After removing the old keypad door lock and, if applicable, installing a new one, it’s crucial to reconnect the power source to ensure that the lock functions as intended. Depending on the type of lock and power supply, follow these steps to safely reconnect the power source:
- If Battery-Powered: If the new keypad lock operates on batteries, insert the fresh batteries into the battery compartment, ensuring the correct polarity. Secure the battery compartment cover and ensure that the lock’s indicator lights illuminate, indicating a successful power connection.
- If Hardwired: For locks that are hardwired to the electrical system, return to the circuit breaker or fuse box and switch the power supply back on. Verify that the lock receives power and that it is operational. If the lock features any electronic components or smart connectivity, ensure that these functions are functioning correctly.
- Test the Keypad Lock: Once the power source is reconnected, test the keypad lock’s functionality by entering access codes, engaging the locking mechanism, and verifying that all features operate smoothly. If you’ve installed a new lock, familiarize yourself with its operation and programming options to maximize its security benefits.
By reestablishing the power source and confirming the proper operation of the keypad door lock, you can ensure that your property’s security measures are fully restored. Whether you’ve replaced the lock or simply reconnected the power, this step is essential for maintaining a secure and functional entry system.
Conclusion
Congratulations! You have successfully navigated the process of removing a keypad door lock, whether for maintenance, replacement, or an upgrade. By following the step-by-step instructions outlined in this guide, you’ve gained valuable insights into the essential tasks involved in handling keypad door locks with confidence and precision.
Removing a keypad door lock requires careful preparation, attention to detail, and a methodical approach to ensure a seamless transition. From gathering the necessary tools to disconnecting and reconnecting the power source, each step plays a crucial role in maintaining the security and functionality of your property’s entry system.
Whether you’ve opted to install a new keypad lock or simply perform maintenance on the existing one, your understanding of the removal process empowers you to address security-related tasks effectively. By staying informed and proactive, you can optimize the security features of your home or business, providing peace of mind and convenience for you and your occupants.
As you reflect on your accomplishment, consider the newfound knowledge and skills you’ve acquired in handling keypad door locks. Your ability to tackle this task demonstrates your commitment to maintaining a secure and well-maintained property, setting a positive example for proactive security measures.
Remember, if you encounter any complexities or uncertainties during the removal process, don’t hesitate to seek assistance from qualified professionals or locksmiths. Your dedication to maintaining a secure and functional entry system is commendable, and seeking expert guidance when needed ensures the optimal performance of your security features.
Thank you for engaging with our comprehensive guide on removing a keypad door lock. We hope this resource has equipped you with the confidence and know-how to address keypad lock-related tasks effectively, contributing to the safety and security of your property.
Frequently Asked Questions about How To Remove Keypad Door Lock
Was this page helpful?
At Storables.com, we guarantee accurate and reliable information. Our content, validated by Expert Board Contributors, is crafted following stringent Editorial Policies. We're committed to providing you with well-researched, expert-backed insights for all your informational needs.


0 thoughts on “How To Remove Keypad Door Lock”