Home>Technology>Security & Surveillance>How To Remove Door Lock Cylinder Without Key
Security & Surveillance
How To Remove Door Lock Cylinder Without Key
Modified: August 24, 2024
Learn how to remove a door lock cylinder without a key for improved security and surveillance. Follow these simple steps to enhance your home's safety.
(Many of the links in this article redirect to a specific reviewed product. Your purchase of these products through affiliate links helps to generate commission for Storables.com, at no extra cost. Learn more)
Introduction
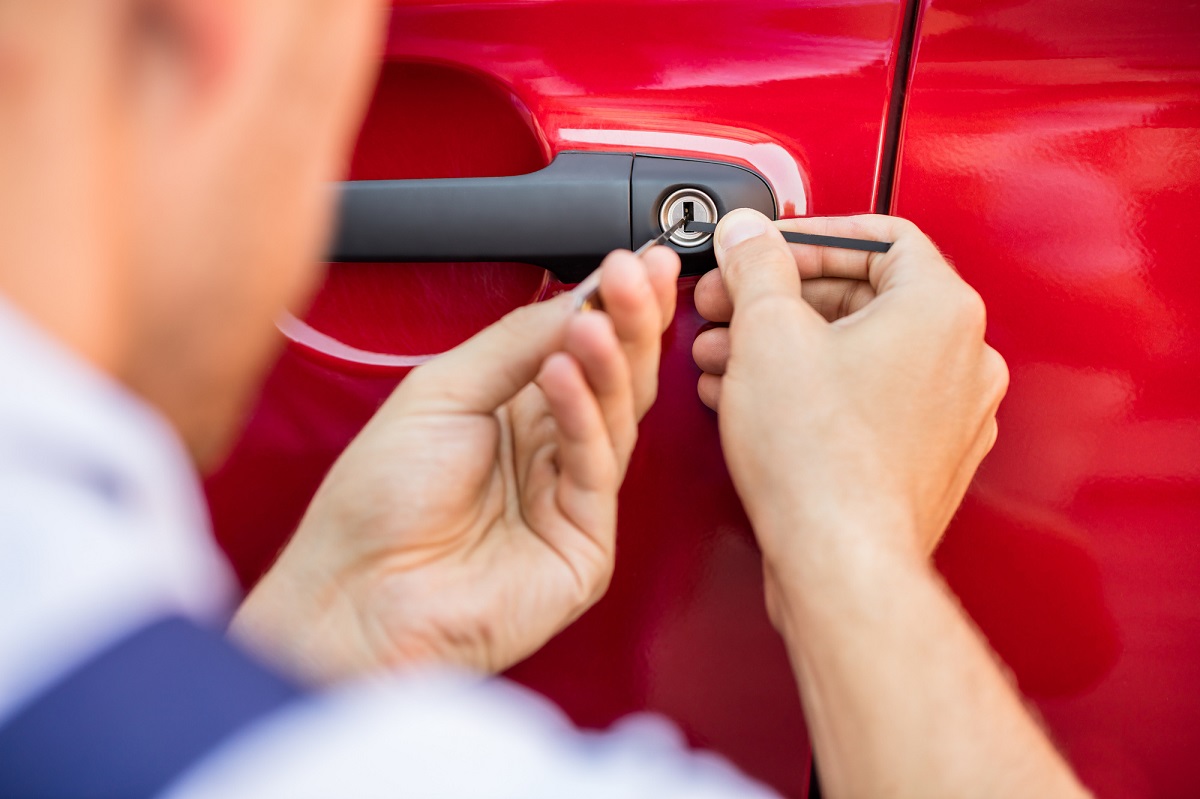
Welcome to our comprehensive guide on removing a door lock cylinder without a key. Whether you've lost your keys or are dealing with a malfunctioning lock, knowing how to safely and efficiently remove the lock cylinder can save you time, money, and frustration. While this task may seem daunting at first, with the right tools and a clear understanding of the process, you can successfully tackle this project.
In this guide, we'll walk you through the step-by-step process of removing a door lock cylinder without a key. We'll cover the tools and materials you'll need, as well as the specific steps required to access and remove the lock cylinder. By following this guide, you'll be equipped with the knowledge and confidence to address this common security and maintenance issue.
So, let's roll up our sleeves and dive into the world of door lock maintenance and repair. Whether you're a seasoned DIY enthusiast or simply looking to expand your home maintenance skills, this guide is designed to provide you with the know-how to tackle this task with ease. Let's get started!
Key Takeaways:
- You can remove a door lock cylinder without a key by following simple steps and using basic tools like screwdrivers and pliers. Just be patient and careful, and you can tackle this common security task with confidence.
- Remember to gather the right tools and materials, like a replacement lock cylinder and lubricant, before starting. By taking your time and following the step-by-step process, you’ll gain the skills to handle door lock maintenance and repairs like a pro!
Read more: How To Remove Door Lock Without Key
Tools and Materials Needed
Before you begin the process of removing a door lock cylinder without a key, it’s essential to gather the necessary tools and materials. Here’s what you’ll need:
- Flathead screwdriver
- Phillips head screwdriver
- Needle-nose pliers
- Replacement lock cylinder (if needed)
- Lubricant (such as WD-40)
- Rag or paper towels
- Protective gloves (optional but recommended)
These tools and materials will enable you to effectively access and remove the lock cylinder from the door without causing damage to the surrounding components. The flathead and Phillips head screwdrivers will be used to remove the door panel and access the lock cylinder, while the needle-nose pliers will aid in removing the retaining clip that secures the cylinder in place.
If you are planning to replace the lock cylinder, it’s advisable to have a replacement cylinder on hand. Additionally, a lubricant such as WD-40 can help loosen any stubborn components and make the removal process smoother. A rag or paper towels will be useful for cleaning and handling components, and protective gloves can offer an extra layer of safety during the process.
By ensuring you have these tools and materials at your disposal, you’ll be well-prepared to proceed with confidence as you navigate the steps to remove the door lock cylinder without a key.
Step 1: Remove the Door Panel
Before you can access the lock cylinder, you’ll need to remove the door panel to gain entry to the inner workings of the door. Follow these steps to remove the door panel:
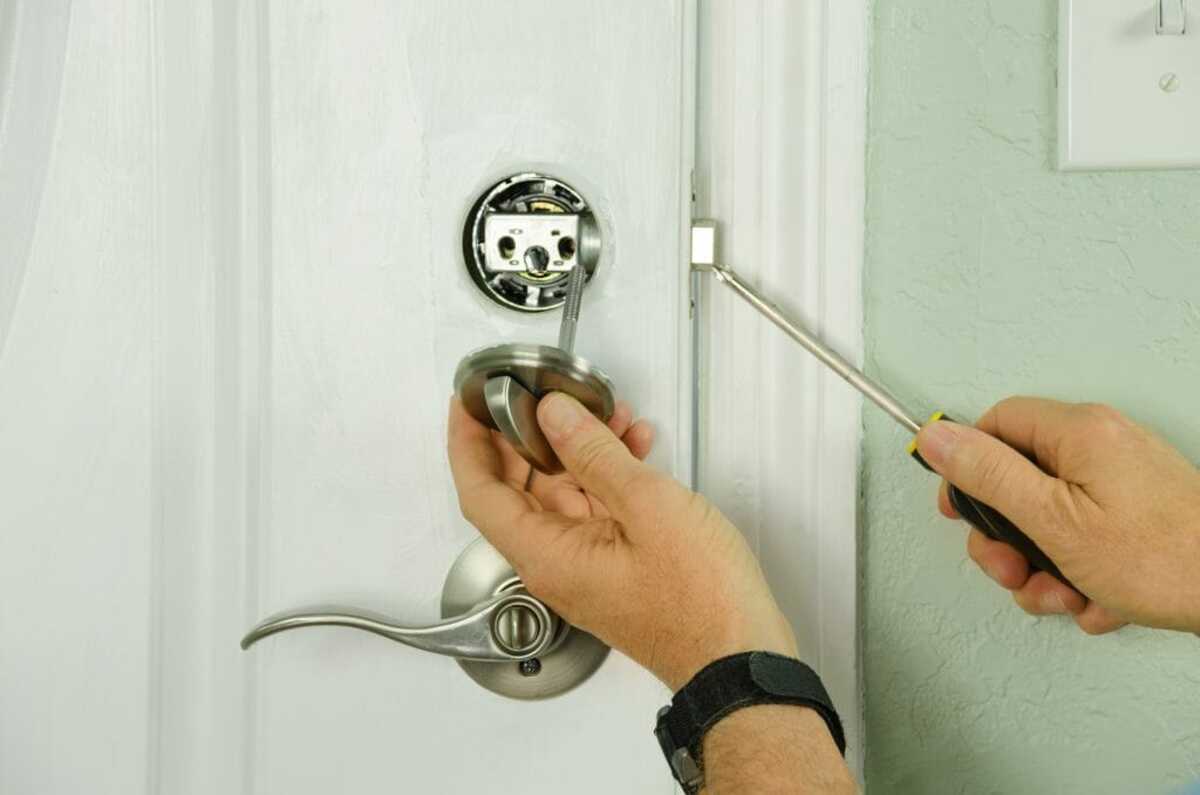
- Locate and Remove Screws: Using a flathead screwdriver, carefully locate and remove any screws securing the door panel to the door frame. These screws are typically found around the edges of the panel and may be concealed by plastic covers.
- Detach Door Panel Clips: Once the screws are removed, gently detach the door panel clips by carefully prying the panel away from the door frame. Start at the bottom of the panel and work your way around the edges, ensuring that all clips are released without forcing or damaging them.
- Disconnect Electrical Connections (if applicable): If your vehicle’s door panel features electrical connections for power windows, locks, or speakers, carefully disconnect these connections to fully remove the panel. Take note of the connections to ensure proper reattachment later.
- Set Panel Aside: Once all screws, clips, and electrical connections are detached, carefully set the door panel aside in a safe location to prevent damage. This will provide you with clear access to the lock cylinder and its surrounding components.
By methodically removing the door panel, you’ll create the necessary space and visibility to proceed with accessing the lock cylinder. Take your time during this process to avoid causing any damage to the panel or the underlying components. With the door panel successfully removed, you’re now ready to move on to the next step in the process.
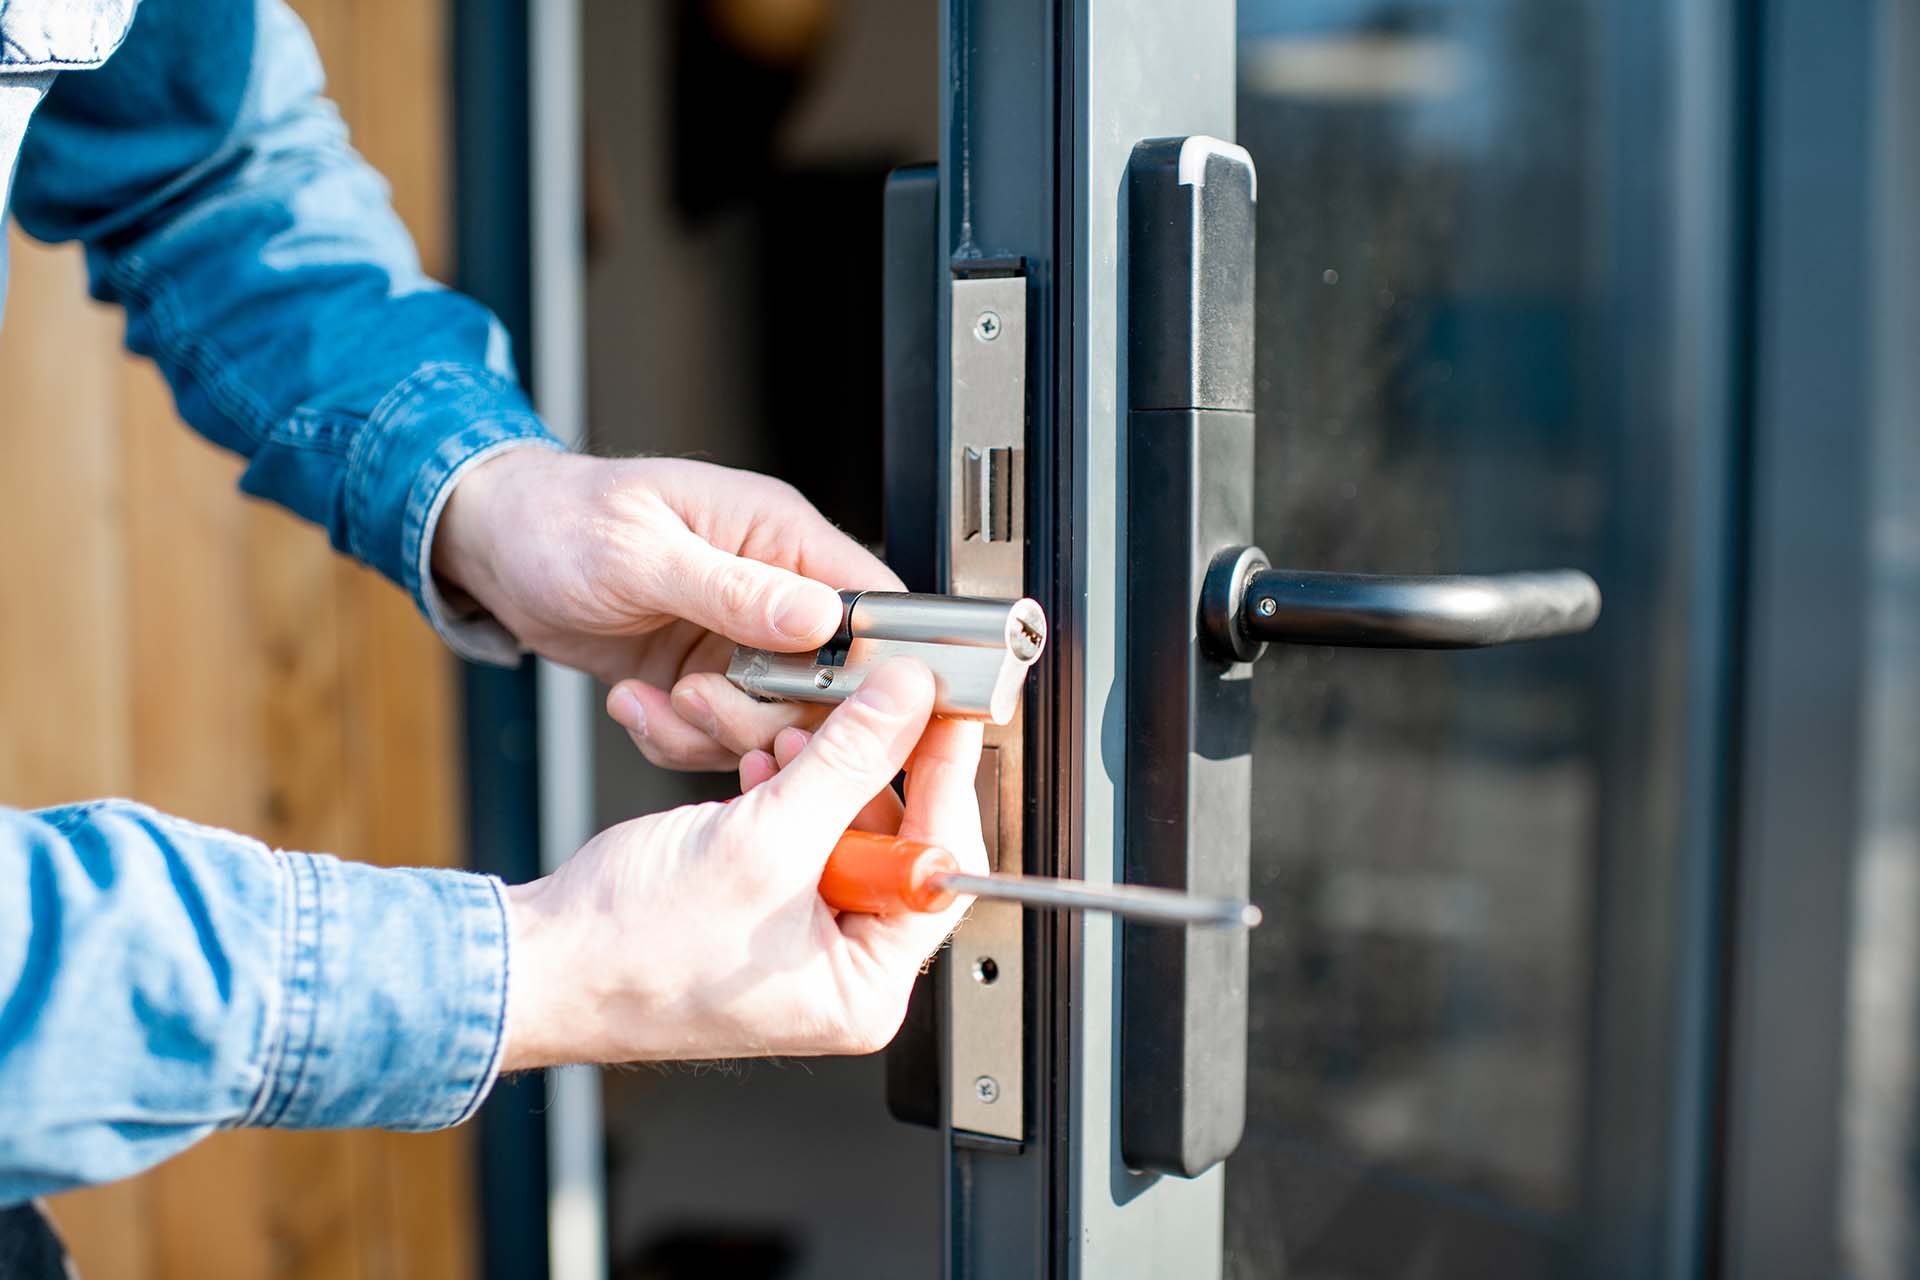
Step 2: Access the Lock Cylinder
With the door panel successfully removed, you can now access the lock cylinder and its surrounding components. Follow these steps to gain access to the lock cylinder:
- Locate the Lock Assembly: Once the door panel is off, locate the lock assembly within the door. This assembly will house the lock cylinder, which is the component you need to remove.
- Inspect for Obstructions: Take a moment to inspect the area around the lock assembly for any obstructions or debris that may impede your access to the lock cylinder. Clear any debris or obstructions to ensure a smooth removal process.
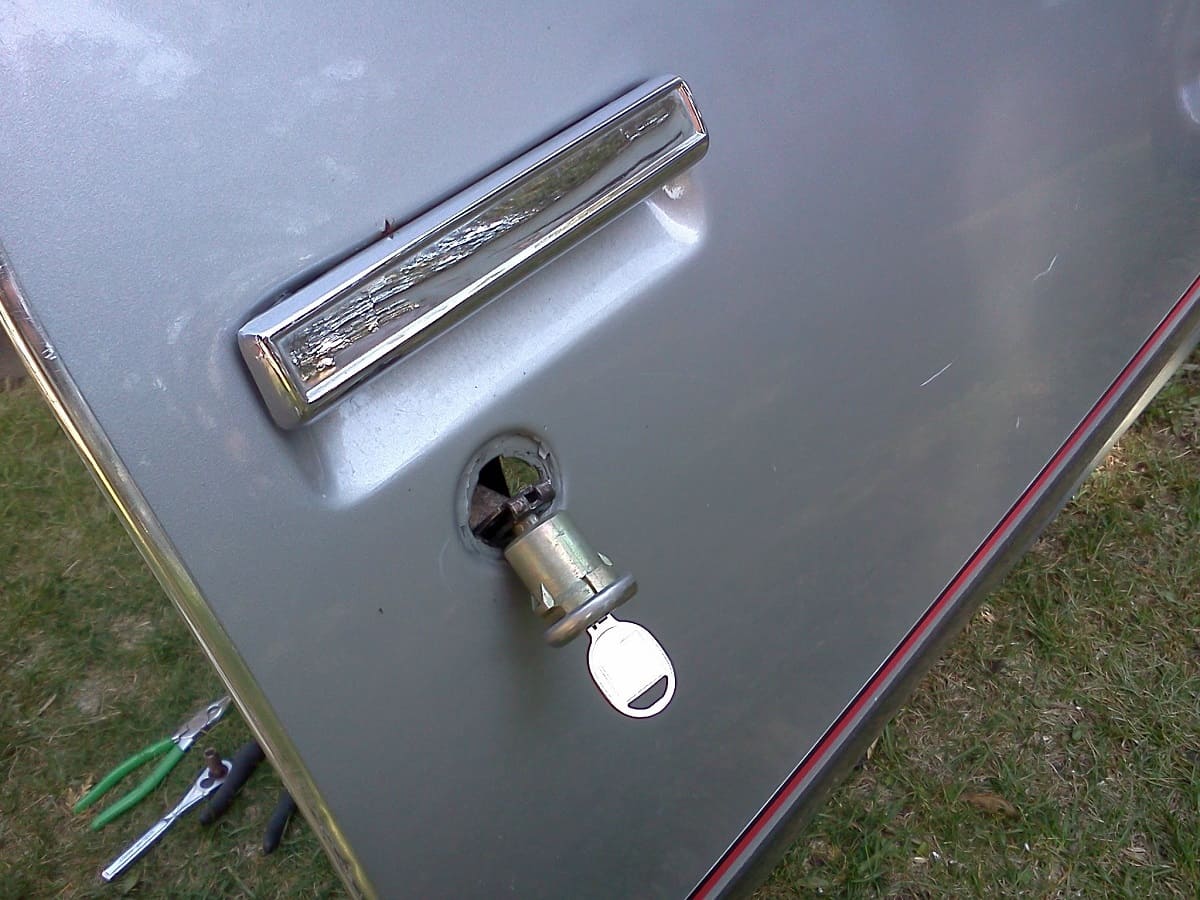
- Identify the Lock Cylinder: Within the lock assembly, identify the lock cylinder, which is the component that requires removal. Take note of its position and orientation to prepare for the next steps.
- Prepare Lubricant (if needed): If the lock cylinder appears to be stiff or difficult to turn, you may apply a lubricant such as WD-40 to help loosen any internal components. Apply the lubricant according to the product’s instructions and allow it to penetrate the mechanism.
By carefully accessing the lock cylinder and preparing the surrounding area, you’ll be better equipped to proceed with the next steps in the removal process. Taking the time to inspect and prepare the components can contribute to a smoother and more efficient removal process, ultimately leading to a successful outcome.
You can remove a door lock cylinder without a key by using a screwdriver to pop off the door panel, then using a pair of pliers to turn the cylinder and release it from the door.
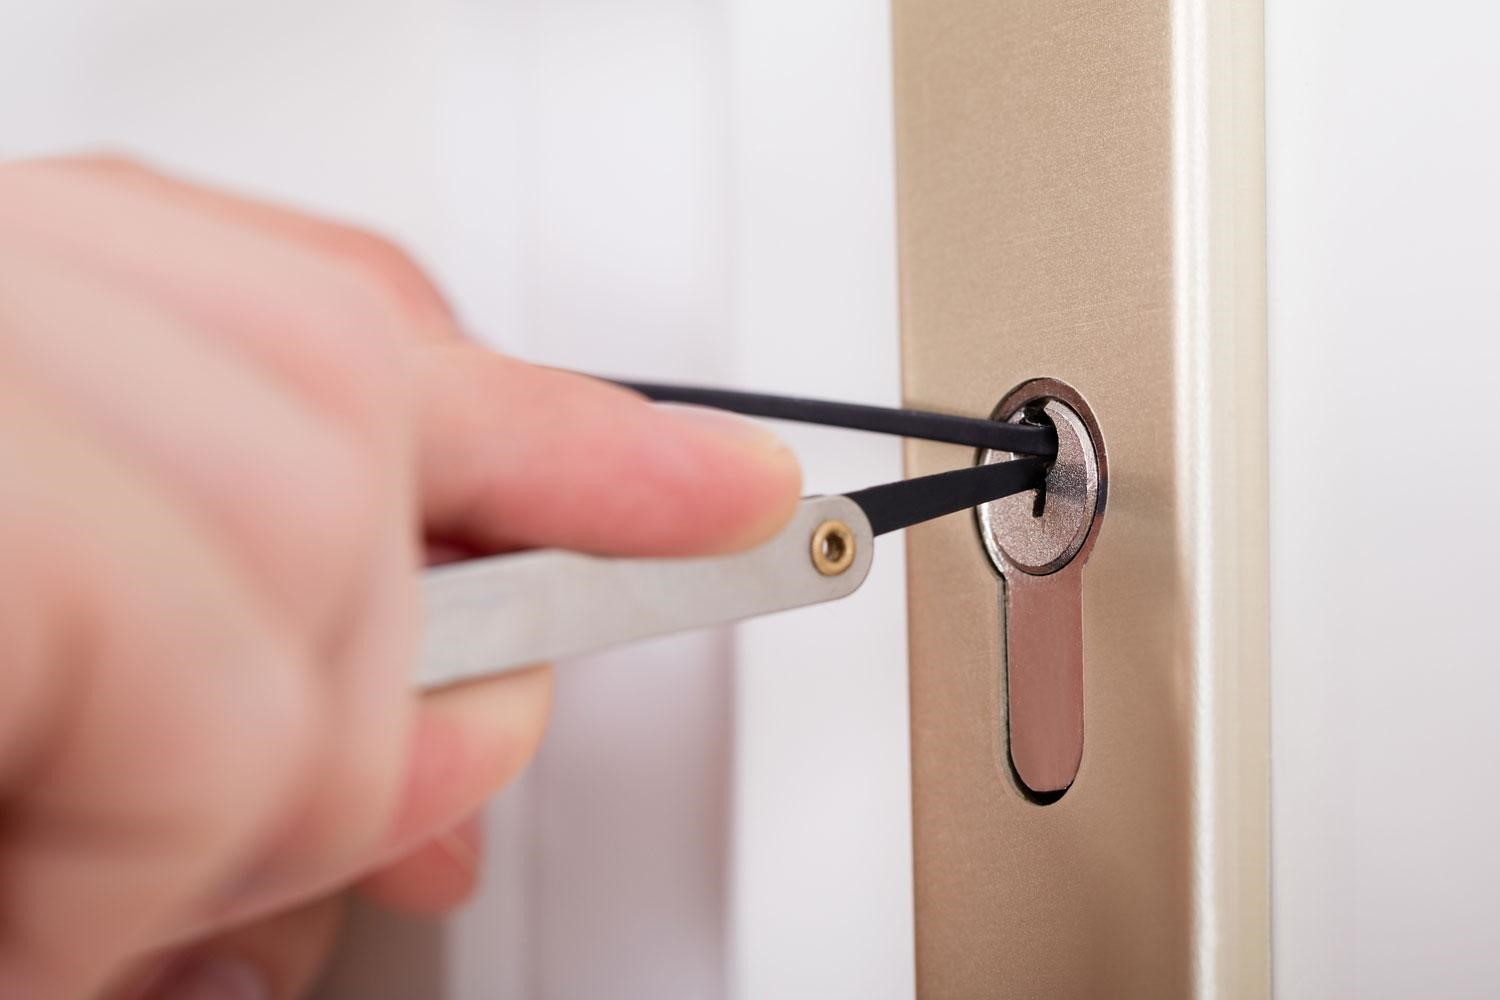
Step 3: Remove the Retaining Clip
With the lock cylinder accessible, the next crucial step is to remove the retaining clip that secures the cylinder in place. Follow these steps to safely and effectively remove the retaining clip:
- Identify the Retaining Clip: Locate the retaining clip that holds the lock cylinder in position within the lock assembly. The clip is typically a small metal component that encircles the base of the cylinder, securing it within the assembly.
- Use Needle-Nose Pliers: Using needle-nose pliers, carefully grasp the retaining clip and manipulate it to release it from its secured position. Take caution to avoid bending or damaging the clip during this process.
- Slow and Steady Removal: Gently and steadily work the retaining clip free from its position, ensuring that it is fully detached from the lock cylinder. Patience and precision are key to avoiding any damage to the clip or surrounding components.
- Set Aside the Retaining Clip: Once the retaining clip is removed, safely set it aside in a designated location. Keeping track of small components such as the retaining clip will ensure that they can be reinstalled if necessary or replaced with the appropriate part.
By successfully removing the retaining clip, you’ll have cleared the way to proceed with extracting the lock cylinder from the lock assembly. Take care to handle the retaining clip delicately and keep it in a secure place to prevent misplacement. With the retaining clip removed, you’re now ready to move on to the next critical step in the process.
Read more: How To Remove A Door Lock Cylinder
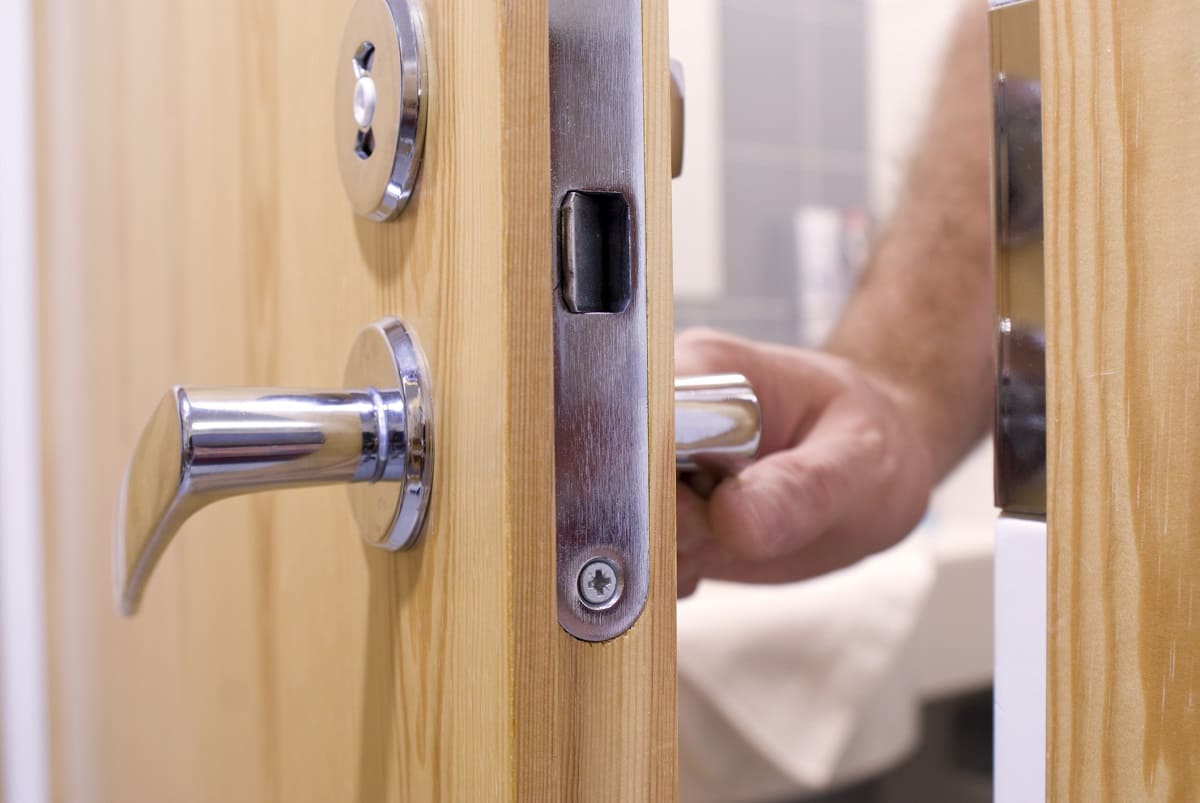
Step 4: Pull Out the Lock Cylinder
Now that the retaining clip has been removed, you can proceed with extracting the lock cylinder from the lock assembly. Follow these steps to safely and effectively pull out the lock cylinder:
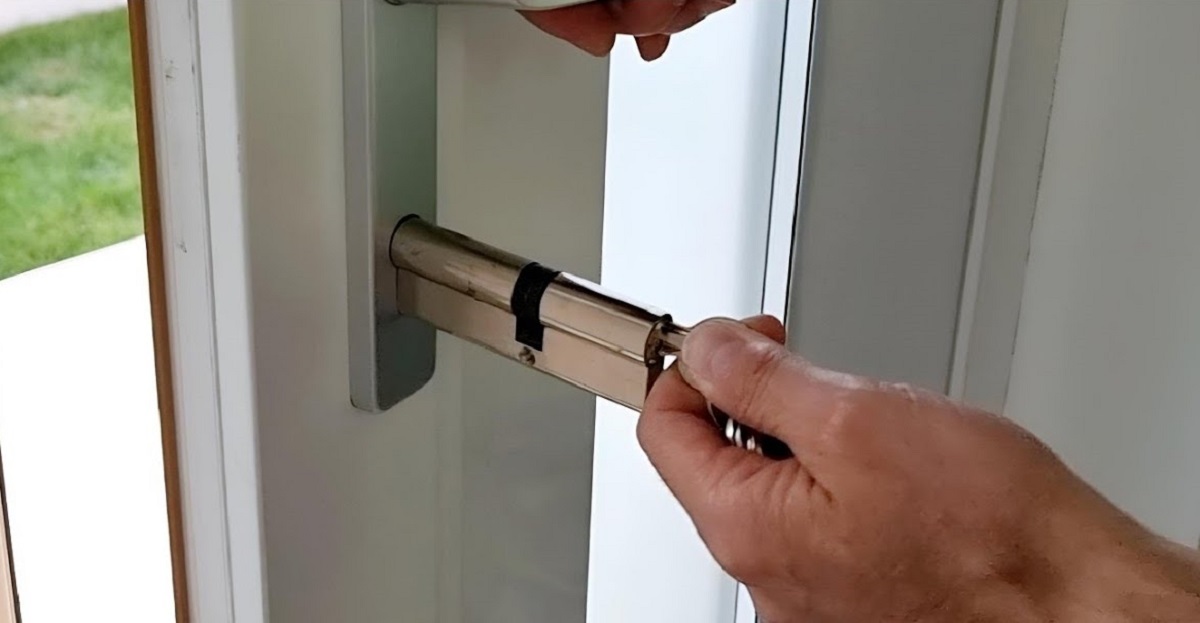
- Grip the Lock Cylinder: With the retaining clip removed, carefully grip the lock cylinder with your hand. Ensure a firm yet gentle hold on the cylinder to prepare for its extraction.
- Apply Controlled Force: While holding the lock cylinder, apply controlled and steady force to pull the cylinder directly outward from the lock assembly. Use caution to avoid excessive force that could cause damage to the cylinder or surrounding components.
- Observe for Resistance: As you begin to pull the lock cylinder, pay attention to any resistance or sticking points. If you encounter significant resistance, consider applying a small amount of lubricant to the cylinder’s base to facilitate smoother removal.
- Complete the Extraction: Continue to pull the lock cylinder until it is fully extracted from the lock assembly. Take care to maintain a steady and even pull to prevent any abrupt movements or damage during the extraction process.
By carefully executing the extraction process, you’ll safely remove the lock cylinder from the lock assembly without causing damage to the cylinder or the surrounding components. Paying close attention to any resistance and maintaining a controlled approach will contribute to a successful extraction. With the lock cylinder now removed, you’ve completed a crucial stage in the process of addressing your door lock maintenance or repair needs.
Conclusion
Congratulations! You’ve successfully learned how to remove a door lock cylinder without a key. By following the step-by-step process outlined in this guide, you’ve gained the knowledge and skills needed to tackle this common security and maintenance task with confidence. Whether you’re addressing a malfunctioning lock or simply need to replace the cylinder, your newfound expertise will serve you well.
Throughout this guide, you’ve acquired essential insights into the tools and materials required for the task, as well as the specific steps involved in accessing and removing the lock cylinder. From removing the door panel to carefully extracting the cylinder, each step was designed to empower you with the know-how to navigate this process effectively.
Remember, patience and precision are key when working on door lock maintenance and repair. By taking the time to methodically remove the door panel, access the lock cylinder, remove the retaining clip, and extract the cylinder, you’ve demonstrated a commitment to thorough and careful workmanship.
As you reflect on your accomplishment, consider the newfound confidence and skills you’ve developed. Whether you’re a dedicated DIY enthusiast or simply seeking to expand your home maintenance abilities, the knowledge gained from this guide will serve you well in various home security and maintenance endeavors.
With the lock cylinder successfully removed, you may proceed with addressing any necessary maintenance, repairs, or replacement. Be sure to handle the removed components with care and store them in a safe location if they are to be reinstalled or replaced.
Thank you for embarking on this journey to enhance your understanding of door lock maintenance and repair. Armed with the insights gained from this guide, you’re well-prepared to address your door lock needs with skill and confidence. Whether you’re unlocking new opportunities for home maintenance or simply expanding your knowledge base, this experience has equipped you for success.
Frequently Asked Questions about How To Remove Door Lock Cylinder Without Key
Was this page helpful?
At Storables.com, we guarantee accurate and reliable information. Our content, validated by Expert Board Contributors, is crafted following stringent Editorial Policies. We're committed to providing you with well-researched, expert-backed insights for all your informational needs.

0 thoughts on “How To Remove Door Lock Cylinder Without Key”