Home>Technology>Smart Home Devices>How To Add A Dymo Label Printer
Smart Home Devices
How To Add A Dymo Label Printer
Modified: October 19, 2024
Learn how to easily add a Dymo label printer to your smart home devices and streamline your organization and labeling process. Discover step-by-step instructions and tips.
(Many of the links in this article redirect to a specific reviewed product. Your purchase of these products through affiliate links helps to generate commission for Storables.com, at no extra cost. Learn more)
Introduction
Welcome to the world of smart home devices, where convenience and efficiency converge to simplify everyday tasks. In this article, we will explore the process of adding a Dymo label printer to your array of smart devices. Equipped with user-friendly features and seamless integration capabilities, the Dymo label printer is a valuable addition to any home or office setting.
By following the steps outlined in this guide, you can effortlessly set up and utilize the Dymo label printer to streamline your labeling needs. Whether you are organizing files, creating shipping labels, or enhancing your organizational system, the Dymo label printer offers a versatile solution that aligns with the modern demands of efficiency and precision.
Through this comprehensive walkthrough, you will gain insights into unboxing the Dymo label printer, connecting it to your computer, installing the necessary software, adding the printer to your devices, and conducting a test to ensure smooth functionality. By the end of this journey, you will be equipped with the knowledge and confidence to seamlessly integrate the Dymo label printer into your smart home ecosystem.
Join us as we embark on this enlightening journey to unlock the full potential of the Dymo label printer, and witness firsthand how this innovative device can elevate your organizational capabilities to new heights. Let's dive in and explore the seamless process of adding a Dymo label printer to your smart home setup.
Key Takeaways:
- Adding a Dymo label printer to your smart home is easy! Just unbox, connect, install software, add to devices, and test. It’s a seamless process that elevates your organizational capabilities with precision and efficiency.
- The Dymo label printer’s user-friendly features and versatile software empower you to create and print personalized labels effortlessly. It seamlessly integrates into your smart home, streamlining your labeling tasks with unparalleled ease.
Read more: How To Add Dymo Printer
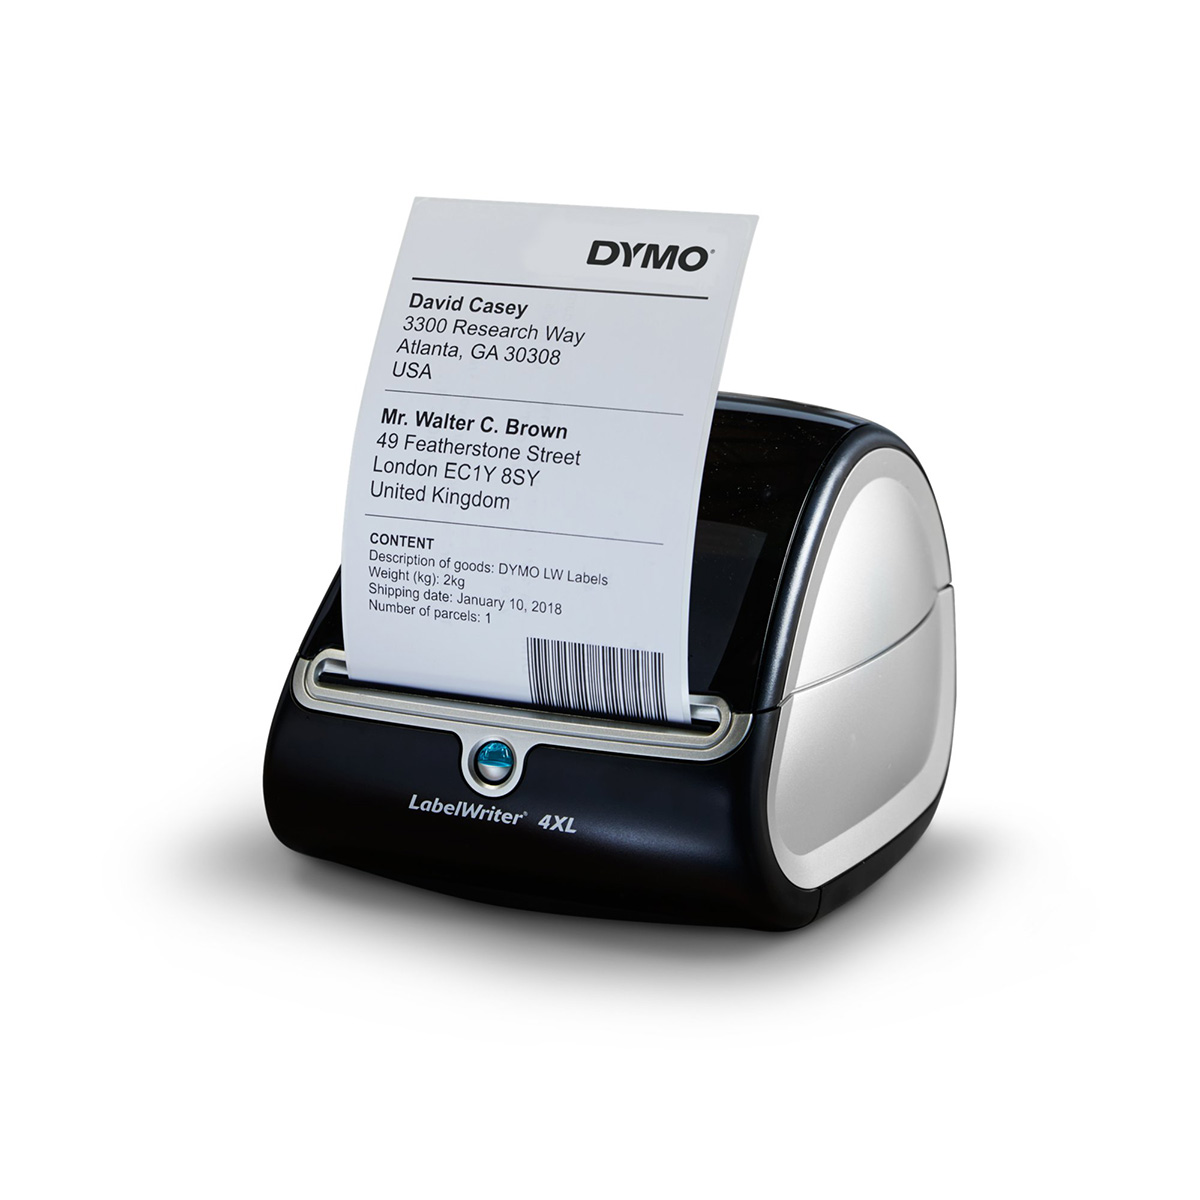
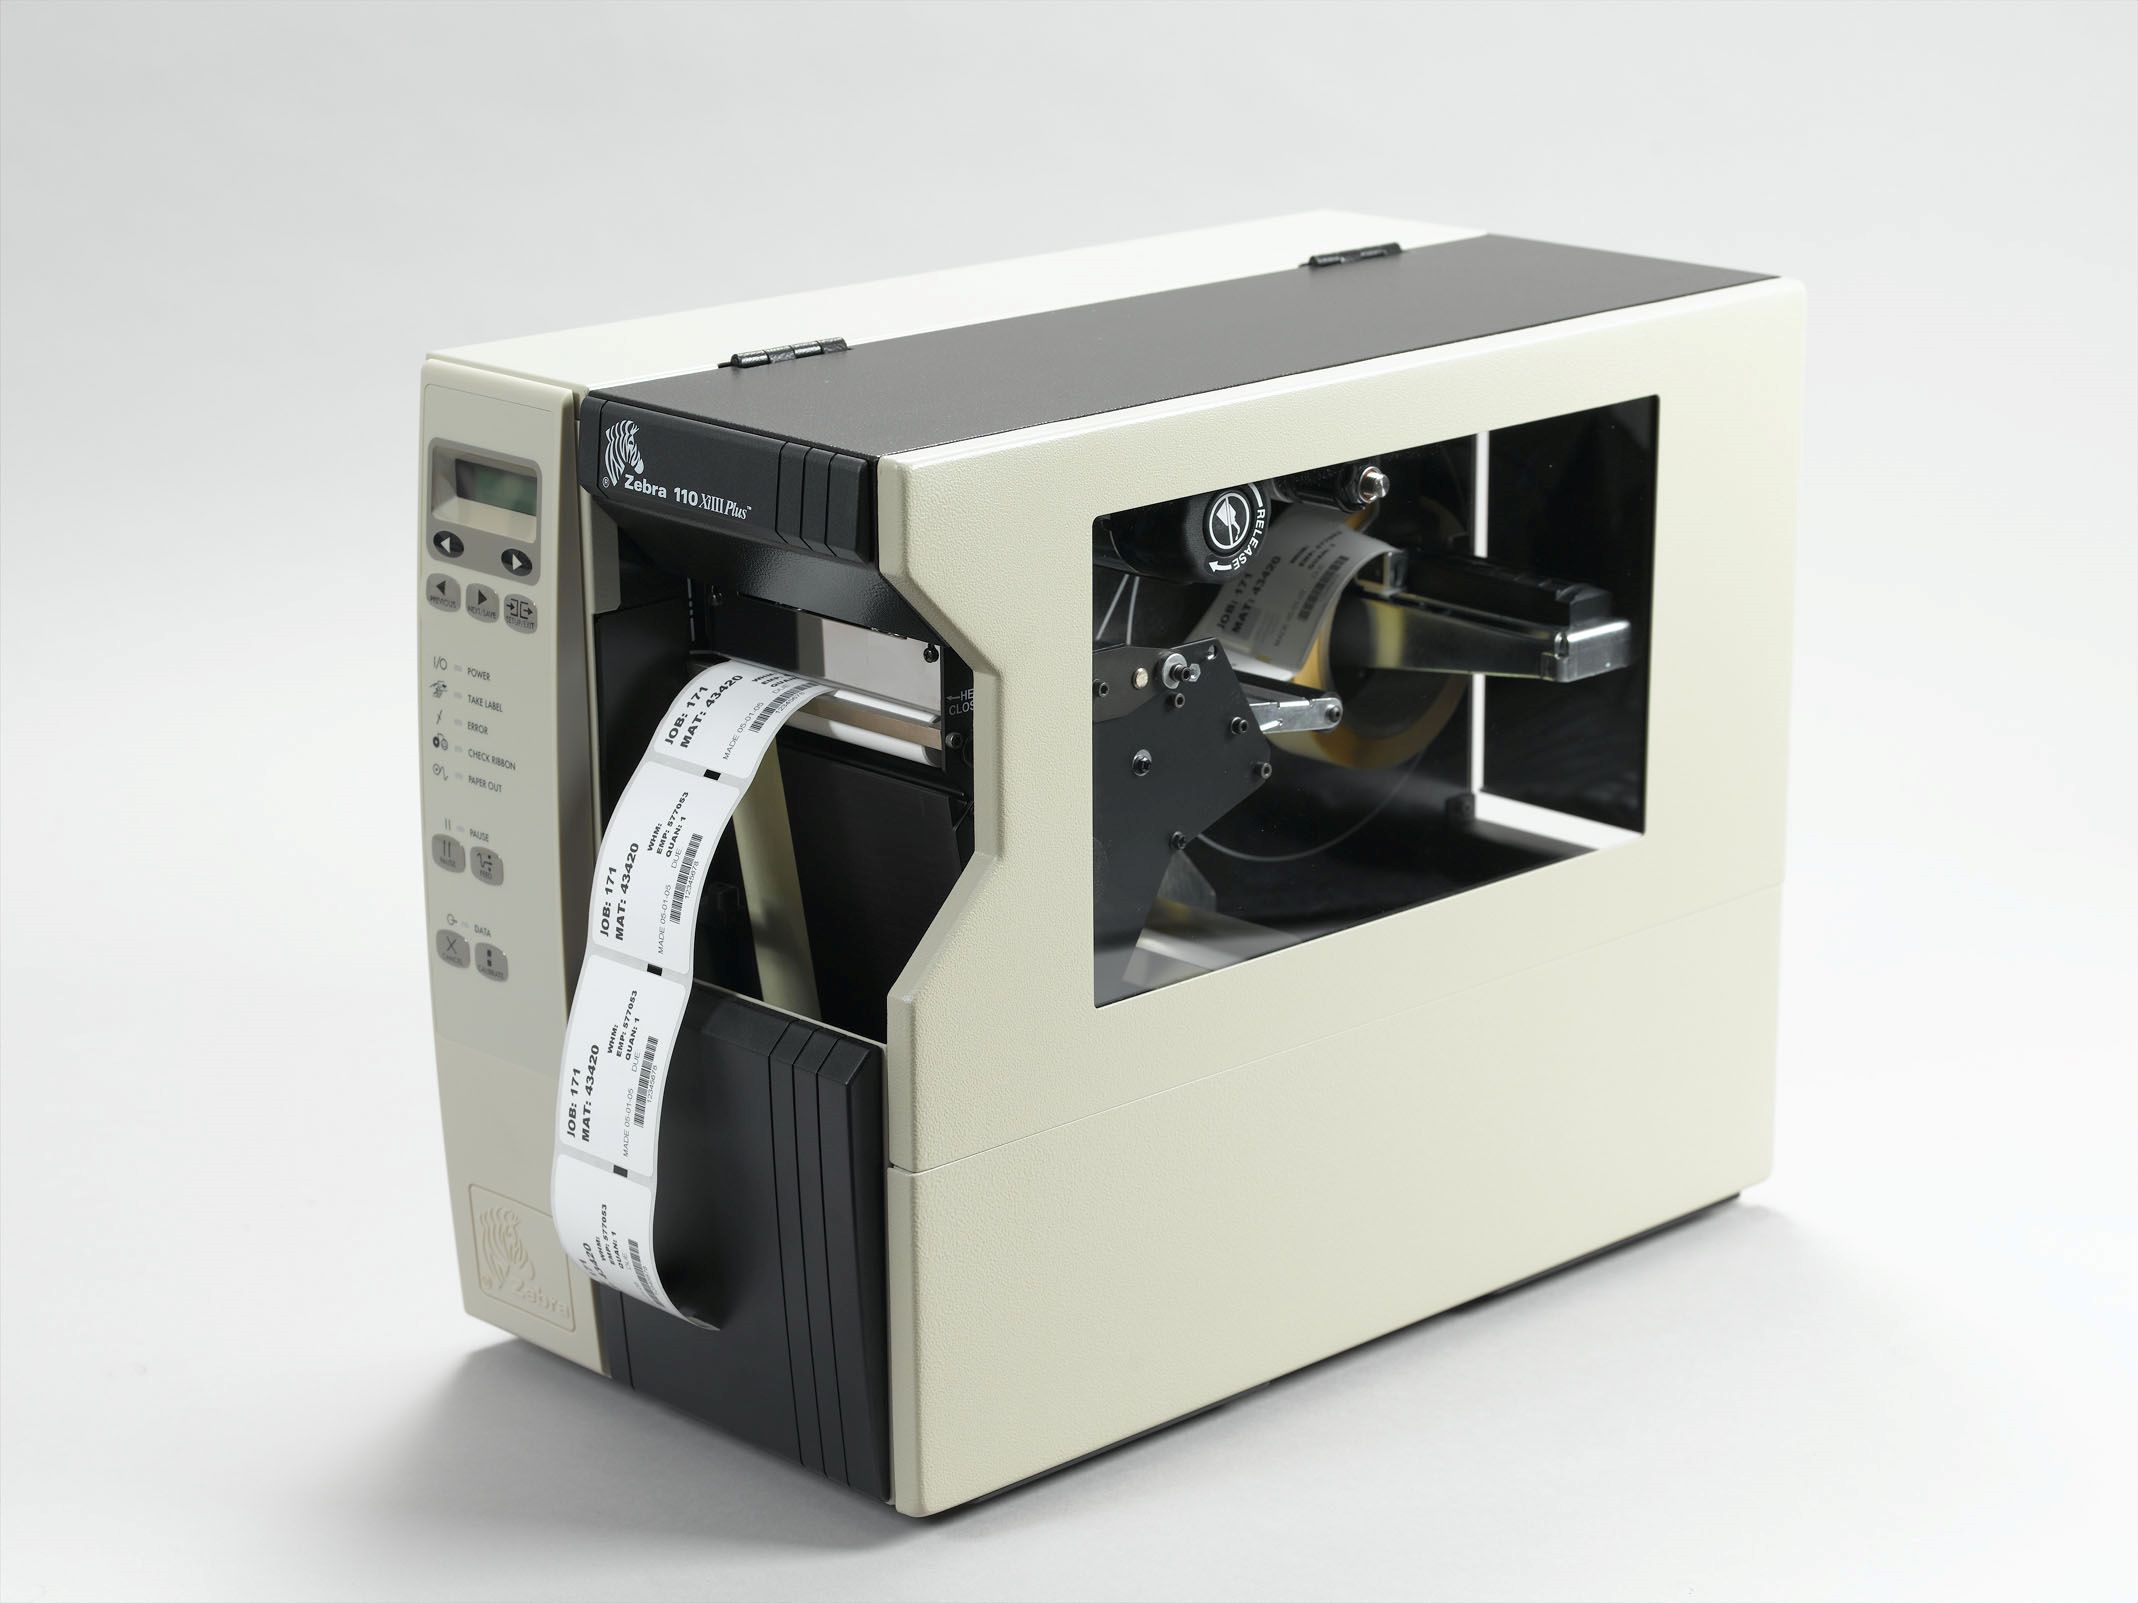
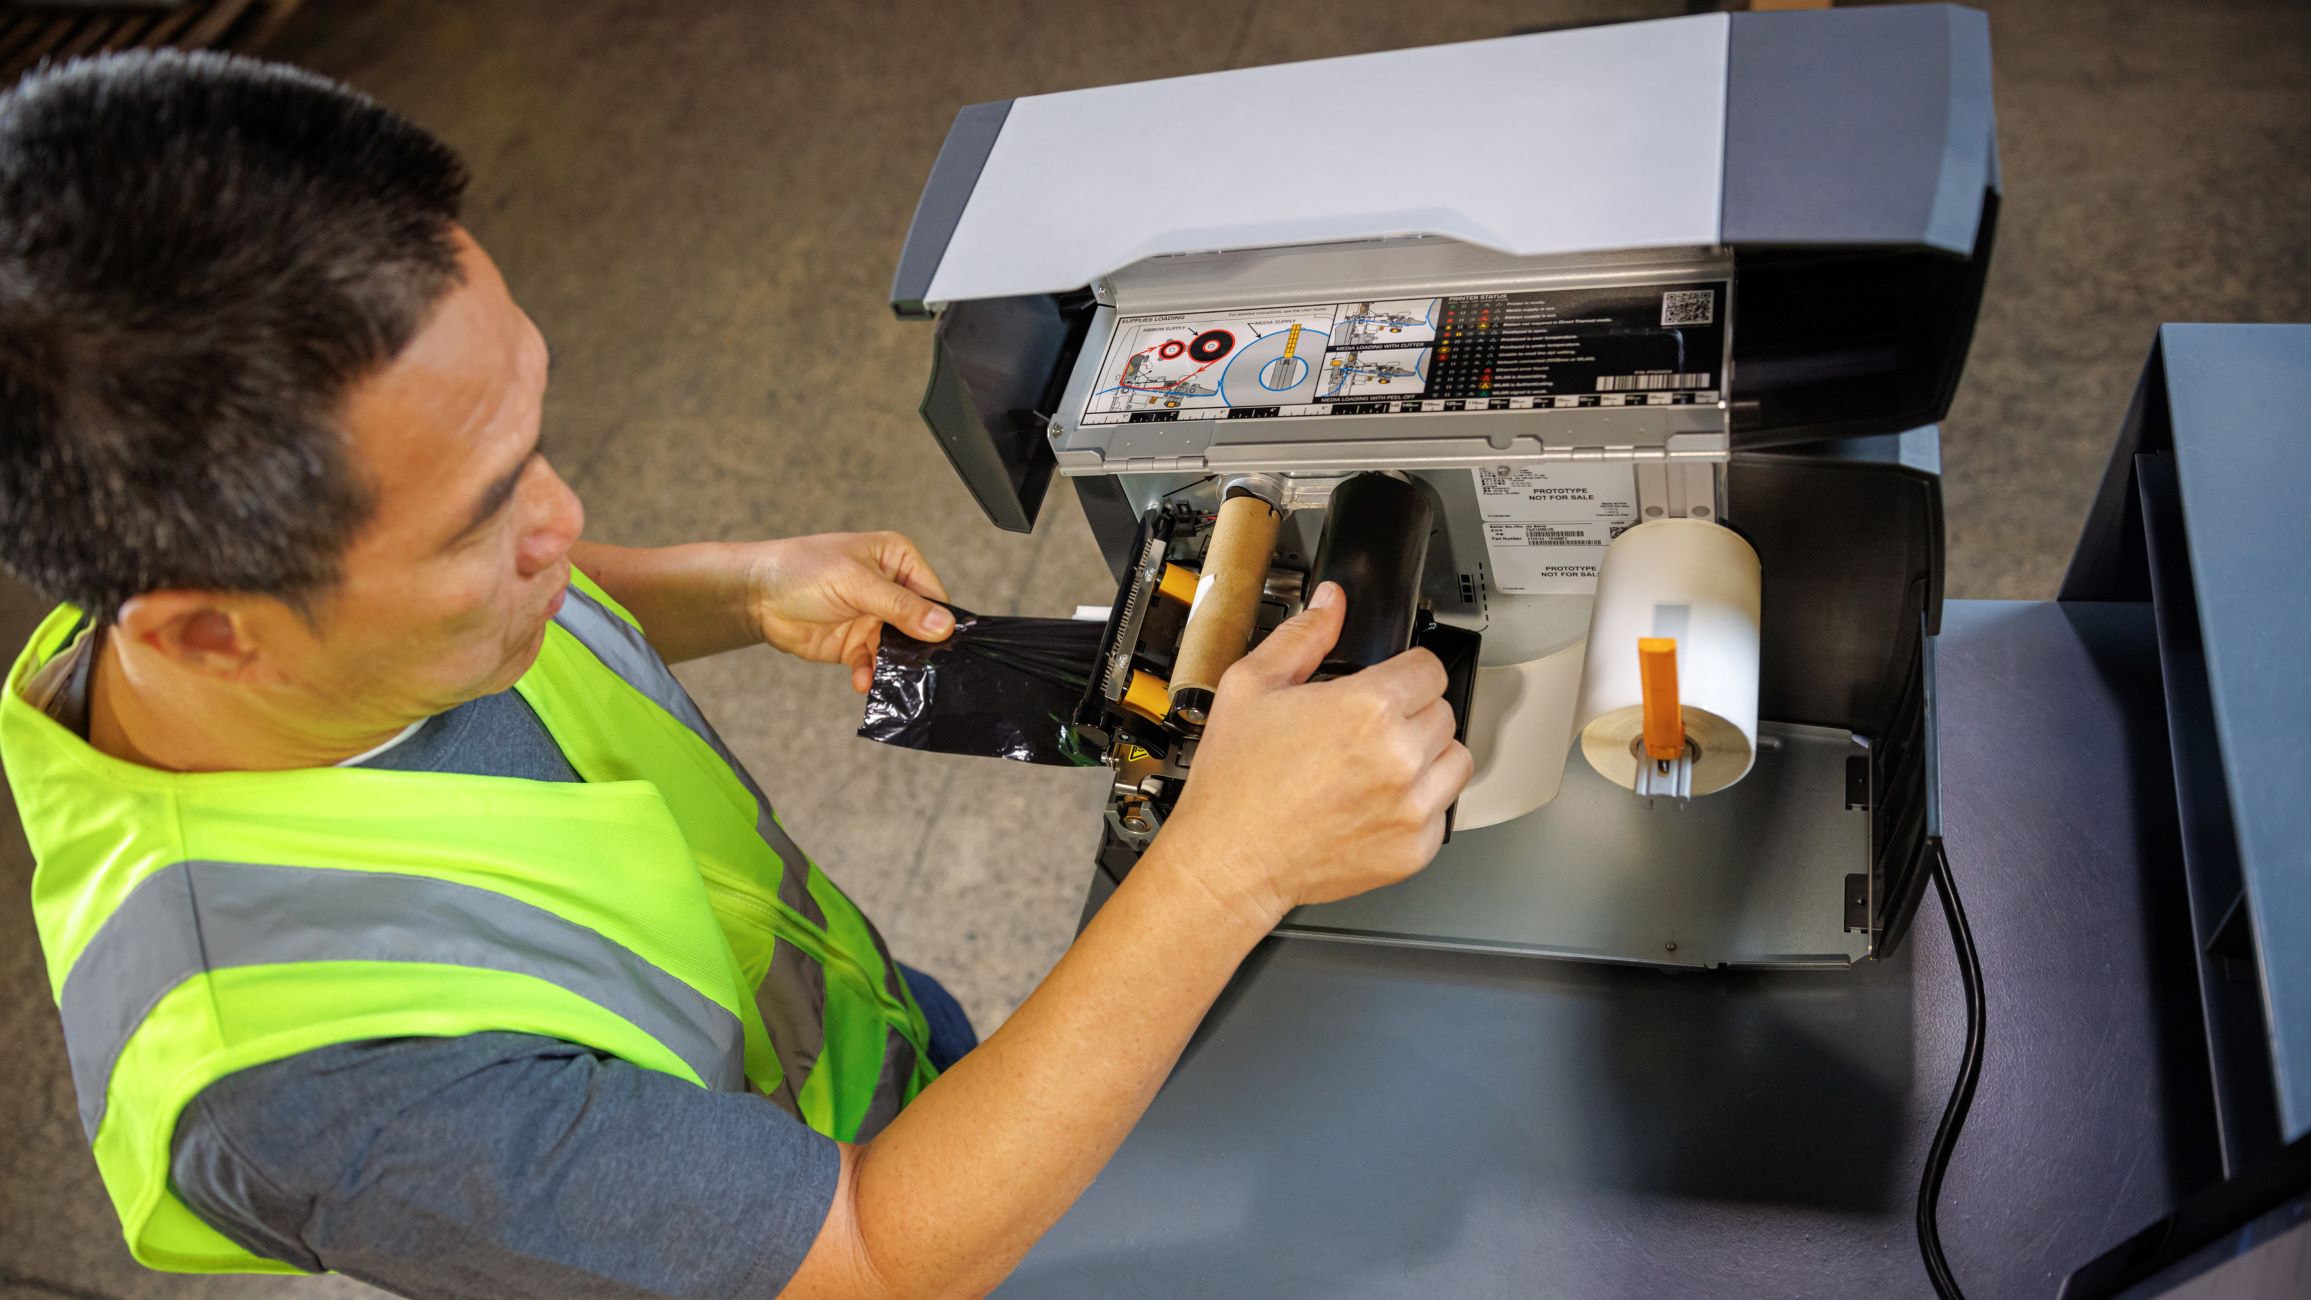
Step 1: Unboxing the Dymo Label Printer
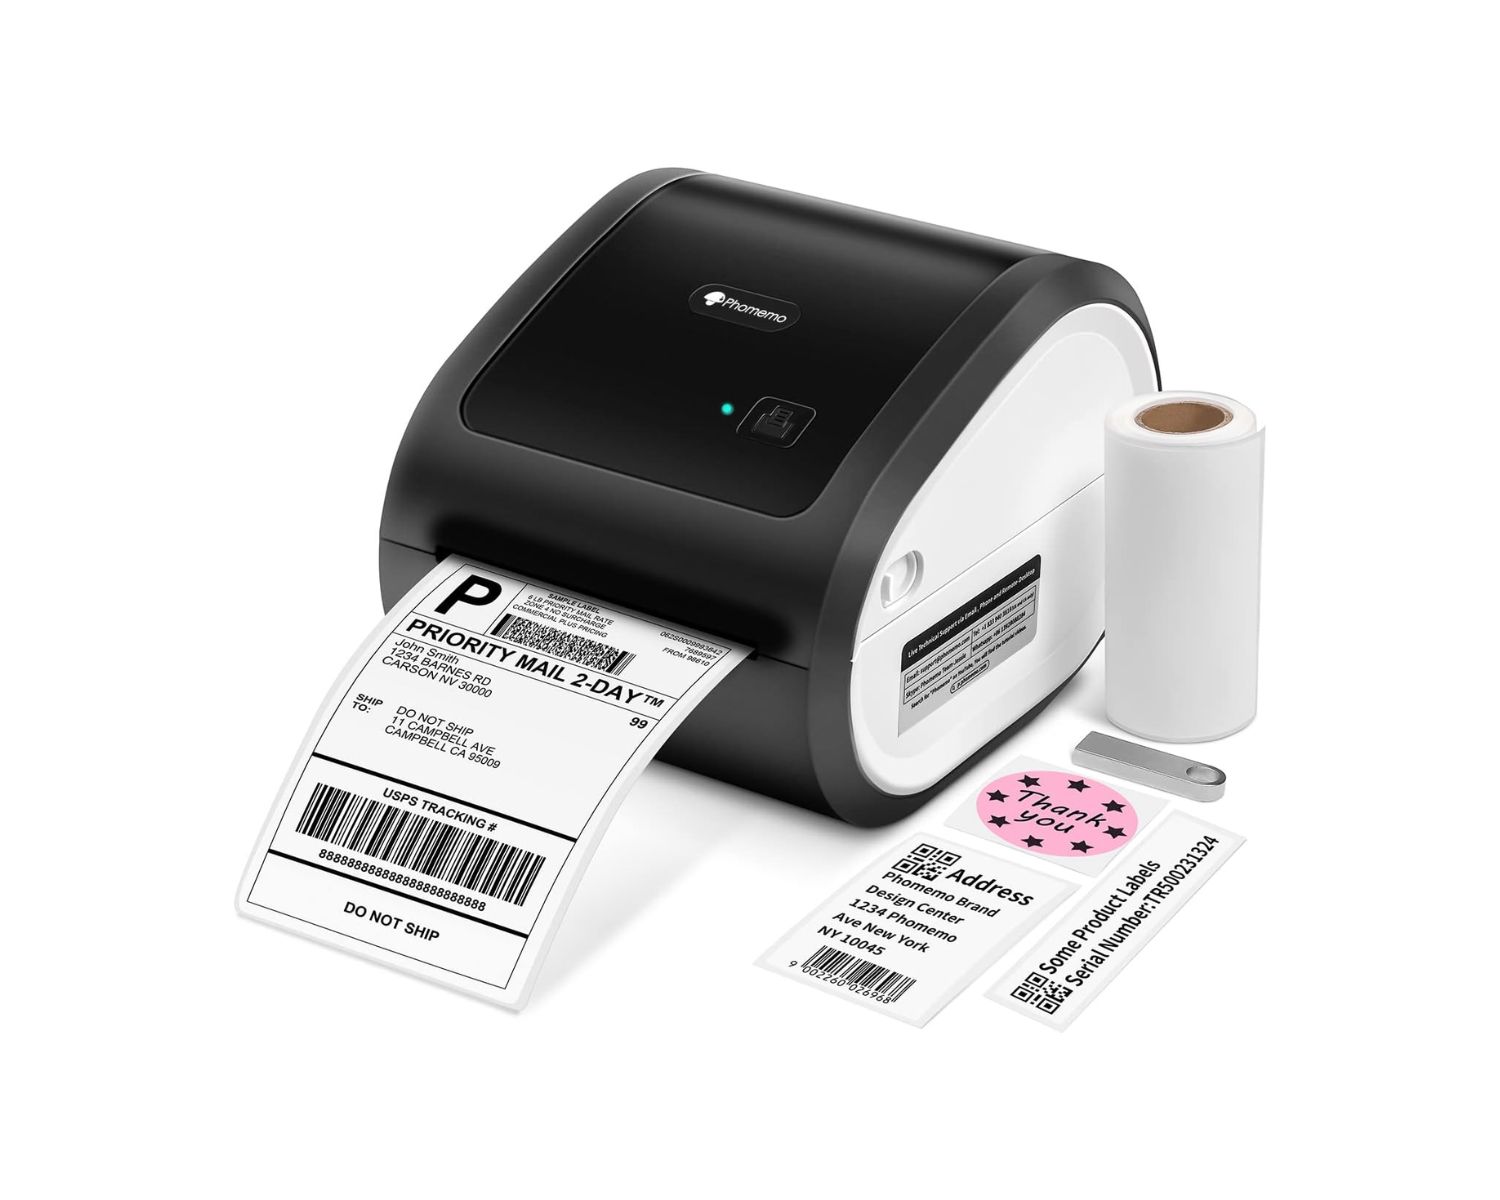
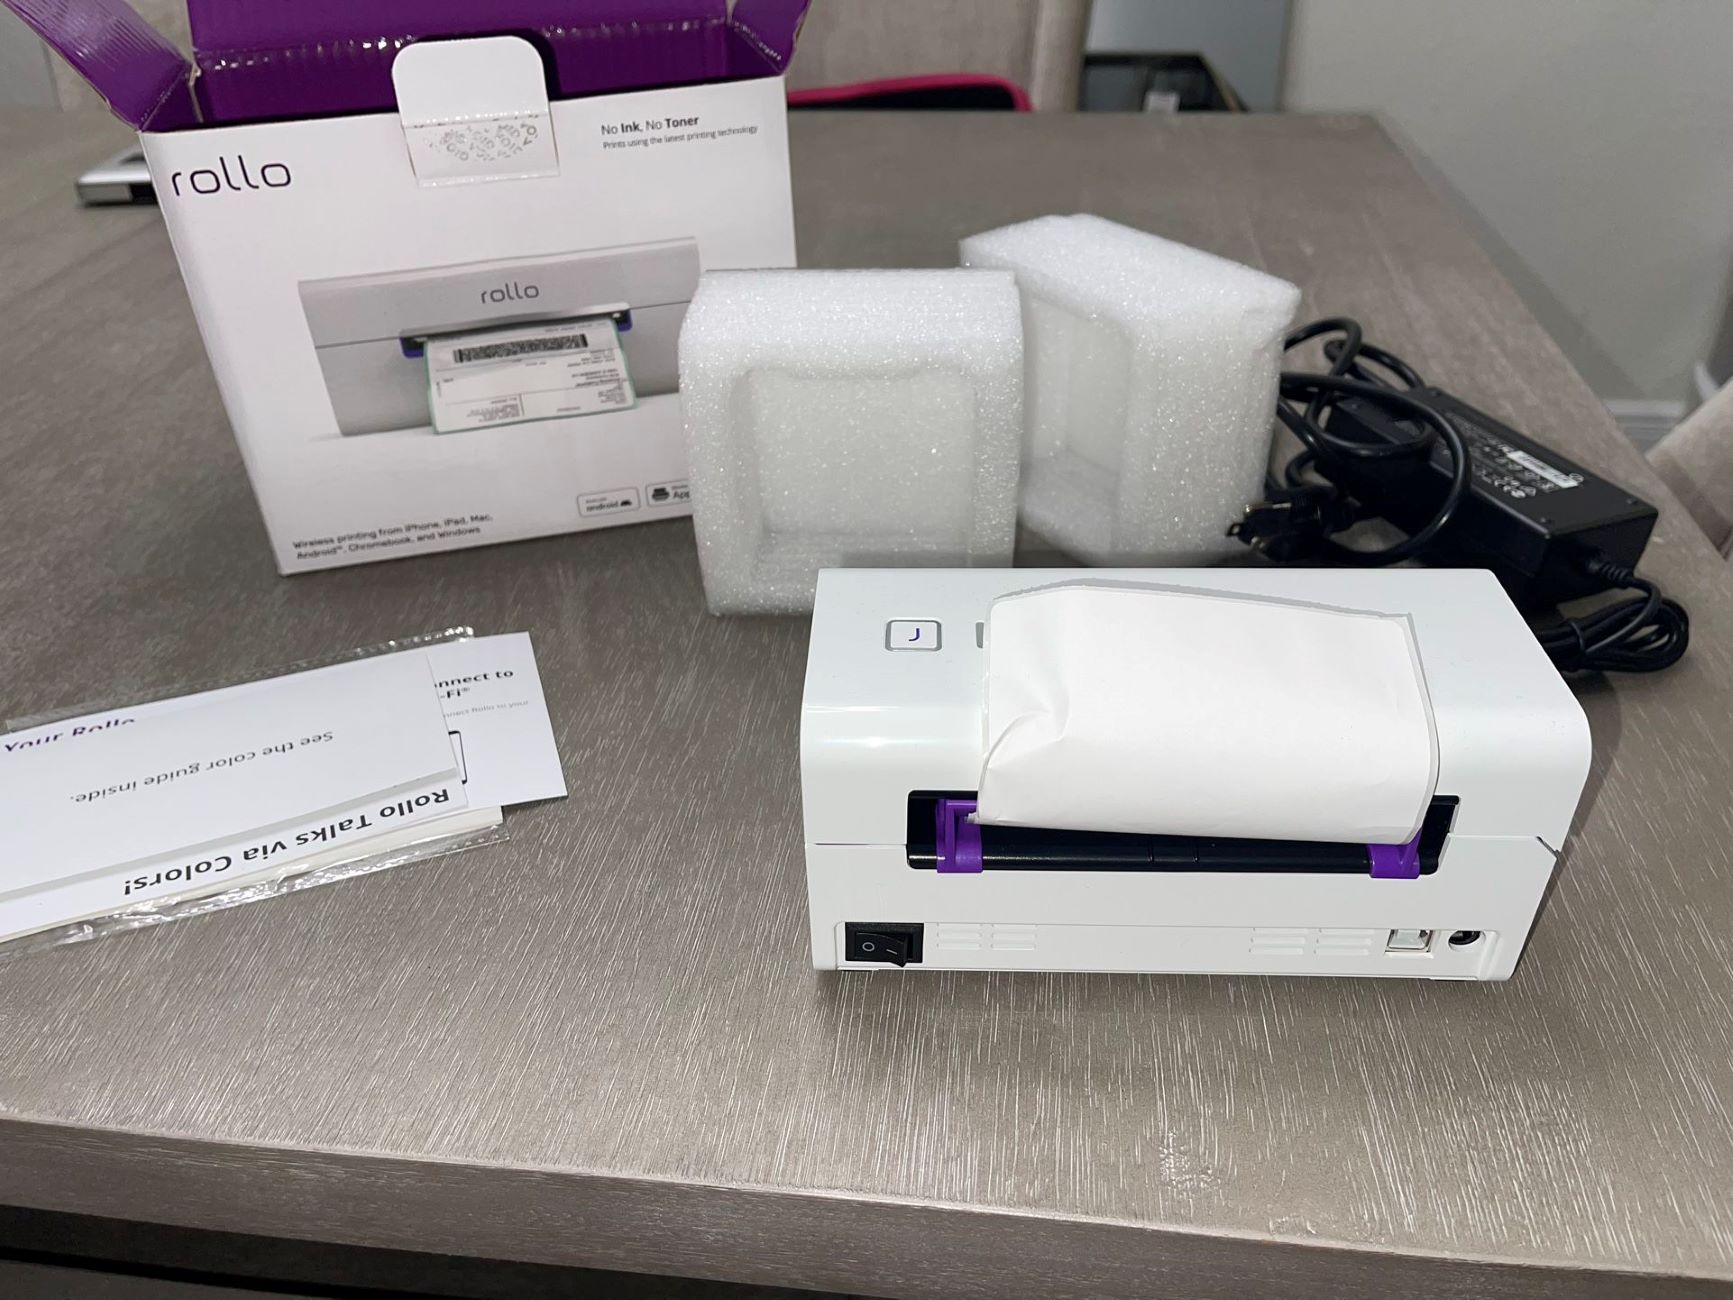
Before delving into the technical aspects of setting up the Dymo label printer, the initial step involves unboxing the device. Upon receiving your Dymo label printer, take a moment to carefully unbox it, ensuring that all the components are intact and free from any transit-related damages. The unboxing process sets the stage for a smooth installation and ensures that the printer is in optimal condition for immediate use.
As you open the package, you will typically find the Dymo label printer nestled securely within protective packaging. Remove the printer from the box, being mindful of any accompanying accessories and documentation included in the package. These accessories may include the power adapter, USB cable, label rolls, and user manuals.
Inspect the printer and its components to verify that there are no visible signs of damage or missing parts. This visual inspection is crucial to address any concerns or discrepancies at the outset, allowing for timely resolution and a hassle-free setup process.
Once you have confirmed that all components are present and undamaged, you can proceed to identify an appropriate location for the Dymo label printer within your workspace. Consider factors such as accessibility to power outlets and a stable surface for the printer. Selecting an optimal location ensures convenient access and smooth operation of the Dymo label printer.
With the unboxing process completed, you are now ready to embark on the next steps of connecting, installing, and integrating the Dymo label printer into your smart home environment. By meticulously unboxing and inspecting the printer, you have laid the foundation for a seamless setup experience, paving the way for efficient labeling and organizational capabilities.
Step 2: Connecting the Dymo Label Printer to Your Computer
After successfully unboxing the Dymo label printer, the next pivotal step is to establish a connection between the printer and your computer. This connectivity is essential for enabling seamless communication and data transfer, allowing you to harness the full potential of the Dymo label printer’s capabilities.
Commence the connection process by locating a suitable USB port on your computer. The Dymo label printer is typically equipped with a USB interface, which serves as the primary conduit for establishing a direct link to your computer. Ensure that the USB port is easily accessible and free from any obstructions, facilitating a smooth and secure connection.
With the USB port identified, proceed to retrieve the USB cable included with the Dymo label printer. Gently unwind the cable and connect one end to the USB port on the printer, ensuring a snug fit to guarantee stable connectivity. The opposite end of the USB cable should be inserted into the corresponding USB port on your computer, creating a seamless bridge between the Dymo label printer and your computing device.
As the physical connection is established, take a moment to verify that the USB cable is securely attached at both ends, minimizing the risk of disconnection during operation. This meticulous approach ensures a reliable and uninterrupted data flow between the Dymo label printer and your computer, laying the groundwork for efficient printing and data transfer.
Upon completing the physical connection, power on the Dymo label printer using the provided power adapter. The printer’s power indicator should illuminate, signaling its activation and readiness for integration with your computer. This pivotal step sets the stage for the forthcoming installation of the Dymo label printer software, which will enable seamless printing and customization of labels to suit your specific needs.
With the Dymo label printer successfully connected to your computer, you are now poised to embark on the next phase of the setup process, encompassing the installation of the printer software. This software serves as a cornerstone for harnessing the full spectrum of the Dymo label printer’s functionalities, empowering you to create and print personalized labels with unparalleled ease and precision.
Step 3: Installing the Dymo Label Printer Software
With the Dymo label printer seamlessly connected to your computer, the next crucial phase involves installing the requisite software to enable comprehensive control and customization of your printing experience. The Dymo label printer software serves as a gateway to a myriad of features, allowing you to create, edit, and print labels with unparalleled ease and precision.
Initiate the software installation process by navigating to the official Dymo website or the provided installation media to access the latest version of the Dymo label printer software. Ensure that you download the software compatible with your computer’s operating system, guaranteeing seamless integration and optimal performance.
Once the software installer is obtained, commence the installation by executing the setup file, which initiates the installation wizard. Follow the on-screen prompts to progress through the installation process, carefully reviewing and accepting the necessary terms and agreements to proceed with the installation.
As the installation progresses, the wizard will prompt you to select the desired installation location and configure any custom settings to align with your preferences. Take this opportunity to tailor the installation parameters to suit your specific requirements, ensuring a personalized and optimized software setup.
Upon completion of the installation, launch the Dymo label printer software to verify its successful installation and functionality. Familiarize yourself with the software interface, exploring the diverse array of features and customization options available at your fingertips.
As you acquaint yourself with the software, take note of the intuitive tools for label creation, customization, and printing, empowering you to effortlessly craft professional-grade labels tailored to your unique needs. The software’s user-friendly interface and robust feature set position you to unleash your creativity and organizational prowess, elevating your labeling endeavors to new heights.
With the Dymo label printer software successfully installed and primed for utilization, you are now poised to seamlessly integrate the printer into your smart home environment, unlocking its full potential to streamline your labeling tasks with unparalleled efficiency and precision.
As the software installation concludes, you are now equipped with the essential tools to harness the full capabilities of the Dymo label printer, setting the stage for the forthcoming steps of adding the printer to your devices and testing its functionality within your smart home ecosystem.
Make sure to download and install the latest Dymo Label software from their official website before connecting the printer to your computer. This will ensure compatibility and smooth installation.
Step 4: Adding the Dymo Label Printer to Your Devices
Upon successfully connecting the Dymo label printer to your computer and installing the accompanying software, the next pivotal step involves adding the printer to your devices, ensuring seamless accessibility and integration within your smart home environment. This process facilitates effortless printing and streamlined communication between your devices and the Dymo label printer, empowering you to leverage its capabilities with unparalleled convenience.
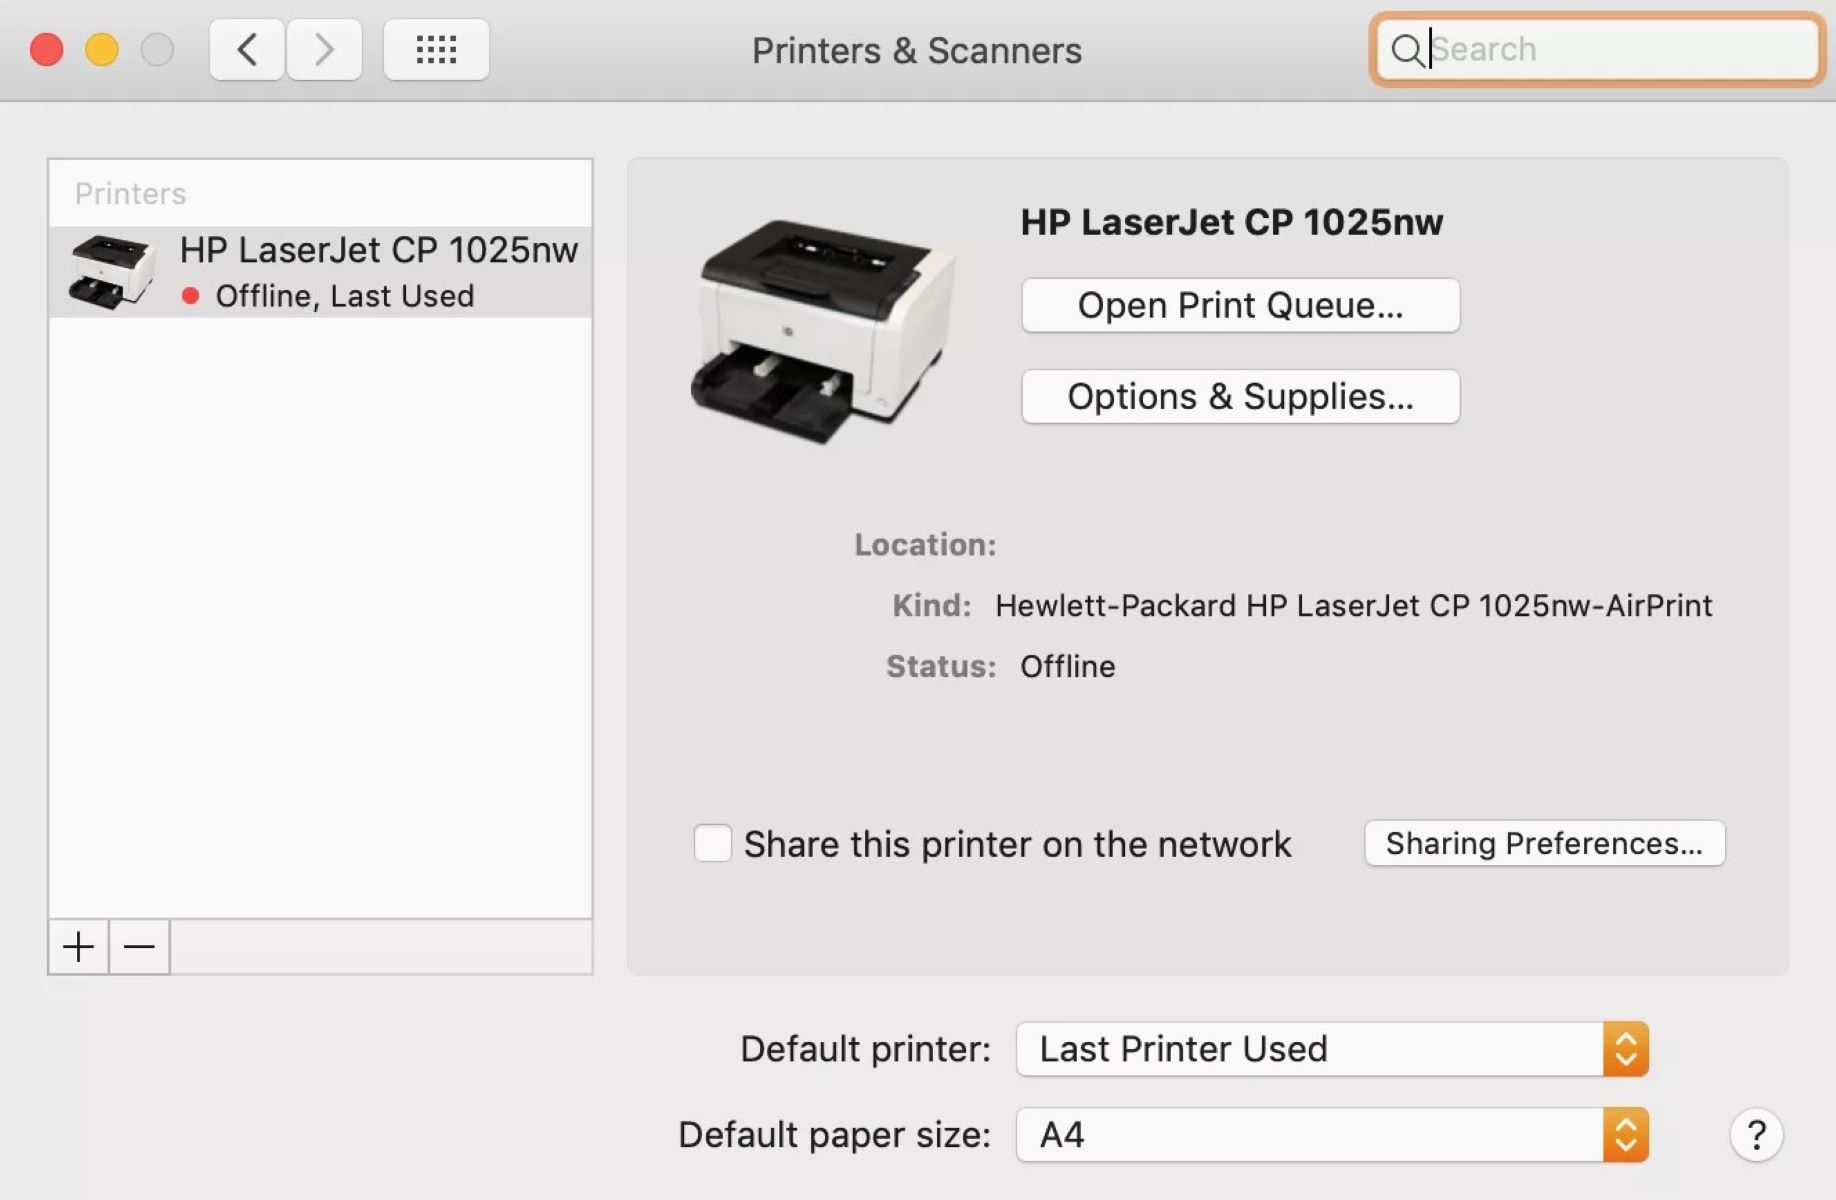
Commence the device integration process by accessing the system settings or control panel on your computer, depending on the operating system in use. Navigate to the “Devices” or “Printers & Scanners” section, where you can initiate the process of adding a new printer to your device roster.
Within the “Devices” or “Printers & Scanners” interface, locate the option to add a new printer or device. This action prompts your computer to search for available printers, including the newly connected Dymo label printer. Upon detection, the printer’s name should appear in the list of available devices, signaling its successful connection and readiness for integration.
Select the Dymo label printer from the list of available devices, initiating the process of adding it to your computer. Follow any on-screen prompts to finalize the addition, ensuring that the printer is seamlessly incorporated into your device network for effortless access and utilization.
After successfully adding the Dymo label printer to your computer, take a moment to configure any specific settings or preferences related to the printer’s functionality. This may include designating the Dymo label printer as the default printing device or customizing its print settings to align with your specific labeling requirements.
By tailoring the printer settings to your preferences, you can optimize the printing process and streamline your labeling endeavors, ensuring that the Dymo label printer seamlessly integrates into your smart home ecosystem with tailored precision and efficiency.
With the Dymo label printer seamlessly added to your devices, you are now poised to embark on the final step of testing the printer’s functionality, validating its seamless integration and readiness to fulfill your labeling needs within your smart home environment.
As the printer is successfully added to your devices, you have laid the groundwork for effortless printing and seamless communication between your computer and the Dymo label printer, setting the stage for a streamlined labeling experience that harmoniously aligns with the modern demands of efficiency and precision.
Read more: How To Get Dymo Printer Online
Step 5: Testing the Dymo Label Printer
With the Dymo label printer seamlessly added to your devices and integrated into your smart home environment, the final critical step involves testing the printer’s functionality to validate its seamless operation and readiness to fulfill your labeling needs with precision and efficiency.
To commence the testing process, launch the Dymo label printer software on your computer, accessing its intuitive interface and versatile feature set. Familiarize yourself with the software’s capabilities, exploring the diverse array of tools for label customization, design, and printing.
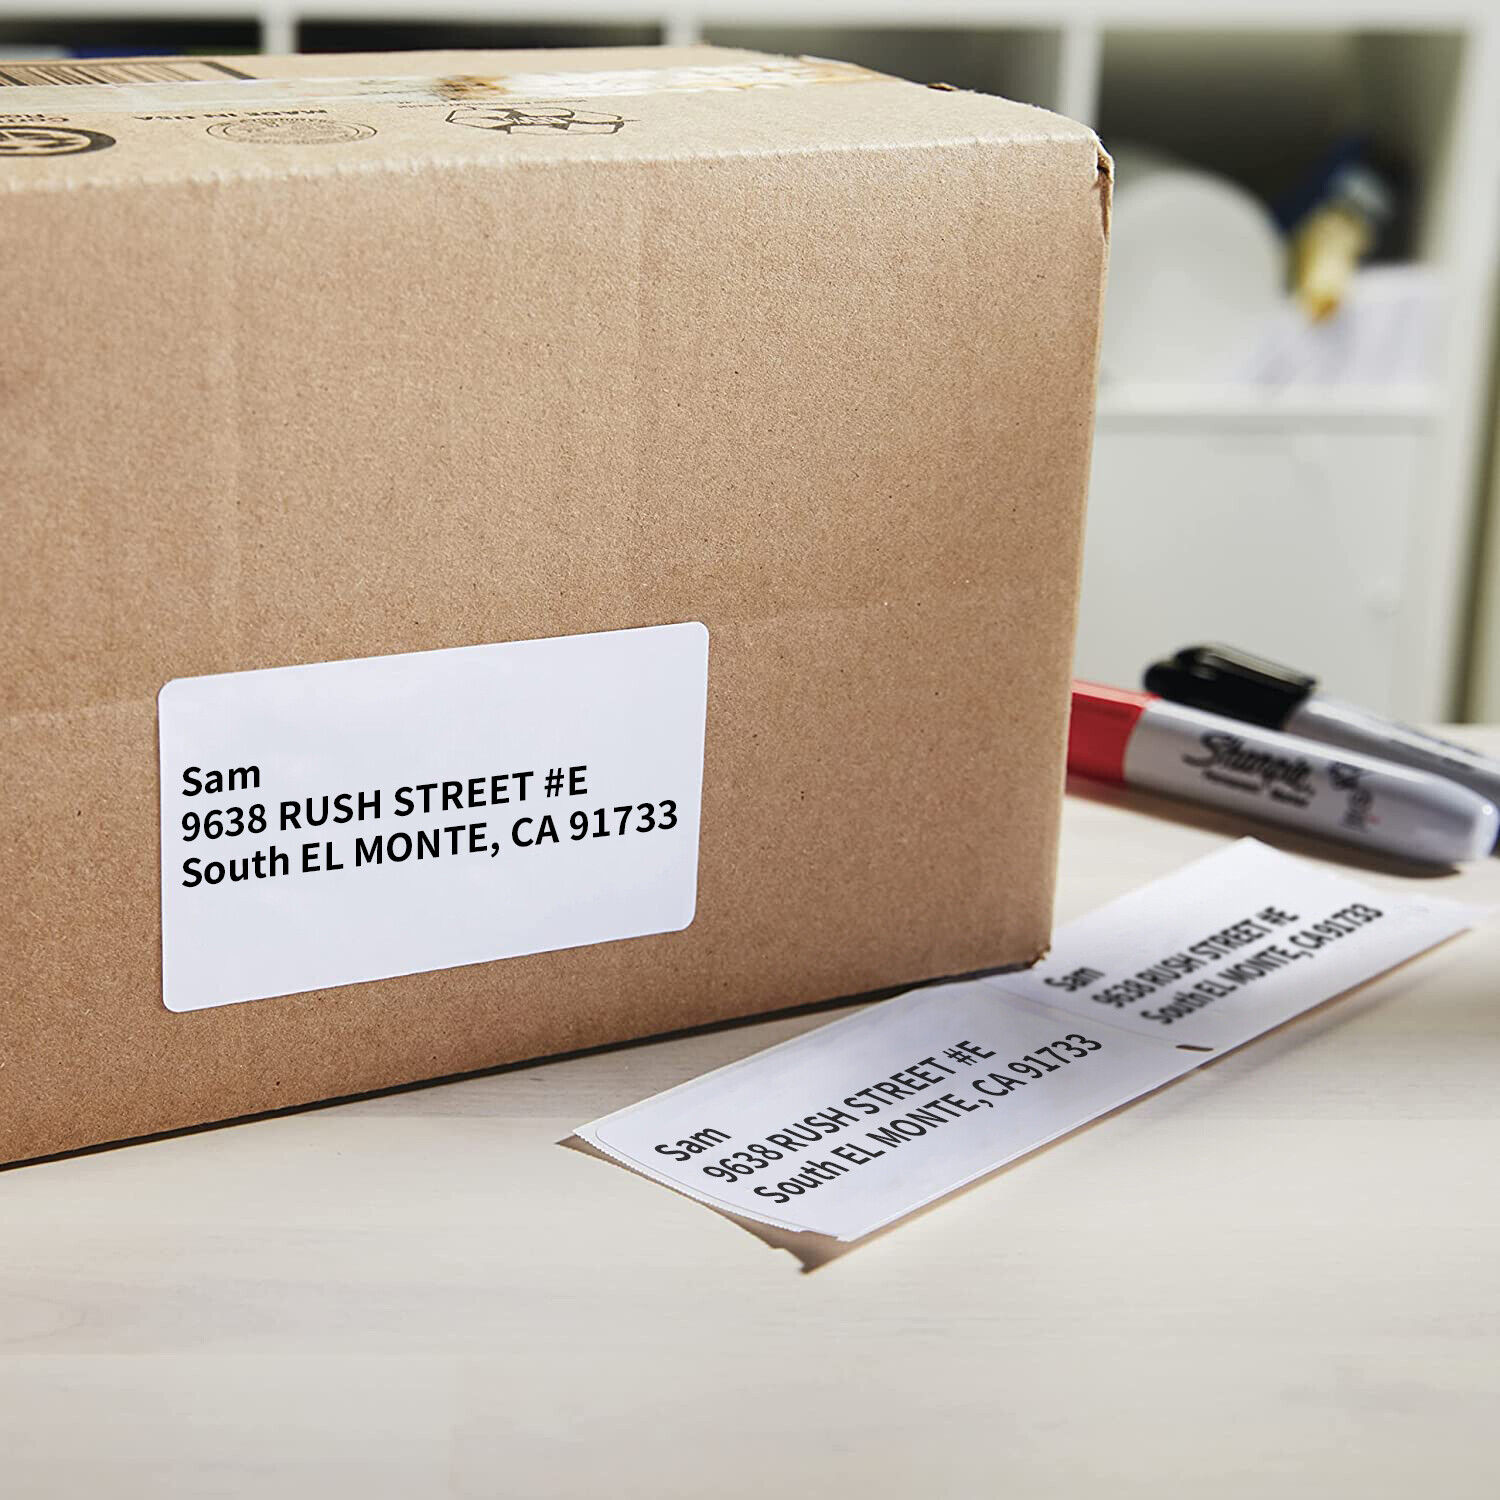
As you acquaint yourself with the software, consider creating a sample label to assess the printer’s performance and output quality. Utilize the software’s design tools to craft a personalized label, incorporating text, graphics, and formatting elements to tailor the label to your specific requirements.
Upon finalizing the label design, initiate the printing process through the Dymo label printer software, selecting the Dymo label printer as the designated printing device. Verify that the printer is operational and ready to fulfill the printing task, ensuring that it seamlessly translates your label design into a tangible, high-quality output.
As the printer springs into action, observe the printing process closely, paying attention to the precision, clarity, and overall quality of the printed label. Evaluate the printer’s performance in rendering intricate details, text legibility, and color vibrancy, ensuring that it aligns with your expectations for professional-grade label production.
Upon the completion of the printing task, retrieve the printed label from the Dymo label printer and assess its quality and accuracy. Examine the label for any imperfections or inconsistencies, ensuring that the printer has faithfully translated your design into a polished, professional output that meets your exacting standards.
As you evaluate the printed label, consider its suitability for your intended application, whether it involves file organization, shipping labels, or any other labeling requirements within your smart home environment. Verify that the Dymo label printer has seamlessly executed the printing task, underscoring its capability to streamline your labeling endeavors with unparalleled precision and efficiency.
With the successful completion of the testing phase, you have validated the seamless integration and functionality of the Dymo label printer within your smart home ecosystem. The printer’s ability to effortlessly translate your designs into high-quality, professional-grade labels underscores its pivotal role in enhancing your organizational capabilities and streamlining your labeling tasks with unparalleled ease and precision.
As the testing phase concludes, you are now poised to leverage the full potential of the Dymo label printer, harnessing its capabilities to elevate your labeling endeavors and streamline your organizational processes within the modern landscape of smart home devices.
Conclusion
Congratulations on successfully navigating the comprehensive process of adding a Dymo label printer to your smart home environment. Through the seamless execution of unboxing, connecting, installing, adding to devices, and testing the printer, you have unlocked the full potential of this innovative device, positioning it as a valuable asset in streamlining your labeling endeavors with precision and efficiency.
By meticulously unboxing the Dymo label printer, you ensured that the device was in optimal condition and ready for seamless integration into your workspace. The careful inspection and setup laid the foundation for a smooth and hassle-free installation process, setting the stage for the printer’s seamless connectivity and operation.
The pivotal step of connecting the Dymo label printer to your computer facilitated a direct and robust link, enabling seamless communication and data transfer between your computing device and the printer. This crucial connection serves as the backbone of the printer’s functionality, empowering you to effortlessly harness its capabilities for streamlined label production.
With the installation of the Dymo label printer software, you gained access to a rich suite of features and tools, empowering you to create, customize, and print labels with unparalleled ease and precision. The software’s user-friendly interface and versatile functionality positioned you to unleash your creativity and organizational prowess, enhancing your labeling endeavors within your smart home environment.
Adding the Dymo label printer to your devices seamlessly integrated the printer into your smart home ecosystem, enabling effortless access and utilization across your computing devices. This pivotal step facilitated streamlined printing and communication, ensuring that the printer harmoniously aligns with your modern demands for efficiency and convenience.
As you meticulously tested the Dymo label printer, you validated its seamless operation and high-quality output, affirming its capability to fulfill your labeling needs with precision and professionalism. The successful testing phase underscored the printer’s pivotal role in enhancing your organizational capabilities and streamlining your labeling tasks within the modern landscape of smart home devices.
As you conclude this enlightening journey of adding a Dymo label printer to your smart home environment, you are now equipped with the knowledge and confidence to leverage the printer’s capabilities to streamline your labeling endeavors with unparalleled ease and precision. Embrace the seamless integration of the Dymo label printer, and witness firsthand how this innovative device elevates your organizational capabilities to new heights within the modern realm of smart home devices.
Embrace the seamless integration of the Dymo label printer, and witness firsthand how this innovative device elevates your organizational capabilities to new heights within the modern realm of smart home devices.
Frequently Asked Questions about How To Add A Dymo Label Printer
Was this page helpful?
At Storables.com, we guarantee accurate and reliable information. Our content, validated by Expert Board Contributors, is crafted following stringent Editorial Policies. We're committed to providing you with well-researched, expert-backed insights for all your informational needs.


0 thoughts on “How To Add A Dymo Label Printer”