Home>Technology>Smart Home Devices>How To Change Printer Settings To Labels
Smart Home Devices
How To Change Printer Settings To Labels
Modified: August 28, 2024
Learn how to easily change printer settings to labels for your smart home devices. Follow our step-by-step guide for quick and hassle-free setup.
(Many of the links in this article redirect to a specific reviewed product. Your purchase of these products through affiliate links helps to generate commission for Storables.com, at no extra cost. Learn more)
**
Introduction
**
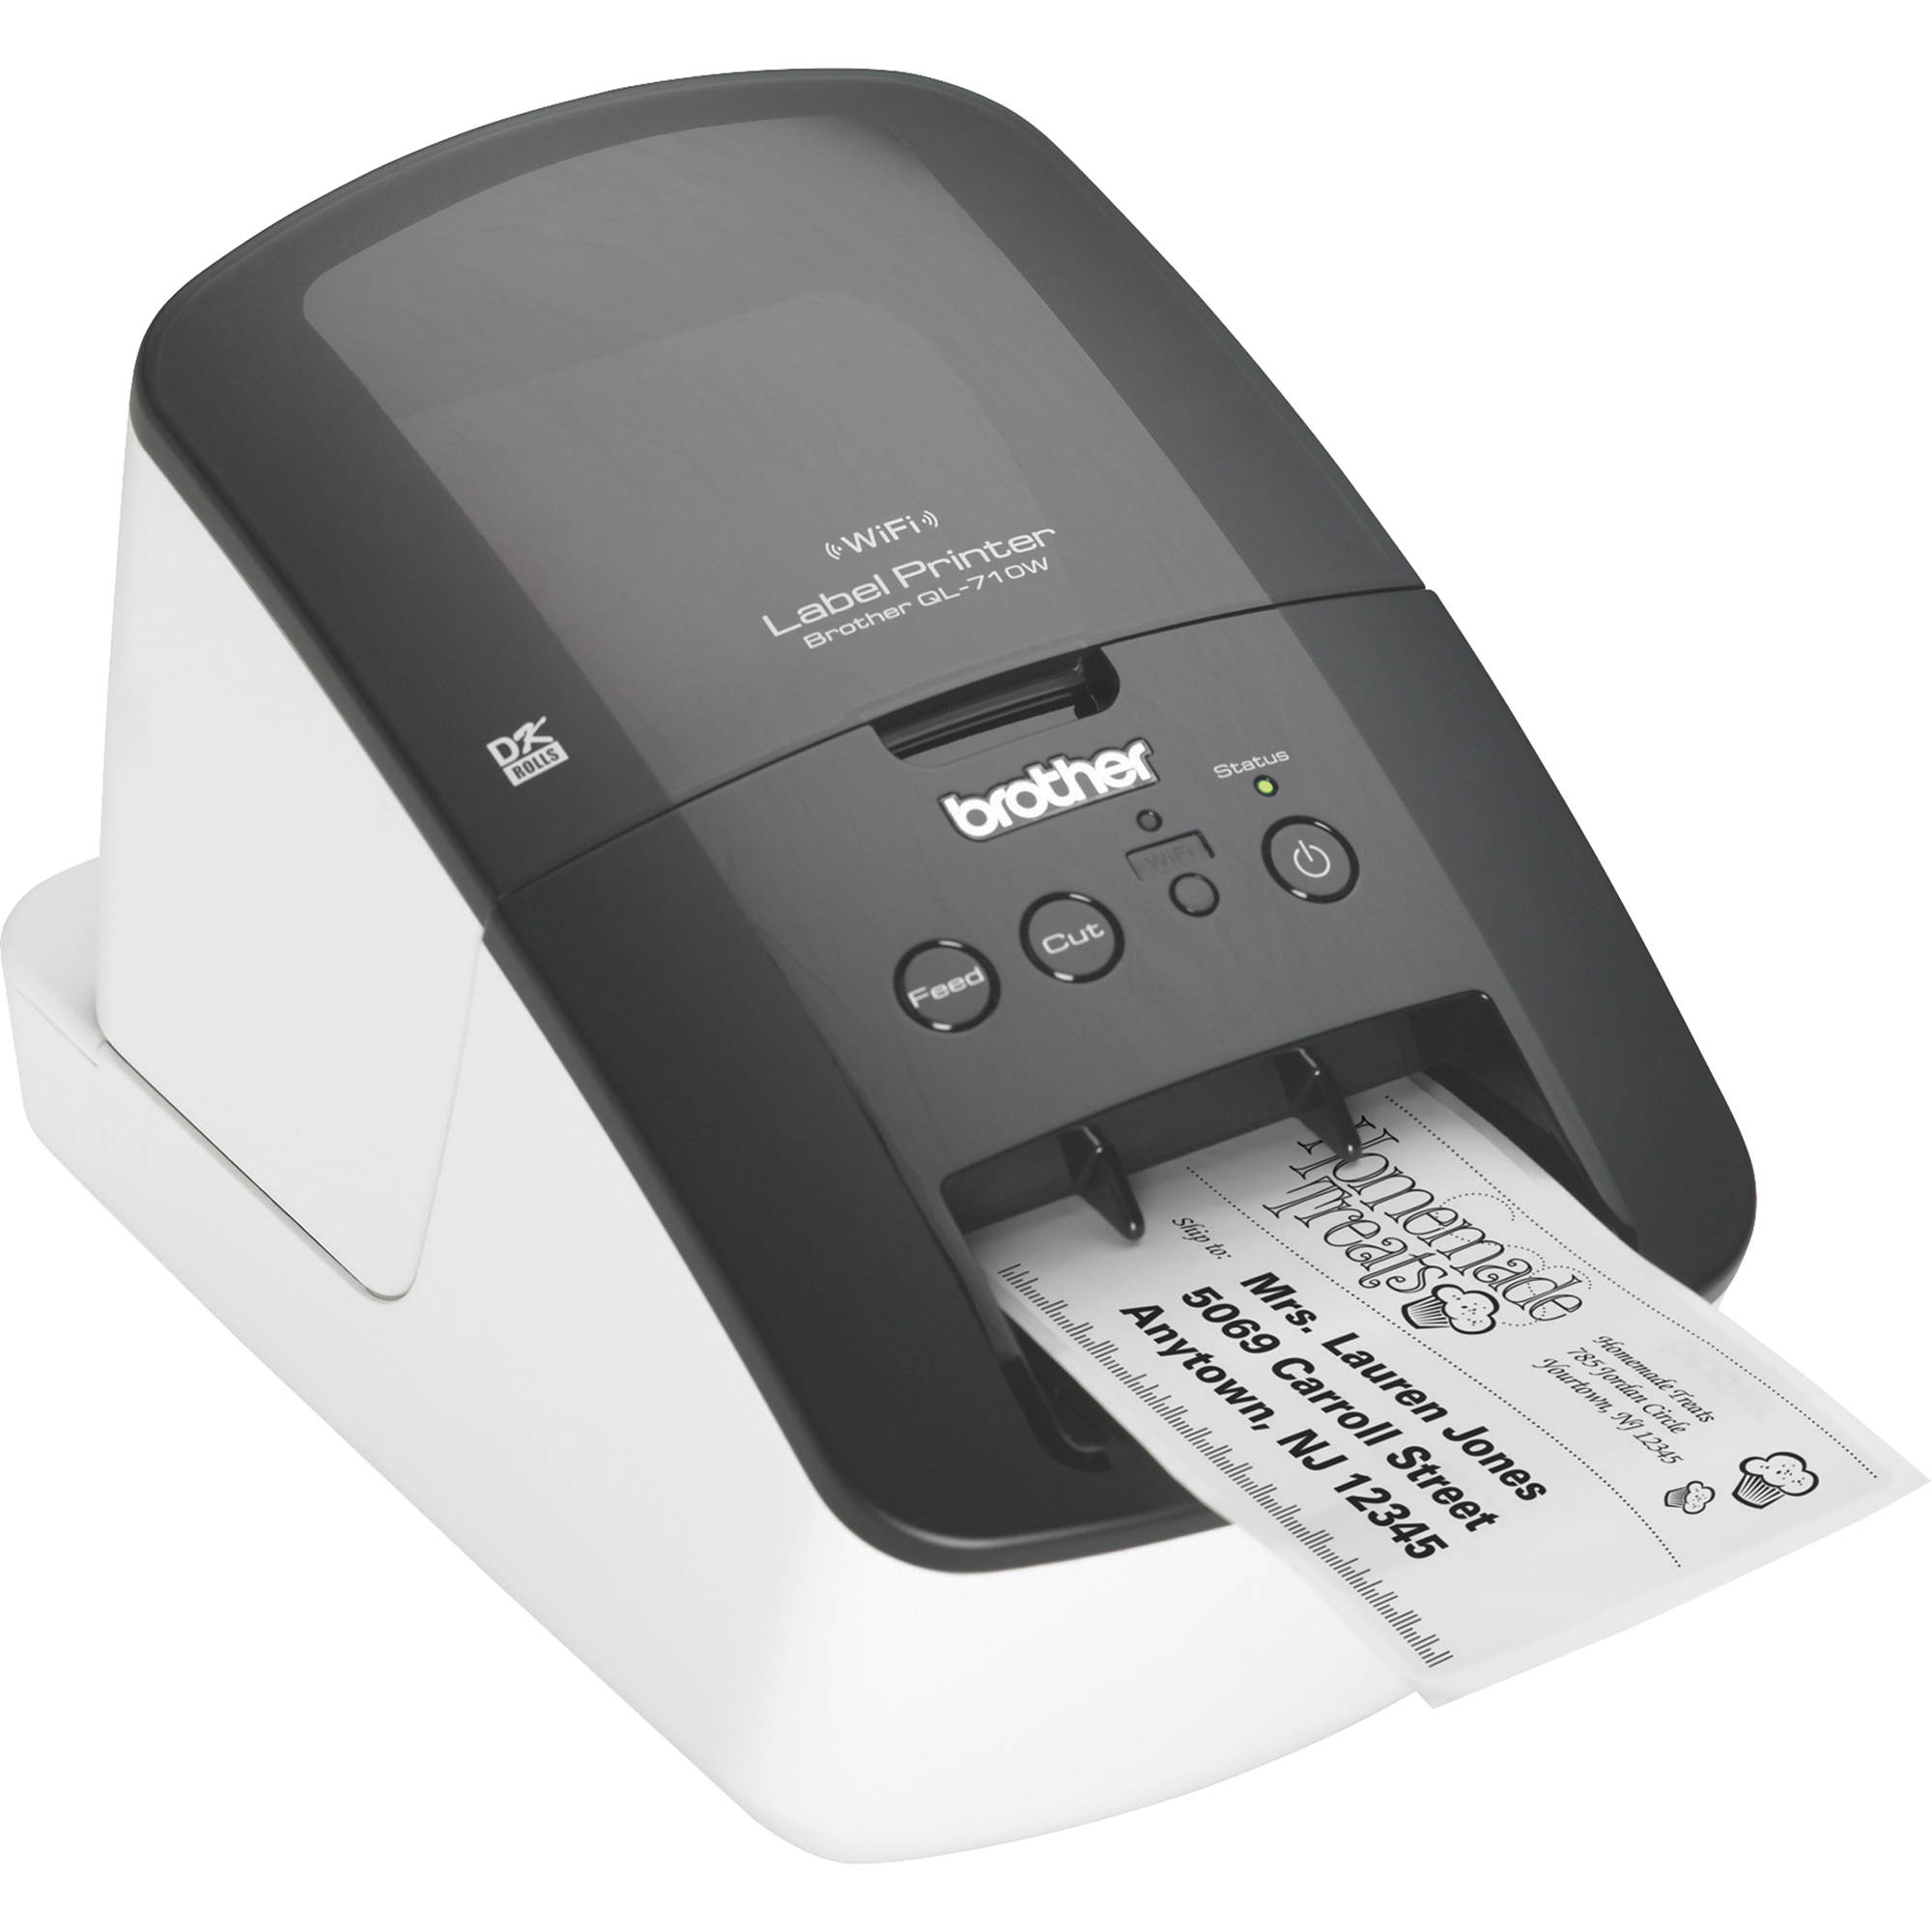
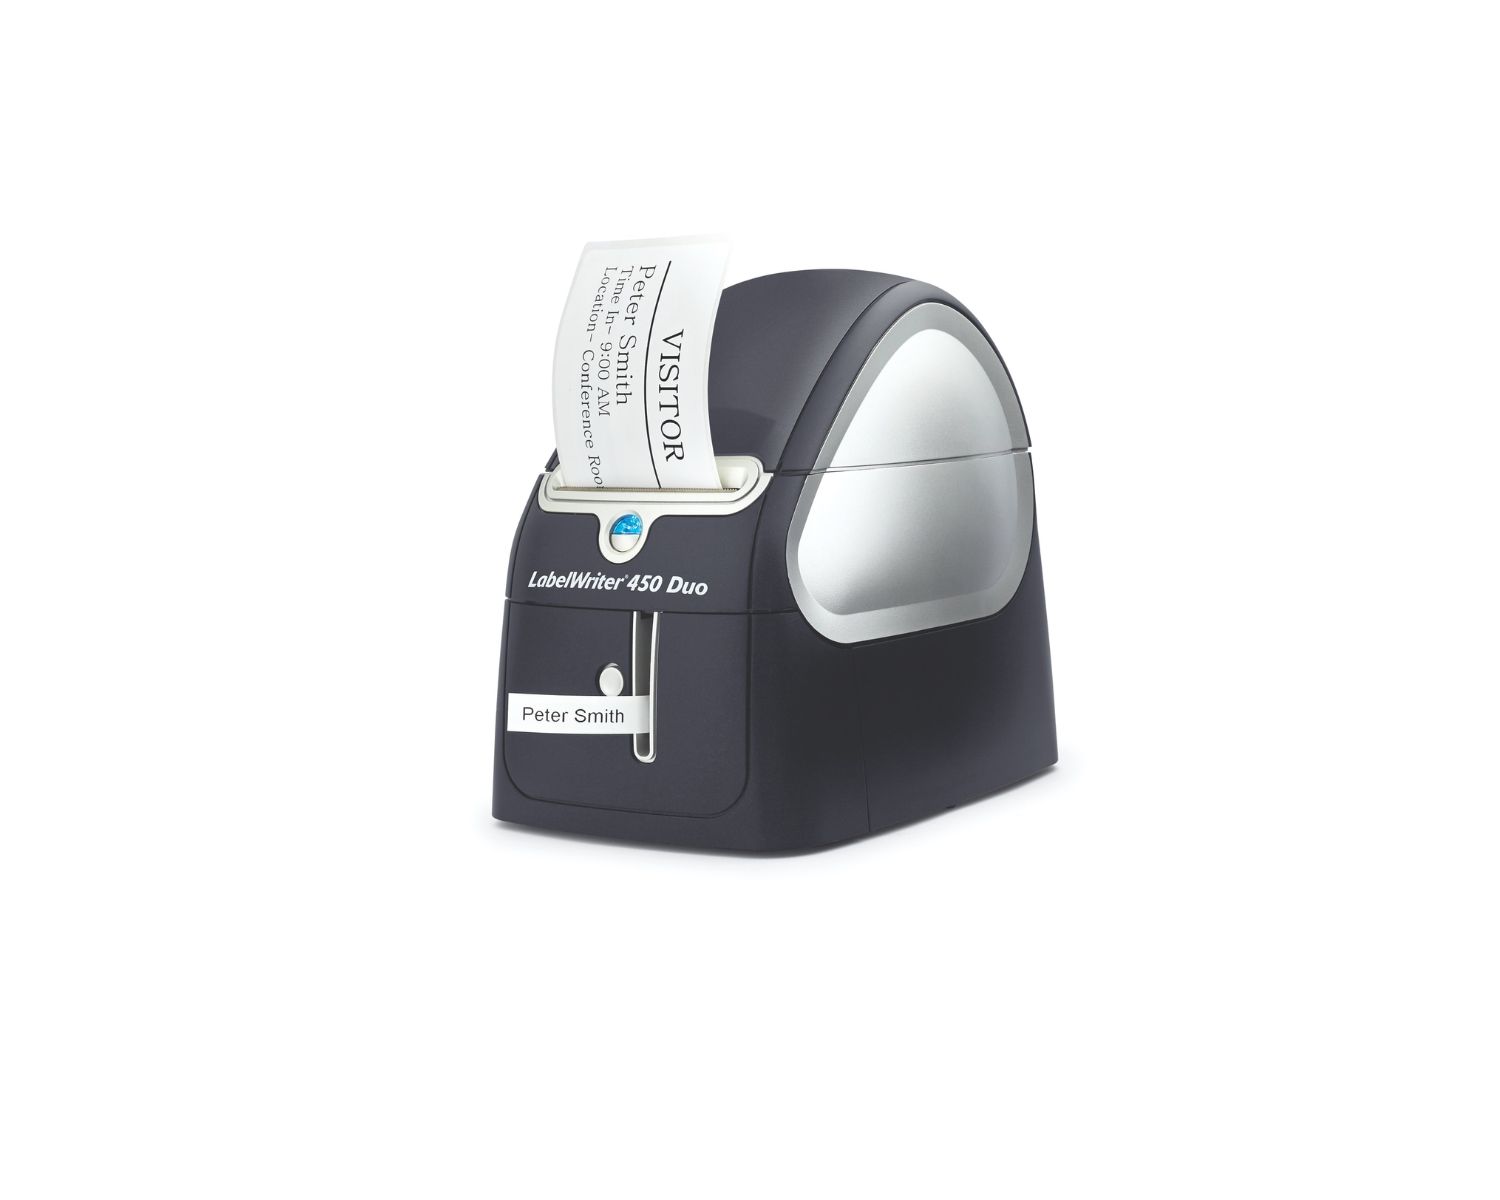
Welcome to the world of smart home devices, where technology seamlessly integrates into our daily lives, offering convenience, efficiency, and innovation. Among the myriad of smart devices available, smart home printers have become an indispensable tool for modern households and businesses. These versatile printers are capable of much more than just printing documents; they can also be used to create custom labels for various purposes, such as organizing files, labeling storage containers, and personalizing items.
In this comprehensive guide, we will delve into the process of changing printer settings to accommodate label printing. Whether you are a small business owner looking to streamline your shipping process or a homeowner seeking to organize your space with labeled containers, understanding how to configure your smart printer for label printing is essential.
We will explore the steps to access printer settings, make the necessary adjustments for label printing, and troubleshoot common issues that may arise during the process. By the end of this guide, you will have the knowledge and confidence to optimize your smart home printer for label printing, unlocking its full potential and expanding its utility in your daily life.
So, let's embark on this enlightening journey into the realm of smart home printing, where innovation and practicality converge to enhance the way we interact with technology in our homes and workplaces.
Key Takeaways:
- Transform your smart home printer into a label-printing powerhouse by adjusting settings for paper type, size, print quality, and alignment. Test print to ensure optimal results and troubleshoot common issues for impeccable labels.
- Embrace the fusion of technology and practicality with smart home printing. Continually explore advanced label design features, stay updated on printer technology, and unleash creativity for personalized, efficient labeling solutions.
Read more: How To Use A Label Printer
Accessing Printer Settings
Before delving into the intricacies of configuring your smart home printer for label printing, it is essential to familiarize yourself with the process of accessing the printer settings. The exact method for accessing these settings may vary depending on the model and brand of your smart printer, but the fundamental steps generally remain consistent.
Firstly, ensure that your smart home printer is powered on and connected to the same network as your computer or mobile device. Once this connectivity is established, you can proceed to access the printer settings through either a dedicated printer management software provided by the manufacturer or the native printing settings on your operating system.
If your smart home printer is equipped with proprietary management software, such as HP Smart, Epson iPrint, or Canon PRINT, you can launch the application on your computer or mobile device. Within the software interface, navigate to the printer settings or configuration section, where you will find a range of options to customize the printer’s behavior and capabilities.
Alternatively, if you prefer to access the printer settings directly from your computer’s operating system, you can do so by following these general steps:
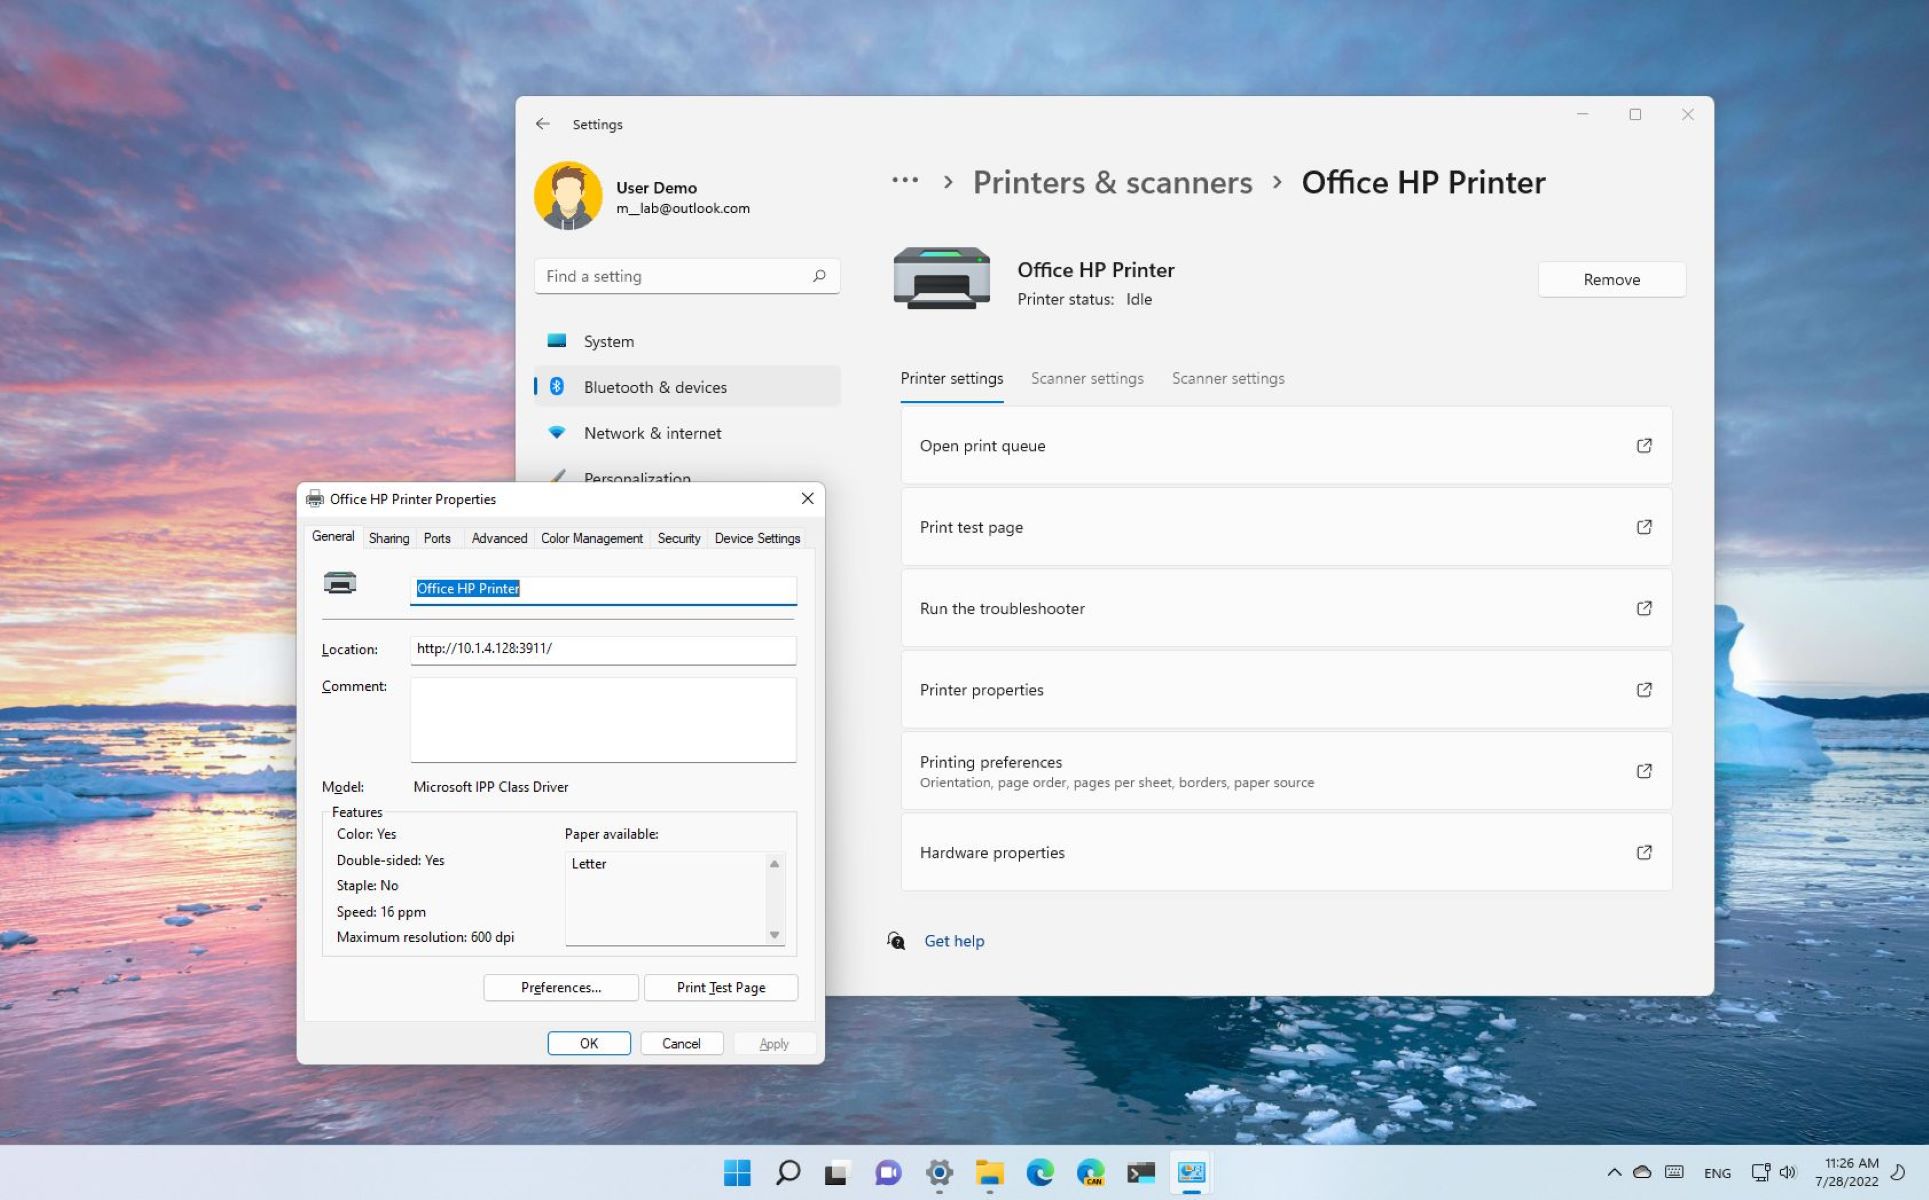
- On Windows: Navigate to the Control Panel, select “Devices and Printers,” and right-click on your smart home printer. Choose “Printer Properties” or “Printing Preferences” to access the settings specific to your printer model.
- On Mac: Open the System Preferences, select “Printers & Scanners,” and choose your smart home printer from the list of available devices. Click on “Options & Supplies” or “Utility” to access the printer settings and configuration options.
Once you have successfully accessed the printer settings, you are ready to proceed with the next crucial step: configuring the printer for label printing. This entails making specific adjustments to accommodate the unique requirements of label printing, ensuring that the printed labels are of optimal quality and precision.
With a firm grasp of how to access the printer settings, you are now poised to embark on the journey of transforming your smart home printer into a versatile label-printing powerhouse.
Changing Printer Settings to Labels
Now that you have successfully accessed the printer settings, the next pivotal step in the process of enabling label printing on your smart home printer is to make the necessary adjustments within the settings. Label printing requires specific configurations to ensure that the labels are printed accurately and with optimal quality. By following these steps, you can tailor your printer to meet the unique demands of label printing.
Begin by navigating to the printer settings specific to your model, as outlined in the previous section. Once you have accessed the settings, look for the following key parameters that may need to be adjusted to facilitate label printing:
- Paper Type: Select the appropriate paper type or media setting that corresponds to the labels you intend to use. Many smart home printers offer predefined settings for labels, such as “Label,” “Glossy Labels,” or “Custom Labels.” Choose the option that best matches the type of labels you will be printing.
- Paper Size: Ensure that the paper size setting aligns with the dimensions of the labels. If your labels have non-standard dimensions, you may need to create a custom paper size within the printer settings to accurately reflect the label dimensions.
- Print Quality: Adjust the print quality settings to achieve the desired clarity and resolution for the labels. Optimal print quality is essential for legible text and vibrant graphics on the labels.
- Margins and Alignment: Verify that the margins and alignment settings are configured to accommodate the label layout. Proper alignment is crucial for preventing misaligned or skewed printing on the labels.
Once you have made these adjustments, ensure that the changes are saved within the printer settings to apply the new configurations. It is advisable to perform a test print using a sample label sheet to verify that the settings are accurately calibrated for label printing.
By meticulously configuring the printer settings to align with the requirements of label printing, you can harness the full potential of your smart home printer, transforming it into a versatile tool for creating professional-quality labels tailored to your specific needs.
With the printer settings optimized for label printing, you are now prepared to embark on the final steps of the process: printing a test page and troubleshooting common issues that may arise during label printing.
When changing printer settings to labels, make sure to select the correct paper type (e.g. labels or sticker paper) in the printer settings to ensure the labels are printed accurately and without any issues.
Printing Test Page
After configuring your smart home printer for label printing, it is highly recommended to perform a test print to ensure that the settings have been accurately adjusted and that the printer is capable of producing high-quality labels. A test print allows you to assess the alignment, print quality, and overall appearance of the labels before proceeding to print a larger batch.
To initiate a test print, follow these straightforward steps:
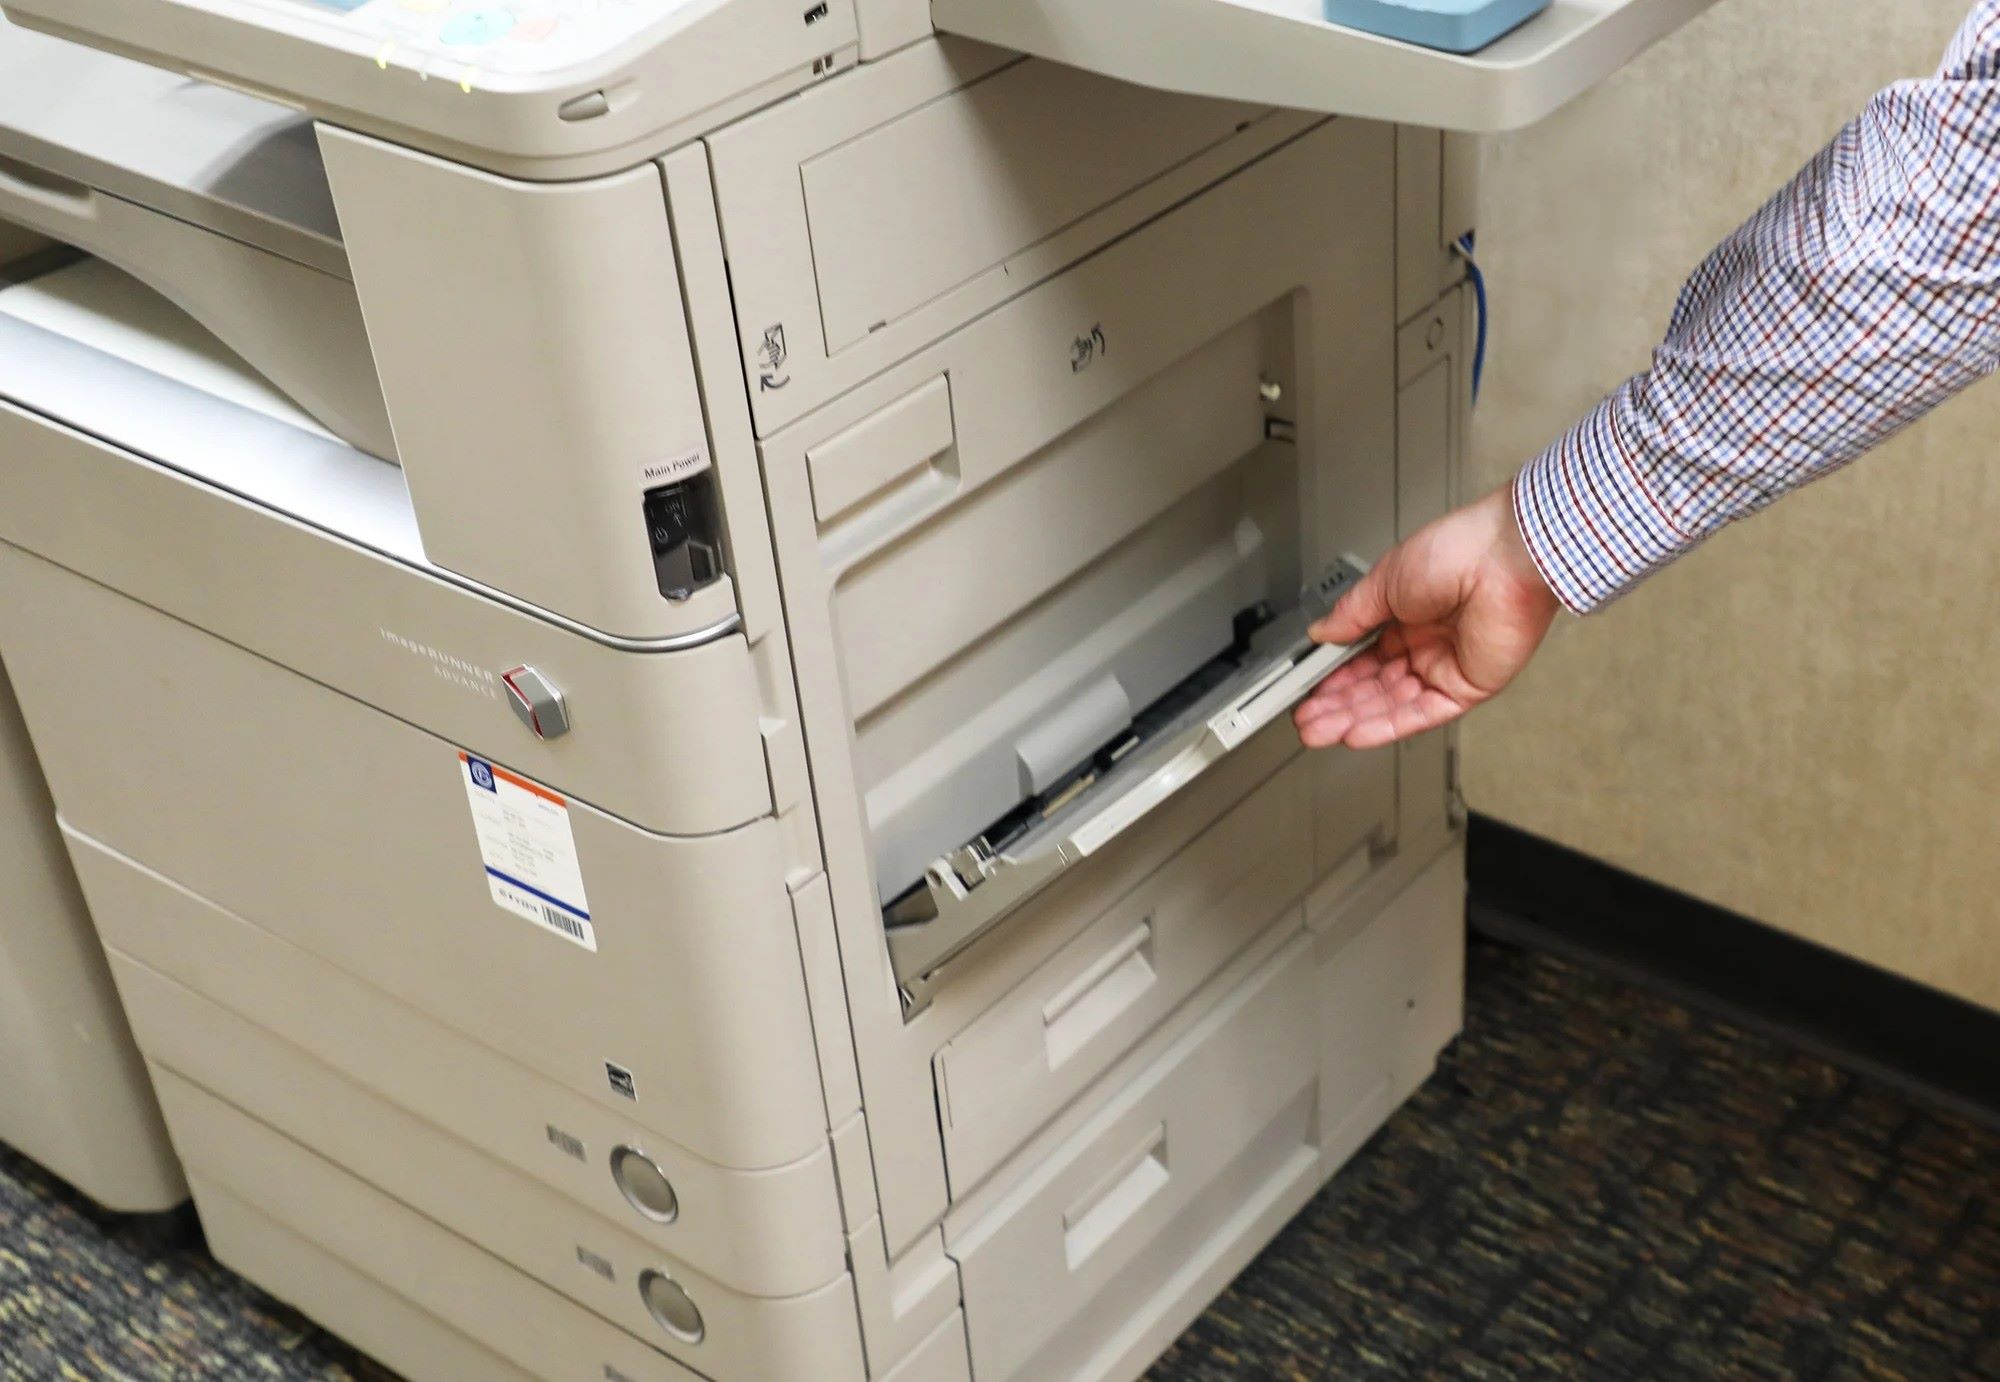
- Load a sheet of label paper into the printer’s paper tray, ensuring that the paper is positioned correctly and that the printer’s guides are adjusted to secure the sheet in place.
- Open a document or label design software on your computer and create a simple test label with text, graphics, and any other elements you intend to include in your actual labels.
- Select the appropriate printer and ensure that the settings correspond to the label paper type, size, and print quality that you configured in the printer settings.
- Initiate the print command and monitor the printer as it processes the test label. Pay close attention to the alignment, clarity of the printed content, and overall print quality.
- Once the test label has been printed, carefully examine it for any issues such as misalignment, smudges, or inconsistent print quality. Evaluate whether the printed label meets your expectations in terms of clarity and visual appeal.
If the test print yields satisfactory results, indicating that the printer settings have been accurately configured for label printing, you can proceed with confidence to print your desired labels in larger quantities. However, if any issues or imperfections are observed during the test print, it is essential to revisit the printer settings and make further adjustments to address the identified issues.
By conducting a thorough test print, you can preemptively identify and rectify any potential issues that may compromise the quality of your labels. This proactive approach ensures that the labels produced by your smart home printer meet the highest standards of precision and visual excellence, aligning with your specific requirements for labeling and organization.
With the test print successfully completed and any necessary refinements made to the printer settings, you are now well-equipped to embark on your label printing endeavors with confidence and assurance of exceptional results.
Troubleshooting Common Issues
While configuring your smart home printer for label printing and conducting test prints, you may encounter common issues that can impact the quality and accuracy of the printed labels. It is essential to be aware of these potential challenges and equip yourself with troubleshooting strategies to address them effectively. By proactively identifying and resolving common issues, you can optimize the label printing process and ensure consistent, high-quality results.
Here are some common issues that may arise during label printing, along with corresponding troubleshooting steps:
- Misaligned Printing: If the printed content on the labels appears misaligned or off-center, check the printer settings to verify that the paper size and alignment settings correspond to the dimensions of the label paper. Adjust the settings as needed to achieve proper alignment.
- Smudged or Faded Printing: In cases where the printed labels exhibit smudges or faded areas, ensure that the print quality settings are configured for optimal clarity and resolution. Additionally, inspect the label paper for any defects or inconsistencies that may affect print quality.
- Paper Jamming: If the label paper consistently jams or fails to feed properly during printing, carefully examine the paper tray and printer mechanisms for any obstructions or misalignments. Ensure that the label paper is loaded correctly and that the paper guides are adjusted to secure the sheets in place.
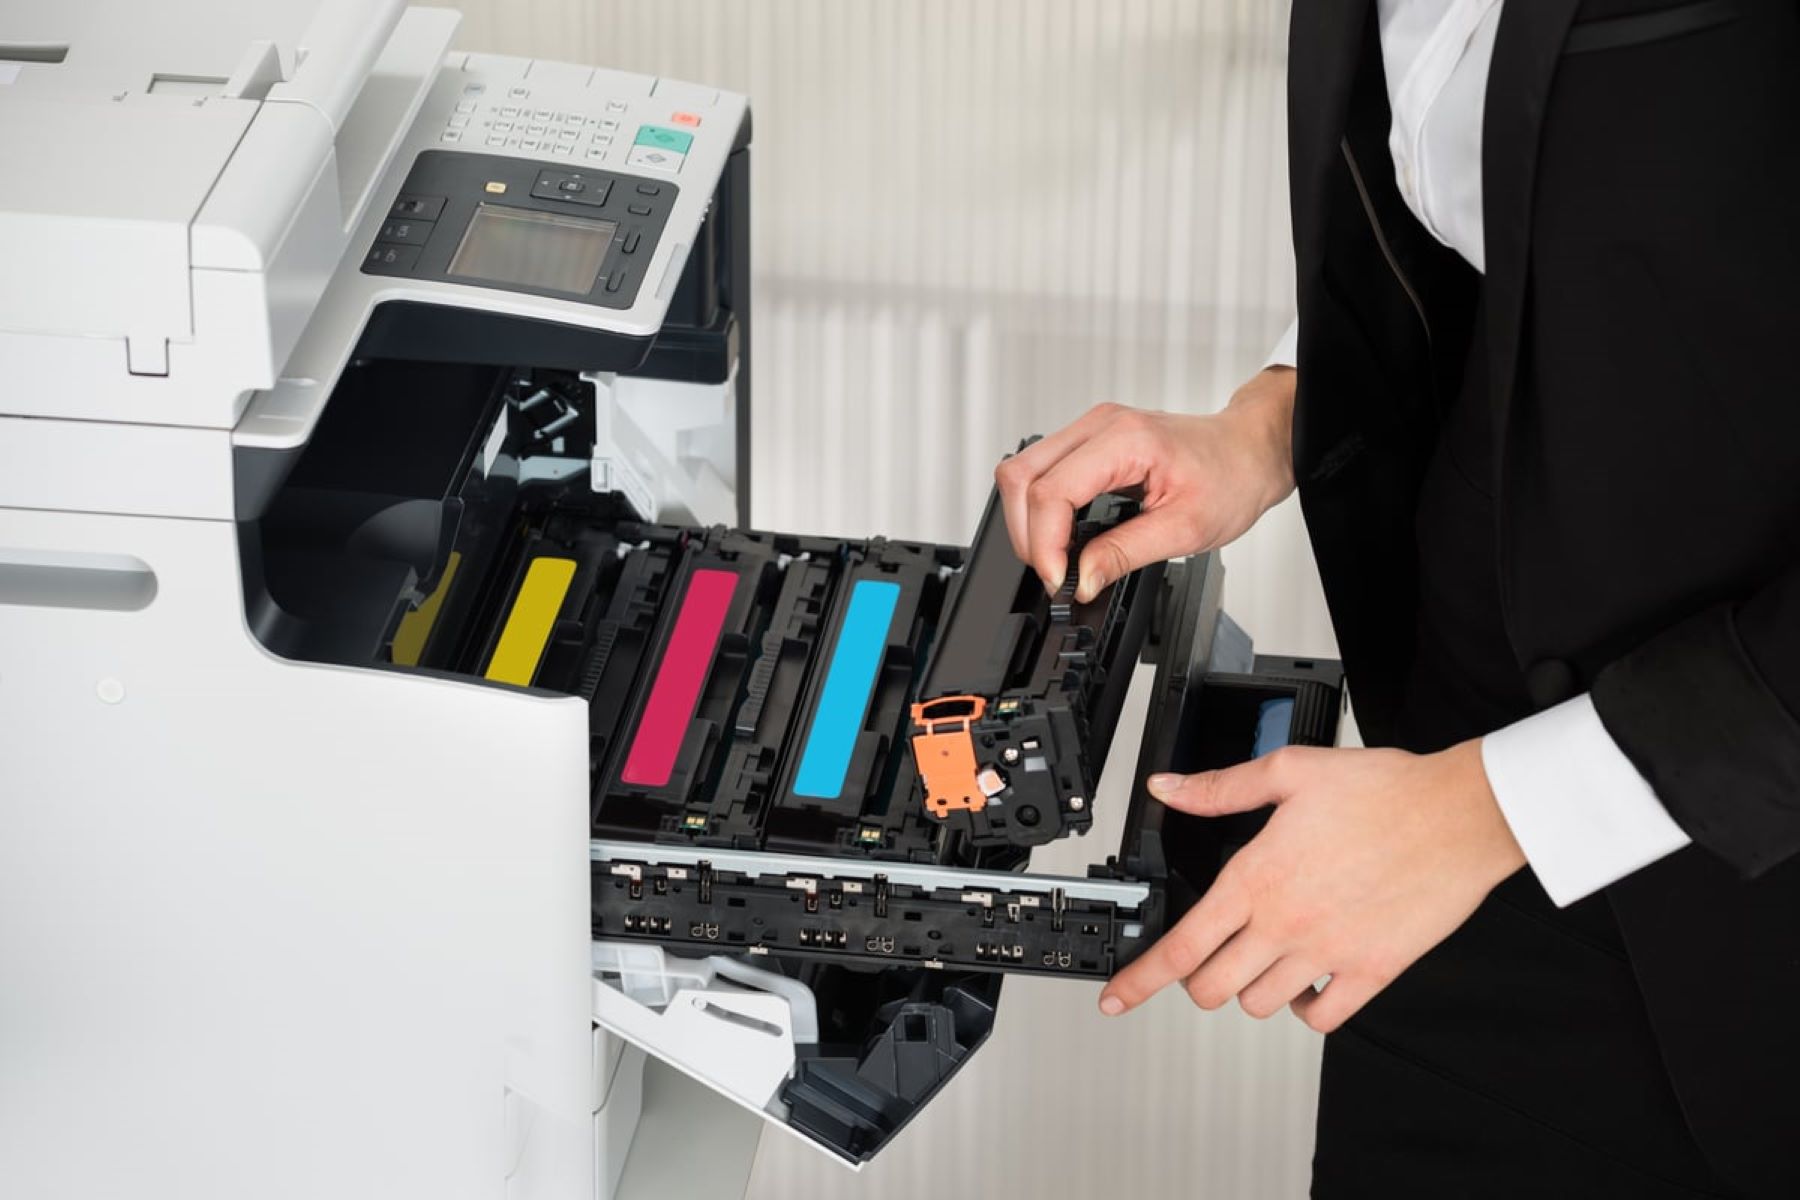
- Inconsistent Print Density: When the printed labels display variations in print density or color intensity, verify that the printer’s toner or ink cartridges are functioning correctly and have sufficient levels of consumables. Additionally, recalibrate the print density settings within the printer’s configuration to achieve uniform print quality.
- Software Compatibility Issues: If you encounter challenges with printing from specific label design software or applications, ensure that the software is updated to the latest version and compatible with your smart home printer. Consider using alternative label design software that is certified for seamless integration with your printer model.
By addressing these common issues through targeted troubleshooting measures, you can mitigate potential disruptions to the label printing process and uphold the standard of excellence in the labels produced by your smart home printer. It is important to approach troubleshooting with patience and methodical problem-solving, systematically identifying and resolving each issue to optimize the overall label printing experience.
With a proactive approach to troubleshooting and the knowledge to overcome common challenges, you are well-prepared to navigate the intricacies of label printing with confidence and adeptness, ensuring that your smart home printer consistently delivers impeccable results for all your labeling needs.
Read more: How To Add A Dymo Label Printer
Conclusion
As we conclude our journey through the realm of smart home printing and the intricacies of configuring a smart printer for label printing, it is evident that the fusion of technology and practicality has empowered us to elevate the functionality of these innovative devices. From organizing household items to streamlining business operations, the ability to create custom labels with precision and ease has become a hallmark of smart home printers.
By delving into the process of accessing printer settings, making the necessary adjustments for label printing, conducting test prints, and troubleshooting common issues, you have gained valuable insights into harnessing the full potential of your smart home printer for label-related tasks. The knowledge and proficiency acquired through this guide will undoubtedly enhance your ability to create professional-quality labels tailored to your specific needs and preferences.
As you embark on your label printing endeavors, remember that the journey does not end with the completion of this guide. Continual exploration, experimentation, and adaptation are key to unlocking the myriad possibilities offered by smart home printing technology. Embrace the opportunity to explore advanced label design features, innovative label materials, and creative applications that further expand the utility of your smart home printer.
Furthermore, stay attuned to updates and advancements in smart home printing technology, as manufacturers continually introduce new features and enhancements that can enrich your label printing experience. Whether it’s seamless wireless connectivity, intuitive label design software, or enhanced print quality, these advancements can further elevate the capabilities of your smart home printer.
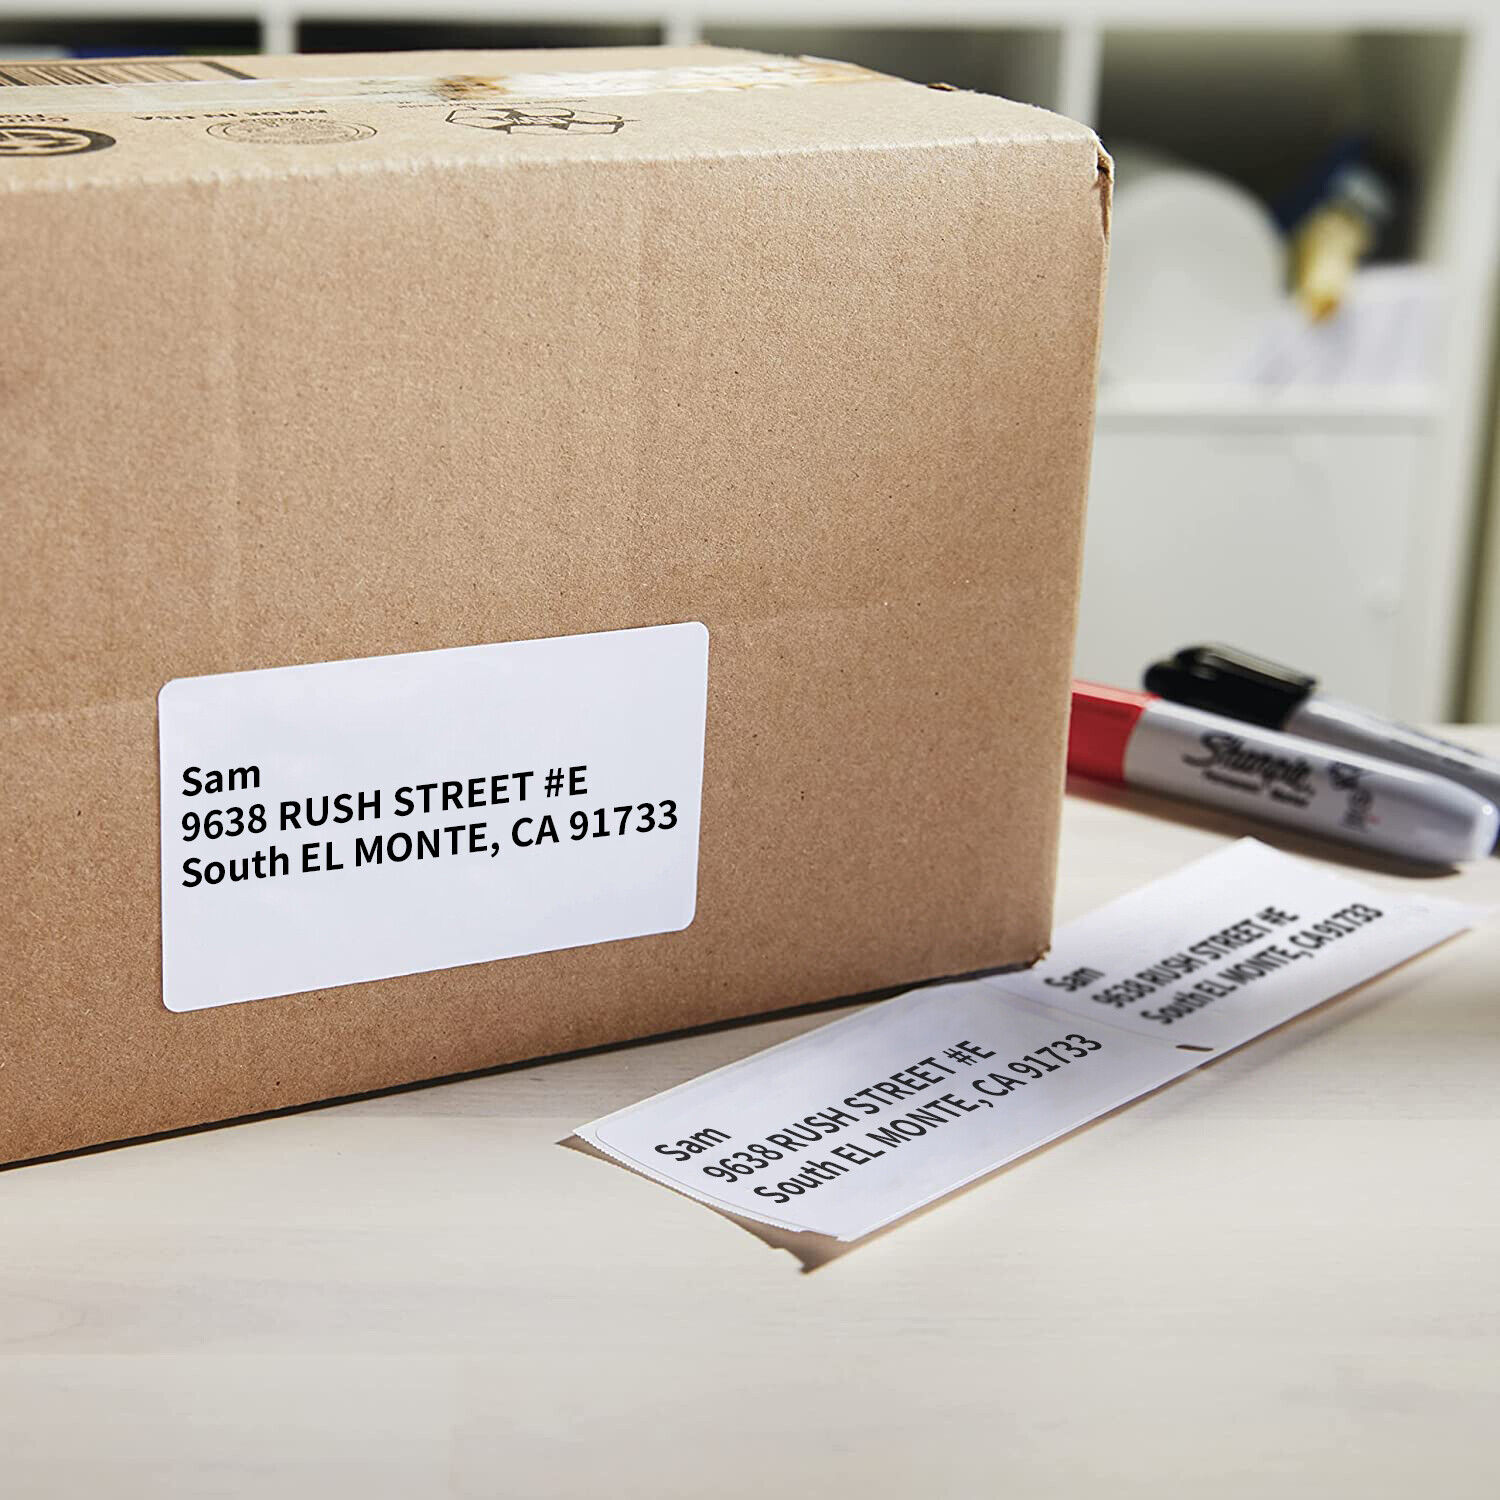
As you integrate label printing into your daily routines and professional endeavors, let your creativity flourish, leveraging the versatility of smart home printers to bring order, efficiency, and personalization to your surroundings. Whether it’s labeling storage containers, creating custom address labels, or organizing files with precision, your smart home printer stands ready to fulfill these tasks with finesse and reliability.
In closing, may your journey with smart home printing be marked by ingenuity, productivity, and the fulfillment of your unique labeling needs. Embrace the transformative power of label printing with your smart home printer, and let it become a steadfast ally in your quest for organization, creativity, and efficiency in your home and work environments.
Frequently Asked Questions about How To Change Printer Settings To Labels
Was this page helpful?
At Storables.com, we guarantee accurate and reliable information. Our content, validated by Expert Board Contributors, is crafted following stringent Editorial Policies. We're committed to providing you with well-researched, expert-backed insights for all your informational needs.

0 thoughts on “How To Change Printer Settings To Labels”