Home>Technology>Smart Home Devices>How To Add A Printer To Chromebook
Smart Home Devices
How To Add A Printer To Chromebook
Modified: January 18, 2024
Learn how to easily add a printer to your Chromebook and connect it to your smart home devices. Follow our simple guide for seamless printing.
(Many of the links in this article redirect to a specific reviewed product. Your purchase of these products through affiliate links helps to generate commission for Storables.com, at no extra cost. Learn more)
Introduction
Welcome to the world of Chromebooks, where convenience and functionality converge to offer a seamless computing experience. Chromebooks are renowned for their user-friendly interface, swift performance, and seamless integration with various devices, including printers. Adding a printer to your Chromebook allows you to effortlessly print documents, photos, and more, directly from your device.
In this guide, you will embark on a step-by-step journey to learn how to add a printer to your Chromebook. Whether you have a wireless or wired printer, this comprehensive tutorial will equip you with the knowledge and skills to effortlessly connect your printer to your Chromebook and start printing in no time.
So, grab your Chromebook and let's dive into the process of adding a printer, unlocking a world of convenience and productivity at your fingertips. Whether you're a student, professional, or tech enthusiast, mastering this essential skill will enhance your Chromebook experience and streamline your printing tasks. Let's get started!
Key Takeaways:
- Seamlessly add a printer to your Chromebook by checking compatibility, connecting the printer, and adding it to your device. Enjoy effortless printing for documents and photos directly from your Chromebook.
- After adding your printer, print a test page to ensure it’s working properly. Embrace the convenience and efficiency of printing from your Chromebook, whether you’re a student, professional, or creative individual.
Read more: Which Printer Is Compatible With Chromebook
Step 1: Check Compatibility
Before embarking on the journey of adding a printer to your Chromebook, it’s essential to ensure that your printer is compatible with the Chrome OS. Chromebooks are designed to seamlessly integrate with a wide array of printers, but it’s prudent to verify compatibility to avoid any potential issues.
Here’s how to check the compatibility of your printer with your Chromebook:
- Check the Manufacturer’s Compatibility List: Start by visiting the official website of the printer’s manufacturer. Most reputable printer manufacturers provide a list of compatible devices, including Chromebooks. Navigate to the support or product page and look for information regarding Chromebook compatibility. If your printer is listed as compatible, you’re one step closer to effortlessly adding it to your Chromebook.
- Consult the Chrome OS Compatibility Page: Google maintains a comprehensive list of compatible printers for Chrome OS. Visit the Chrome OS support page and search for the list of compatible printers. You can easily find this information by conducting a quick search using relevant keywords such as “Chromebook compatible printers.” If your printer model is listed, you can proceed with confidence, knowing that it is designed to work seamlessly with your Chromebook.
- Verify Wireless Printing Capabilities: If you have a wireless printer, ensure that it supports Google Cloud Print or is compatible with the Chrome OS printing framework. Most modern wireless printers are designed to work effortlessly with Chromebooks, allowing you to print wirelessly from your device. Check the printer’s specifications or user manual to confirm its compatibility with Google Cloud Print or Chrome OS printing.
By conducting these simple compatibility checks, you can ascertain whether your printer is well-suited for integration with your Chromebook. This proactive approach helps you avoid potential compatibility issues and ensures a smooth and hassle-free setup process.
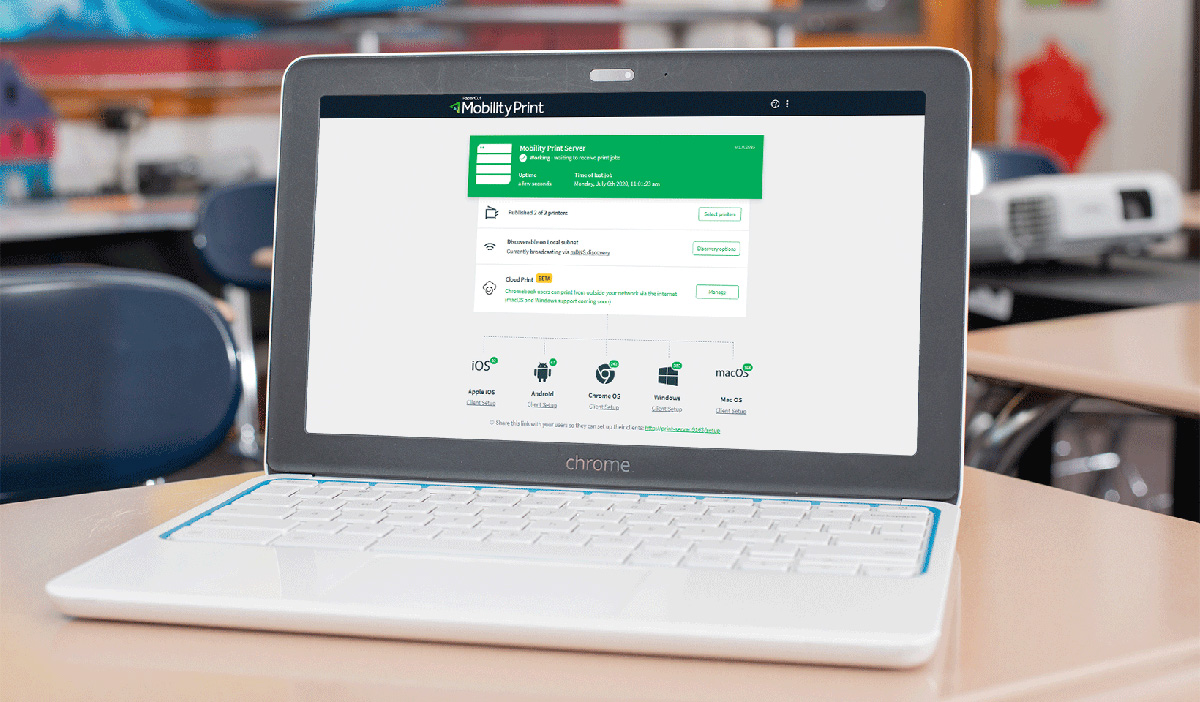
Step 2: Connect the Printer
Once you’ve confirmed the compatibility of your printer with your Chromebook, it’s time to establish a physical or wireless connection, depending on the type of printer you have. The following steps will guide you through the process of connecting your printer to your Chromebook:
- Wired Printer Connection: If you have a traditional wired printer, start by connecting one end of the USB cable to the printer and the other end to an available USB port on your Chromebook. Once the physical connection is established, your Chromebook should automatically detect the printer and initiate the setup process. Follow any on-screen prompts to complete the installation of the printer driver and associated software.
- Wireless Printer Connection: For wireless printers, begin by ensuring that the printer is powered on and connected to the same Wi-Fi network as your Chromebook. Next, access the settings or setup menu on your printer to enable Wi-Fi connectivity and obtain the necessary network information. On your Chromebook, click on the system tray located in the bottom-right corner of the screen and select the Wi-Fi icon. Choose your Wi-Fi network from the list and enter the password if prompted. Once connected to the Wi-Fi network, your Chromebook should automatically detect the wireless printer. Follow any on-screen instructions to complete the setup process.
Regardless of the type of printer you have, establishing a seamless connection with your Chromebook is a pivotal step towards unlocking the full potential of your printing capabilities. Once the printer is successfully connected, you’re ready to proceed to the next step of adding the printer to your Chromebook’s list of available devices.
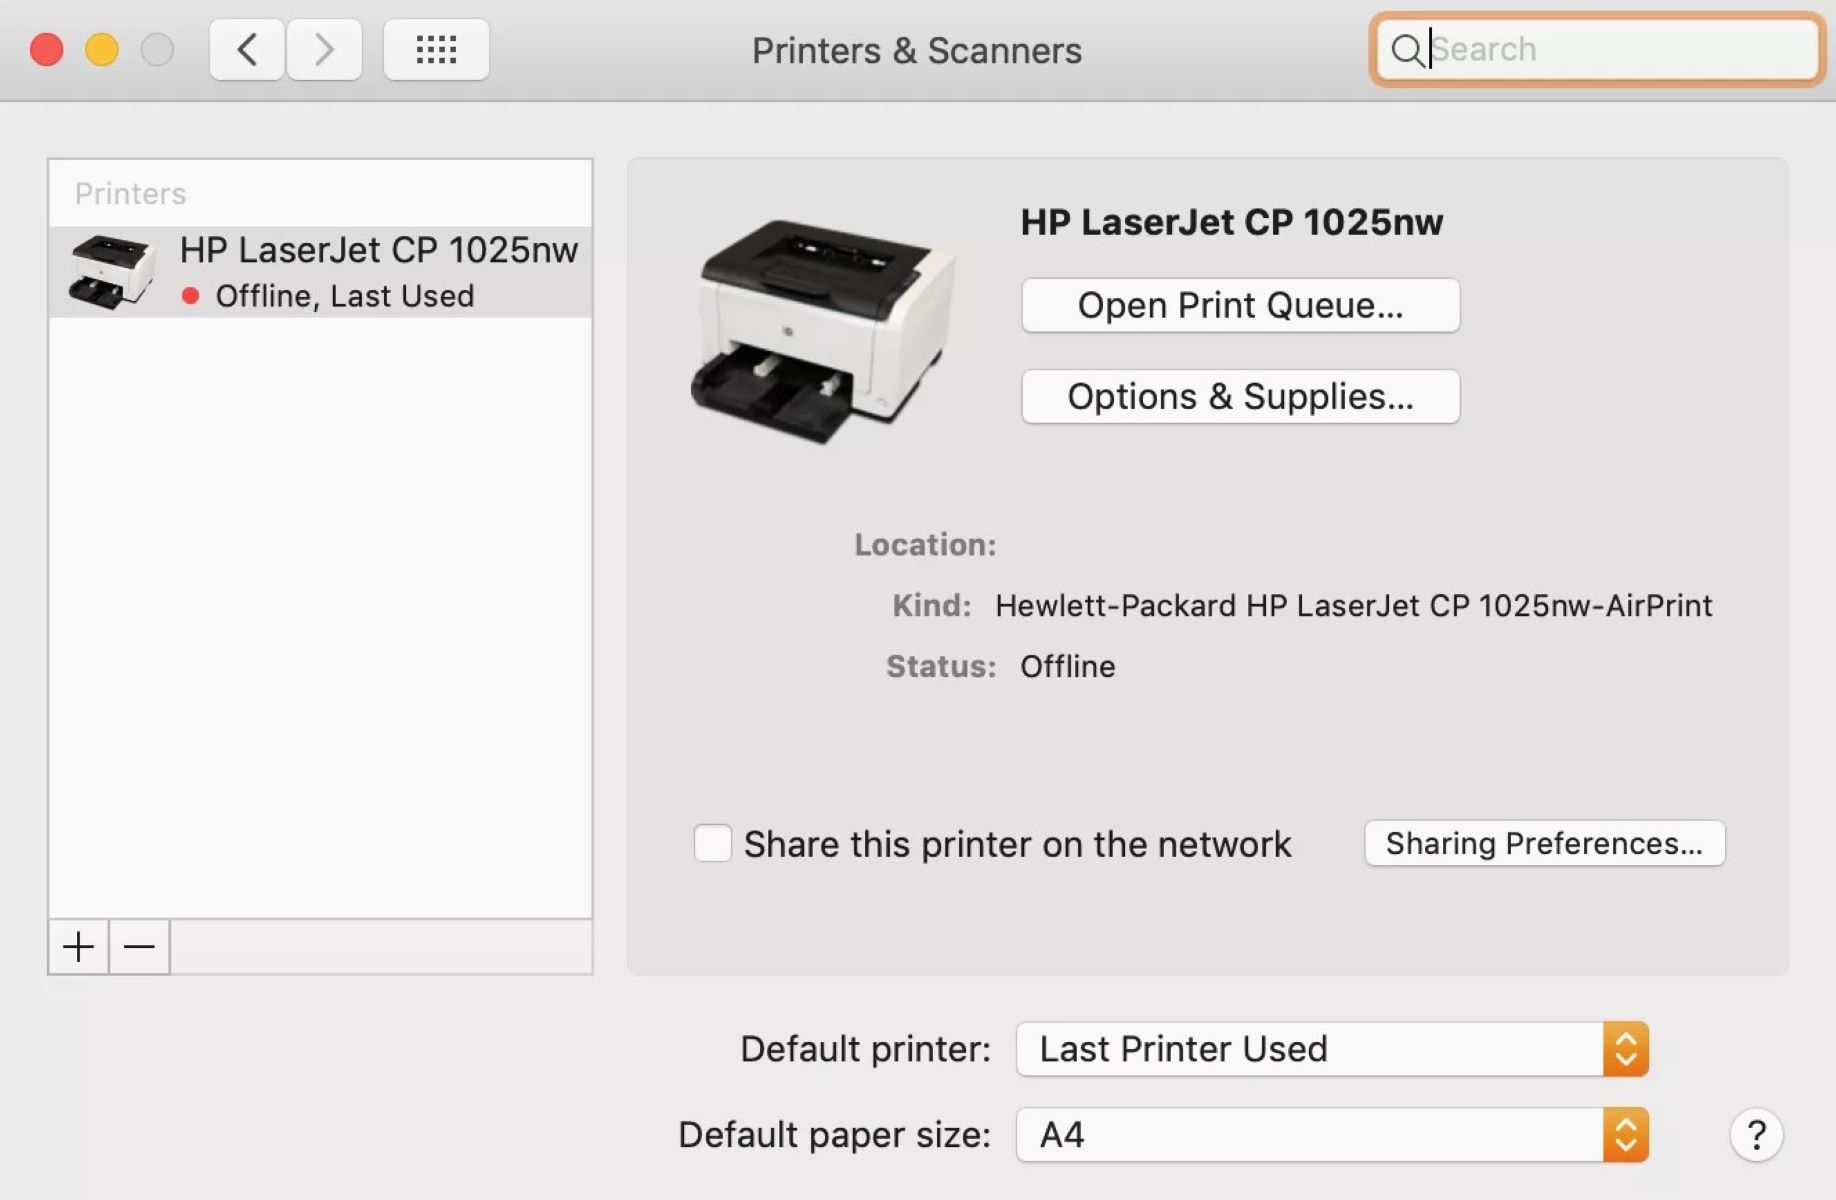
To add a printer to a Chromebook, go to Settings, then click on Advanced and then Printers. Click on Add Printer and select your printer from the list. If your printer isn’t listed, you can add it manually using the IP address.
Step 3: Add the Printer
With your printer successfully connected to your Chromebook, it’s time to add it to the list of available devices, allowing you to print directly from your Chromebook with ease. Follow these straightforward steps to add your printer:
- Access Printer Settings: Begin by clicking on the system tray located in the bottom-right corner of the screen. Select the gear icon to access the settings menu.
- Open Advanced Settings: Within the settings menu, locate and click on “Advanced” to access additional configuration options.
- Locate Printers Section: In the advanced settings menu, navigate to the “Printers” section. This is where you can manage and add printers to your Chromebook.
- Add Printer: Click on the “Add Printer” button to initiate the process of adding your connected printer to your Chromebook. Your Chromebook will search for available printers, and once your connected printer is detected, it will be displayed as an option for addition.
- Select Your Printer: Choose your printer from the list of available devices. If prompted, install any necessary drivers or software to ensure seamless compatibility and functionality.
- Complete the Setup: Follow any on-screen prompts to complete the setup process. Once your printer is successfully added, you can begin printing documents, photos, and other content directly from your Chromebook.
By following these steps, you can effortlessly add your printer to your Chromebook, expanding your printing capabilities and enhancing your overall user experience. With the printer successfully added, you’re now poised to seamlessly print a test page to verify the functionality of your newly integrated printer.
Step 4: Print a Test Page
After adding your printer to your Chromebook, it’s essential to verify its functionality by printing a test page. This simple yet crucial step allows you to confirm that your printer is successfully integrated with your Chromebook and ready to fulfill your printing needs. Follow these steps to print a test page:
- Open a Document or Image: Begin by opening a document, image, or any content that you’d like to use for the test print. This could be a simple text document, a colorful image, or any other file that allows you to assess the printing quality and accuracy.
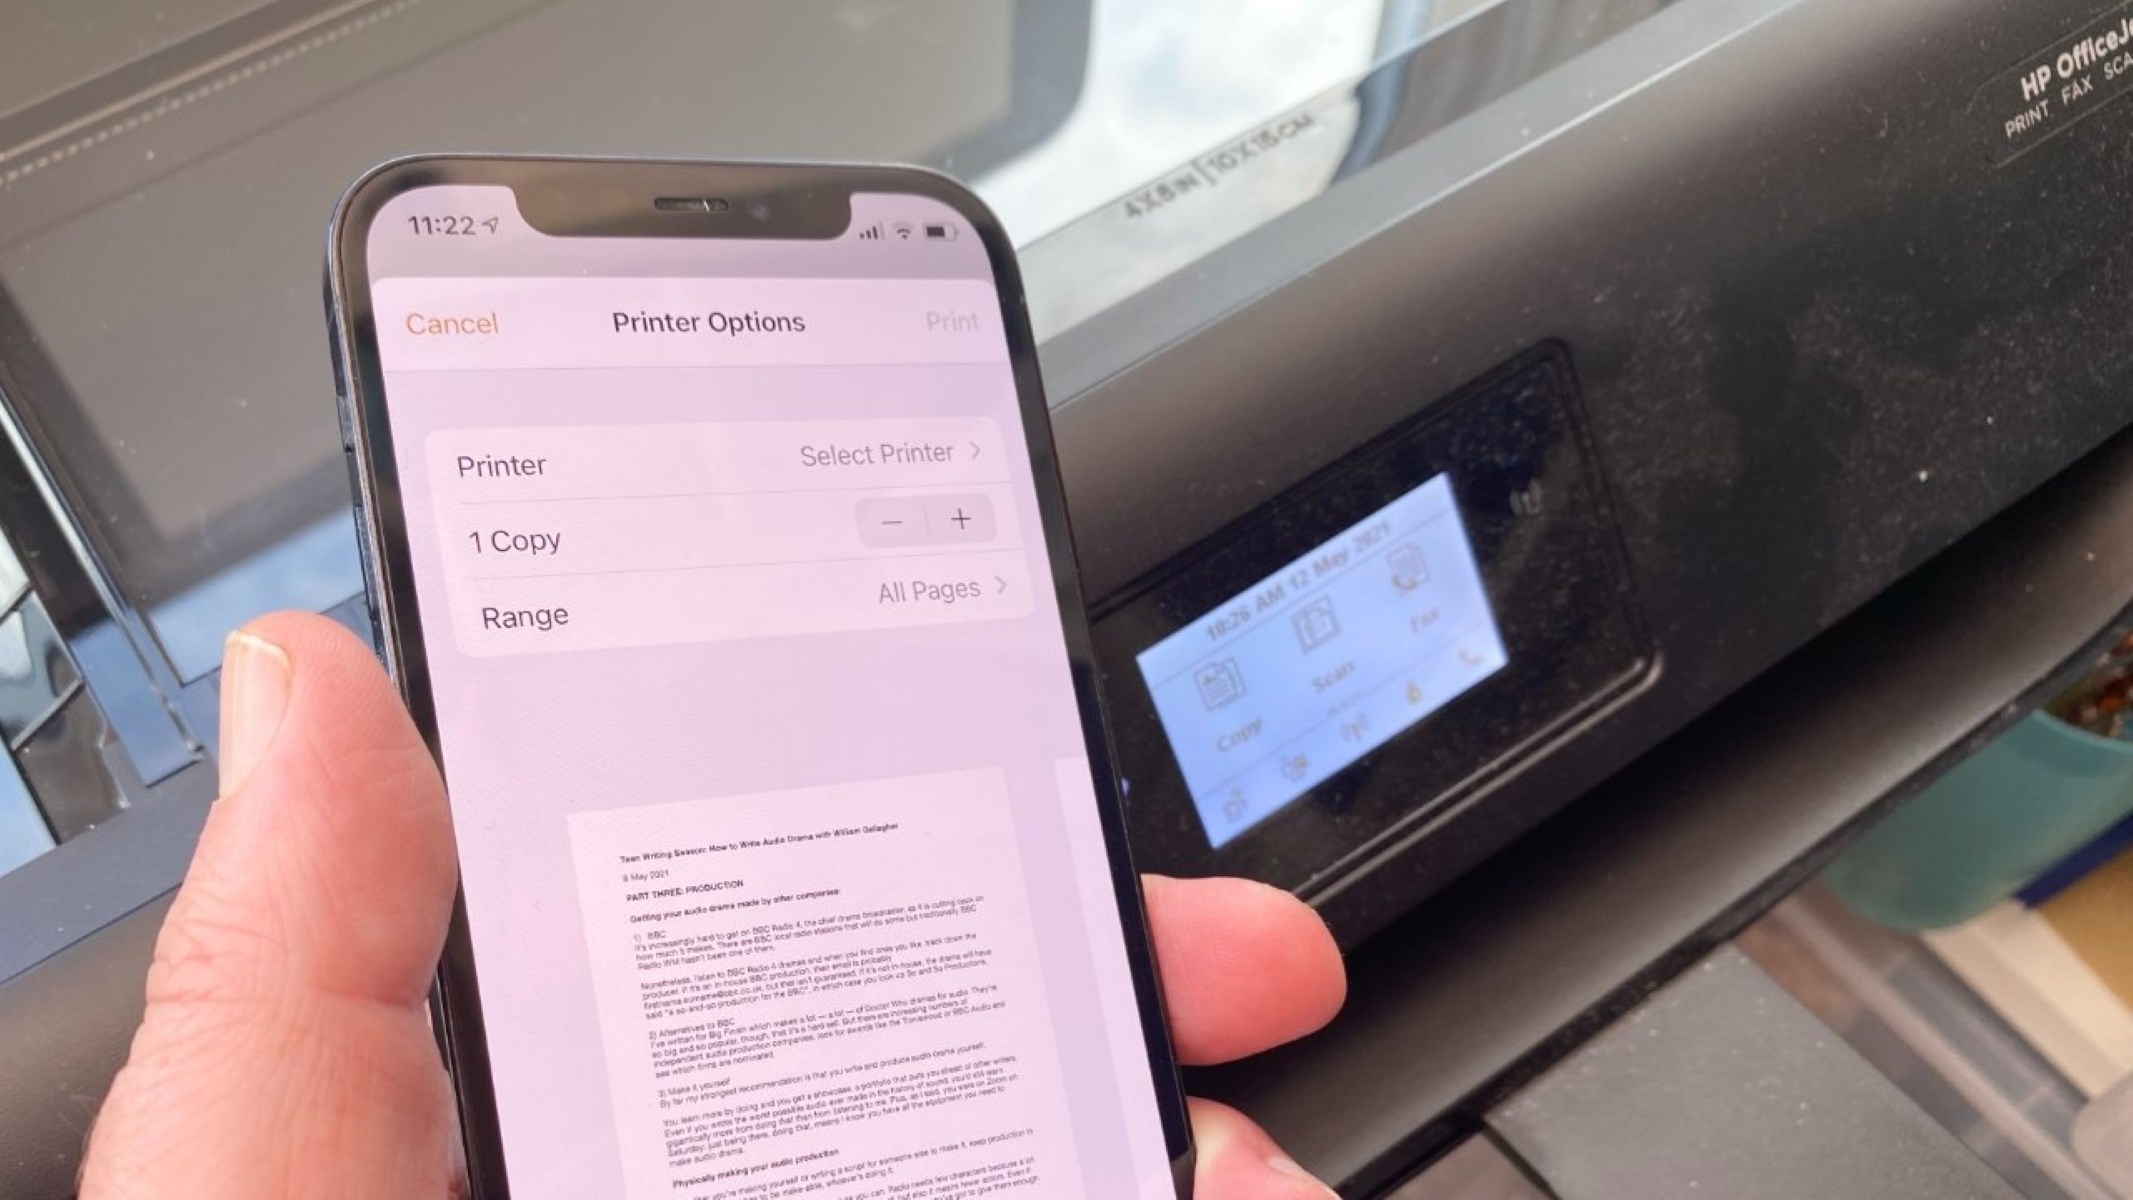
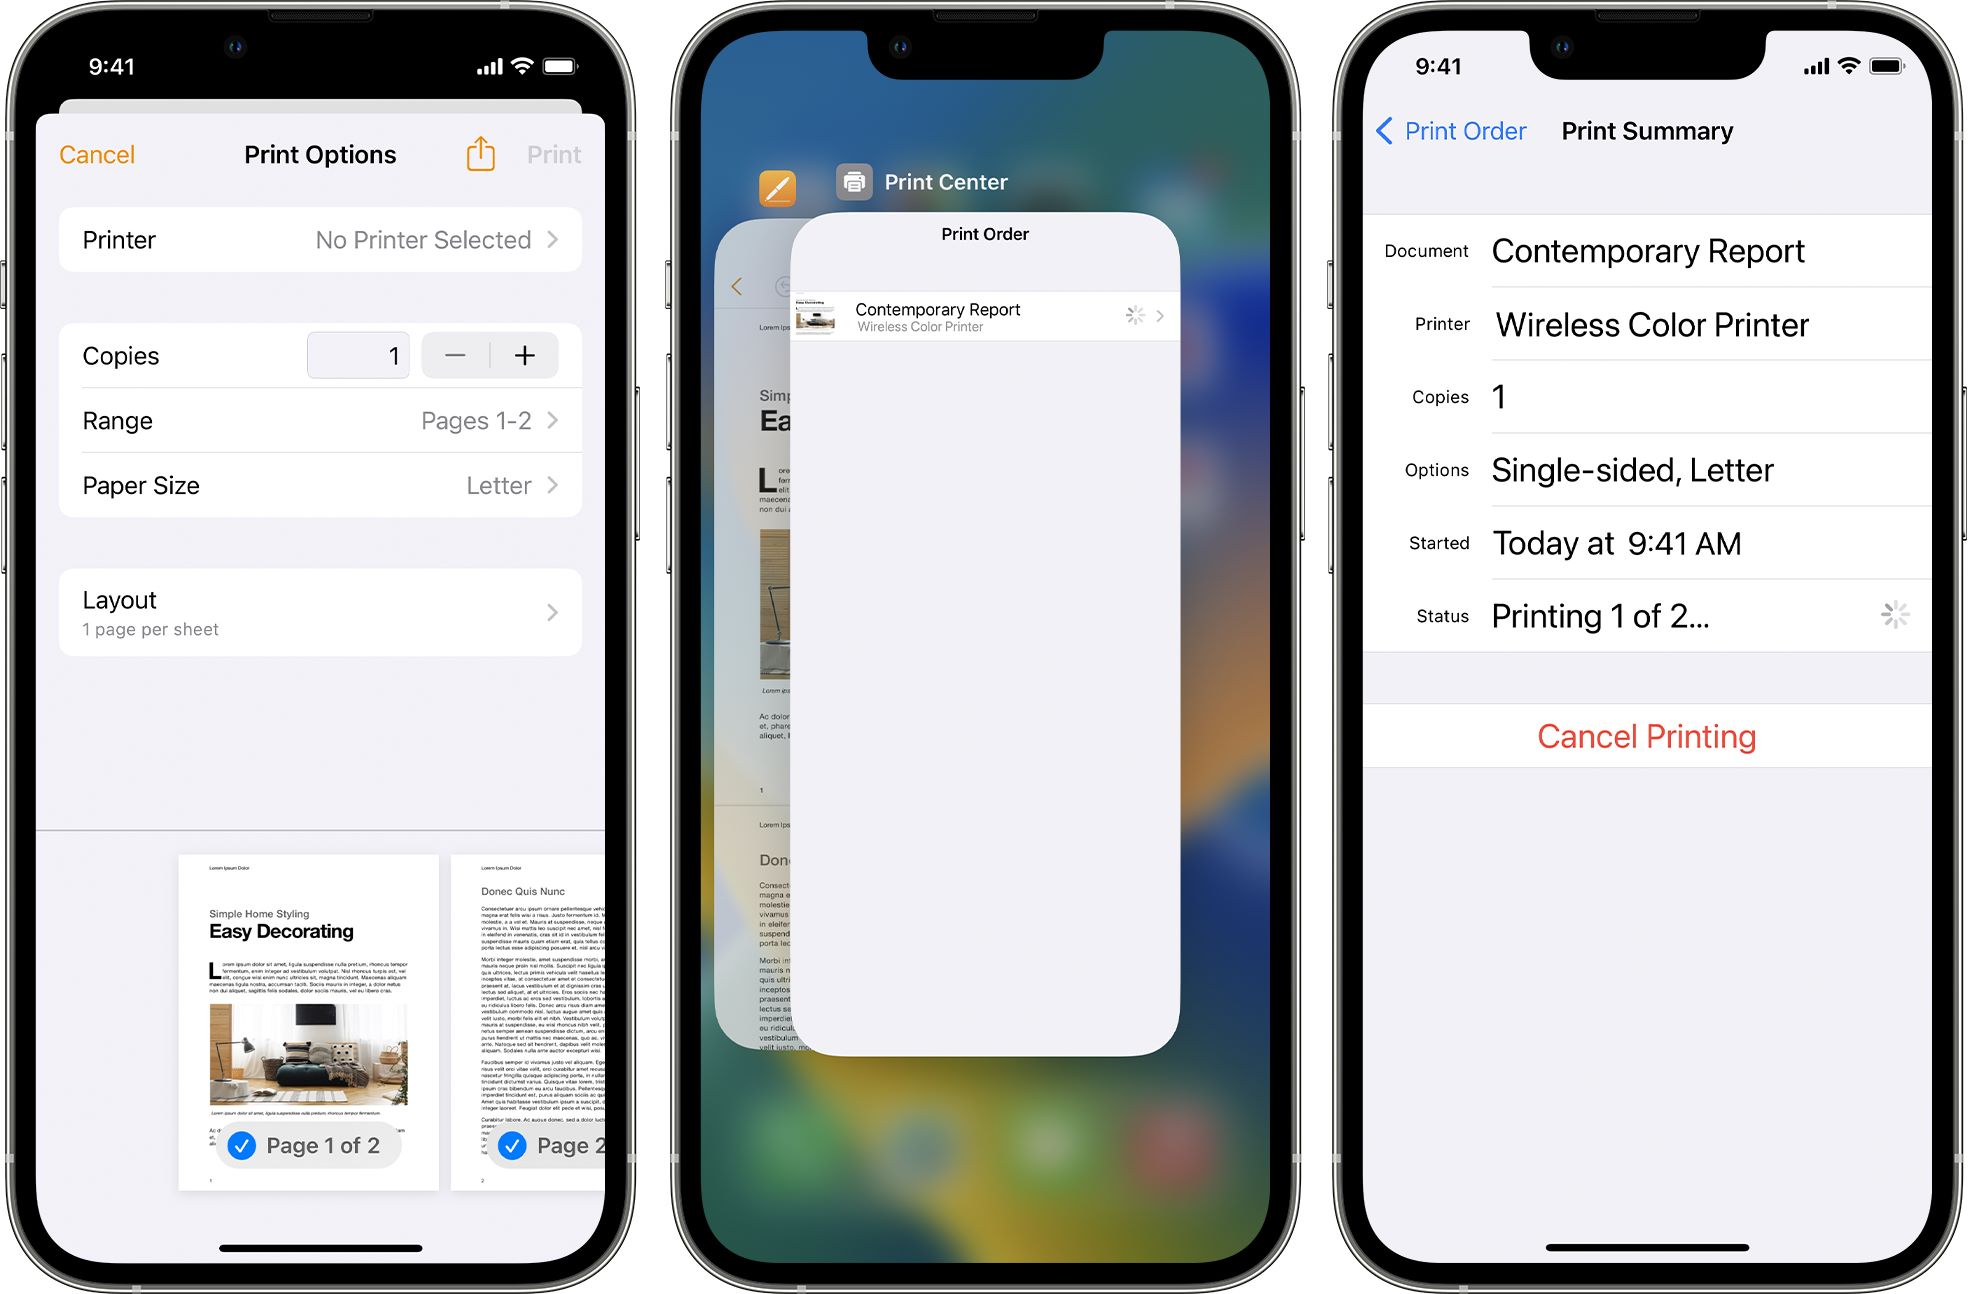
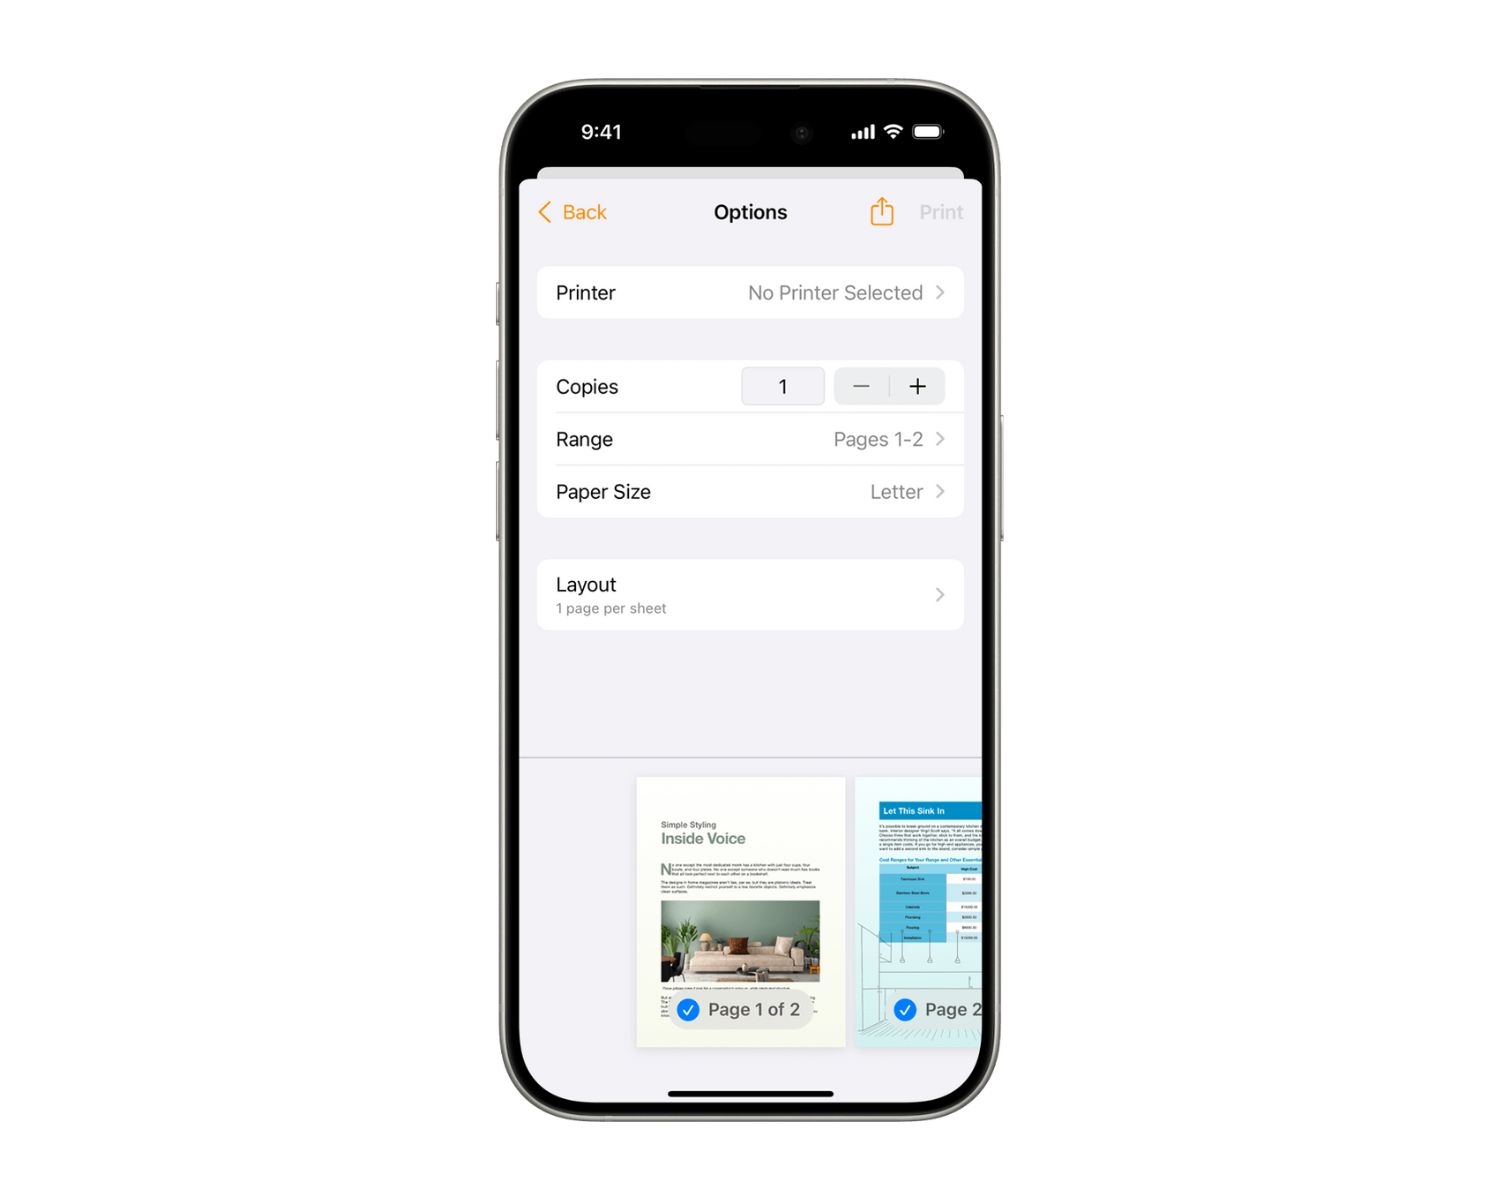
- Access Print Options: Once the content is open, click on the menu icon or select the print option within the application you’re using. This will open the print dialog, allowing you to specify printing preferences and settings.
- Select Your Printer: In the print dialog, ensure that your recently added printer is selected as the printing device. You may have the option to adjust print settings such as orientation, paper size, and quality based on your preferences and requirements.
- Initiate the Print: After confirming the print settings and ensuring that your printer is selected, click on the print button to initiate the printing process. Your Chromebook will send the print job to the selected printer, and you should hear or see the printer in action as it processes the test page.
- Verify the Printout: Once the print job is completed, retrieve the printed test page from your printer. Inspect the printout for quality, clarity, and accuracy. Ensure that the content is printed as expected, with no issues such as smudging, misalignment, or missing elements.
By printing a test page, you can confidently assess the performance of your newly added printer and make any necessary adjustments to the settings or configuration. This proactive approach ensures that your printing capabilities are fully optimized, allowing you to seamlessly produce high-quality prints from your Chromebook.
Read more: How To Scan From HP Printer To Chromebook
Conclusion
Congratulations! You’ve successfully learned how to add a printer to your Chromebook, unlocking a world of printing possibilities and convenience. By following the step-by-step guide outlined in this tutorial, you’ve gained the knowledge and skills to seamlessly integrate your printer with your Chromebook, empowering you to print documents, photos, and more with ease.
Adding a printer to your Chromebook is a pivotal skill that enhances your productivity and streamlines your printing tasks. Whether you have a wired or wireless printer, the process of connecting, adding, and testing your printer has equipped you with the essential know-how to leverage the full potential of your printing capabilities.
As you embark on your printing journey with your Chromebook, remember that the seamless integration of your printer is just the beginning. Explore the diverse printing options, experiment with different print settings, and embrace the convenience of printing directly from your Chromebook. Whether you’re a student preparing assignments, a professional generating reports, or a creative individual bringing ideas to life, your Chromebook and integrated printer are powerful tools at your disposal.
With your printer seamlessly integrated with your Chromebook, you’re ready to embark on a seamless and efficient printing experience, empowering you to bring your digital content to life in tangible form. Embrace the convenience, unleash your creativity, and enjoy the seamless printing capabilities that your Chromebook and printer combination offers.
So, go ahead, print that document, capture that moment in a photo, and revel in the simplicity and efficiency of printing with your Chromebook. Your printing journey has just begun, and the possibilities are endless!
Frequently Asked Questions about How To Add A Printer To Chromebook
Was this page helpful?
At Storables.com, we guarantee accurate and reliable information. Our content, validated by Expert Board Contributors, is crafted following stringent Editorial Policies. We're committed to providing you with well-researched, expert-backed insights for all your informational needs.


0 thoughts on “How To Add A Printer To Chromebook”