Home>Technology>Smart Home Devices>How To Add Rollo Printer
Smart Home Devices
How To Add Rollo Printer
Modified: August 28, 2024
Learn how to easily add a Rollo Printer to your smart home devices. Follow our step-by-step guide for seamless integration. Simplify your printing process today!
(Many of the links in this article redirect to a specific reviewed product. Your purchase of these products through affiliate links helps to generate commission for Storables.com, at no extra cost. Learn more)
Introduction
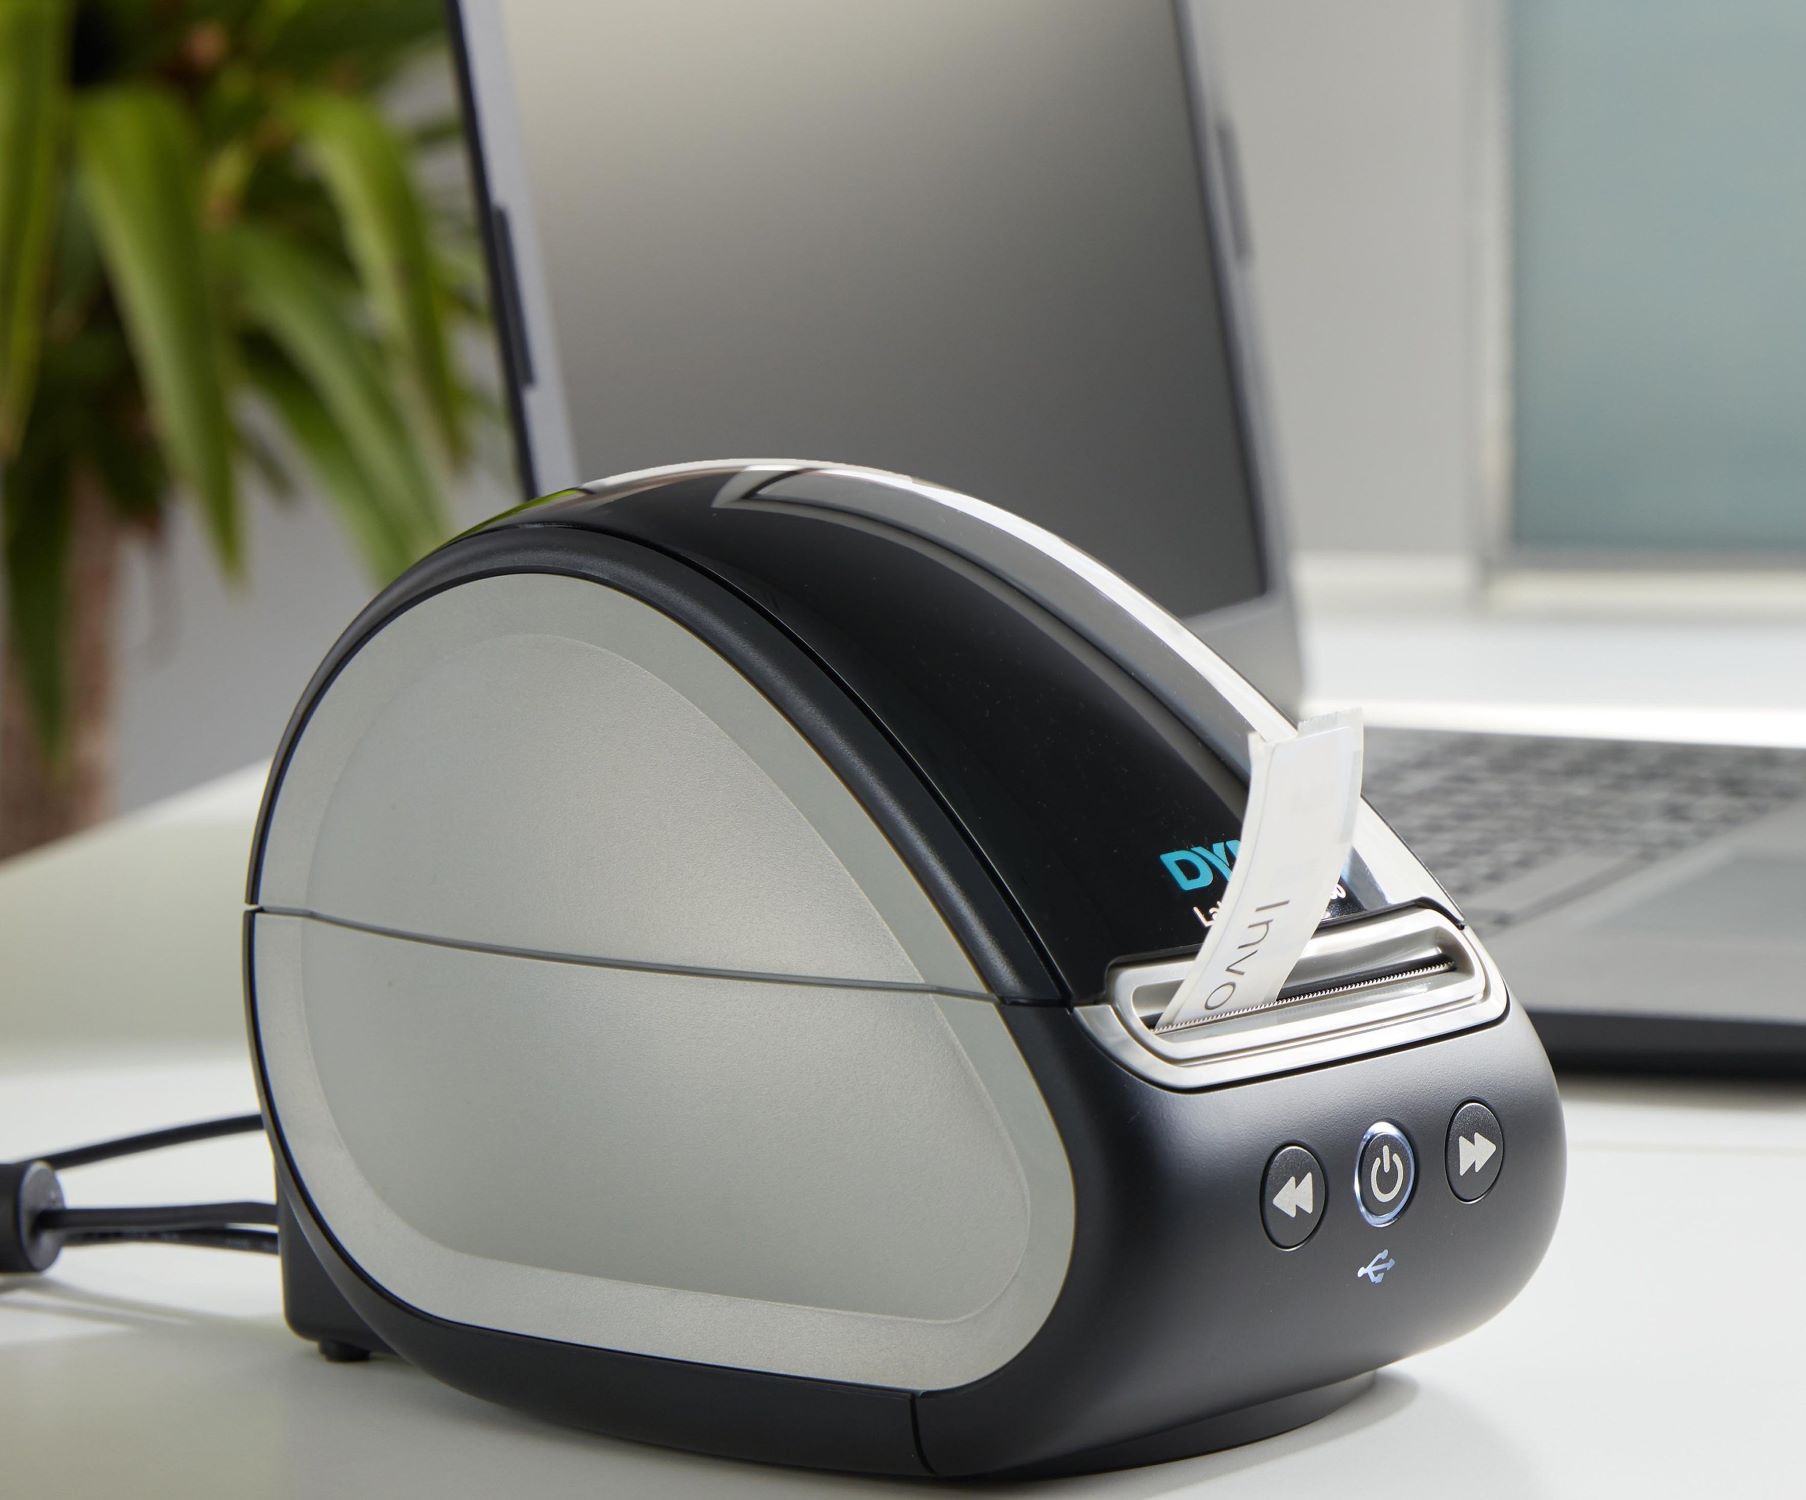
Welcome to the world of Rollo printers! These efficient and versatile devices are designed to streamline your printing tasks, whether you're a small business owner, an e-commerce entrepreneur, or a busy individual seeking convenience in your daily activities. In this comprehensive guide, you'll learn how to set up and integrate the Rollo printer seamlessly into your workspace. Whether you're a tech-savvy enthusiast or a novice user, this step-by-step tutorial will walk you through the process with clarity and precision.
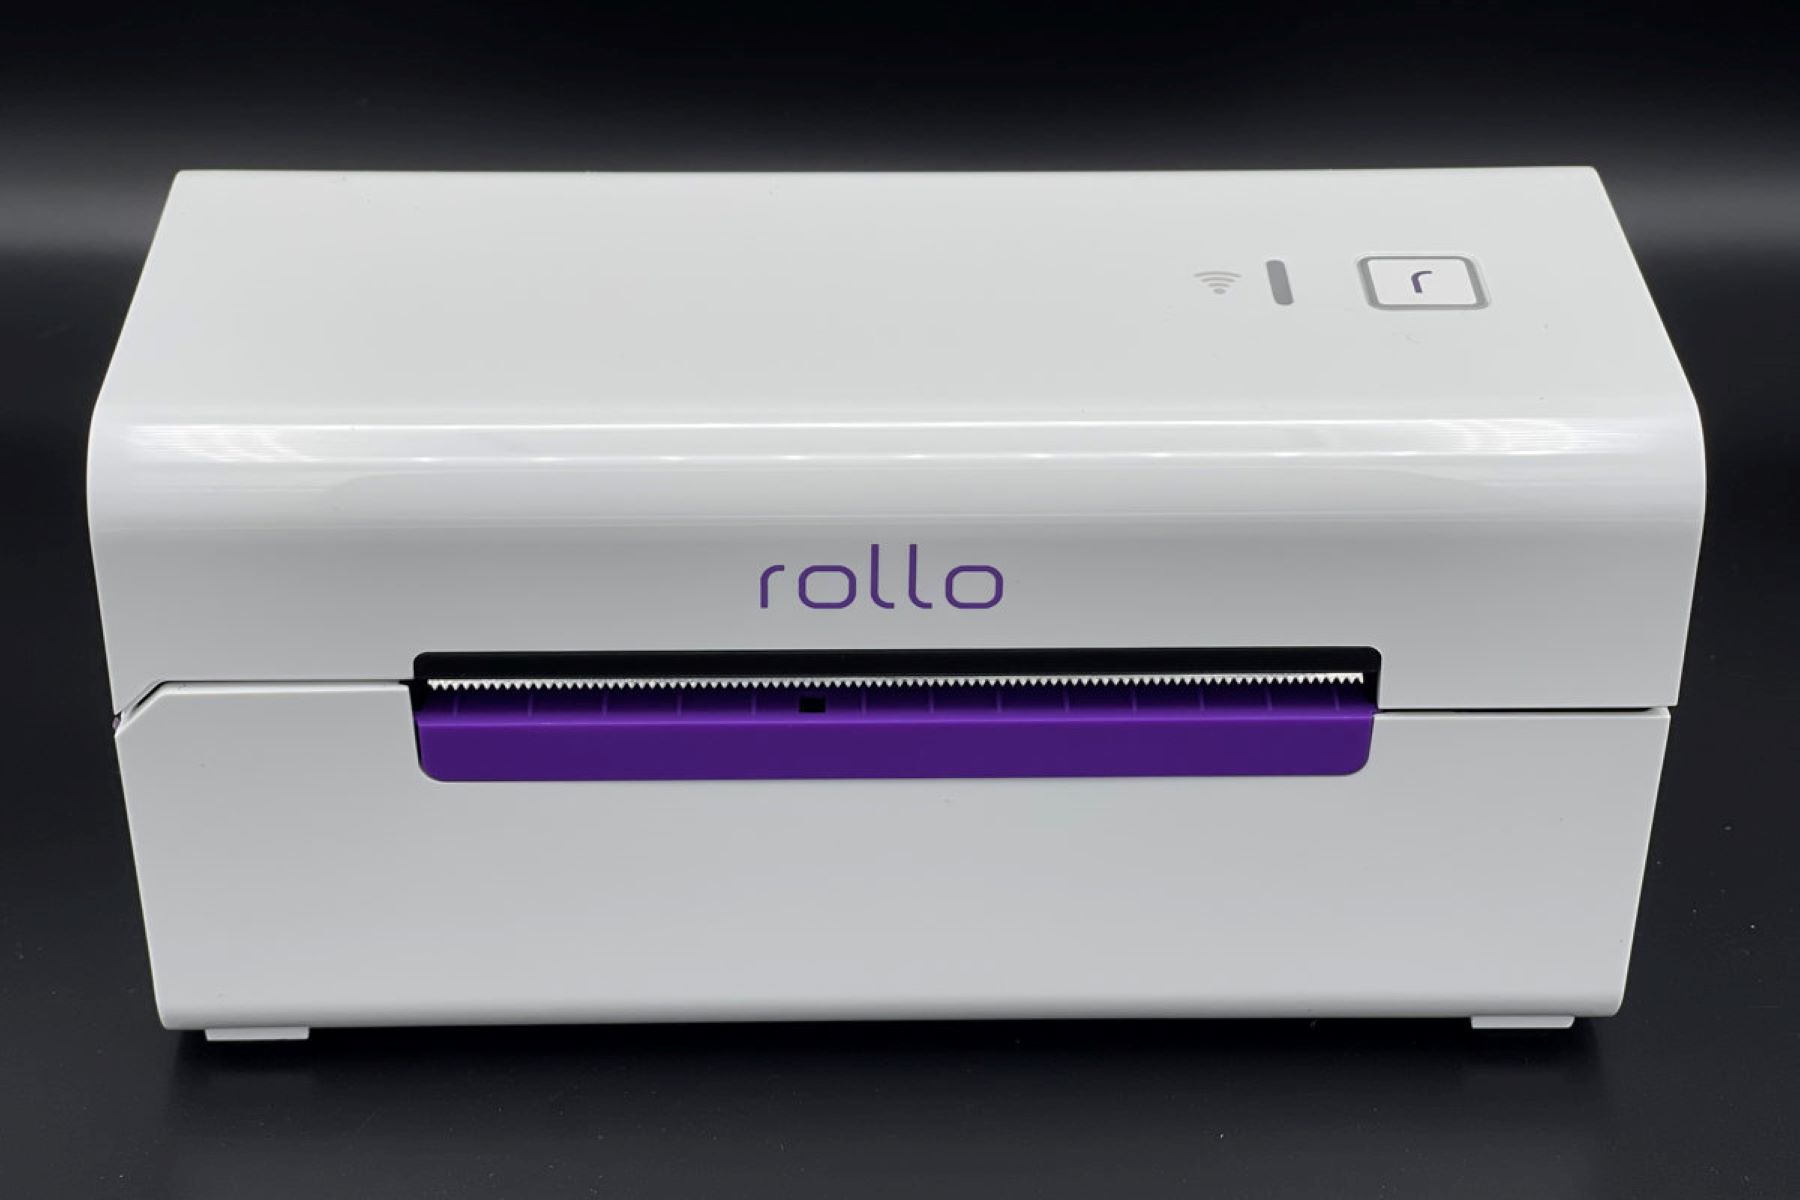
The Rollo printer is a game-changer in the realm of printing technology. Its compact design and user-friendly interface make it an ideal choice for those seeking a reliable and efficient printing solution. Whether you need to print shipping labels, barcodes, or any other type of adhesive labels, the Rollo printer offers a seamless experience, allowing you to focus on your core tasks without the hassle of traditional printers.
As we embark on this journey to unleash the full potential of your Rollo printer, you'll discover the simple yet crucial steps to unbox, connect, and configure the device to ensure optimal performance. By the end of this guide, you'll not only have a fully operational Rollo printer but also the confidence to leverage its capabilities to enhance your productivity and organizational efficiency.
So, without further ado, let's dive into the exciting world of Rollo printers and unlock the endless possibilities they offer!
Key Takeaways:
- The Rollo printer offers seamless setup and optimized performance, making it an efficient and versatile asset for printing tasks, from shipping labels to barcodes and beyond.
- By following the step-by-step guide, you can integrate the Rollo printer into your workflow with confidence, enhancing productivity and streamlining printing tasks with ease.
Read more: How To Reset A Rollo Printer
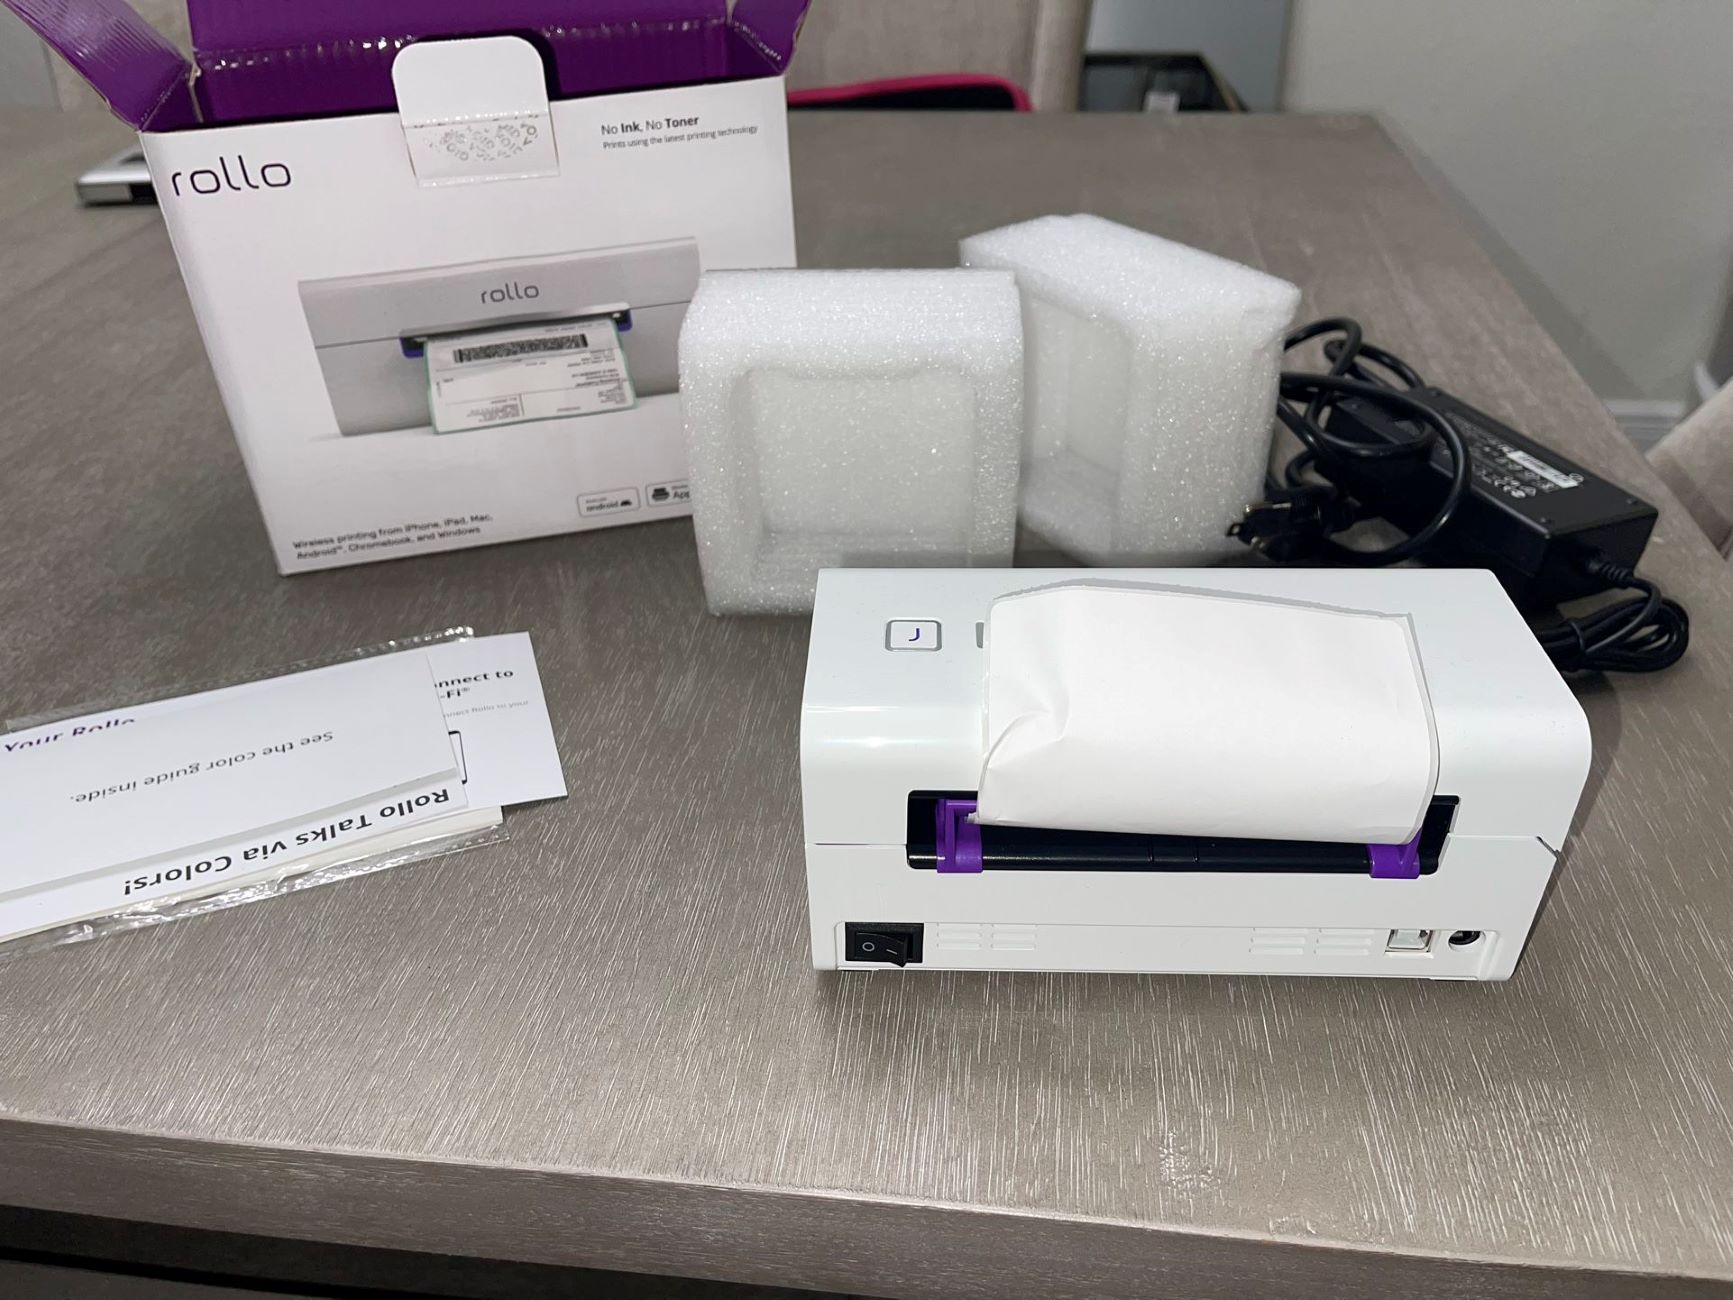
Step 1: Unboxing the Rollo Printer
Unboxing the Rollo printer is the first exciting step toward harnessing its powerful capabilities. As you eagerly open the package, you’ll find the sleek and compact Rollo printer nestled within, along with essential accessories to kick-start your printing journey. Here’s a detailed walkthrough of unboxing your Rollo printer:
- Inspect the Contents: Carefully remove the Rollo printer and its components from the packaging. Ensure that all the items listed in the user manual are included, such as the power adapter, USB cable, and any additional accessories.
- Remove Protective Materials: Gently remove any protective tapes, films, or packaging materials from the printer. These safeguards are in place to protect the device during transit and ensure it arrives in pristine condition.
- Place the Printer on a Stable Surface: Find a suitable location for your Rollo printer, preferably near your computer or workspace. Ensure that the surface is flat, stable, and free from any obstructions to allow for seamless operation.
- Review the User Manual: Take a moment to review the user manual provided with the Rollo printer. Familiarize yourself with the various components, buttons, and indicators on the printer to gain a comprehensive understanding of its functionality.
Unboxing the Rollo printer is an exciting prelude to the seamless printing experiences that await. By following these simple steps, you’ll lay the foundation for a smooth setup process and pave the way for the next stages of connecting and configuring your Rollo printer.
With the Rollo printer unboxed and ready for action, you’re now poised to move on to the next crucial step: connecting the Rollo printer to power.
Step 2: Connecting the Rollo Printer to Power
Connecting your Rollo printer to power is a fundamental step that sets the stage for its operational readiness. By ensuring a stable power supply, you’ll empower the printer to carry out its tasks with precision and efficiency. Here’s a comprehensive guide to connecting your Rollo printer to power:
- Locate the Power Adapter: Retrieve the power adapter included in the Rollo printer package. The power adapter is essential for providing the printer with the necessary electrical power to function.
- Connect the Power Adapter: Identify the power input port on the Rollo printer, typically located at the rear or side of the device. Carefully plug the power adapter into this port, ensuring a secure connection.
- Plug into a Power Outlet: Find a nearby power outlet within reach of the Rollo printer. Insert the power adapter’s plug into the outlet, ensuring a snug fit to establish a reliable power supply.
- Power On the Printer: Once the power adapter is securely connected, switch on the power outlet to initiate the flow of electricity to the Rollo printer. The printer’s indicators or display should illuminate, indicating that it is receiving power.
By following these simple yet crucial steps, you’ll successfully connect your Rollo printer to a stable power source, setting the stage for seamless printing operations. With power flowing to the printer, you’re now ready to embark on the next pivotal phase: connecting the Rollo printer to your computer.
As you power up your Rollo printer, you’re one step closer to unlocking its full potential and integrating it into your workflow. The next step will guide you through the process of establishing a connection between the Rollo printer and your computer, laying the groundwork for a harmonious printing experience.
Step 3: Connecting the Rollo Printer to Your Computer
Establishing a seamless connection between your Rollo printer and your computer is a pivotal step in unleashing the printer’s full potential. By linking the two devices, you’ll pave the way for effortless printing and seamless communication. Here’s a comprehensive guide to connecting your Rollo printer to your computer:
- Retrieve the USB Cable: Locate the USB cable provided with the Rollo printer. This cable serves as the bridge between the printer and your computer, enabling data transfer and communication.
- Identify the USB Port: On the Rollo printer, locate the USB port, typically situated on the rear or side of the device. This is where you’ll connect one end of the USB cable.
- Connect the USB Cable: Plug one end of the USB cable into the USB port on the Rollo printer, ensuring a secure and snug fit. The opposite end of the cable will be connected to a USB port on your computer.
- Computer Recognition: Upon connecting the USB cable, your computer should recognize the Rollo printer as a new device. Depending on your operating system, you may receive prompts for driver installation or device recognition.
- Install Drivers (if necessary): If prompted, follow the on-screen instructions to install any required drivers for the Rollo printer. This step ensures that your computer can seamlessly communicate with and control the printer.
- Verify Connection: Once the USB cable is connected and any necessary drivers are installed, verify that the Rollo printer is successfully recognized by your computer. This can typically be confirmed through the device manager or printer settings on your computer.
By following these steps, you’ll establish a robust connection between your Rollo printer and your computer, setting the stage for seamless printing experiences. With the two devices harmoniously linked, you’re now poised to venture into the next crucial phase: installing the Rollo printer software.
As the Rollo printer becomes an integral part of your computer setup, you’re on the cusp of harnessing its capabilities to streamline your printing tasks. The upcoming step will guide you through the process of installing the necessary software to optimize the functionality of your Rollo printer.
Make sure to connect the Rollo printer to a power source and your computer using a USB cable. Then, download and install the Rollo printer driver from the official website to ensure it works properly.
Step 4: Installing the Rollo Printer Software
Installing the Rollo printer software is a pivotal step that empowers you to harness the full potential of this innovative device. The software serves as the bridge between your computer and the printer, enabling seamless communication and control over printing operations. Here’s a comprehensive guide to installing the Rollo printer software:
- Download the Software: Visit the official Rollo printer website or the designated software download page to obtain the latest version of the Rollo printer software. Ensure that you download the software compatible with your operating system.
- Run the Installation Wizard: Locate the downloaded software file on your computer and initiate the installation process. Follow the on-screen prompts to launch the installation wizard, which will guide you through the setup process.
- Accept License Agreement: During the installation process, you may be required to review and accept the software’s end-user license agreement. Carefully read through the terms and conditions before proceeding with the installation.
- Customize Installation (if applicable): Depending on the software package, you may have the option to customize the installation settings. This could include selecting specific features or components to install based on your printing needs.
- Complete the Installation: Once the necessary settings are configured, proceed with the installation process. The software will be installed on your computer, establishing the essential link between your operating system and the Rollo printer.
- Verify Software Integration: After the installation is complete, verify that the Rollo printer software is seamlessly integrated with your computer. You may find the software’s icon on your desktop or in the list of installed programs.
By following these steps, you’ll successfully install the Rollo printer software, unlocking a myriad of features and functionalities that enhance your printing experience. With the software seamlessly integrated into your computer, you’re now ready to embark on the final step: testing the Rollo printer.
As the Rollo printer software becomes an integral part of your digital ecosystem, you’re on the brink of leveraging its capabilities to streamline your printing tasks. The upcoming step will guide you through the process of testing the Rollo printer to ensure its optimal performance.
Read more: How To Reset Rollo Wireless Printer
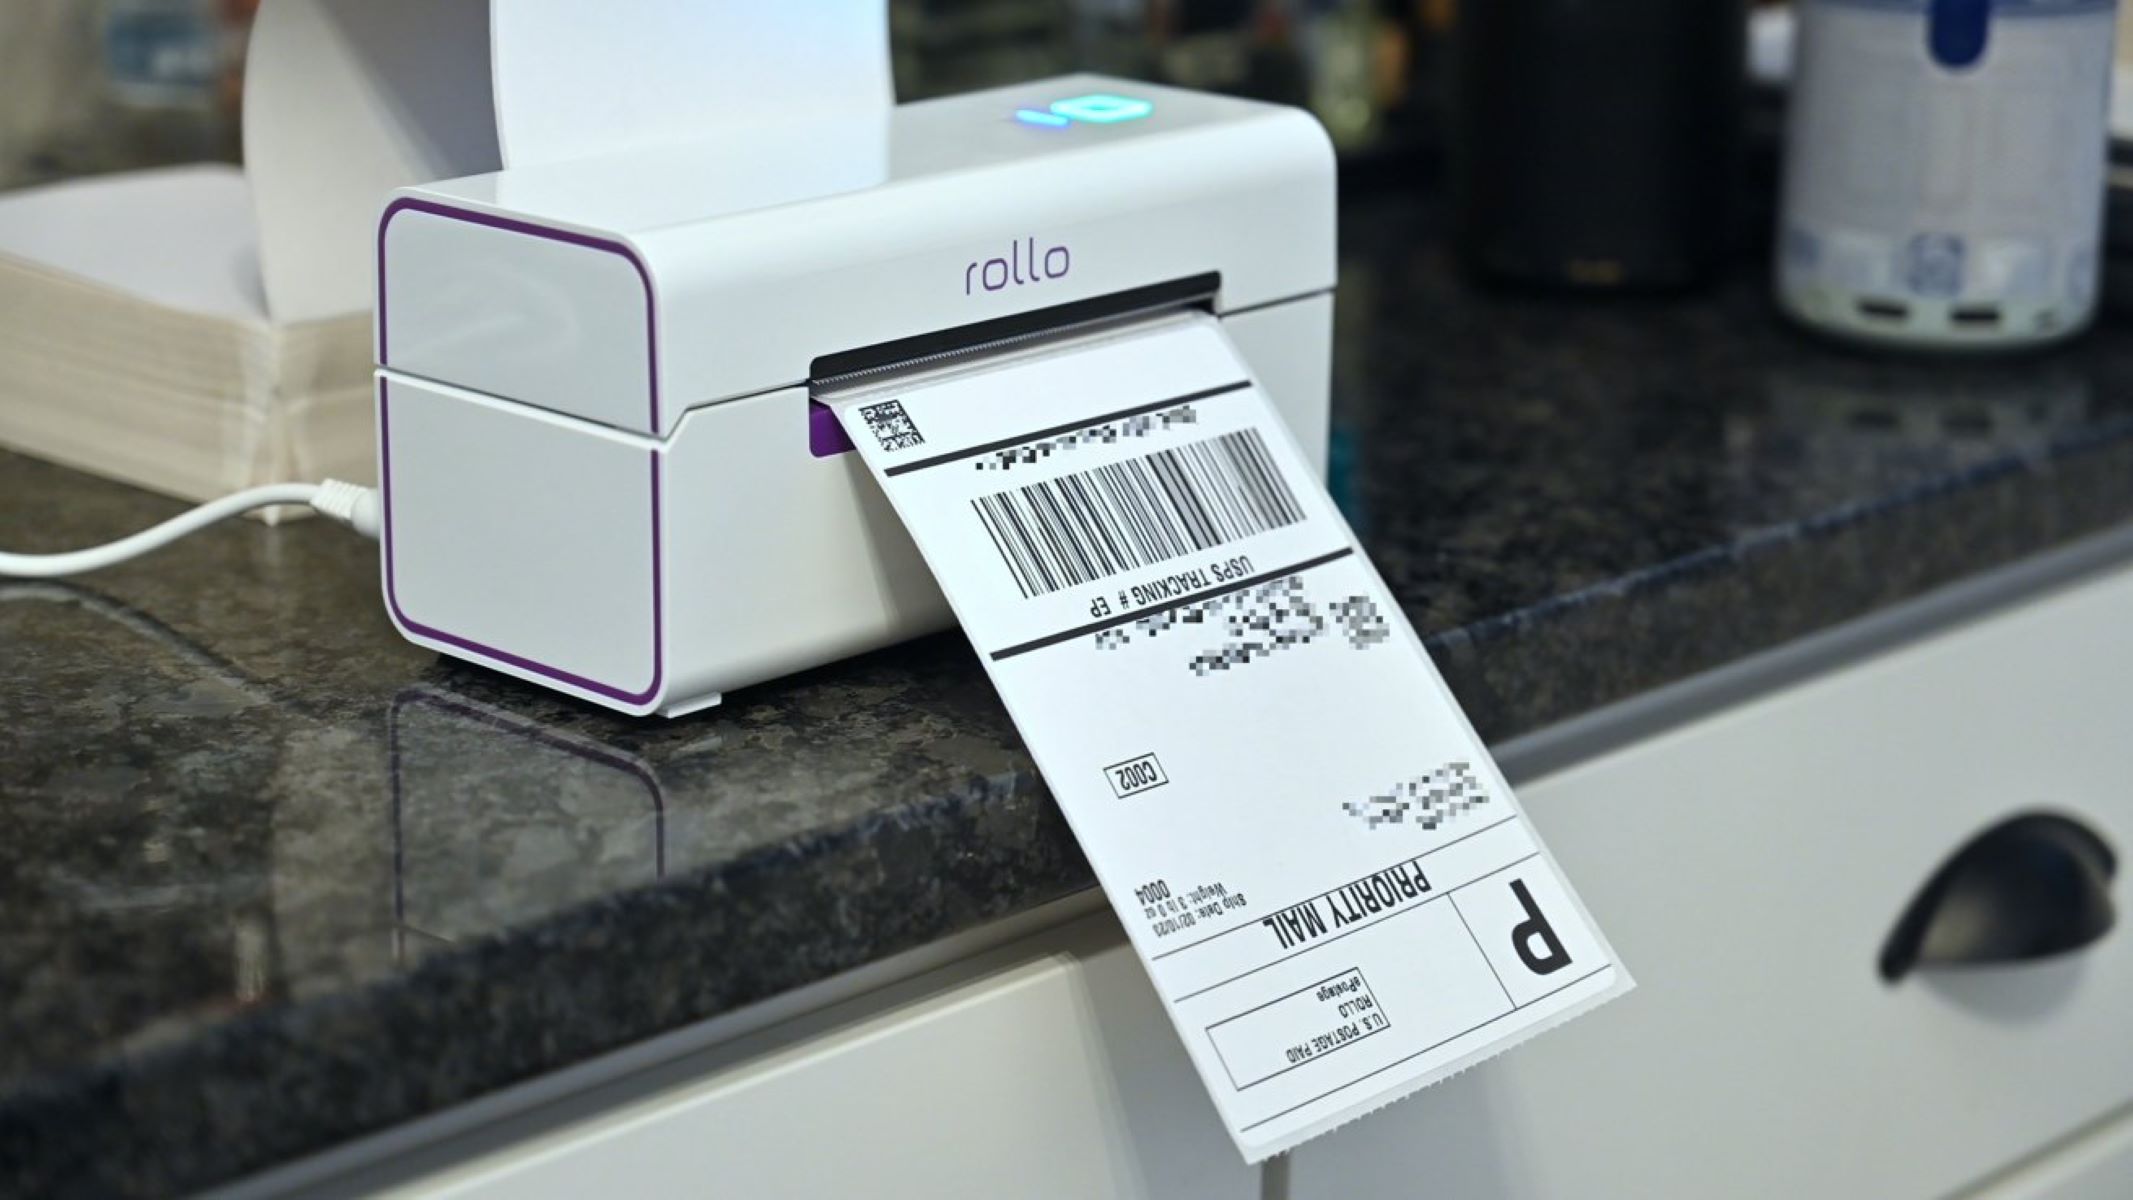
Step 5: Testing the Rollo Printer
Testing the Rollo printer is the culminating step that allows you to verify its functionality and ensure that it seamlessly integrates into your printing workflow. By conducting a comprehensive test, you’ll ascertain that the printer operates as intended, delivering high-quality prints with precision and efficiency. Here’s a detailed guide to testing your Rollo printer:
- Load Printing Material: Prepare the appropriate printing material, such as labels or thermal paper, and load it into the Rollo printer’s feeding mechanism. Ensure that the material is properly aligned and securely positioned for printing.
- Power On the Printer: Switch on the Rollo printer and allow it to initialize. The printer’s indicators or display should indicate that it is ready to receive print commands.
- Send a Test Print: Open a document, label, or image on your computer that you intend to print using the Rollo printer. Send a test print command to the printer, ensuring that the settings and print parameters are configured appropriately.
- Inspect the Printout: Once the print command is executed, carefully retrieve the printed material from the Rollo printer. Inspect the printout for clarity, alignment, and overall print quality, ensuring that it meets your expectations.
- Adjust Print Settings (if necessary): If the test print does not meet your desired standards, consider adjusting the print settings on your computer or within the Rollo printer software to optimize the output.
- Repeat the Test (if needed): If adjustments are made, send another test print to the Rollo printer to evaluate the impact of the updated settings. Repeat this process until you achieve the desired print quality.
By conducting a thorough test of the Rollo printer, you’ll gain confidence in its performance and ensure that it meets your specific printing requirements. Whether you’re printing shipping labels, barcodes, or any other adhesive labels, this testing phase is crucial for validating the printer’s capabilities.
With the Rollo printer successfully tested and proven to deliver exceptional results, you’ve now completed the essential steps to integrate this innovative device into your workspace. Your Rollo printer is now primed and ready to enhance your printing workflows with its efficiency and reliability.
As you embark on your printing endeavors with the Rollo printer, remember that regular maintenance and care will prolong its lifespan and optimize its performance. By following the manufacturer’s guidelines and best practices, you can ensure that your Rollo printer remains a steadfast companion in your printing endeavors.
Congratulations on successfully setting up and testing your Rollo printer. Embrace the seamless printing experiences that lie ahead, empowered by the cutting-edge technology and user-friendly design of the Rollo printer!
Conclusion
Congratulations on completing the comprehensive guide to setting up and integrating your Rollo printer into your workspace! By following the step-by-step instructions outlined in this tutorial, you’ve embarked on a journey to unlock the full potential of this innovative printing device. As you immerse yourself in the world of Rollo printers, here are some key takeaways to reinforce your newfound expertise:
- Efficiency and Versatility: The Rollo printer’s compact design and versatile functionality make it an invaluable asset for a wide range of printing tasks, from shipping labels to barcodes and beyond.
- Seamless Setup Process: By unboxing, connecting to power, linking to your computer, installing the software, and conducting thorough testing, you’ve laid the foundation for a seamless printing experience.
- Optimized Performance: Through meticulous testing and fine-tuning of print settings, you’ve ensured that the Rollo printer delivers high-quality prints with precision and clarity.
- Productivity Enhancement: With the Rollo printer seamlessly integrated into your workflow, you’re poised to enhance productivity and streamline your printing tasks with confidence and efficiency.
As you embark on your printing endeavors with the Rollo printer, remember to explore its diverse capabilities and leverage its user-friendly features to optimize your workflow. Whether you’re a small business owner, an e-commerce entrepreneur, or an individual seeking convenience in your printing tasks, the Rollo printer is designed to elevate your experience and simplify your operations.
Embrace the endless possibilities that the Rollo printer offers, from its intuitive setup process to its reliable performance in fulfilling your printing needs. As you continue to explore the dynamic landscape of smart home devices, the Rollo printer stands as a testament to the seamless integration of cutting-edge technology into everyday tasks.
Thank you for embarking on this enlightening journey to set up and test the Rollo printer. May your printing experiences be marked by efficiency, precision, and the seamless operation of this remarkable device. Here’s to a future filled with streamlined printing tasks, courtesy of your trusted companion, the Rollo printer!
Frequently Asked Questions about How To Add Rollo Printer
Was this page helpful?
At Storables.com, we guarantee accurate and reliable information. Our content, validated by Expert Board Contributors, is crafted following stringent Editorial Policies. We're committed to providing you with well-researched, expert-backed insights for all your informational needs.


0 thoughts on “How To Add Rollo Printer”